Star Wars Jedi Survivor Coruscant collectibles: All Chests, Priorite Shards, Essences, and more on Coruscant
Find all collectibles on Coruscant in Star Wars Jedi Survivor


Trying to find all collectibles on Coruscant in Star Wars Jedi: Survivor? Cal's adventure begins in the capital of the Empire, Coruscant, in Star Wars Jedi: Survivor. What begins as a rebel mission for Saw Guerrera quickly turns into tragedy, though, as Cal is forced to escape Coruscant and head to Koboh. For much of the adventure, you're unable to head back to Coruscant, but you can eventually return to Coruscant to sweep up any missing collectibles and hit that sweet 100% completion rating.
To 100% Coruscant, you must find 29 collectibles. In the wider context of Star Wars Jedi: Survivor, that isn't so bad! Compared to the hundreds of doodads and who-whats on Koboh, Coruscant is a nice, easy place to start your collectible hunt.
In this guide, we'll break down where to find all collectibles on Coruscant in Star Wars Jedi: Survivor, including Chests, Force Echoes, Priorite Shards, Databank Scans, and Essences.
Coruscant collectibles: All locations
- Rooftops
- Renovation Site 4733
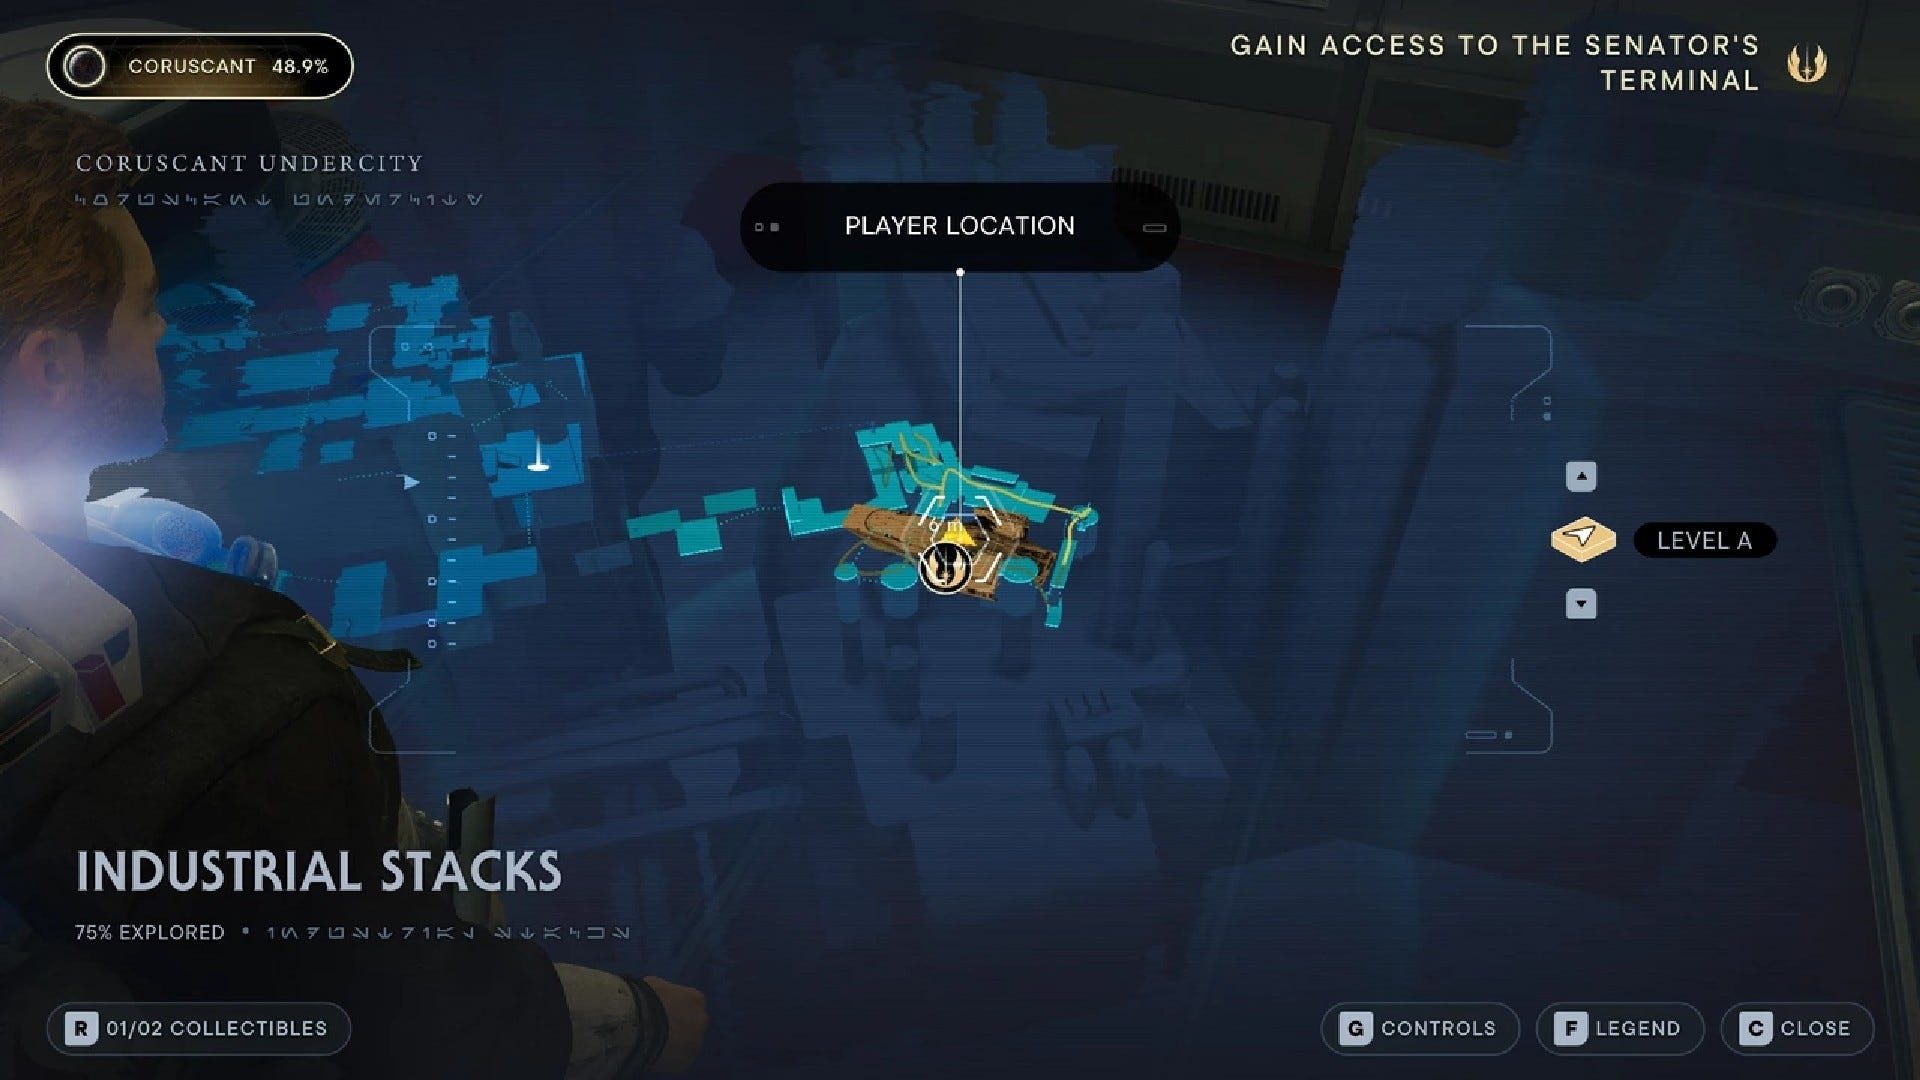
- Industrial Stacks
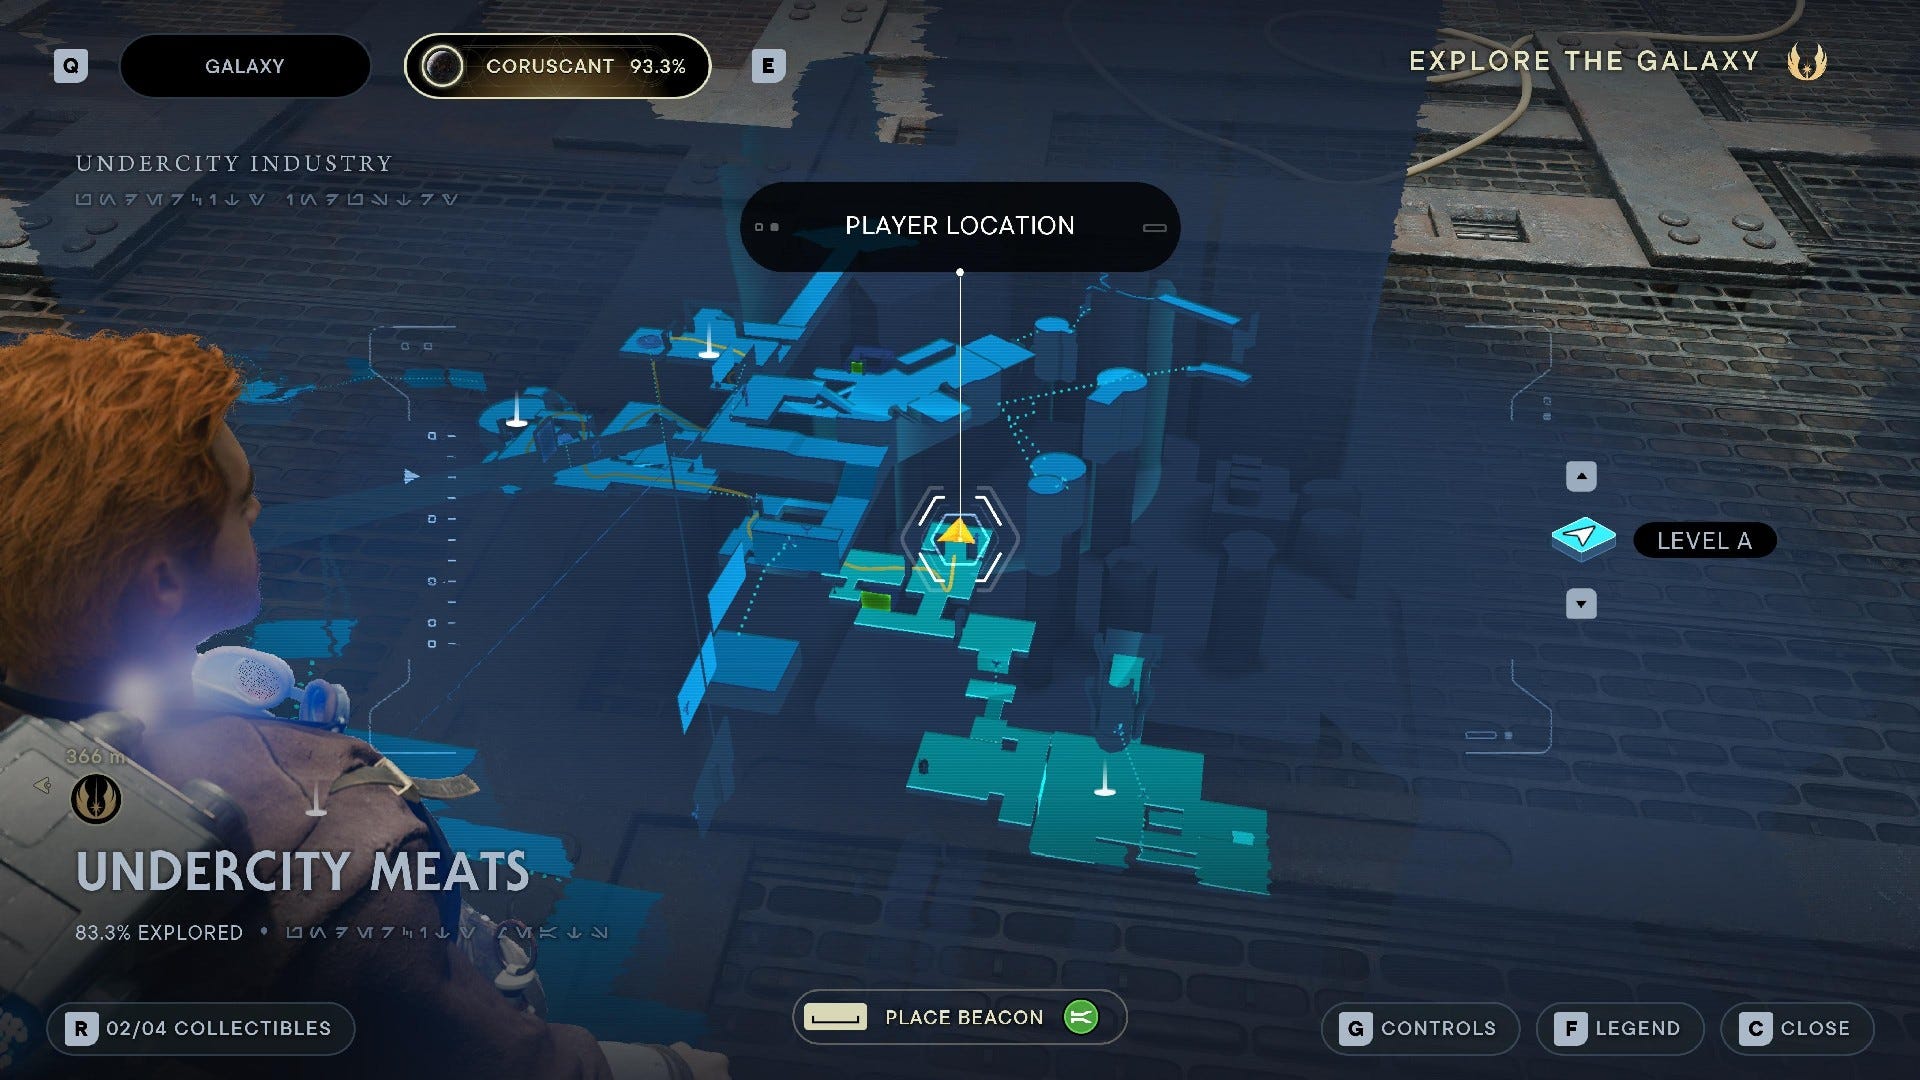
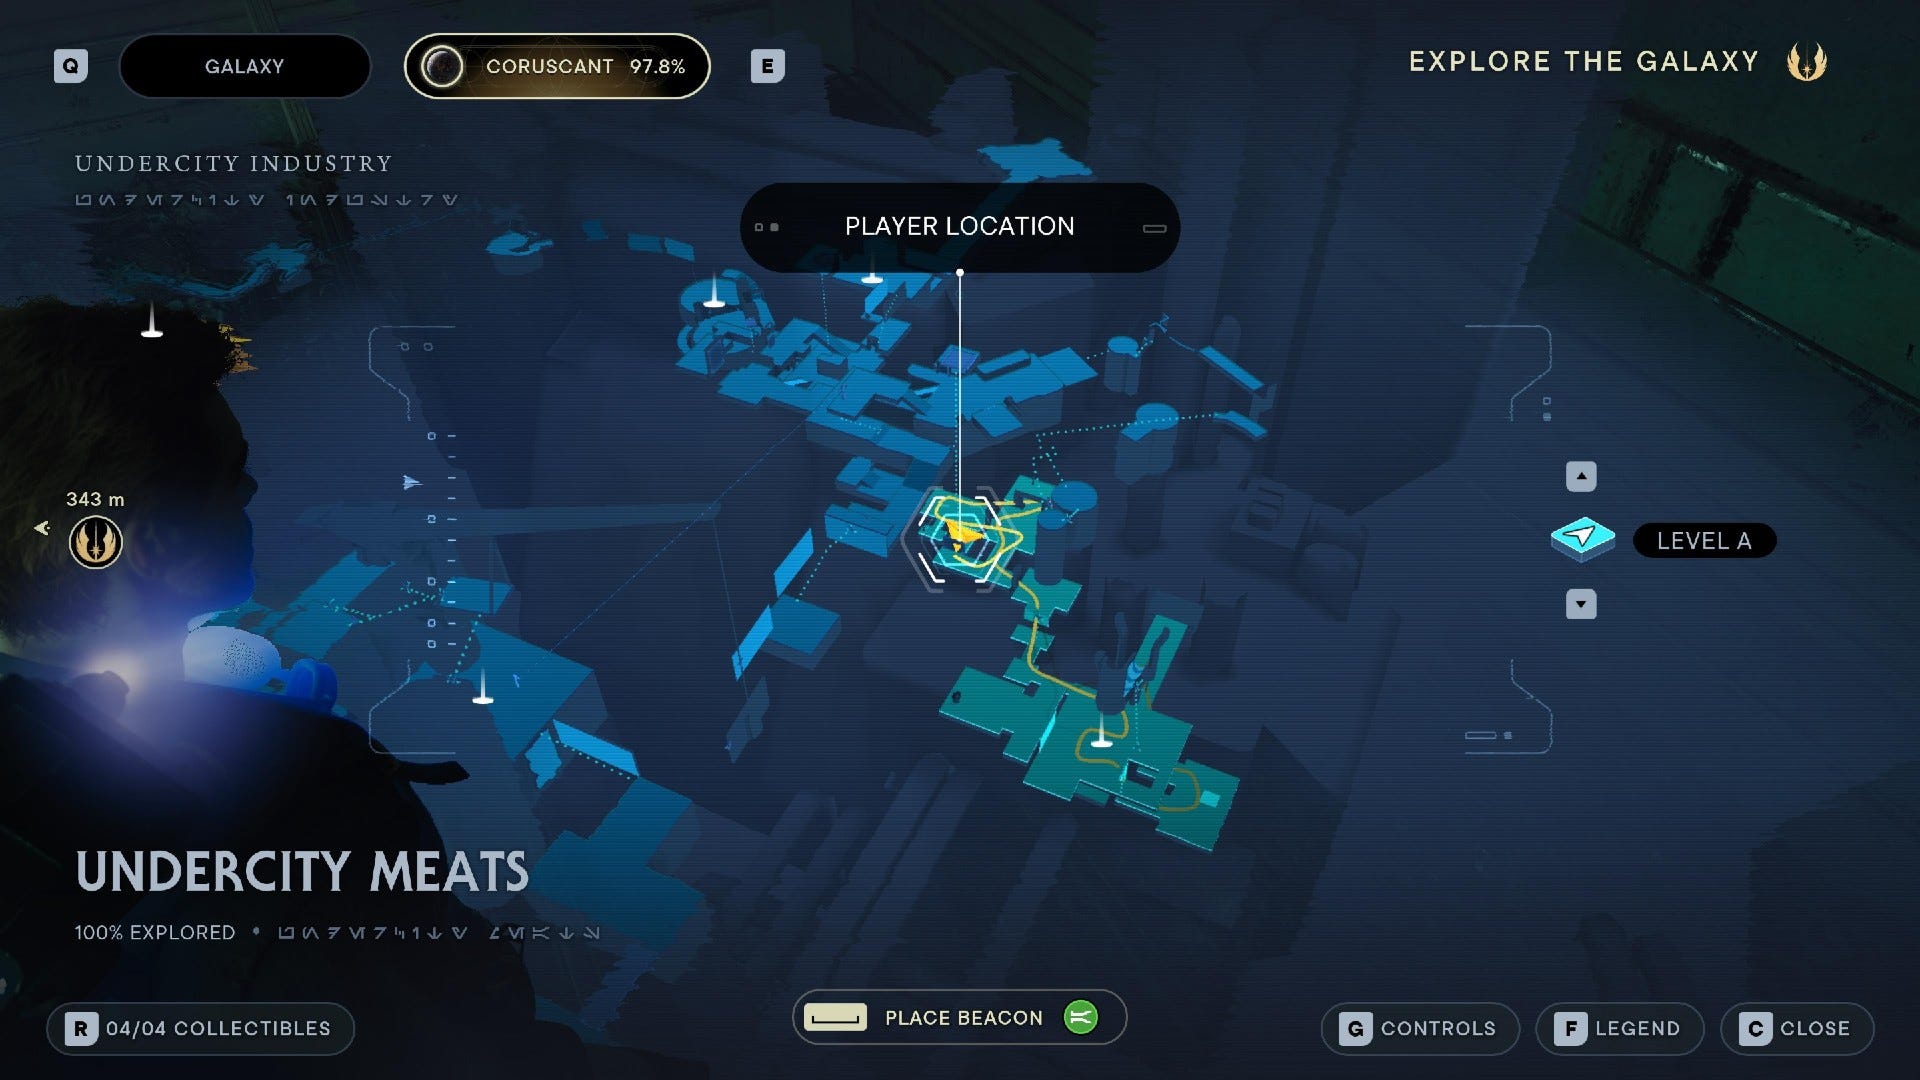
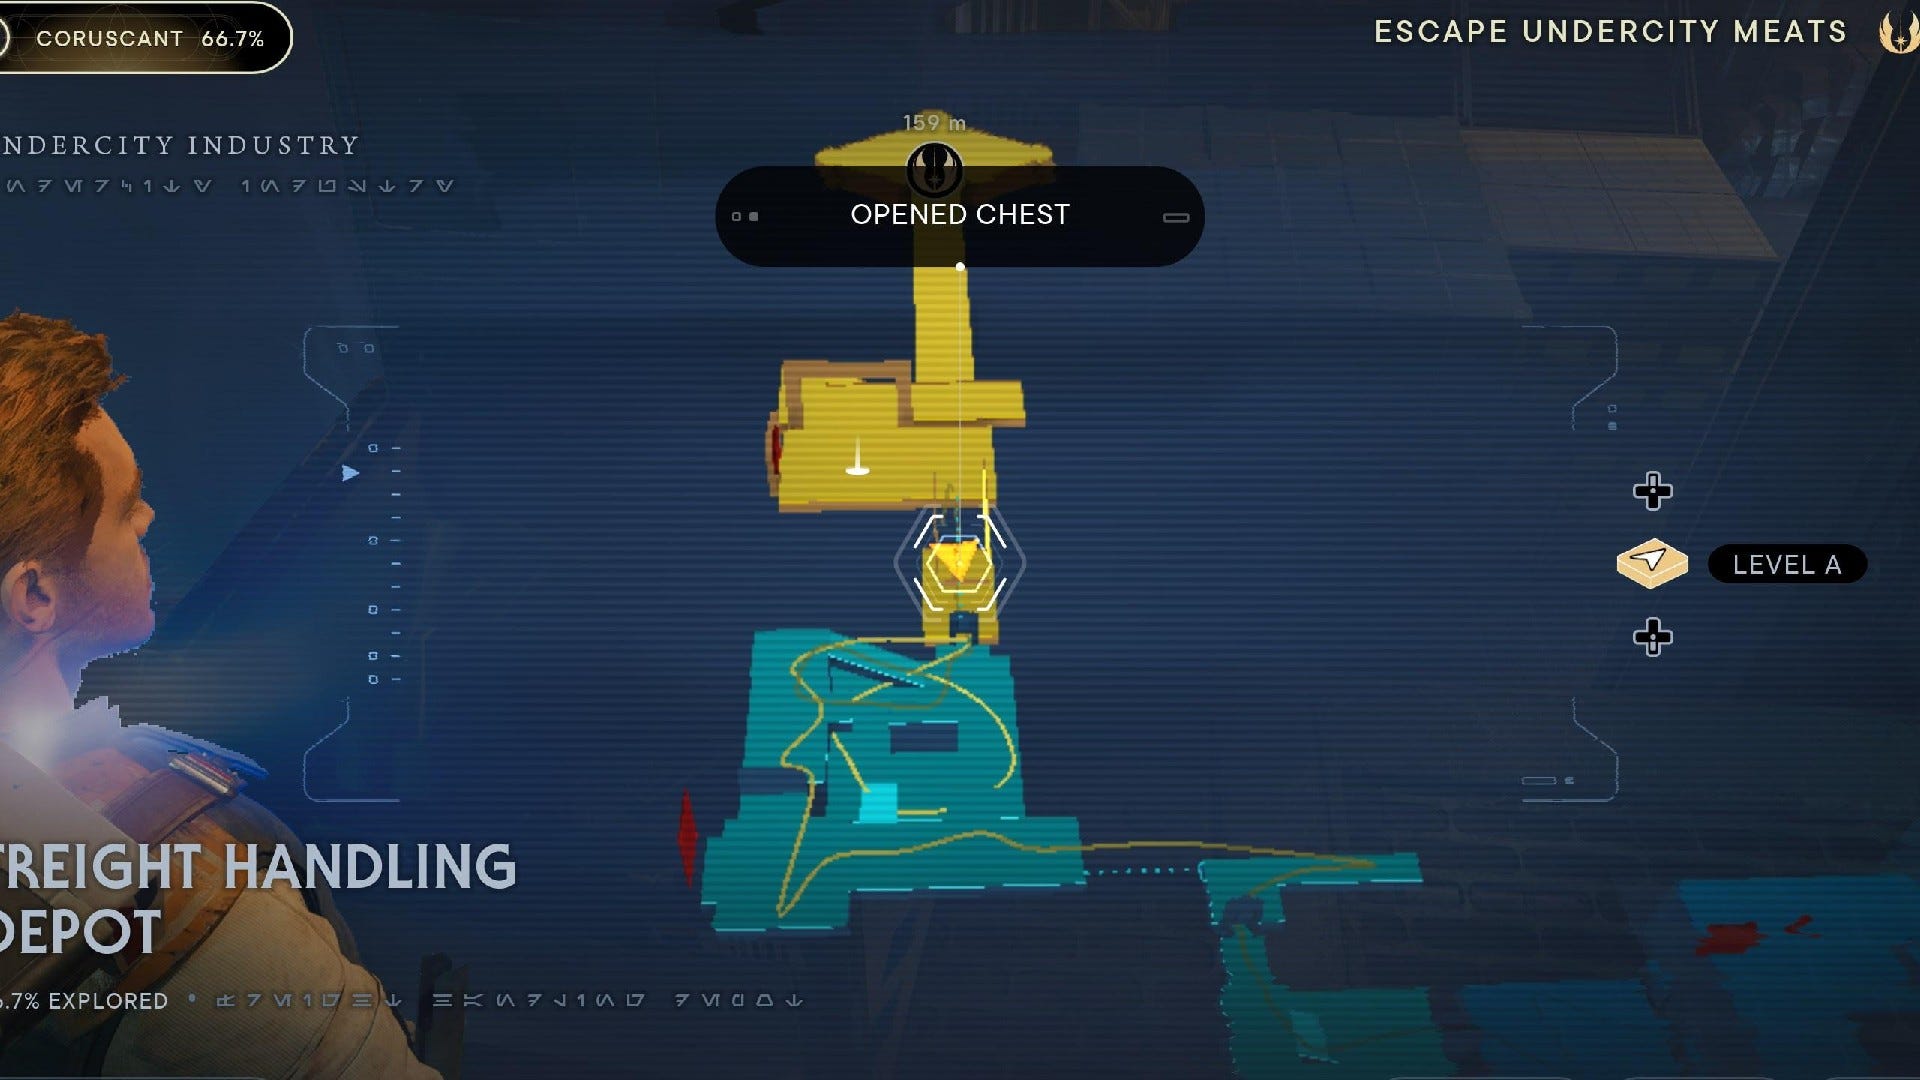
- Undercity Meats
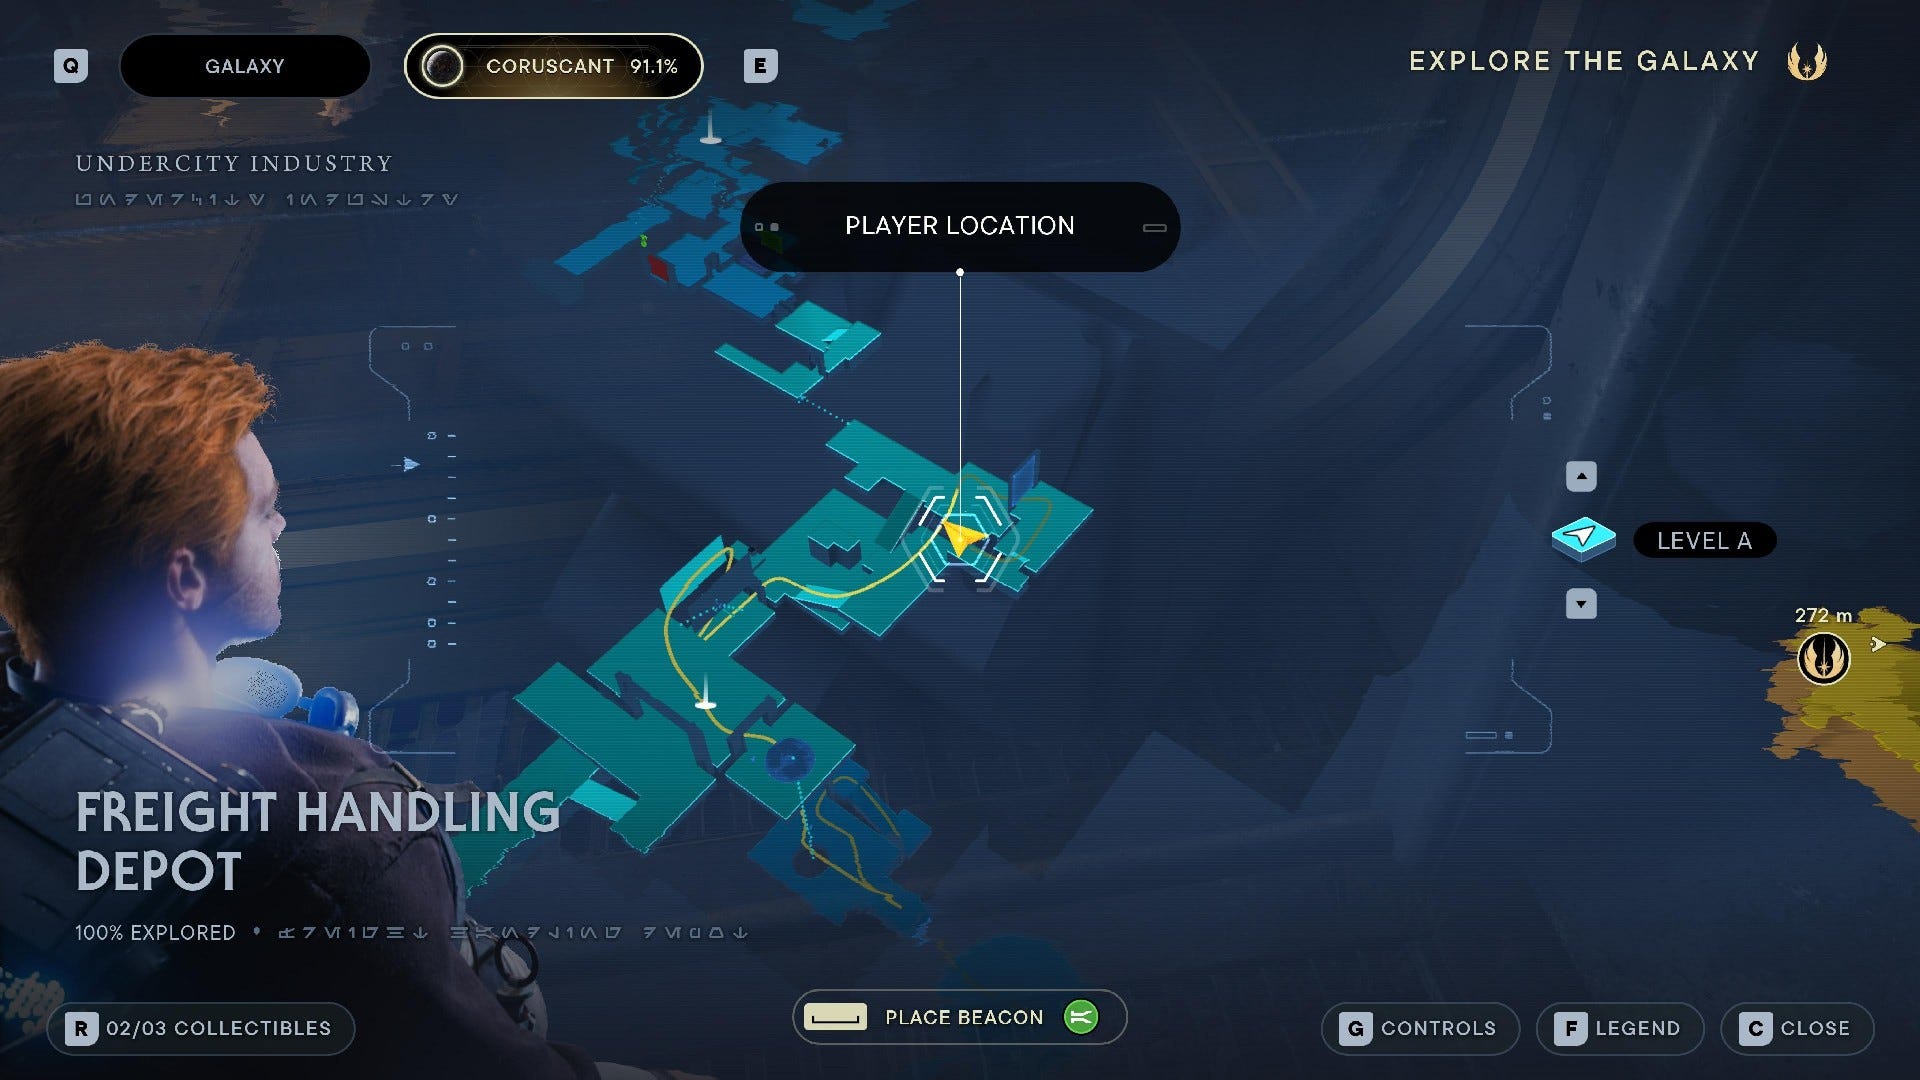
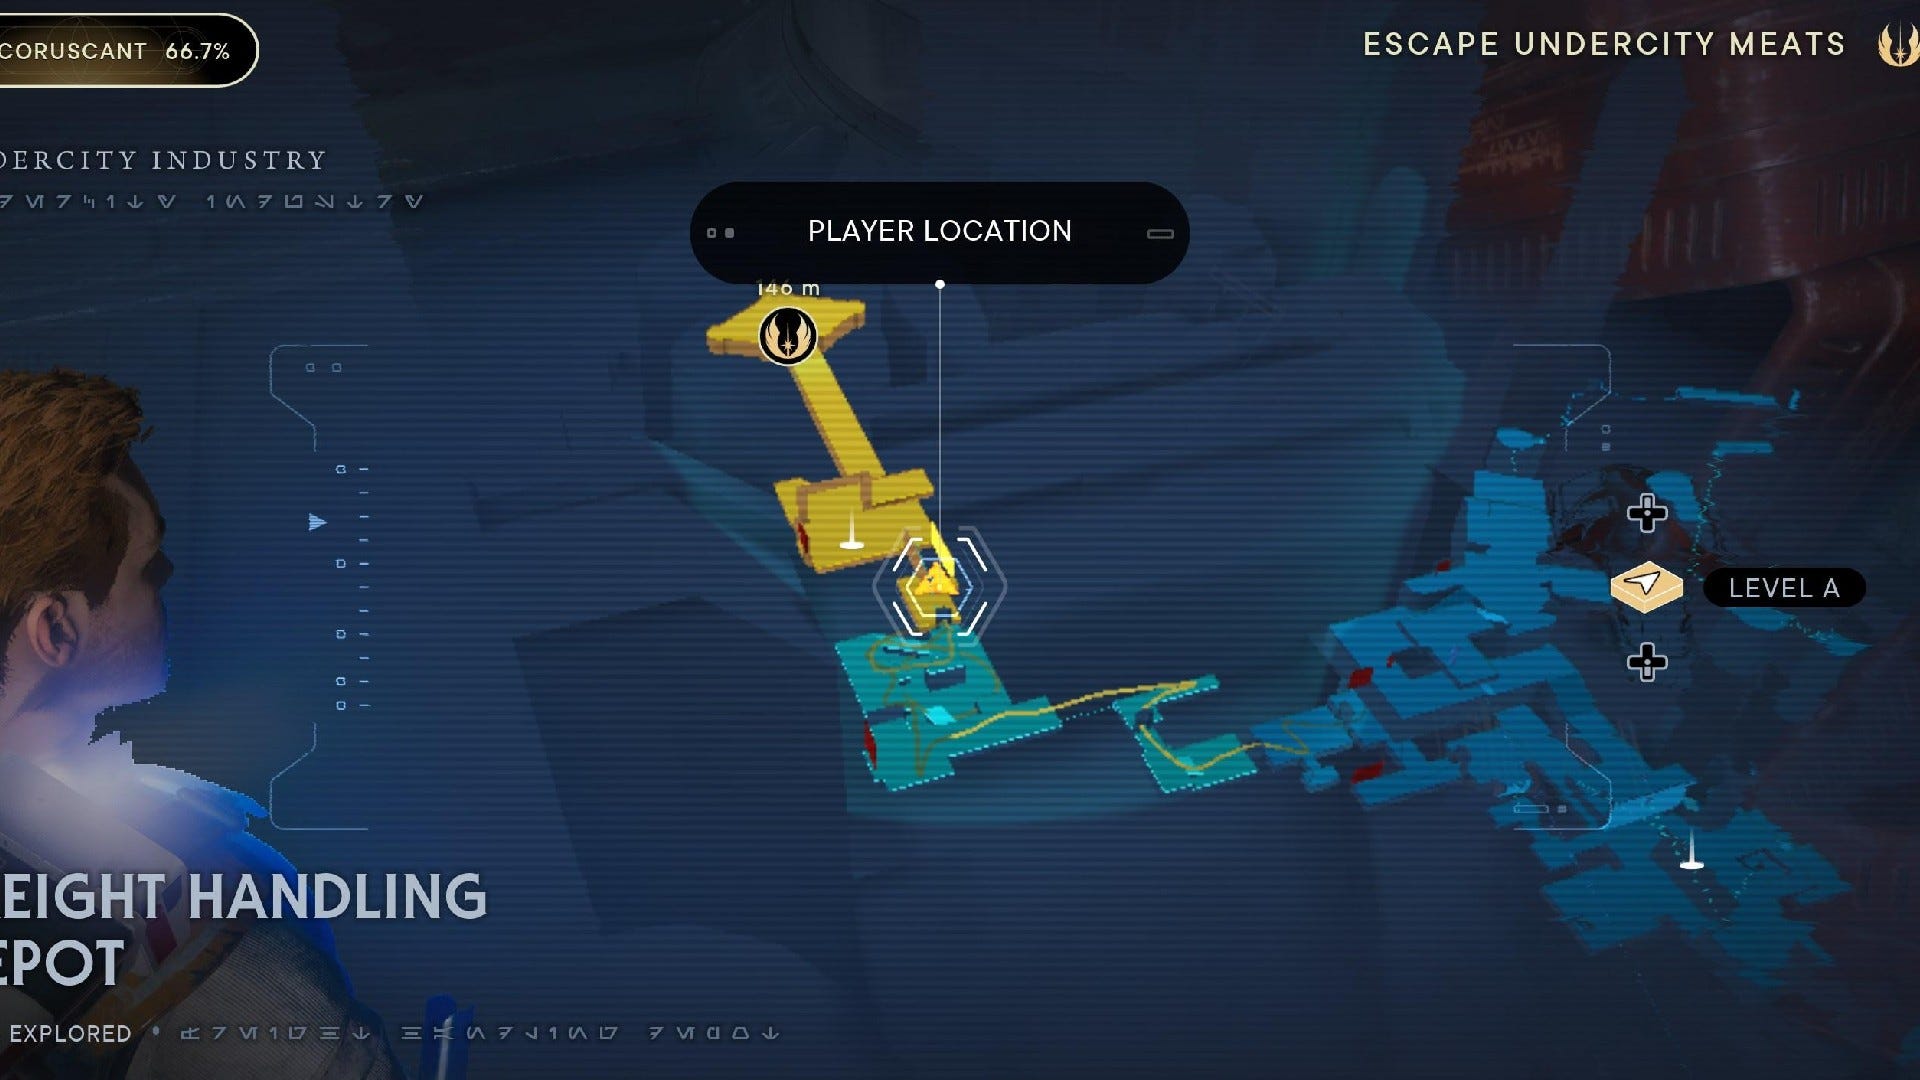
- Freight Handling Depot
- Skylane Regulation Station
- Hangar 2046-C
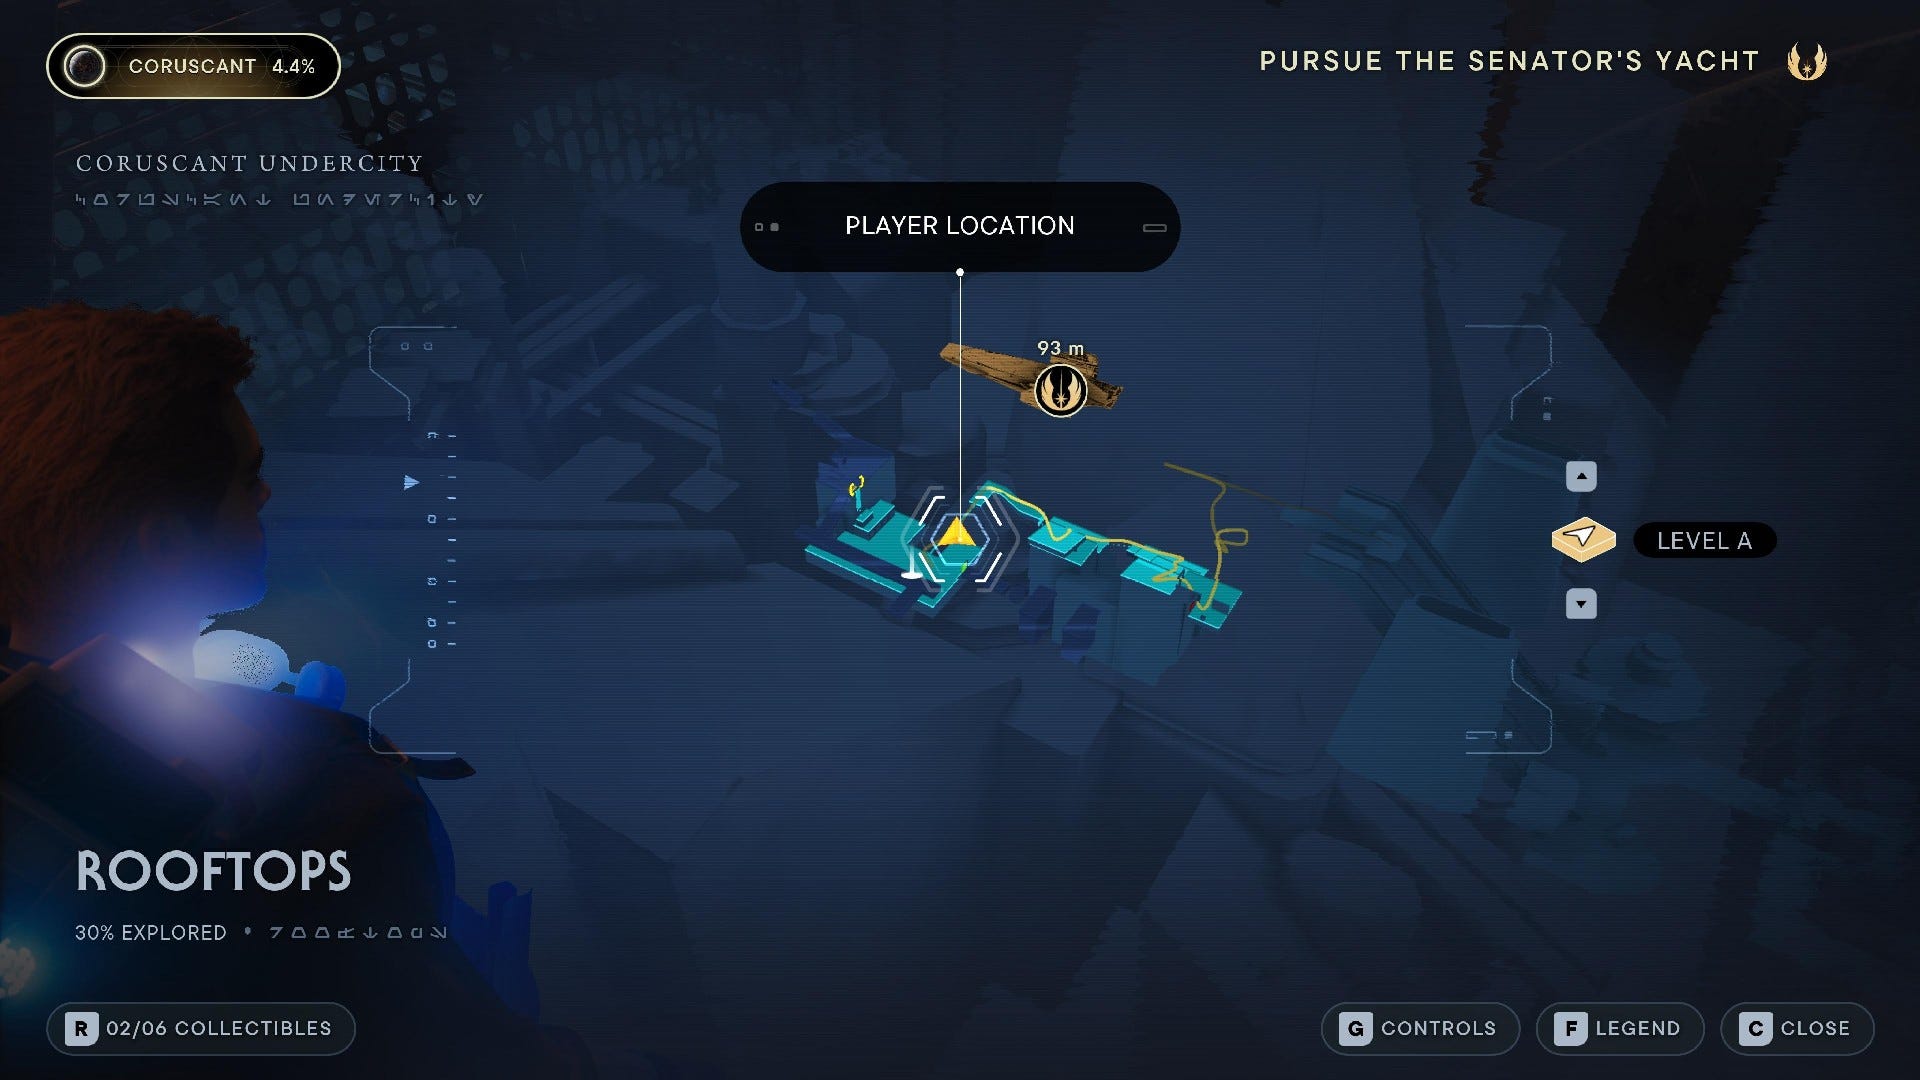
Coruscant Rooftops collectibles
Coruscant Rooftops Chests:
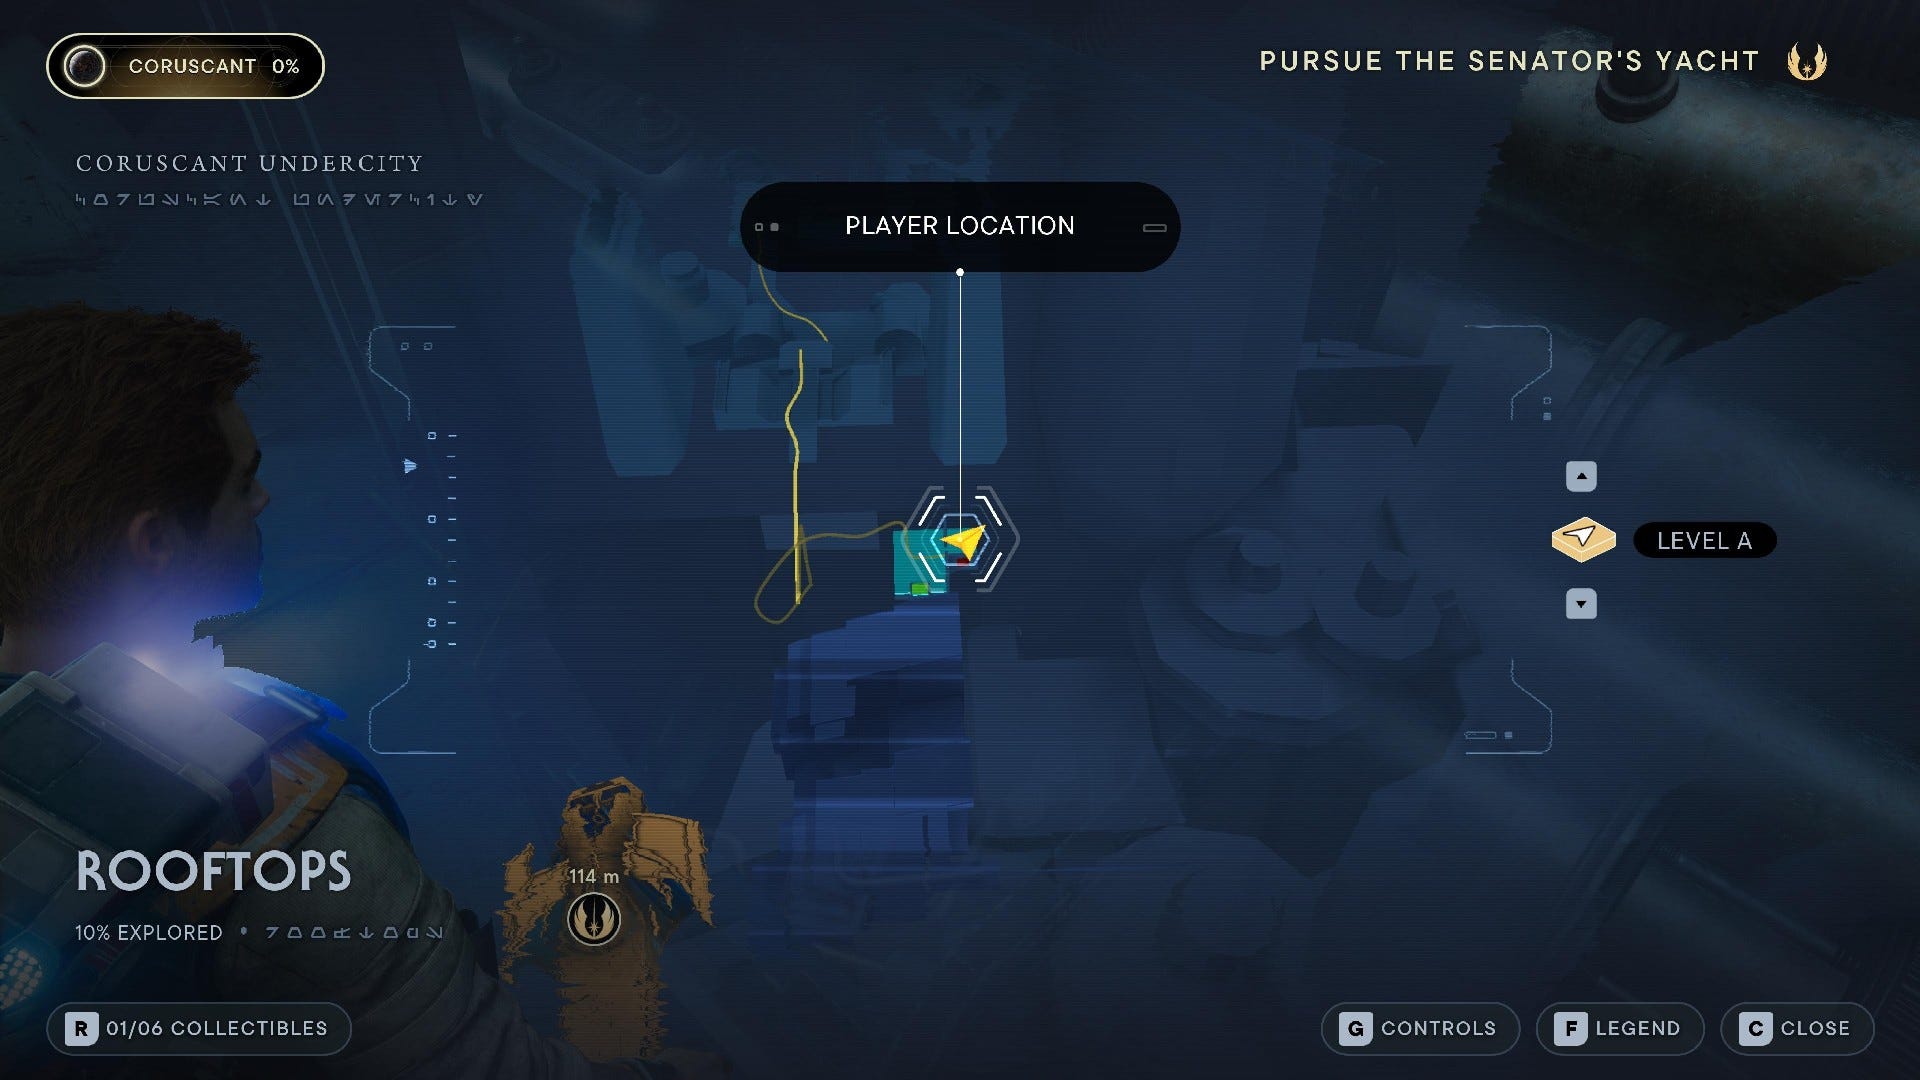
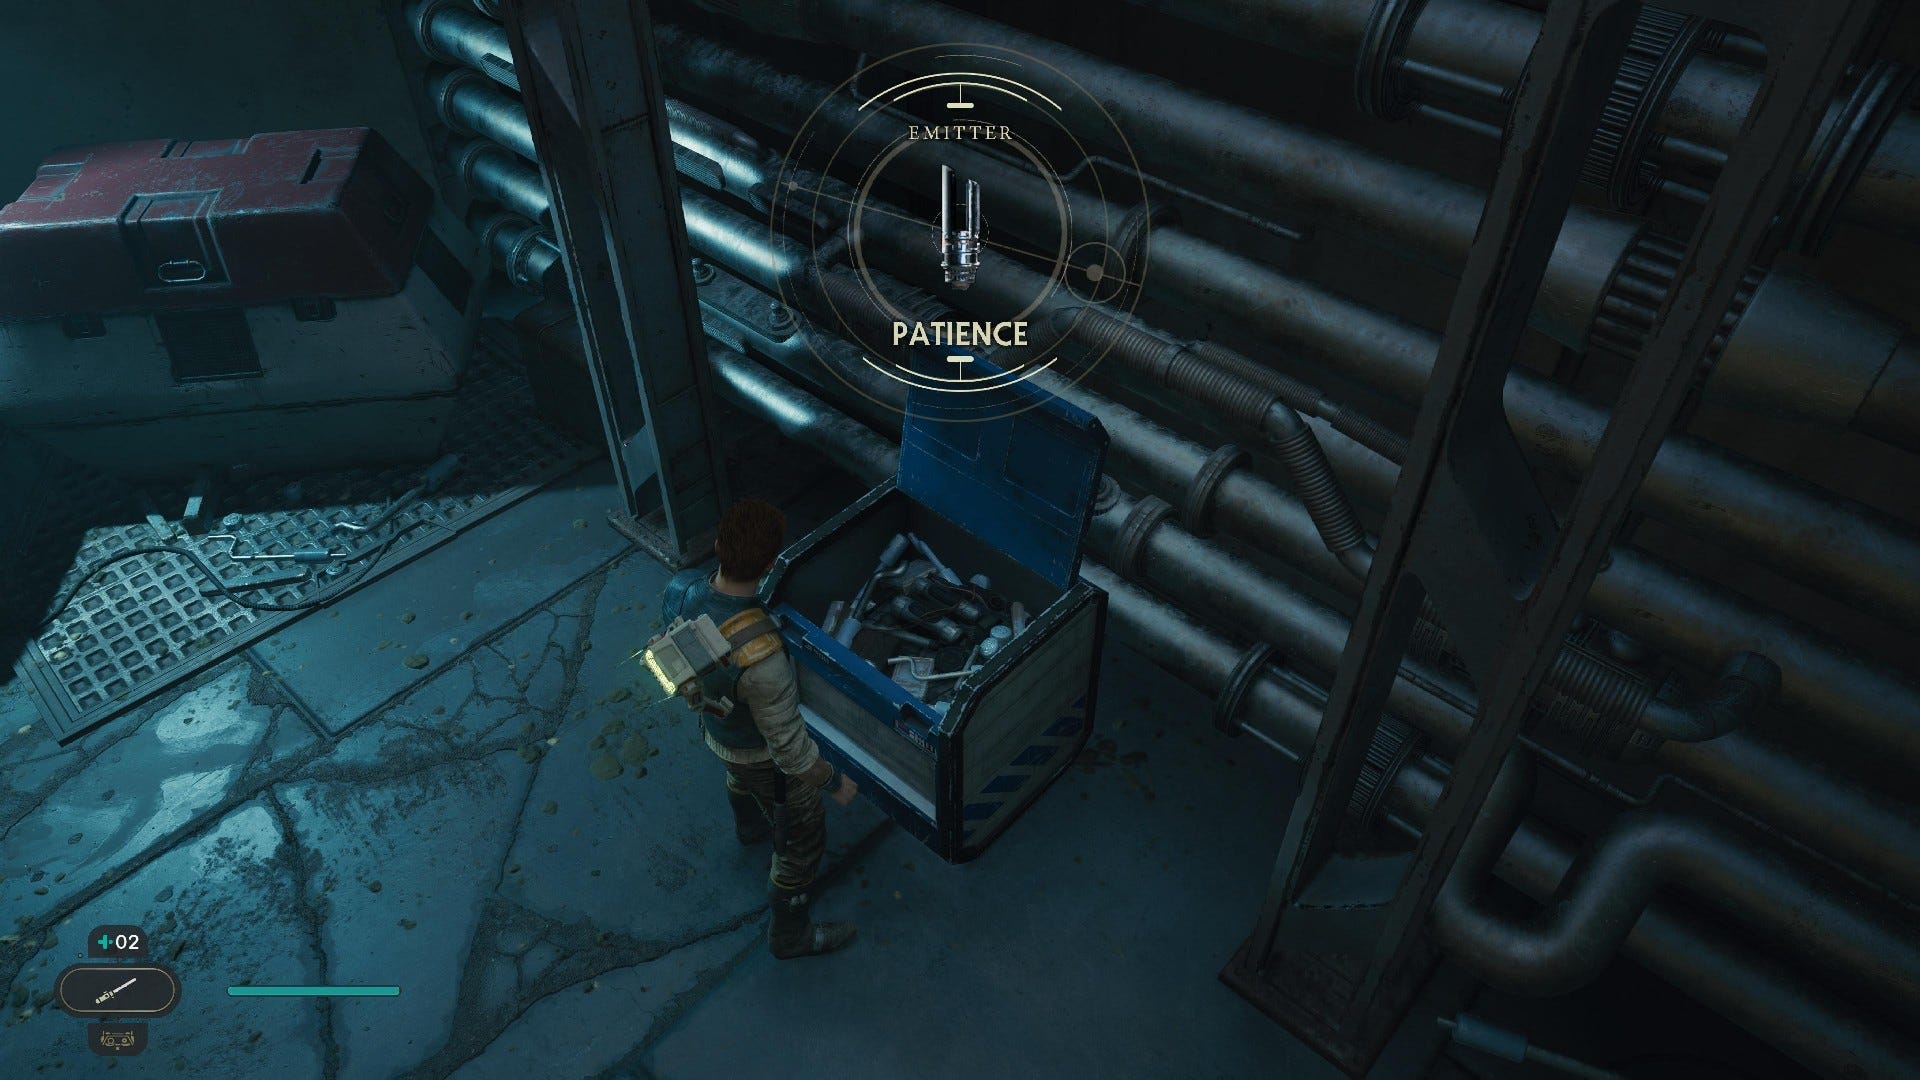
Chest #1 (Patience Emitter): Turn left in the opening area of Coruscant's Rooftop region to find this chest.
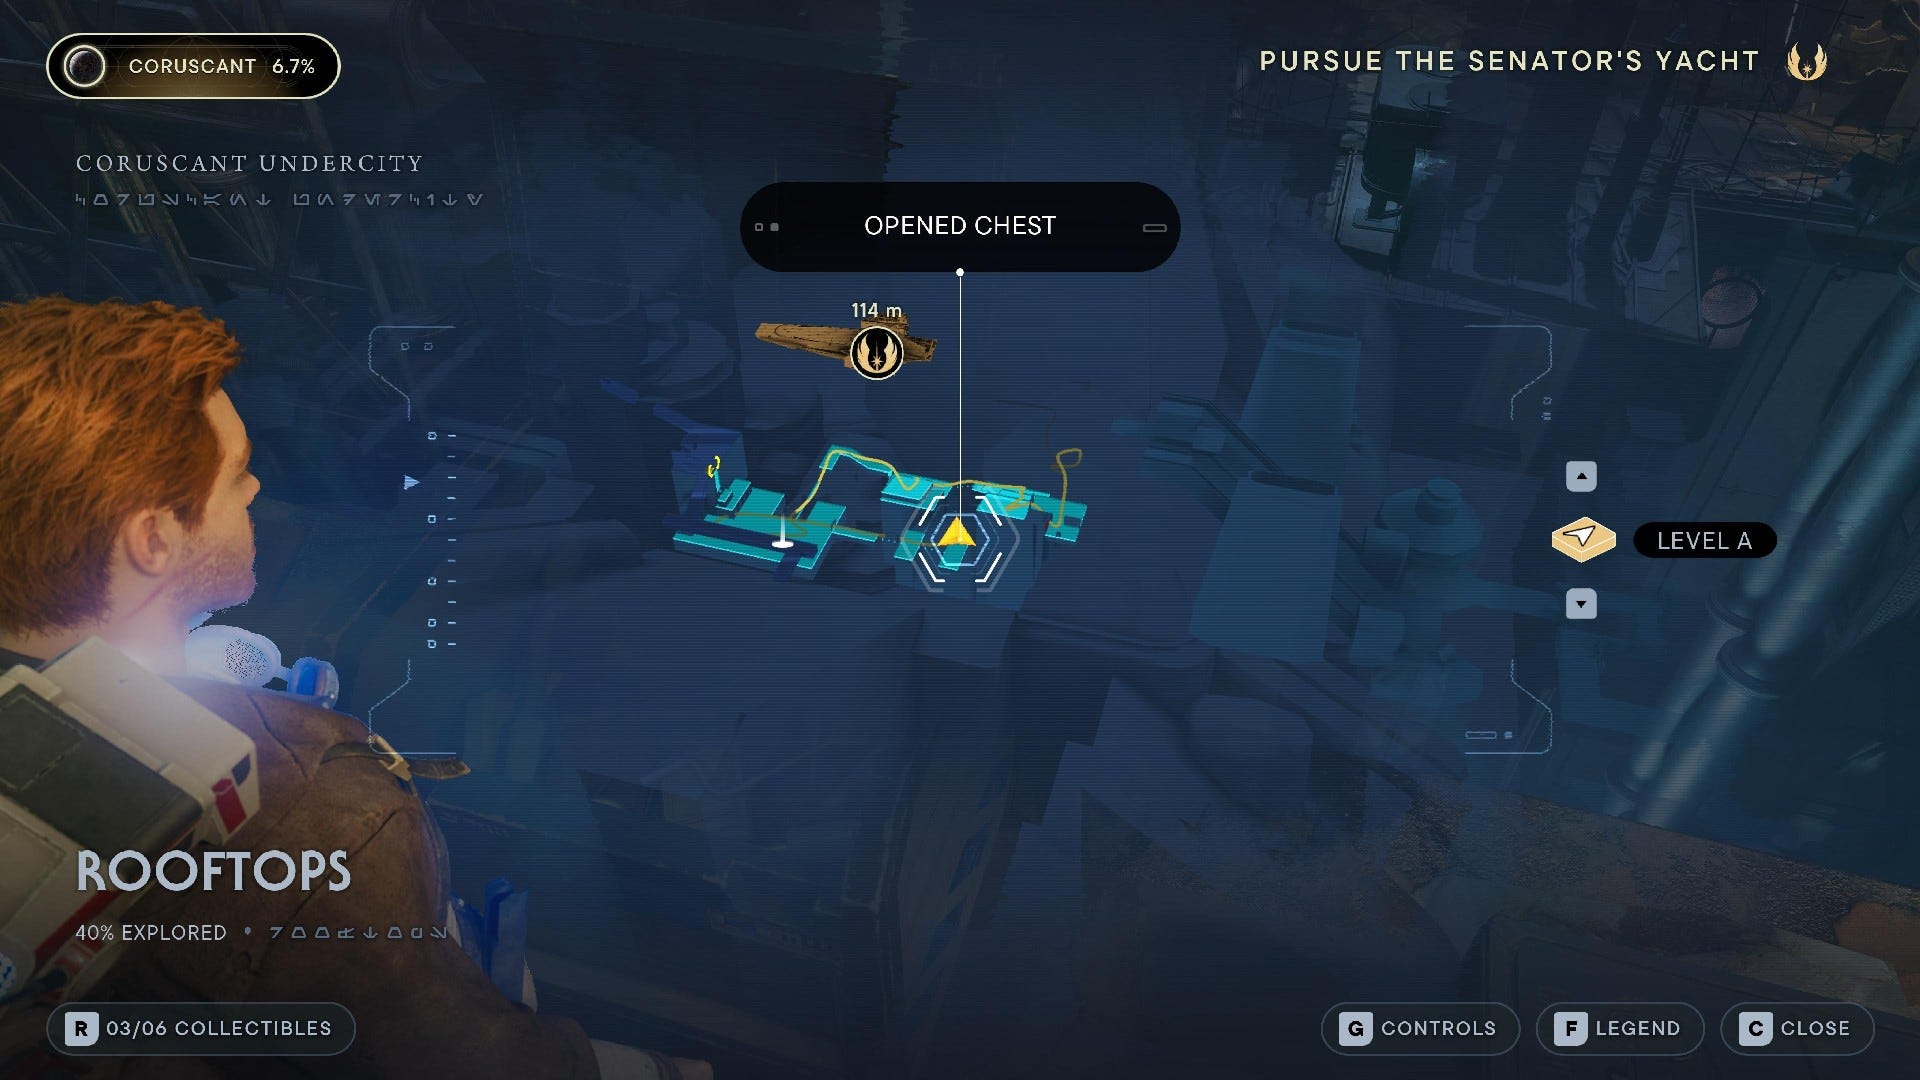
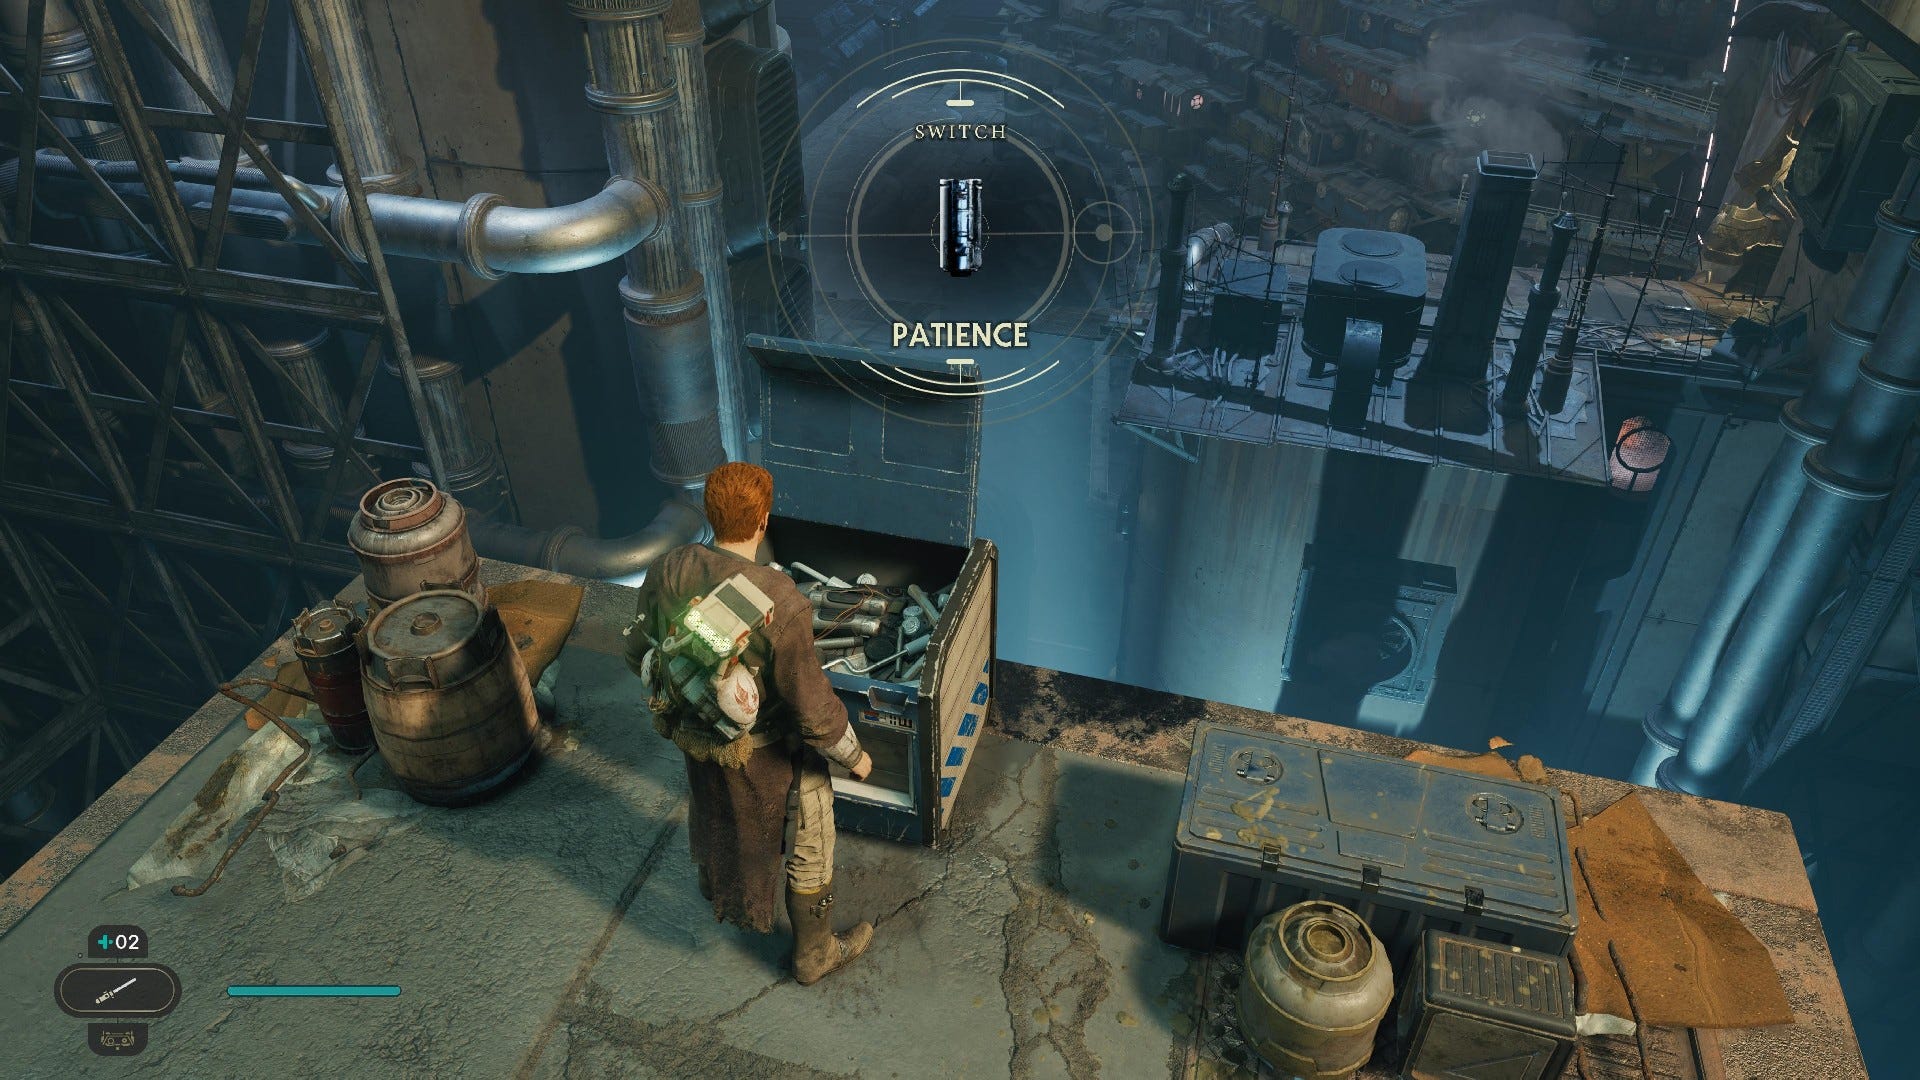
Chest #2 (Patience Switch): Found through the door by the Rooftops Meditation Point. Follow the path to the end to find the Chest on the furthest platform.
Coruscant Rooftops Databanks:

Force Echo (Abandoned Squatter Site): When you reach the Rooftops Meditation Point, turn right and look in the corner to find your first Force Echo.

Databank Scan (Squatter Camp): Climb up to the platform from the Rooftops Meditation Point and turn left after fighting the Stormtroopers to find the Databank Scan.
Coruscant Rooftops Force Tears:

Force Tear (Fractured Malice - requires Force Lift ability): Return to the very first area after gaining Force Lift later in the story to open the sealed door and find the Force Tear.
Coruscant Rooftops Force Treasures:
Priorite Shard #1: On a raised platform overlooking the Rooftops Meditation Point.
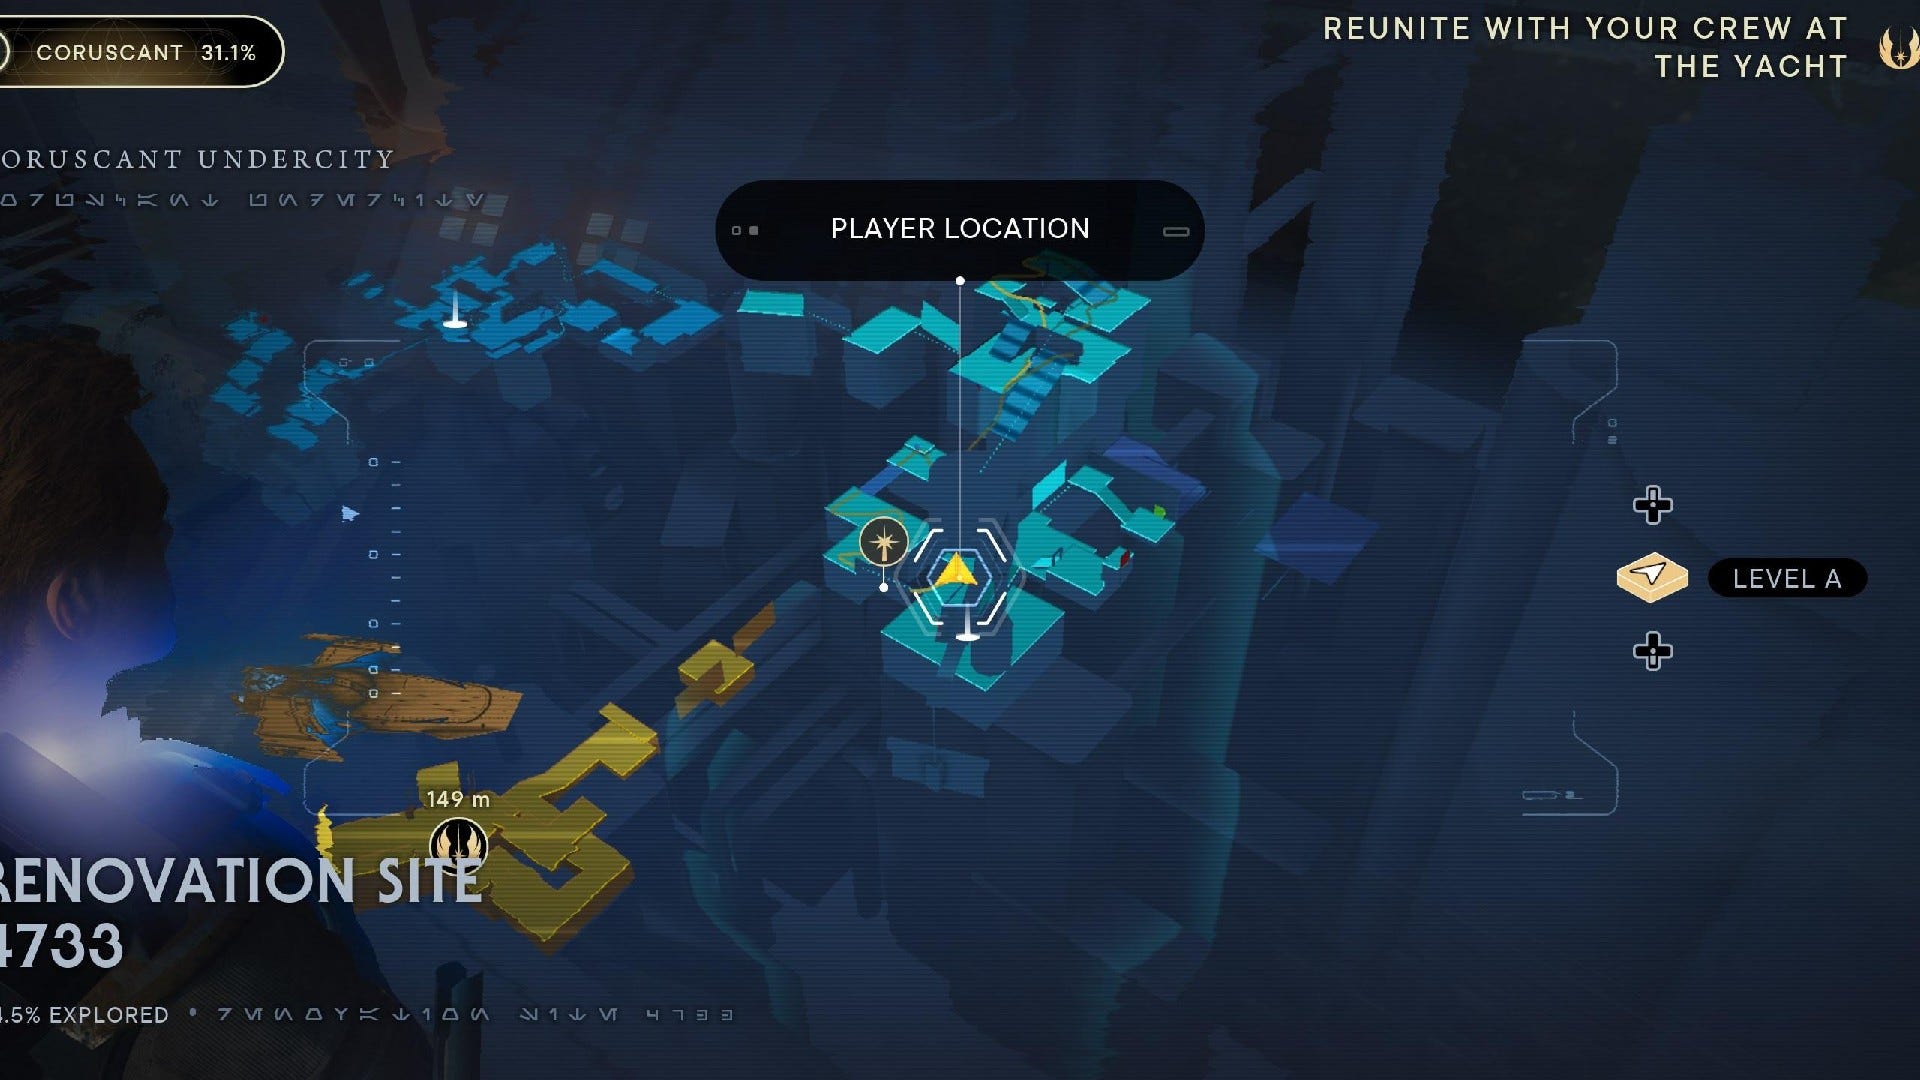
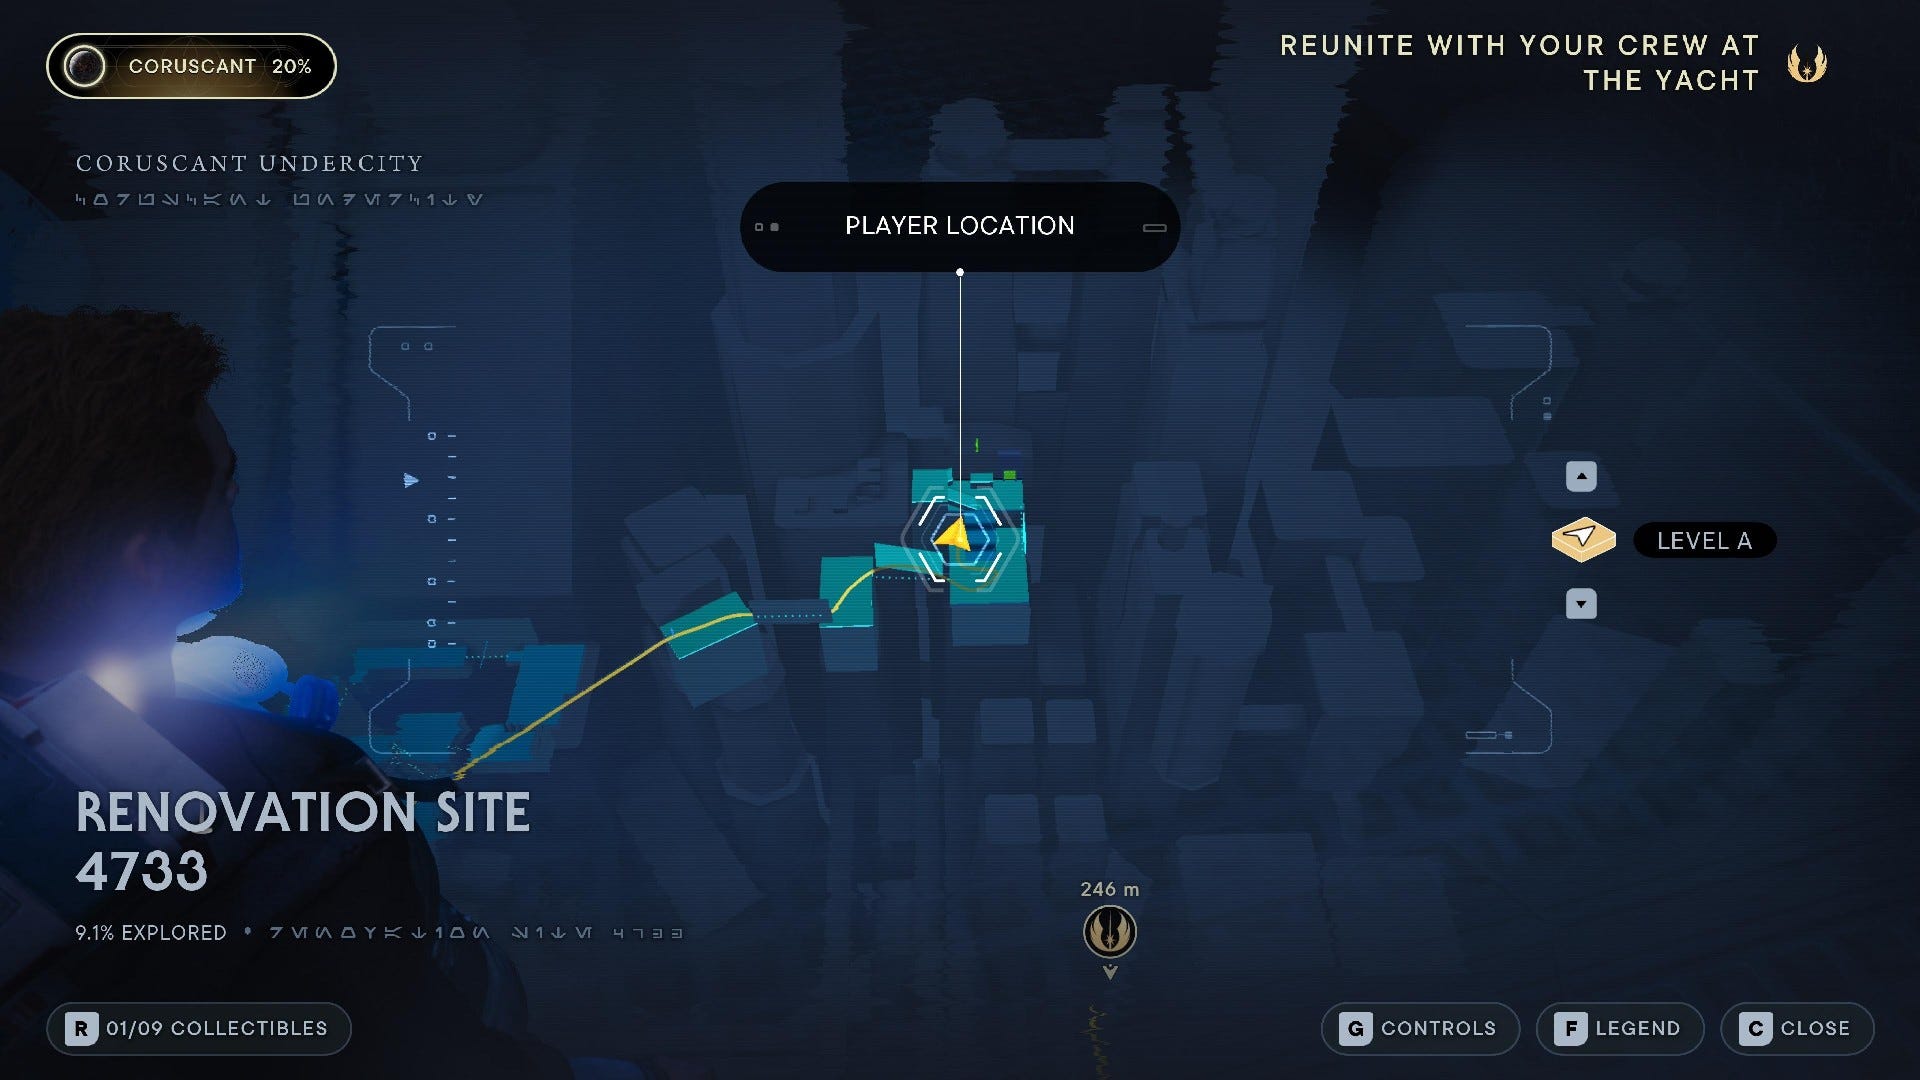
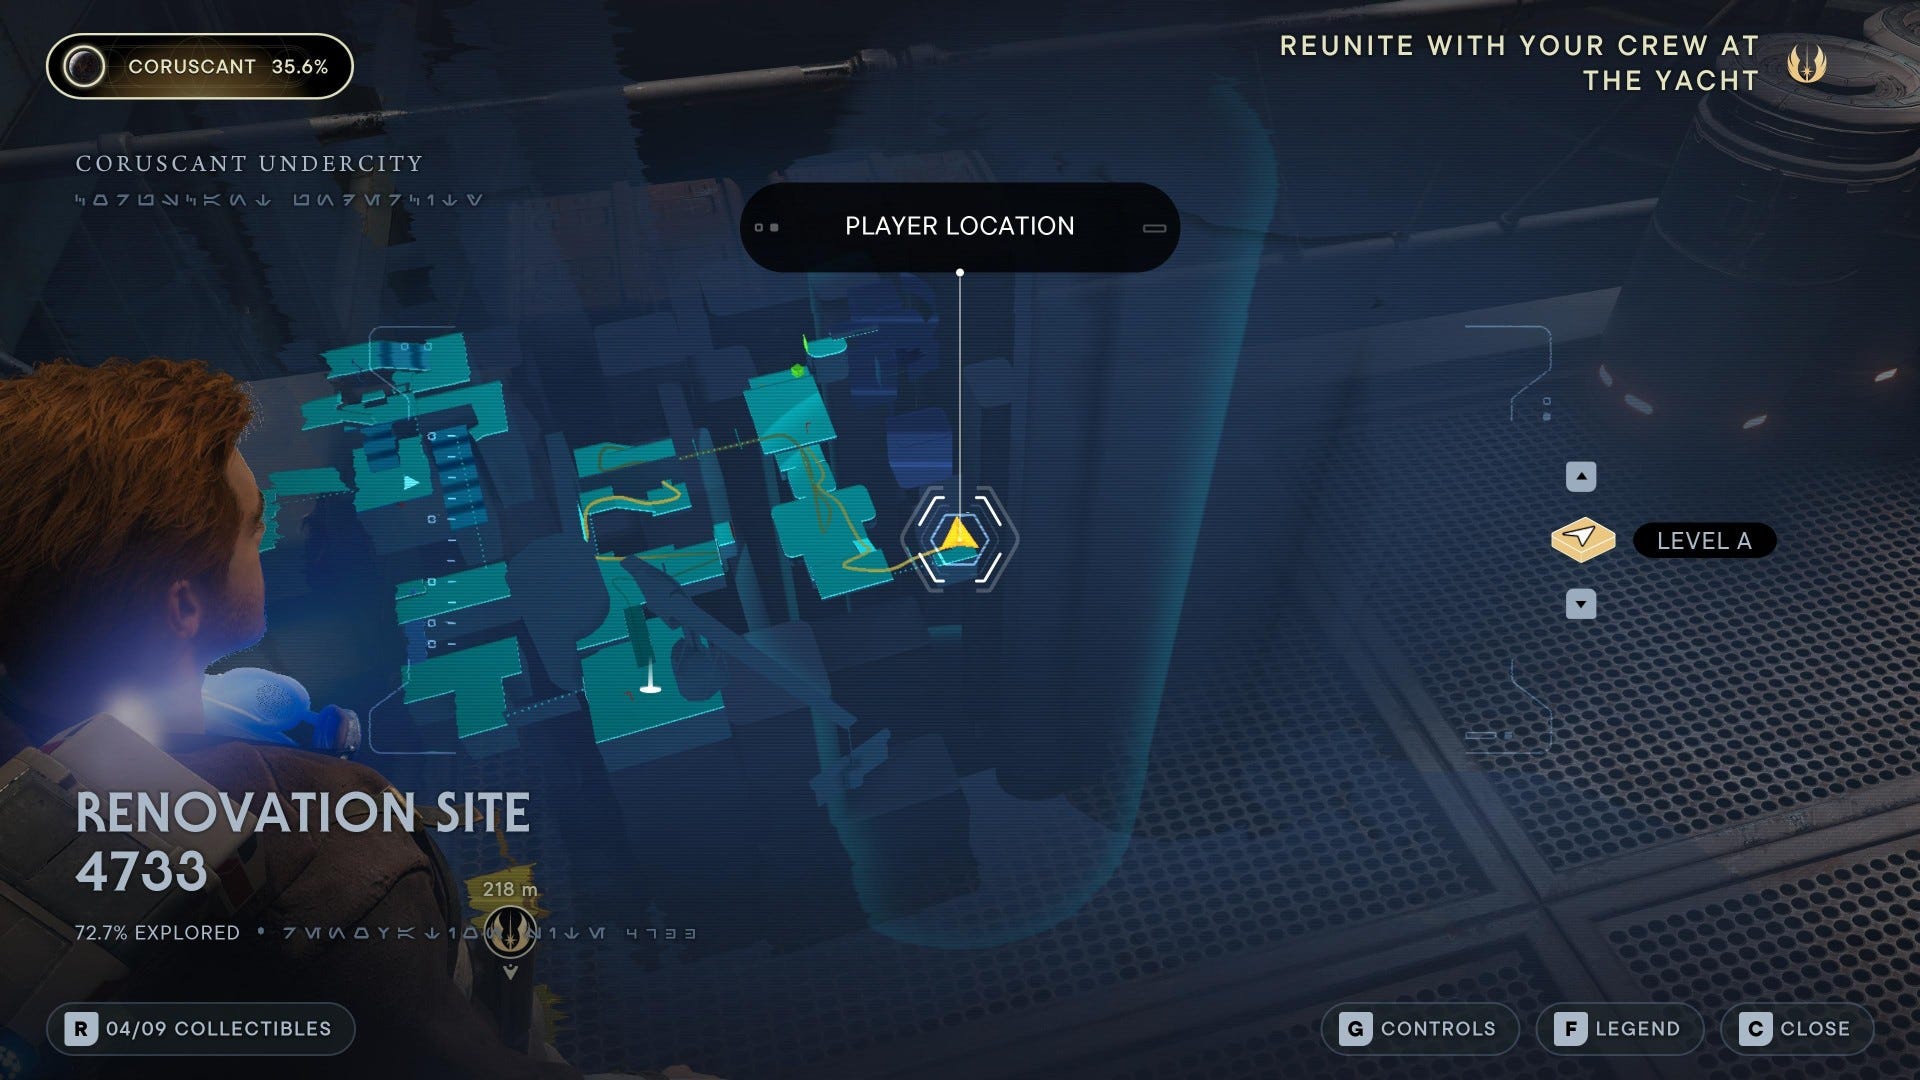
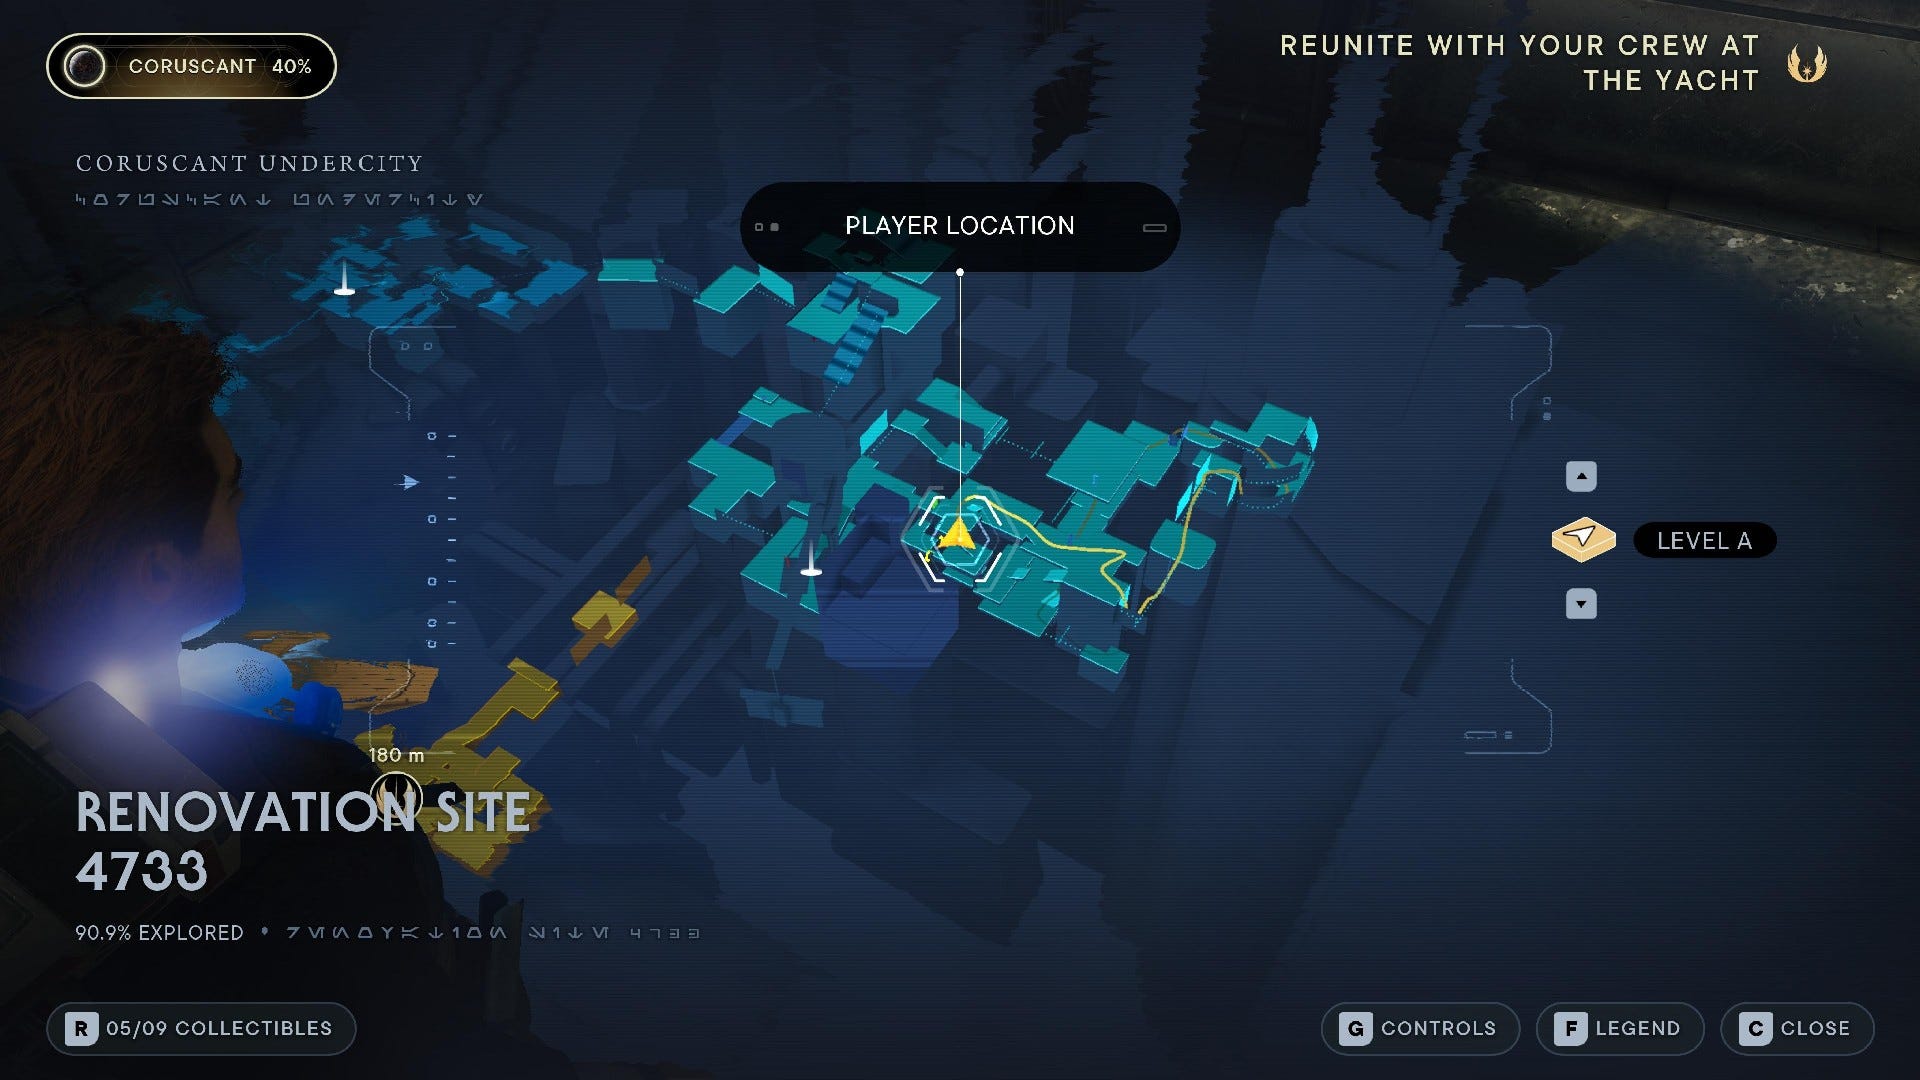
Coruscant Renovation Site 4733 collectibles
Coruscant Renovation Site 4733 Chests:
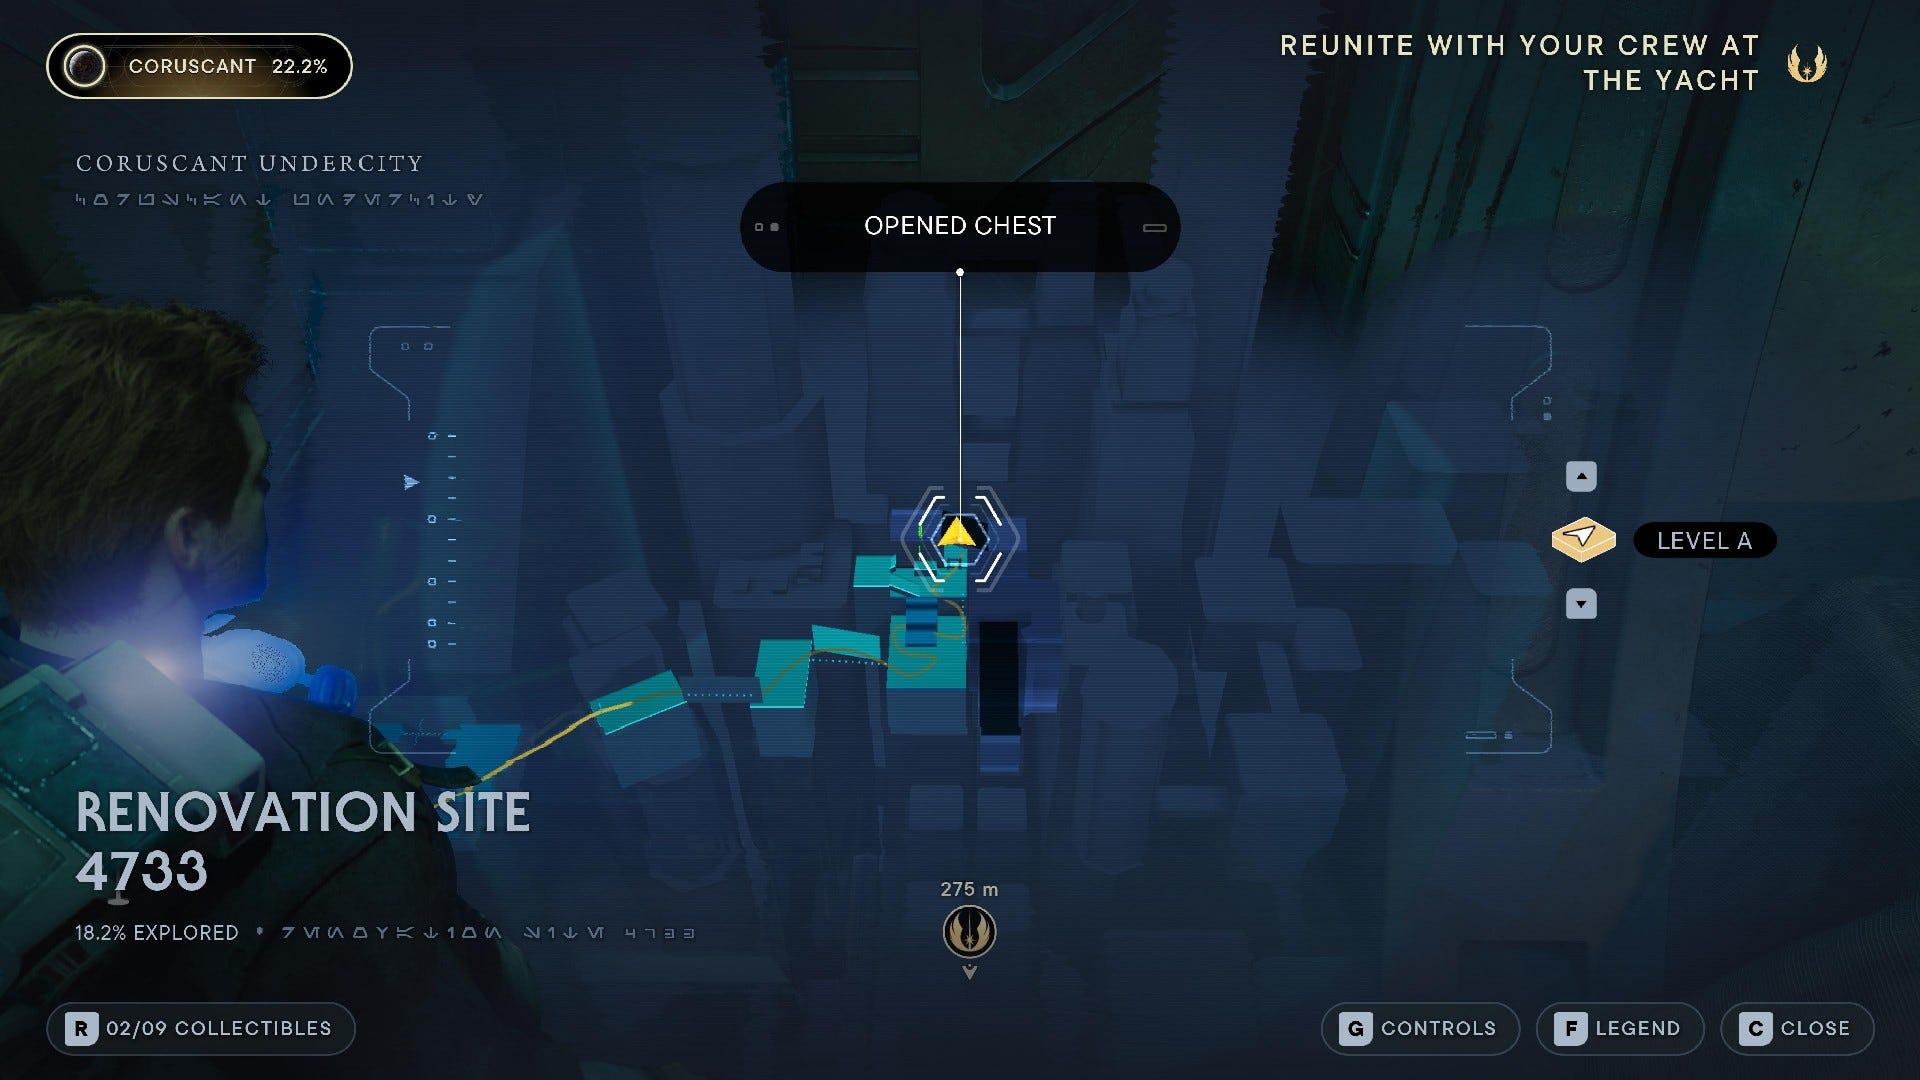
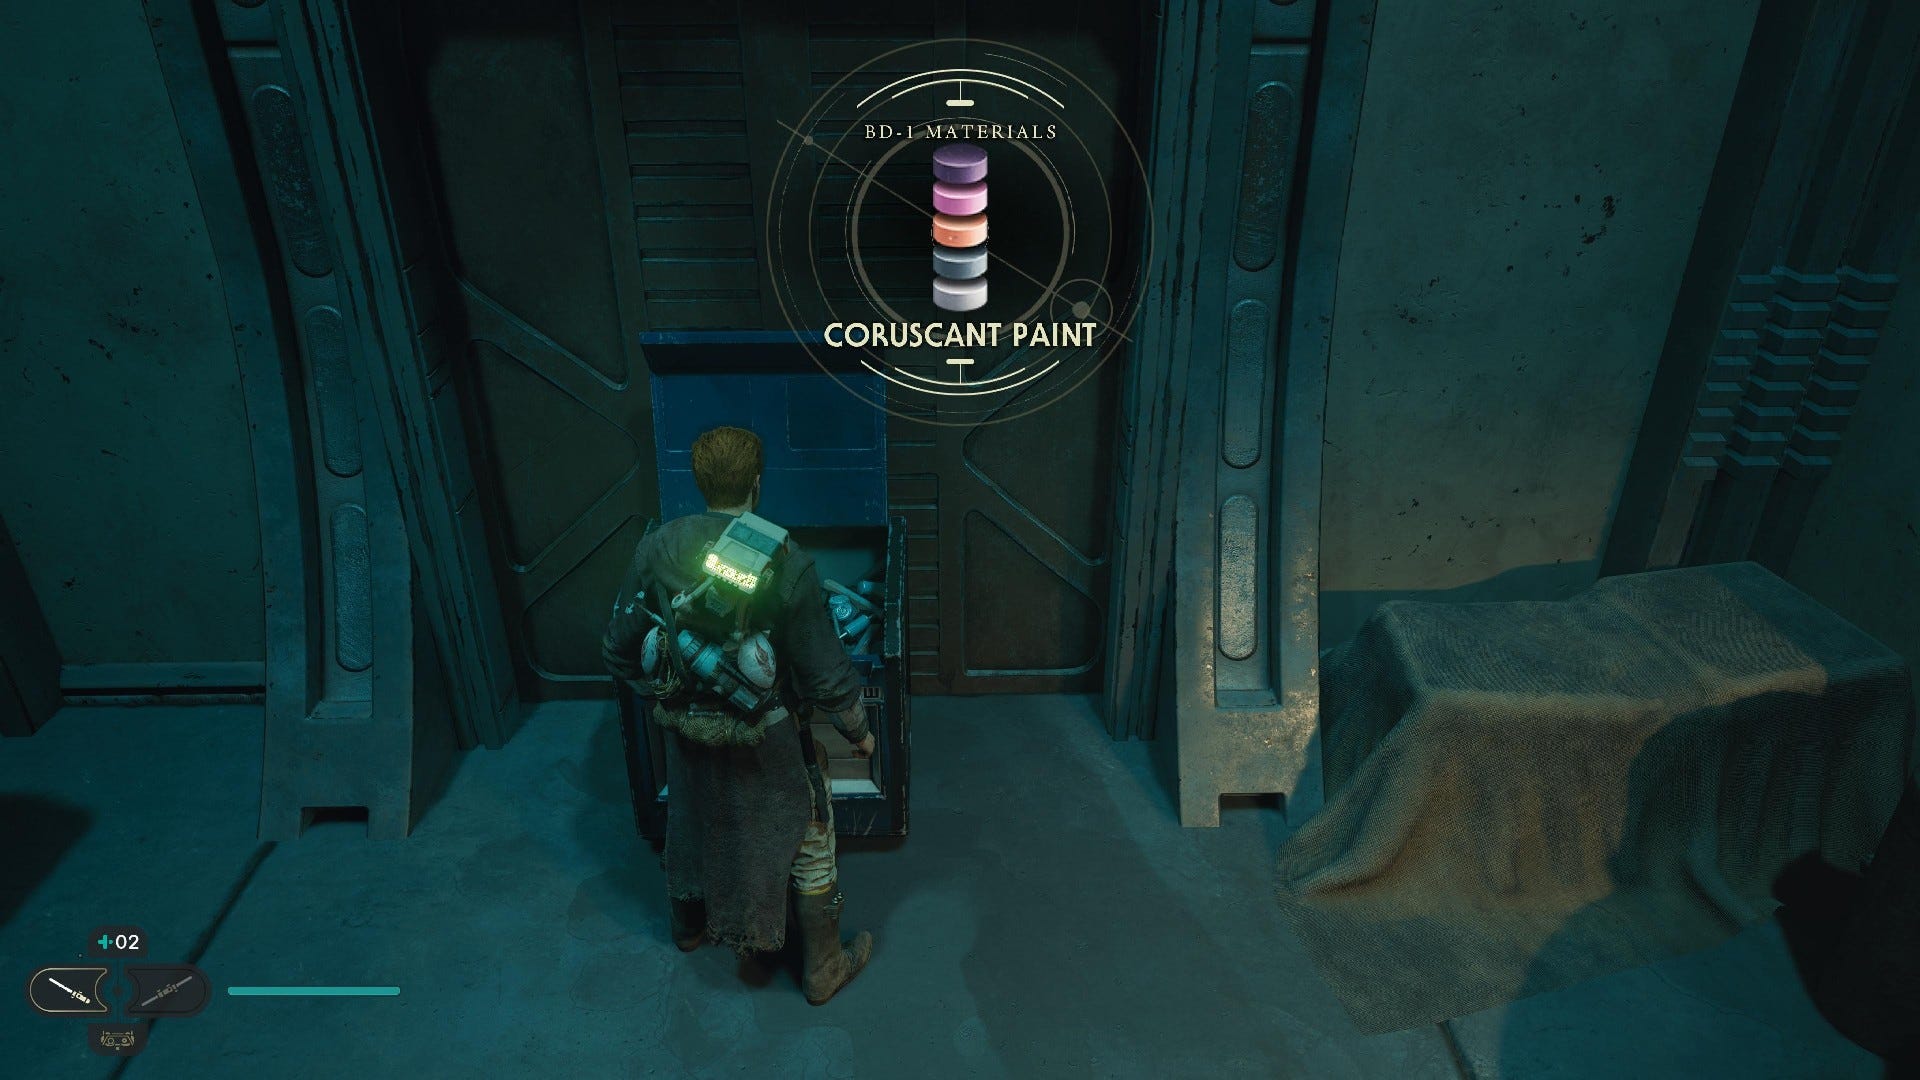
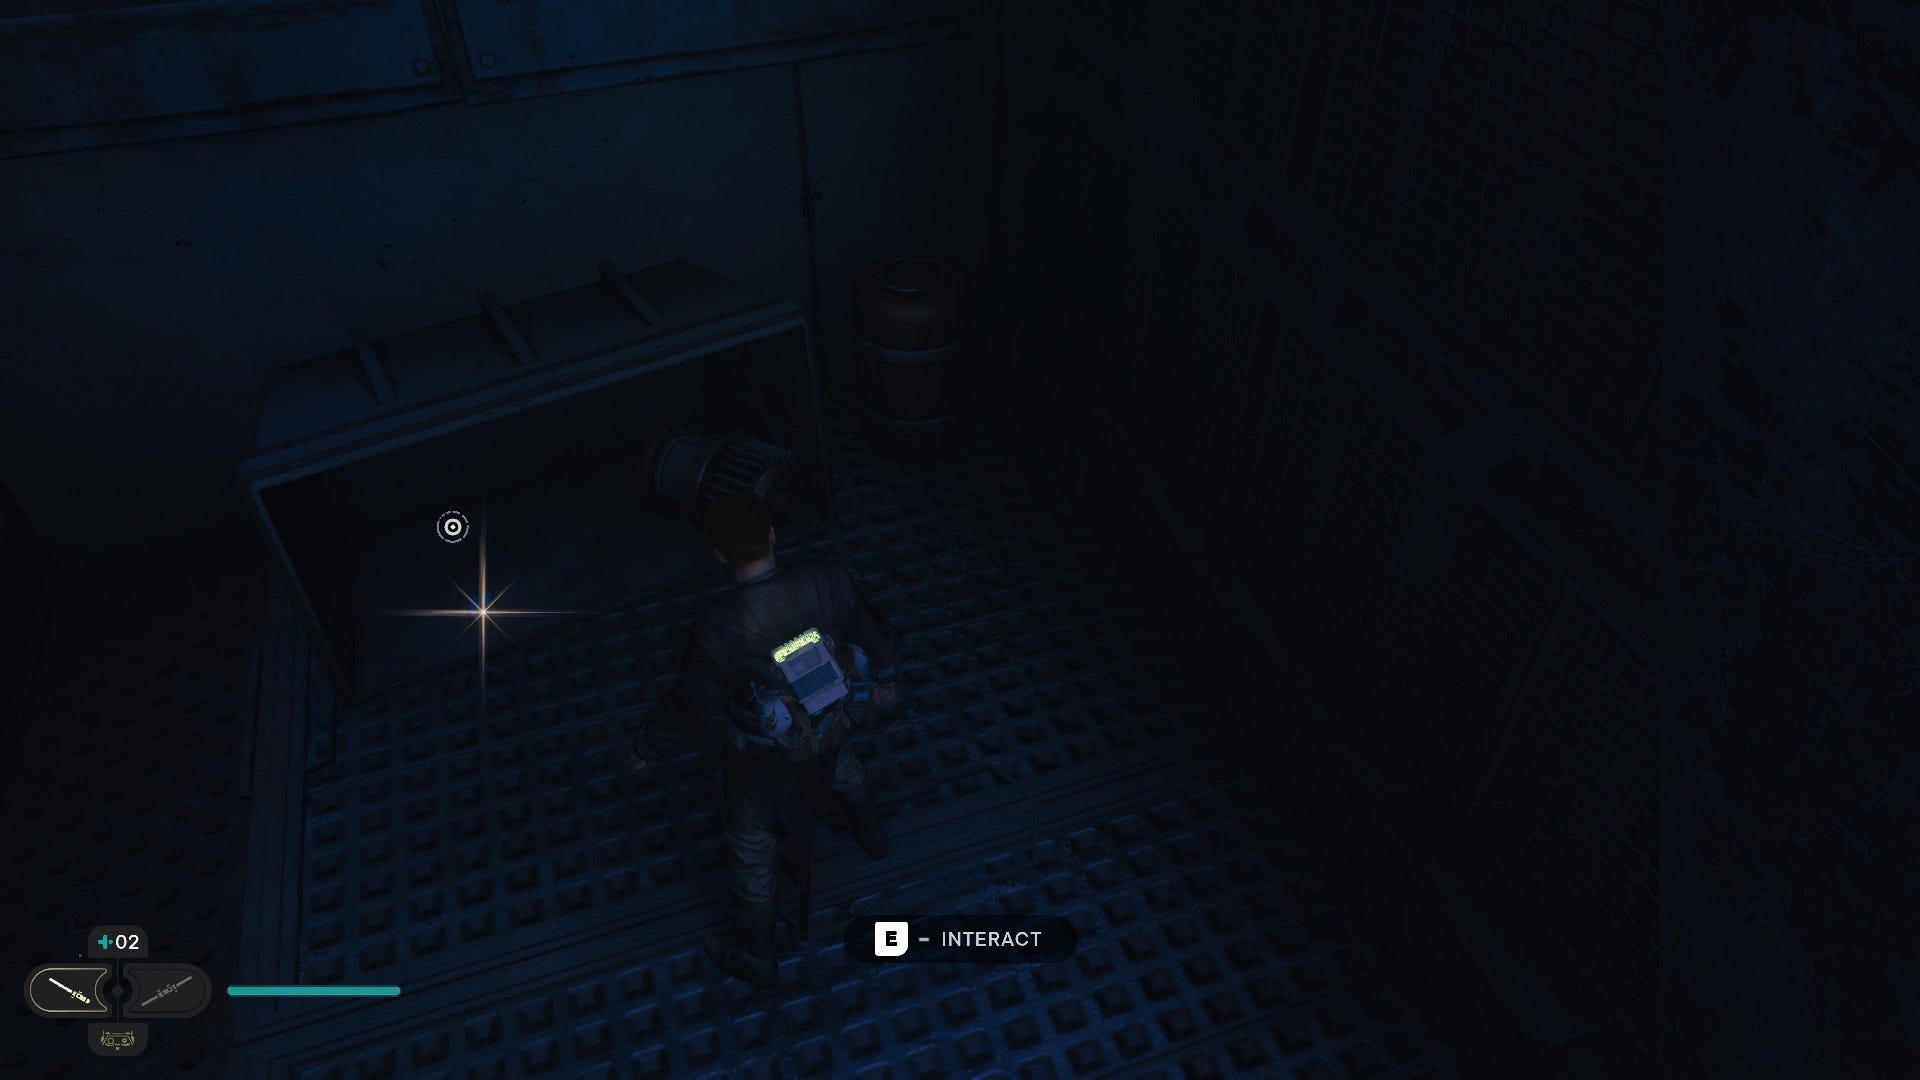
Chest #1 ("Coruscant Paint" BD-1 Materials): After parkouring up the slippery slope, slice the door up ahead and go through to find a Chest containing the Coruscant Paint for BD-1.
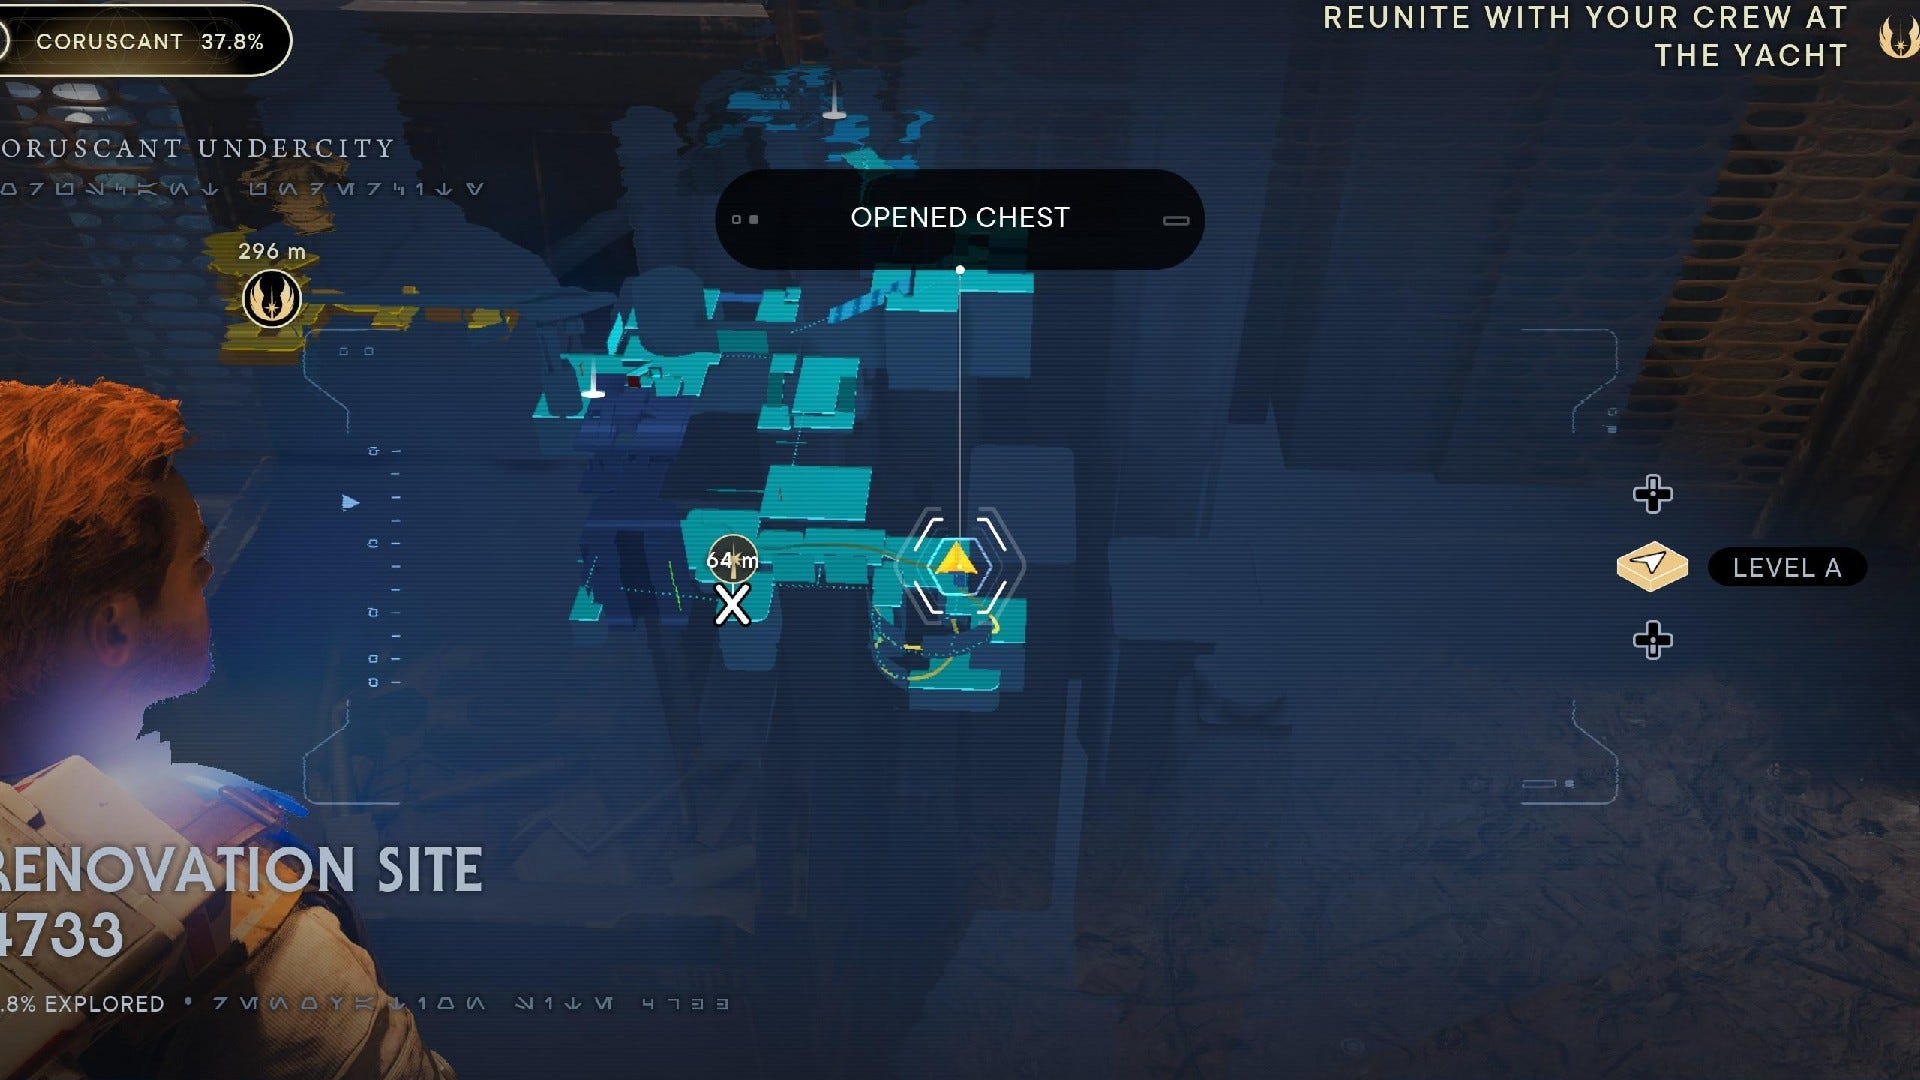
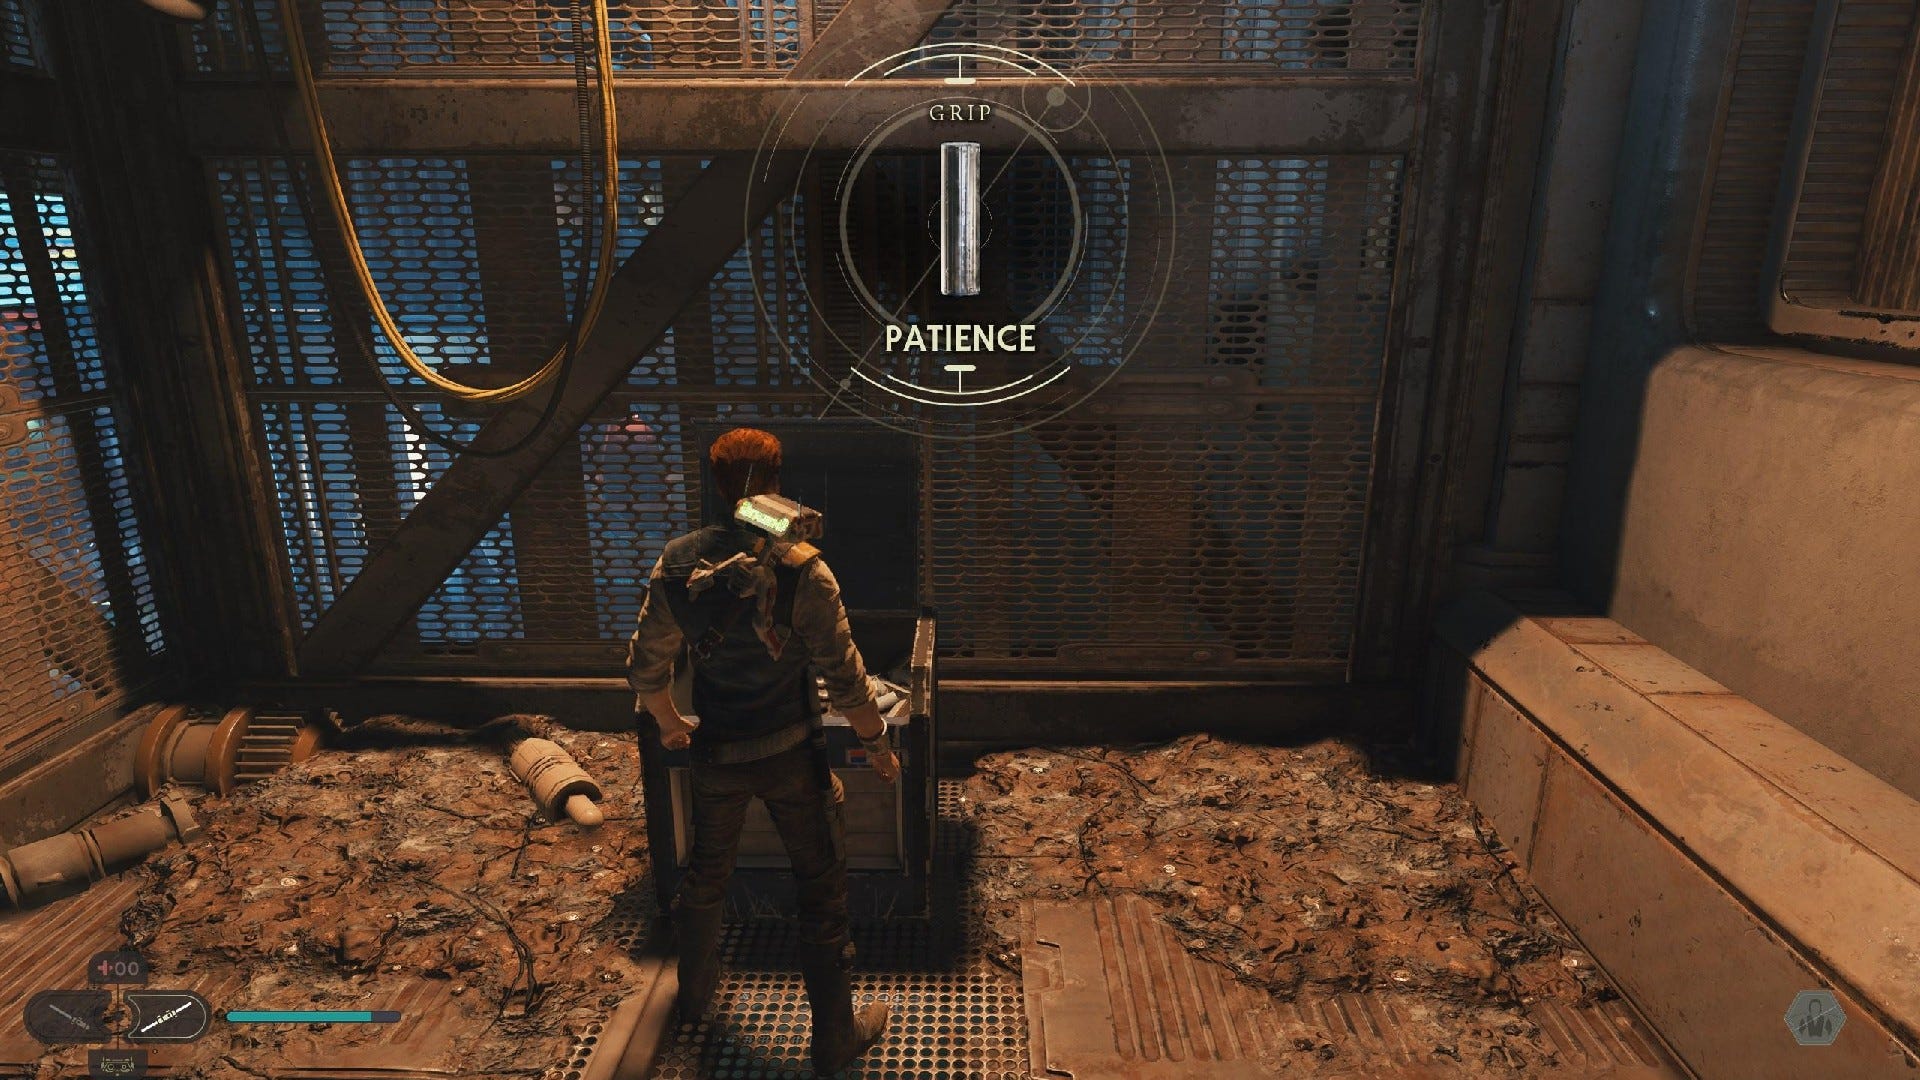
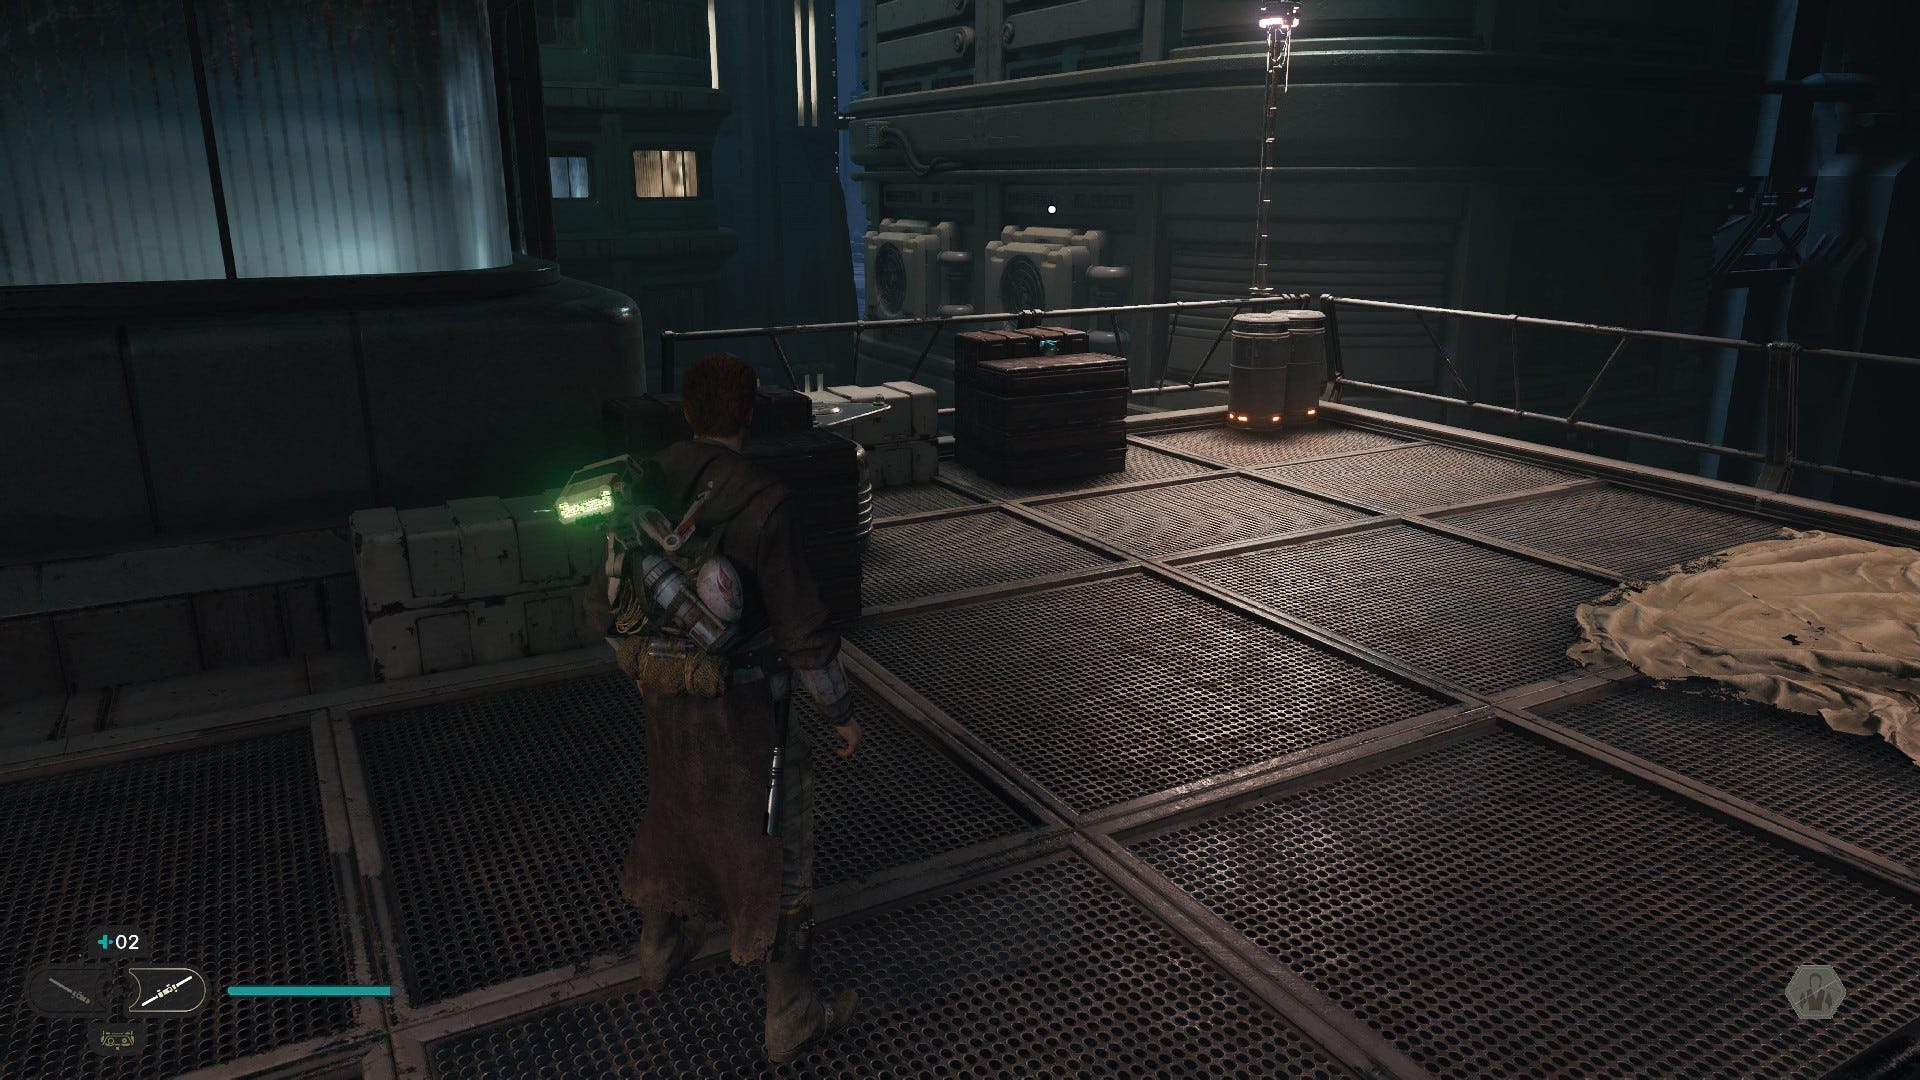
Chest #2 (Patience Grip): Wall-run across the blue curved sign along the main path of Renovation Site 4733. Then, climb the wall at the end and turn back to wall-run again along the higher blue sign. You'll find this Chest in an alcove on the rooftop at the end.
Coruscant Renovation Site 4733 Databanks:
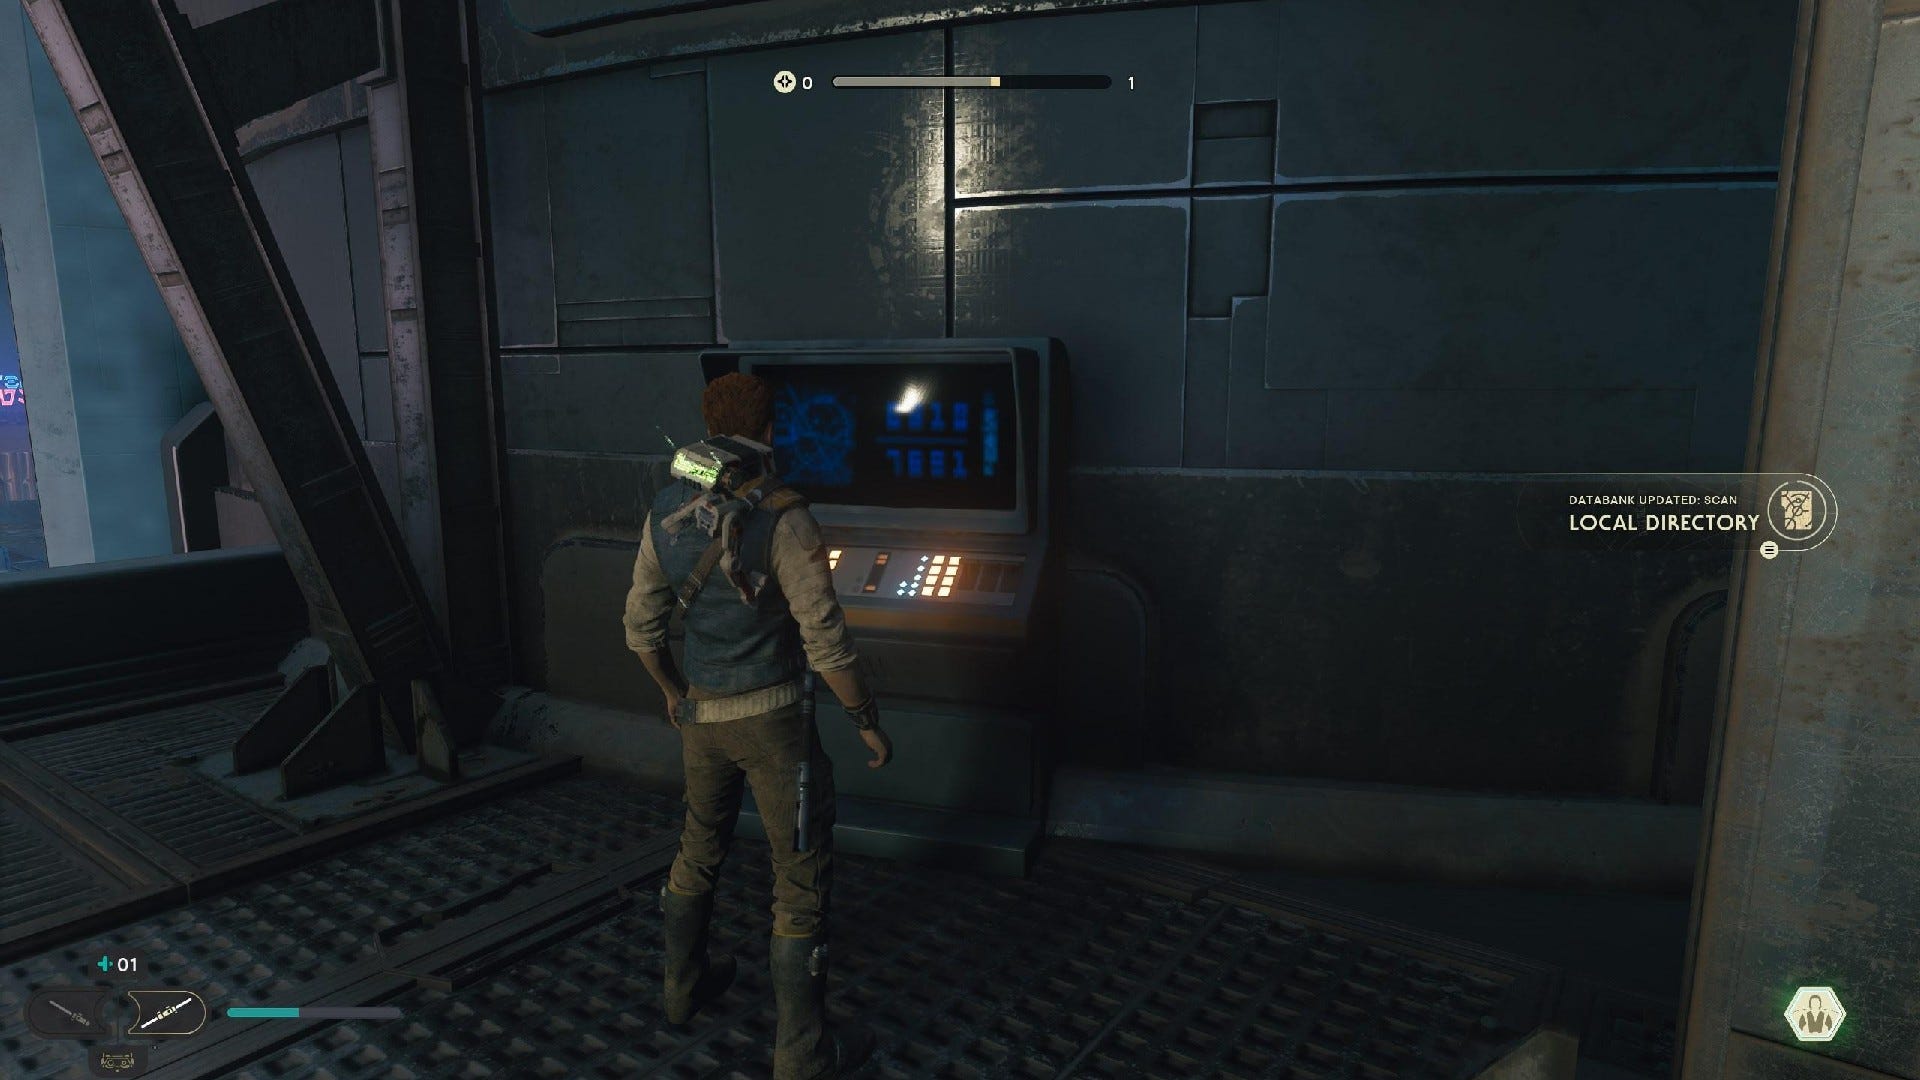
Databank Scan (Local Directory): After making your way towards the Renovation Site 4733 Meditation Point, take a look to the left to find this Databank Scan.
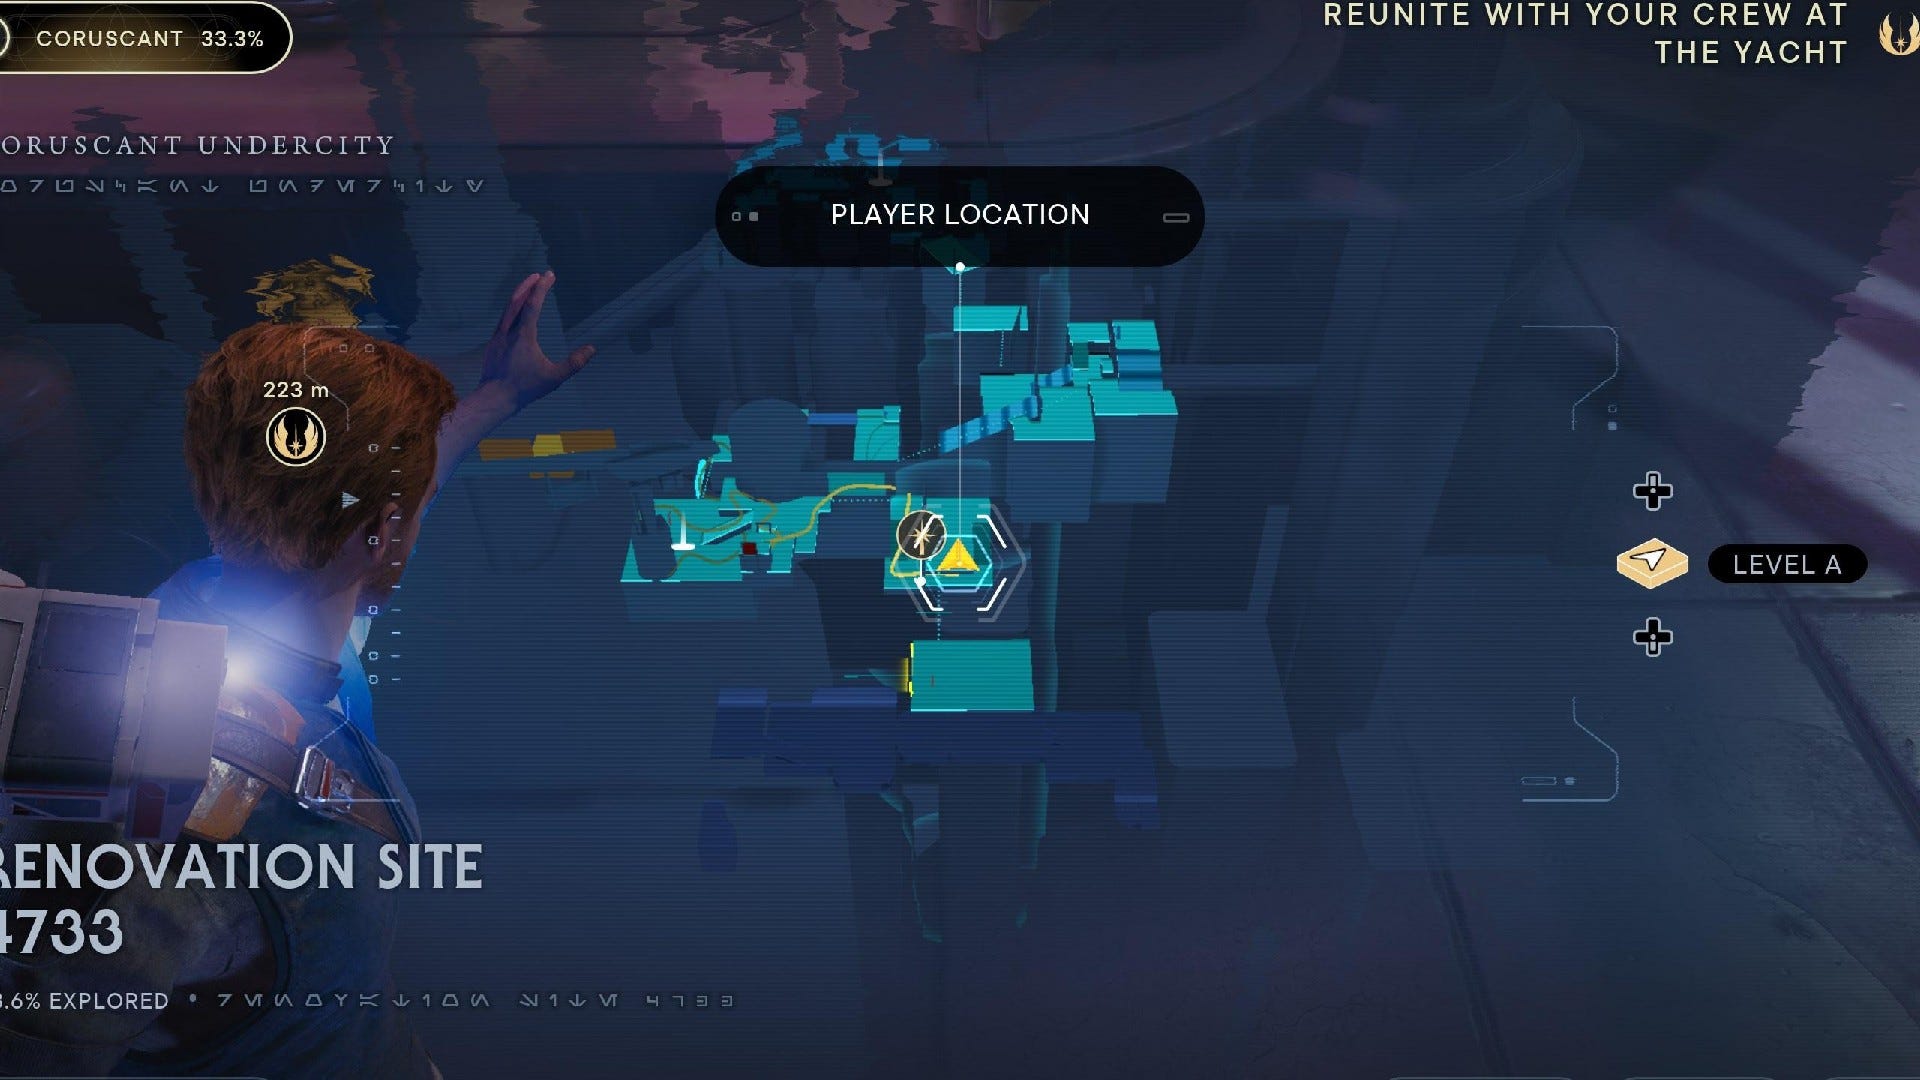
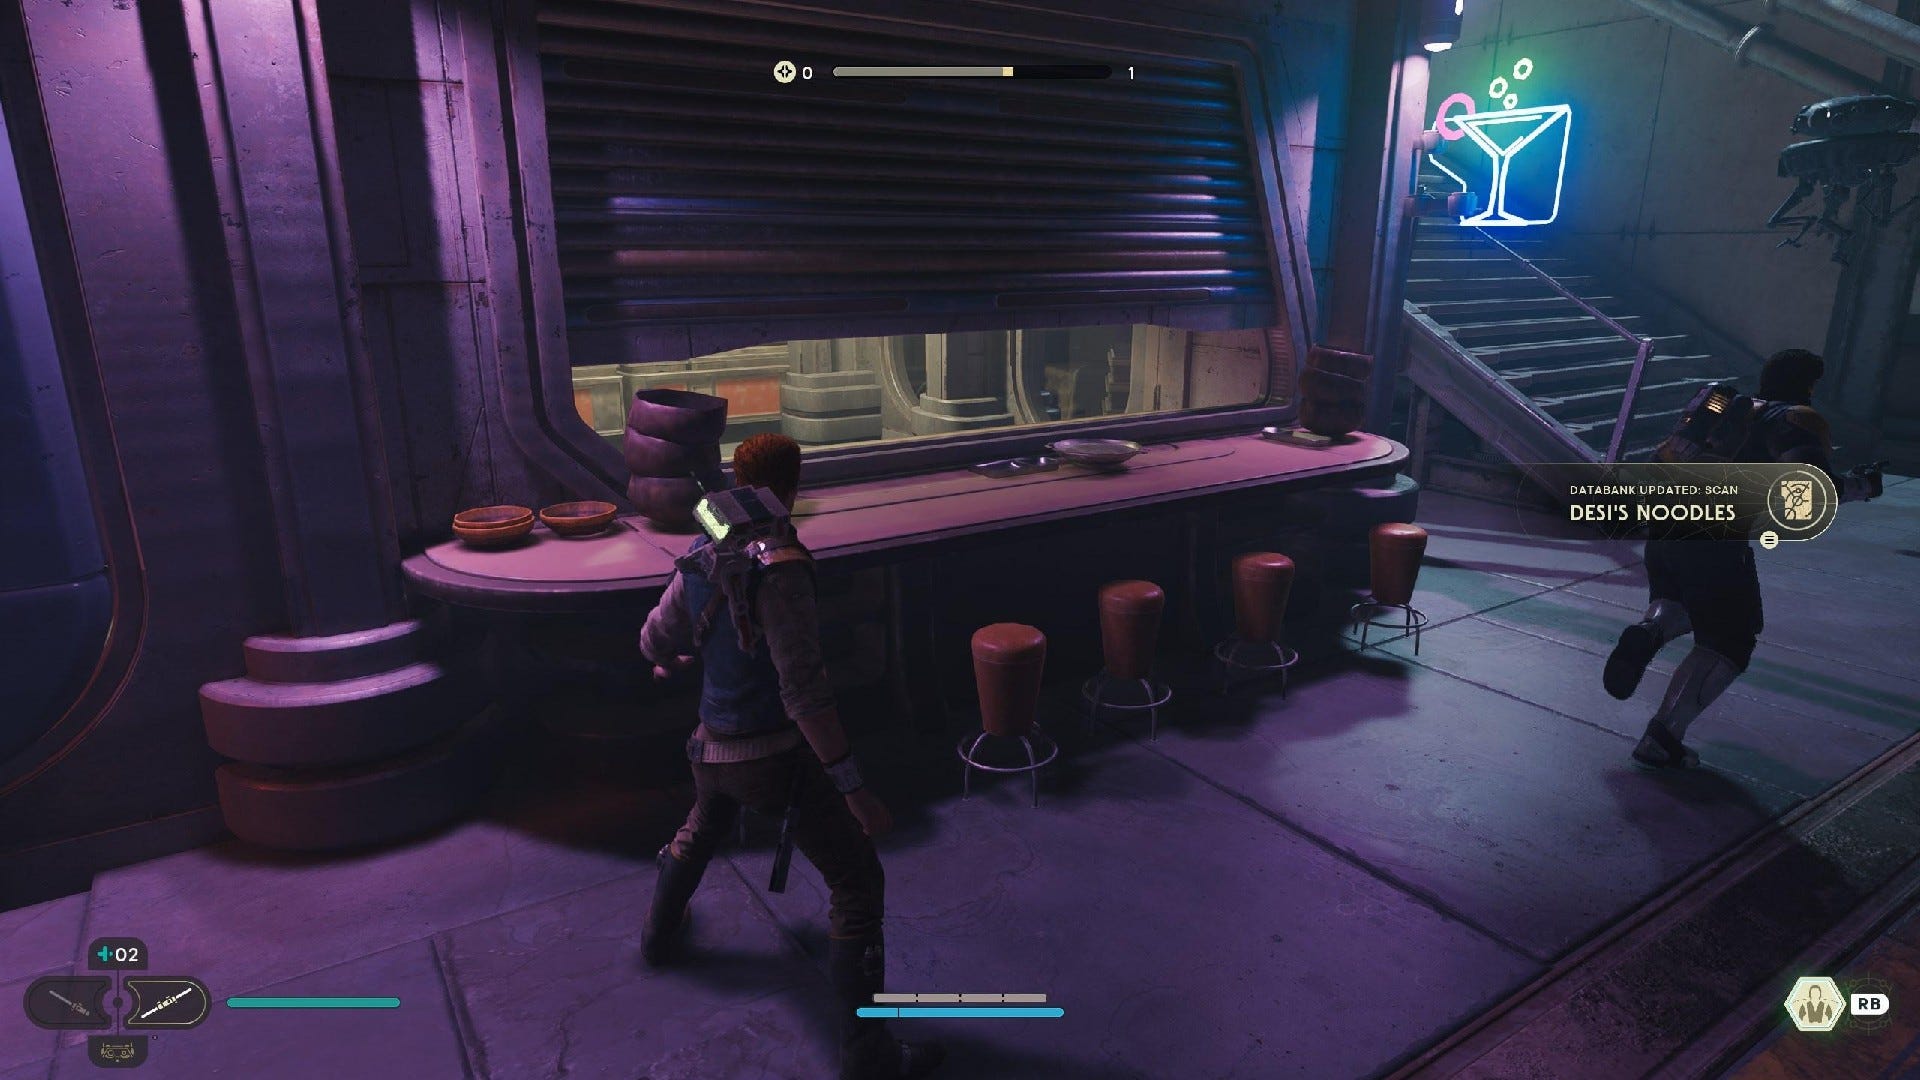
Databank Scan (Desi's Noodles): Continue forward from the Renovation Site 4733 Meditation Point, wall-run across, and head into the room where you're attacked by an Imperial Probe Droud. You'll find the Databank Scan point on the left.
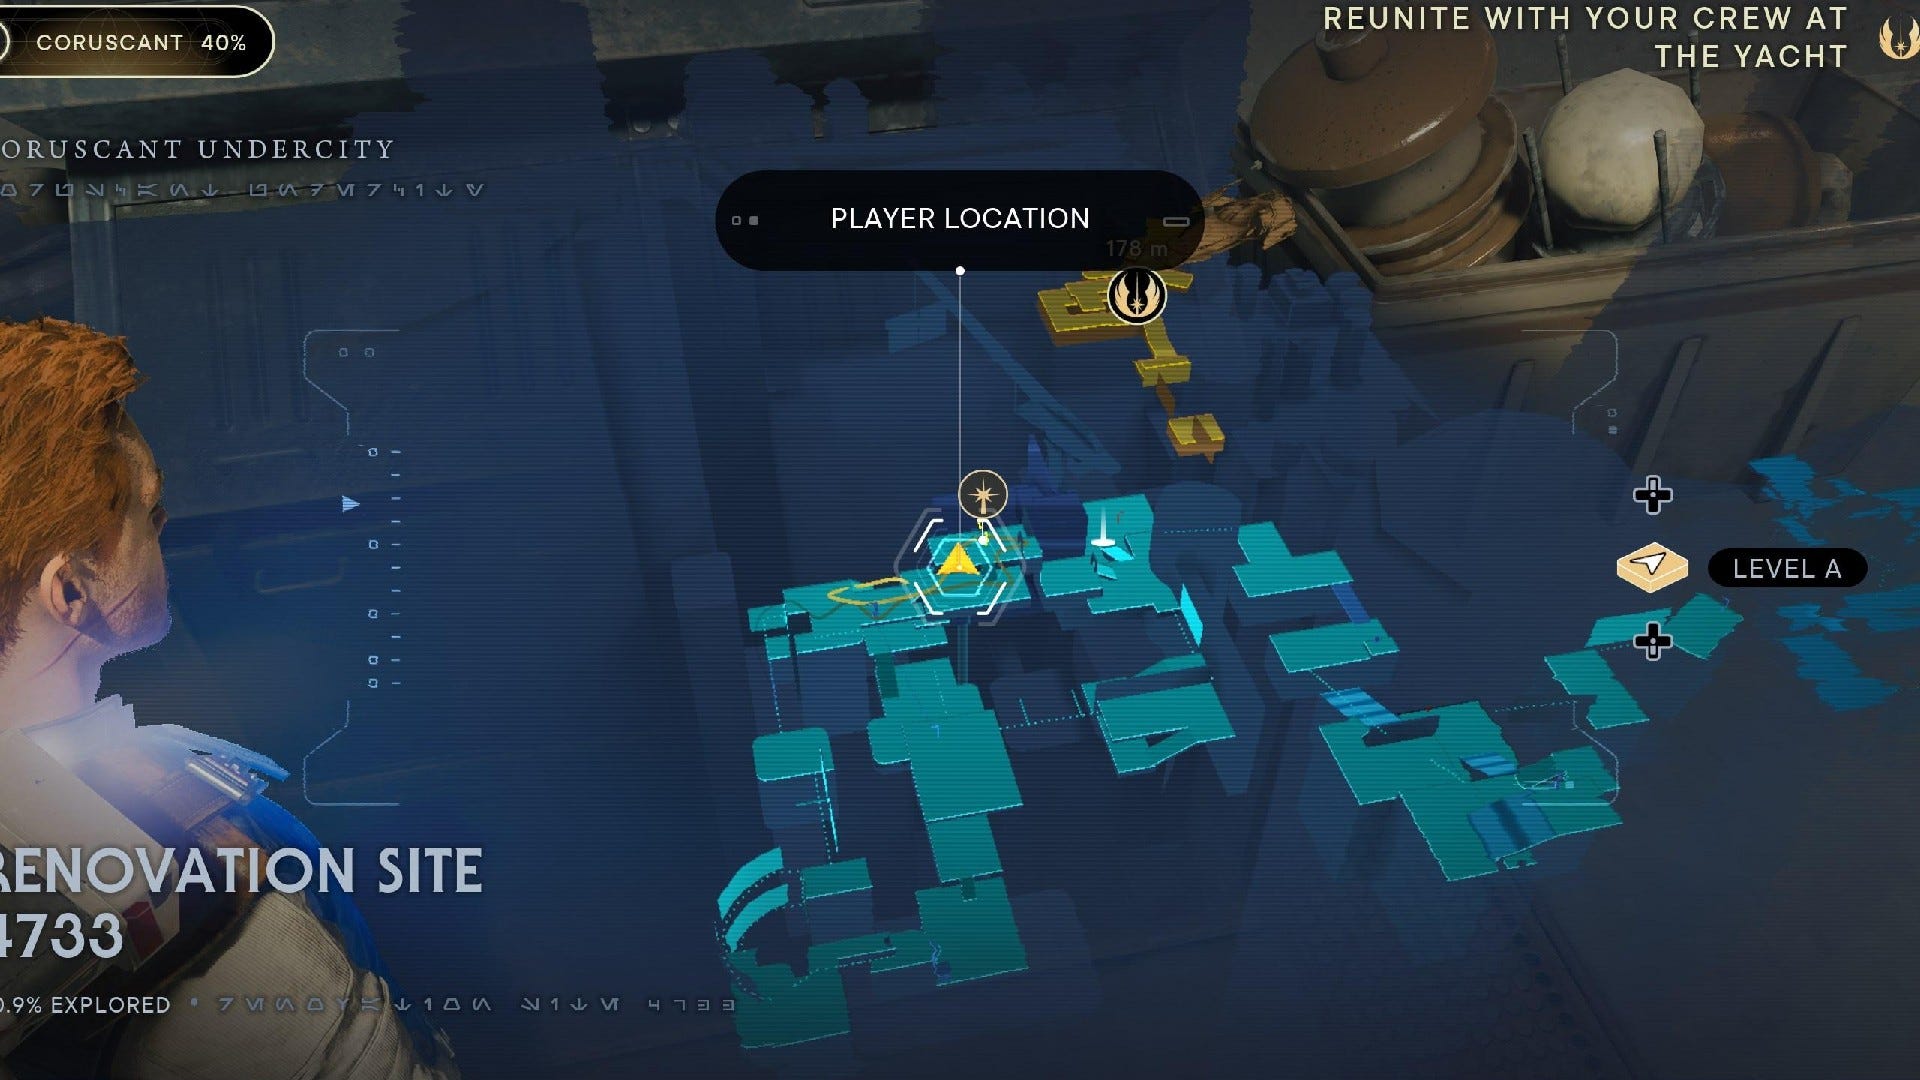
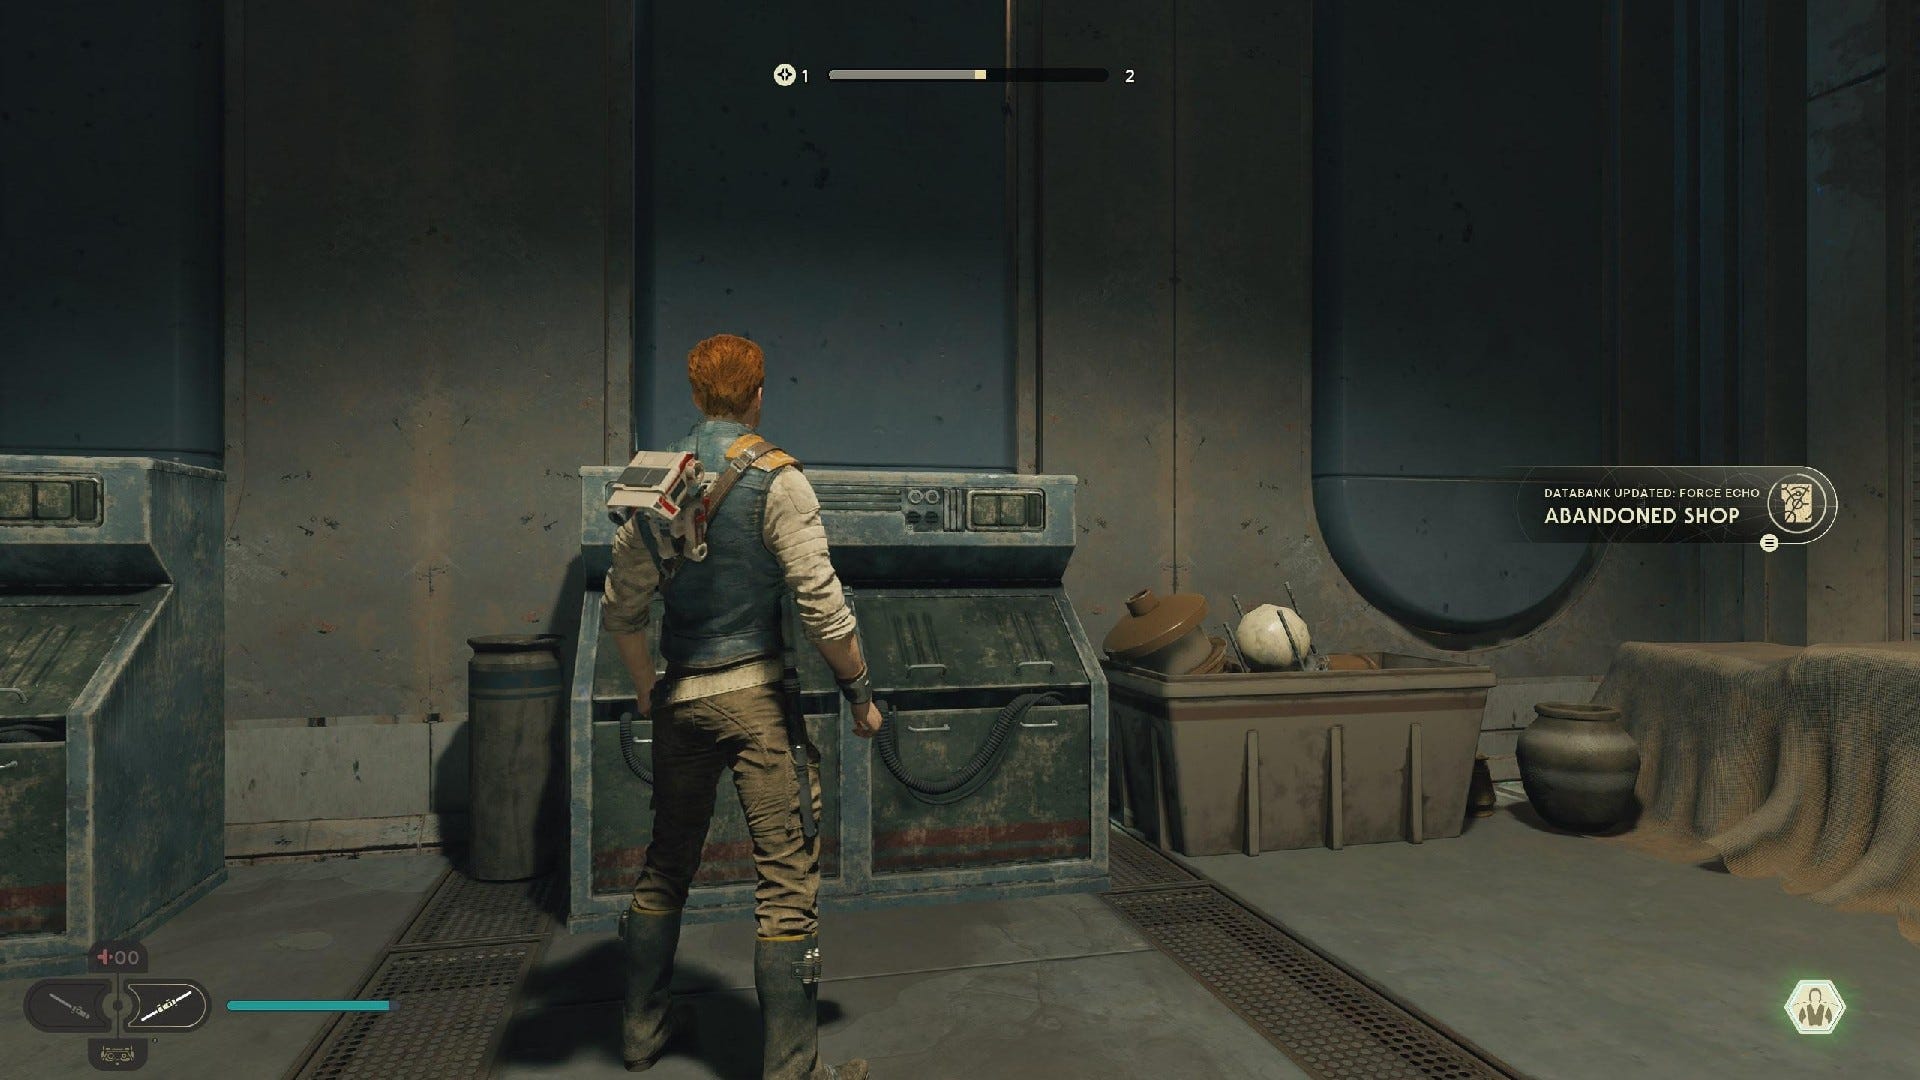
Force Echo (Abandoned Shop): After using the rope swing to climb the wall on the main path through Renovation Site 4733, jump across the broken stairs on the left and enter the abandoned shop to find this Force Echo.
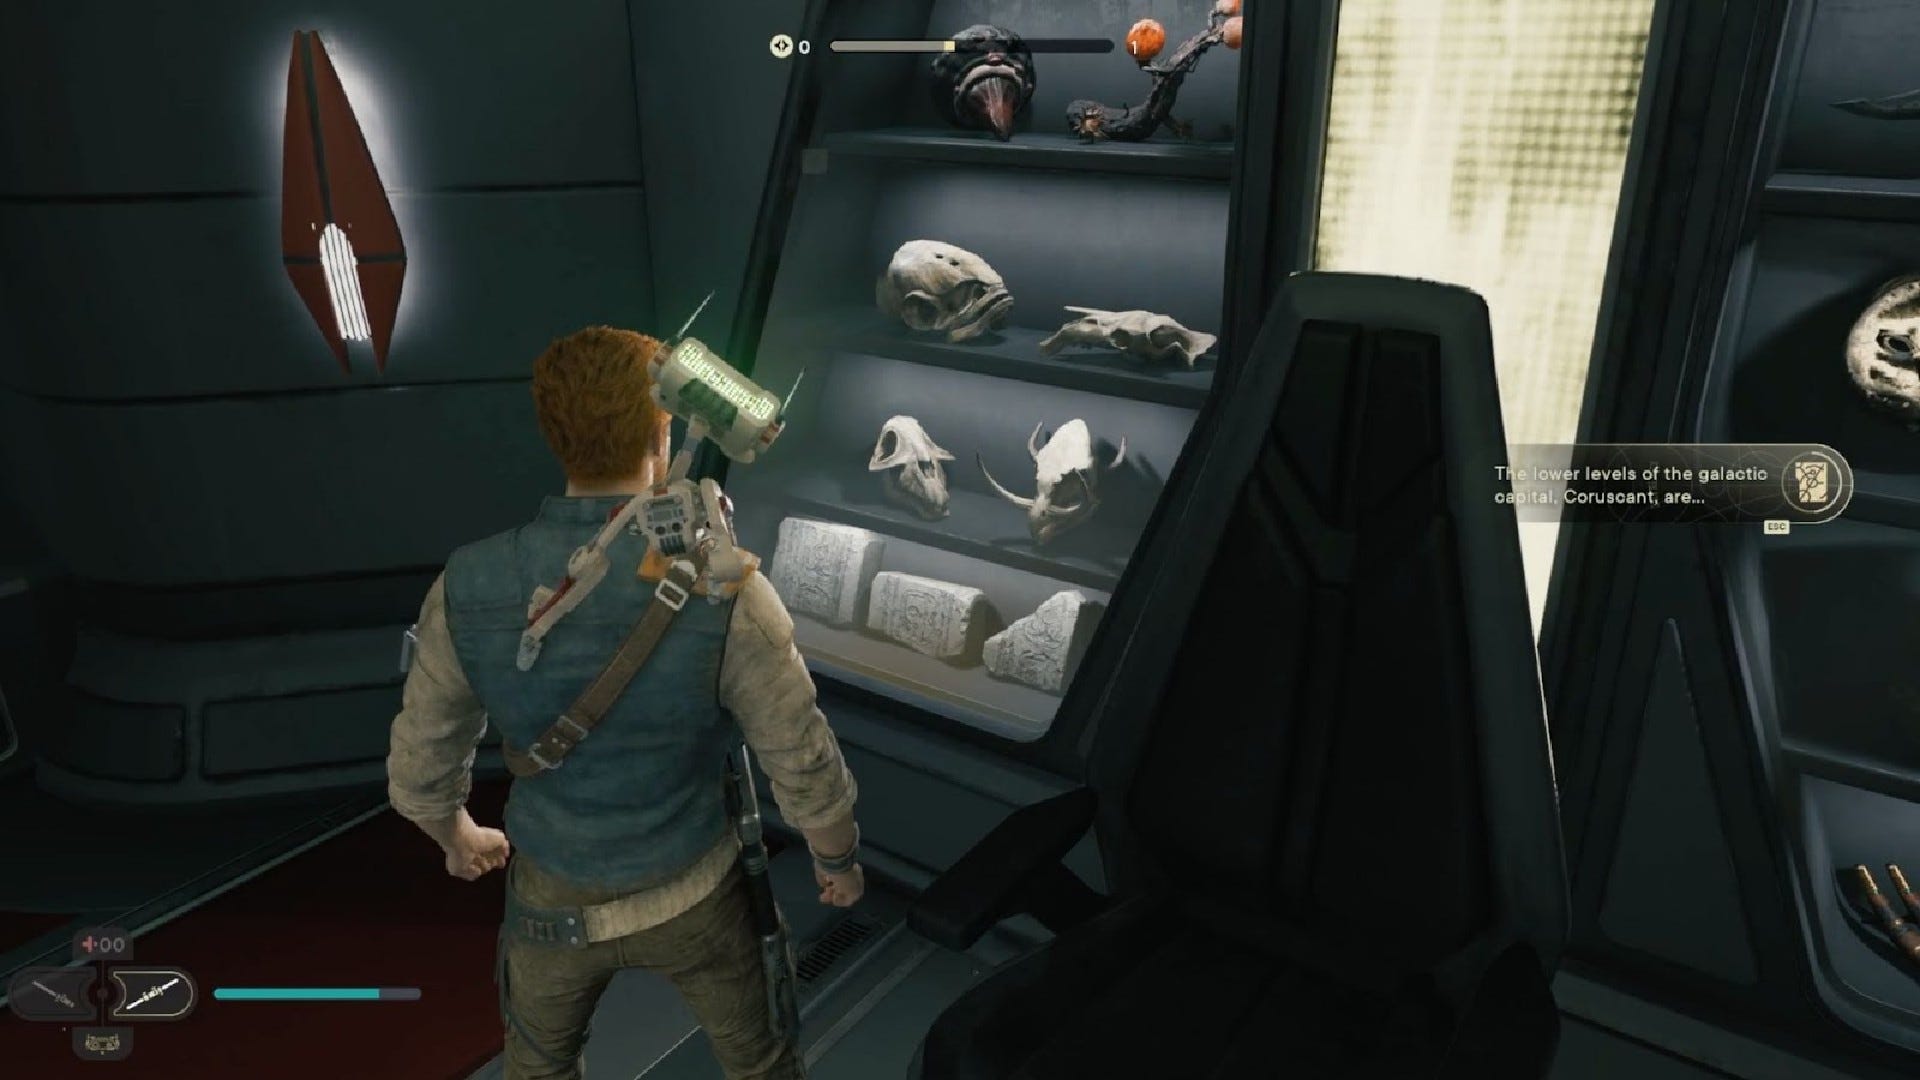
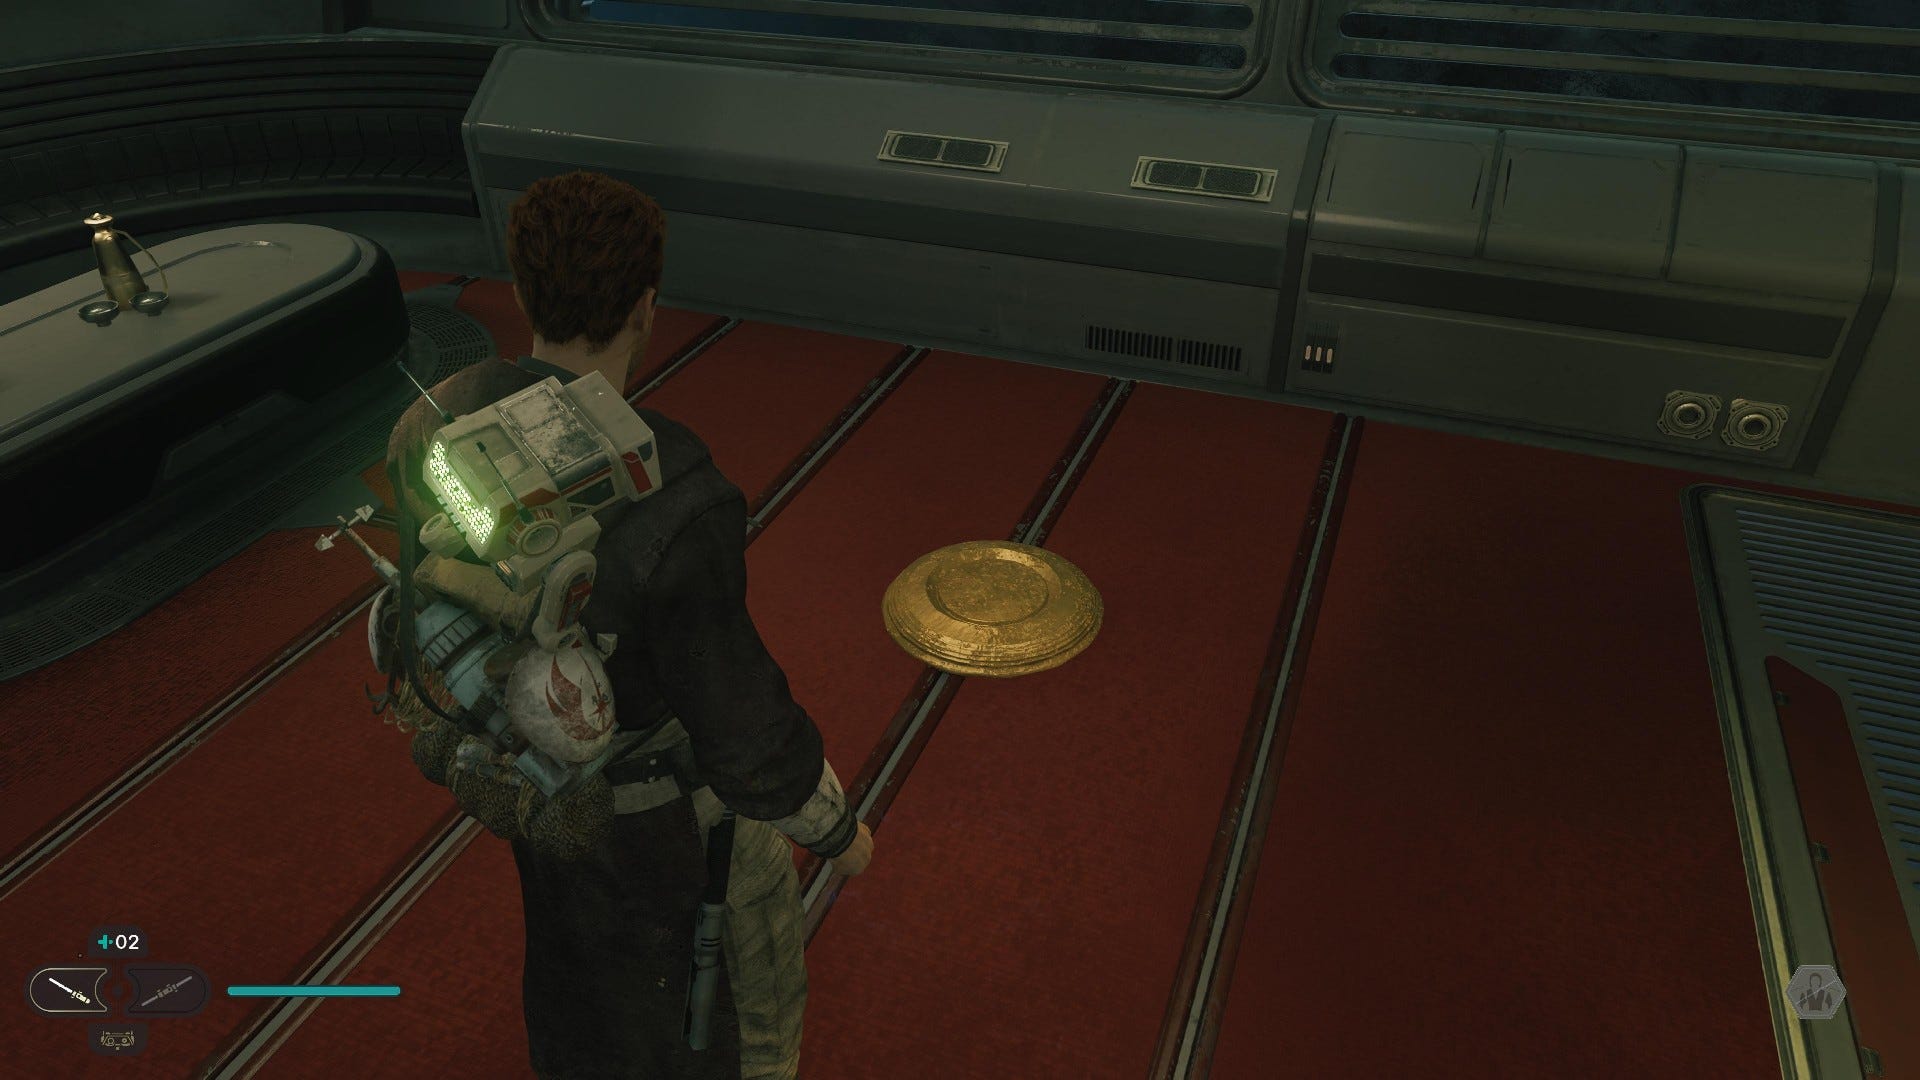
Databank Scan (Stolen Treasures): As you enter the Senator's Quarters, look behind the desk to find the Stolen Treasures Databank Scan.
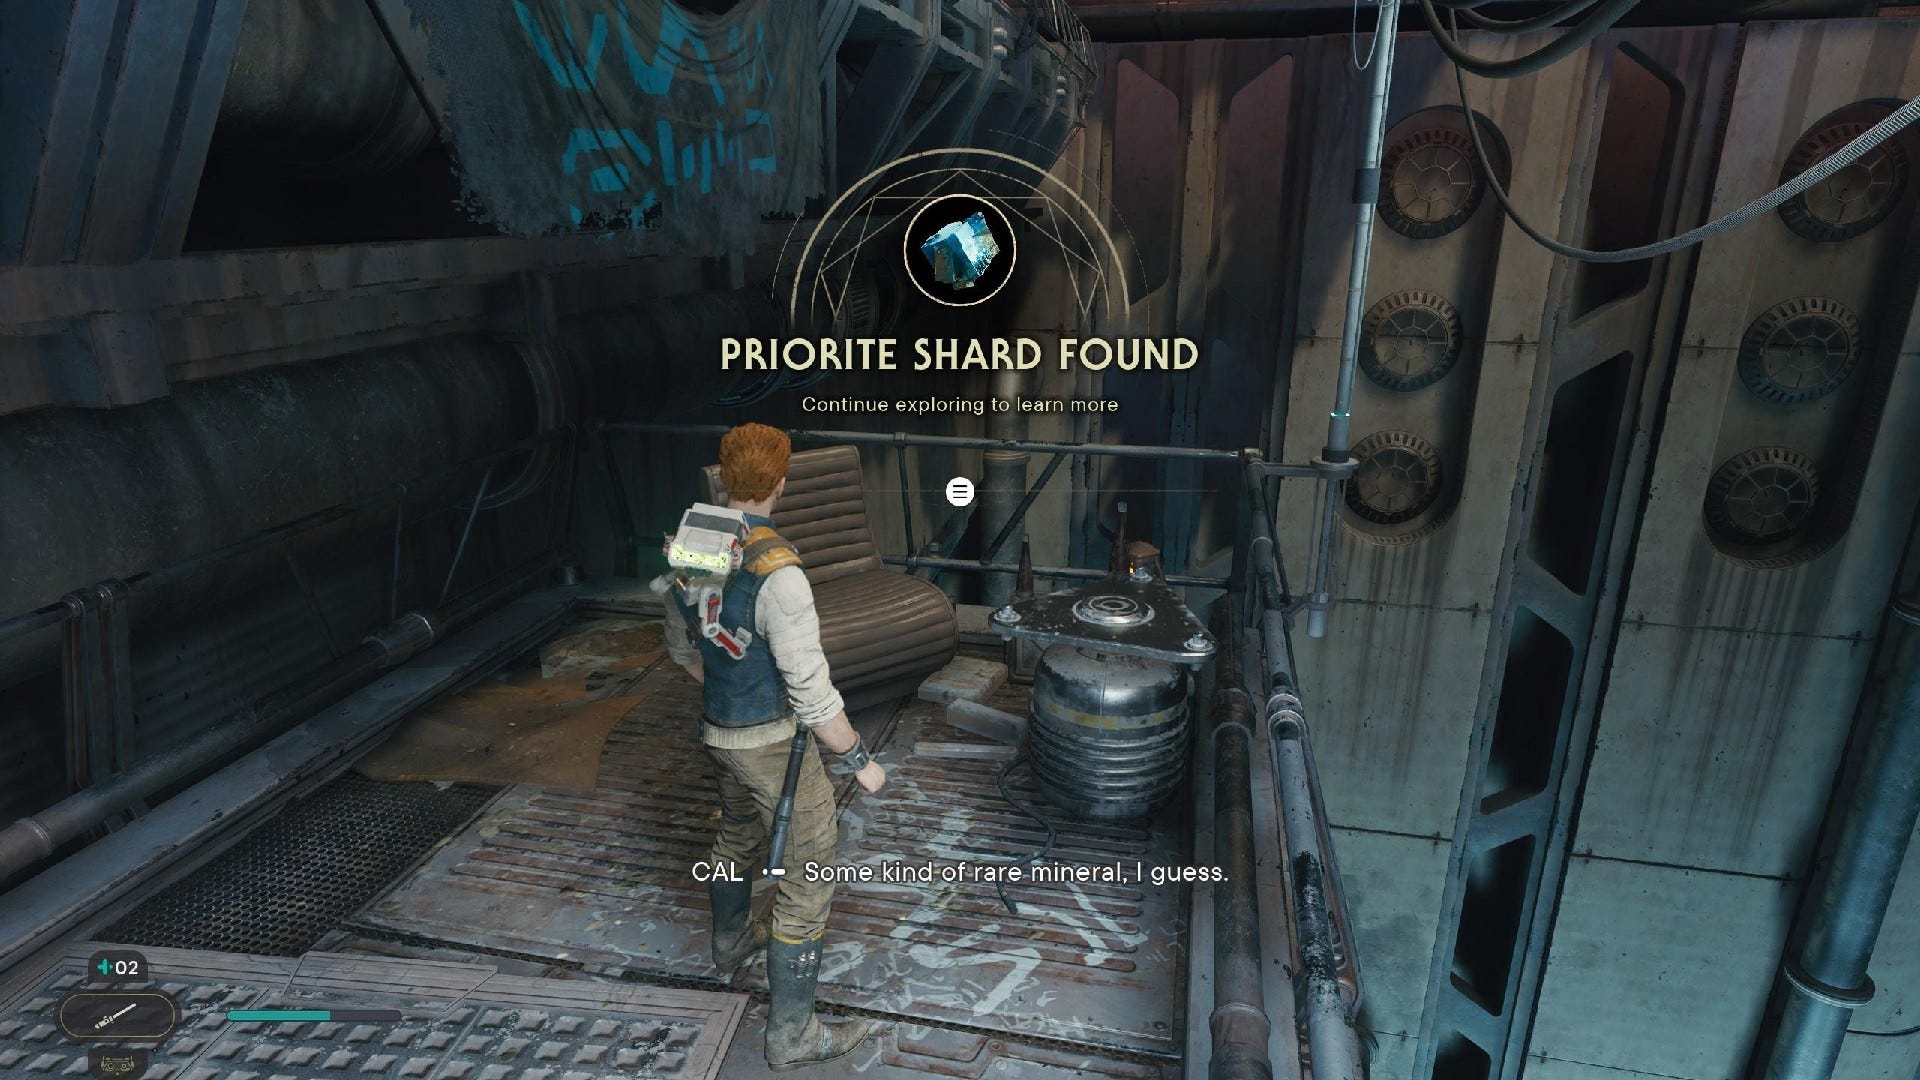
Coruscant Renovation Site 4733 Treasures:
Priorite Shard #1: After entering the Renovation Site 4733 region and meeting Bode, look to the left of the nearby slippery slope to find a Priorite Shard.
Priorite Shard #2: As Cal walks over a pipe, it will drop into a bunch of enemies. Drop down into the Stormtrooper crowd, turn right, and make your way up the nearby stairs to find a Priorite Shard.

Priorite Shard #3: Follow the main path until you come to the gap that you must squeeze through. Before squeezing through, look under the nearby stairs to find another Priorite Shard.
Coruscant Industrial Stacks collectibles
Coruscant Industrial Stacks Databanks:

Force Echo (Bloody Negotiations): In the Senator's Quarters, you'll see a disc on the floor that you can scan for a Force Echo.
Databank Scan (The Clone Wars): Scan the disc in the Senator's Quarters a second time to get the Clone Wars Databank Scan.
Coruscant Undercity Meats collectibles
Coruscant Undercity Meats Essences:
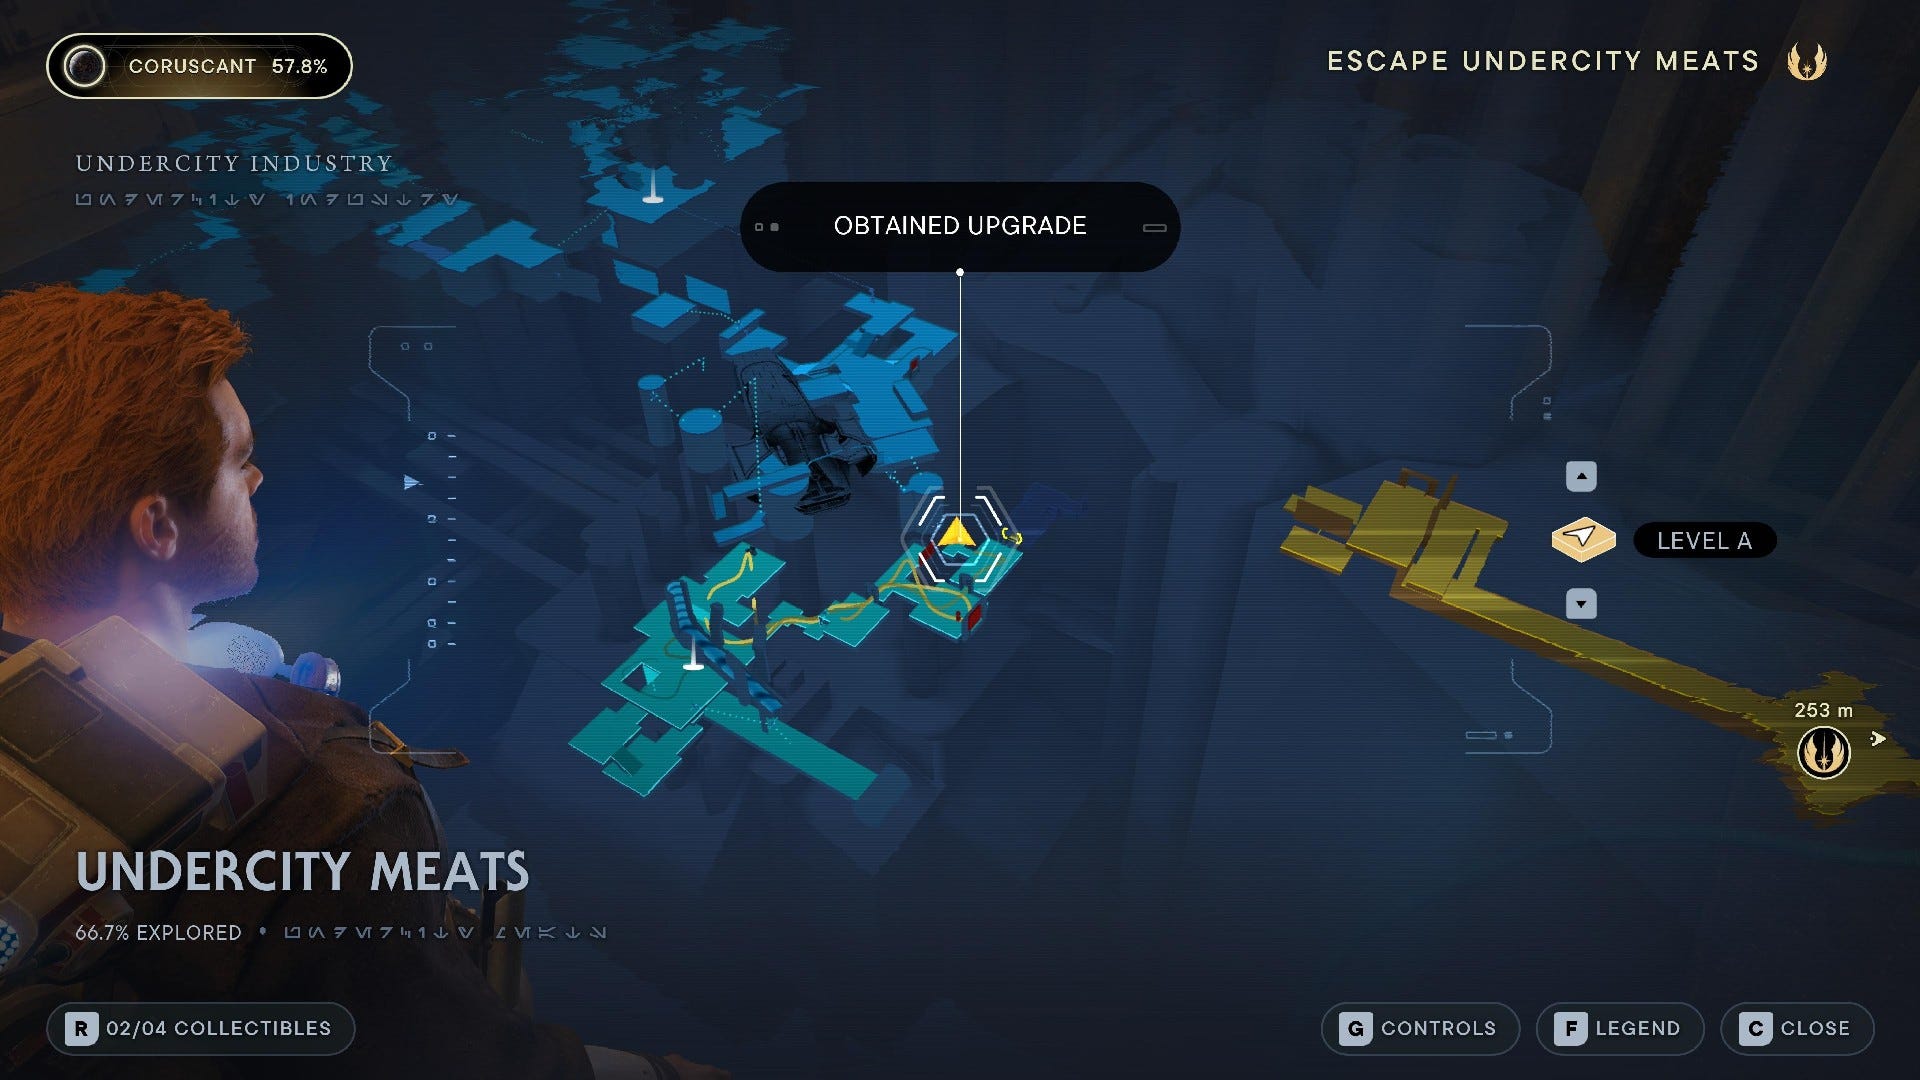
Force Essence: After the Undercity Meats Meditation Point, head into the dark corridor and look in the alcove on your left to find this Force Essence just before squeezing through the gap.

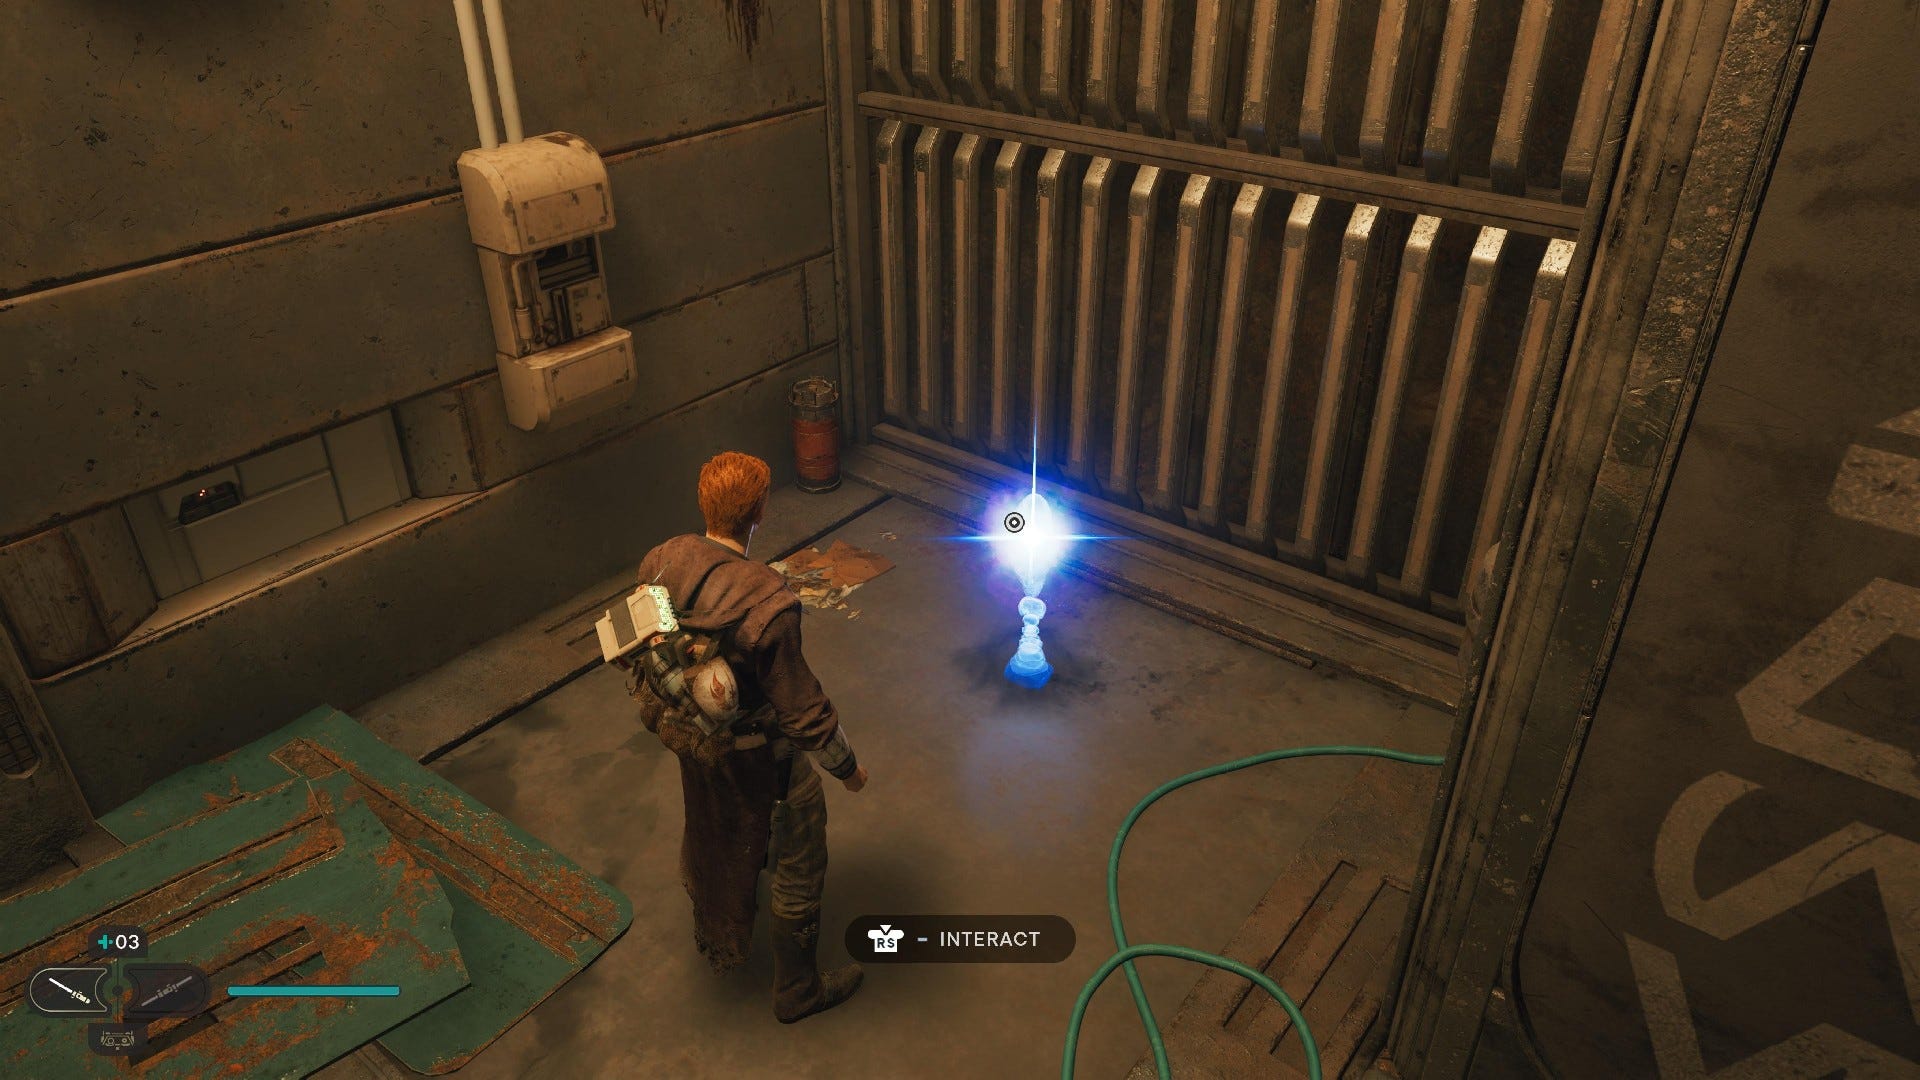
Health Essence (requires Electro-Dart): In Undercity Meats, you'll find a big yellow door that something is bashing on from the other side. If you return here with your Electro-Dart, which you'll get near the end of the main story, you can open it up to fight a Frenzied Jotaz. That's a big beastie, but in Star Wars terms. Kill the big beastie and look behind the big yellow door to find the Health Essence.
Coruscant Undercity Meats Treasures:
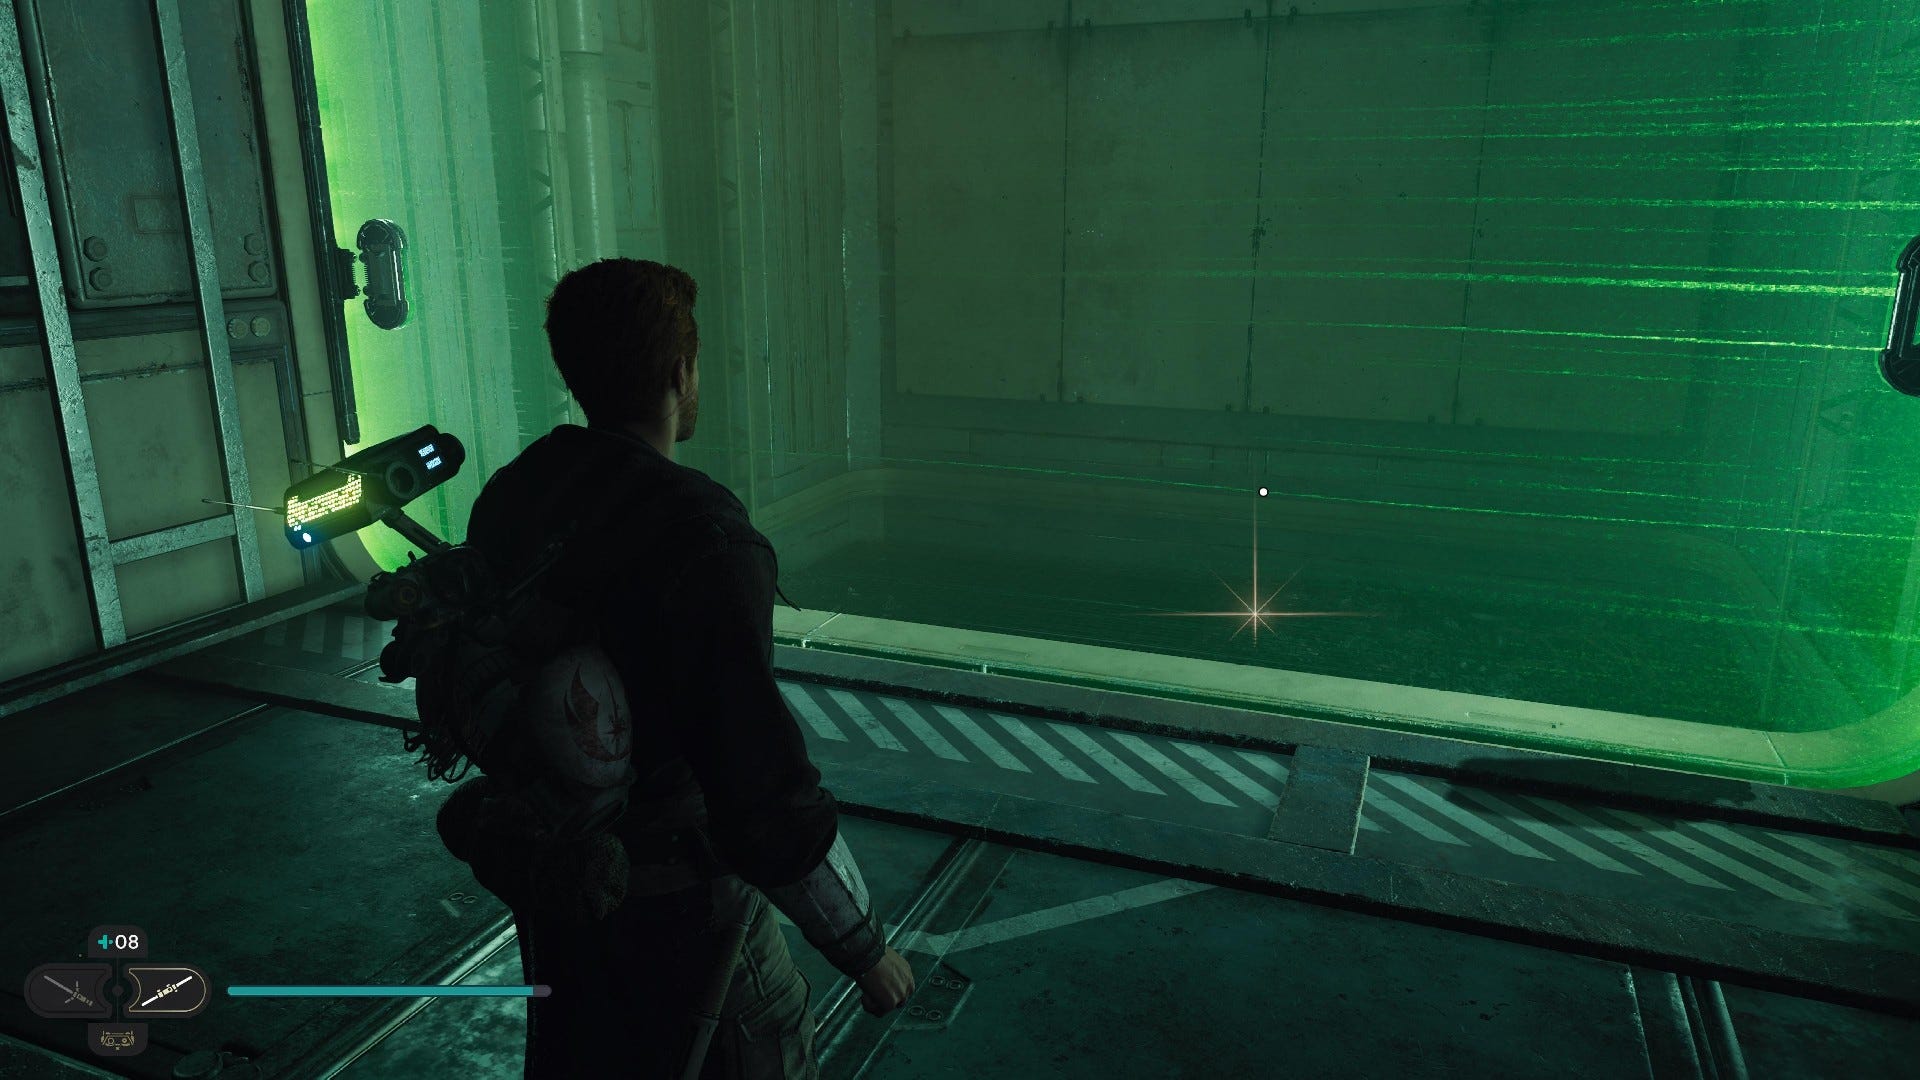
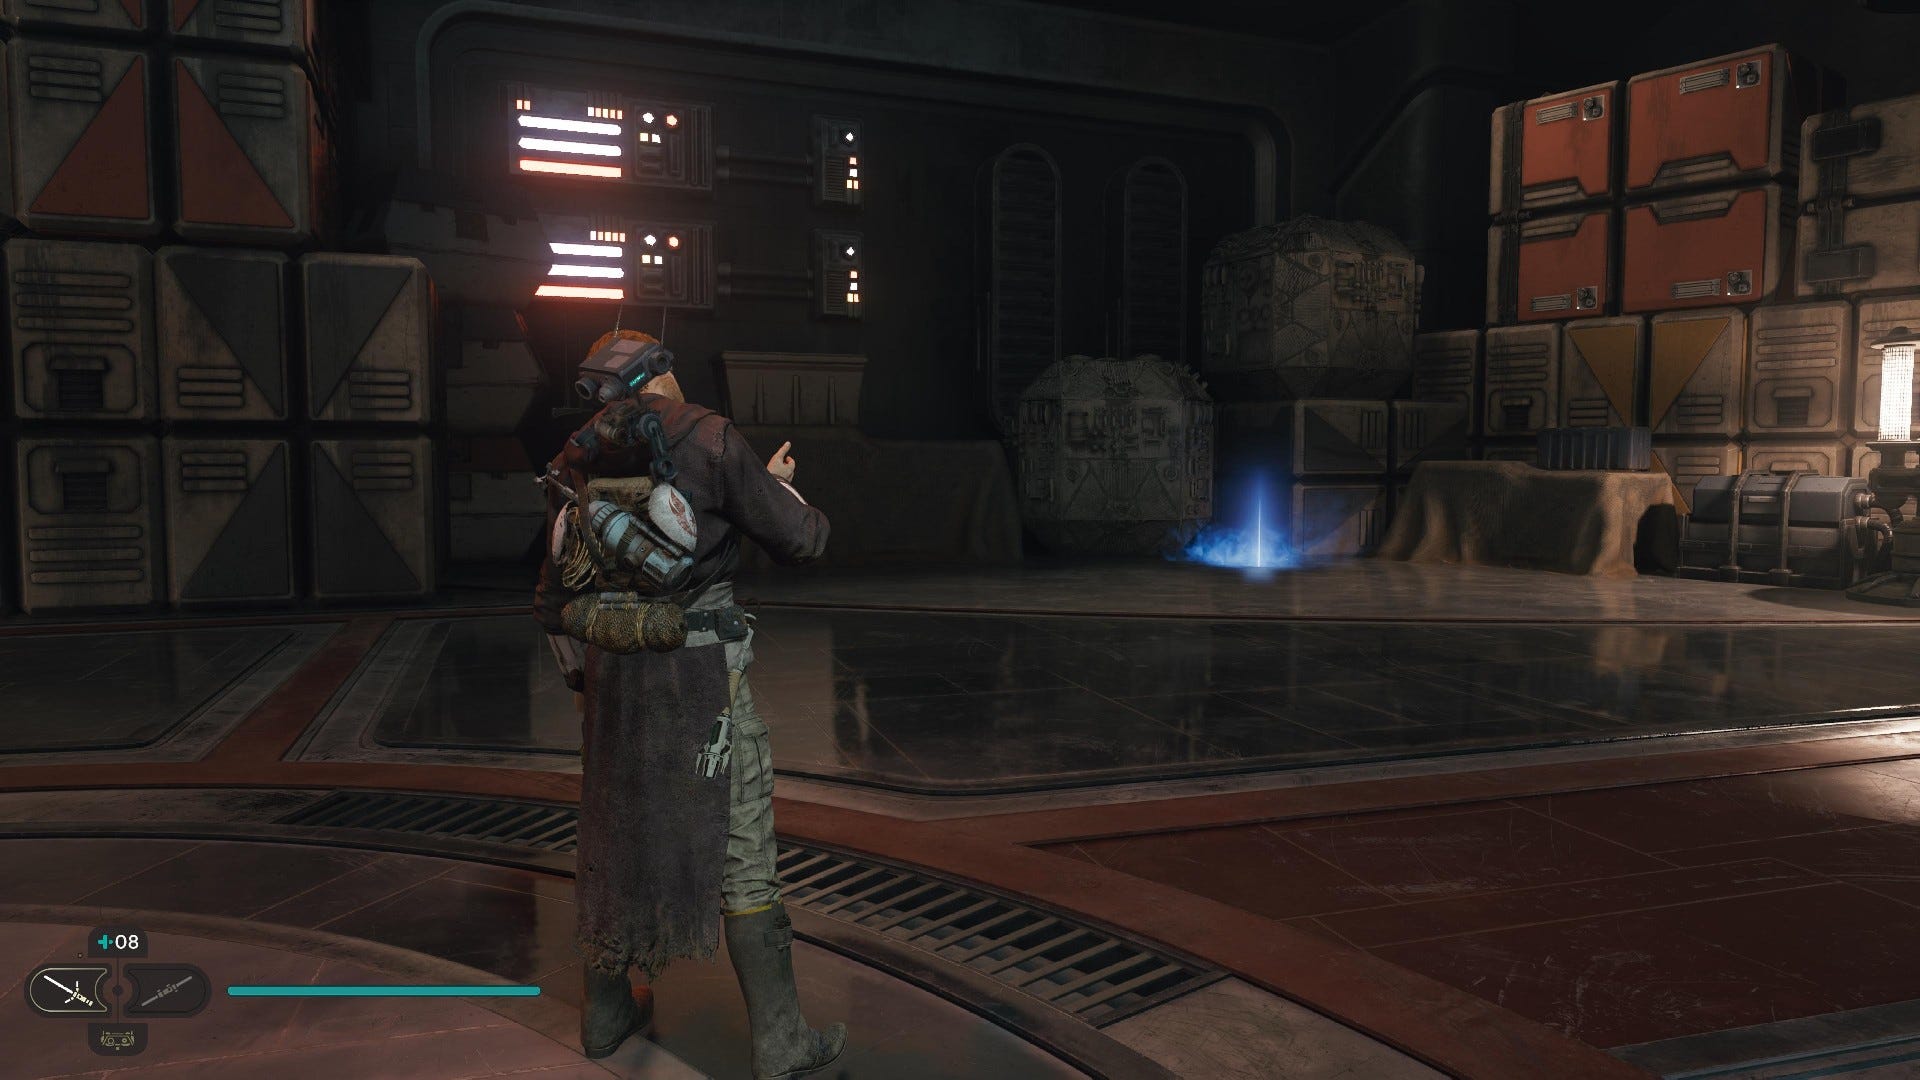
Priorite Shard (requires Merrin's Charm): Near the big yellow door where you find the Frenzied Jotaz, there's a green forcefield that you can dash through after escaping the Sanctuary Temple later in the story. If you dash through this specific laser door, you'll find an elevator. Send the elevator up and look underneath for this treasure.
Coruscant Freight Handling Depot collectibles
Coruscant Freight Handling Depot Chests:
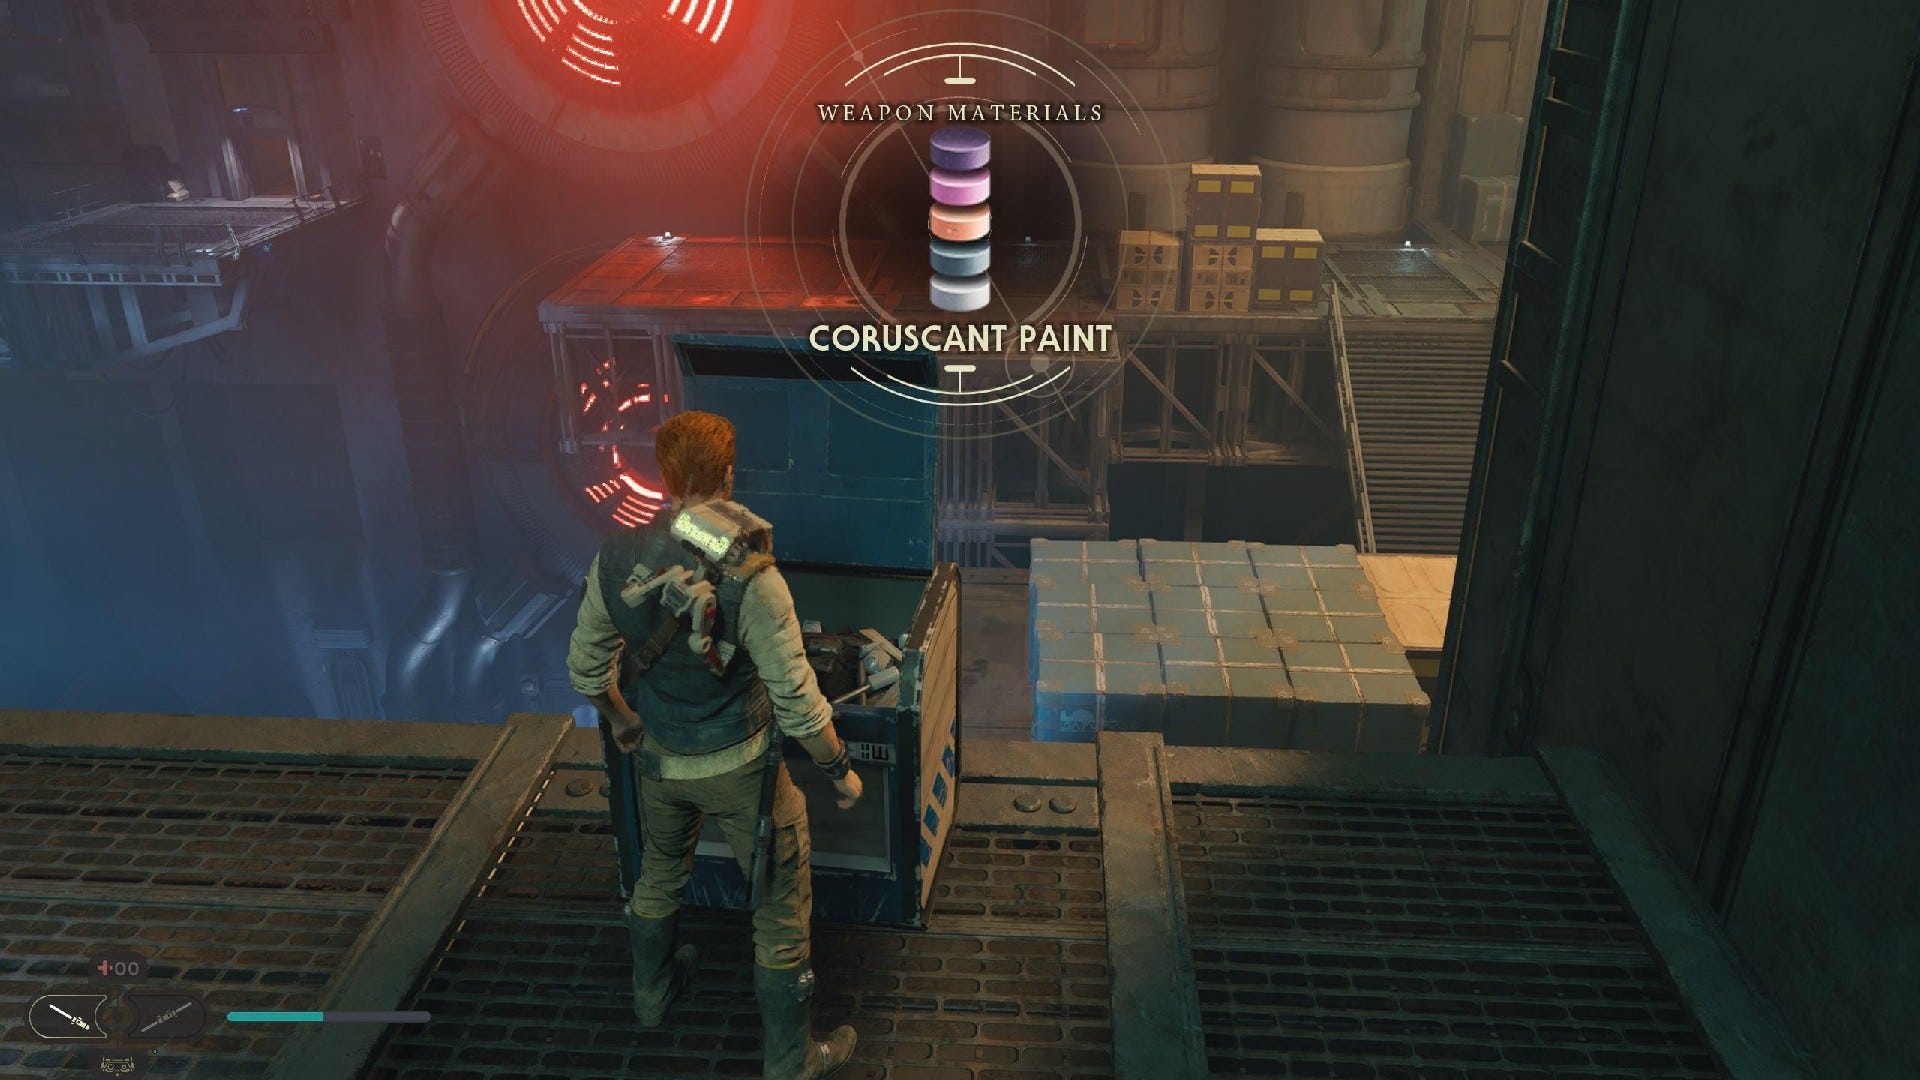
Chest #1 ("Coruscant Paint" Weapon Materials): After scanning the Turbo Dogs, grapple up and immediately turn back to wall-run across to this chest.
Coruscant Freight Handling Depot Essences:
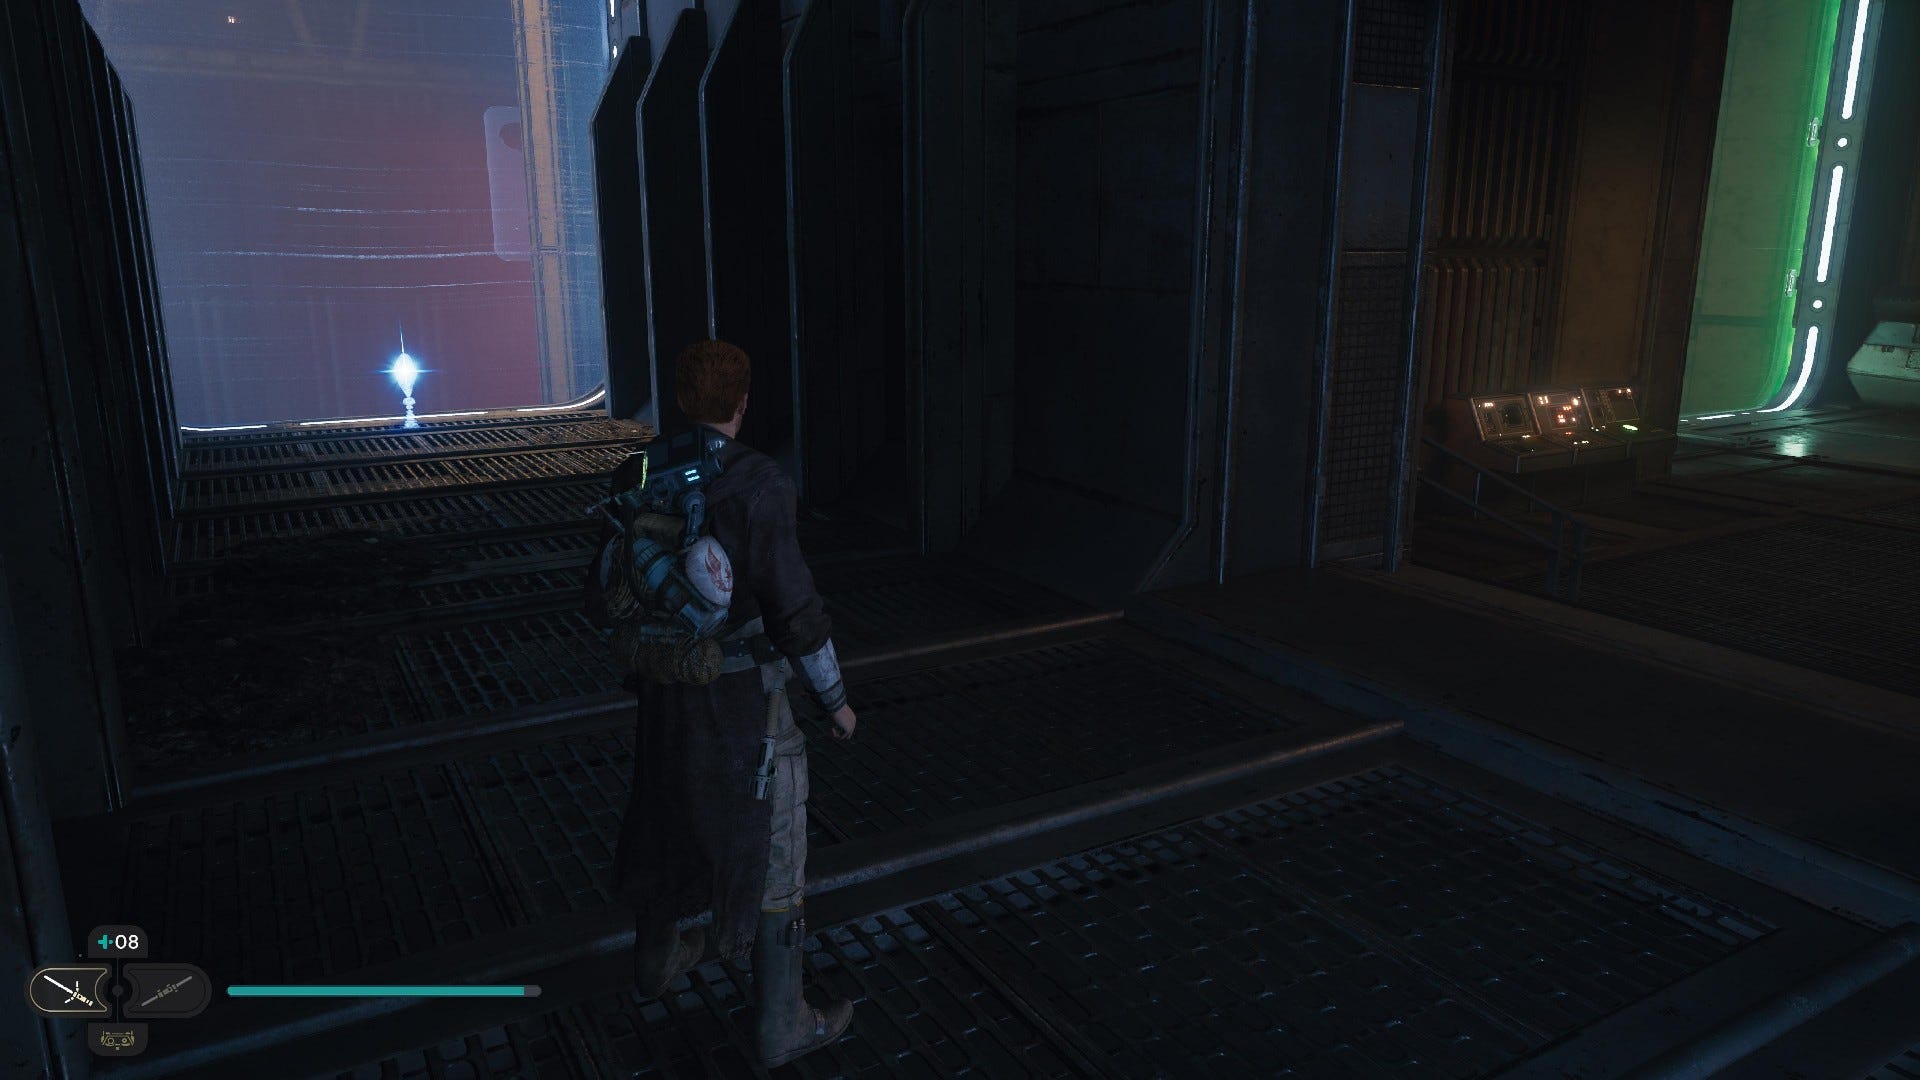
Upgrade Essence (requires Merrin's Charm): After the Freight Handling Depot Meditation Points, head over to the green laser door near the moving crates. Dash through (after retrieving Merrin's Charm during the Sanctuary Temple main quest) and use the Essence within to gain a skill point.
Coruscant Freight Handling Depot Databanks:
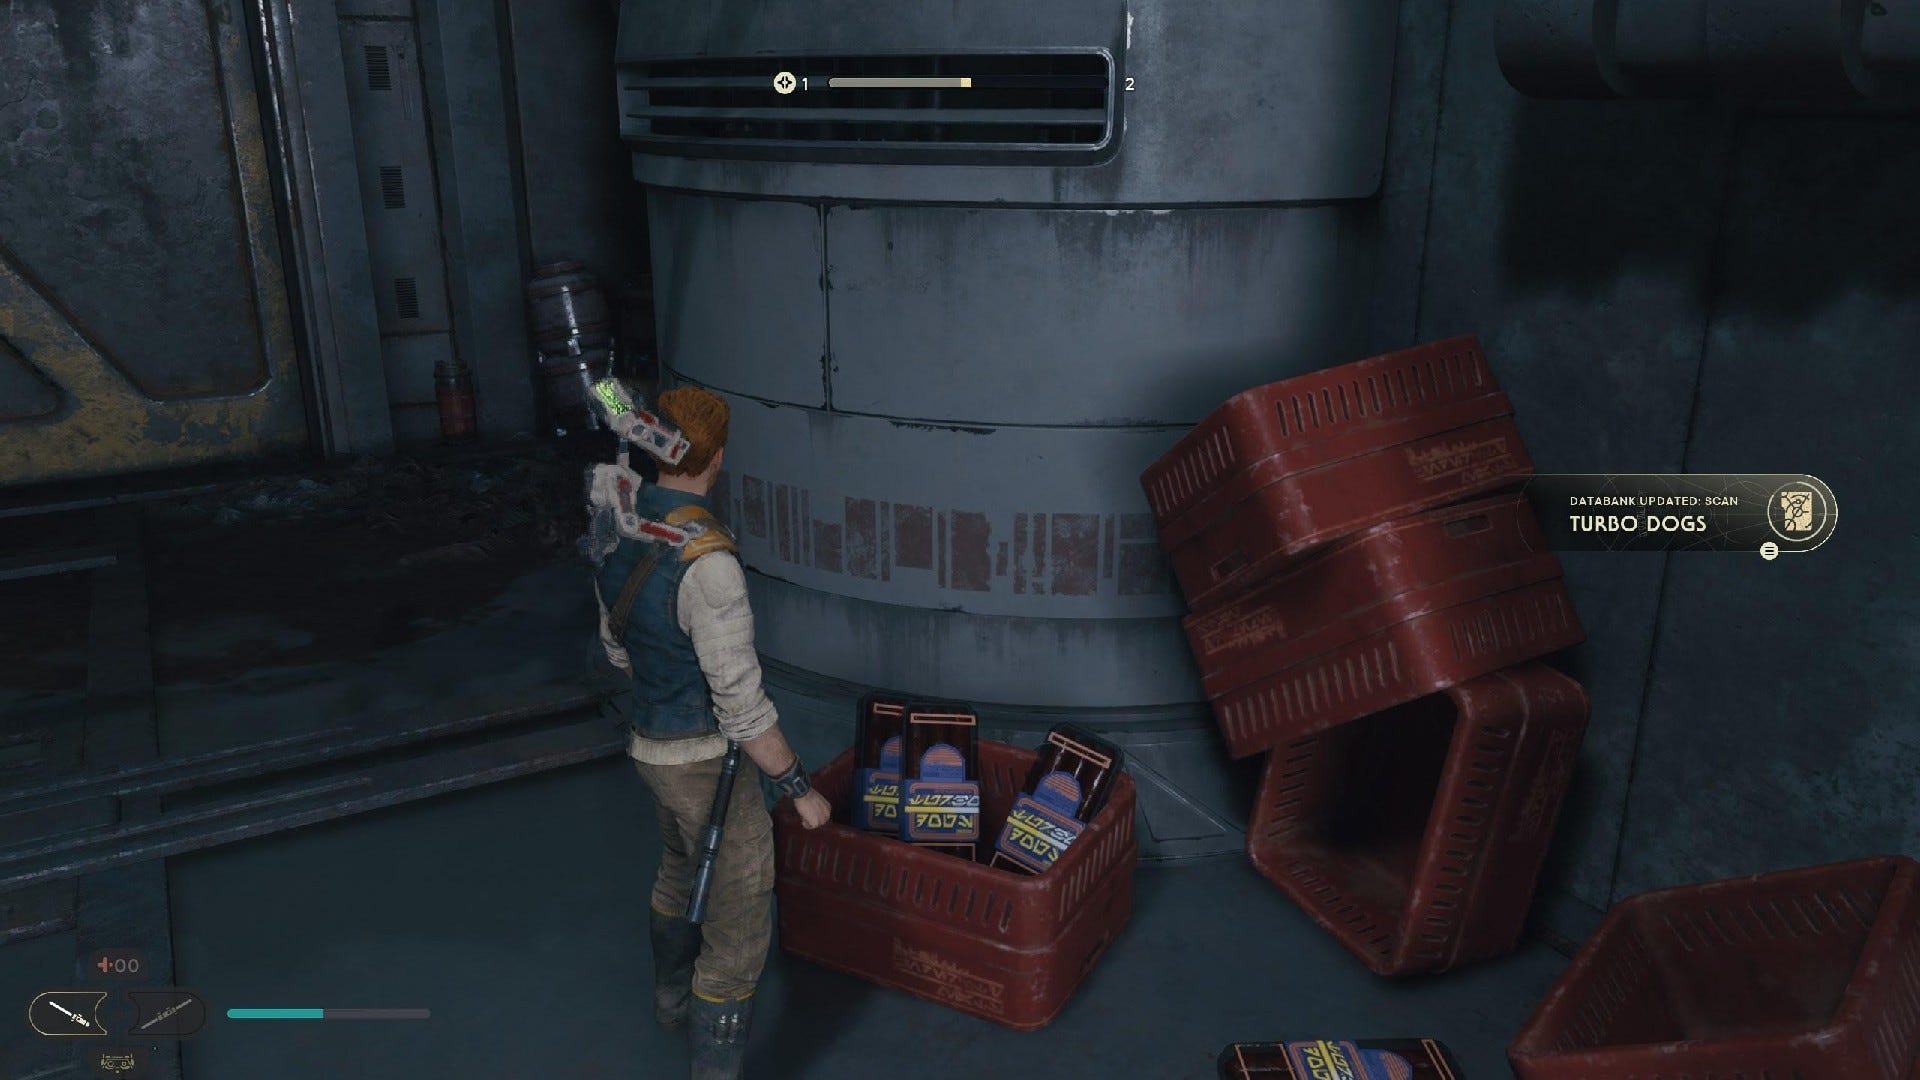
Databank Scan (Turbo Dogs): After clearing the cargo room in Freight Handling Depot of enemies, pass through the nearby door and scan the red crates scattered on the floor before grappling up on the main path.
Coruscant Skylane Regulation Station collectibles
Coruscant Skylane Regulation Station Databanks
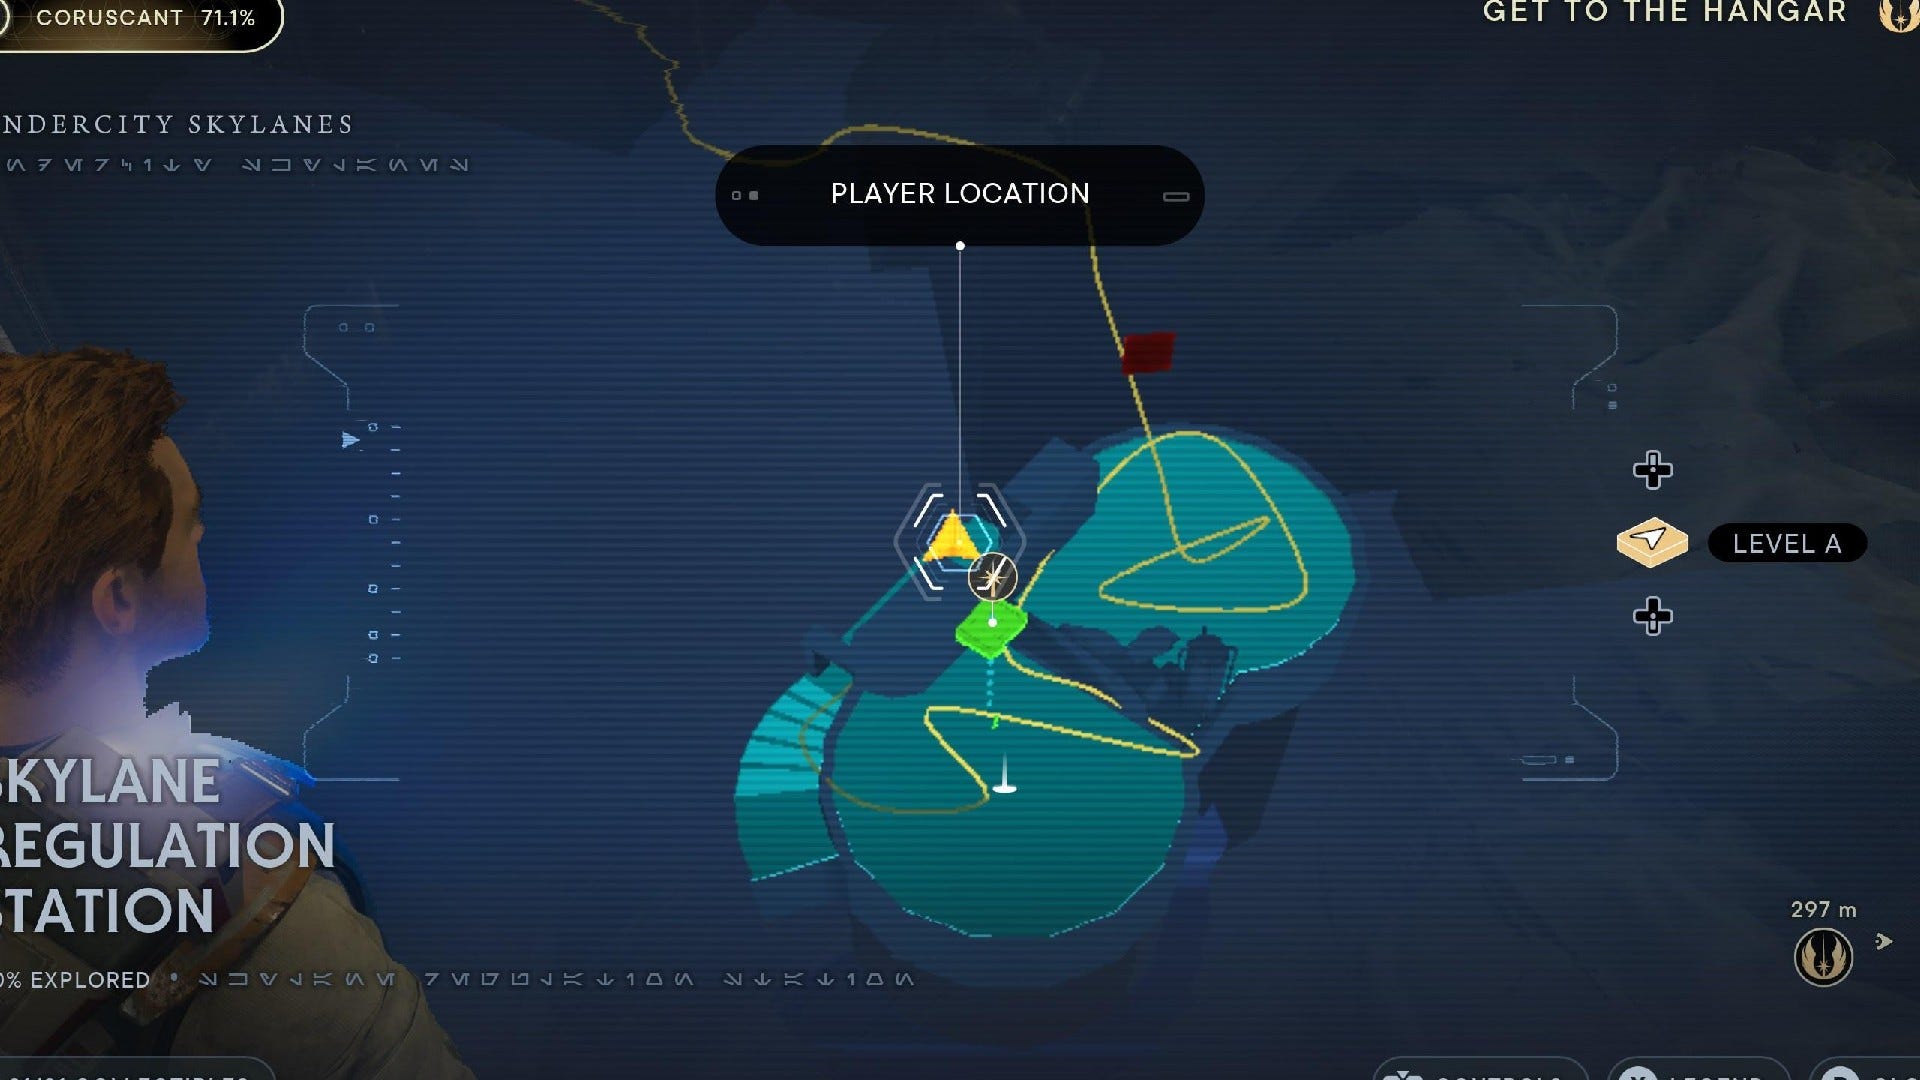
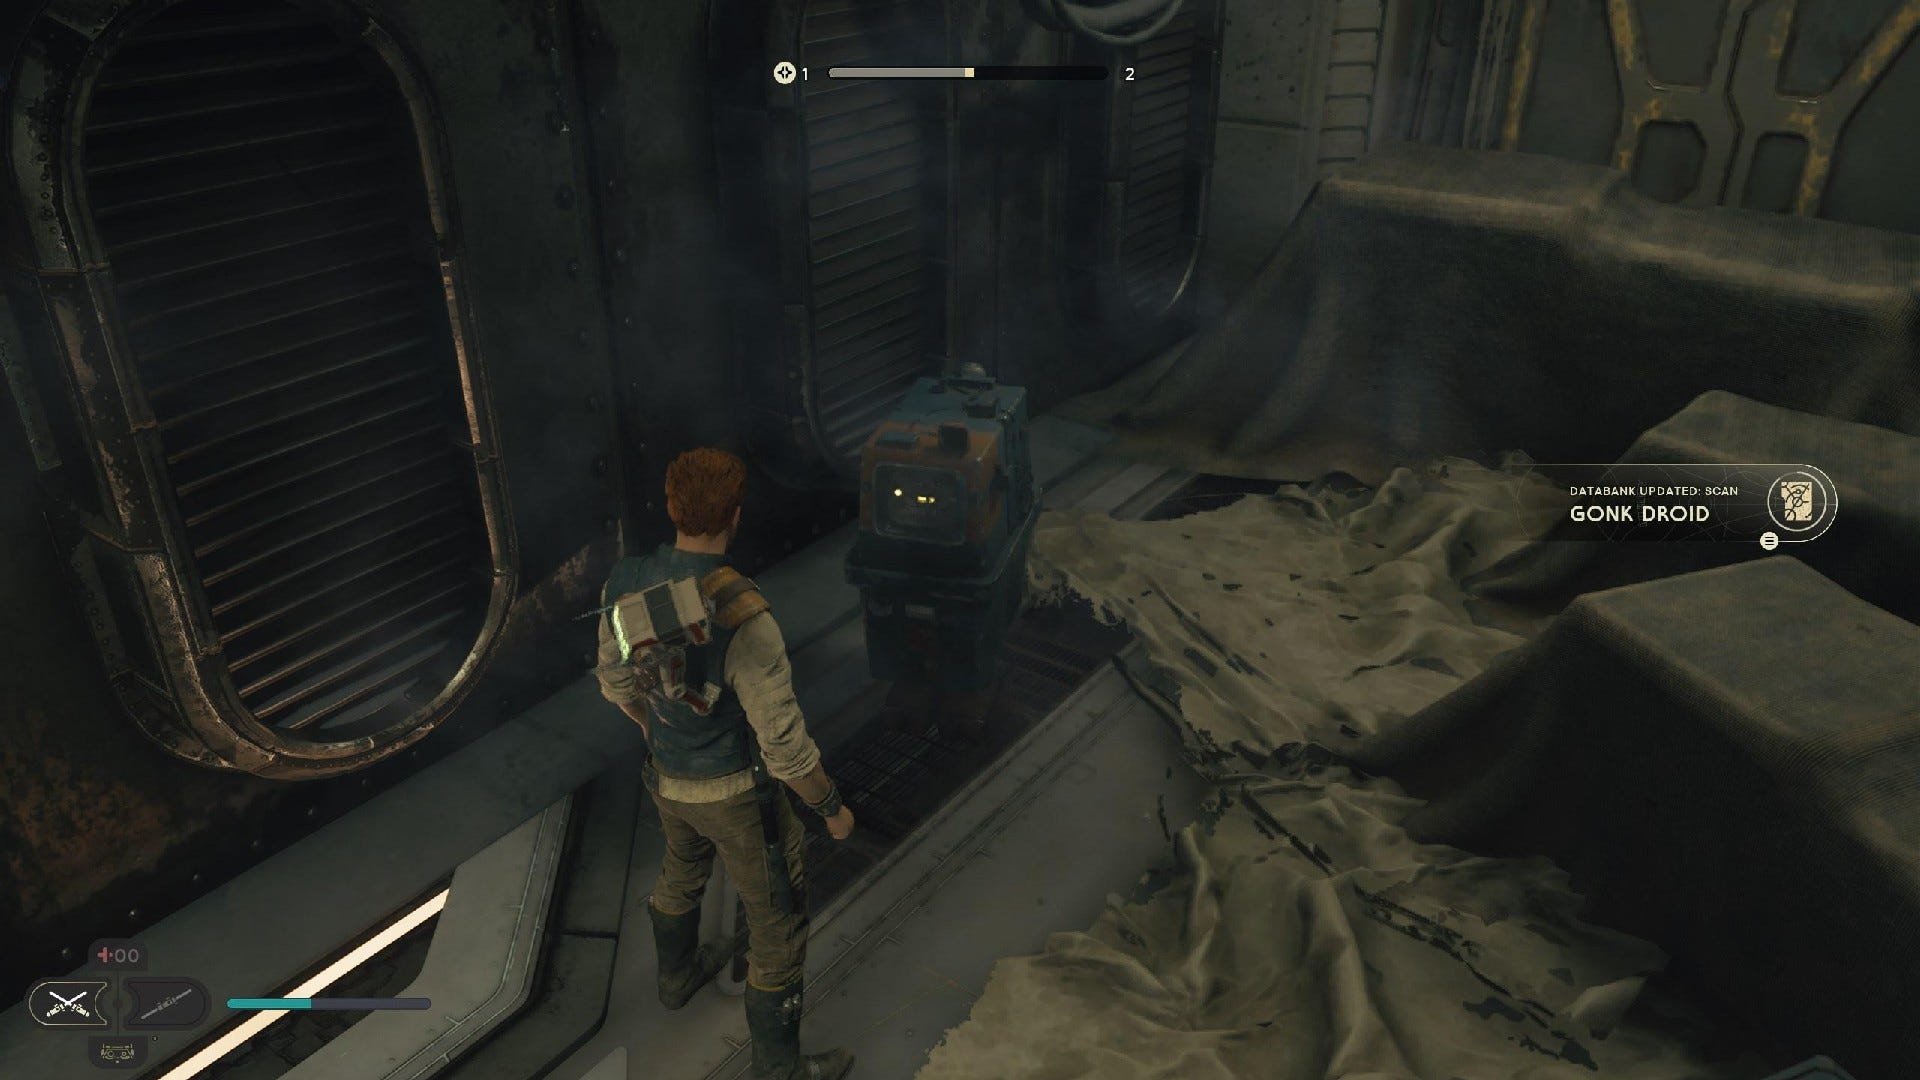
Databank Scan (Gonk Droid): After defeating the 9th Sister and resting at the Skylane Regulation Station Meditation Point, head down the stairs and scan the Gonk Droid up ahead.
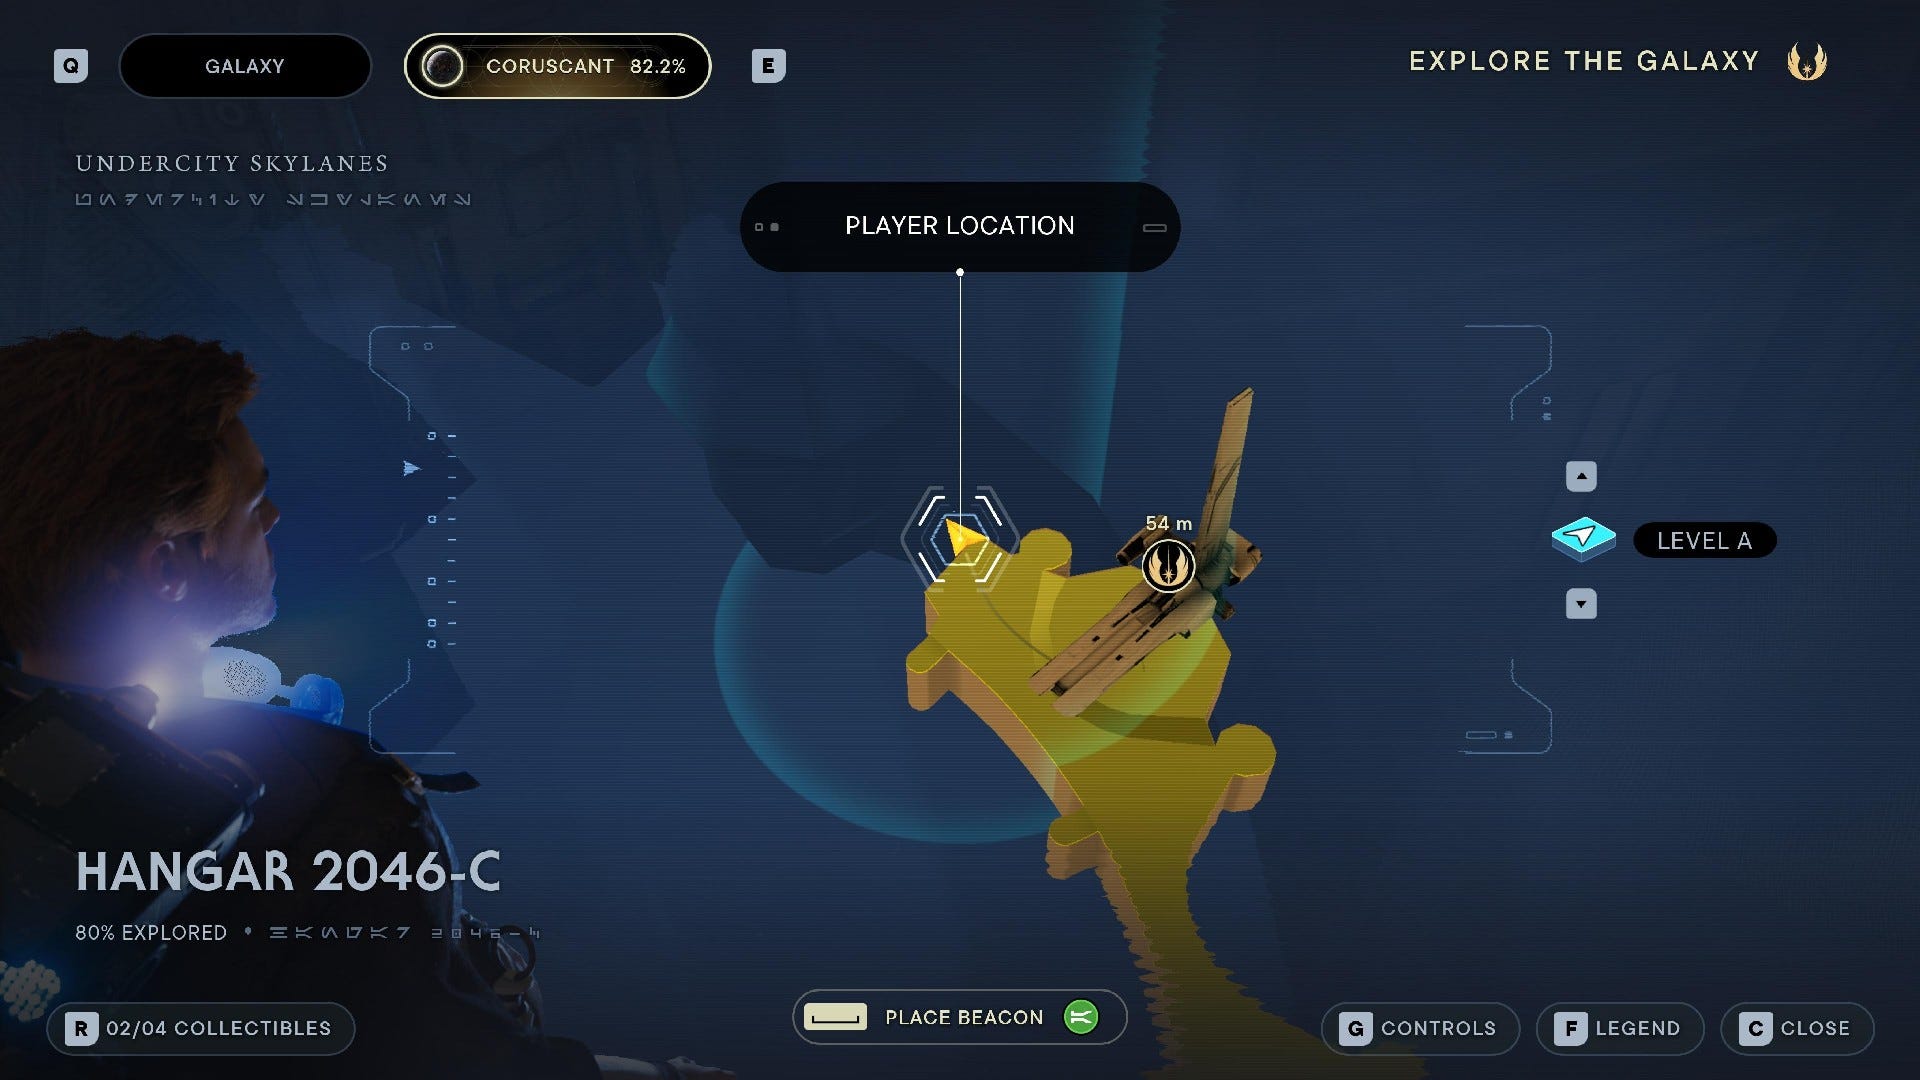
Coruscant Hangar 2046-C collectibles
Coruscant Hangar 2046-C Databanks
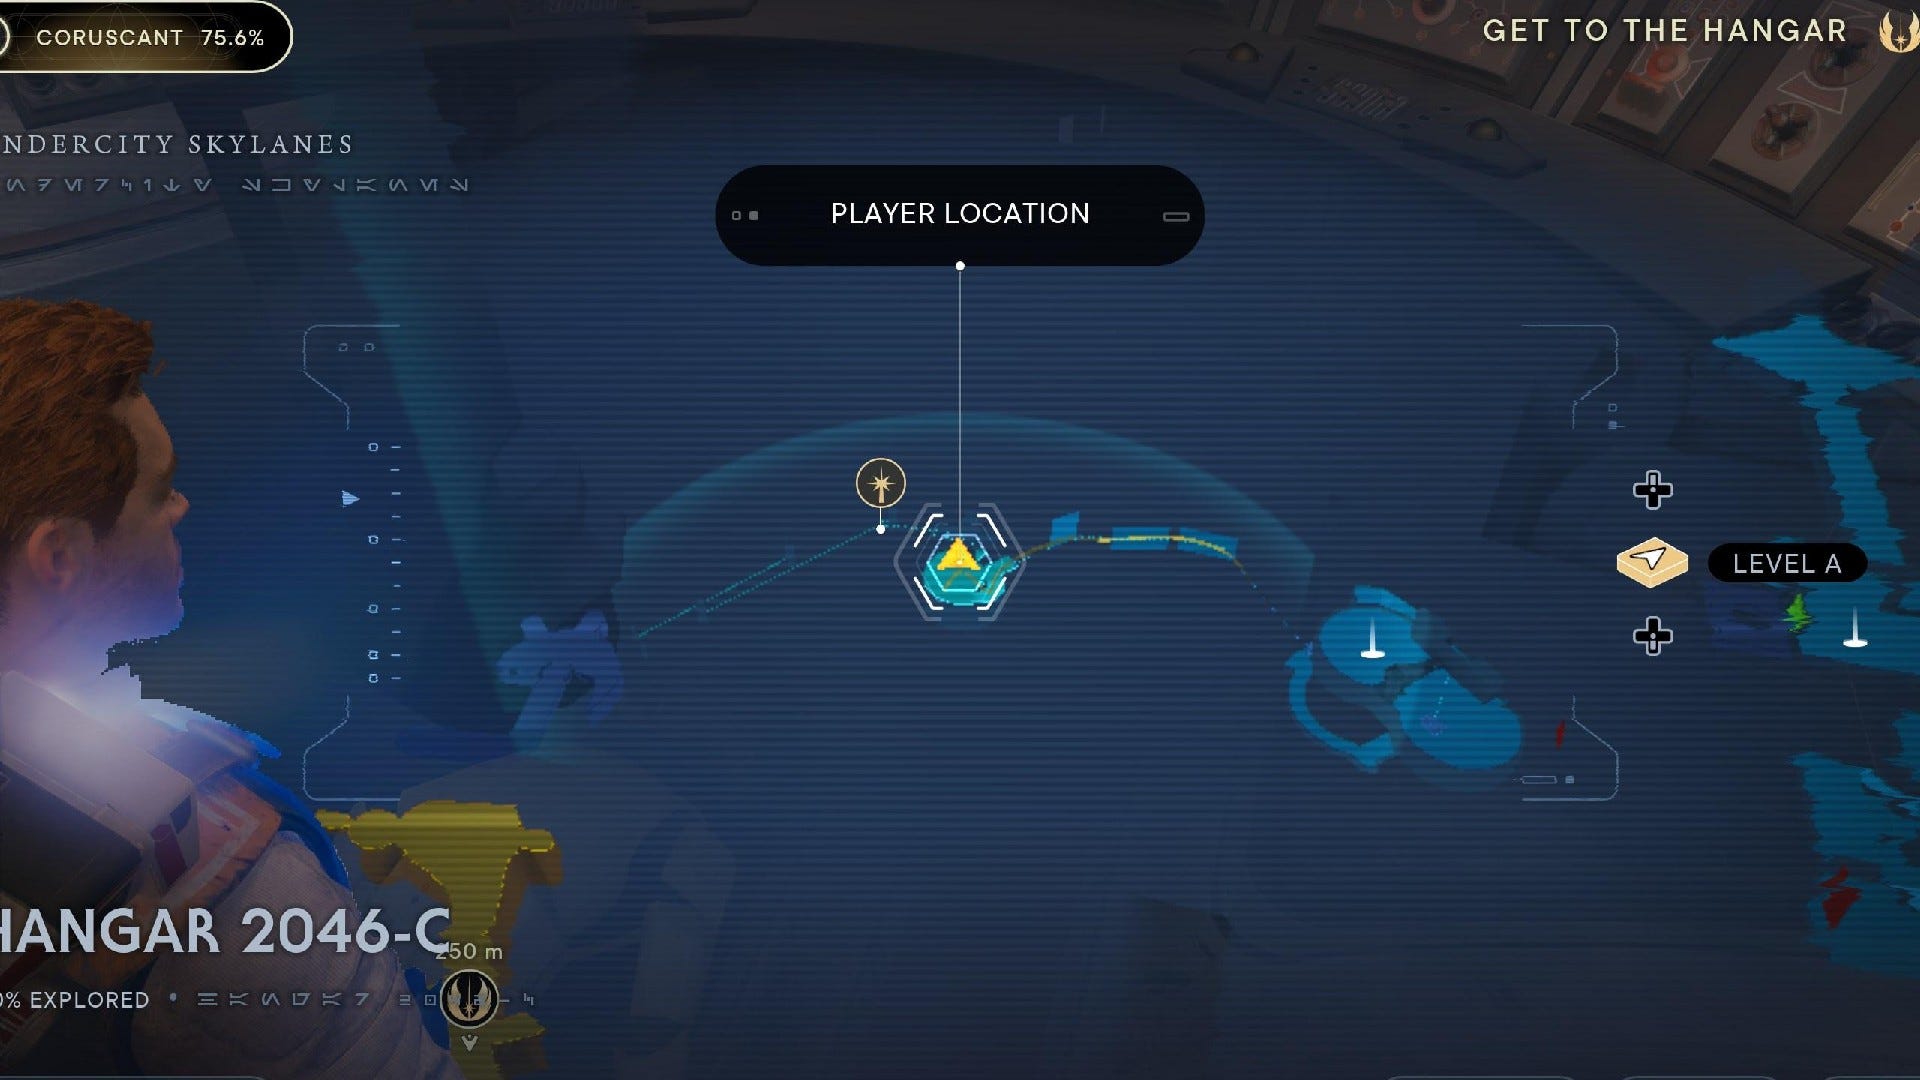
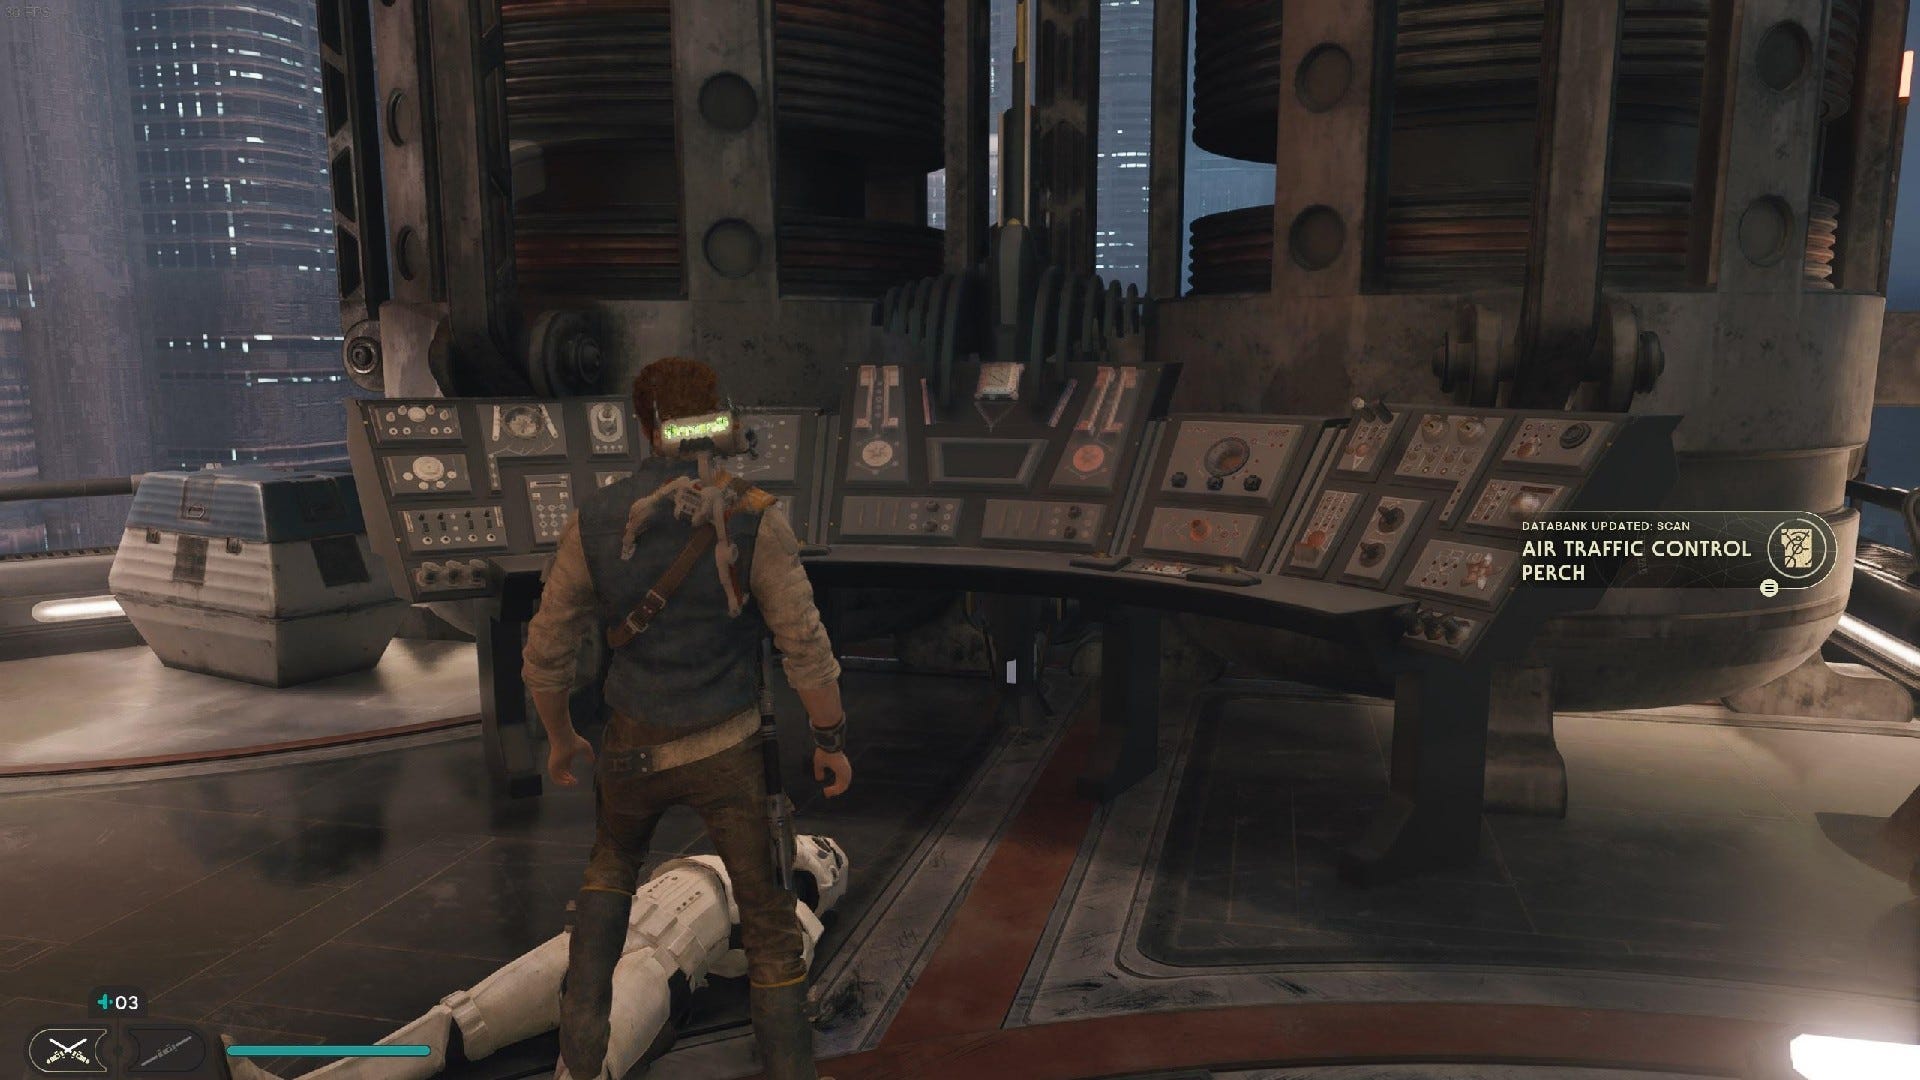
Databank Scan (Air Traffic Control Perch): As you enter Hangar 2046-C, look out for the fight with two Stormtroopers and a Purge Trooper shortly before a rope climb. Nearby, you'll find a terminal that you can scan for this Databank entry.
Force Echo (Double Agent): This Force Echo is hidden behind the Mantis on Coruscant, but it won't spawn during the opening mission. For this one, you must return after completing the main story of Jedi: Survivor.
Coruscant Hangar 2046-C Treasures

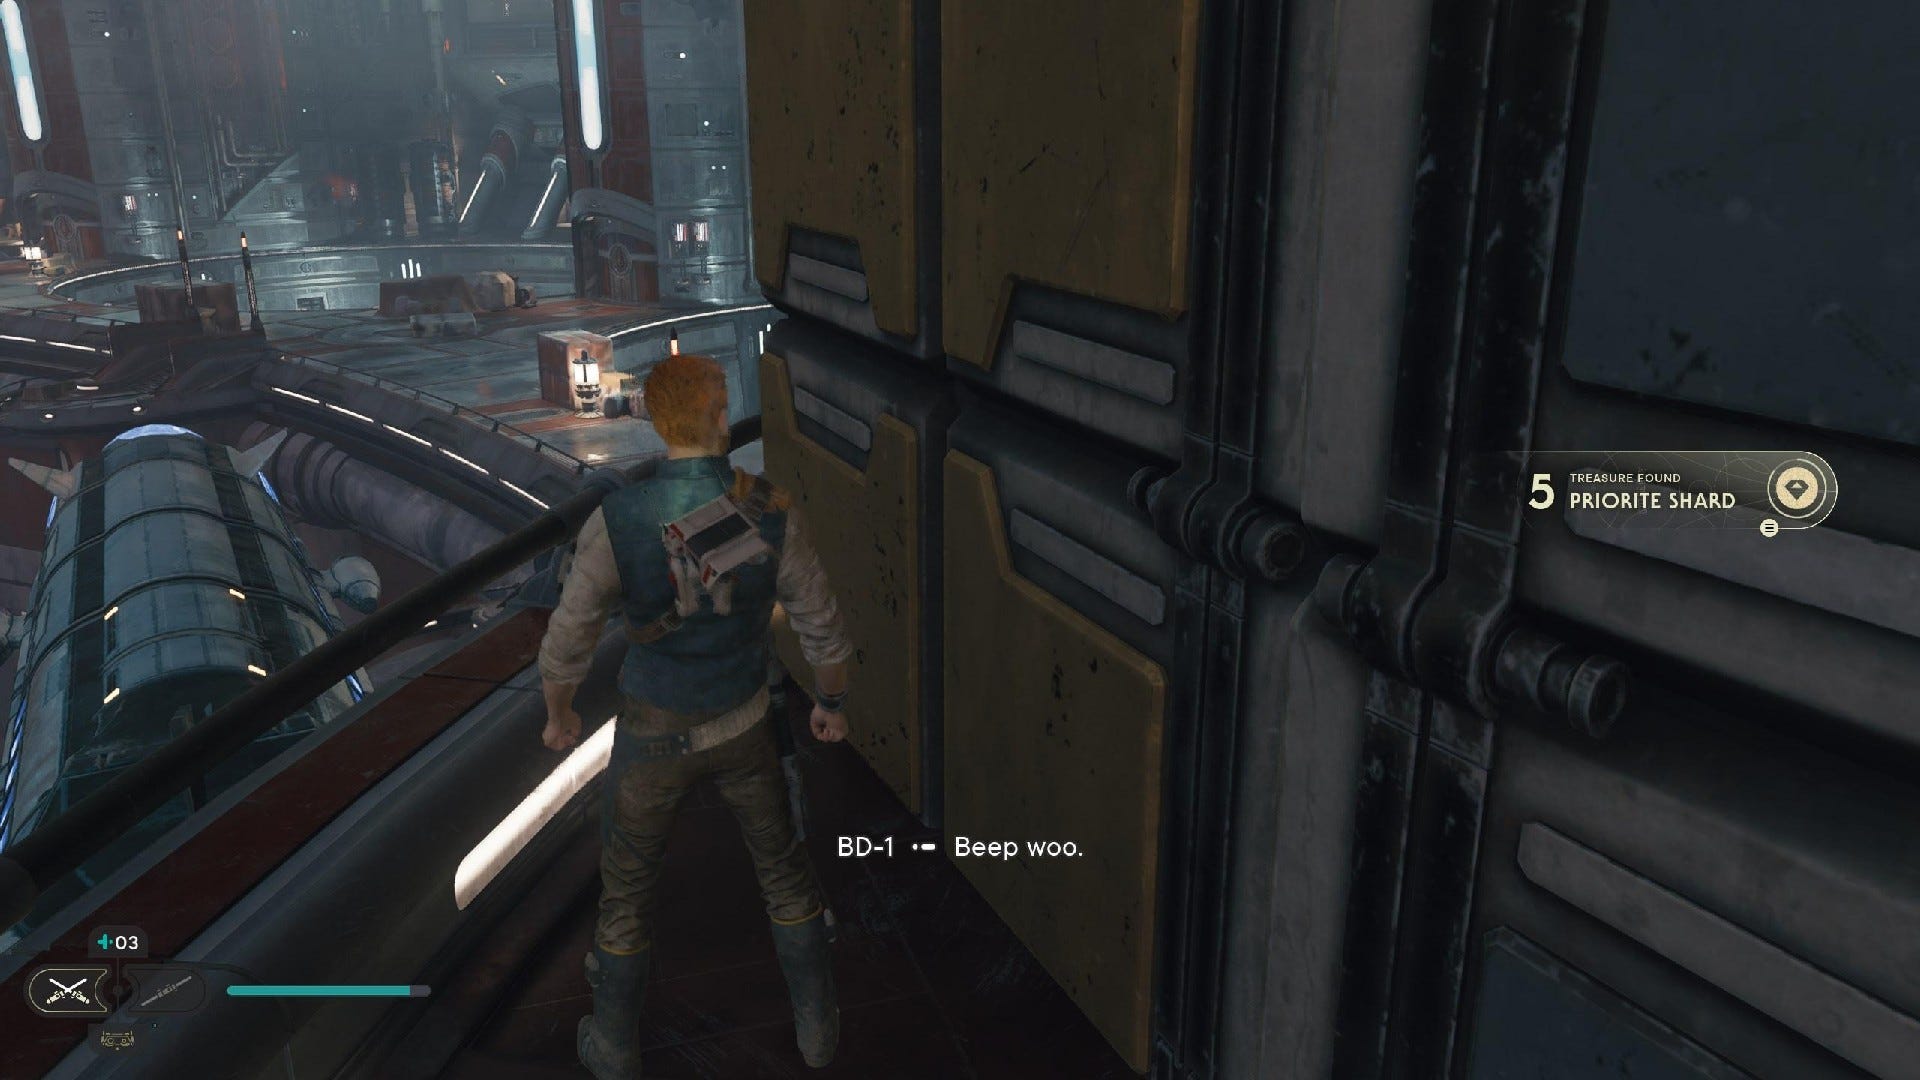
Priorite Shard #1: Climb the rope out of the area where you fight two Stormtroopers and a Purge Trooper and zipline down. At the end of the zipline, immediately turn left and follow the railing into the corner to find a Priorite Shard.
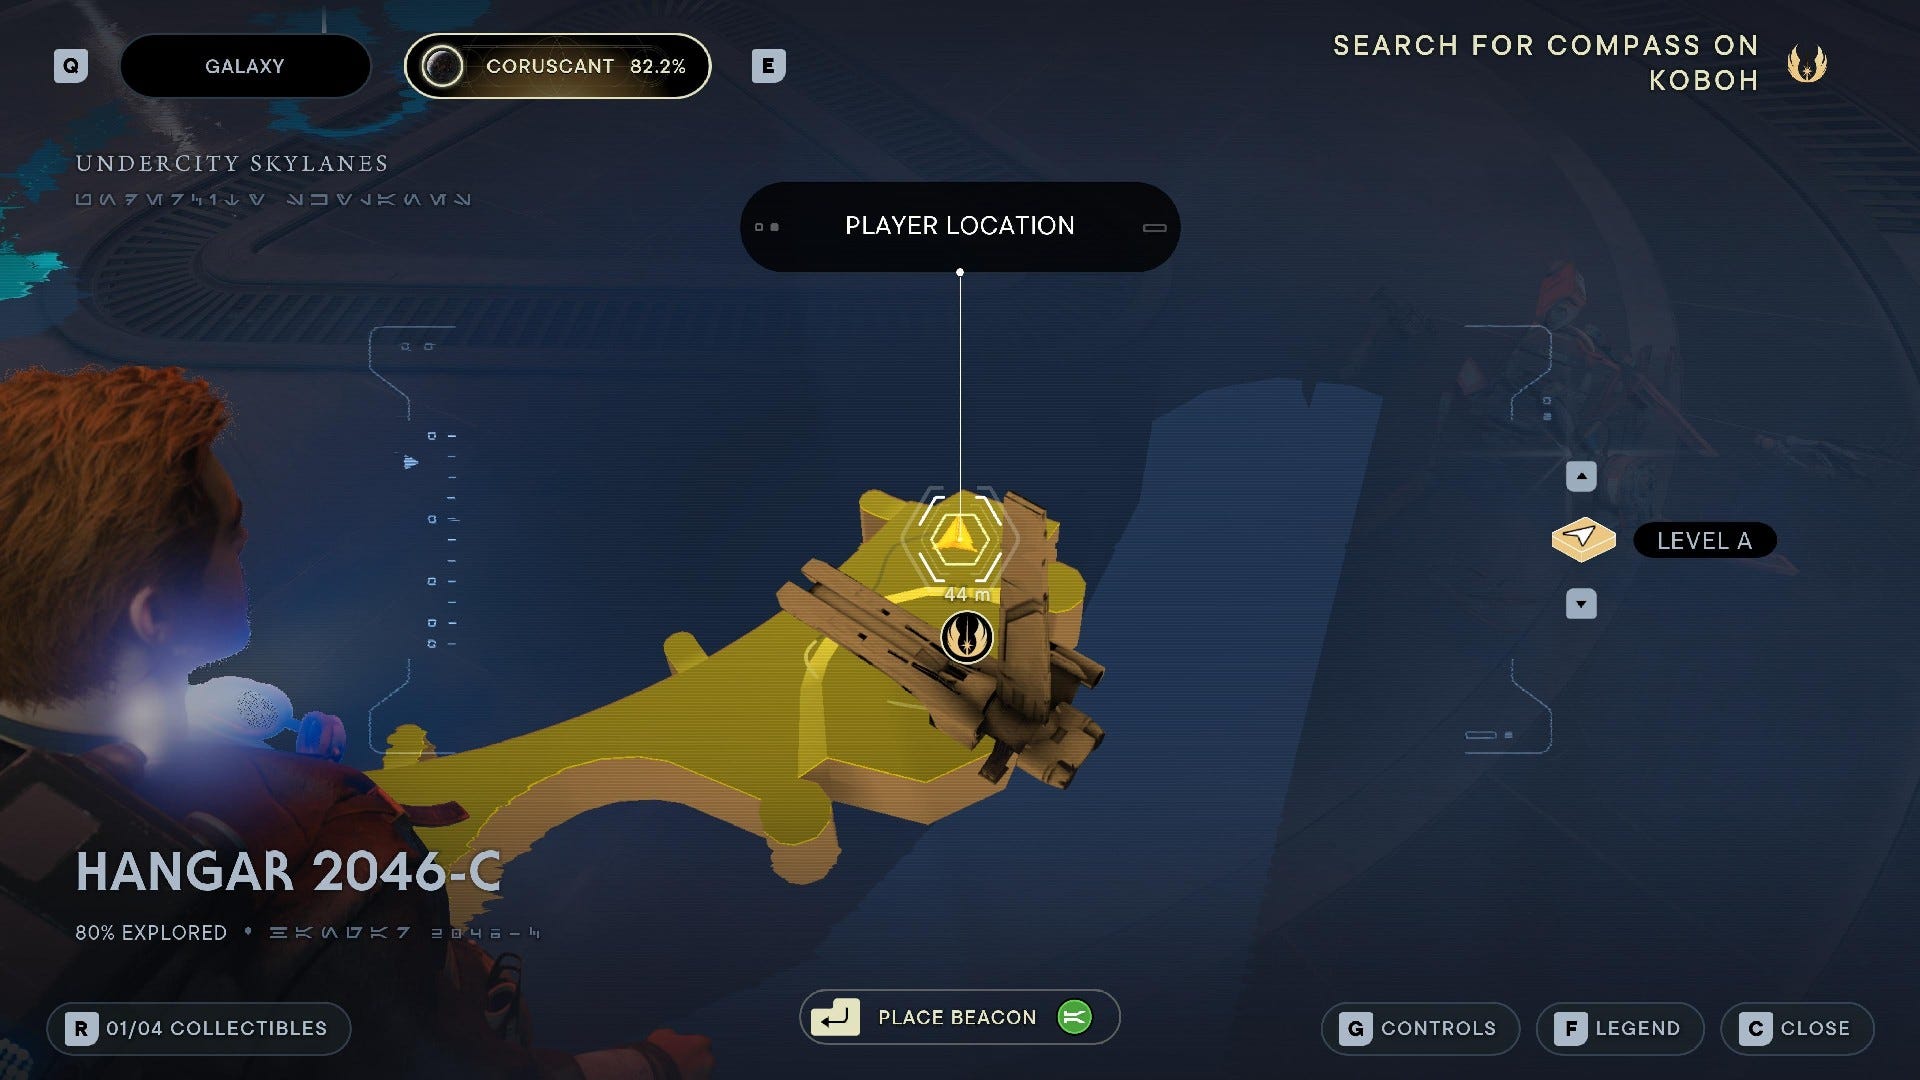
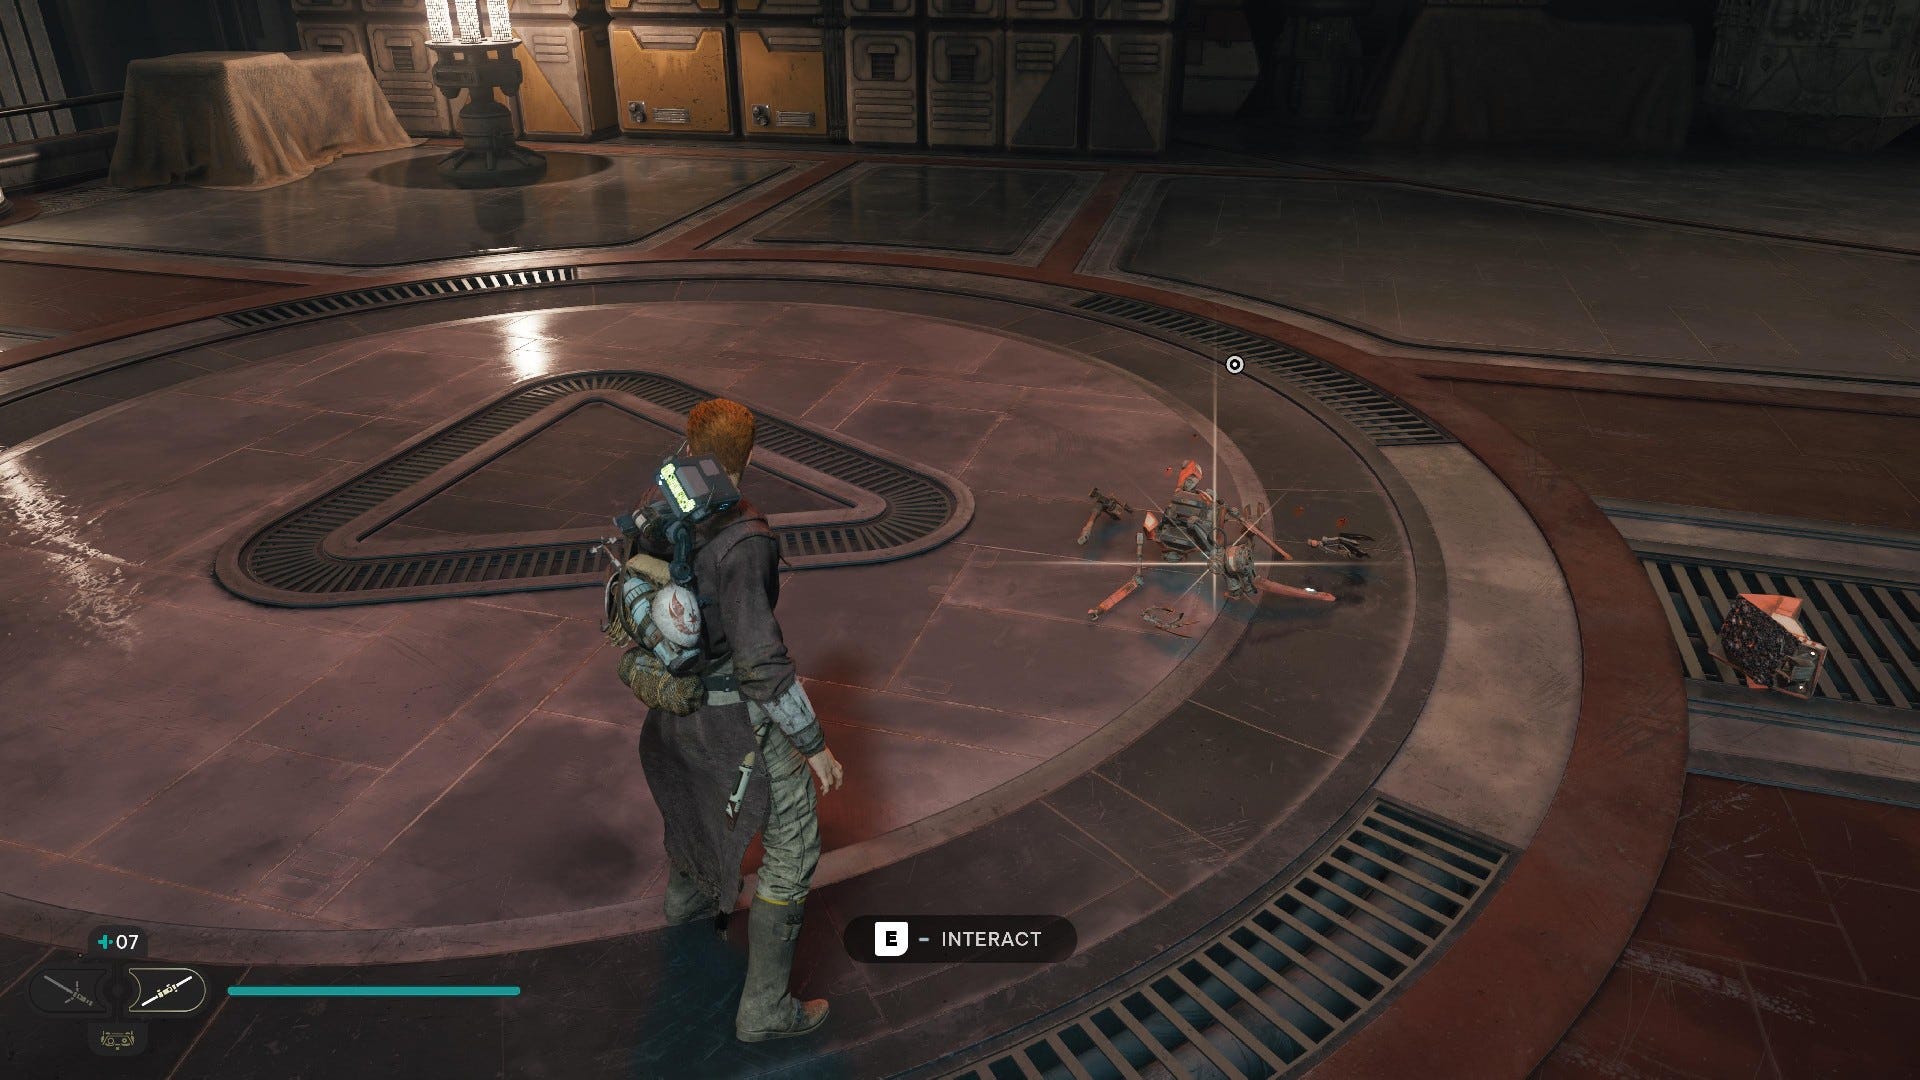
Priorite Shard #2: When you reach the Mantis, look behind it to find a Scavenger Droid that you can kill to retrieve a Priorite Shard. It's worth noting that we only found this after returning to Coruscant later in the story, so if you don't spot it during the opening chunk of the game, come back later.
That wraps up our guide on where to find all collectibles on Coruscant in Star Wars Jedi: Survivor. For more help on your adventure, take a look at our guide on every collectible on Koboh in Star Wars Jedi: Survivor. If you want to power up, check out our guide on the best perks in Star Wars Jedi: Survivor and where to find every Stim Canister in Star Wars Jedi: Survivor.