Star Wars Jedi Survivor Jedha collectible locations: All chests, treasures, essences, and more
Where to find every chest, treasure, essence and more on Jedha

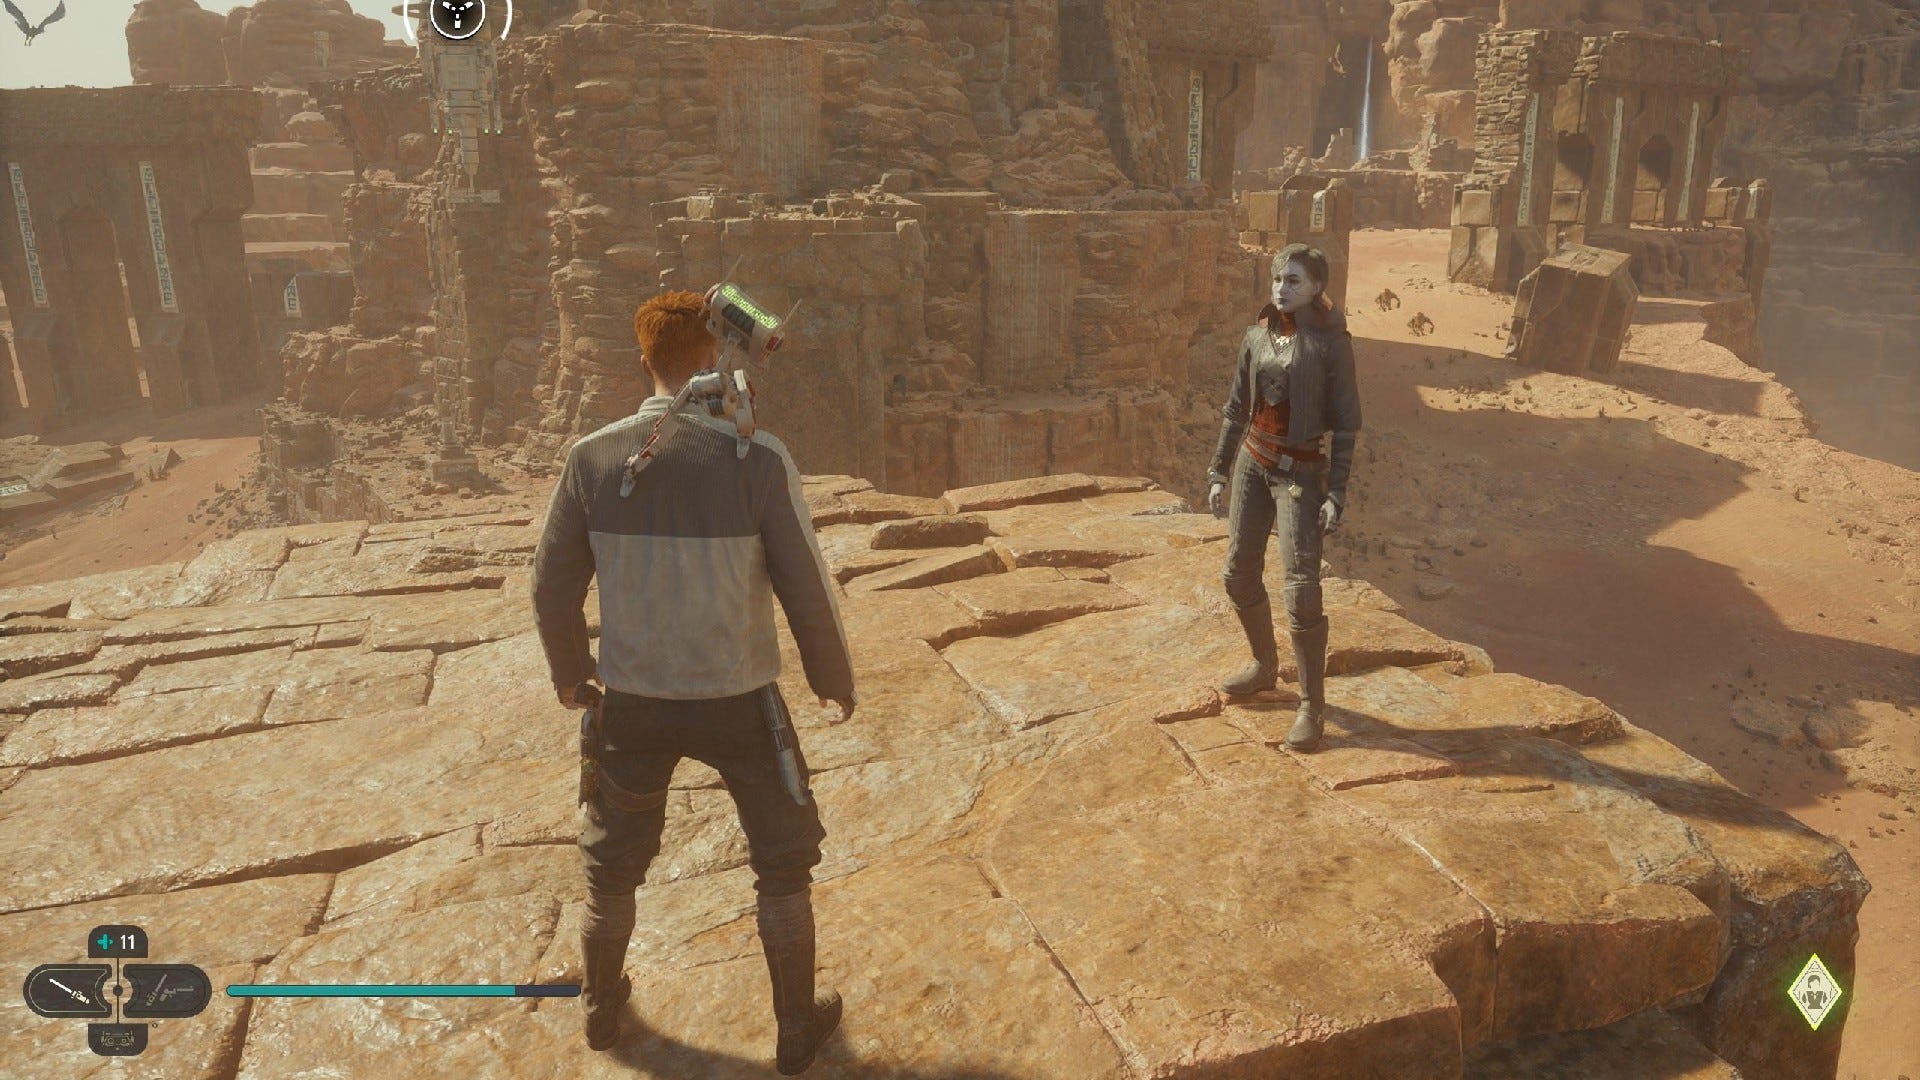
Looking for every collectible on Jedha in Star Wars Jedi: Survivor? Jedha is the second-largest planet in Star Wars Jedi: Survivor, with over 150 collectibles to track down amidst its desert dunes. If you're on the hunt for every chest, scroll, essence, and any other collectible on Jedha, then you're in the right place.
In this guide, we'll break down the location of all collectibles on Jedha, so that you can get every last morsel of collectible goodness from its sandy grains. Every collectible has screenshots and instructions to guide you to the right place, and we'll be updating this page with any missing collectibles over the coming days.
Star Wars Jedi: Survivor has a metroidvania-esque approach to maps, much like its predecessor, which means you won't always be able to 100% an area on your first pass. If a collectible requires a power that you might have yet to find, we'll let you know so that you can return later.
Take a look below for our list of every collectible location on Jedha in Jedi: Survivor.
Jedha collectibles: All locations
| Ancient Ruins: | |||
|---|---|---|---|
| Monastery Walls | Penitent Chambers | Halls of Ranvell | Divine Oasis |
| Narkis Desert: | |||
|---|---|---|---|
| Sheltered Hollow | Arid Flats | Path of Conviction | Path of Persistence |
| Path of Restoration | Wayfinder's Tomb | Desert Ridge | Narkis Highlands |
| Cere's Base: | ||
|---|---|---|
| Veiled Hangar | The Archive | Desert Passages |
| Pilgrim's Path: | |||
|---|---|---|---|
| Trailhead Pantheon | Whistling Drop | Blustery Mesa | Crypt of Uhrma |
| Timeworn Bridge | Singing Ruins |
| Pilgrim's Sanctuary: | ||
|---|---|---|
| Sanctuary Temple | Buried Refuge | Sepulcher Pass |
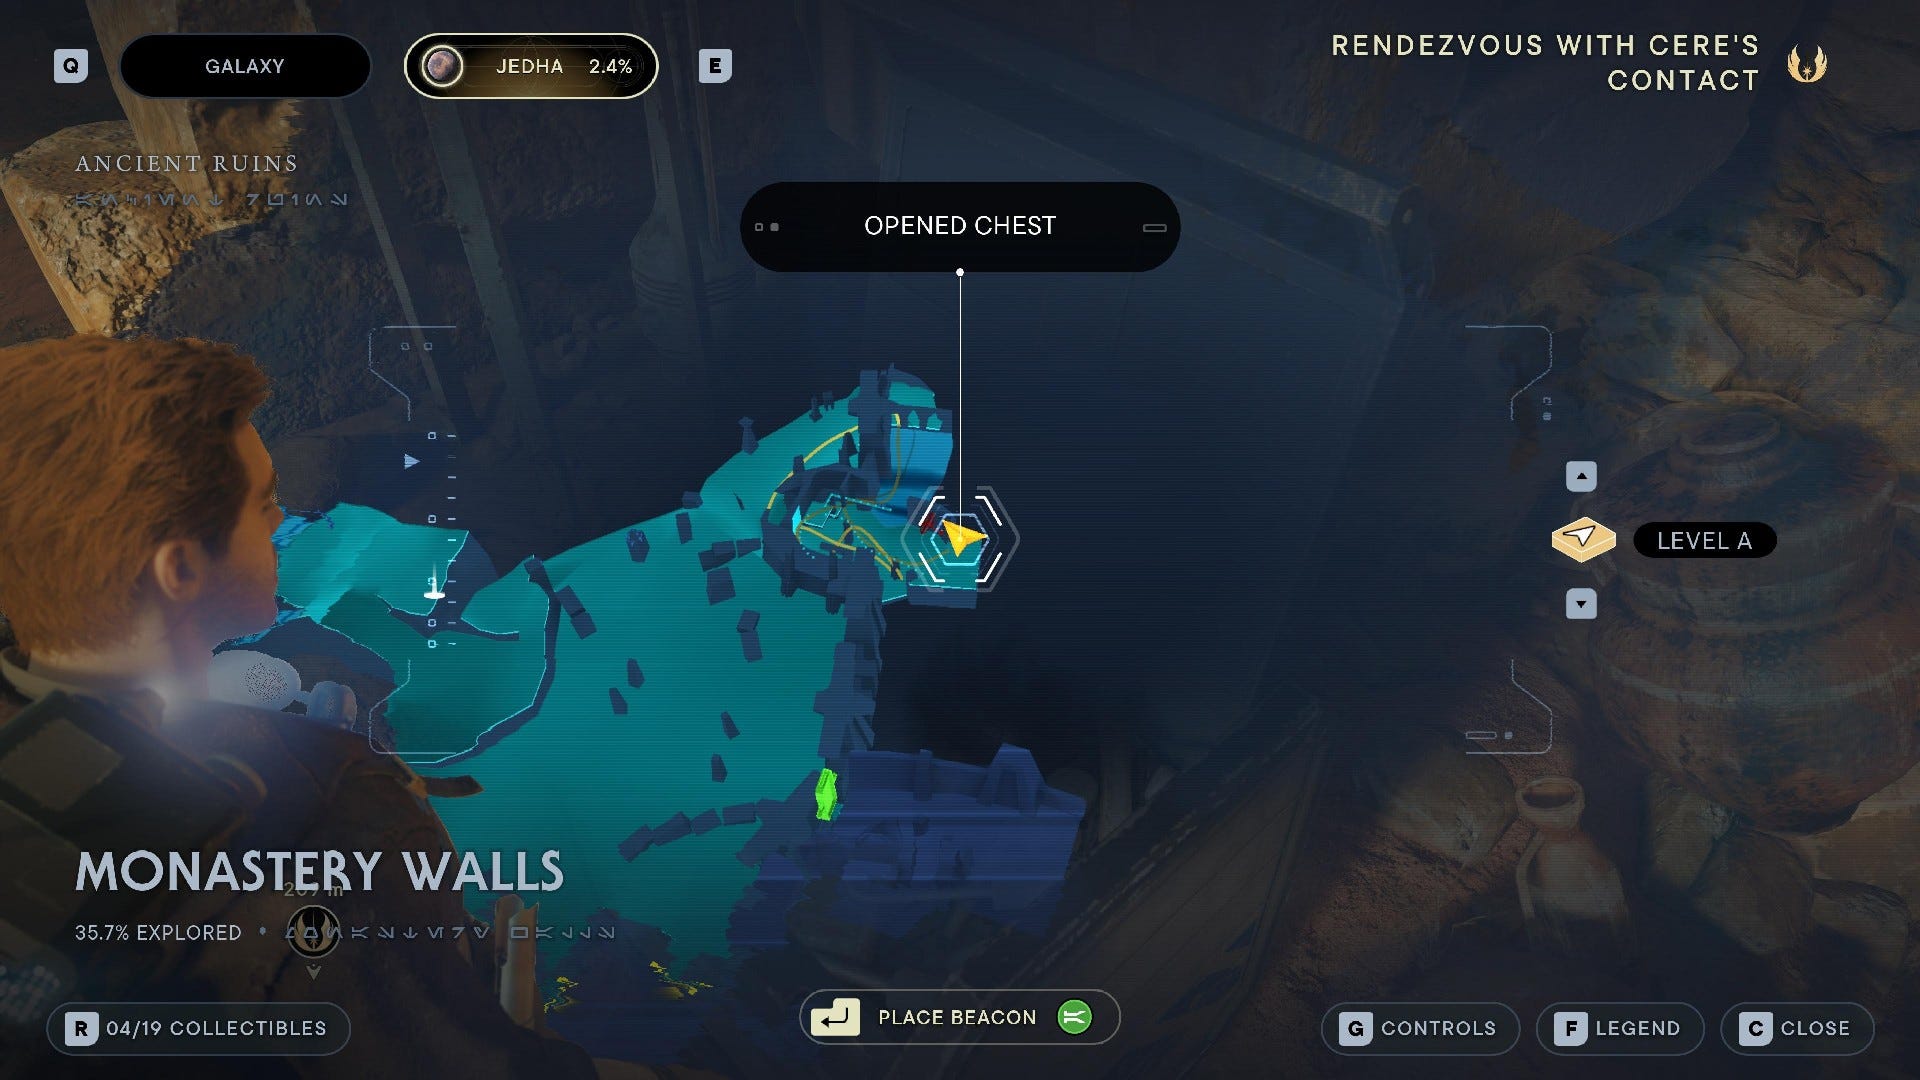
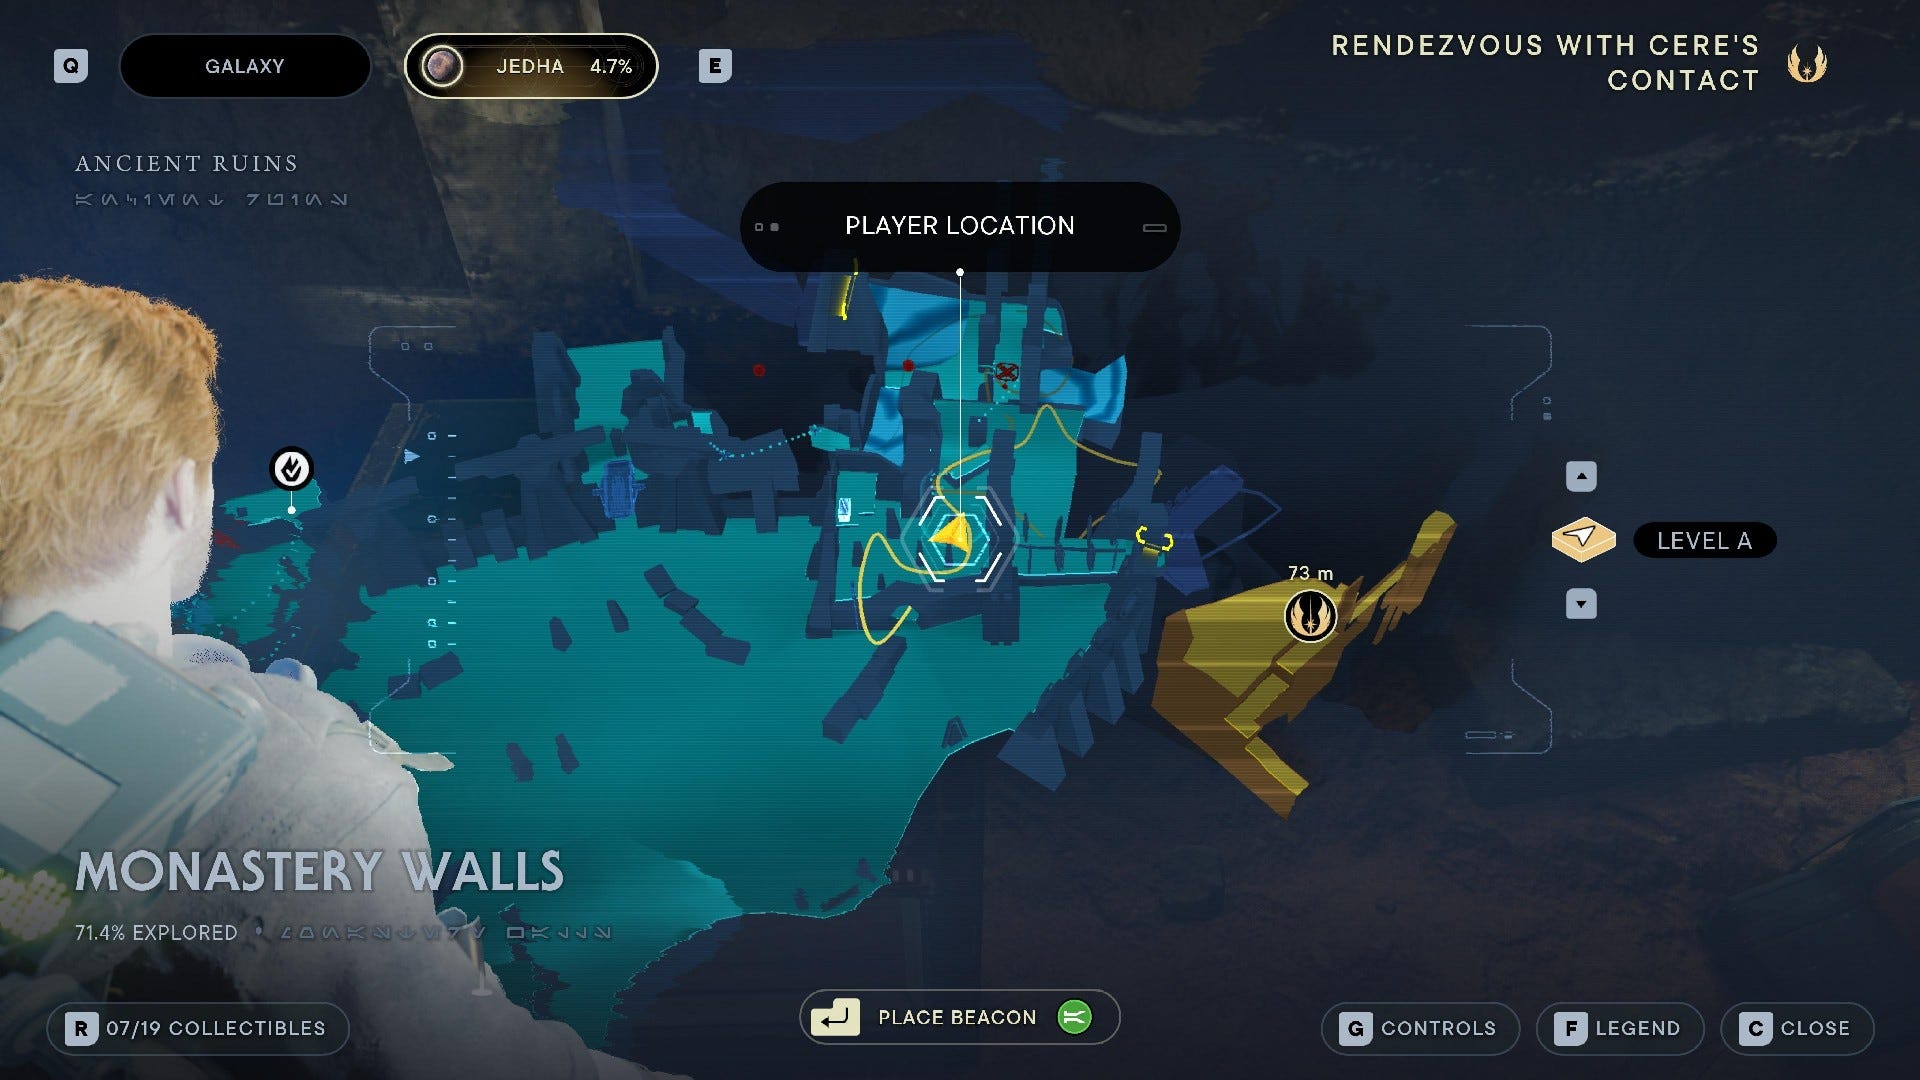
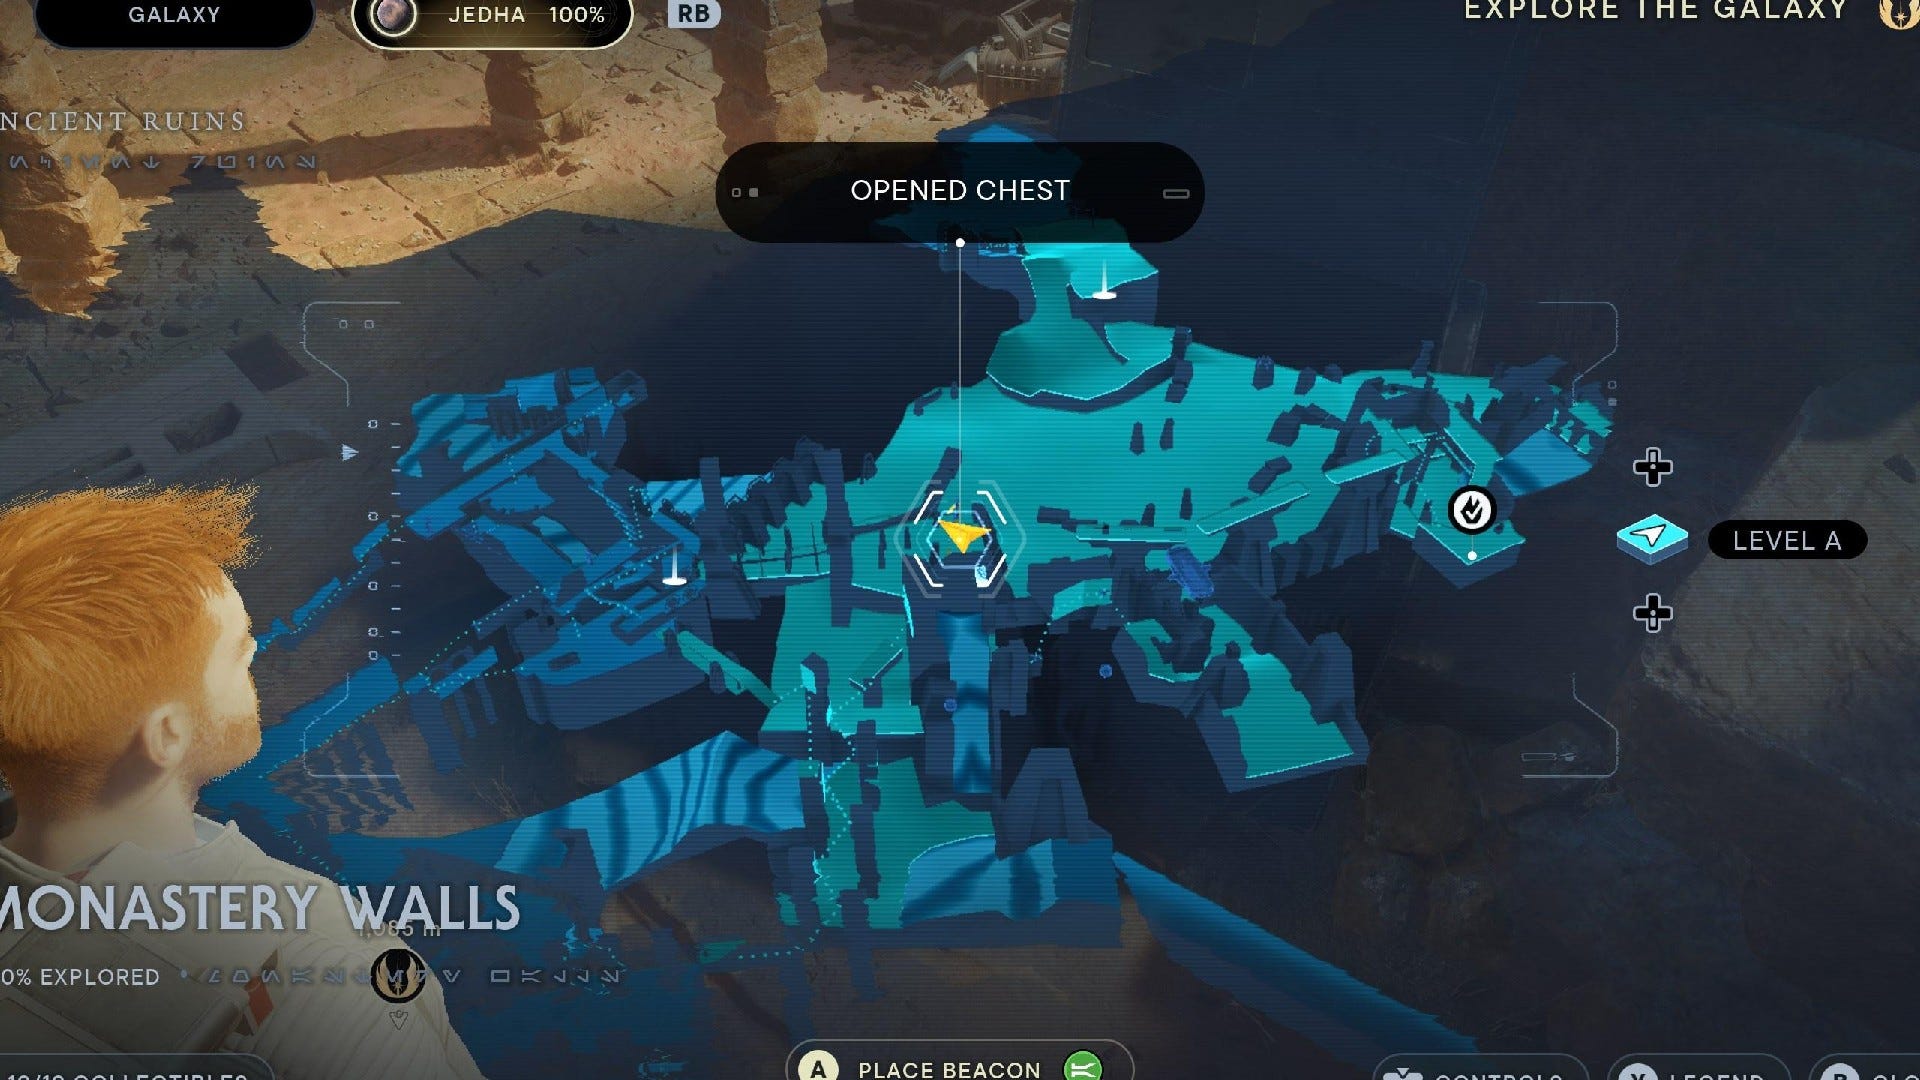
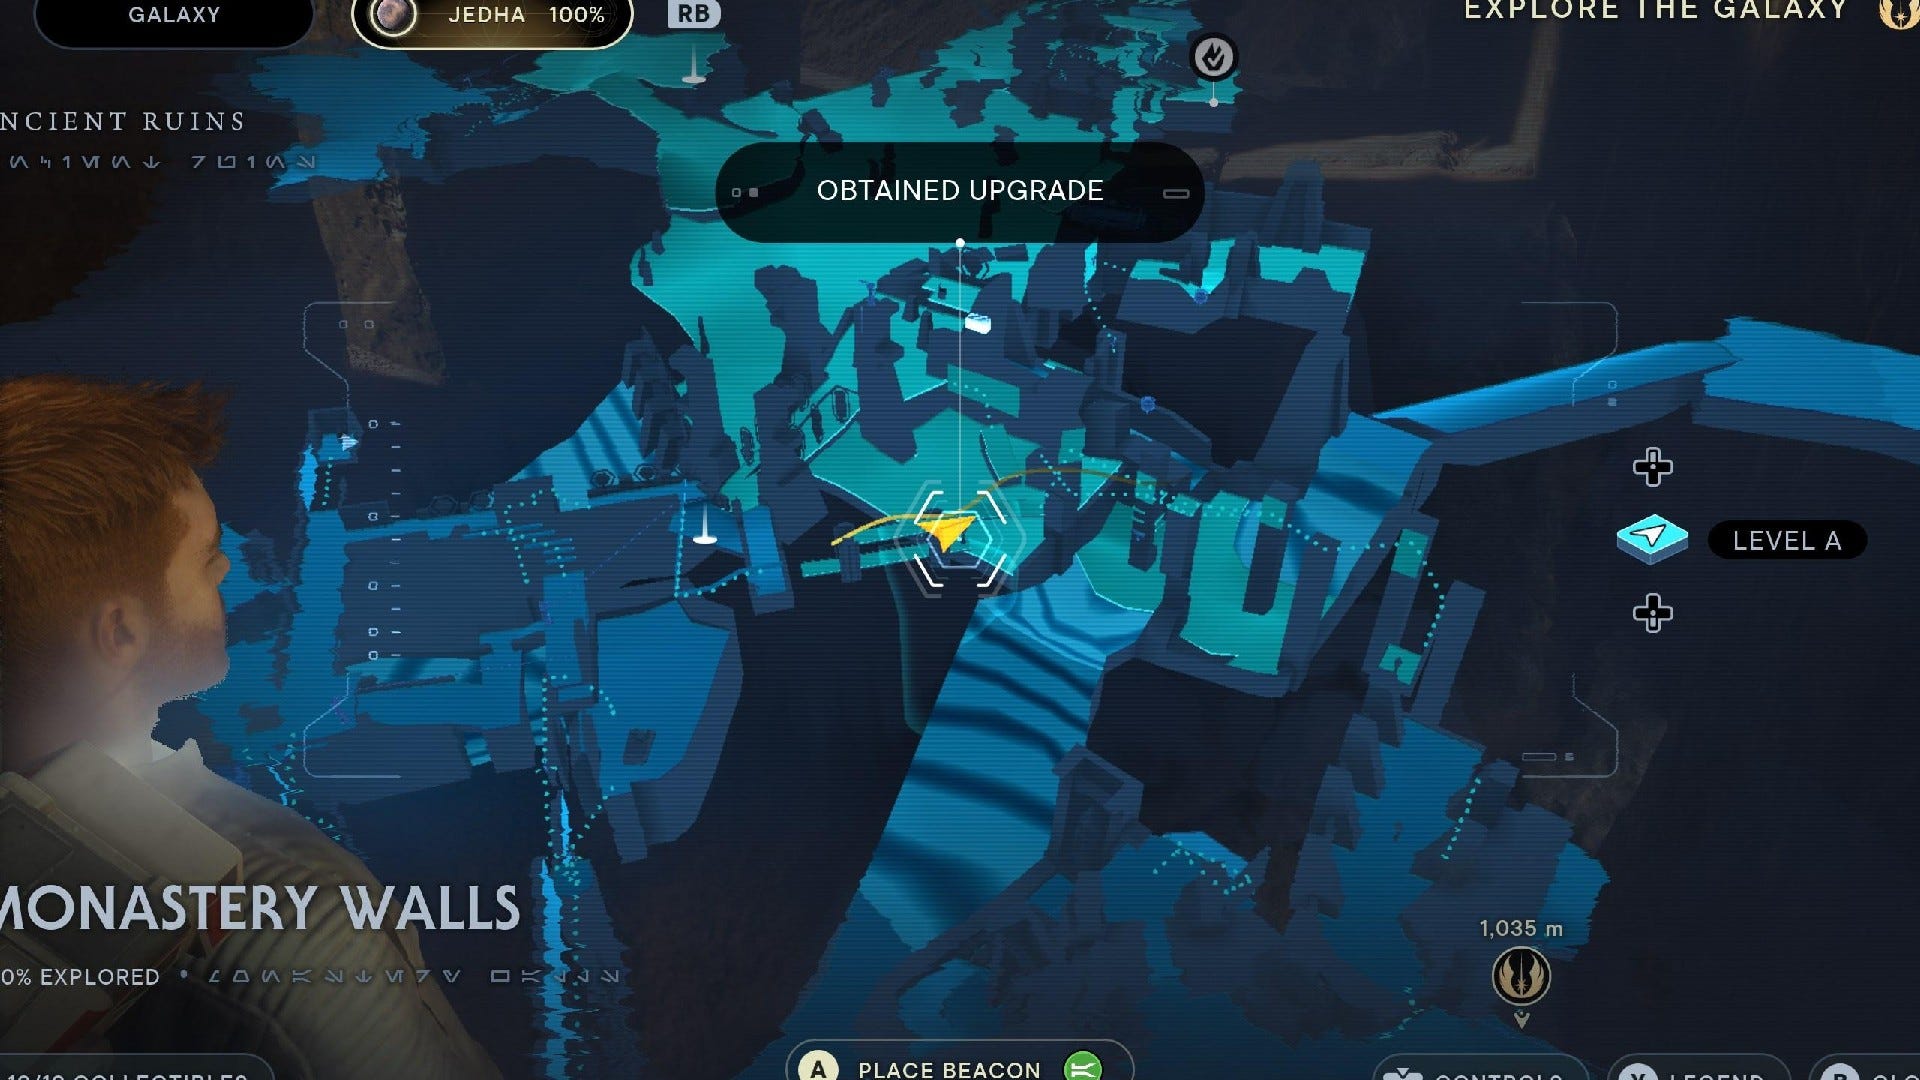
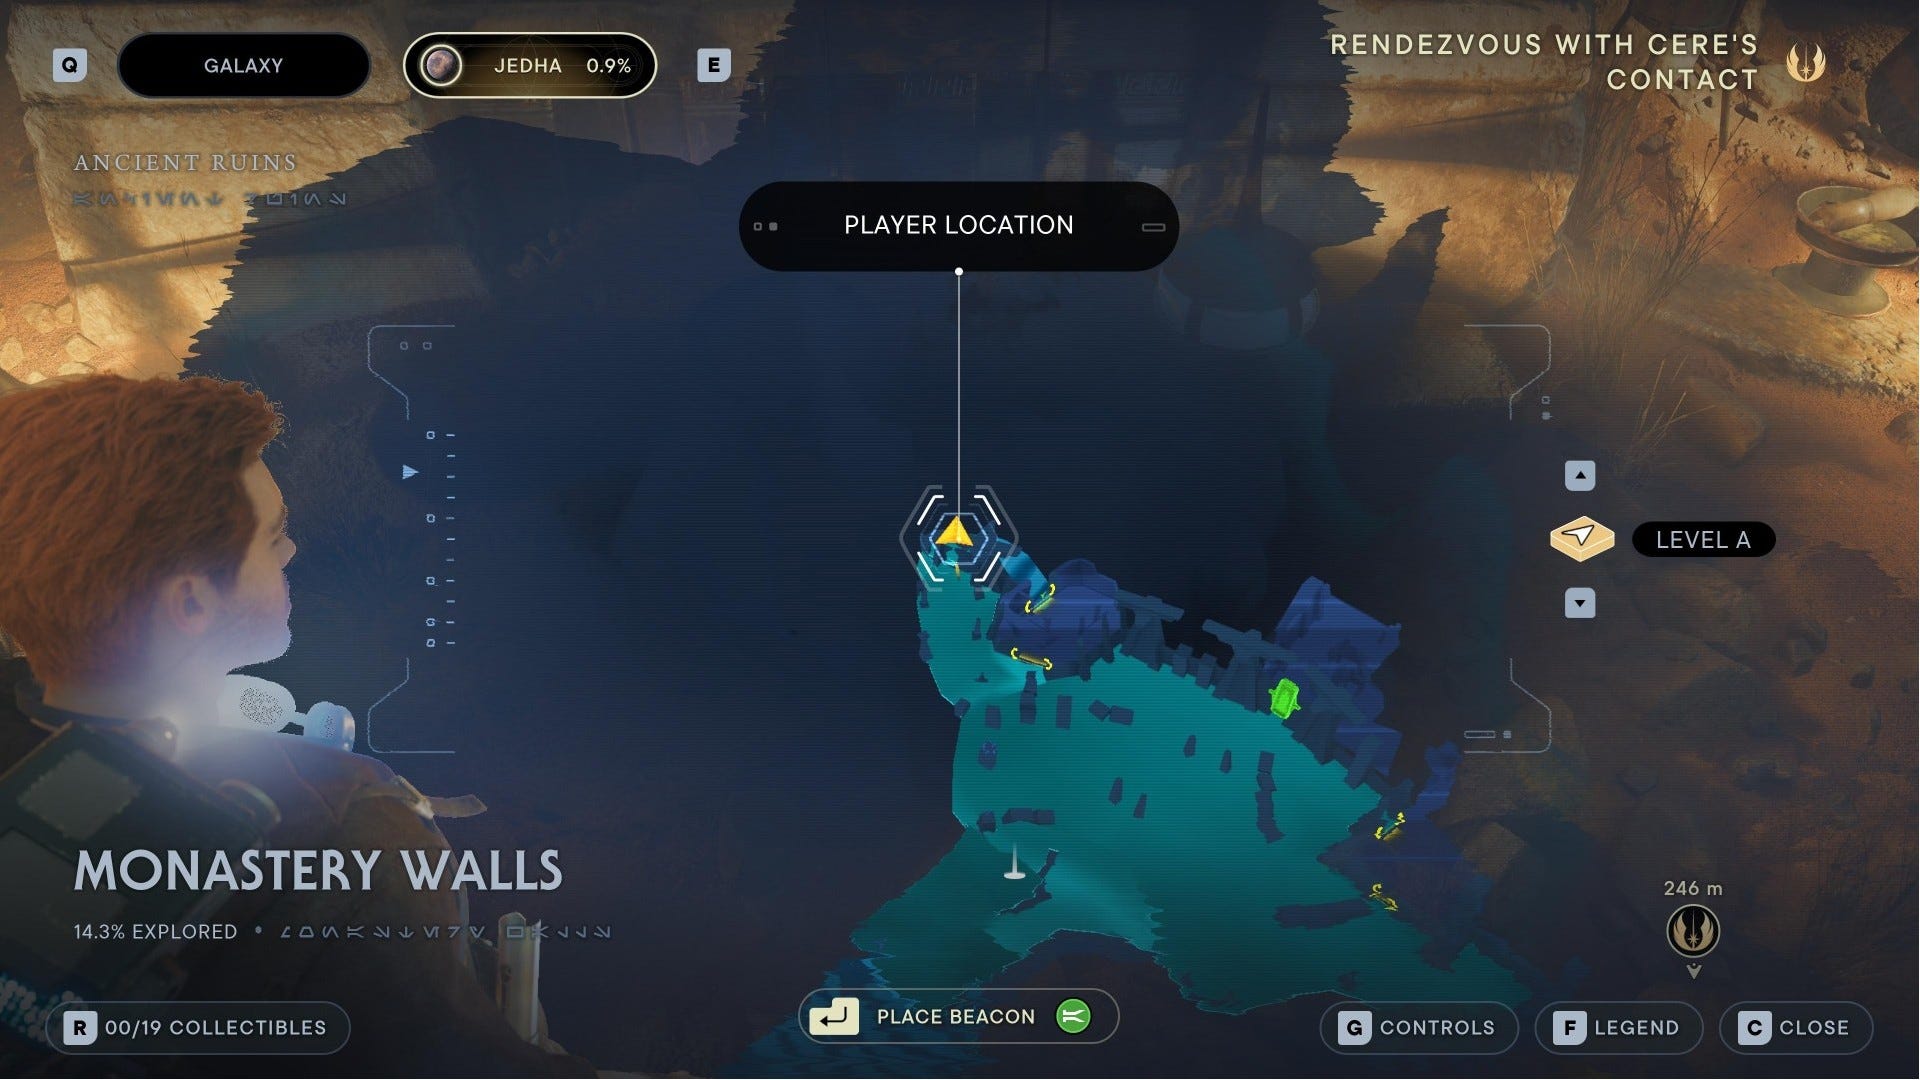
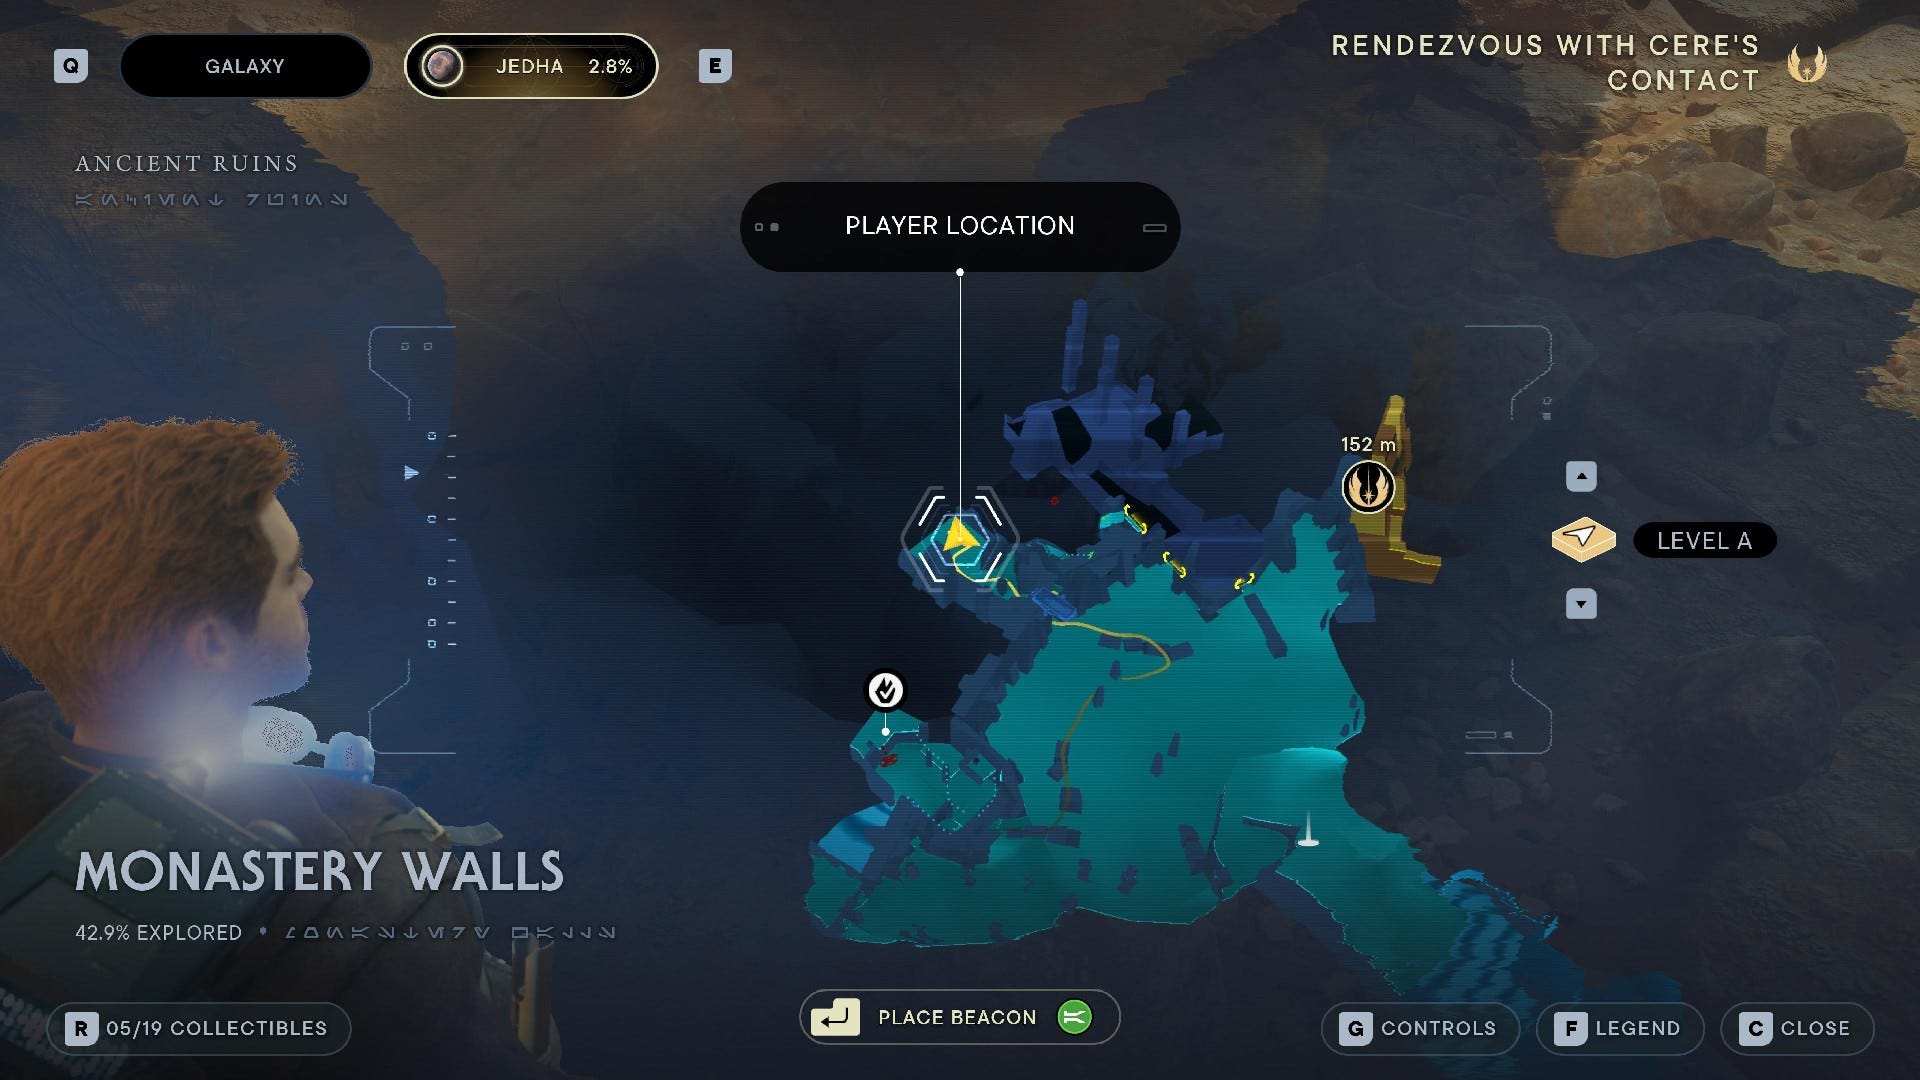
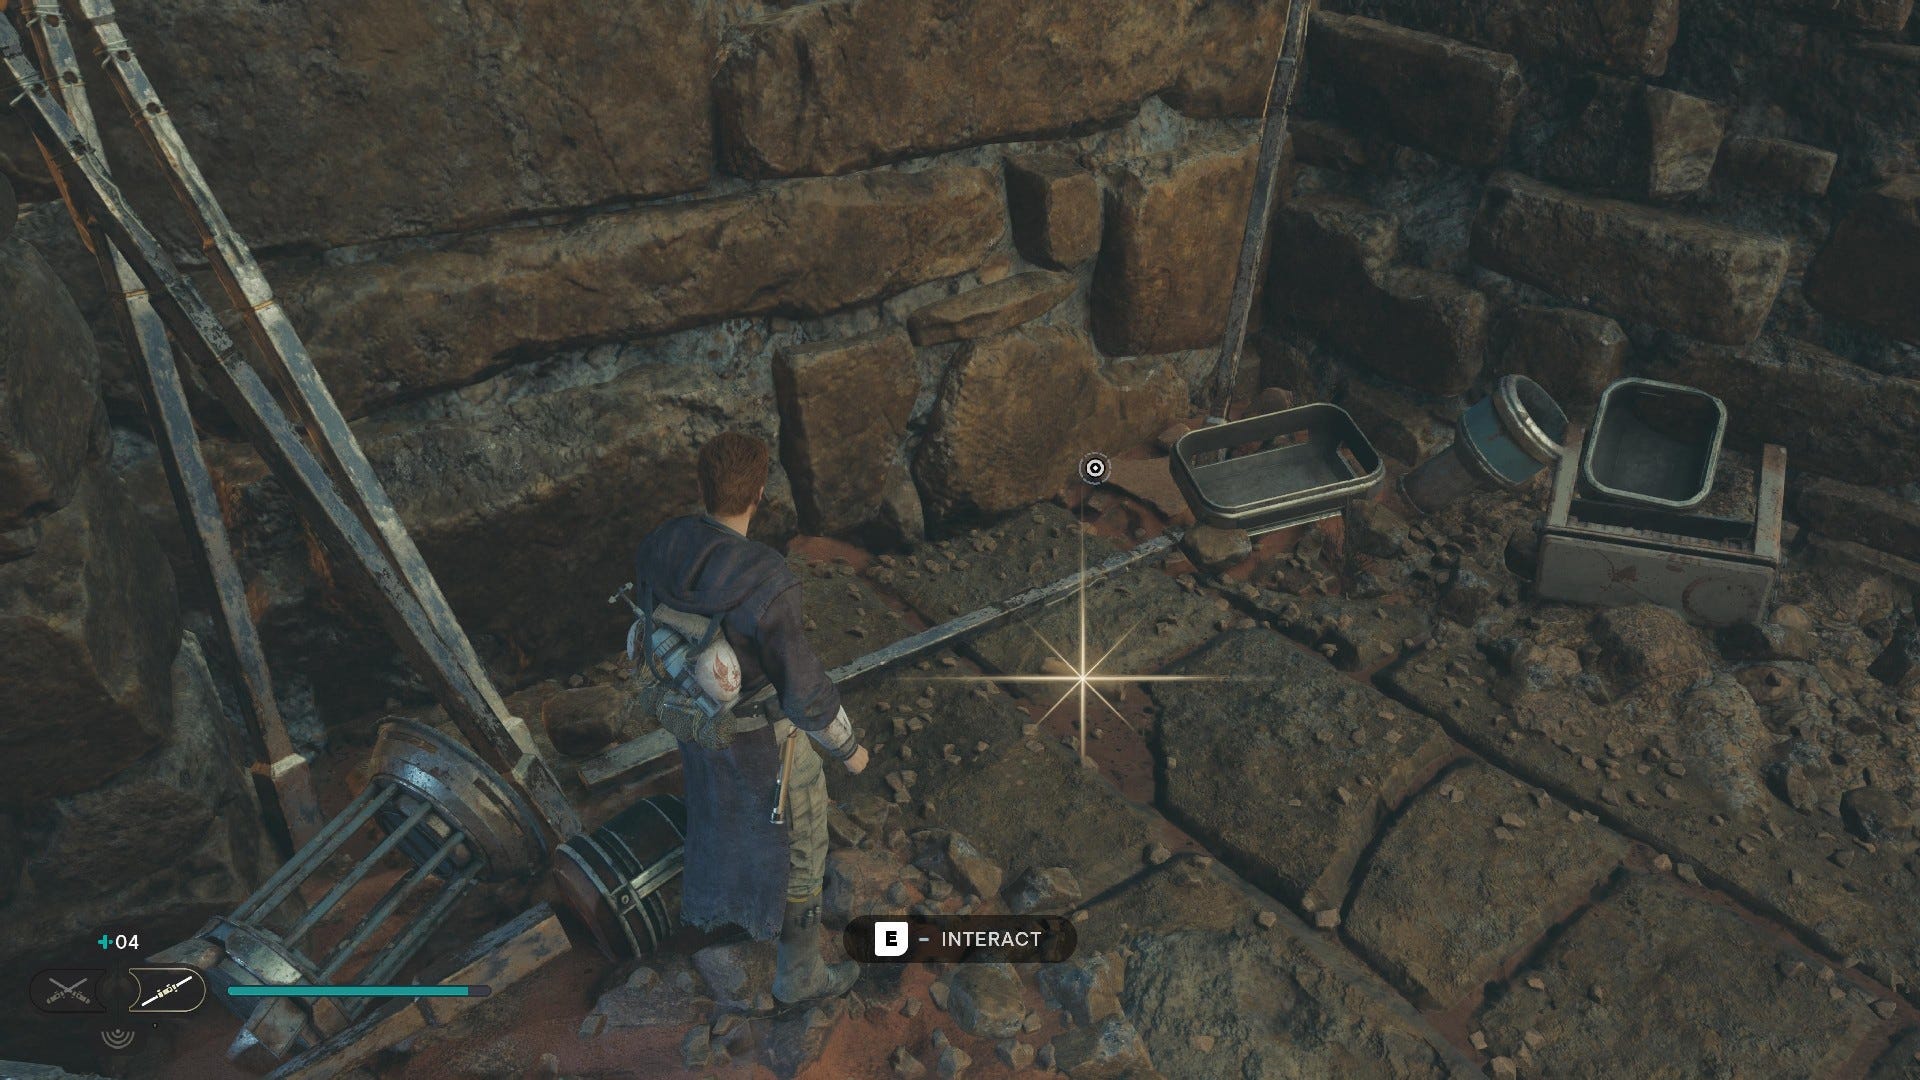
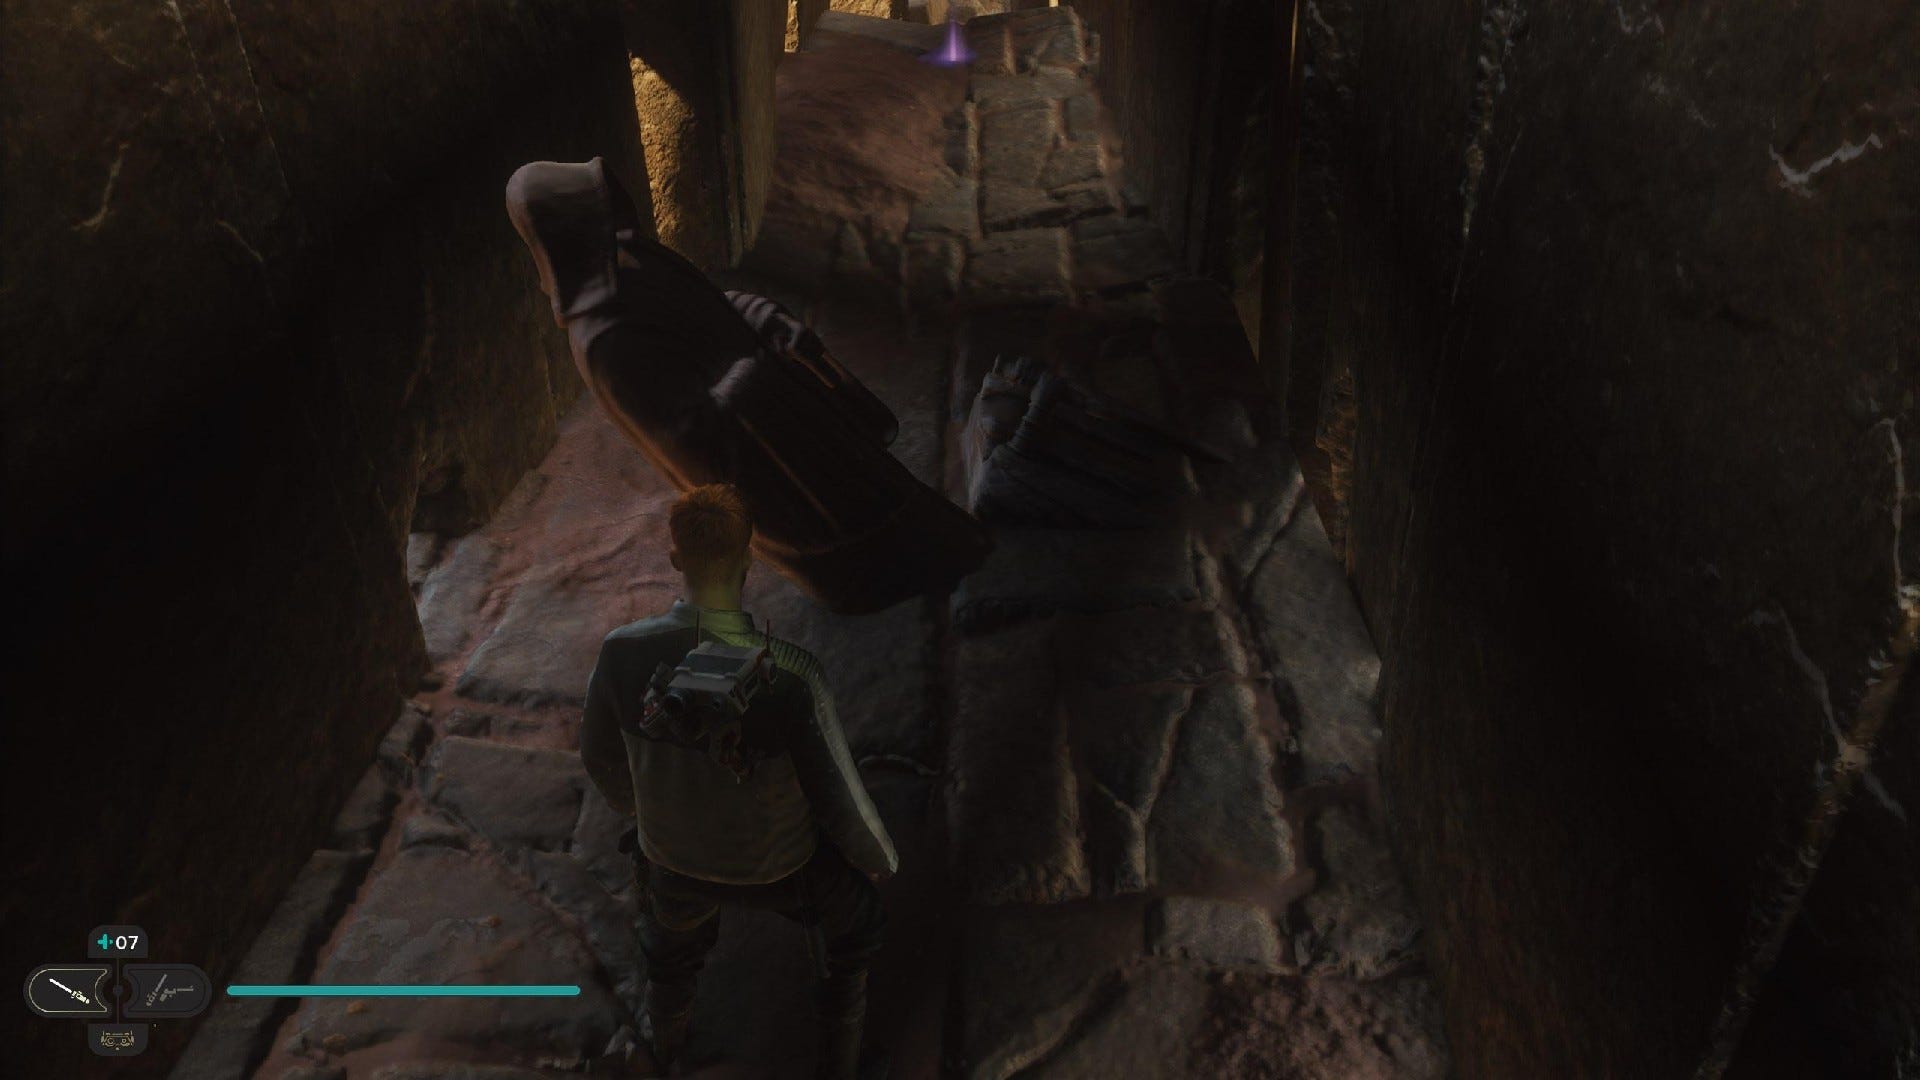
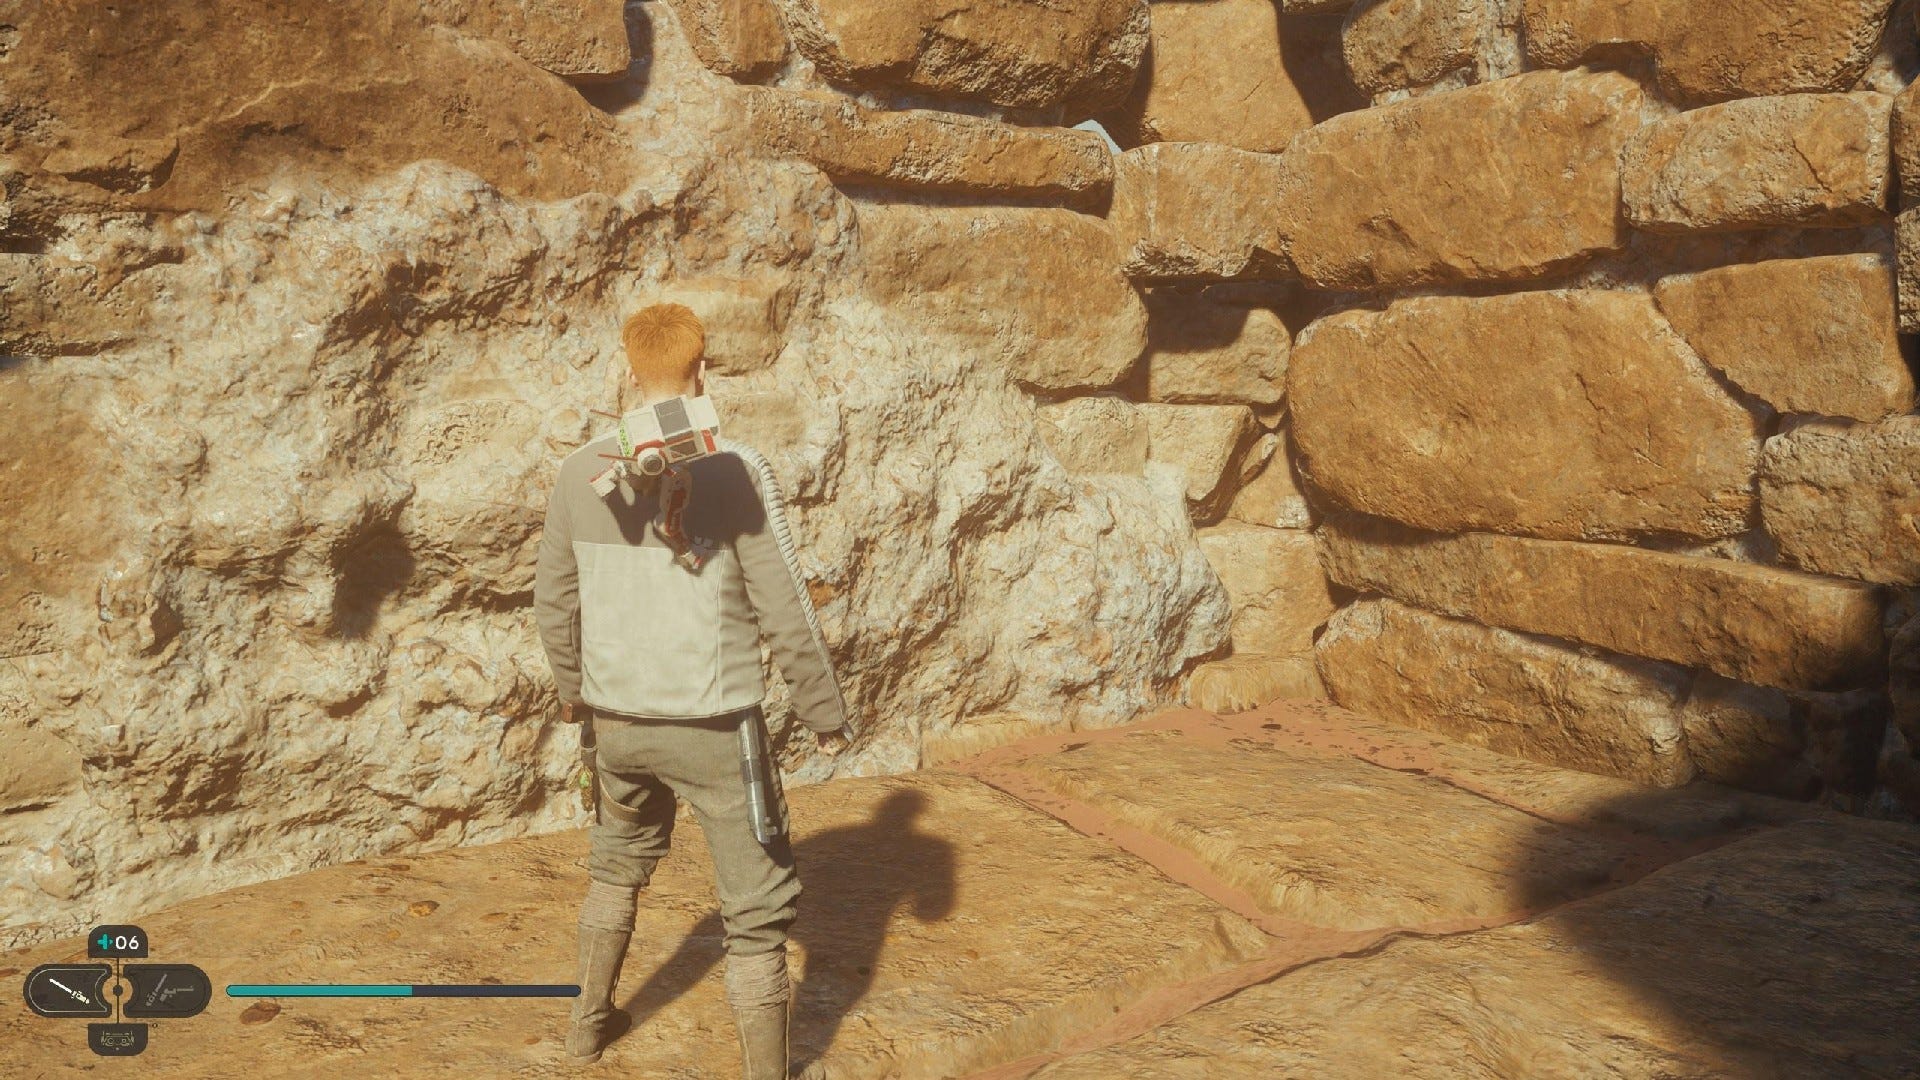
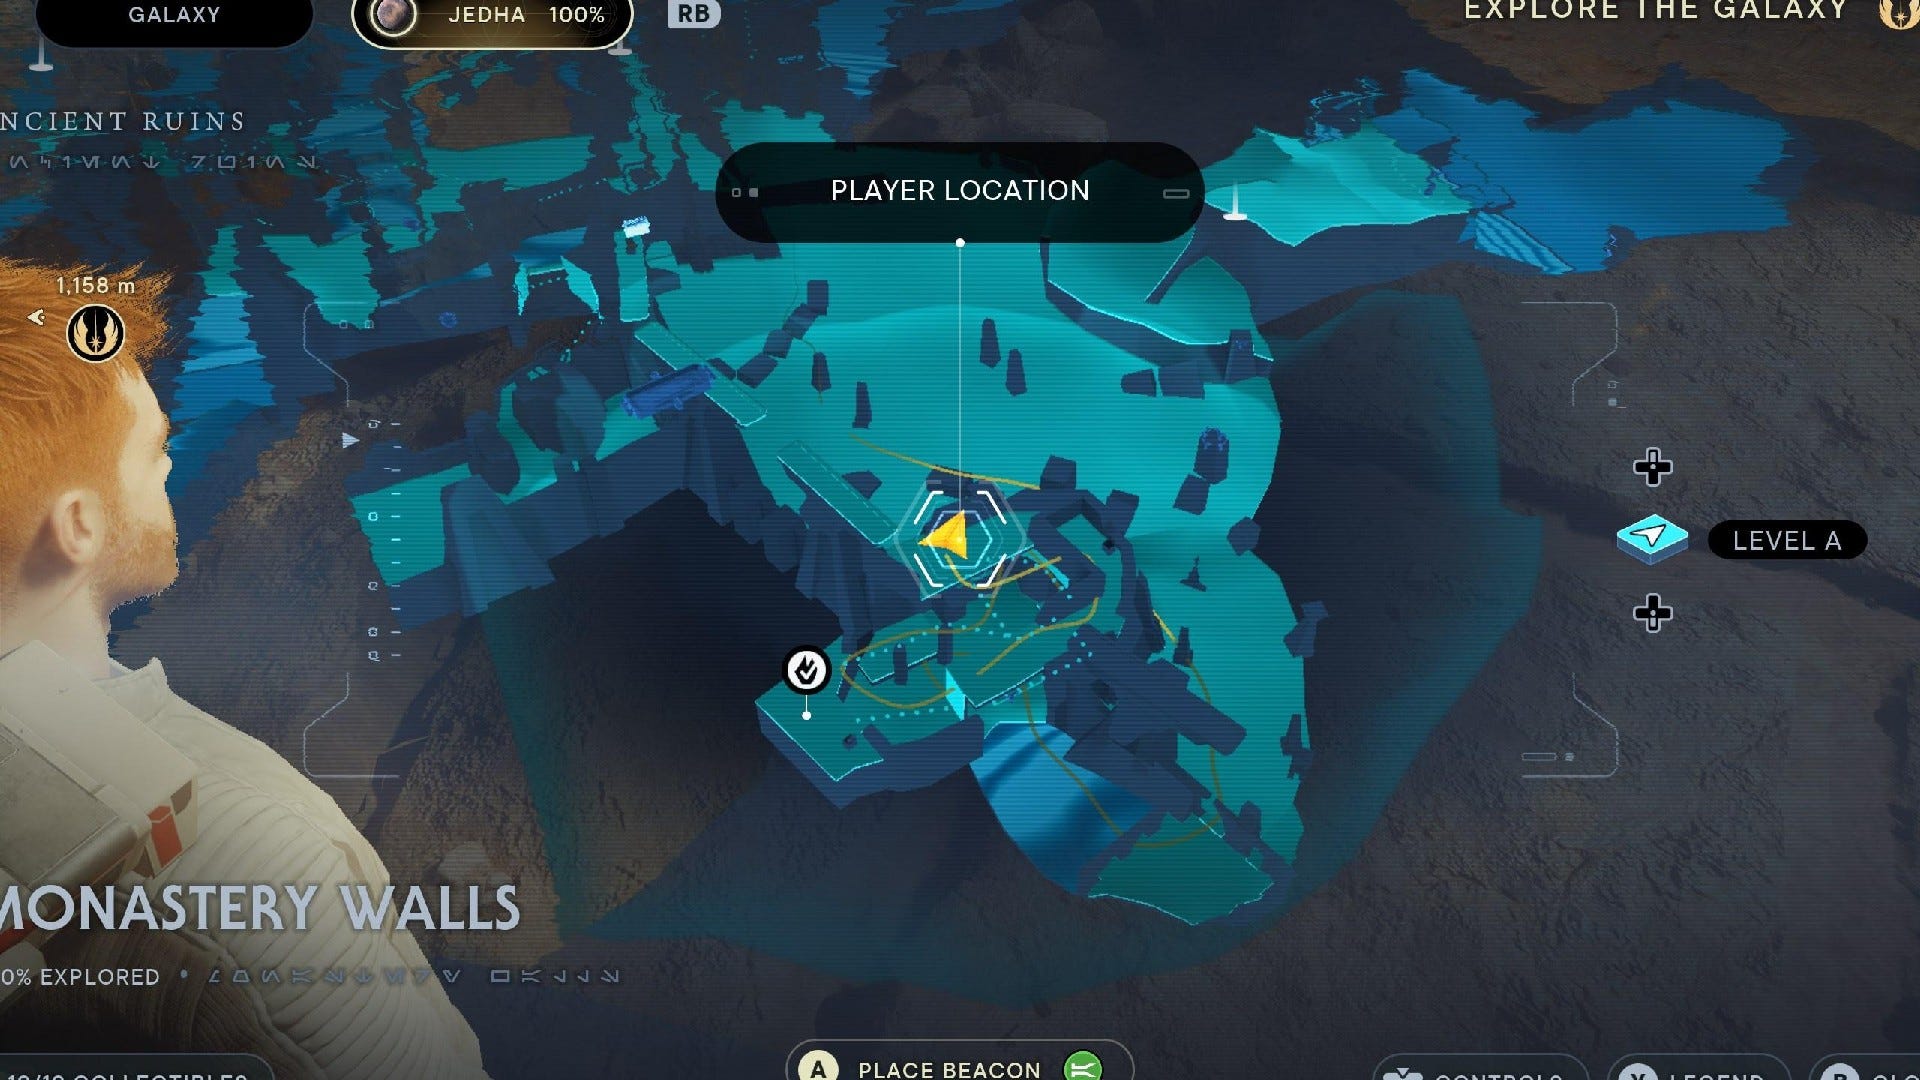
Monastery Walls collectibles
Monastery Walls is the first area you'll explore upon landing on Jedha. It has 19 collectibles:
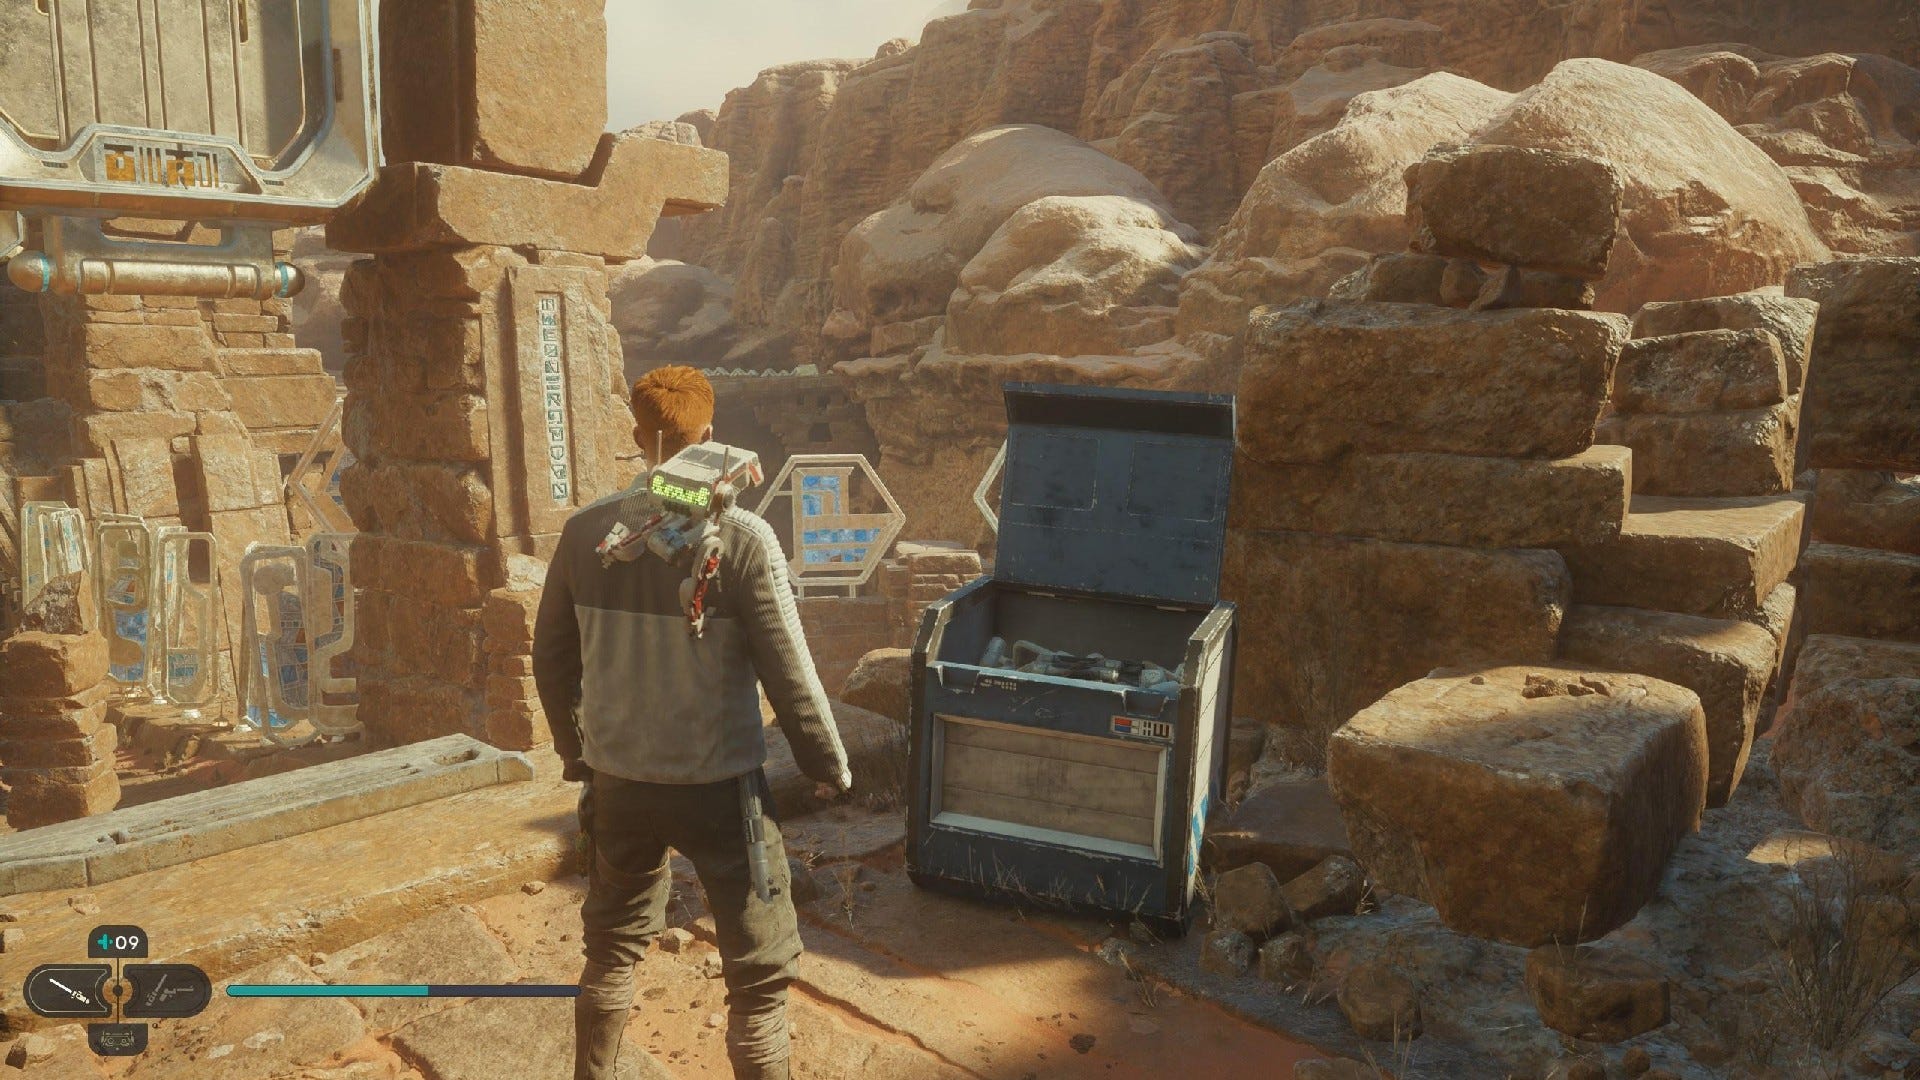
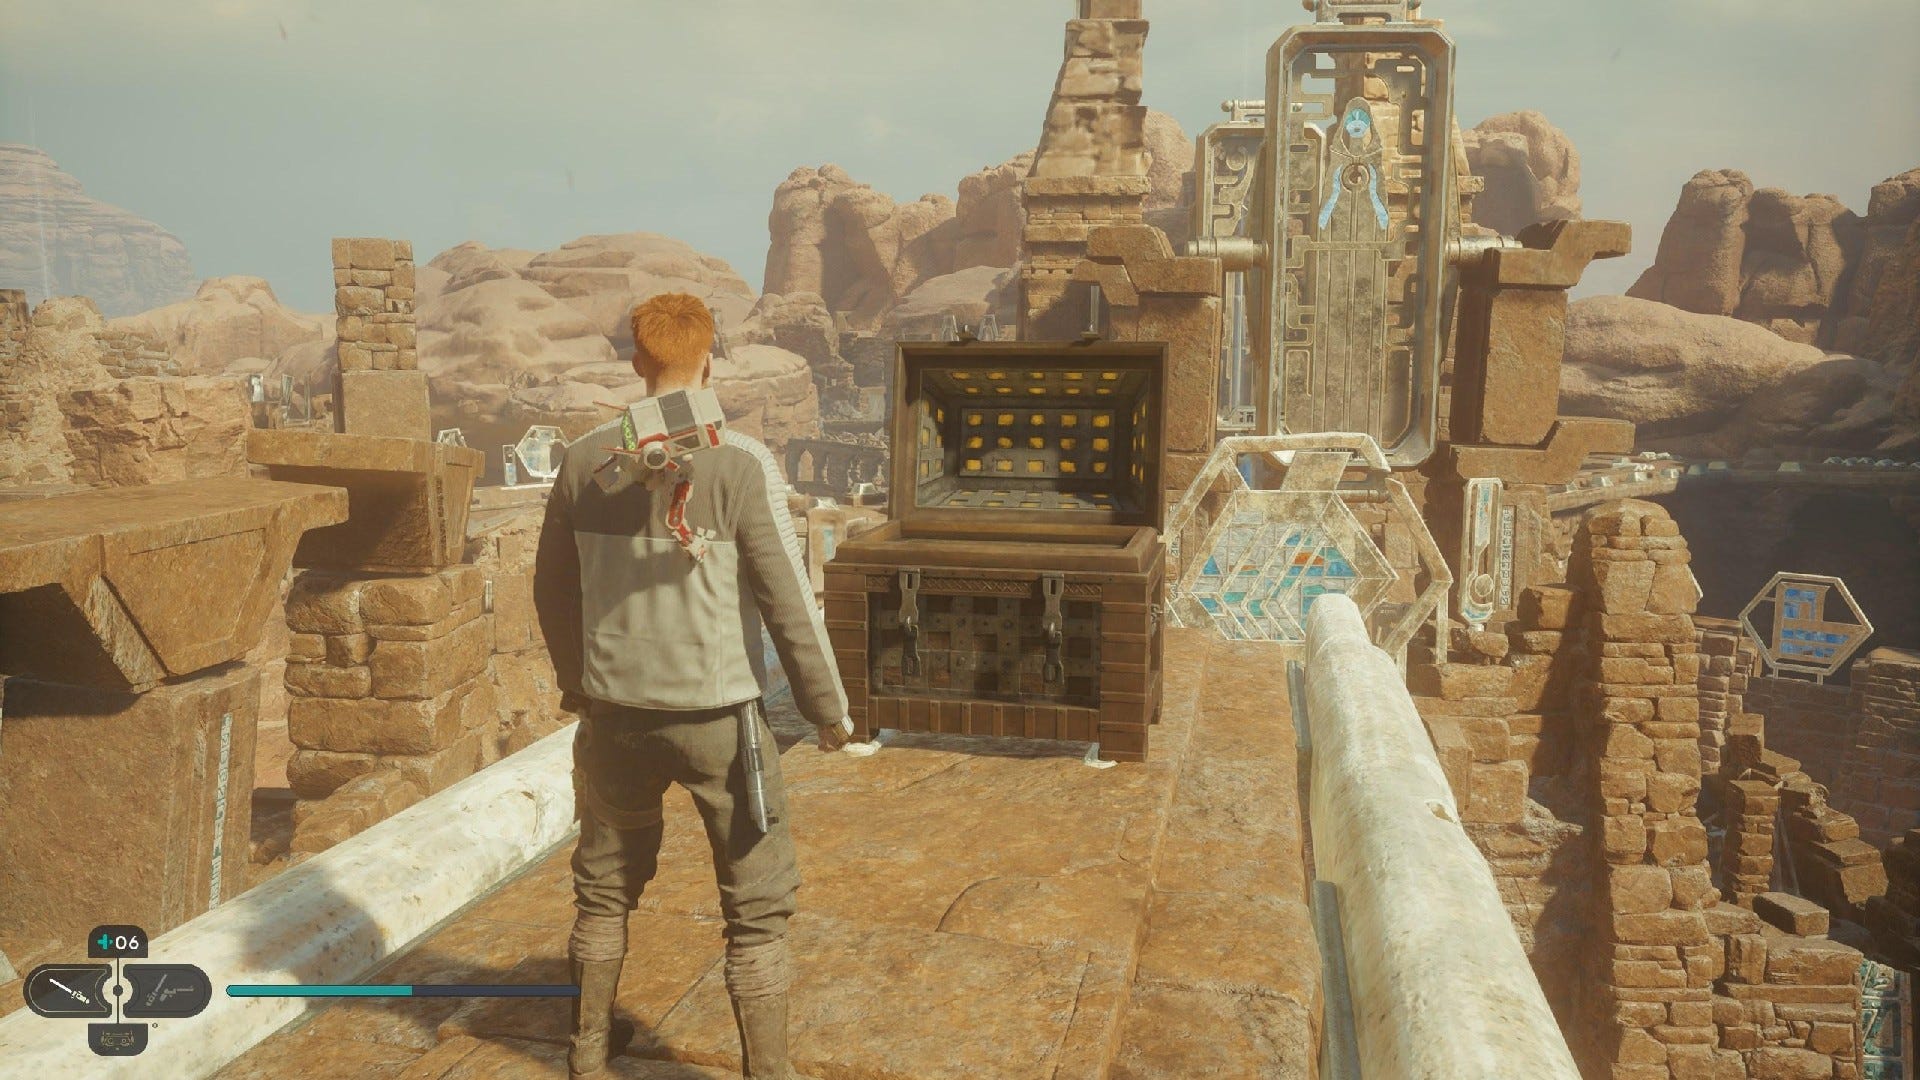
Monastery Walls Chests:

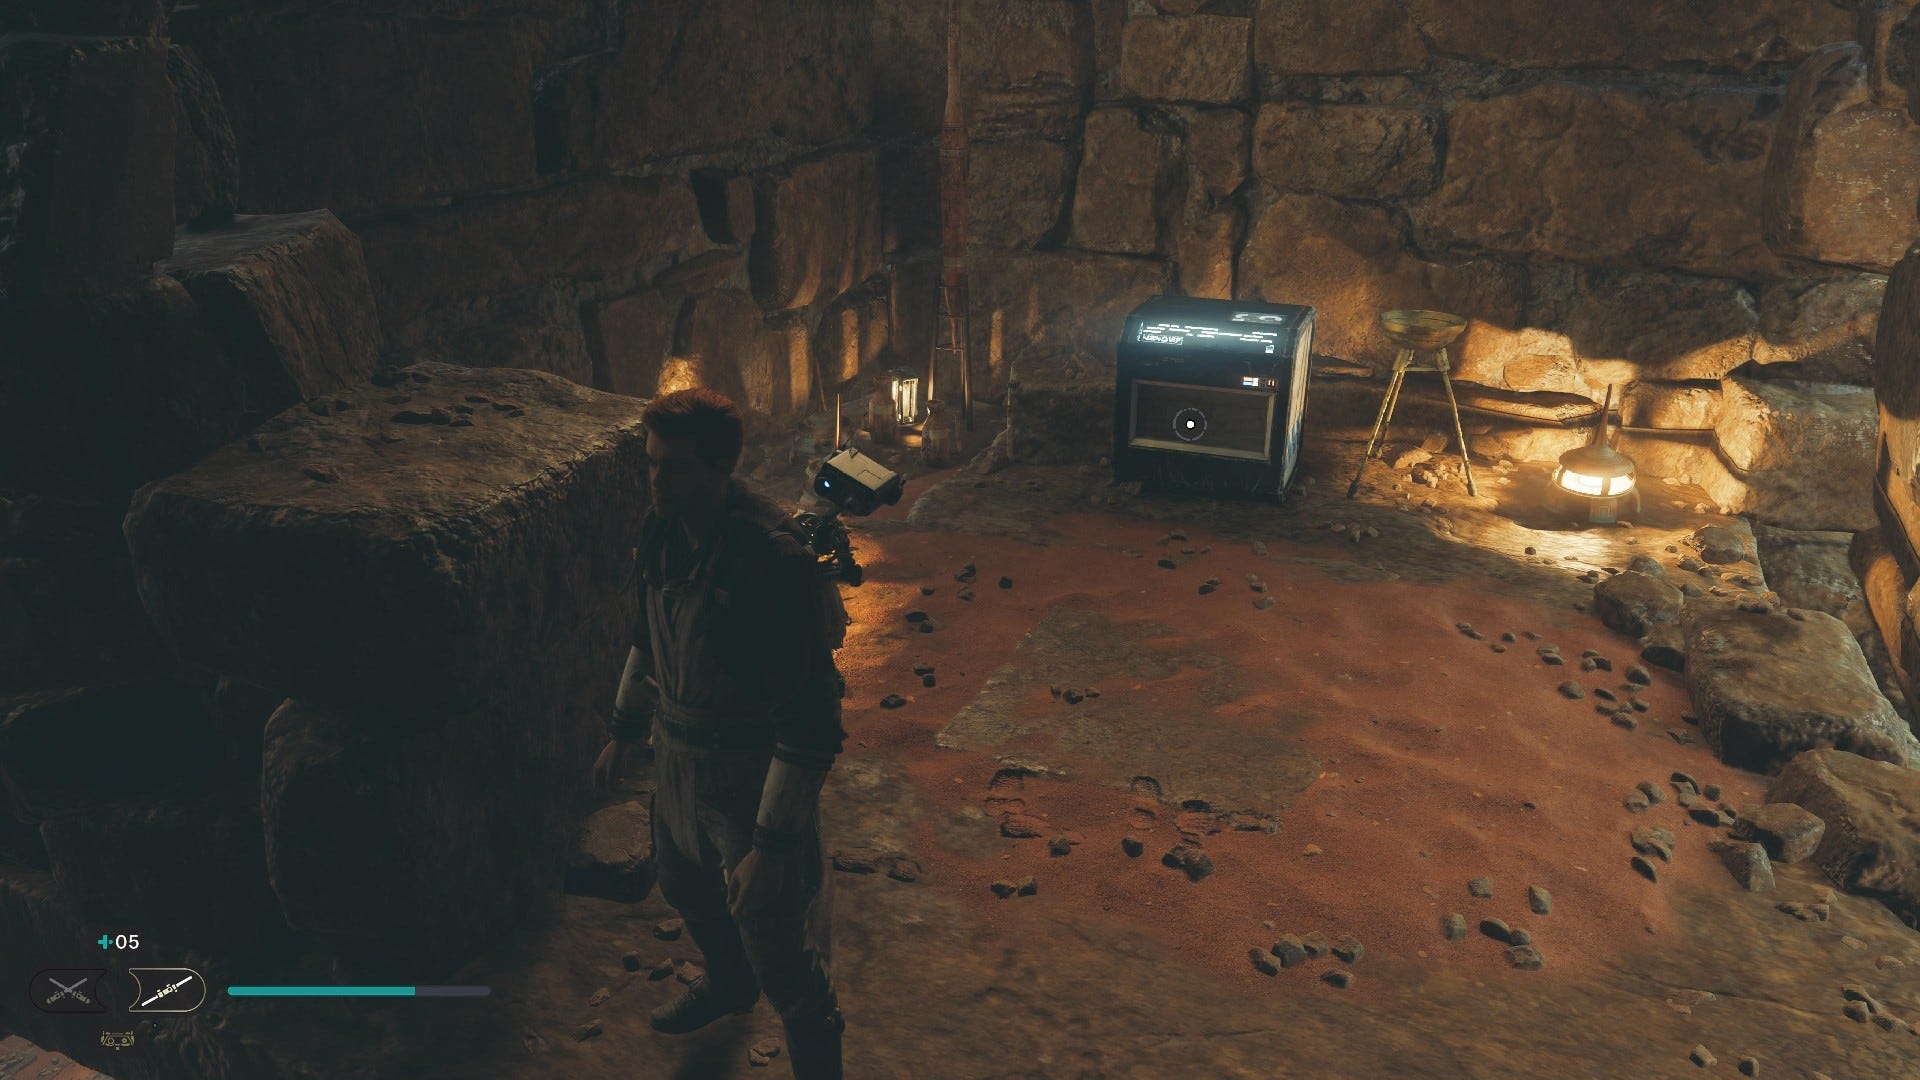
Chest #1 (Nocular Head - BD-1): Hug the left wall on your way across the sand below the Meditation Point. In the far corner, head up the ledge and past the group of Hardshells. From there slide down the slope but grapple up before you reach the end. Follow the path around to the chest.

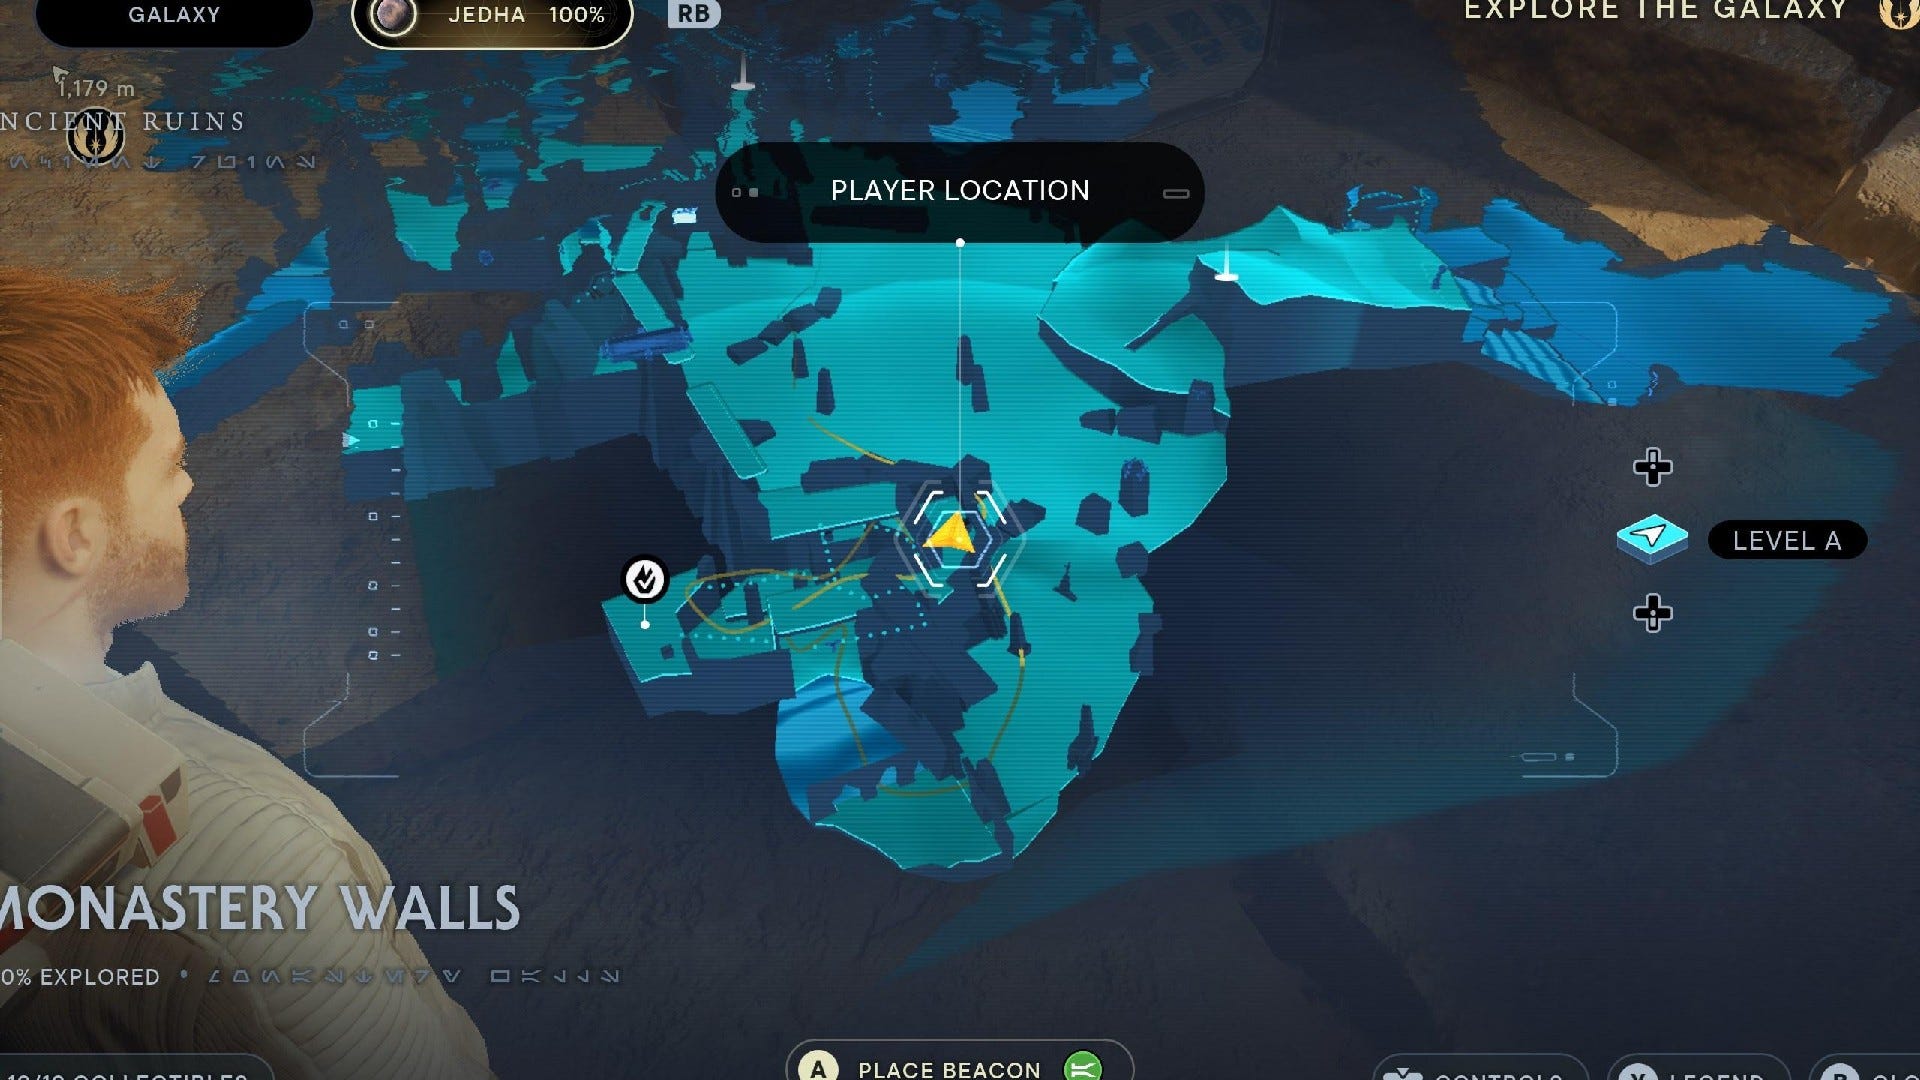
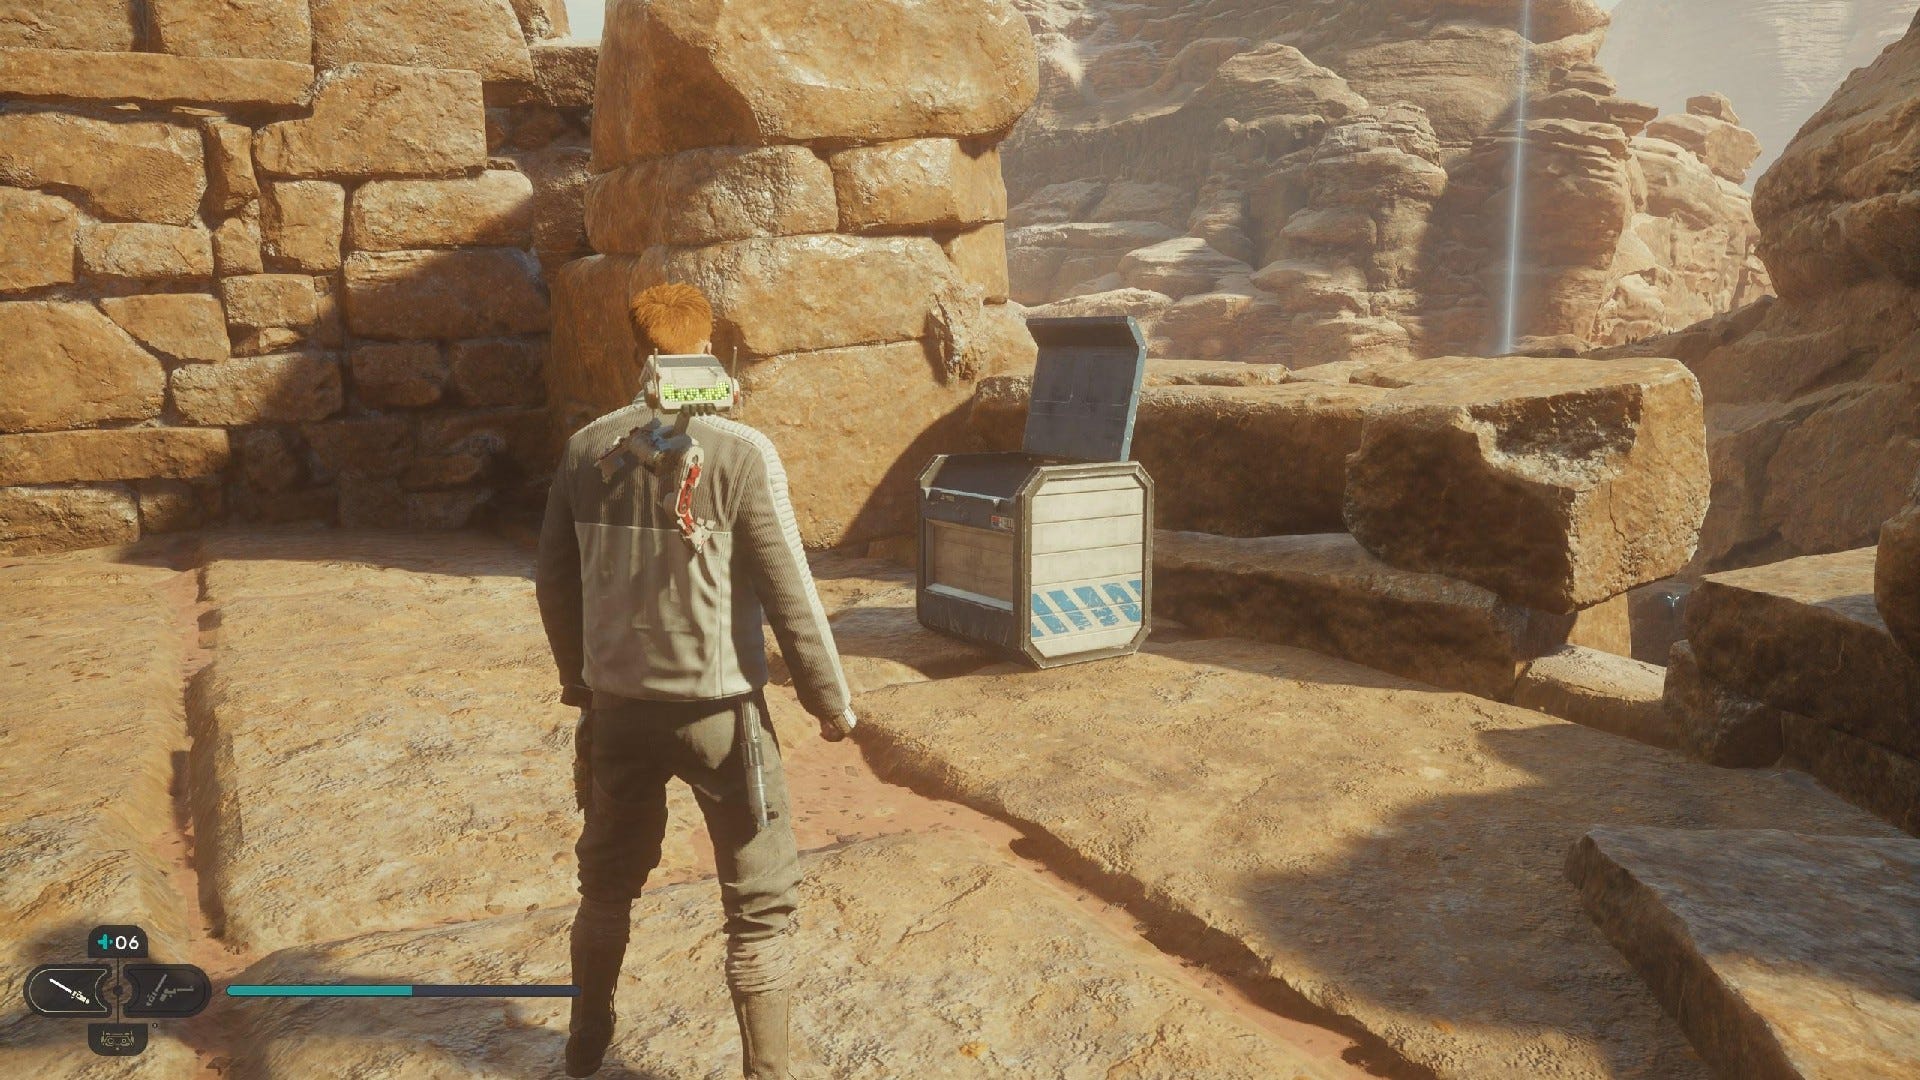
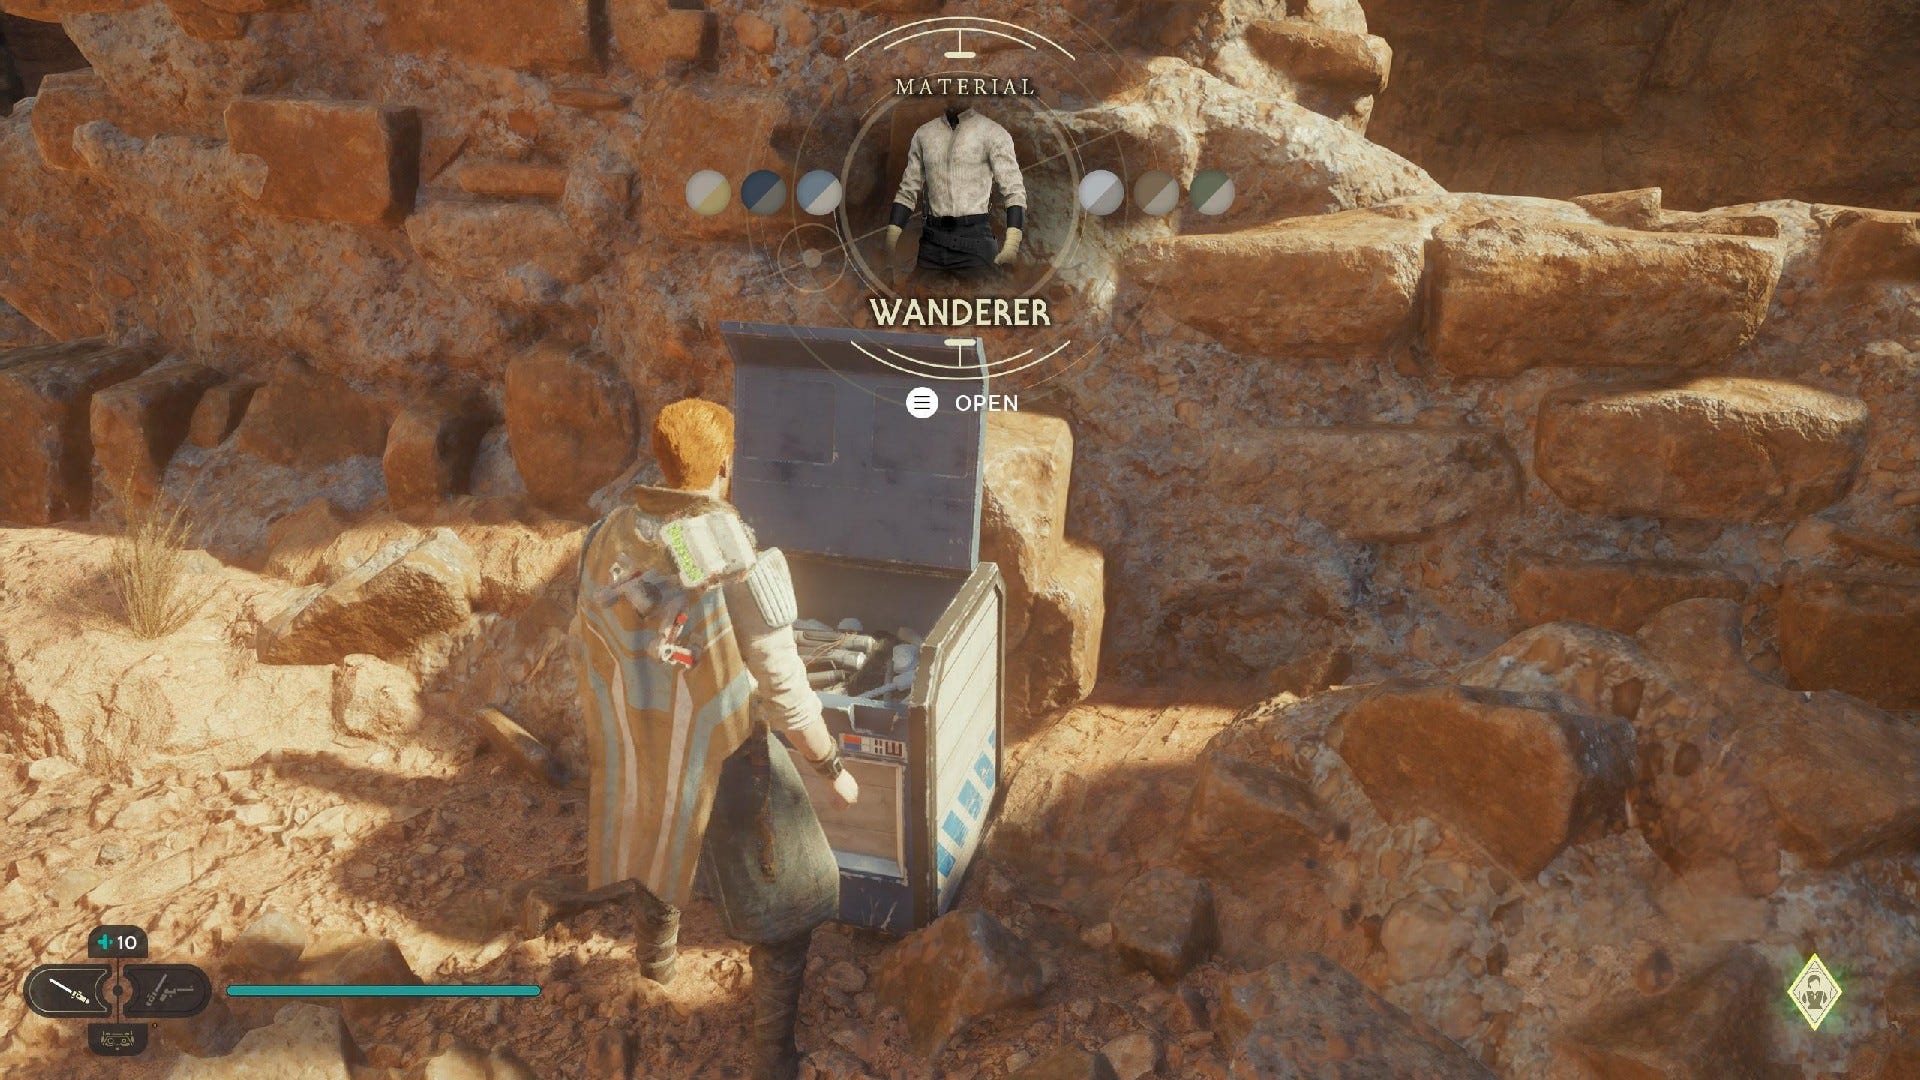
Chest #2 (Wanderer Shirt): Hug the left wall on your way across the sand below the Meditation Point. In the far corner, head up the ledge and past the group of Hardshells. From there slide down the slope but grapple up before you reach the end. Hop across the pillar tops to the other platform.

Chest #3 (Nocular Audio Sensors - BD-1): In the opening to the right of the large gate, guarded by stormtroopers.
Chest #4 (Nocular Photoreceptors - BD-1): Use the nearby podiums to hop up to the ledge above the Monastery Walls Workbench.
Chest #5 (Wanderer Materials): Hop up to the Force Tear above the Sutaban and Stormtroopers fighting and then turn back to see a climbable wall nearby. Dash across the gap to reach it and parkour up to find this Chest.
Chest #6 (Skeleton Key Blaster): Hop up to the Force Tear above the Sutaban and Stormtroopers fighting and then turn back to see a climbable wall nearby. Dash across the gap to reach it and parkour up to the ledge. Jump and dash over the nearby gap to find another ledge. Use the nearby wall-run to reach the walkway above and follow it along to find this Chest.
Monastery Walls Essences:
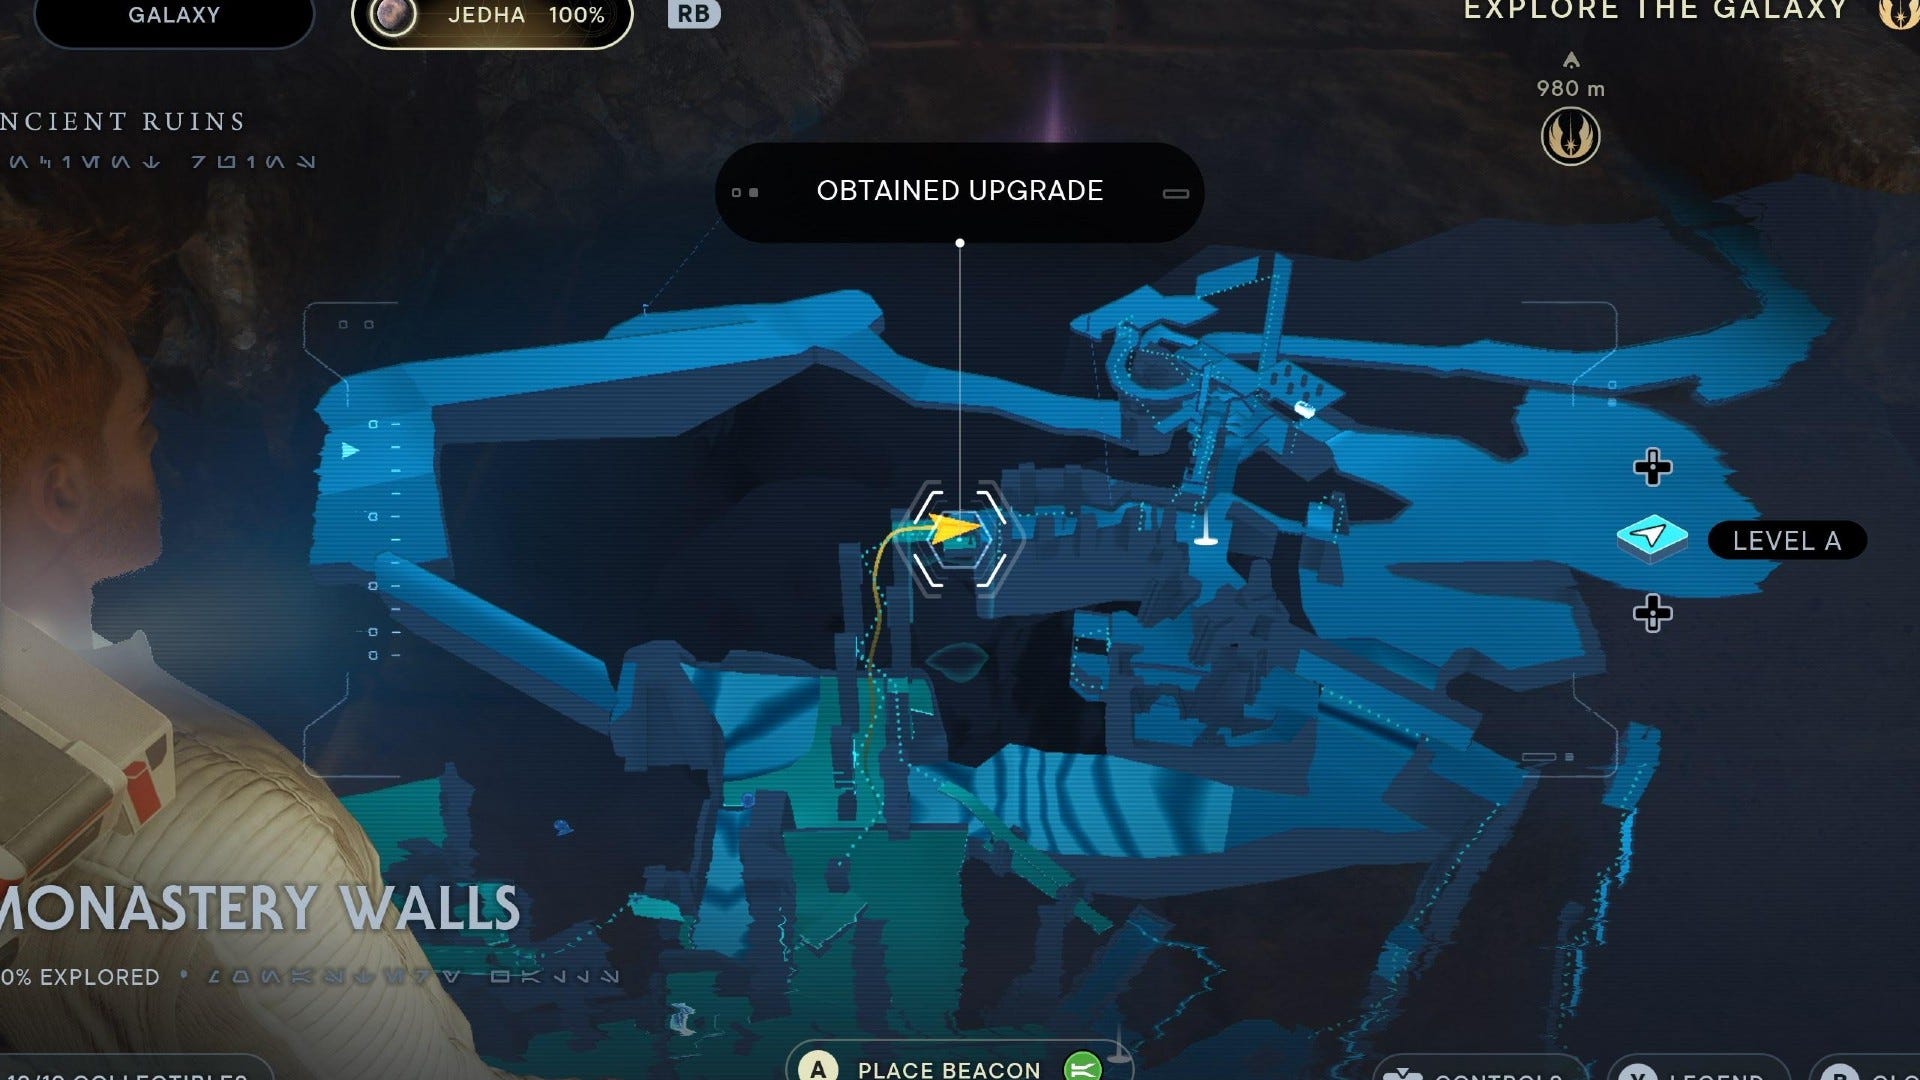
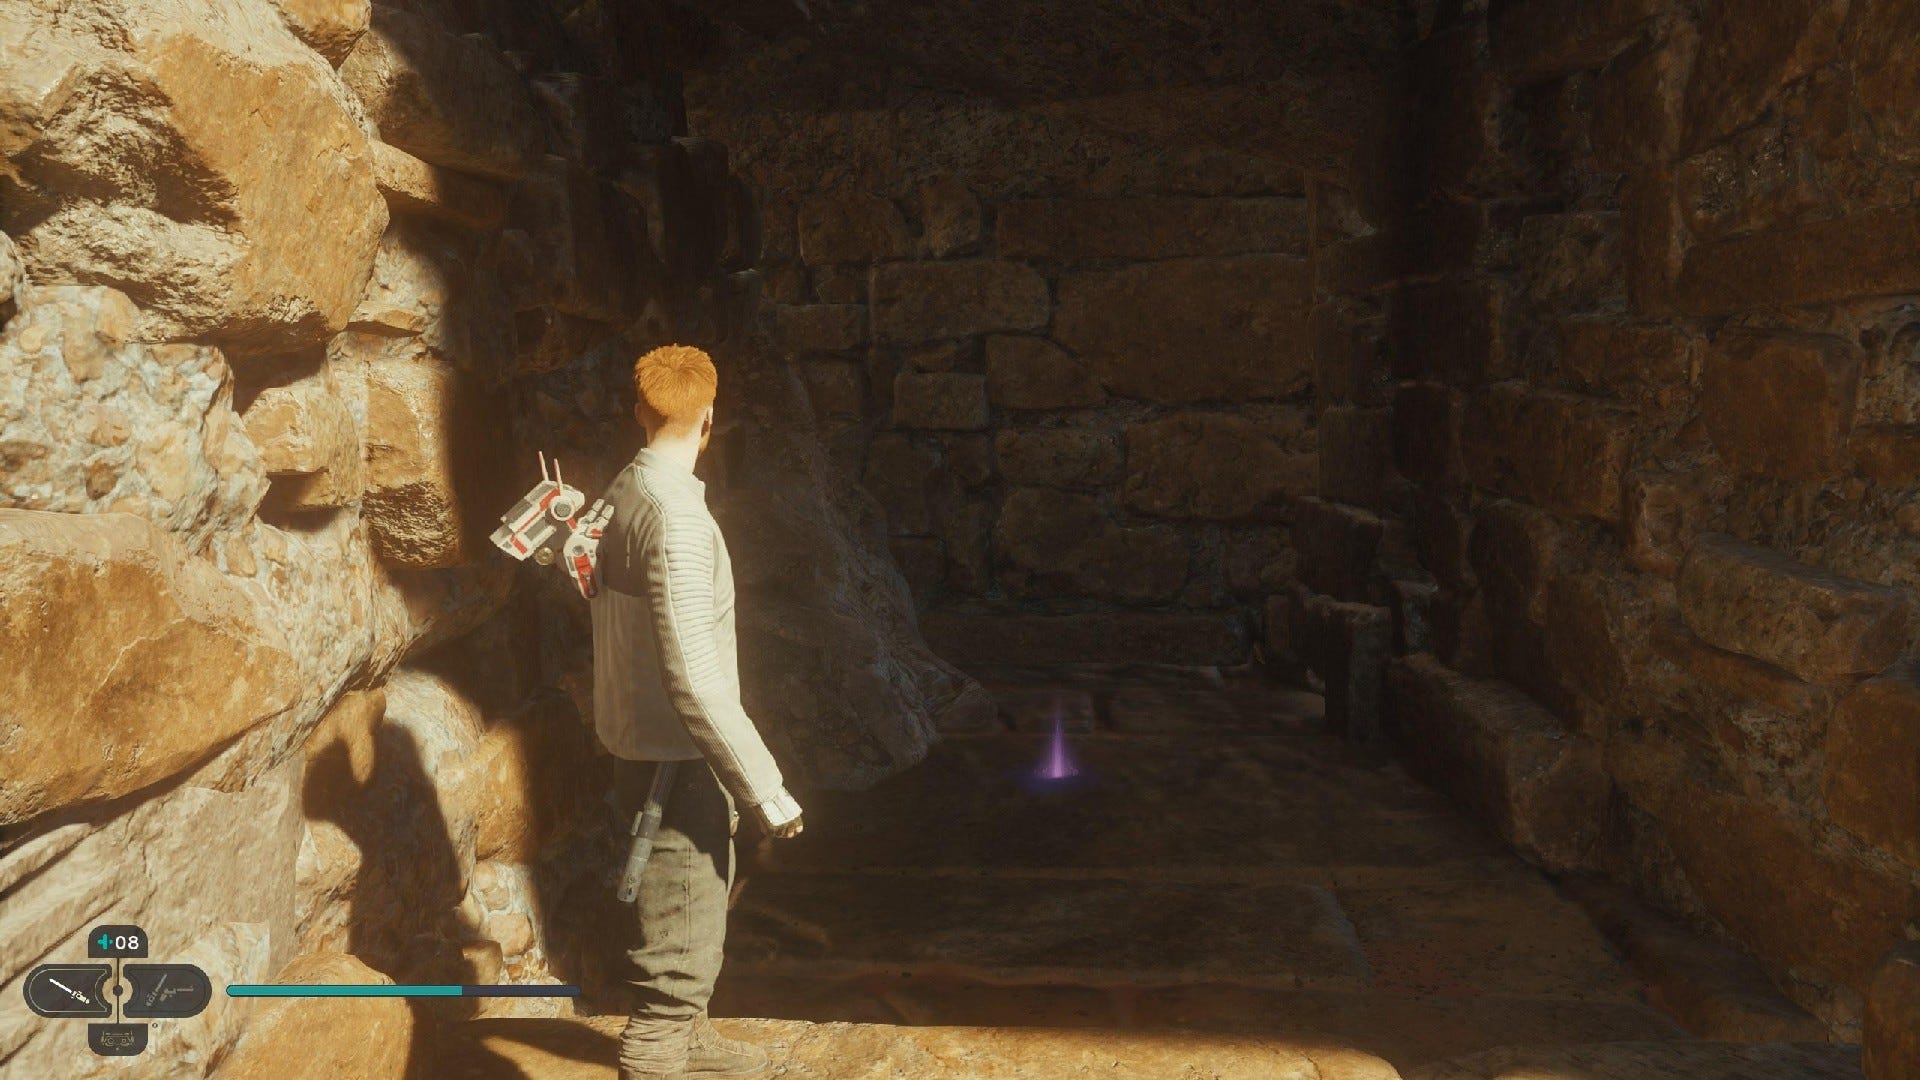
Health Essence: Head to the Monastery Walls workbench, and then hop over to the area where you escape the Skriton by climbing up some pillars. Wall-run across the pillars, hopping back and forth, until you reach a small ledge with this Health Essence.
Skill Point Essence: Head to the pillars you climbed to escape the Skriton and wall-run across until you reach the Essence at the other side. Then, turn back and hop across the top of the pillars. On the left side, wall-run across to the nearby walkway and drop down at the end. Turn around to find an Essence in the corridor up ahead.
Monastery Walls Databanks:
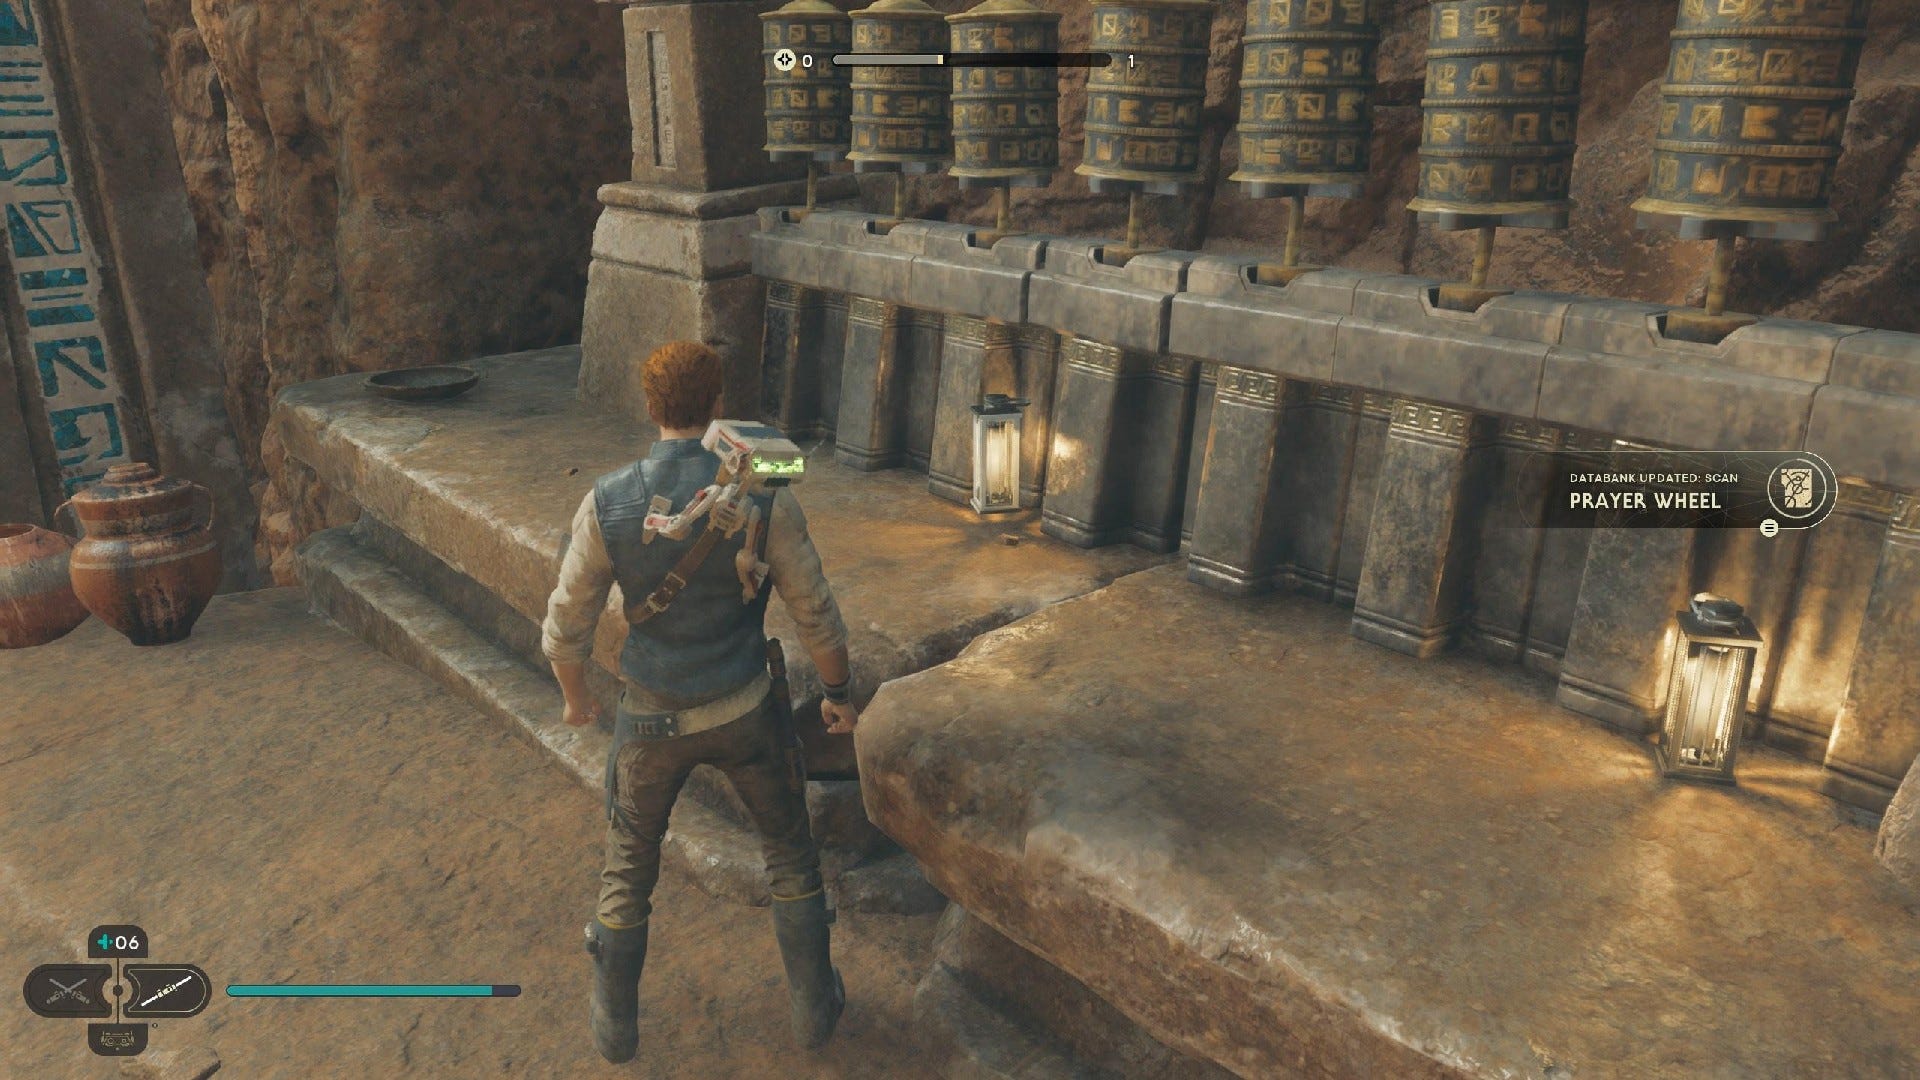
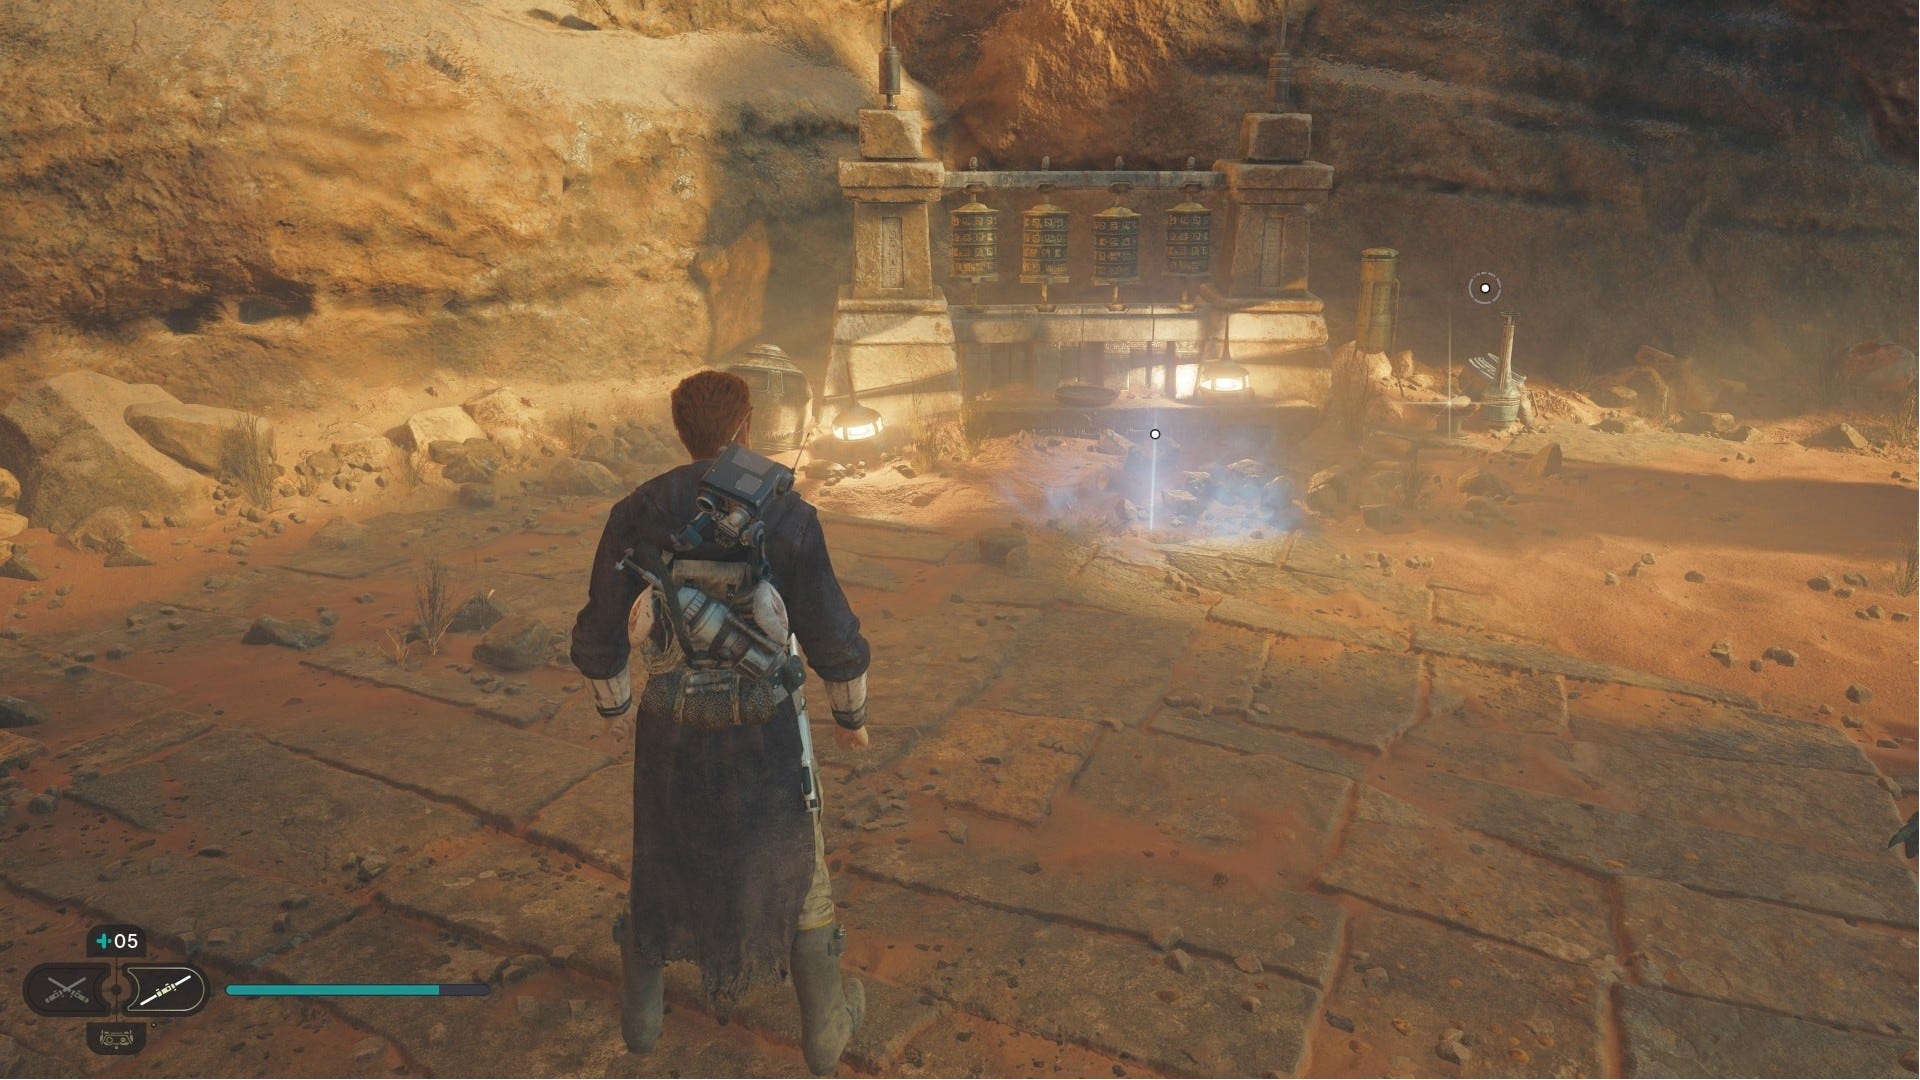
Databank (Prayer Wheels): Hop across the sand to the low structure nearby, down the slope and to the right of the Monastery Walls Meditation Point.


Force Echo (Pilgrims, Lost): Hug the left wall on your way across the sand below the Monastery Walls Meditation Point. It's up the ledge and past the group of Hardshells.
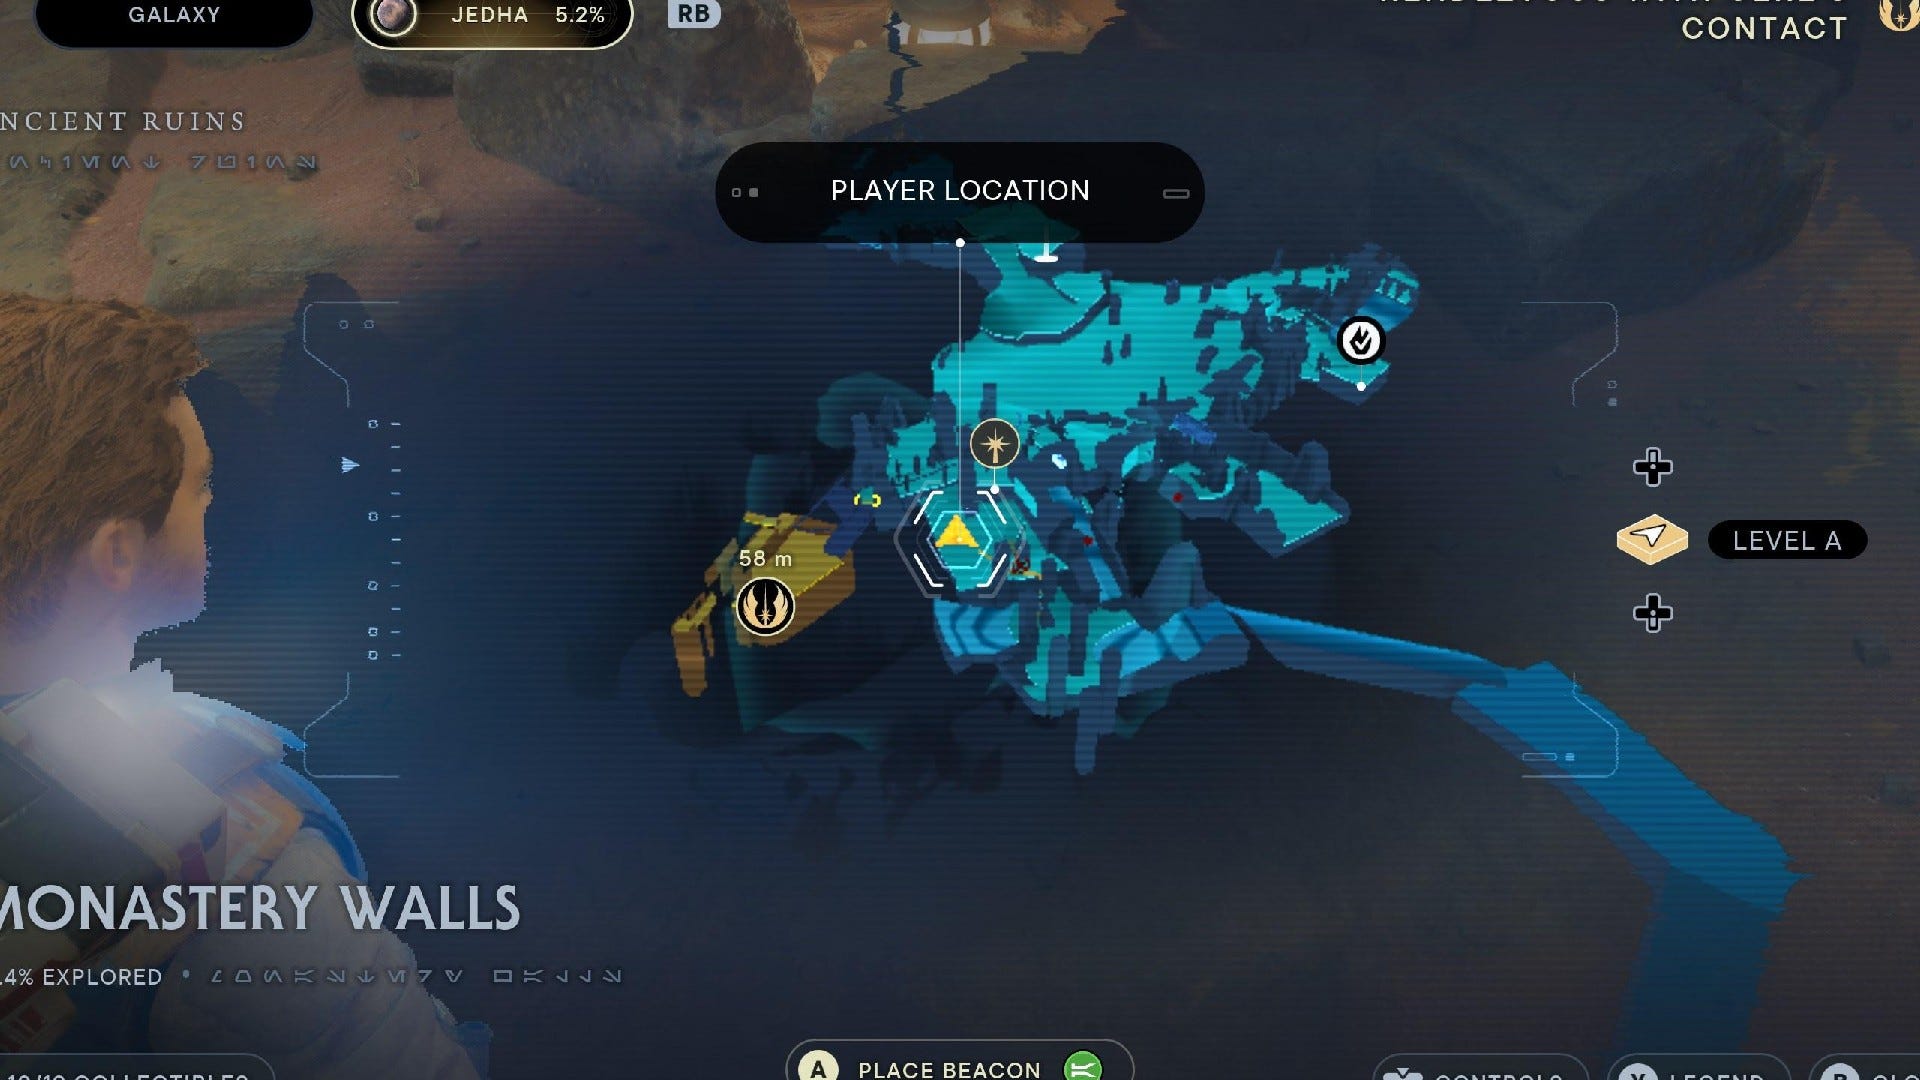
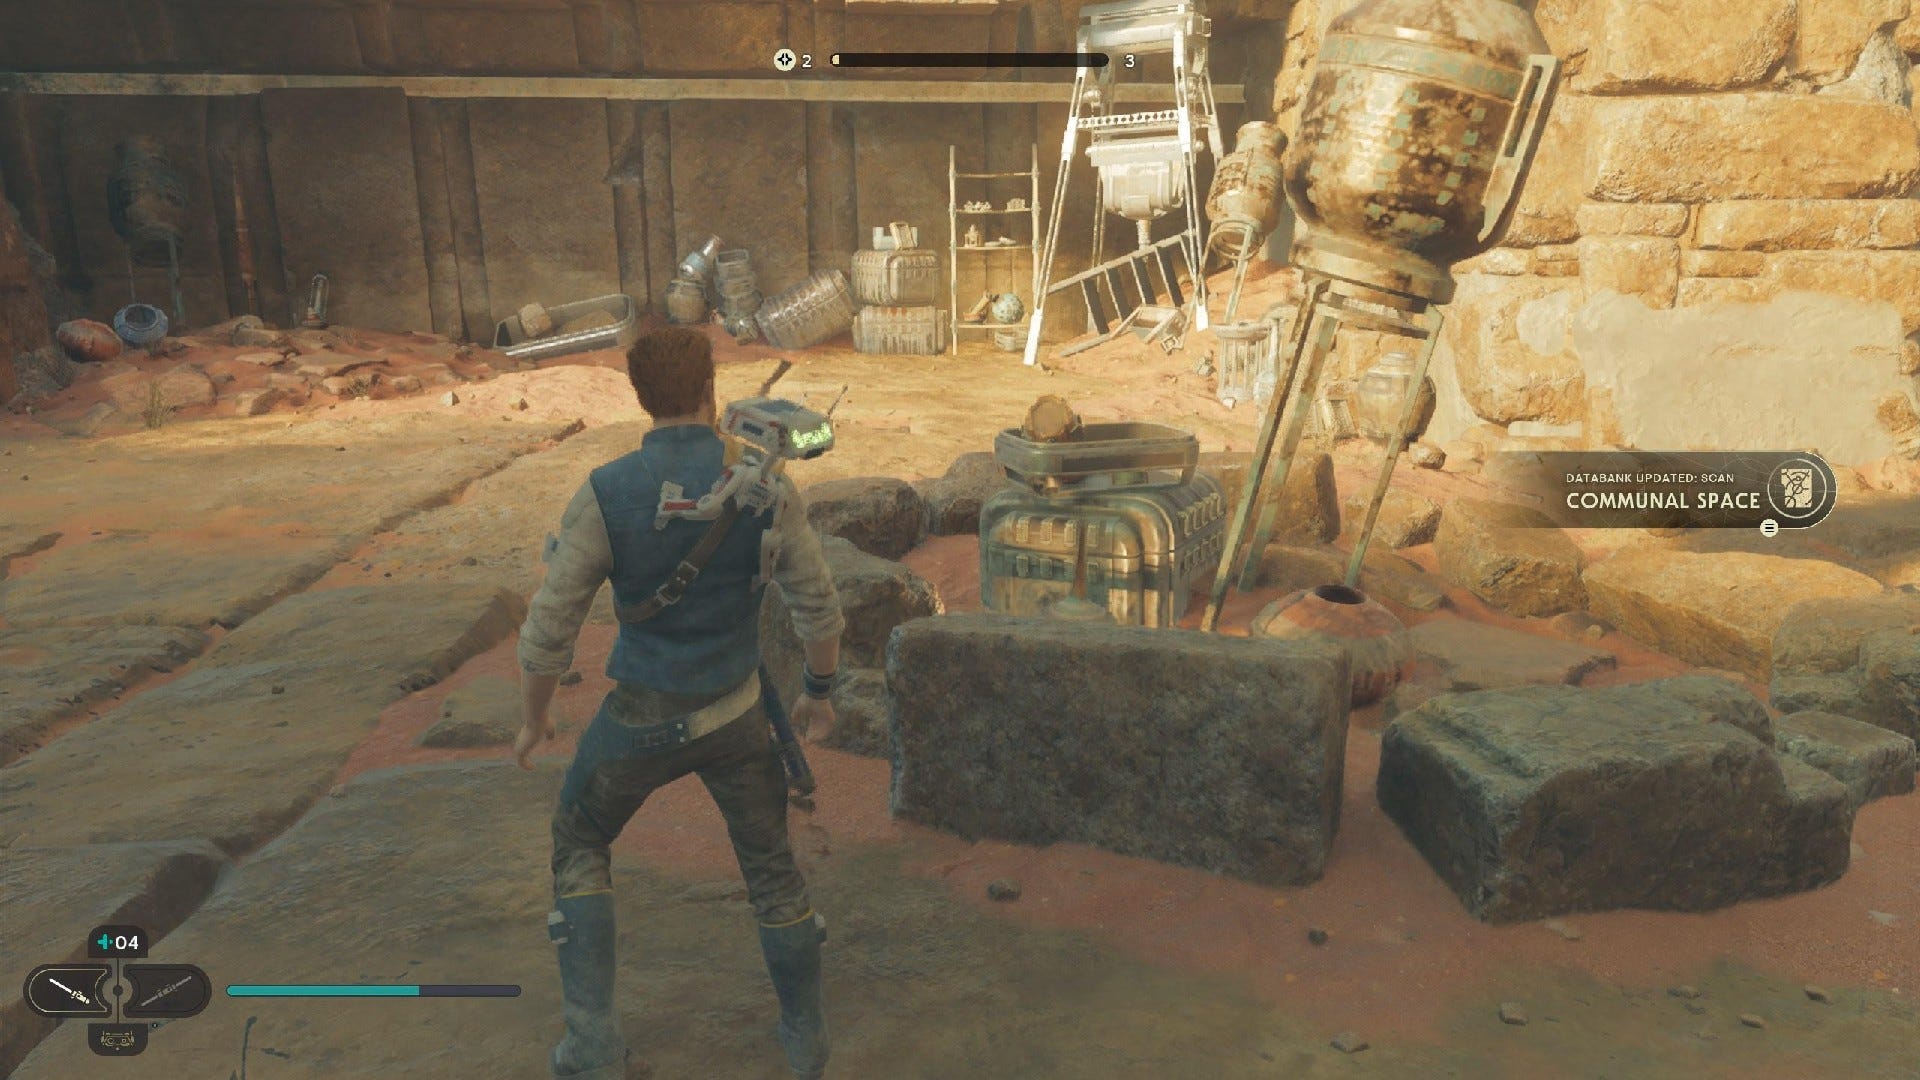
Databank (Communal Space): Escape the giant scorpion by jumping up the pillars and leaping over to the nearby ledge. Then defeat the Hardshells at the top, before scanning the center of the nearby camp.
Monastery Walls Force Tears:
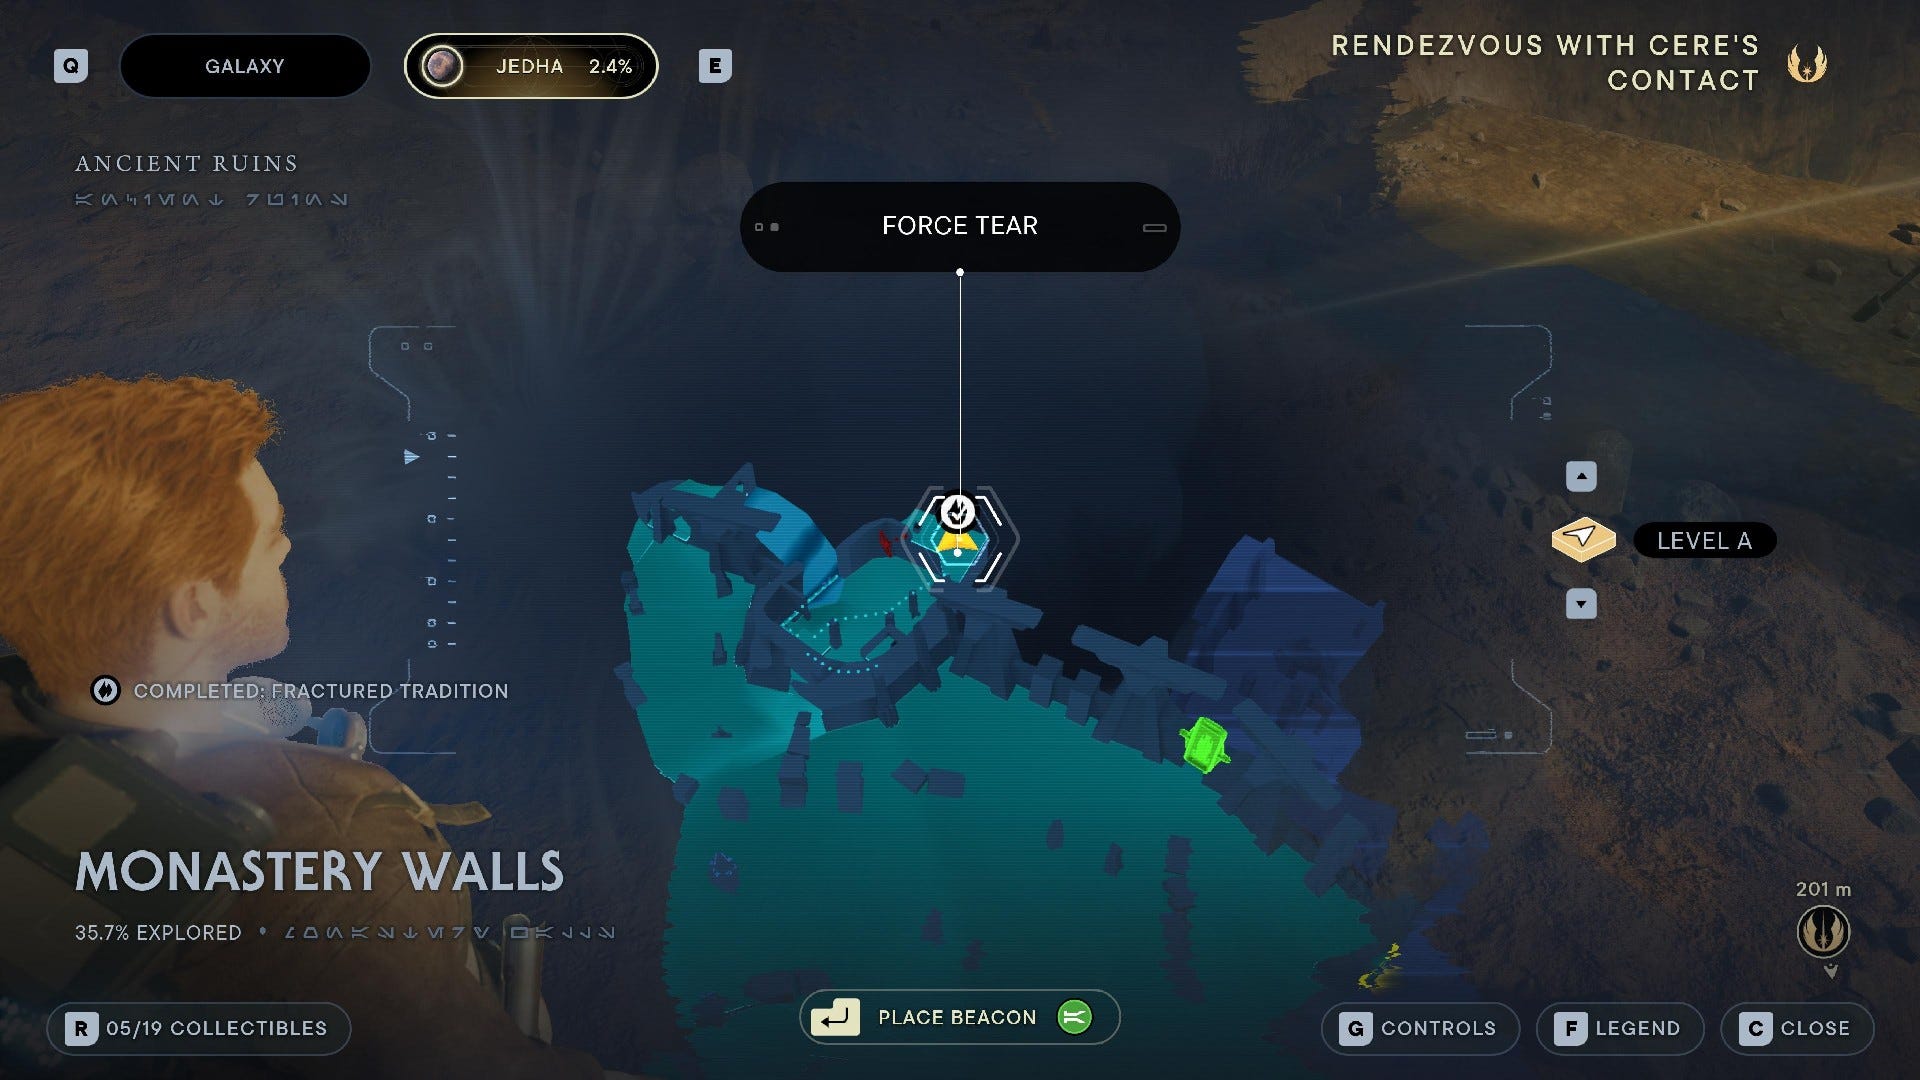
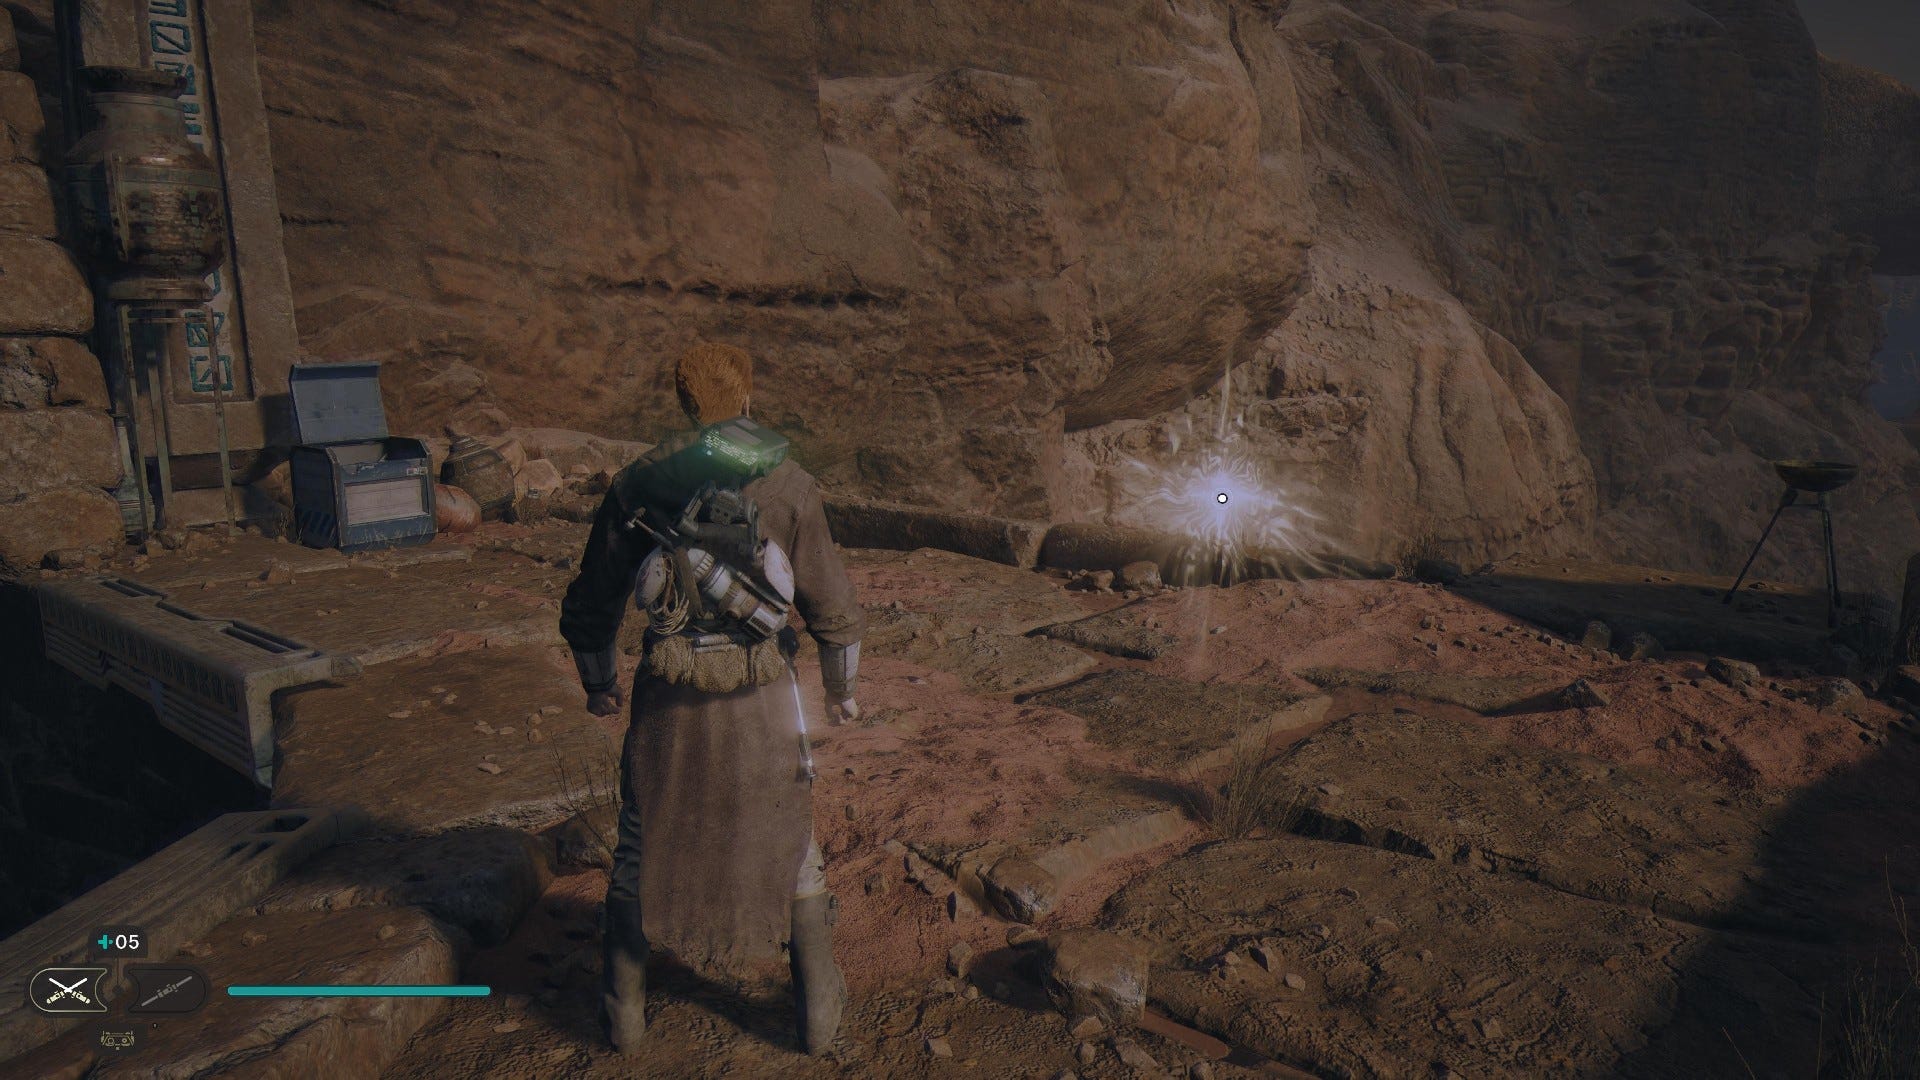
Force Tear (Fractured Tradition): Hug the left wall on your way across the sand below the Monastery Walls Meditation Point. From the Pilgrims, Lost Force Echo, slide down the slope but grapple up before you reach the end. Then hop across the pillar tops to the other platform.
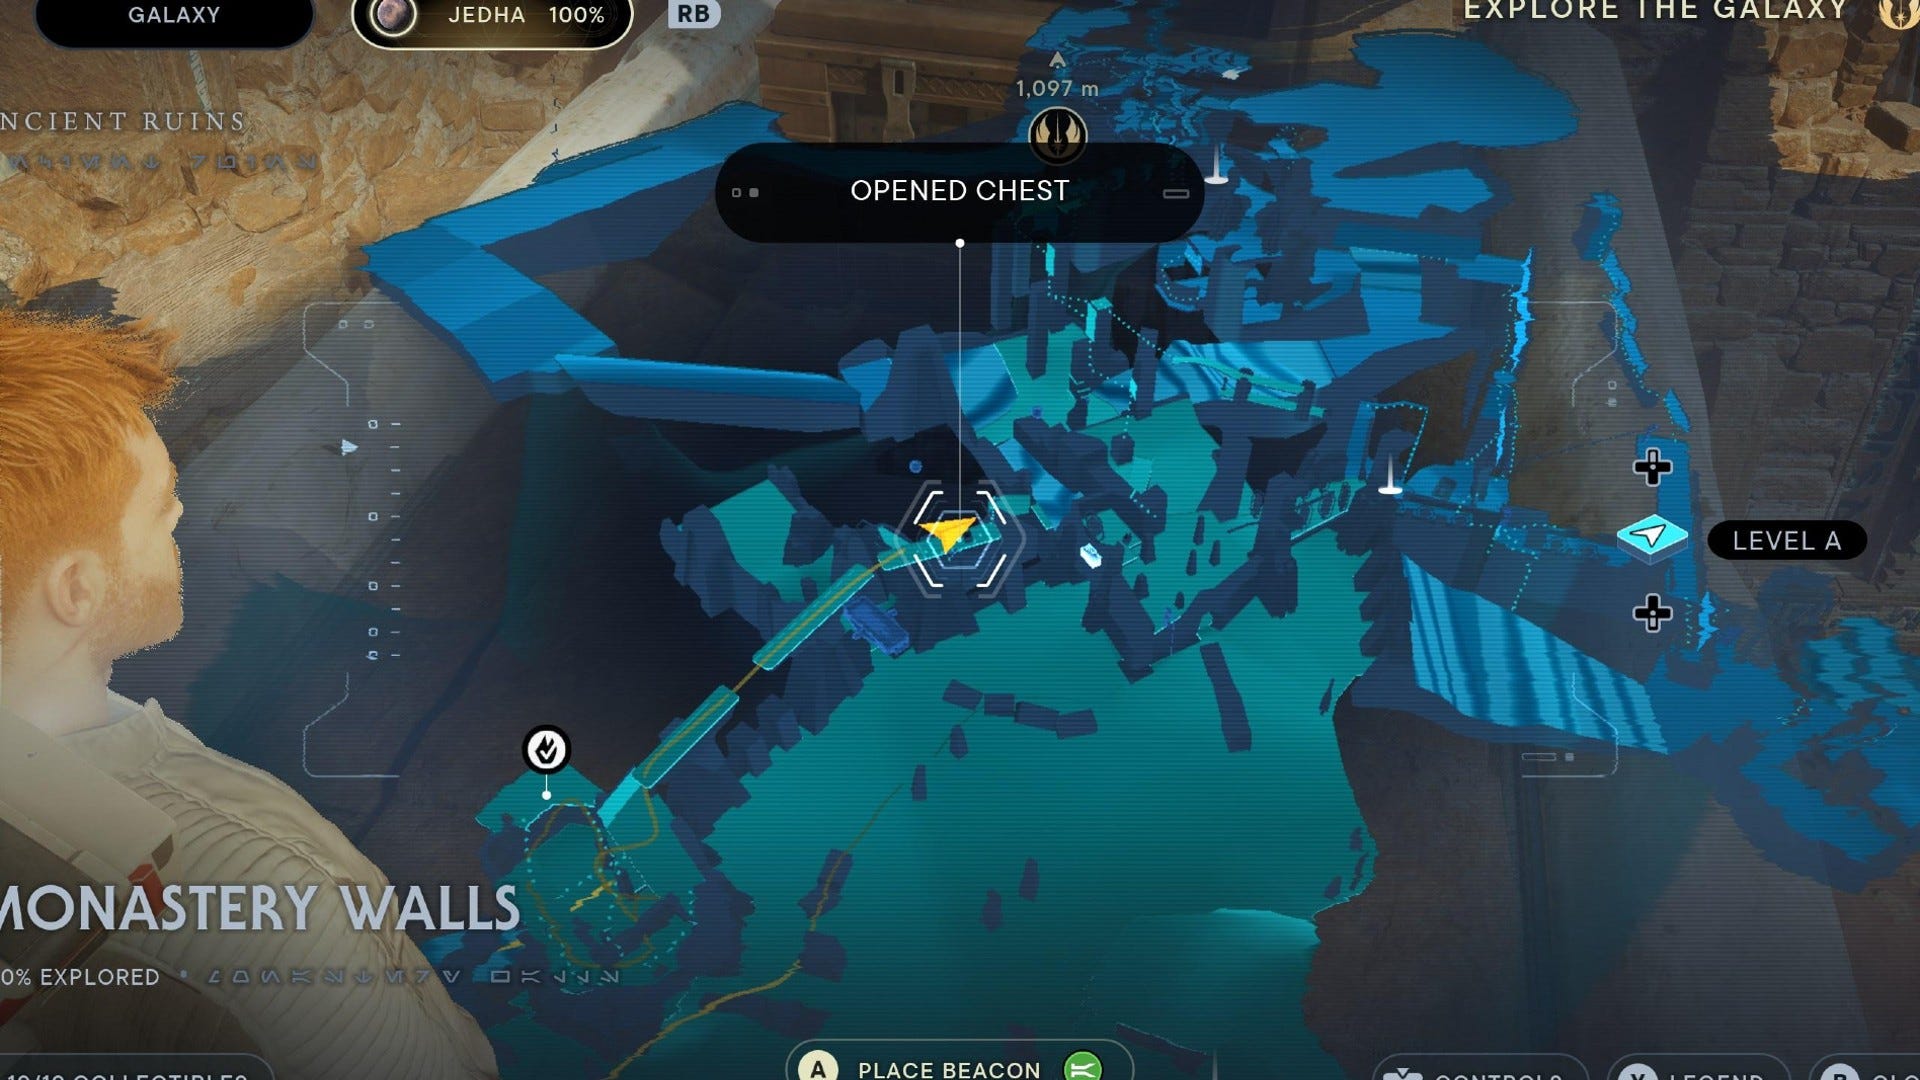
Monastery Walls Treasures:
Jedha Scroll #1: Hug the left wall on your way across the sand below the Monastery Walls Meditation Point. It's up the ledge and past the group of Hardshells.
Jedha Scroll #2: Pull open the large gate across the sand from the Monastery Walls Meditation Point, then defeat the stormtroopers and the Sutaban.

Jedha Scroll #3: Next to the Workbench in Monastery Walls, up the ledge from the giant scorpion attack.
Jedha Scroll #4: From the Monastery Walls Meditation Point, hop down to the sand and hug the wall on the right until you find a ledge. Hop up the ledge to find a Jedha Scroll.
Jedha Scroll #5: Head to the pillars you climbed to escape the Skriton and wall-run across until you reach the Essence at the other side. Then, turn back and hop across the top of the pillars. On the left side, wall-run across to the nearby walkway and drop down at the end. Turn around to find a Jedha Scroll in the corridor up ahead.

Jedha Scroll #6: Hop up to the Force Tear above the Sutaban and Stormtroopers fighting and then turn back to see a climbable wall nearby. Dash across the gap to reach it and parkour up to find this Jedha Scroll around the corner.

Jedha Scroll #7: Hop up to the Force Tear above the Sutaban and Stormtroopers fighting and then turn back to see a climbable wall nearby. Dash across the gap to reach it and parkour up to the ledge. Jump and dash over the nearby gap to find another ledge, upon which you'll find this Jedha Scroll.
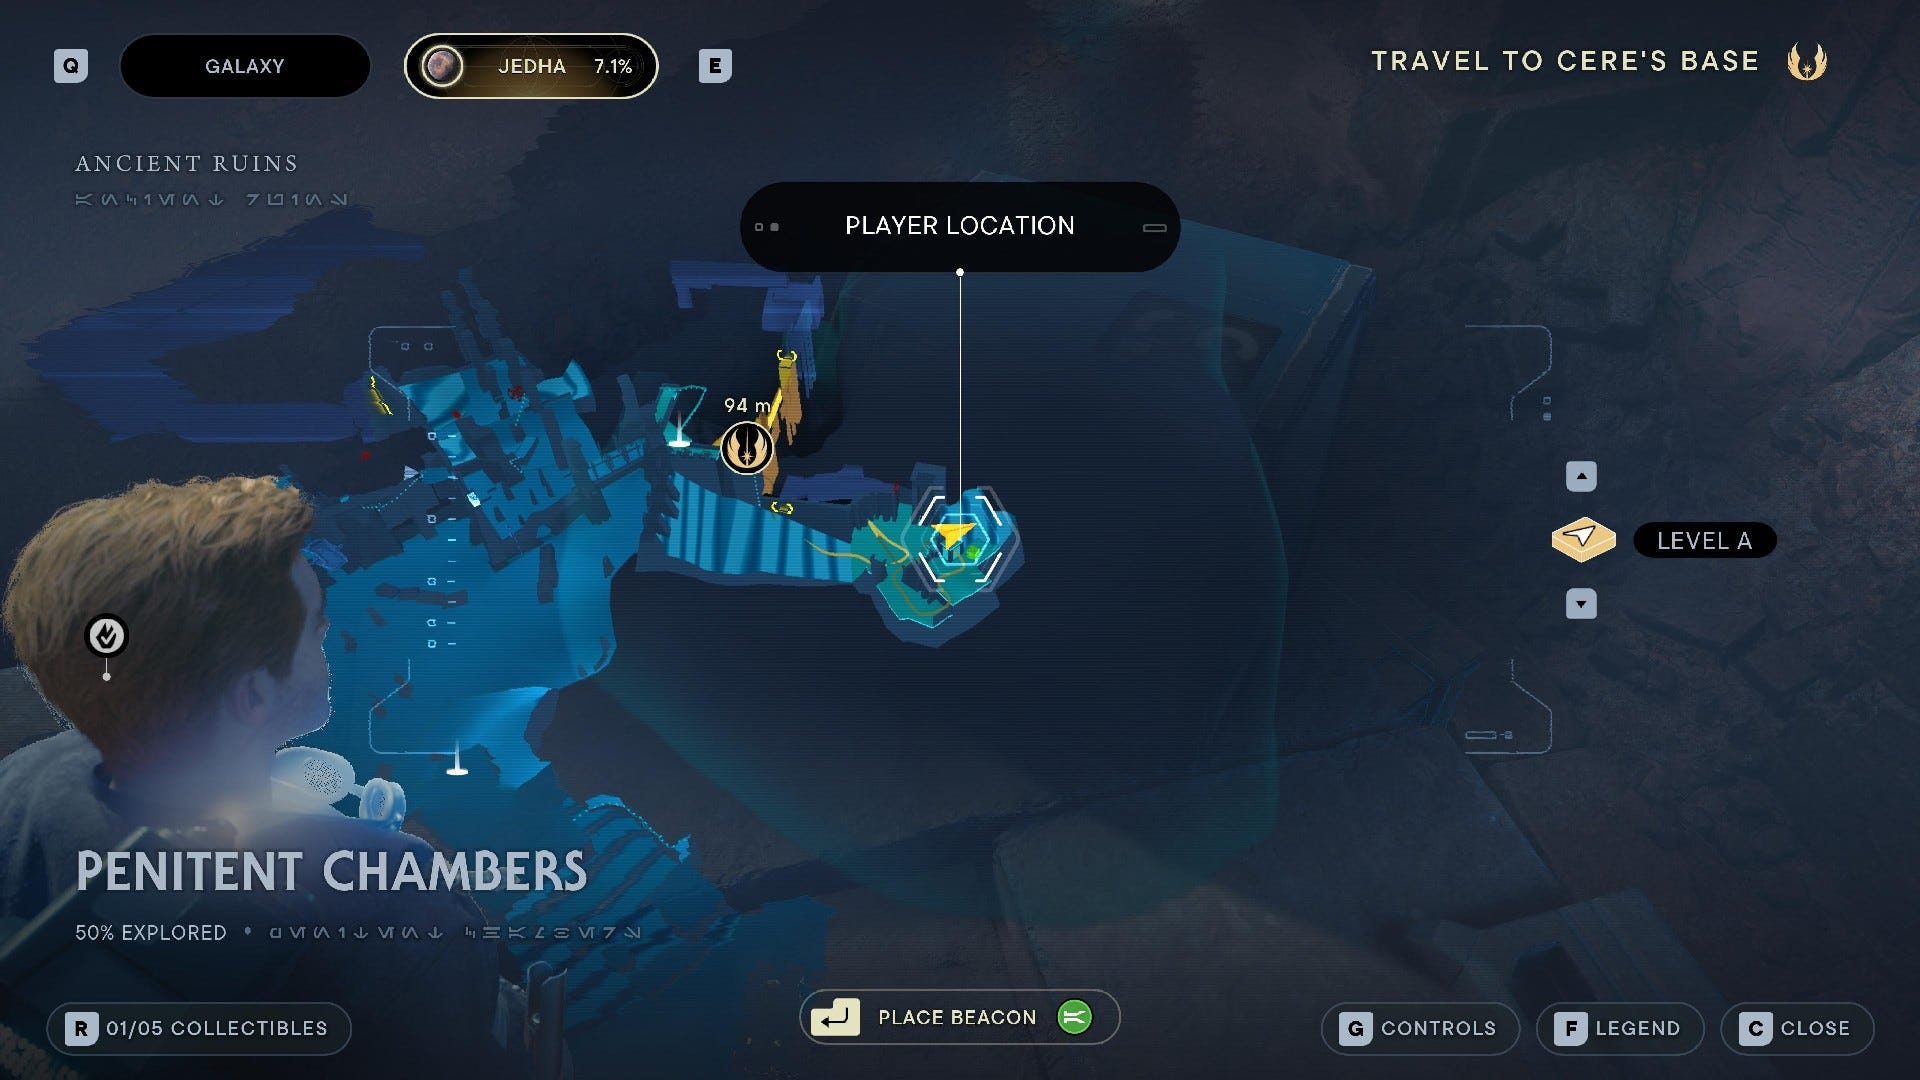
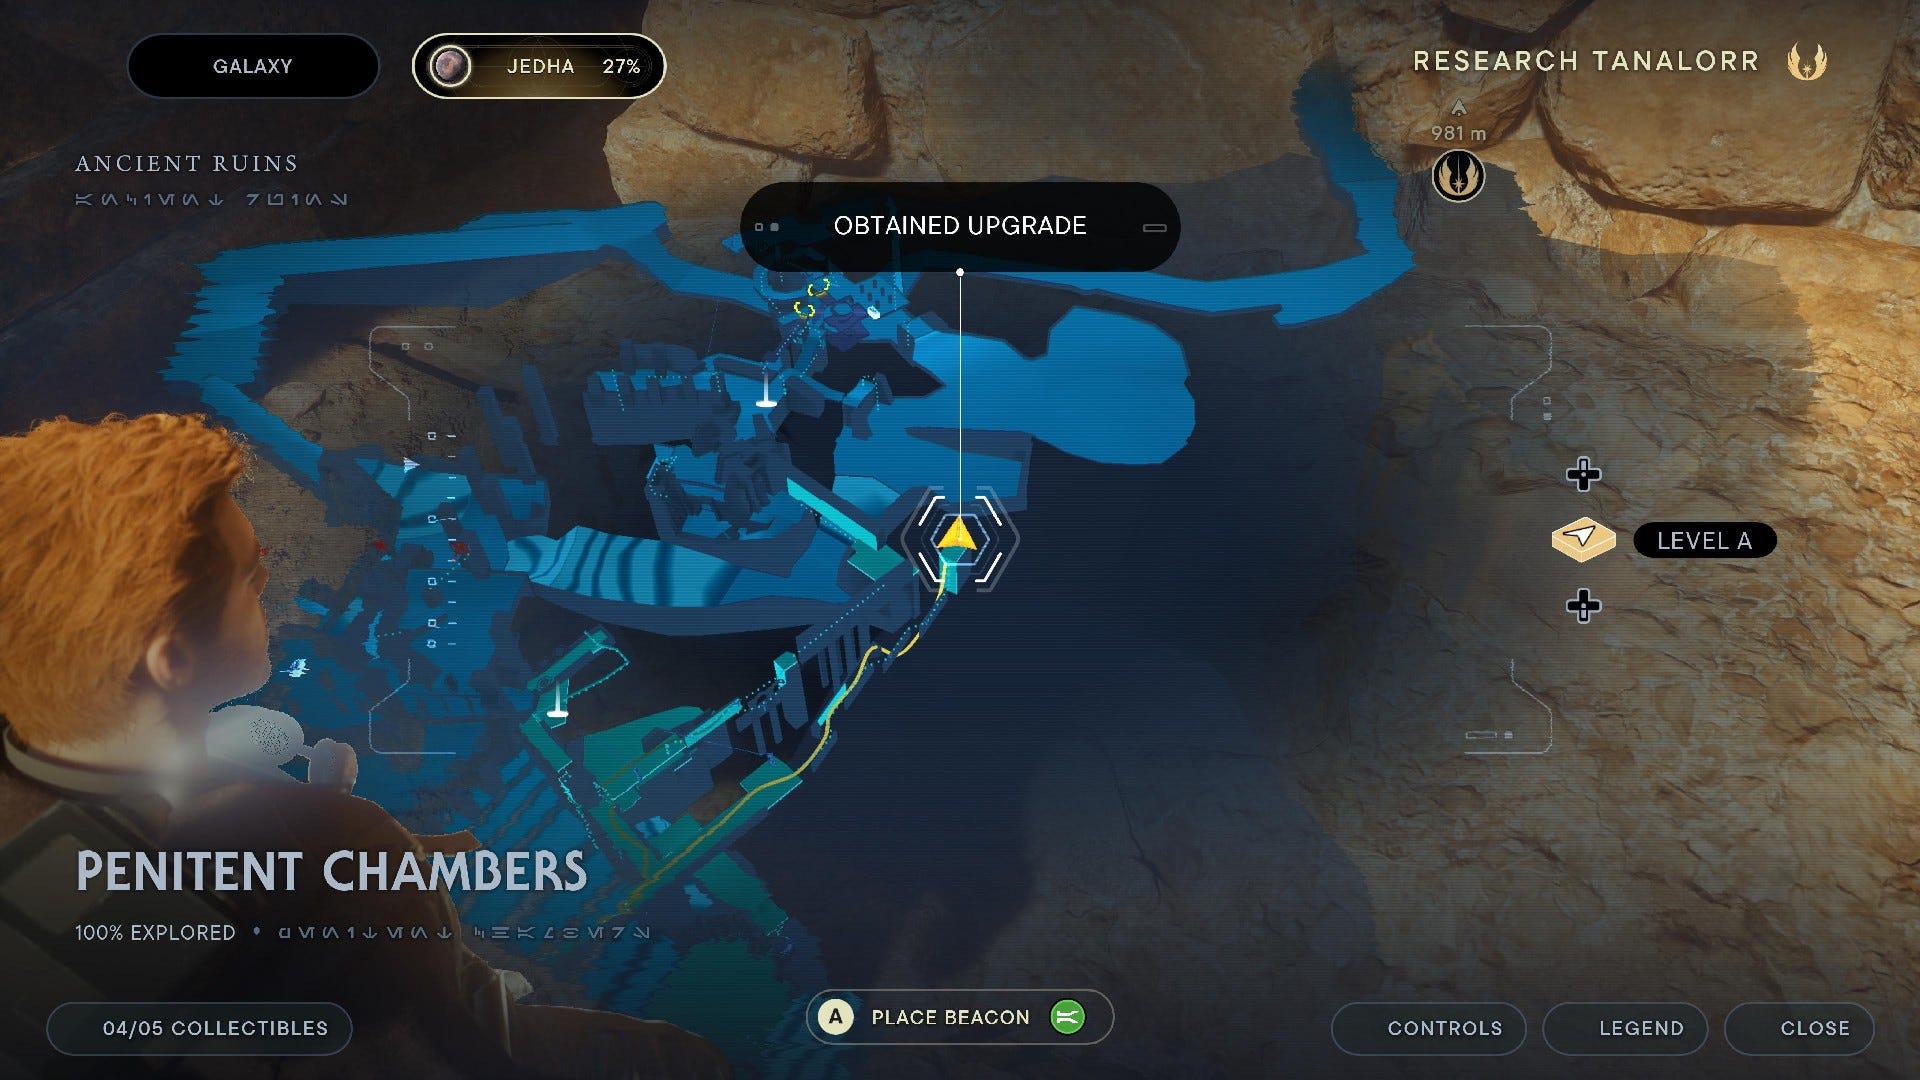
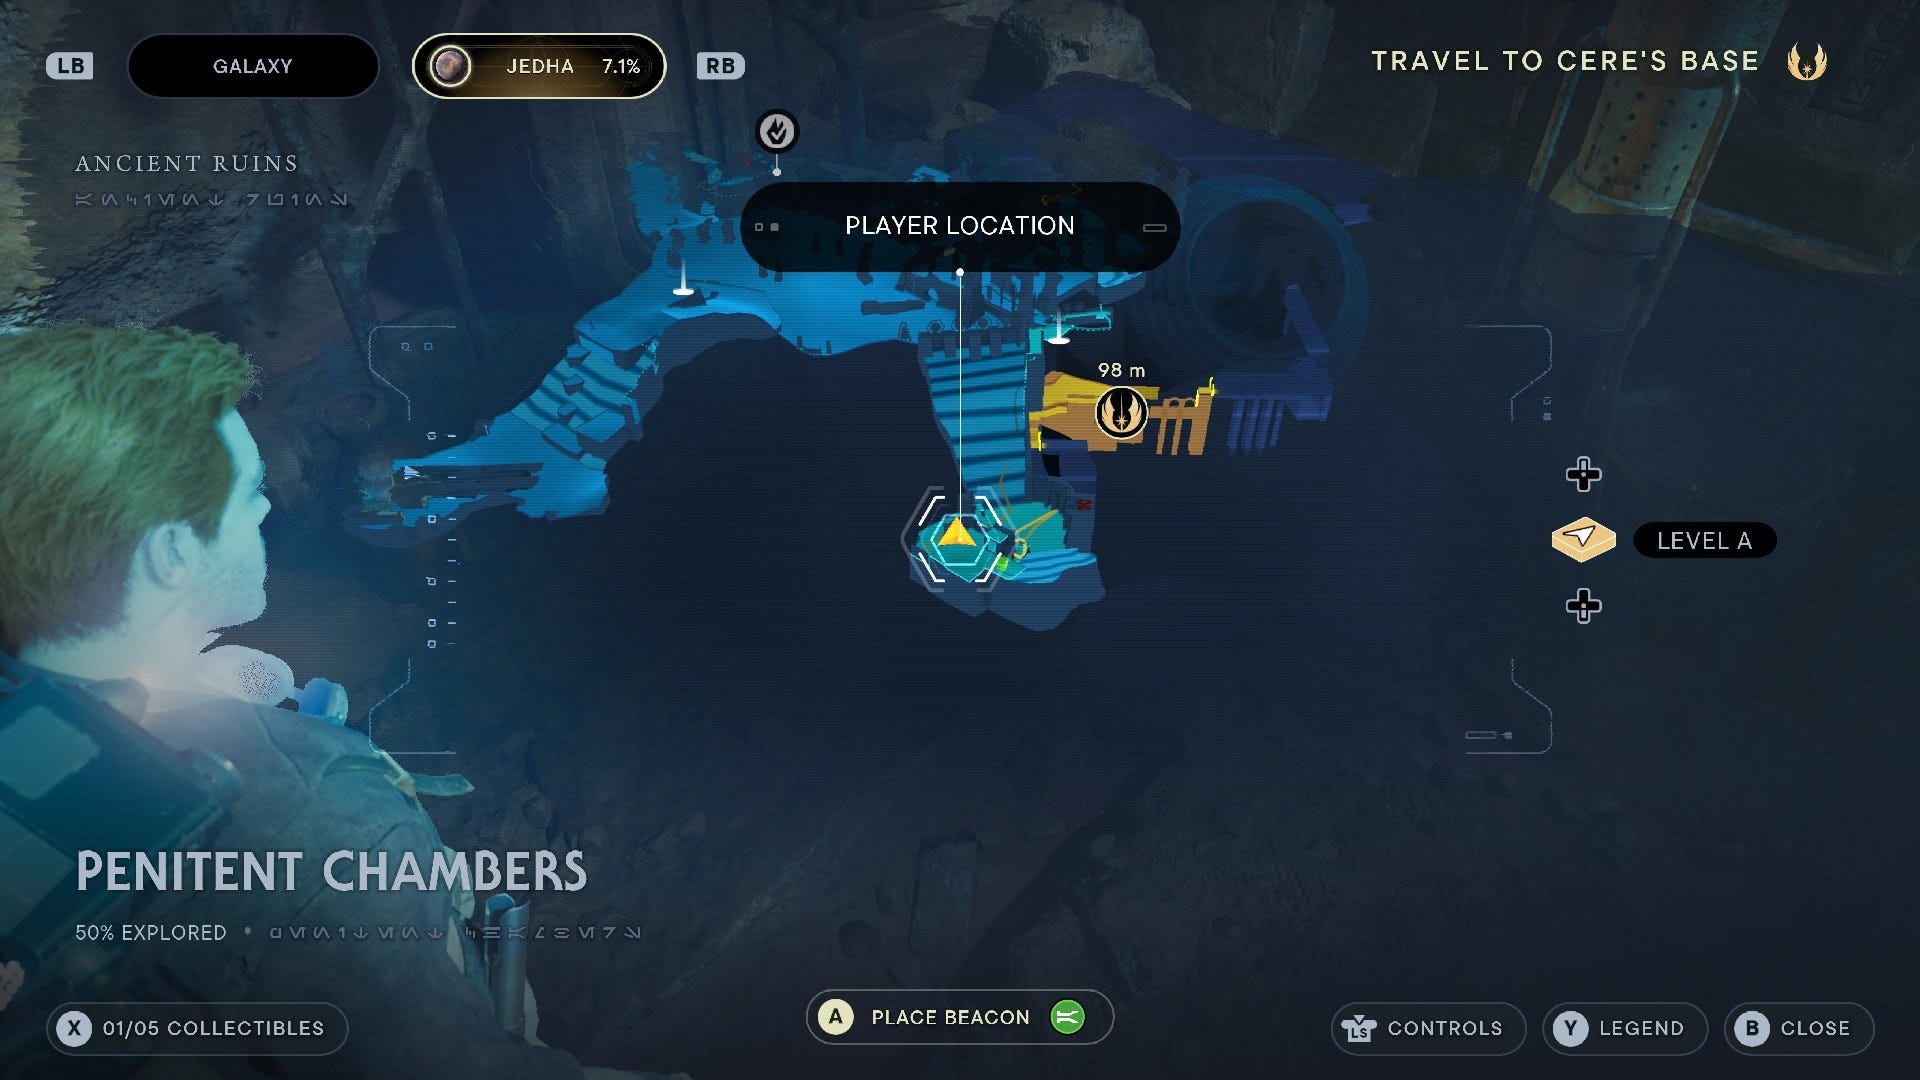
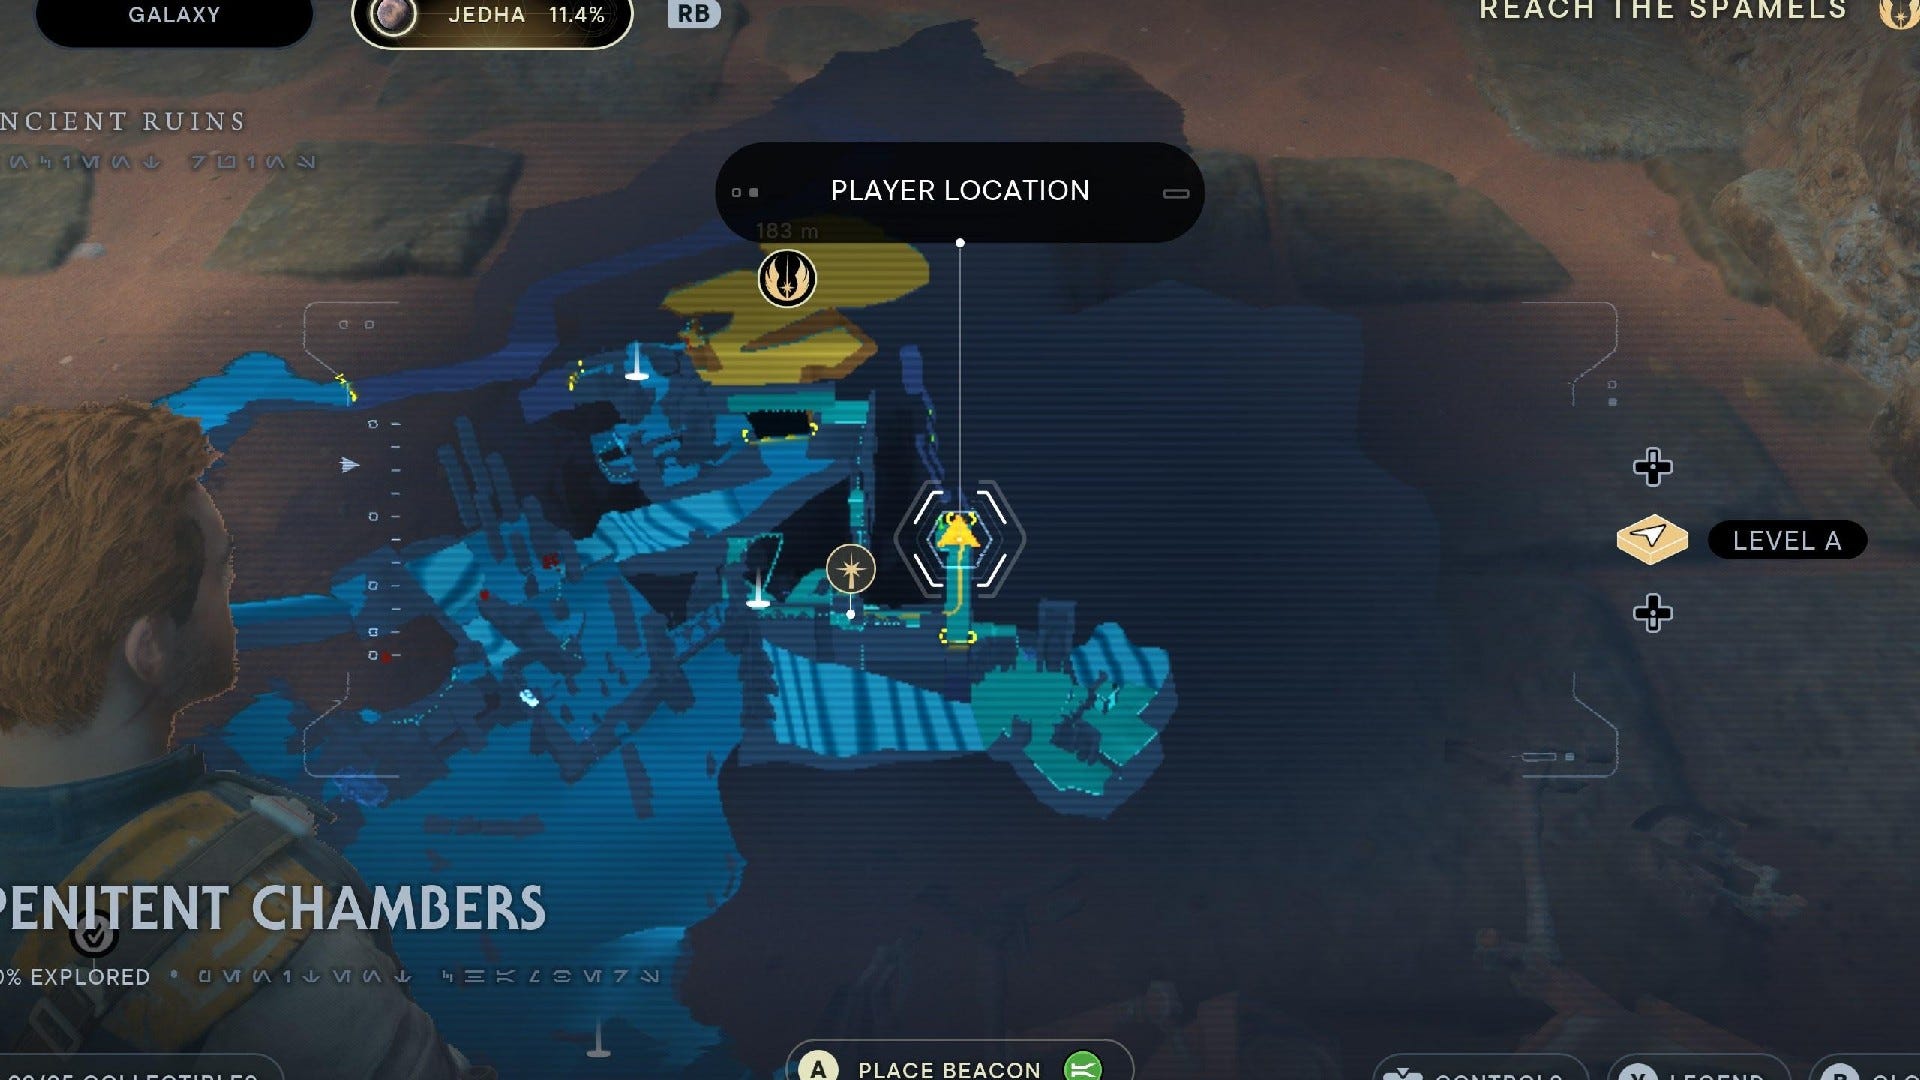
Penitent Chambers collectibles
Penitent Chambers is a smaller area of the Ancient Ruins that you'll access after Monastery Walls. It has just 5 collectibles to find:
Penitent Chambers Chests:
Chest #1 (Wanderer Material): Climb up the column in front of you after following Merrin up the first wall-run section.

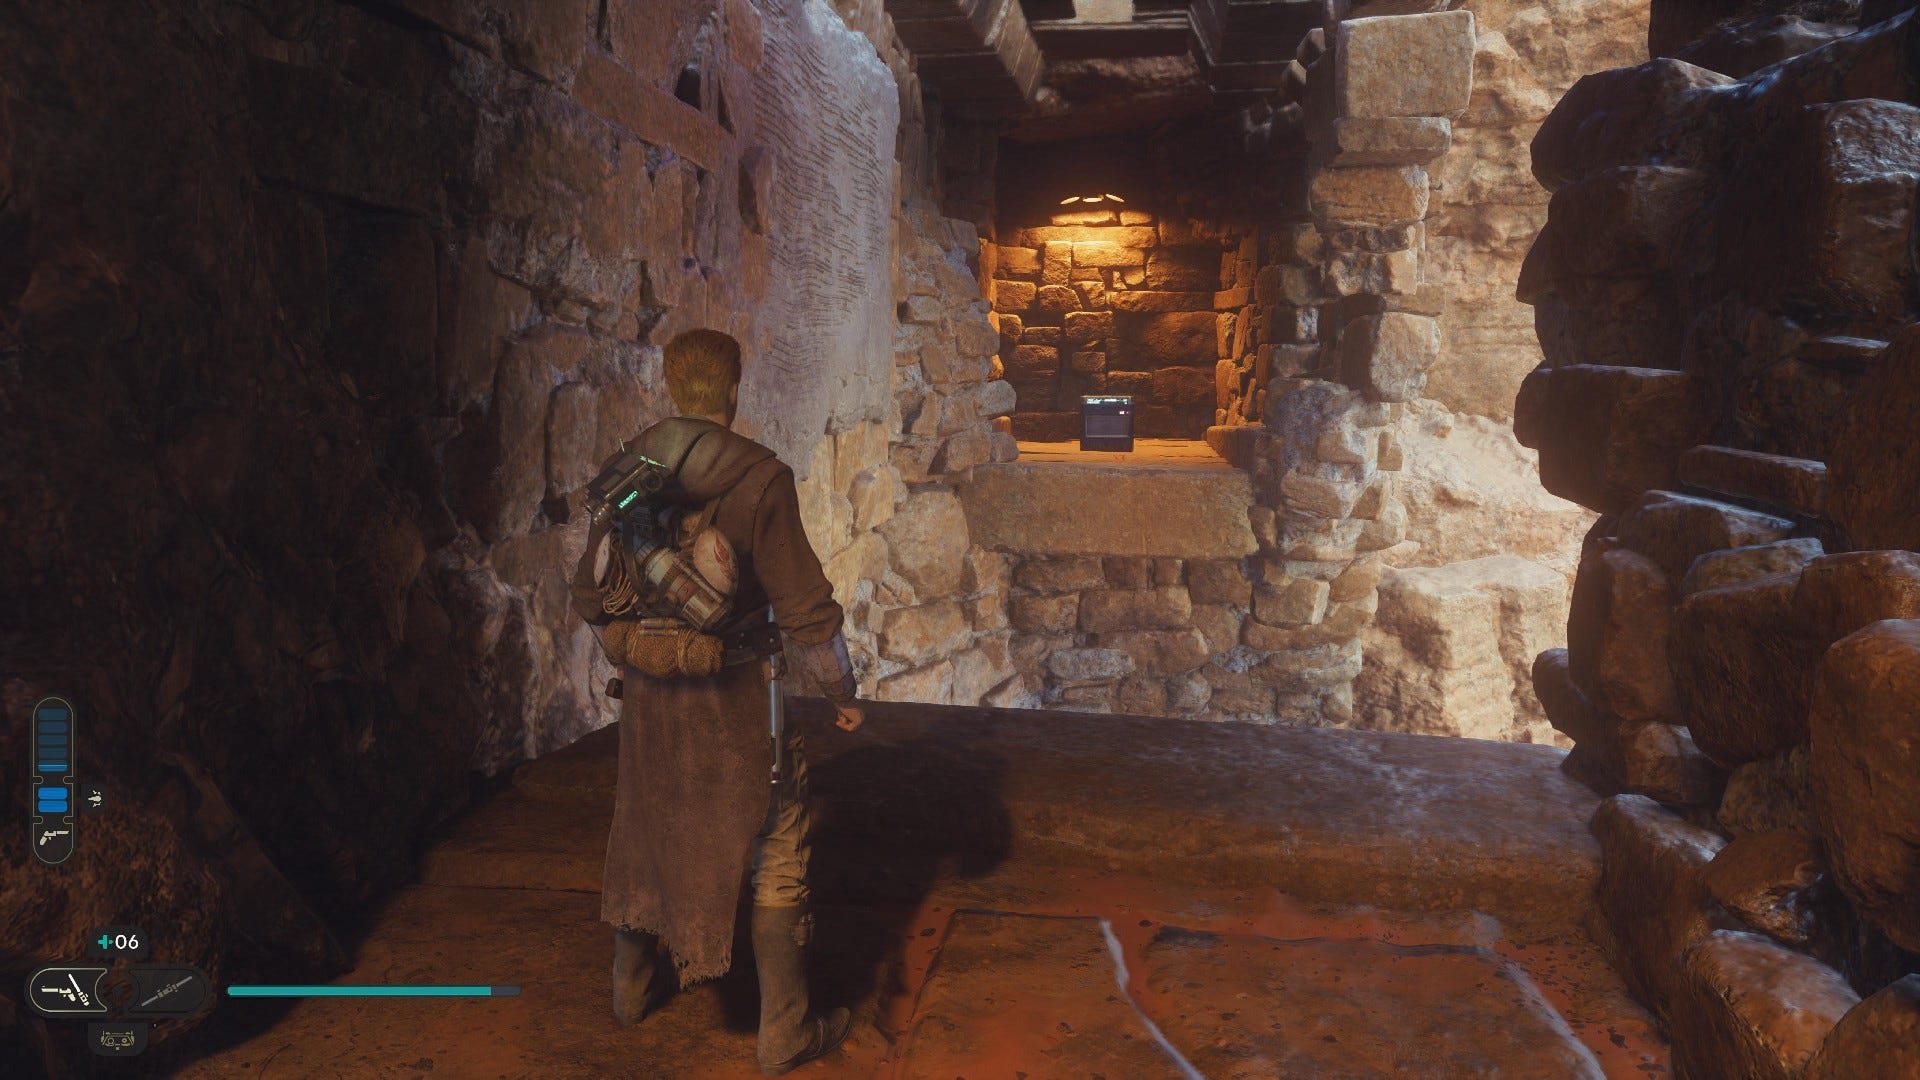
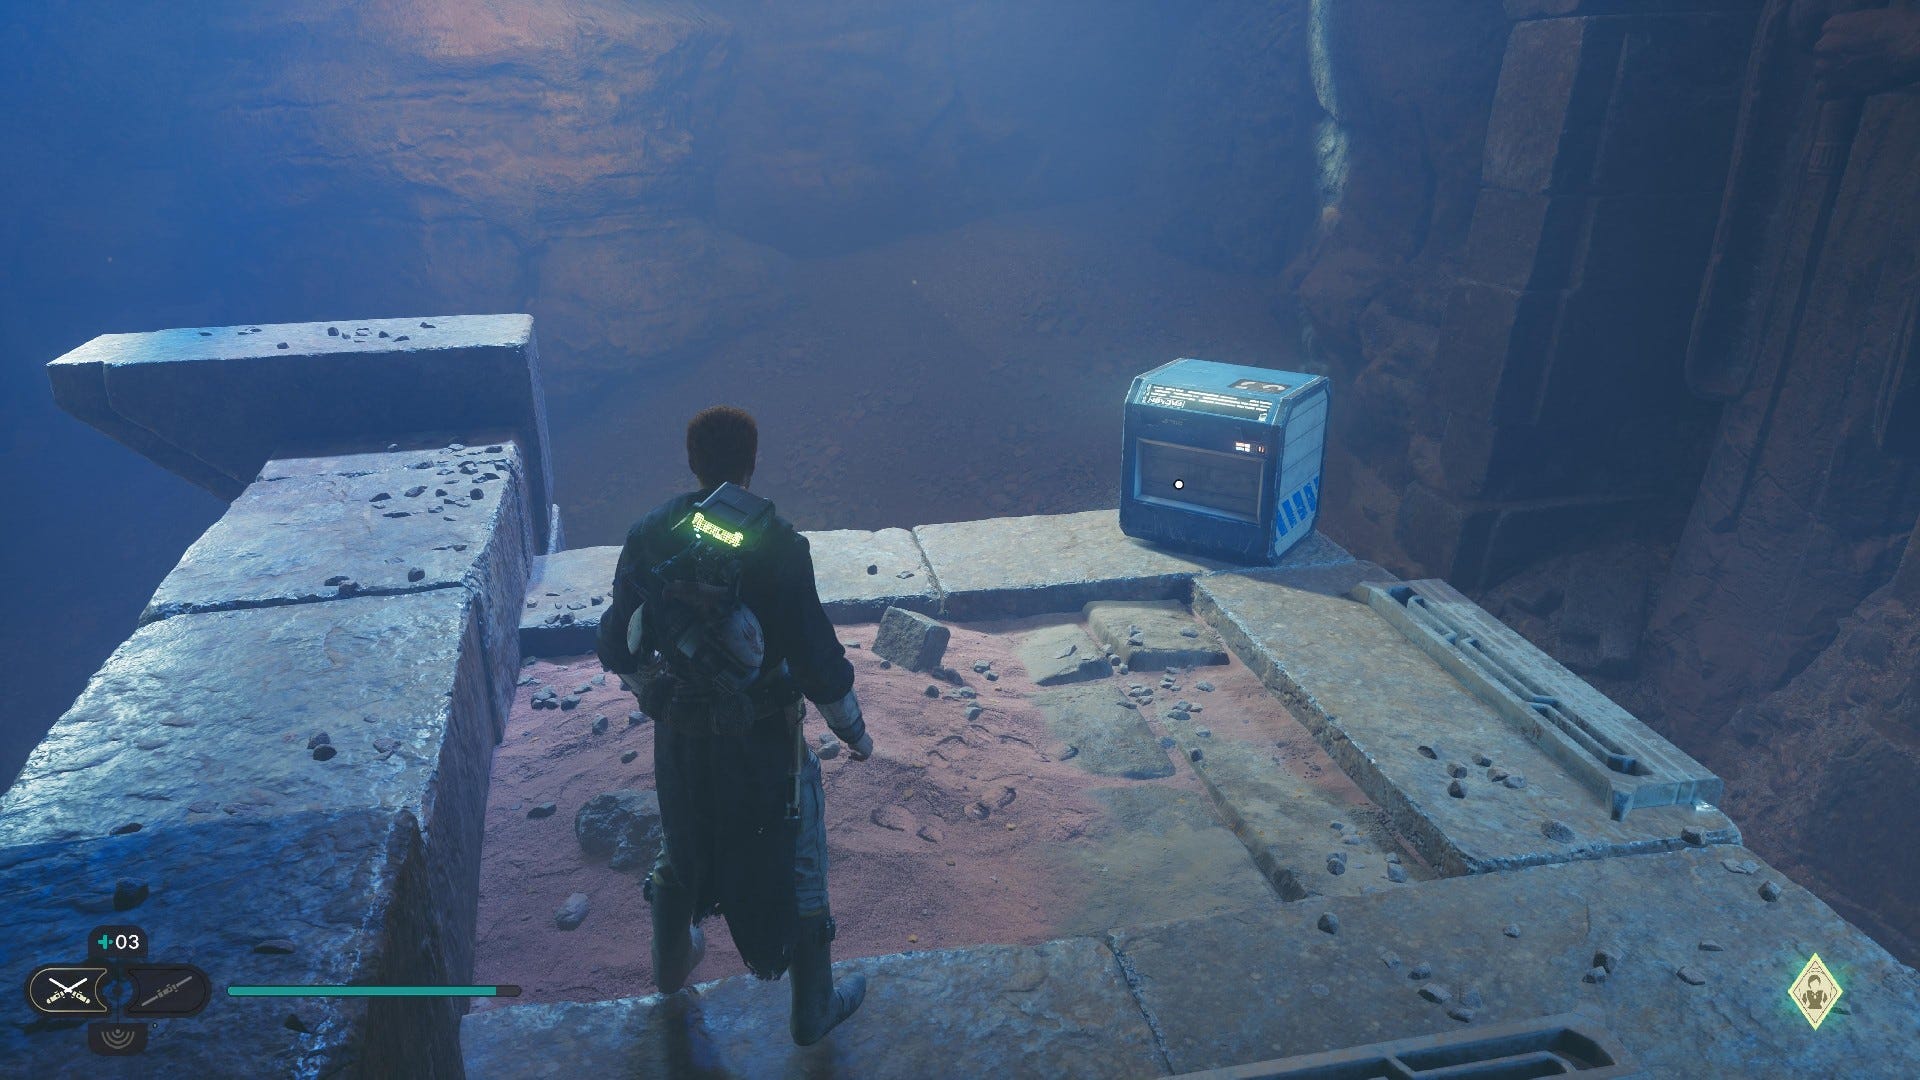
Chest #2 (Nocular Body): Towards the end of the Penitent Chambers, you have to grapple onto a wall. Climb the first section, then stand on the ledge on your right and double-back to find another wall grapple. Follow the path and then turn right at the end to find the chest.
Penitent Chambers Essences:
Force Essence: Opposite the Nocular Body chest, follow the wall-run path.
Penitent Chambers Treasures:
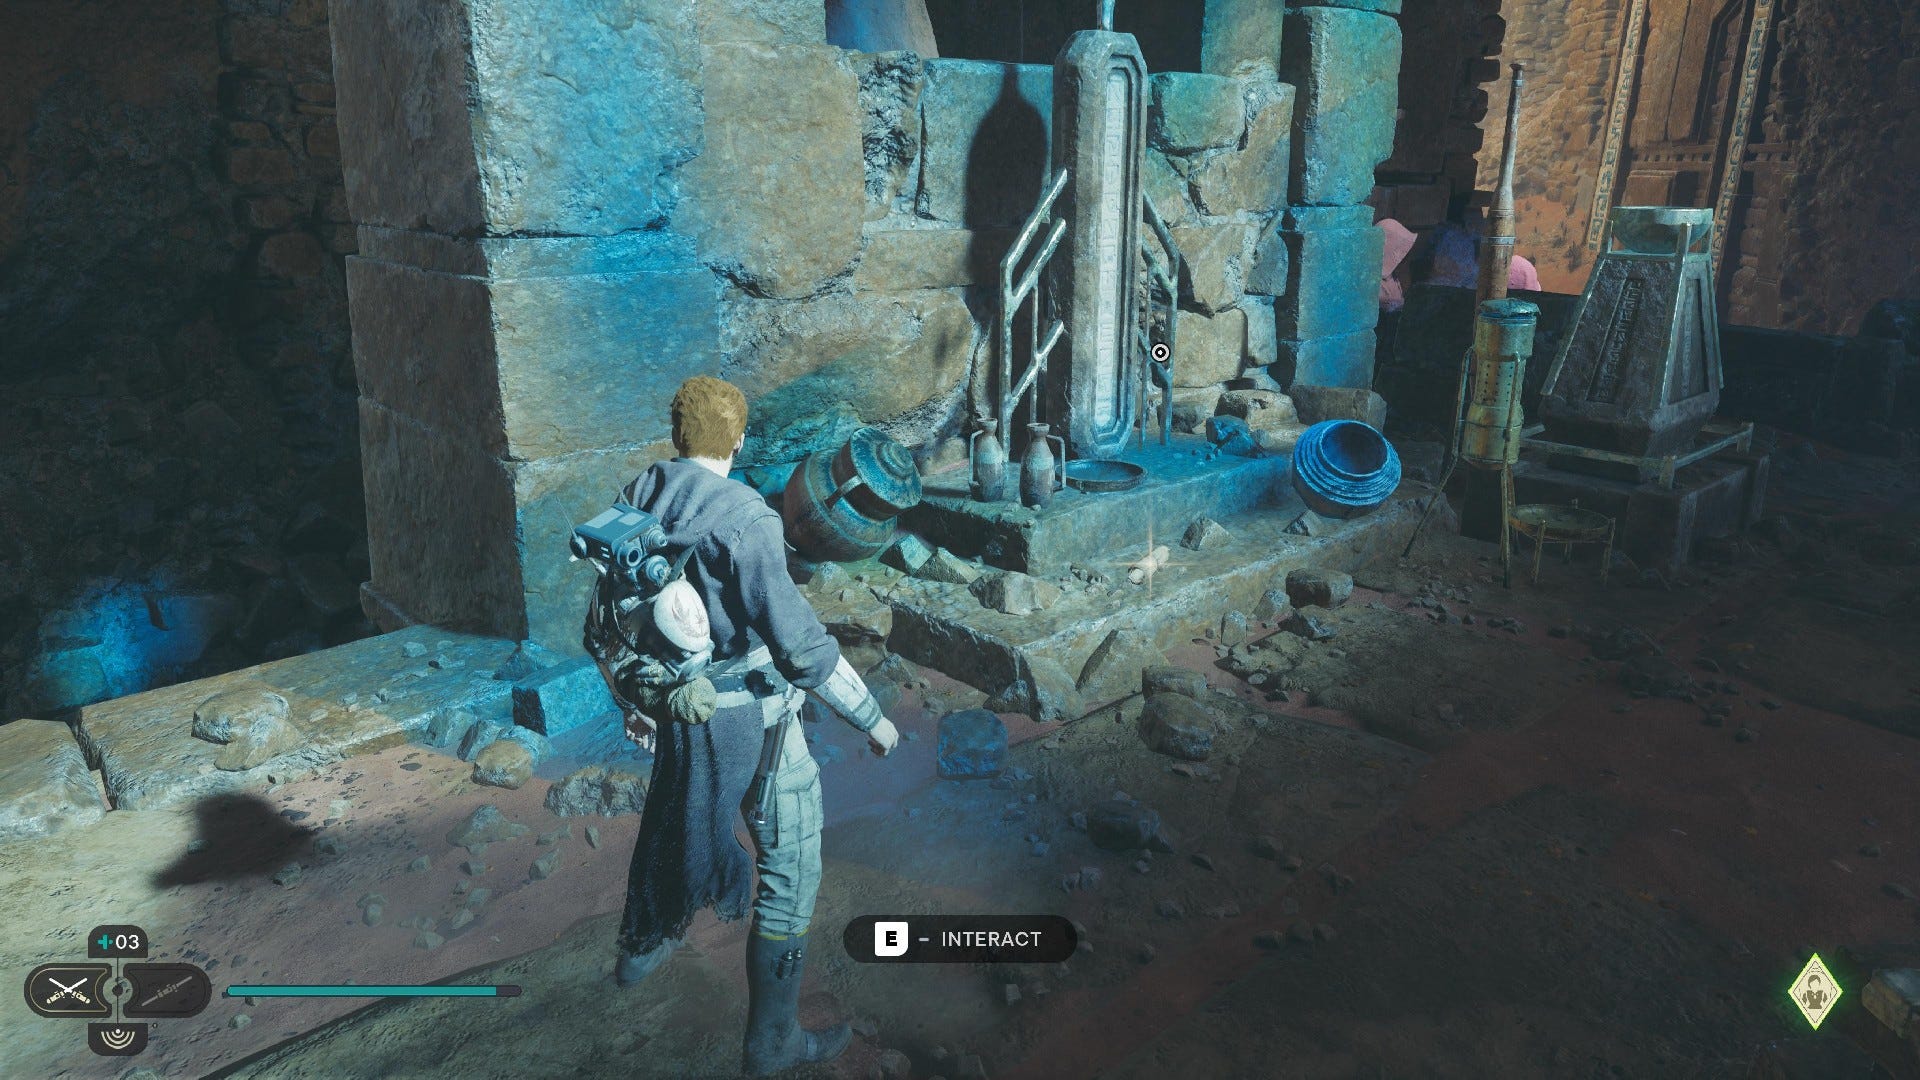
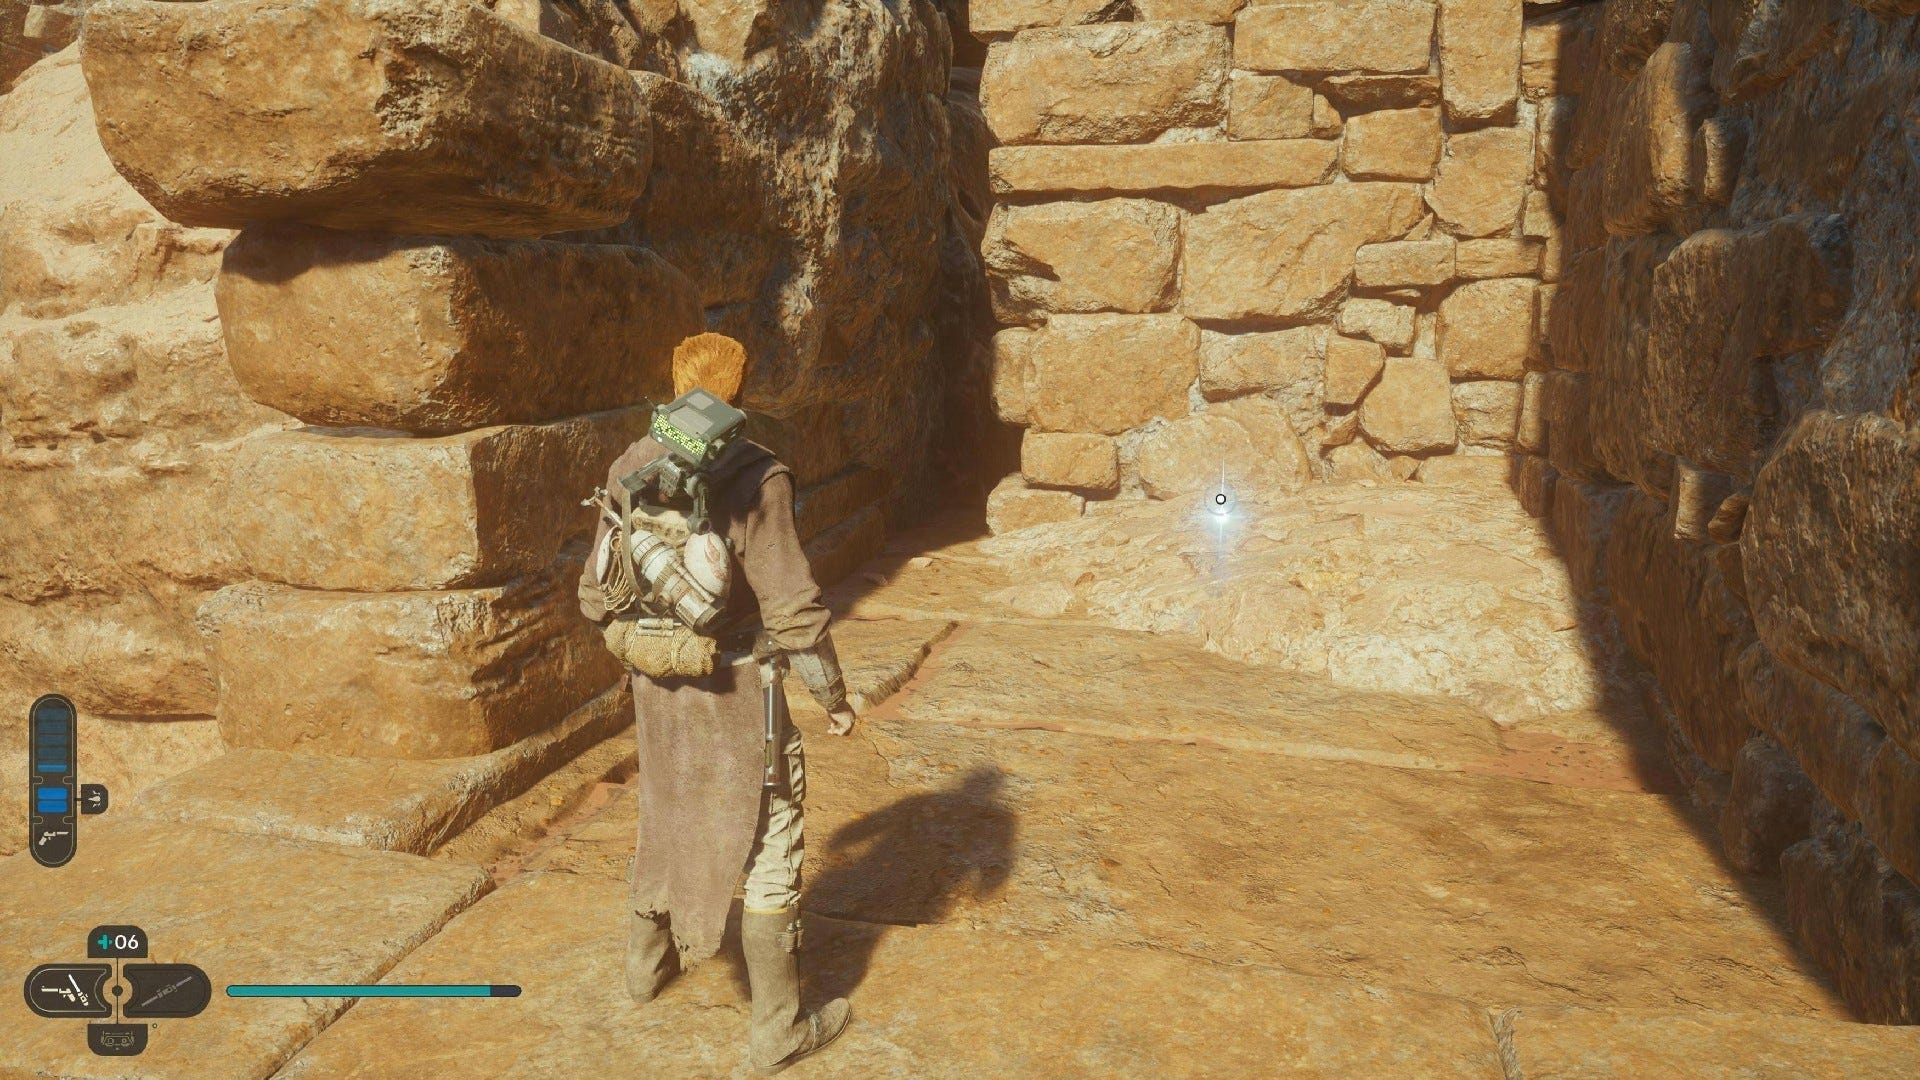
Jedha Scroll #1: Up the ledge after meeting and fighting with Merrin.
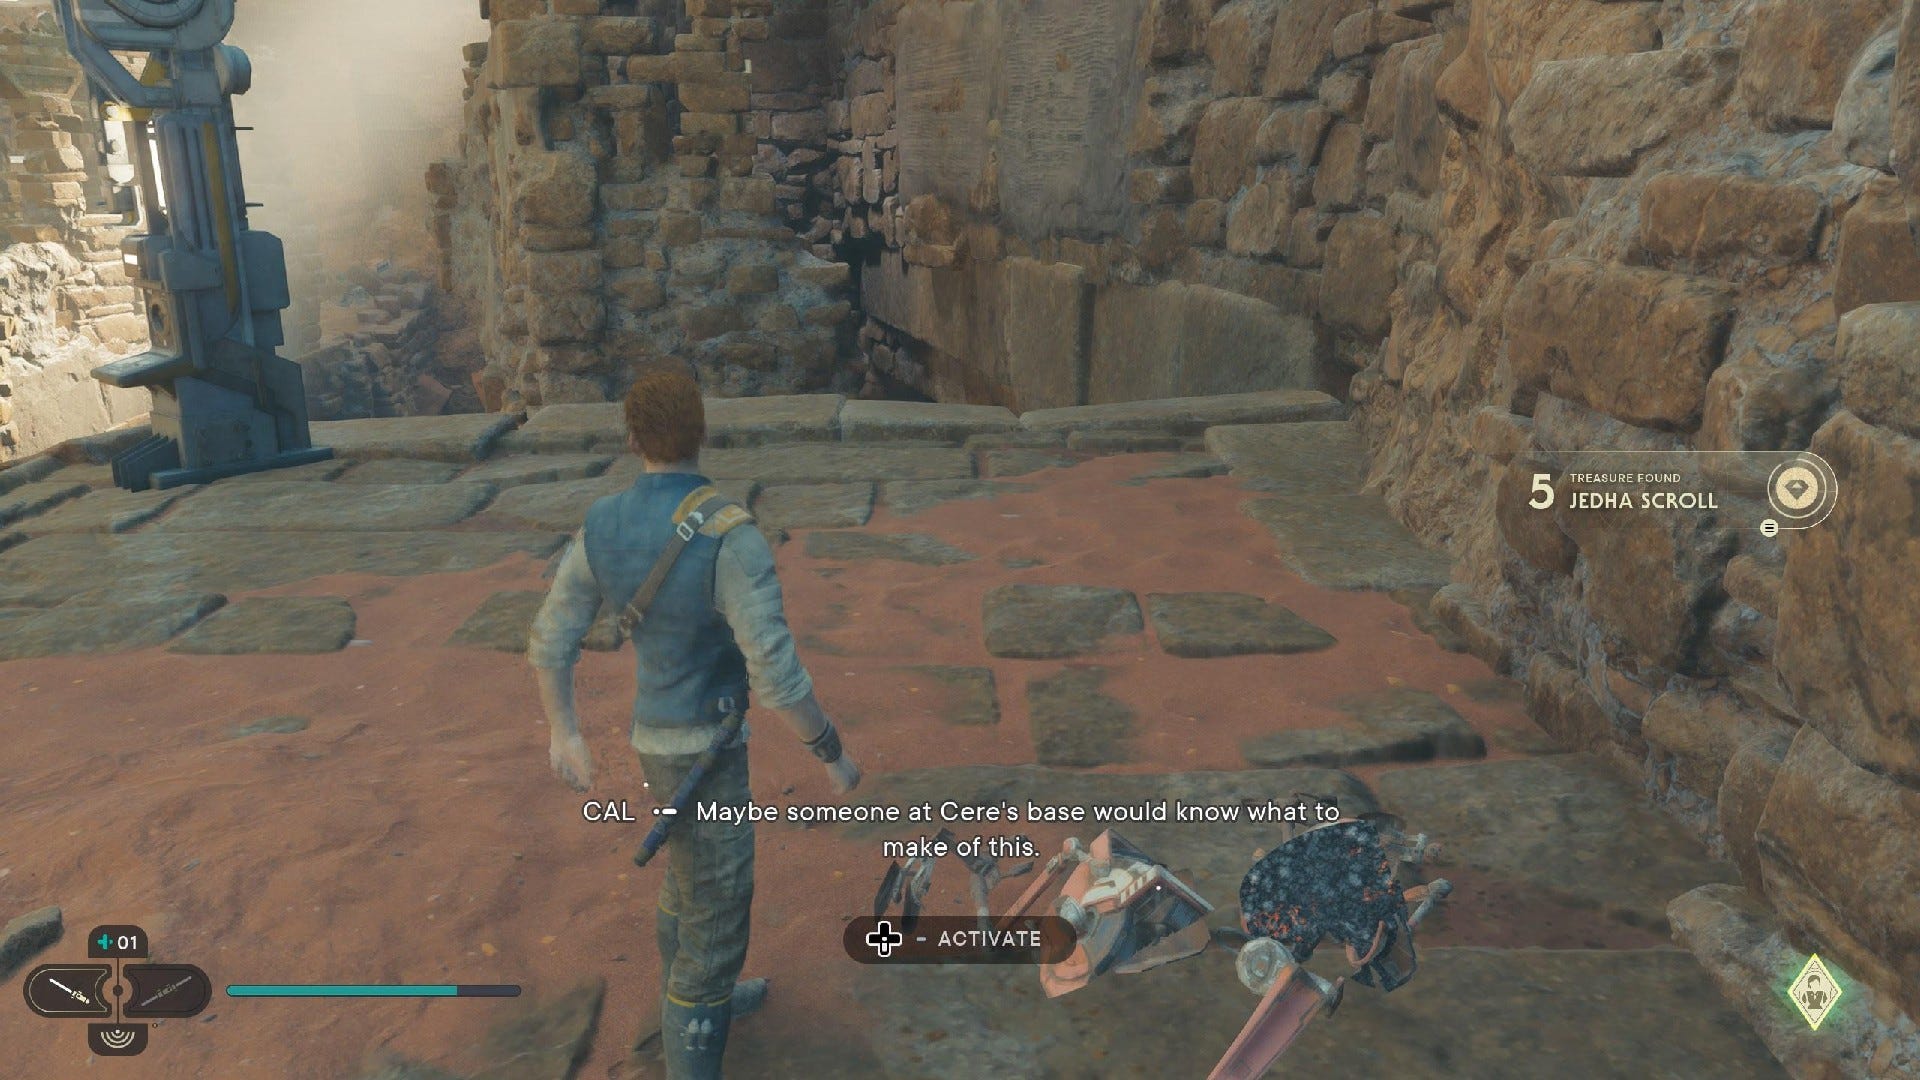
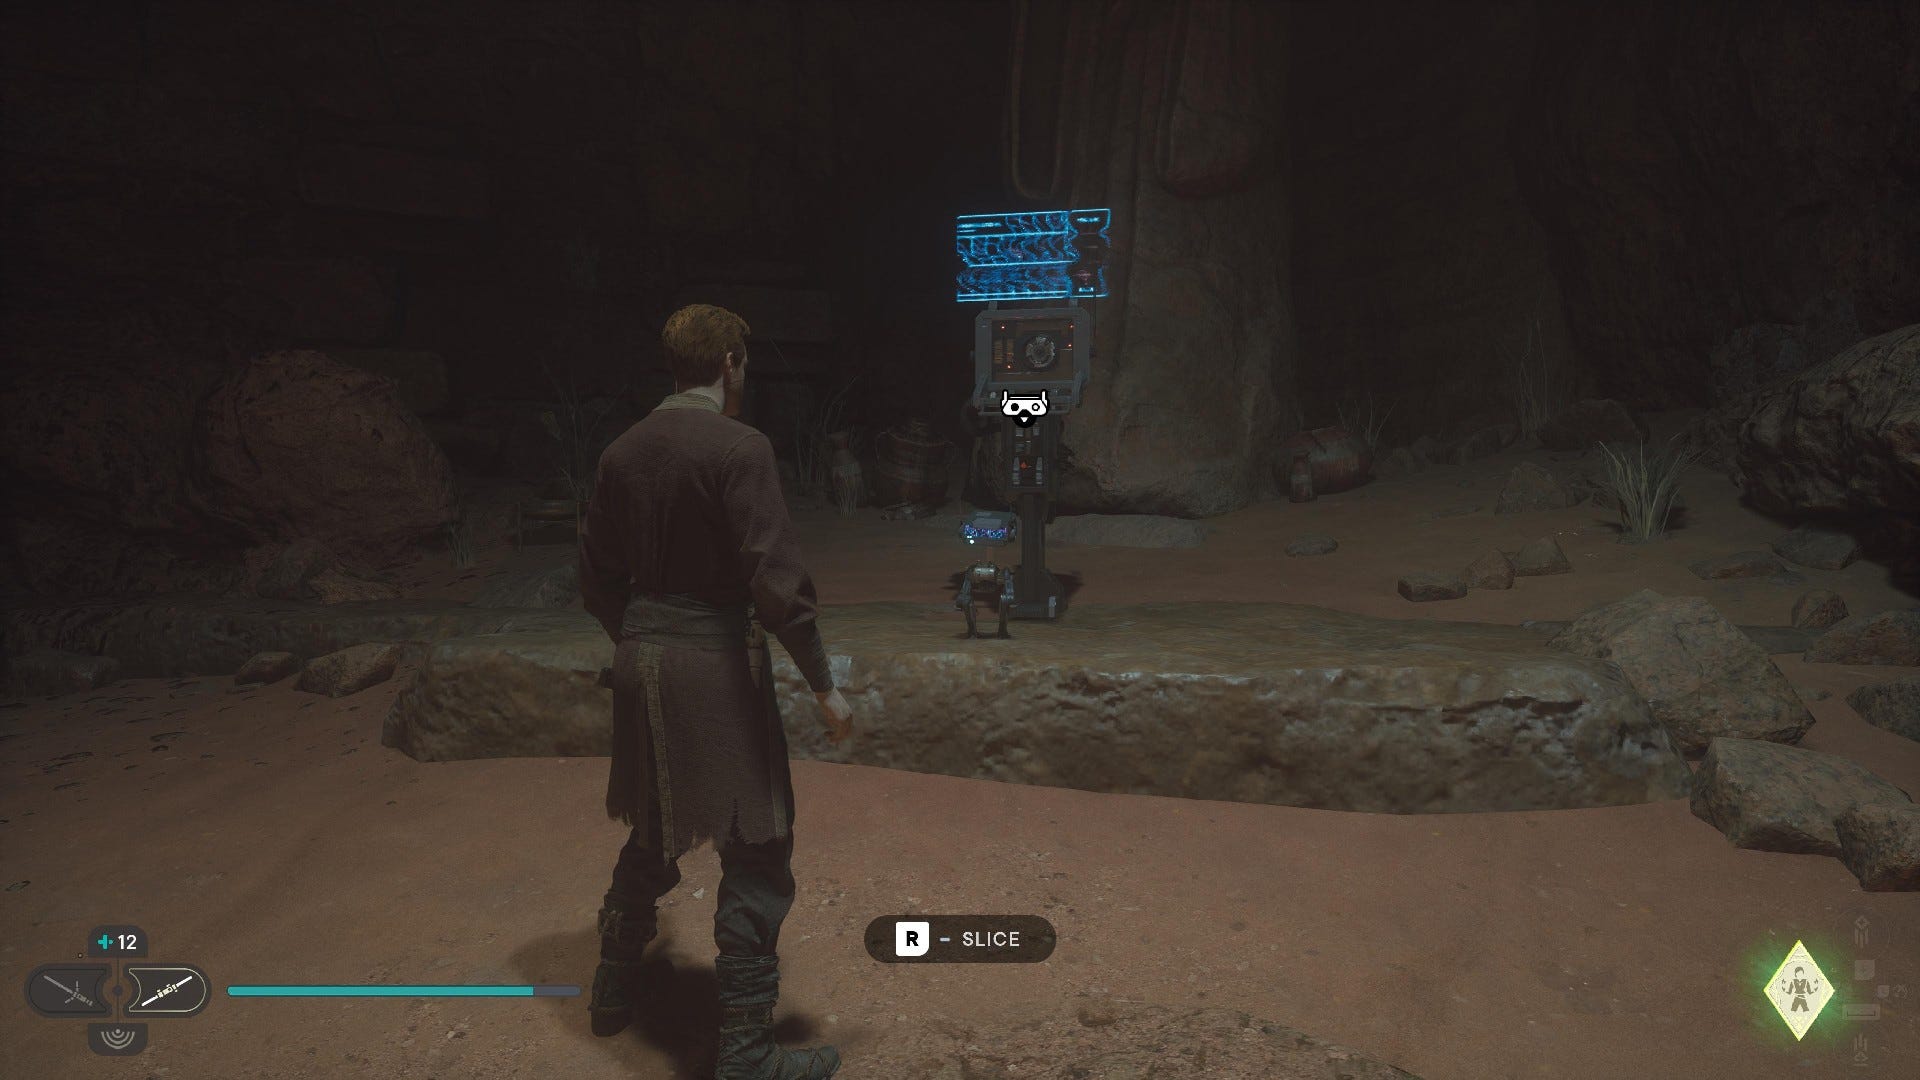
Jedha Scroll #2: Turn back after finding Nocular Body chest and head towards the stormtrooper. You'll find a Scavenger Droid in the same corridor.
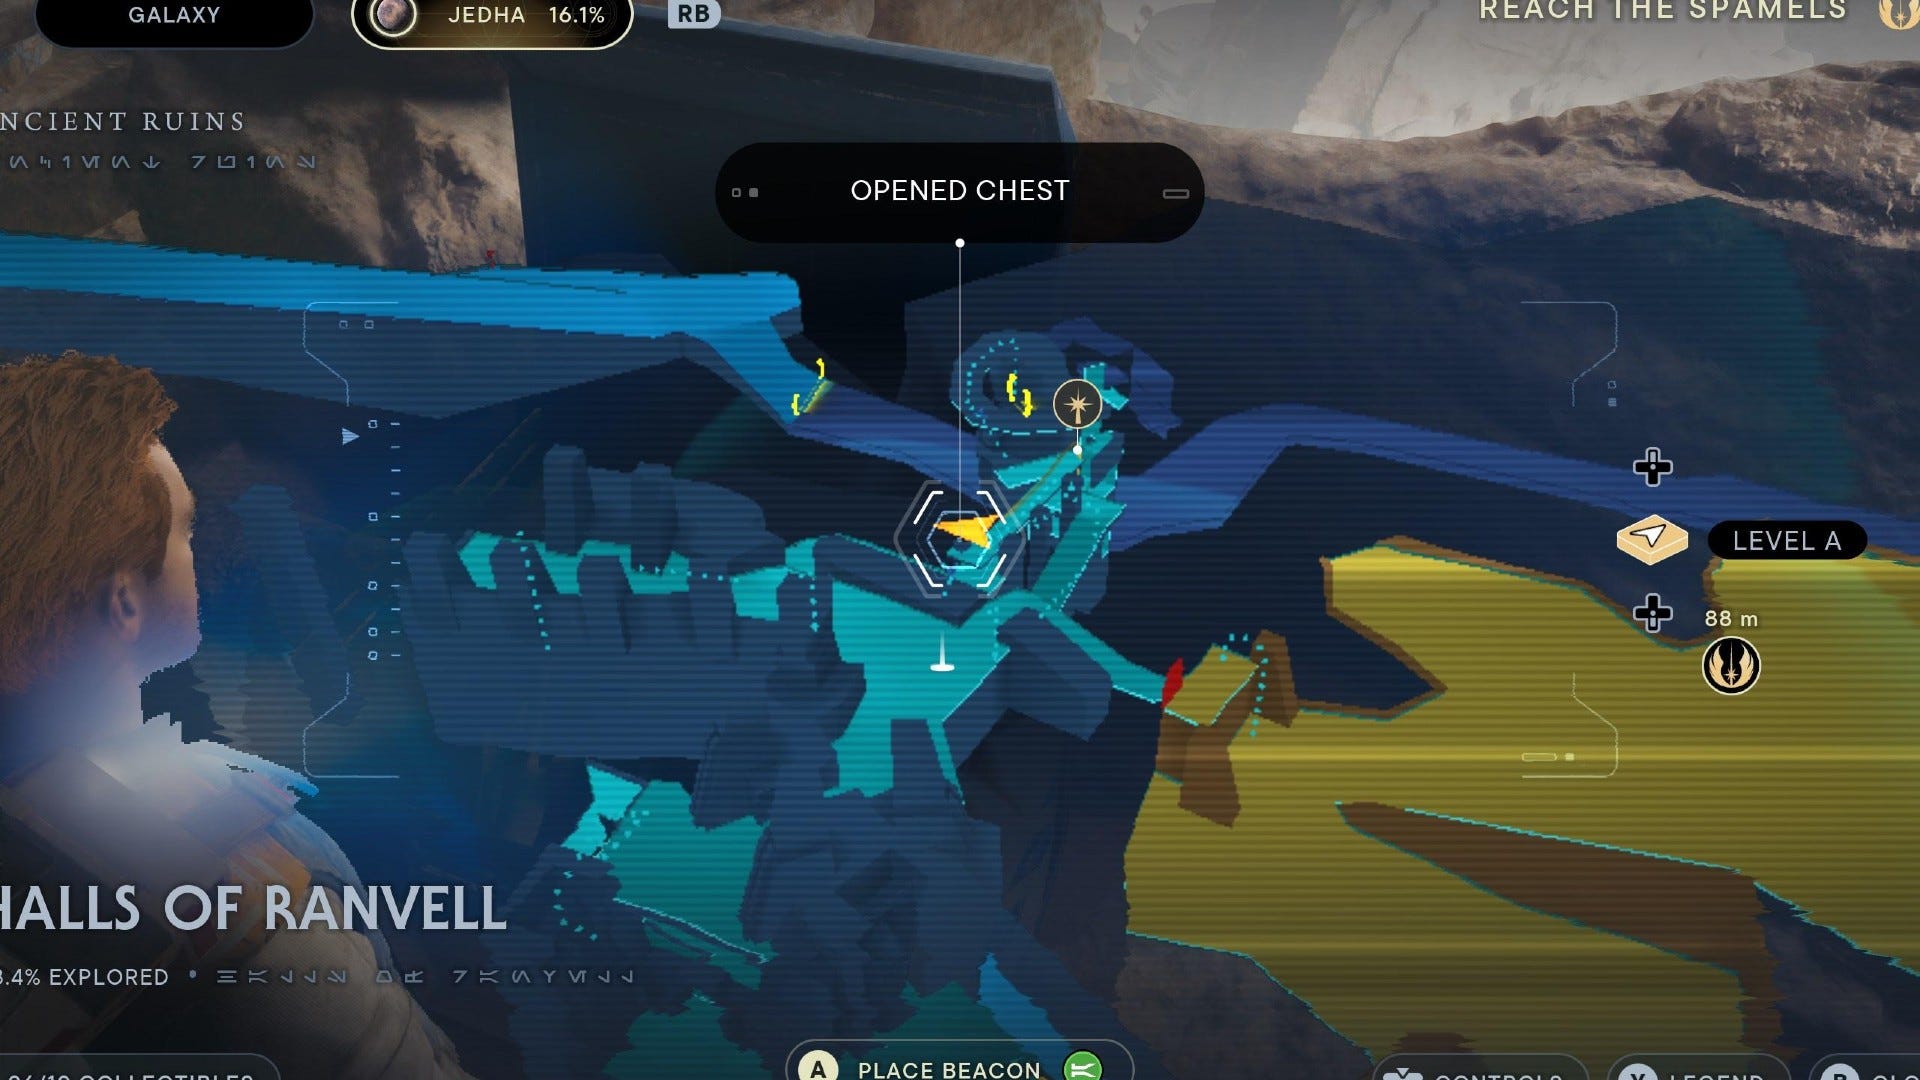
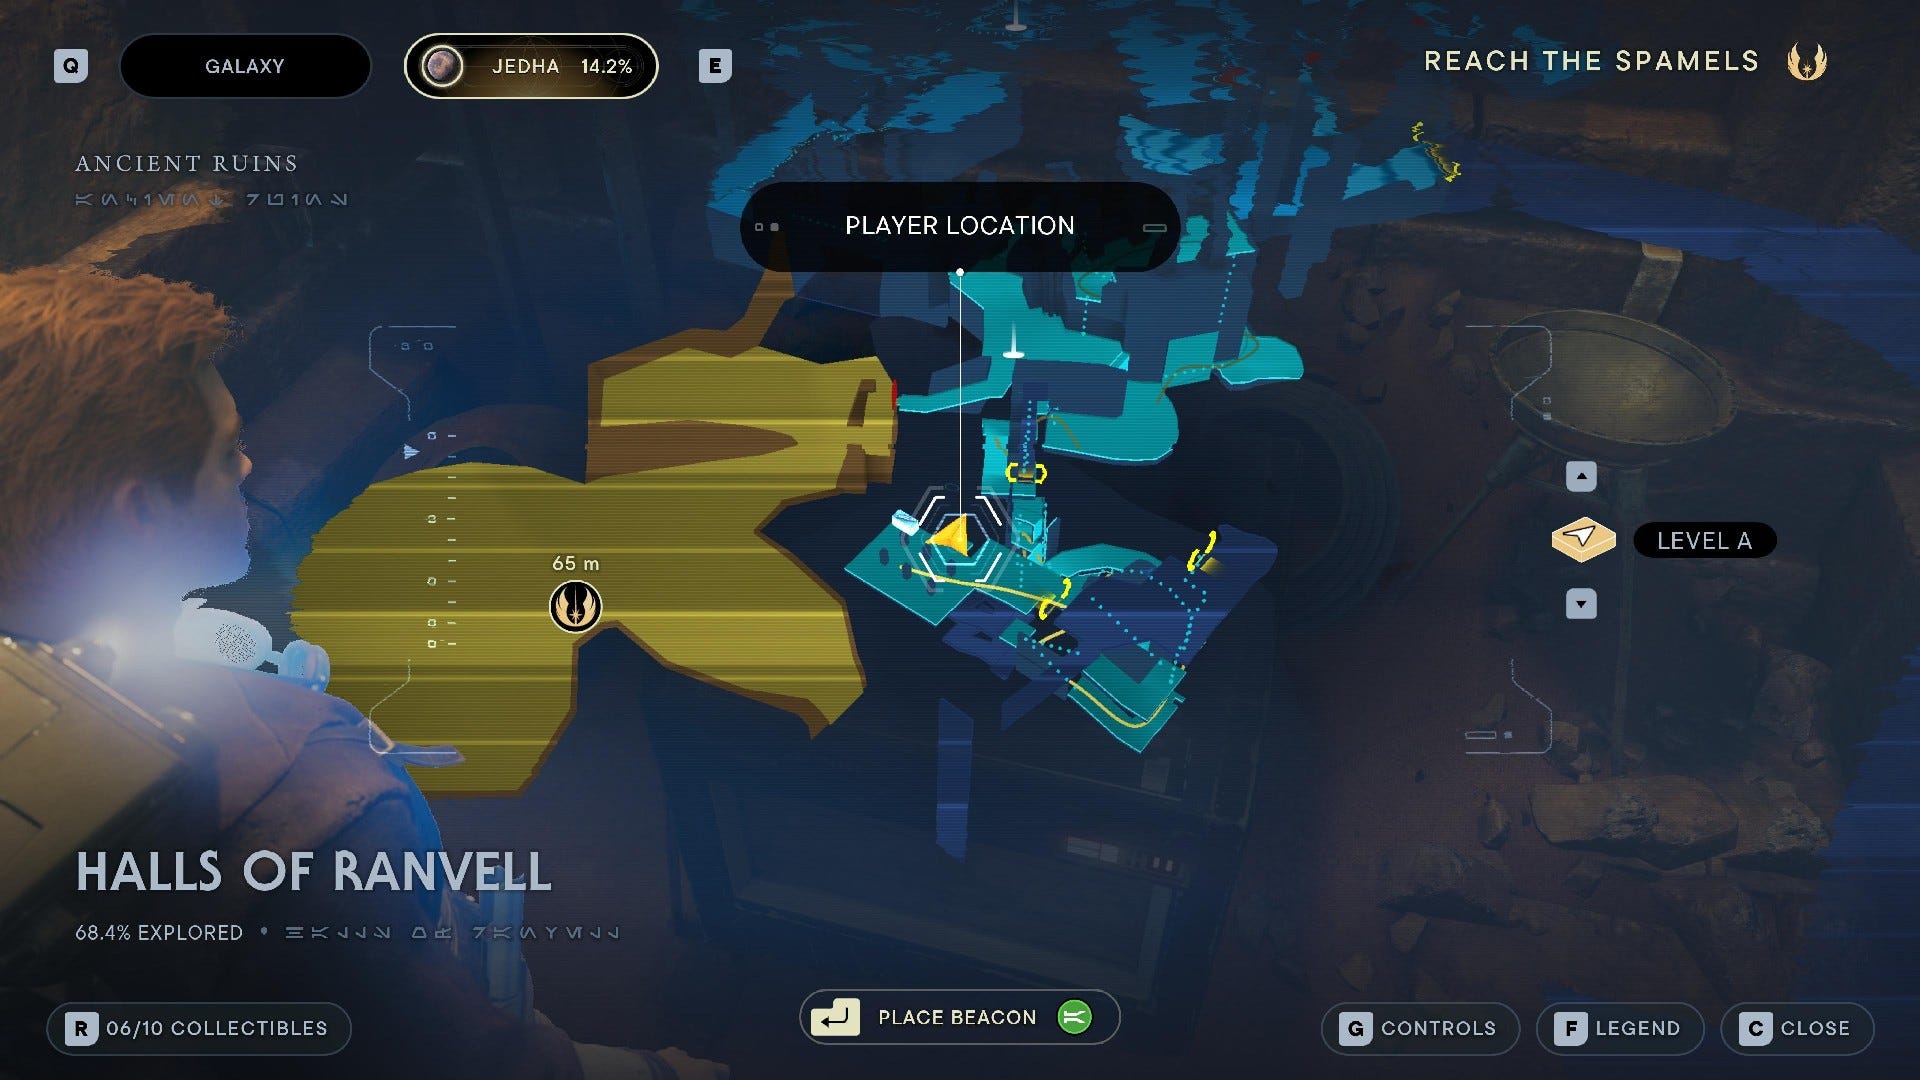
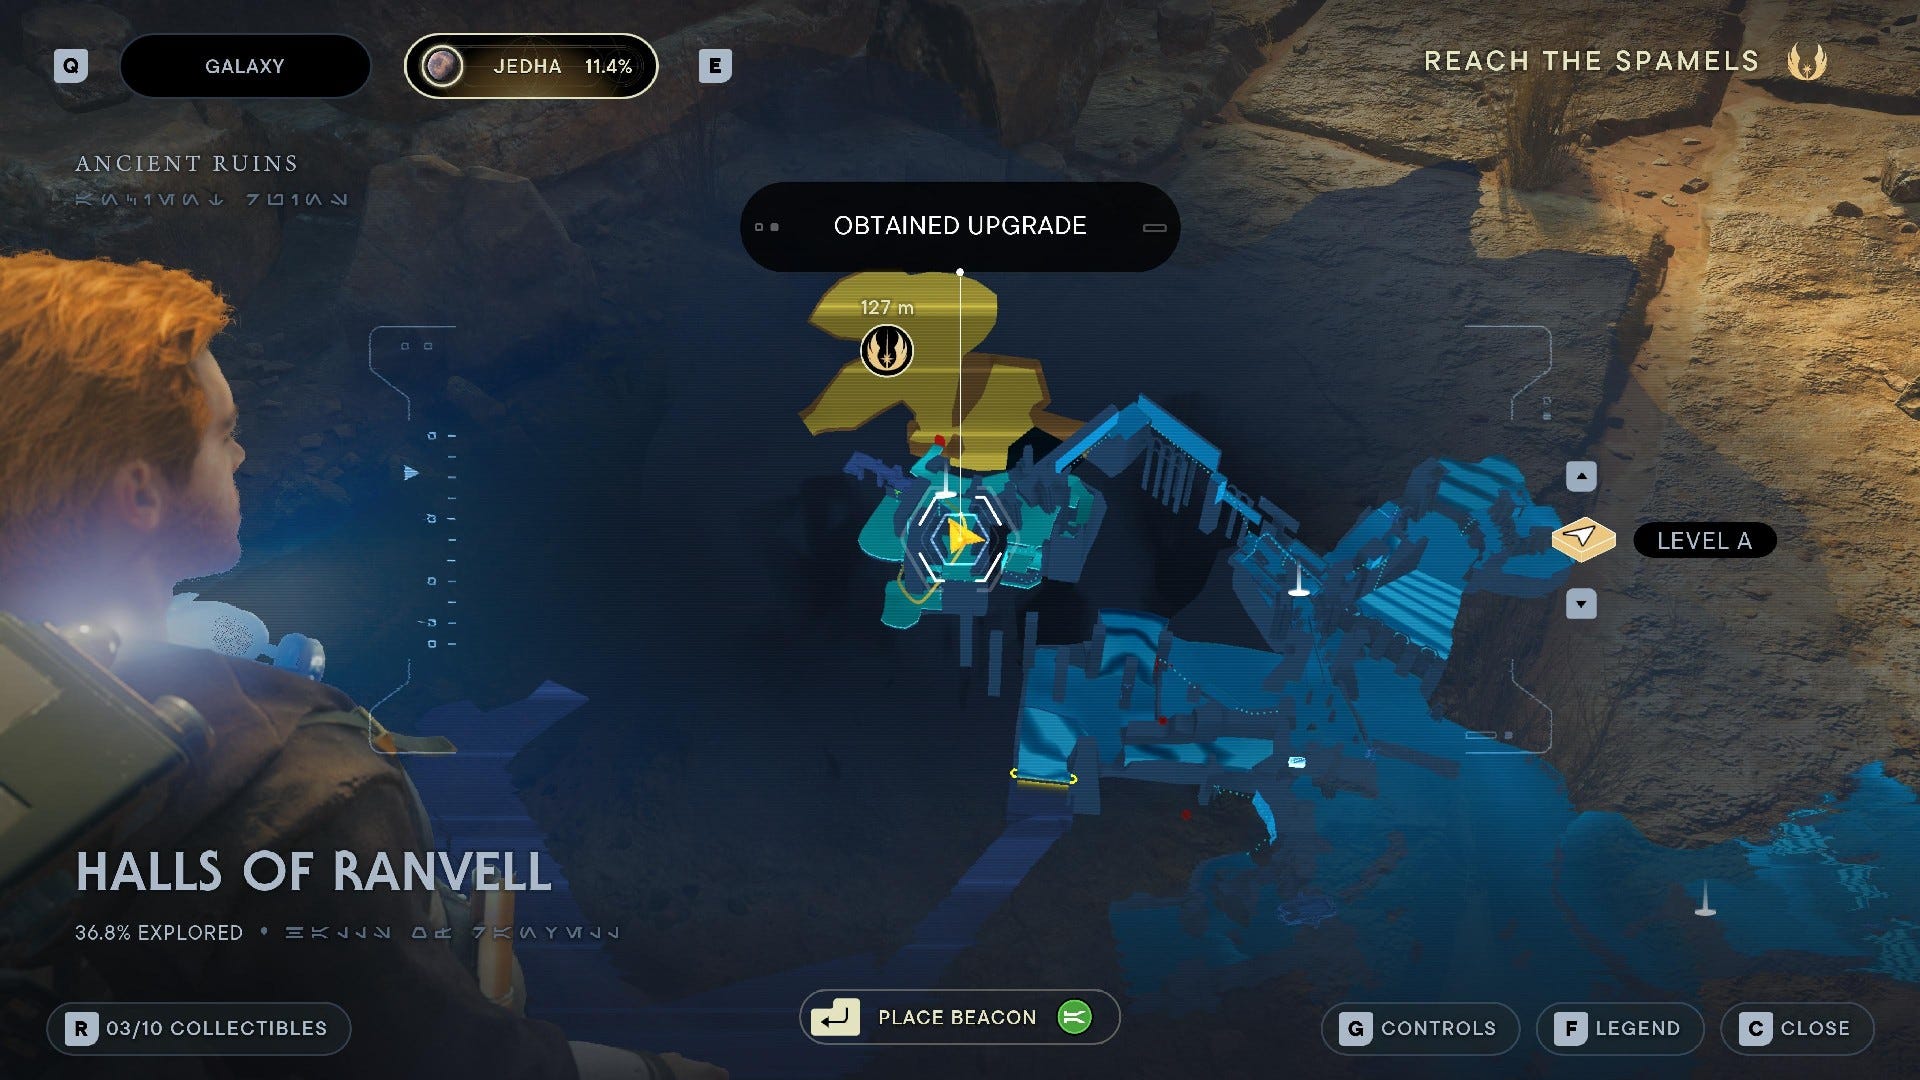
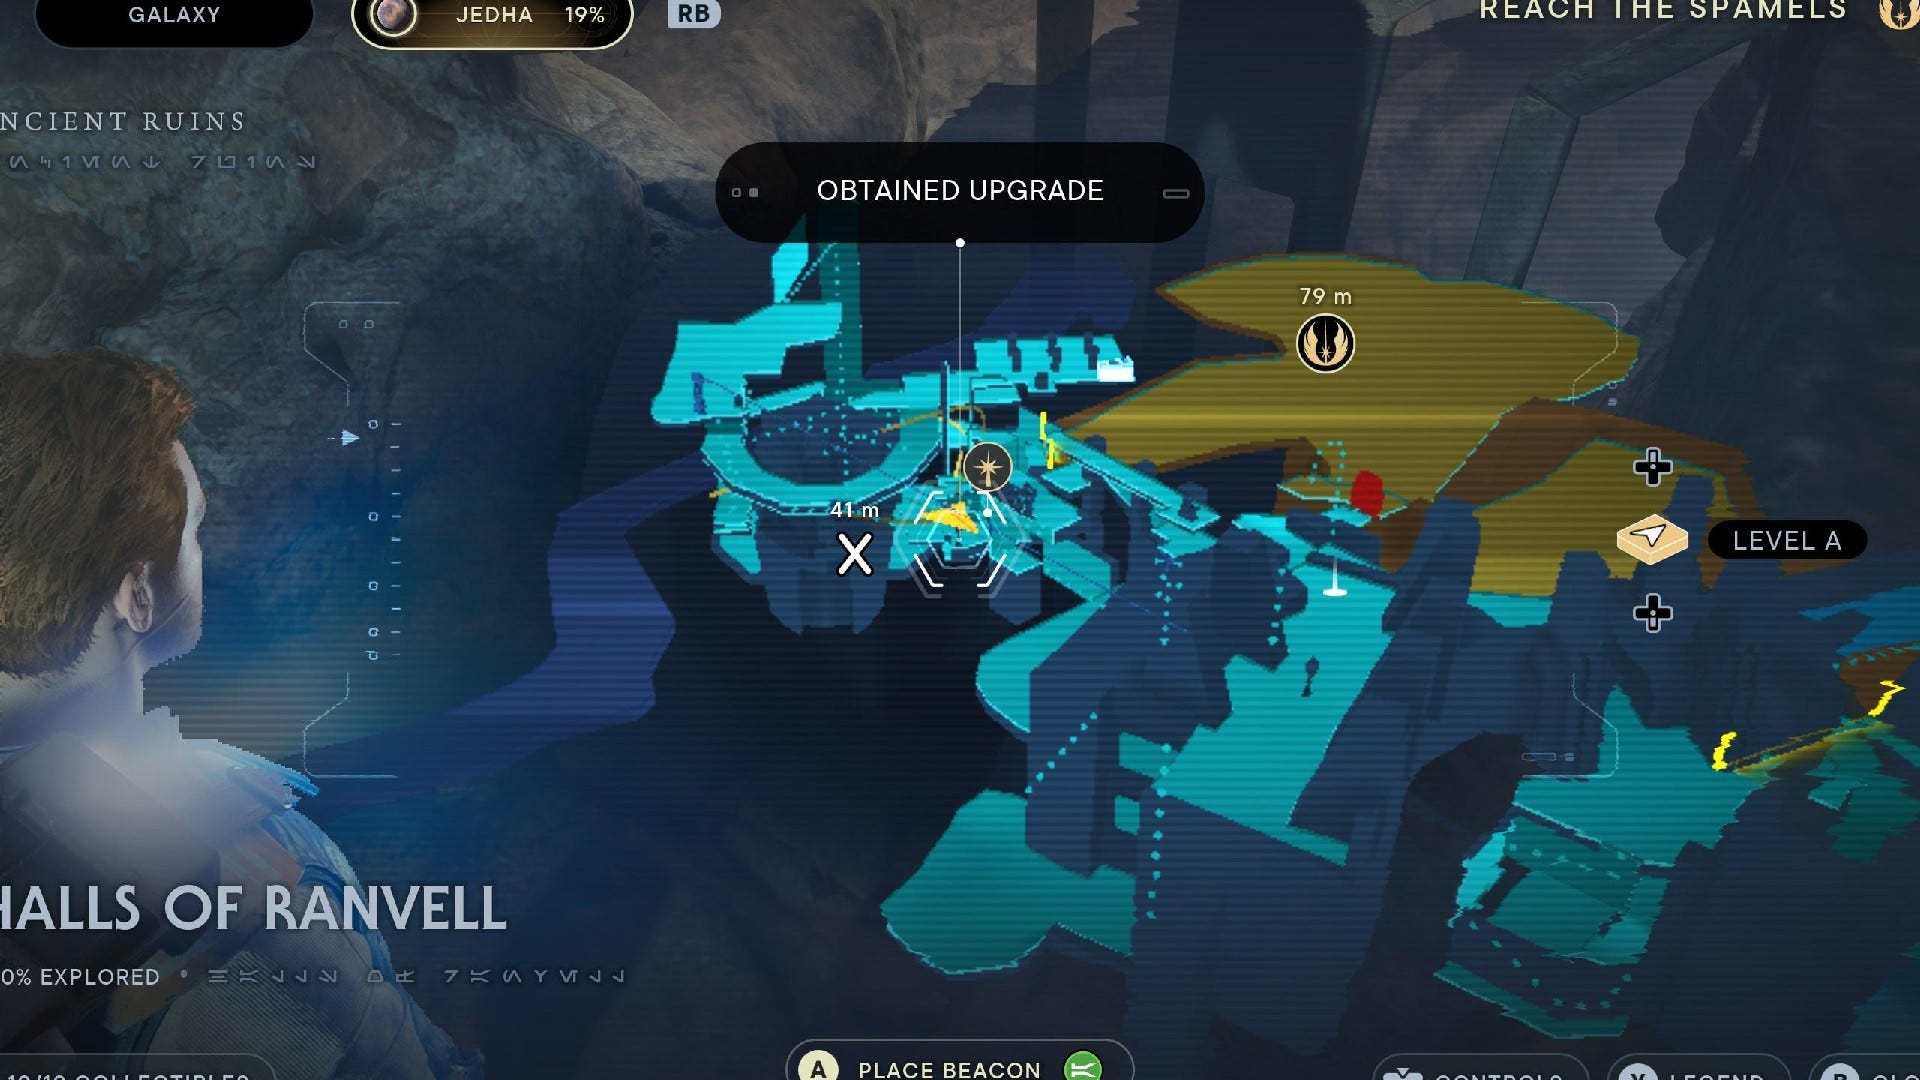
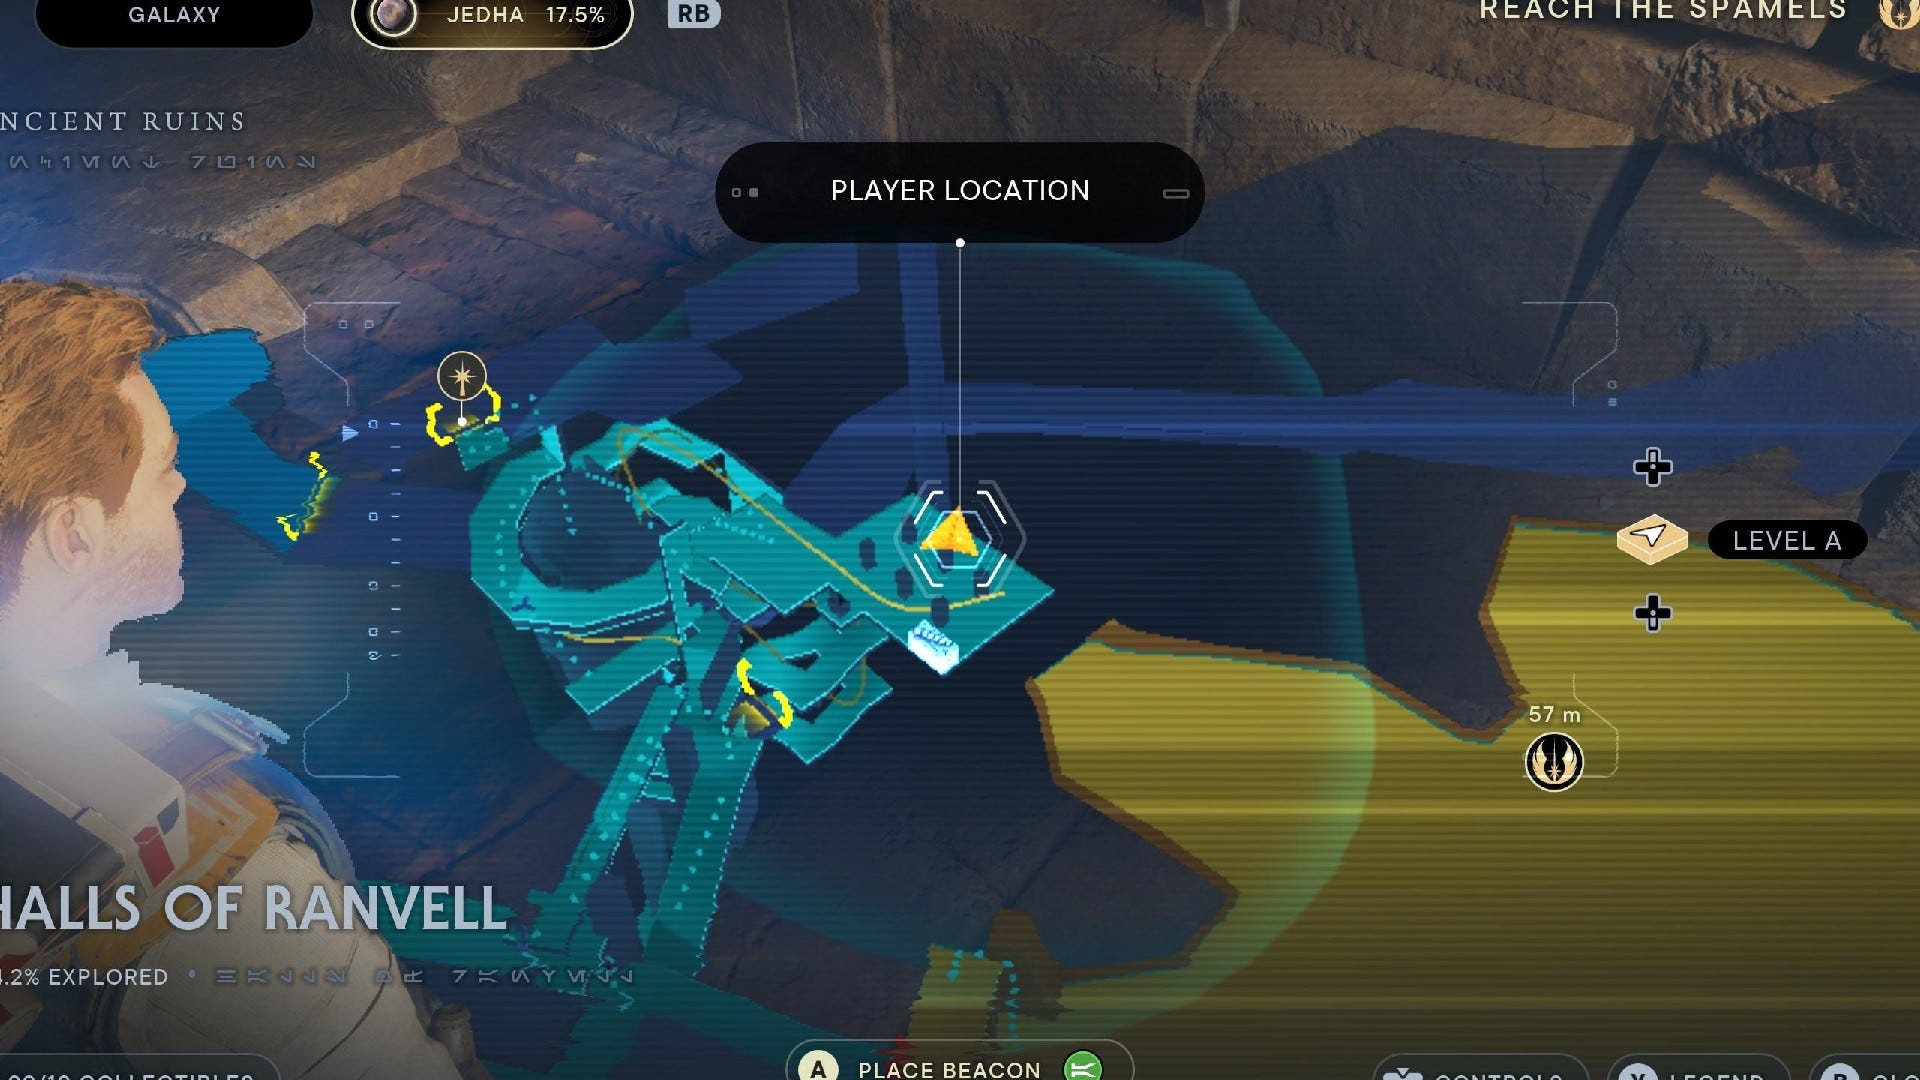
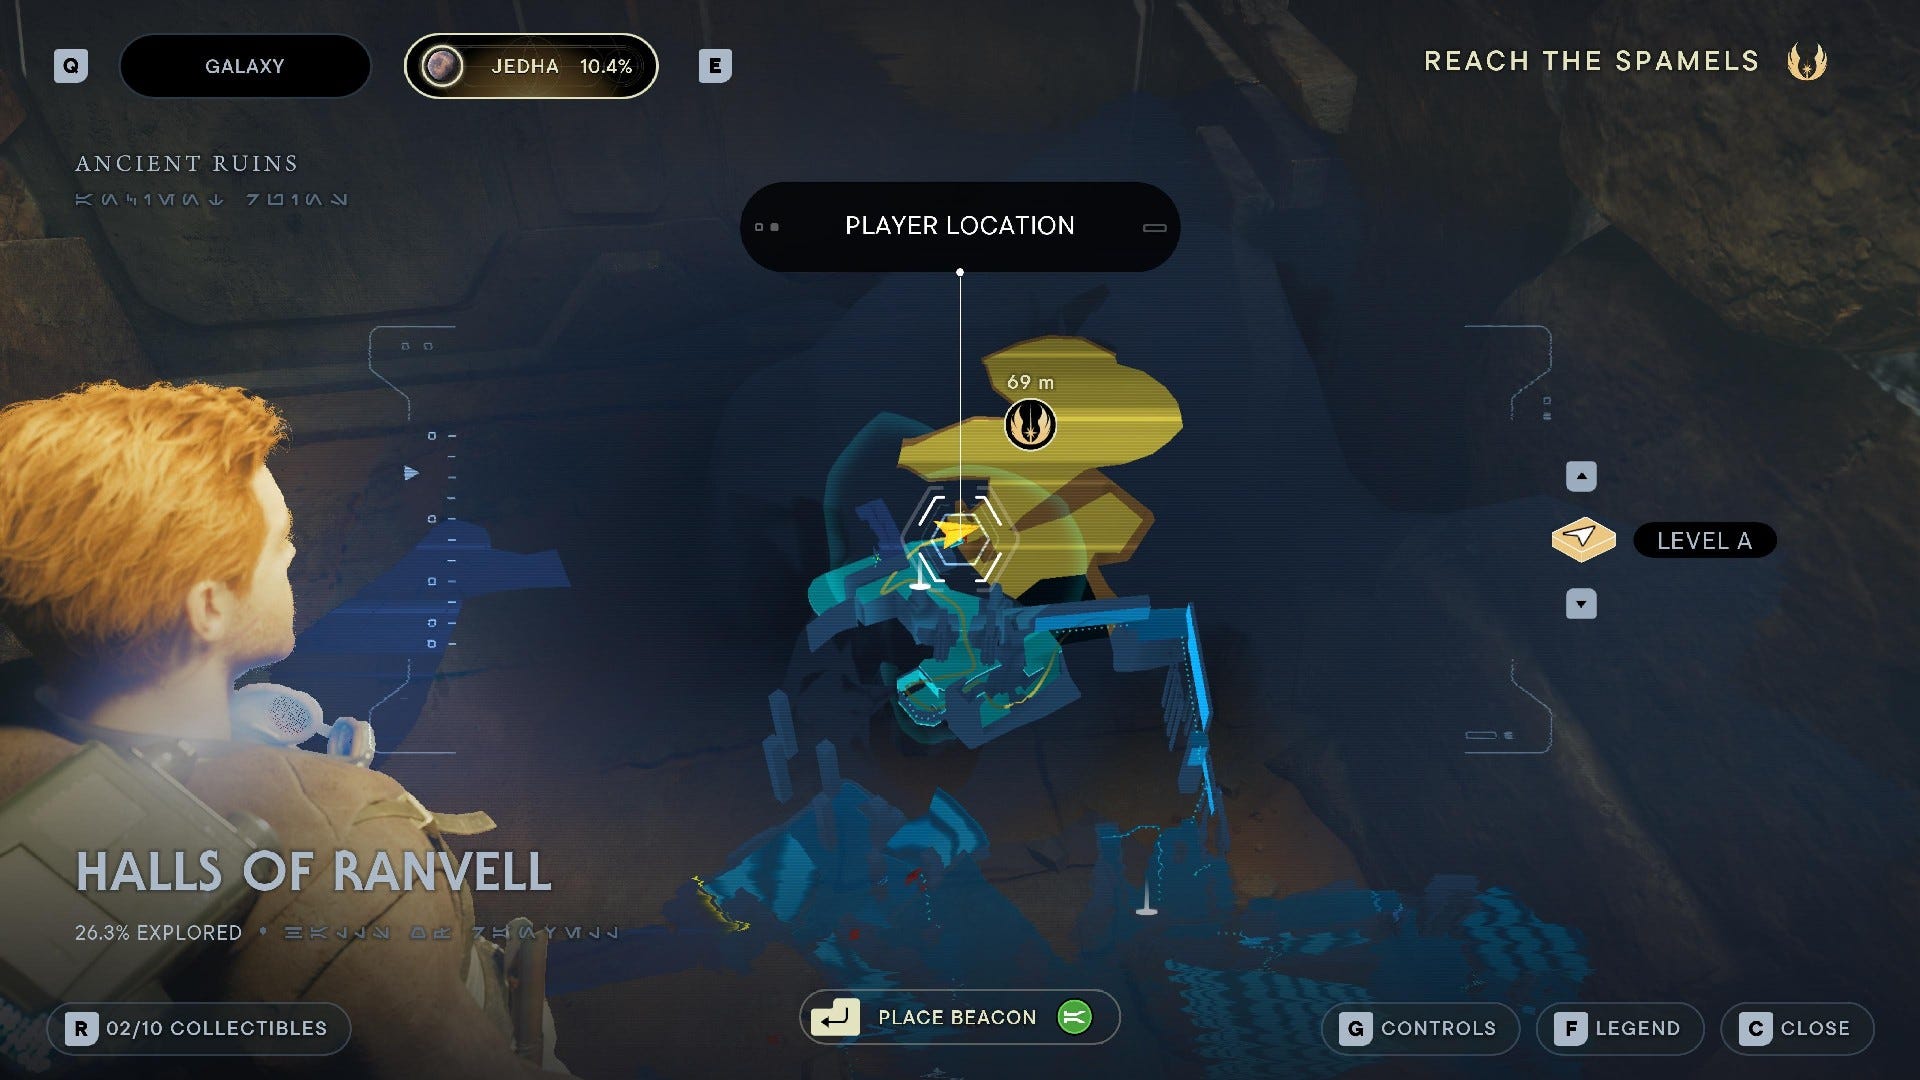
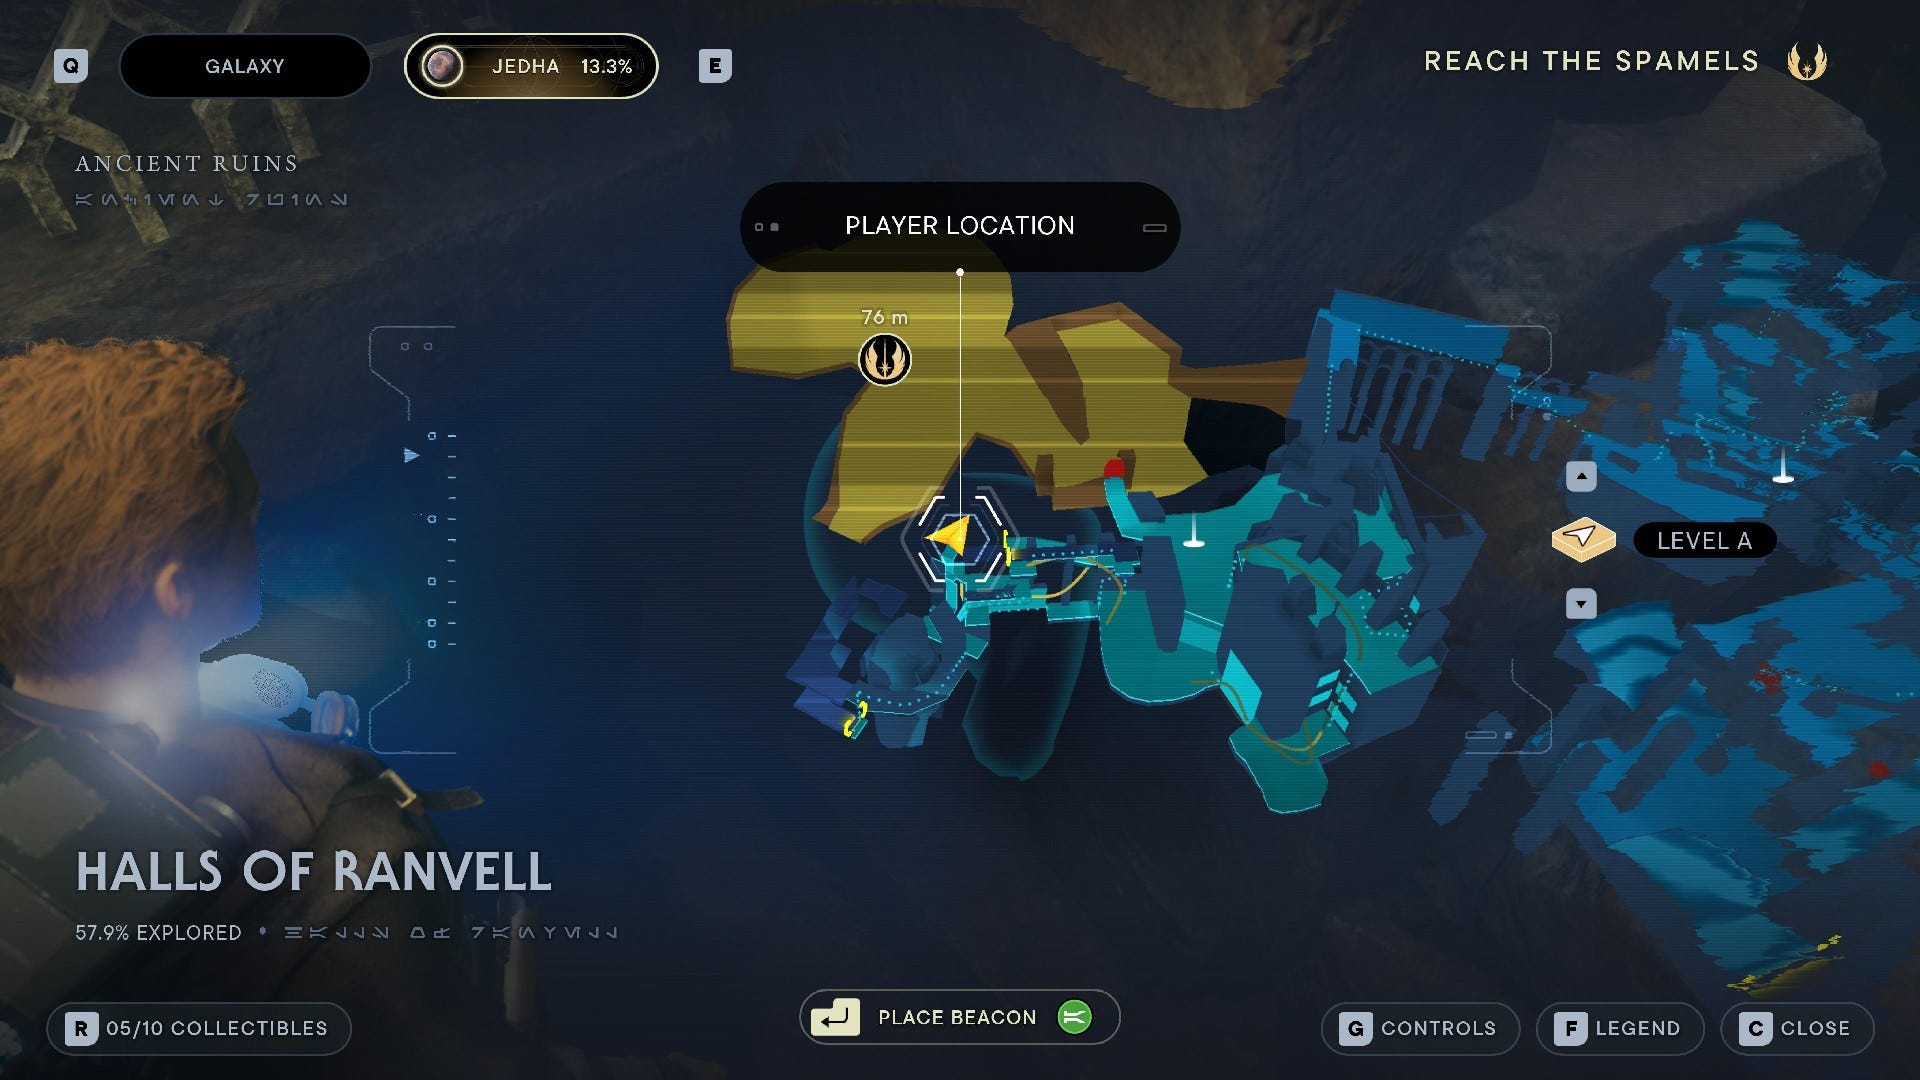
Halls of Ranvell collectibles
After exploring the Penitent Chambers, you'll come to the Halls of Ranvell, where you'll find a total of 10 collectibles:
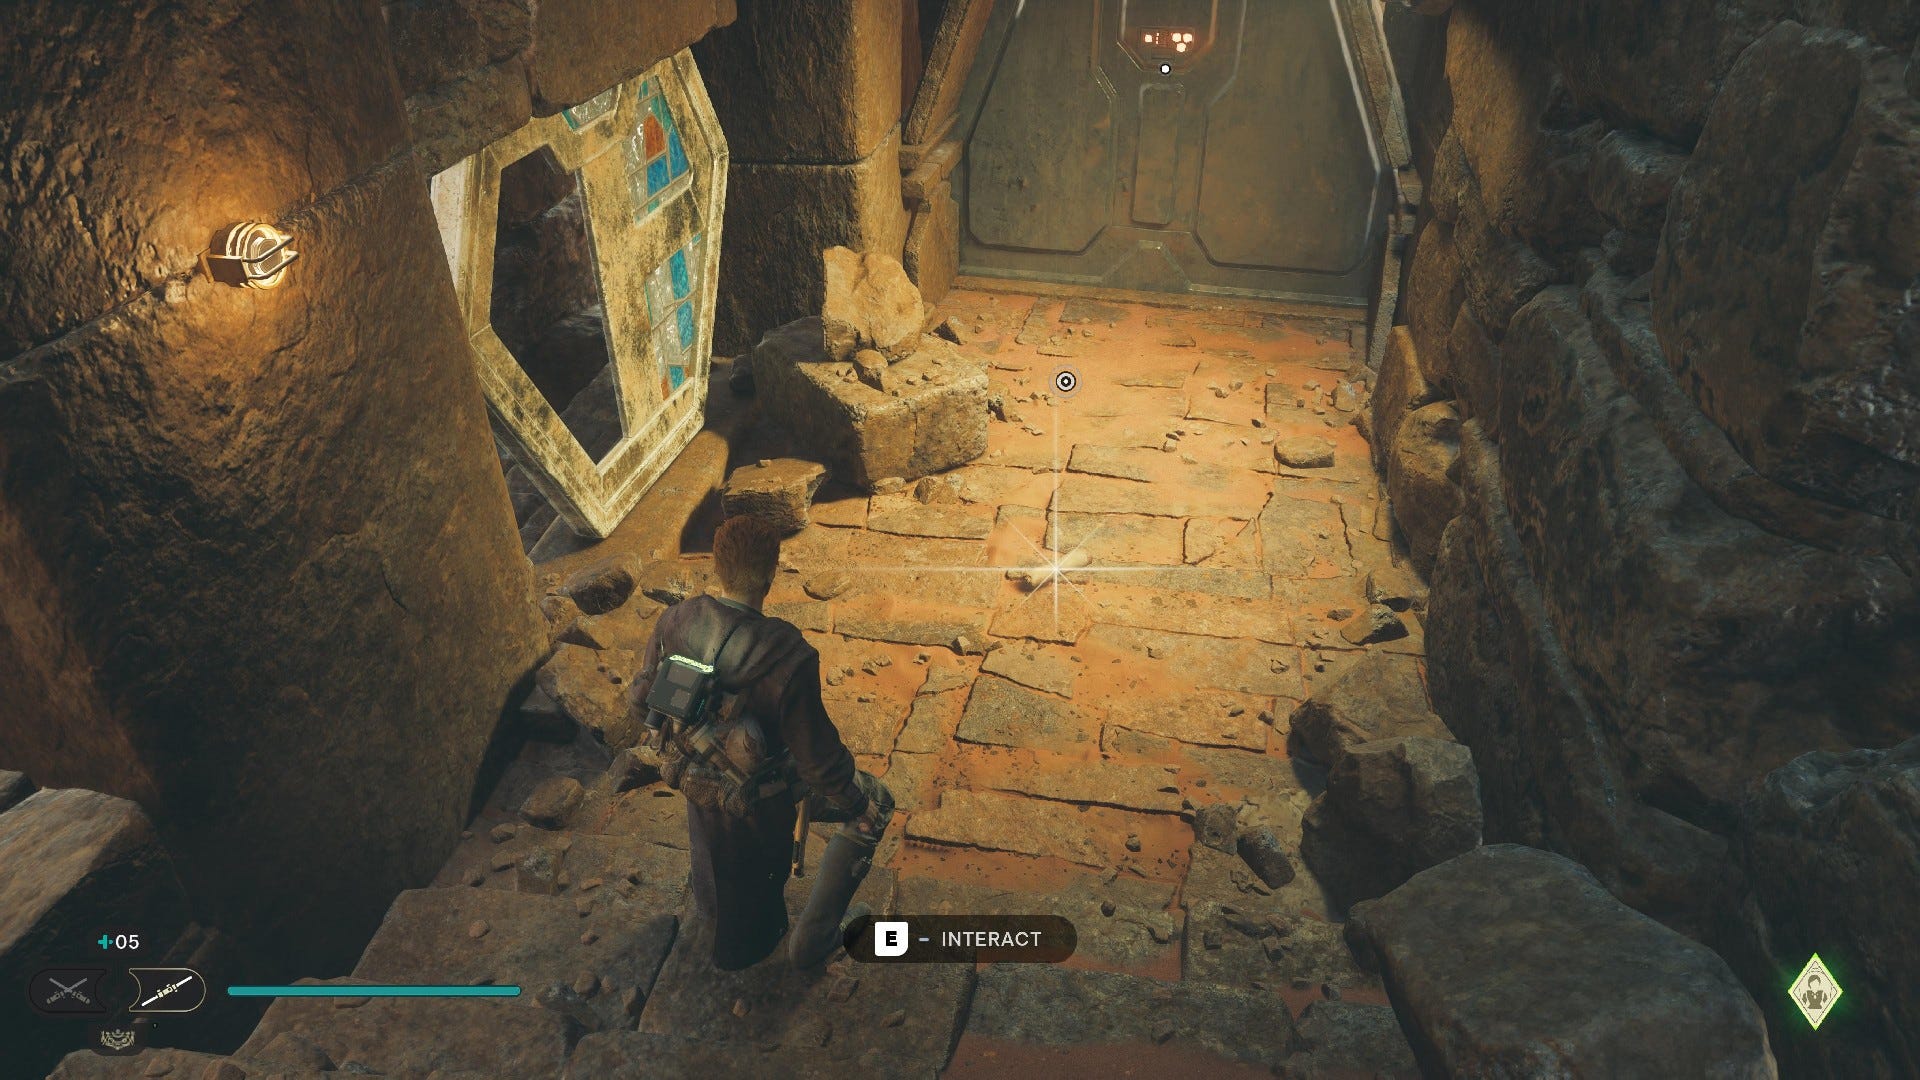
Halls of Ranvell Chests:

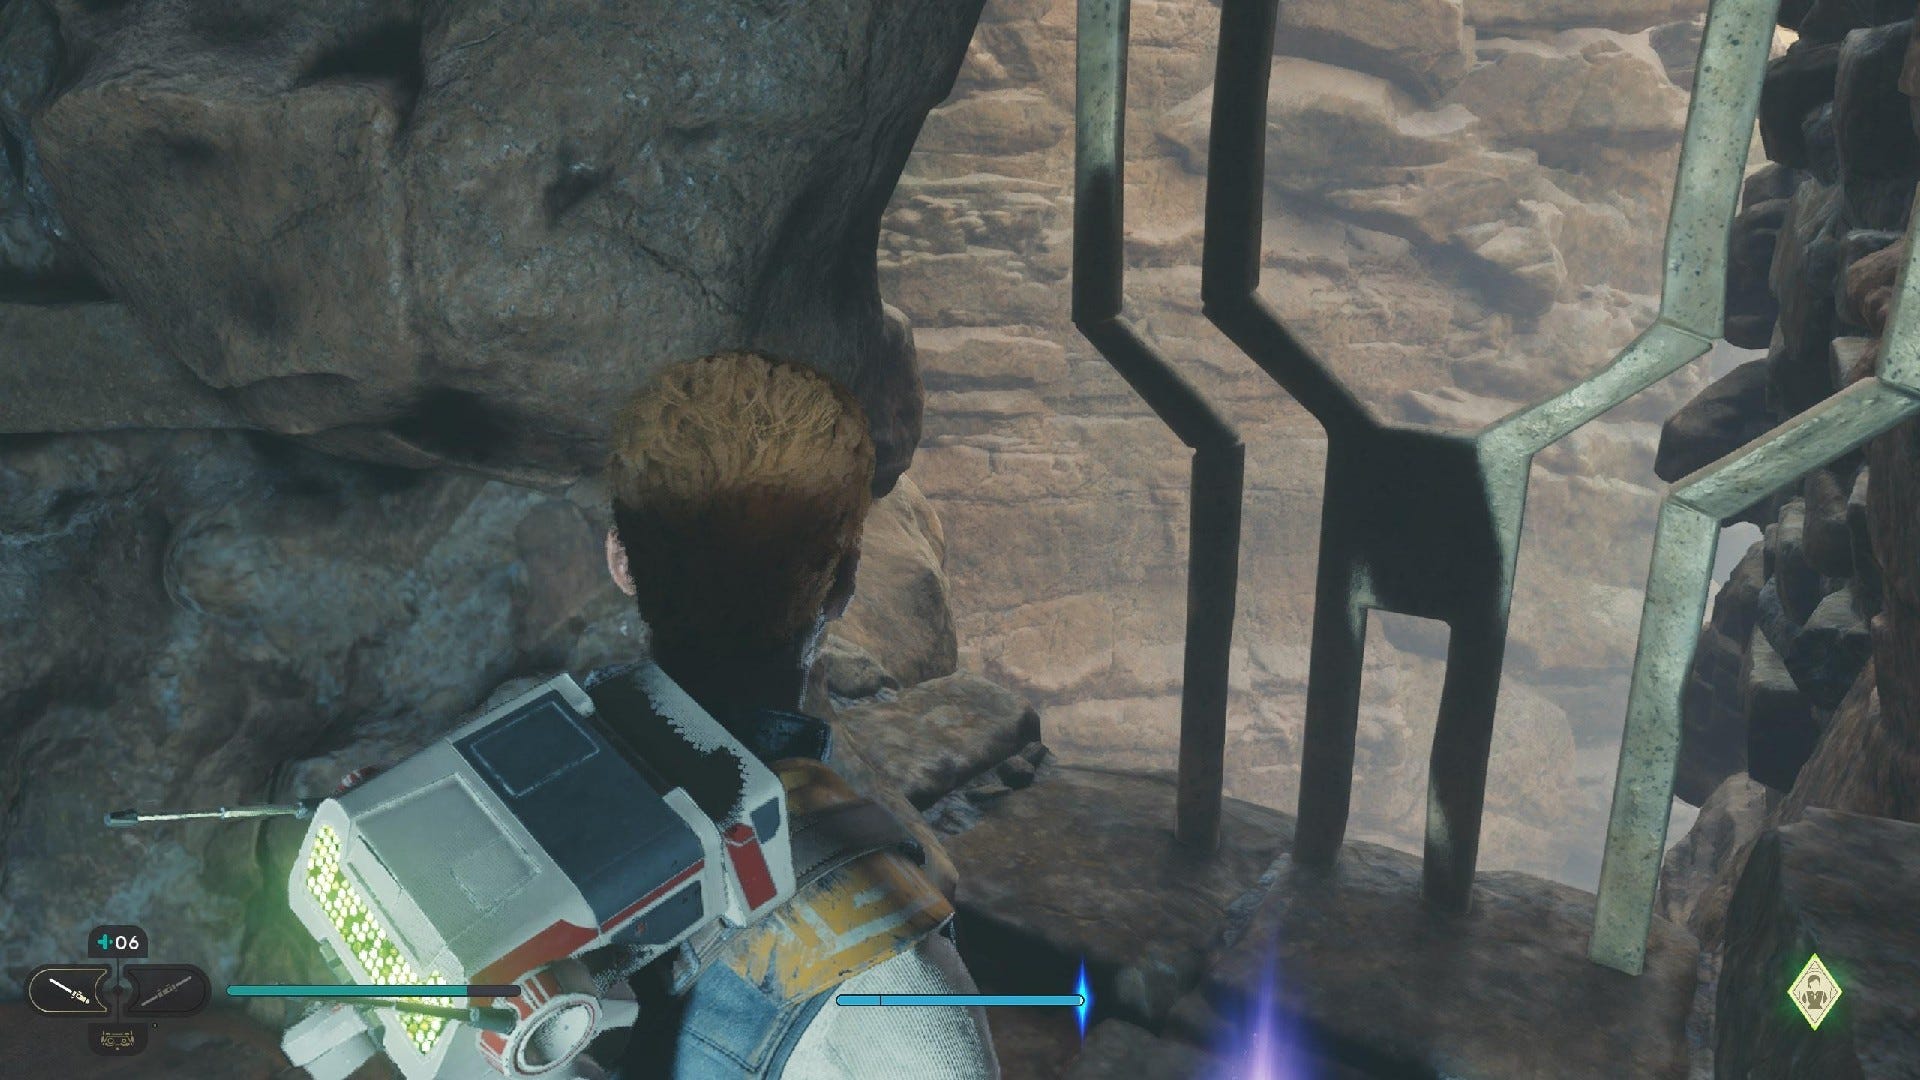
Chest #1 (Undercut Hair): After the cool bit where Merrin takes out stormtroopers while you hang along the outside wall, climb the ledge and then turn back, wall run, and climb the second ledge. This chest is up ahead.

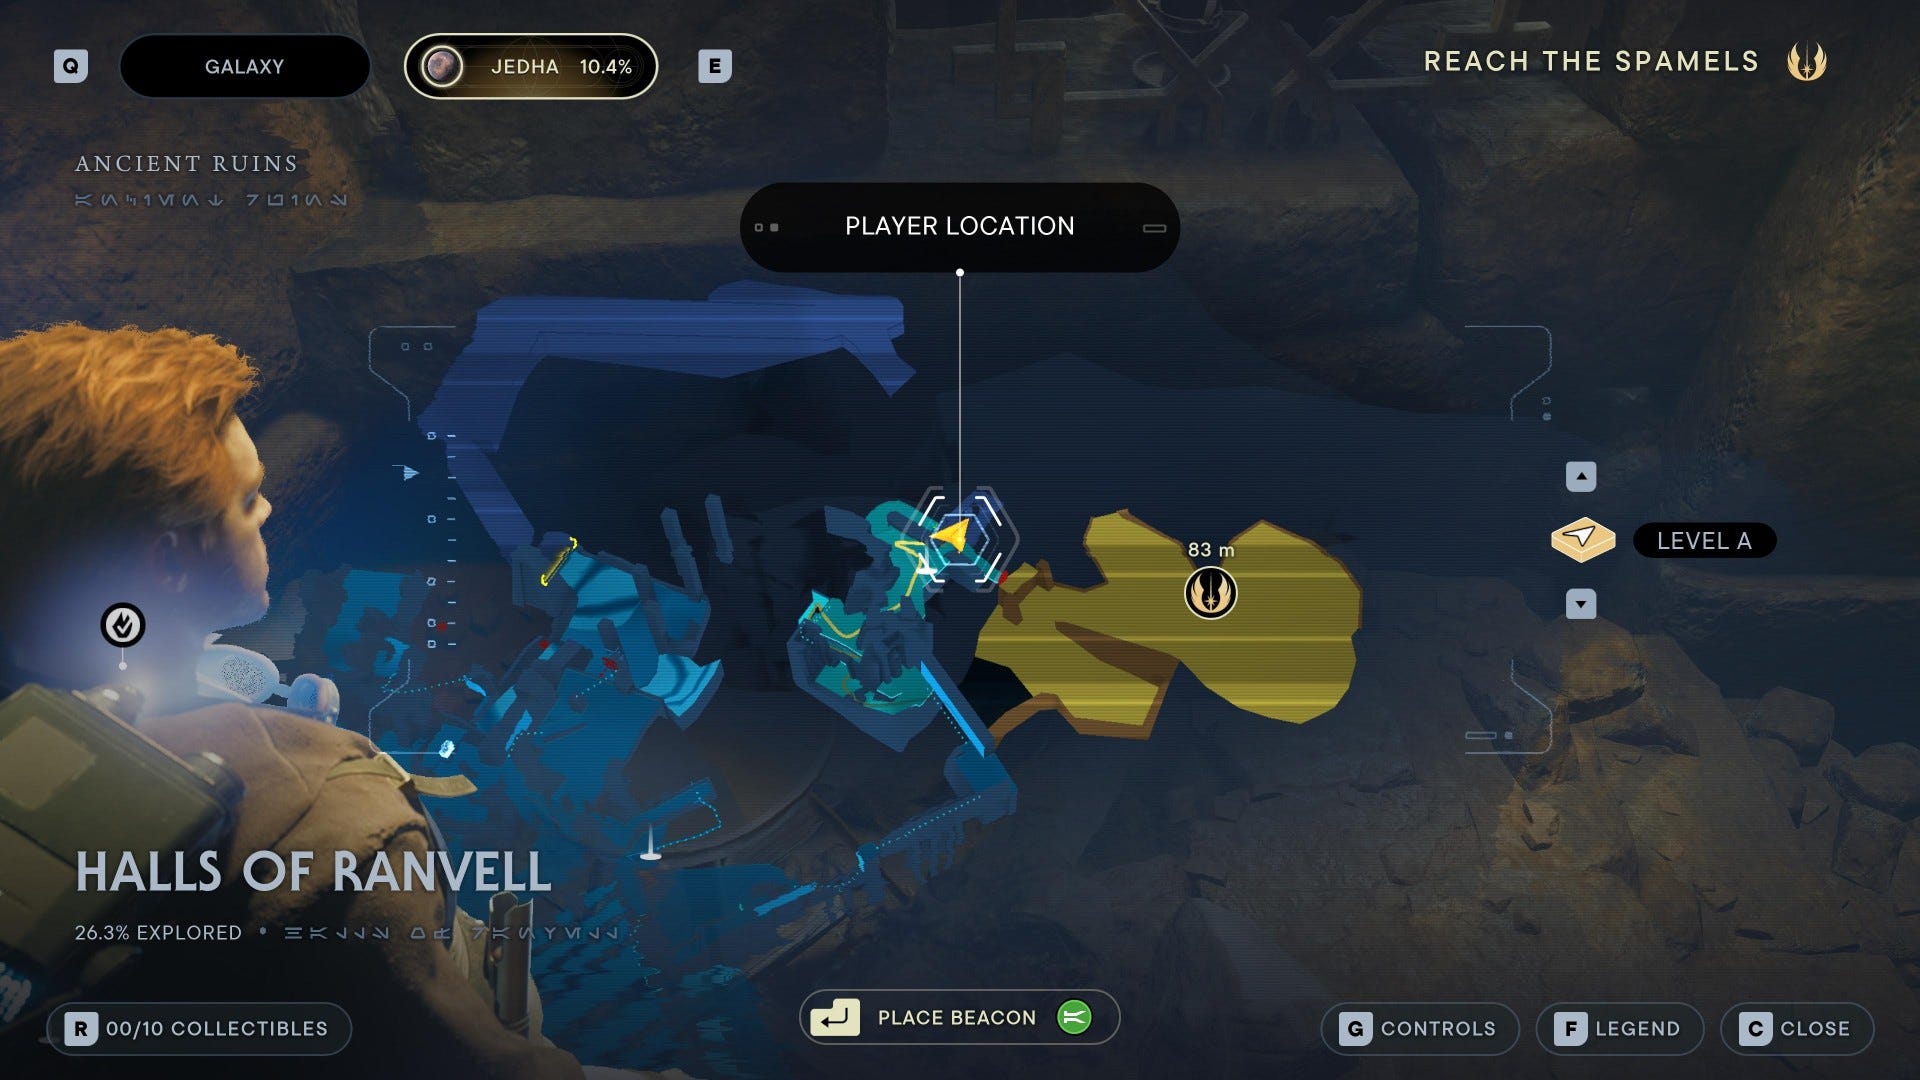
Chest #2 (Common Plastoid BD-1 Materials): Follow Merrin along the main path, then at the top of the wall-running/climbing section, turn around and jump across the gap to find a room with several stormtroopers. Defeat them and collect the chest to the side.
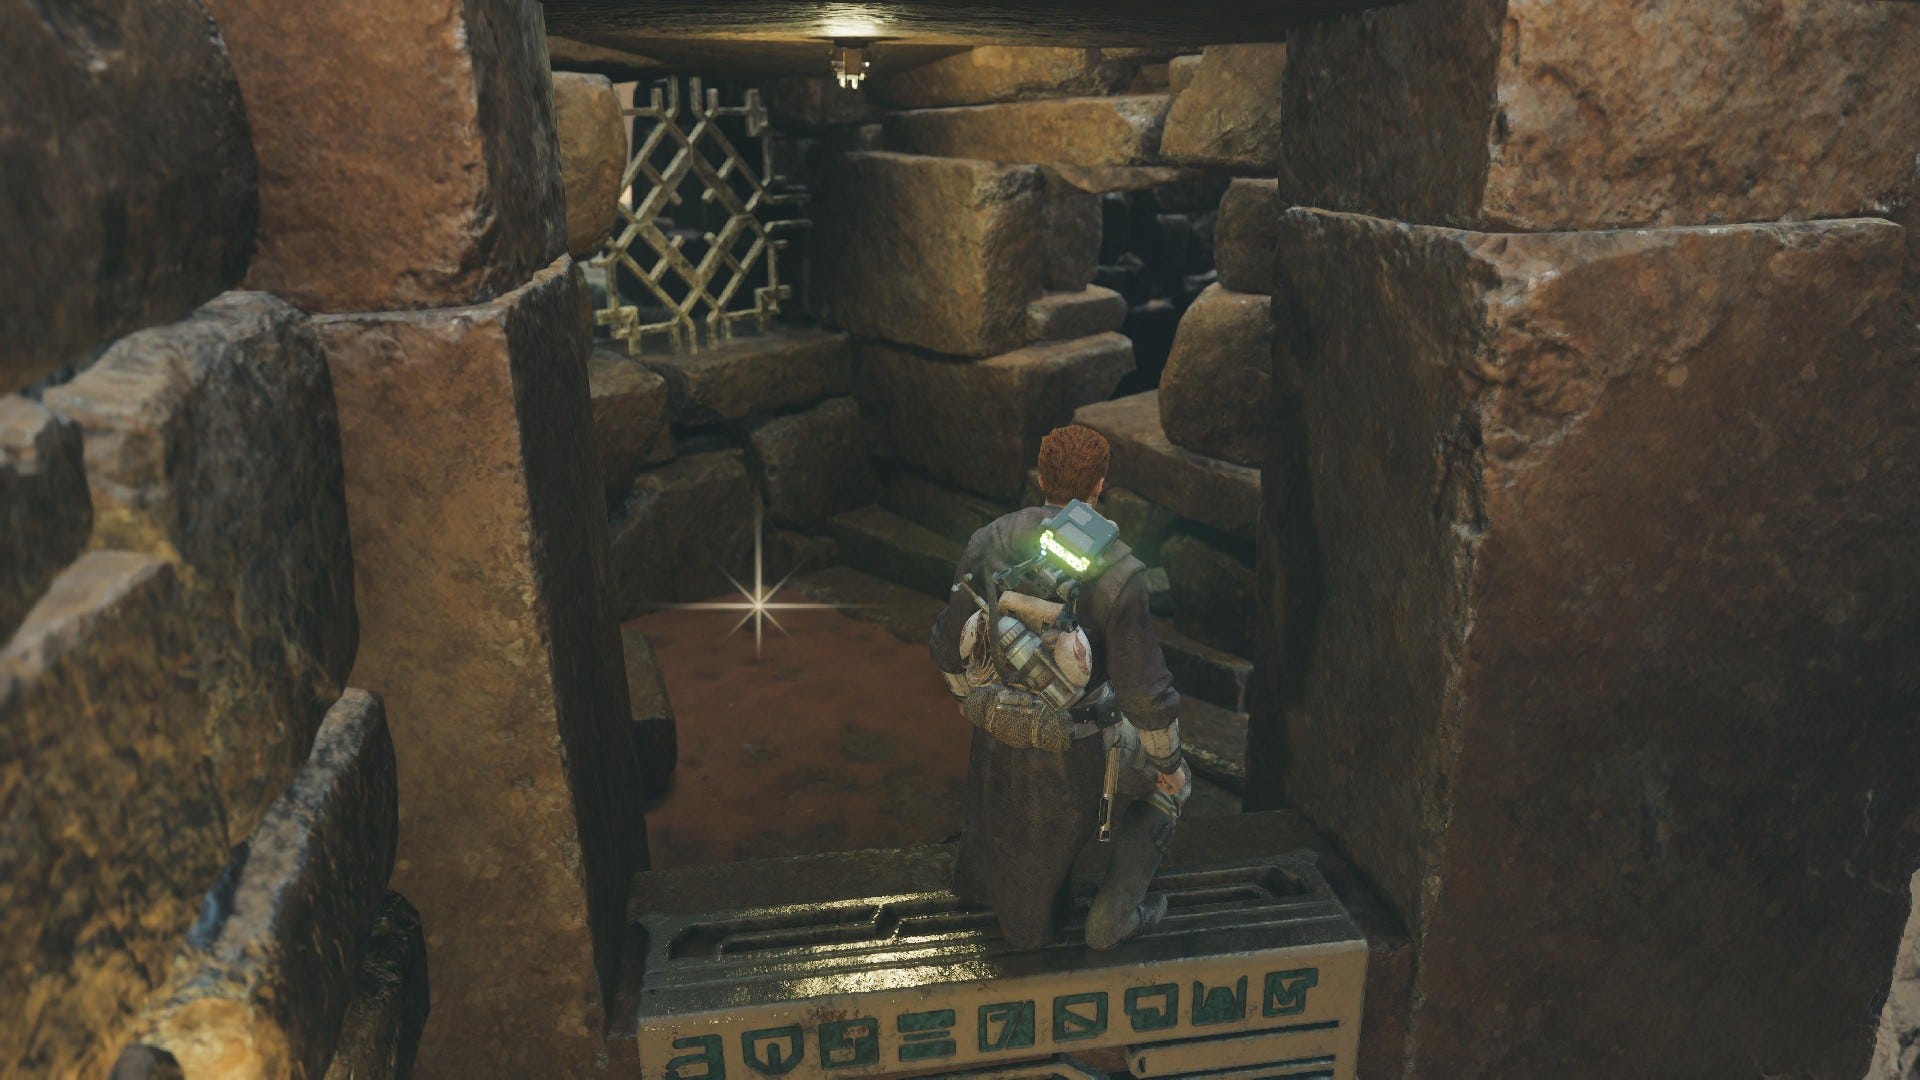
Halls of Ranvell Essences:
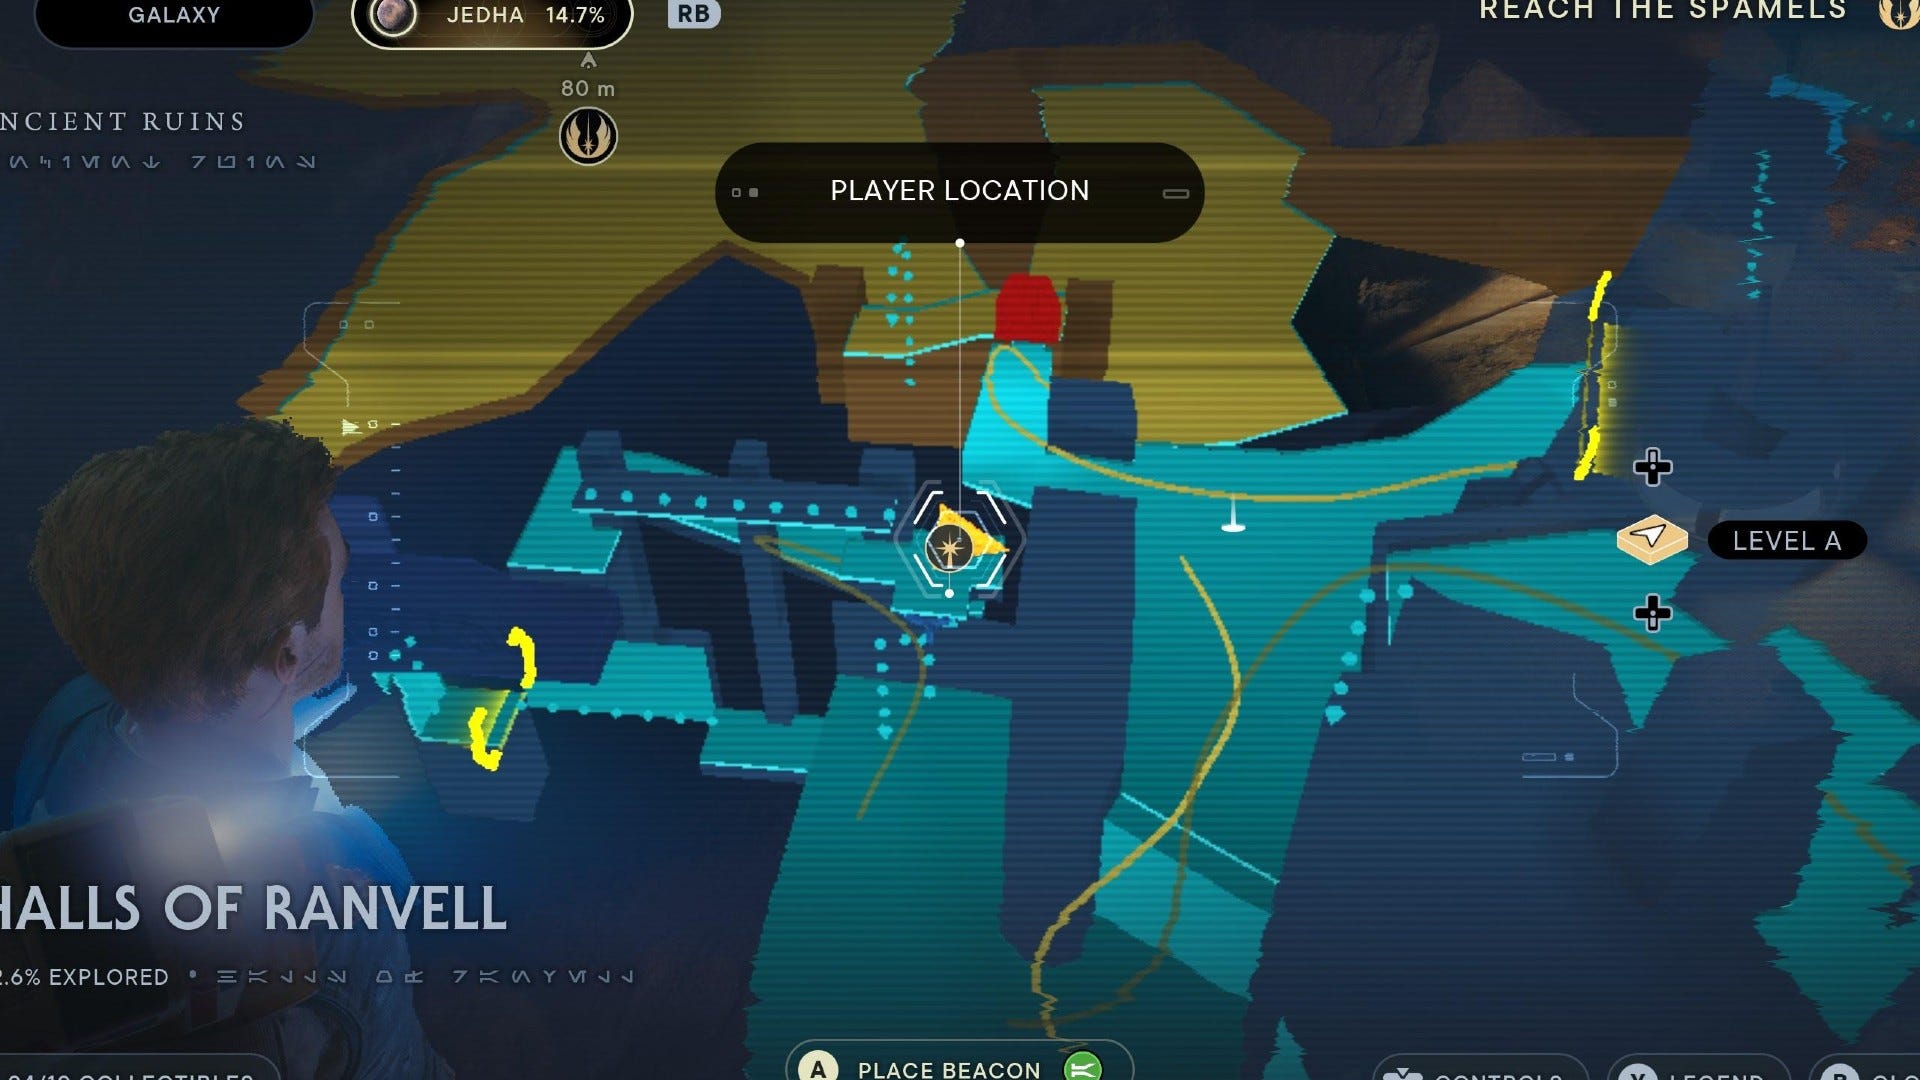
Skill Point Essence: Down the ledge and across the wall-run from the Halls of Ranvell Meditation Point. Parkour up the next area to reach the top.
Force Essence: Follow Merrin along wall-running/climbing section, but drop onto the ledge below the top. Head through and follow metal ramps down to bottom to find scorch marks at edge of pit. Jump the ledge above where you find the Scorch Marks to find this Essence.
Halls of Ranvell Databanks:

Force Echo (Pilgrims, Attacked): Next to the Halls of Ranvell Meditation Point.
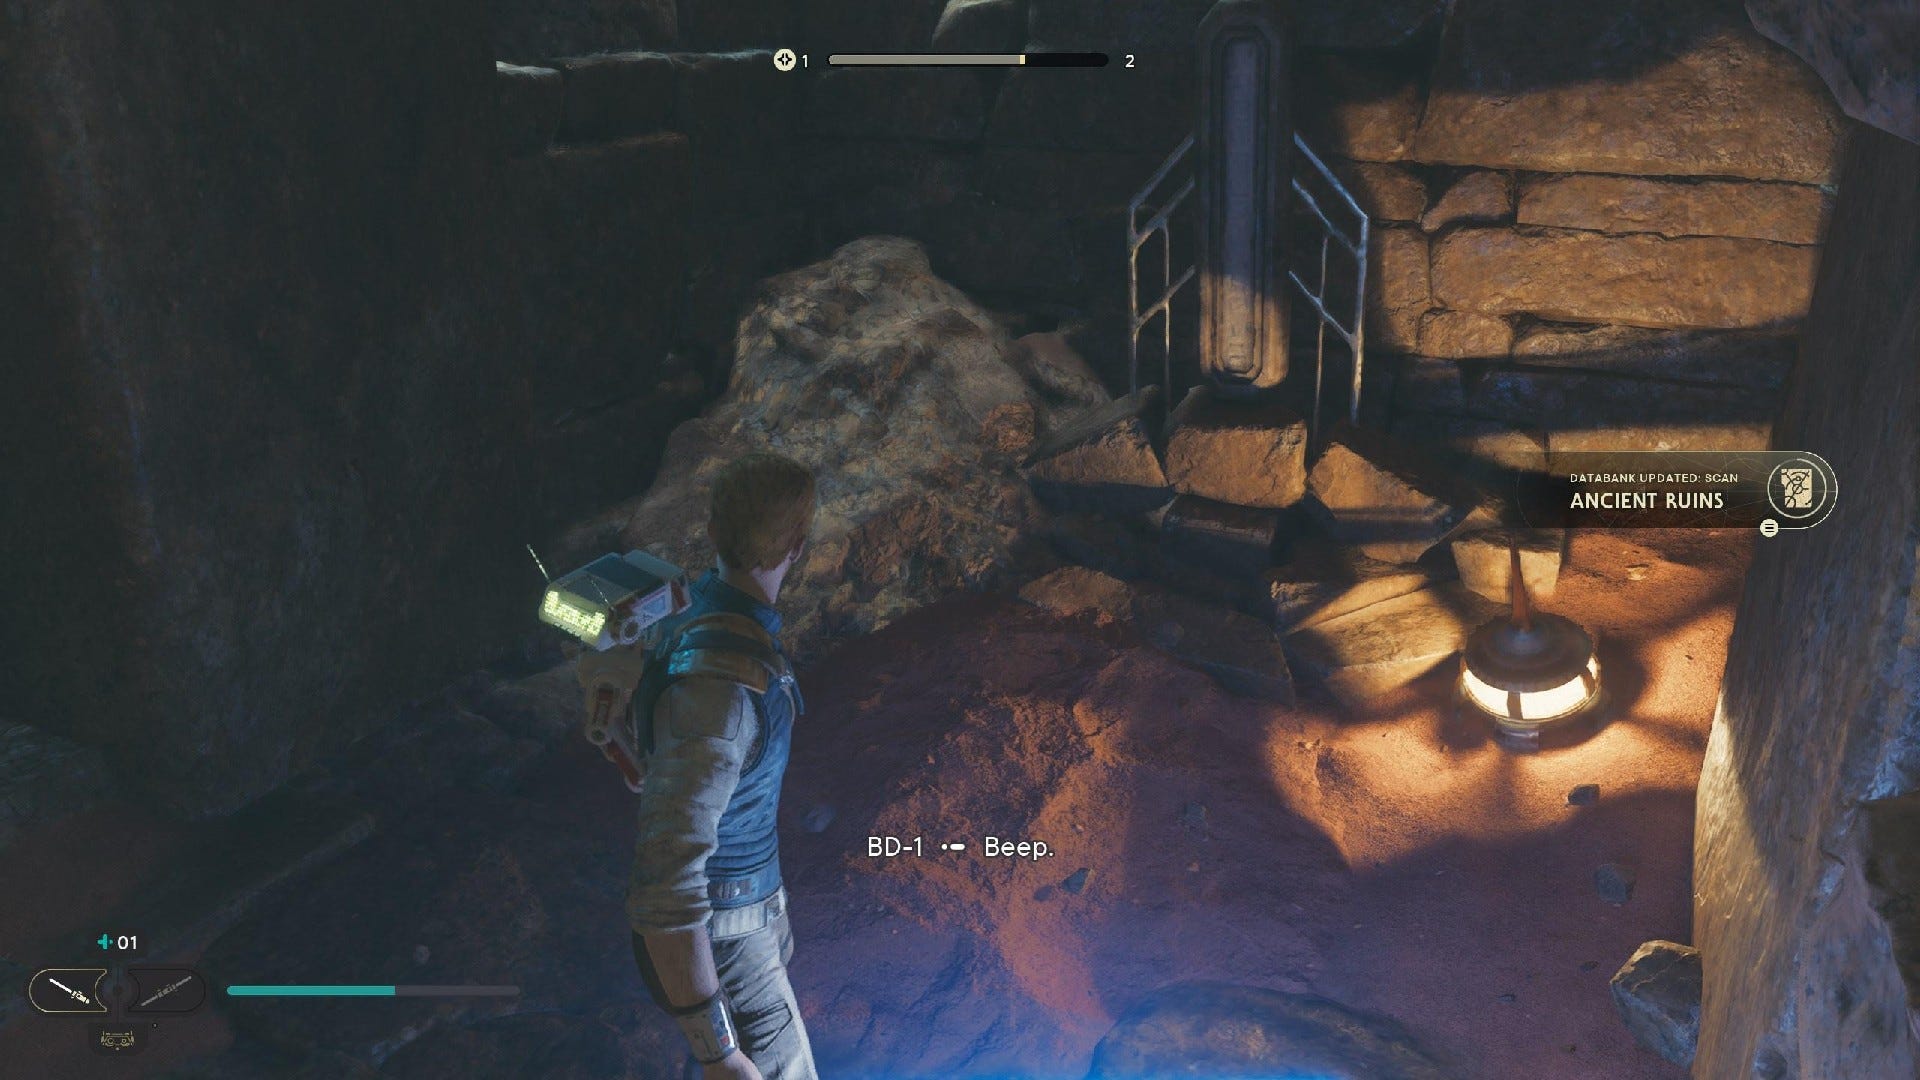
Databank (Ancient Ruins): Grapple up to the point made by Merrin, climb across the ceiling, and head down stairs to find this scan point.

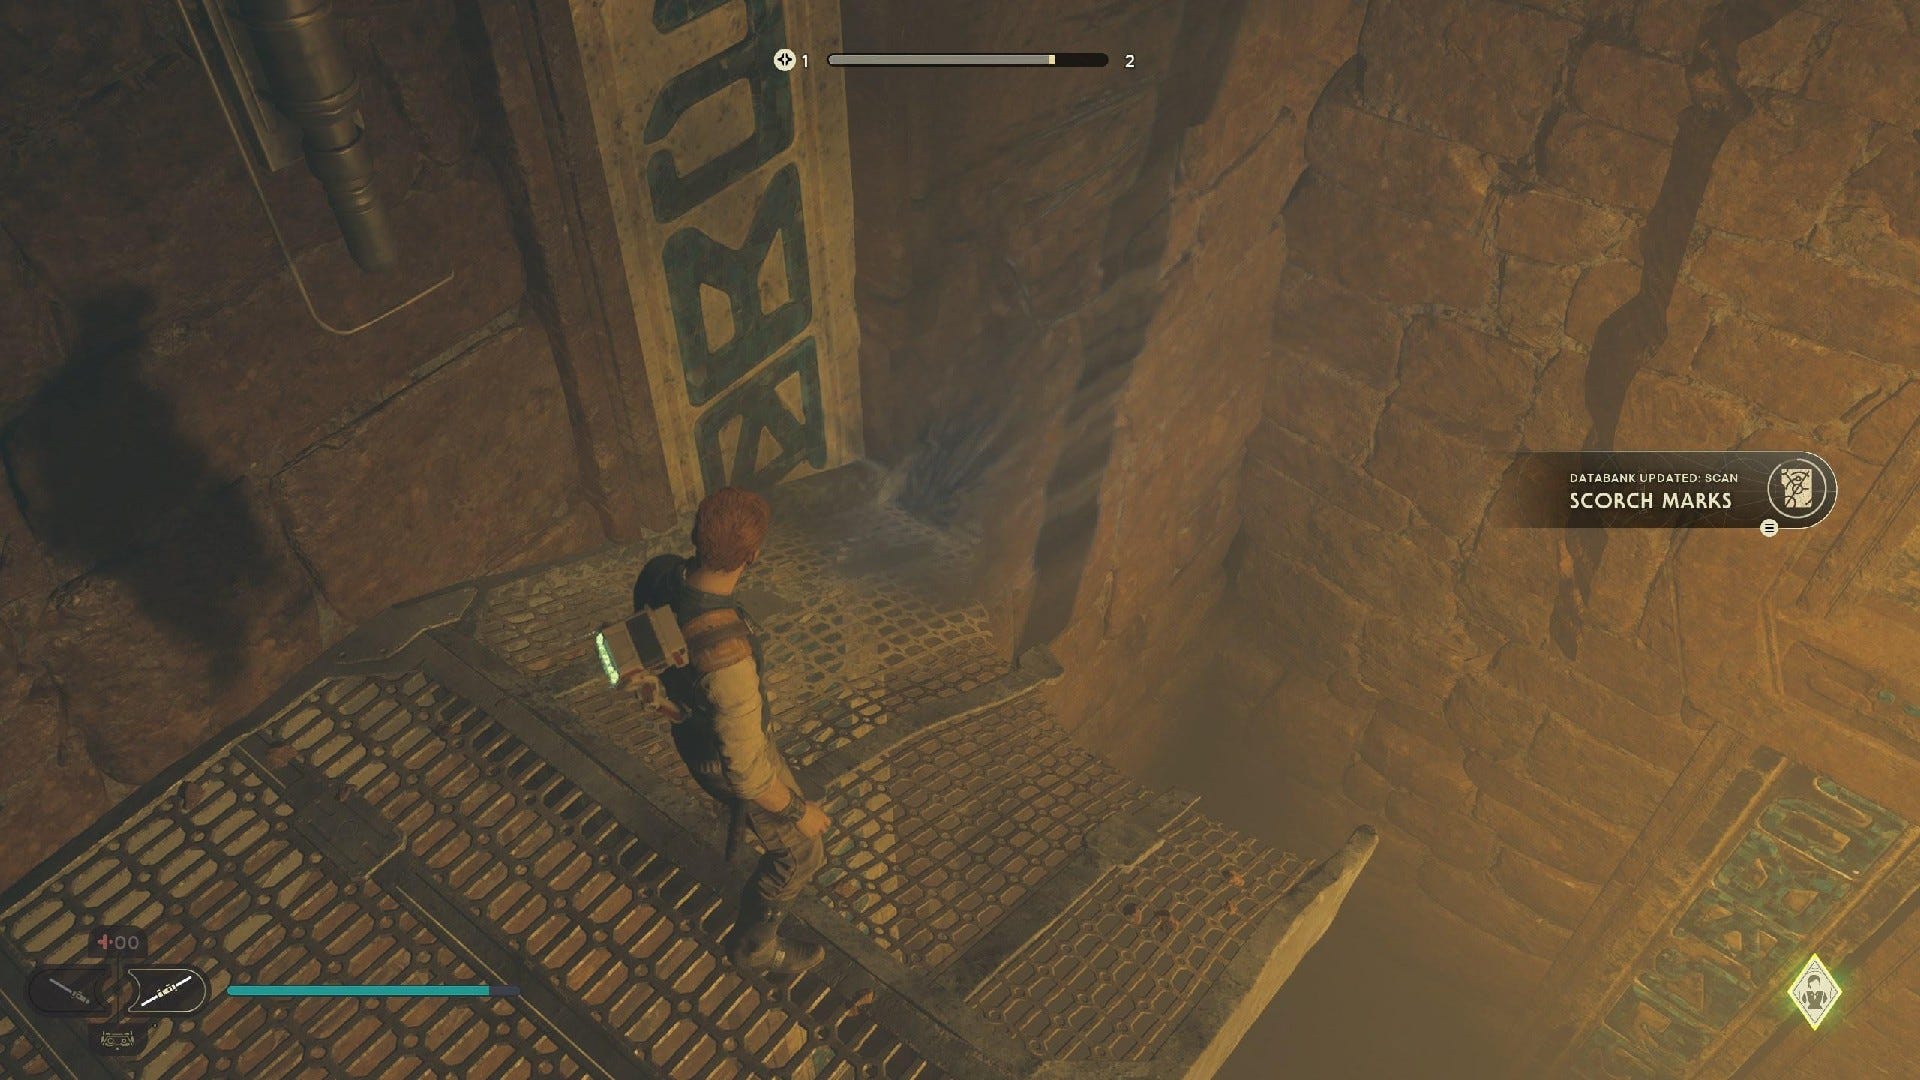
Databank (Scorch Marks): Follow Merrin along wall-running/climbing section, but drop onto the ledge below the top. Head through and follow metal ramps down to bottom to find scorch marks at the edge of the pit.
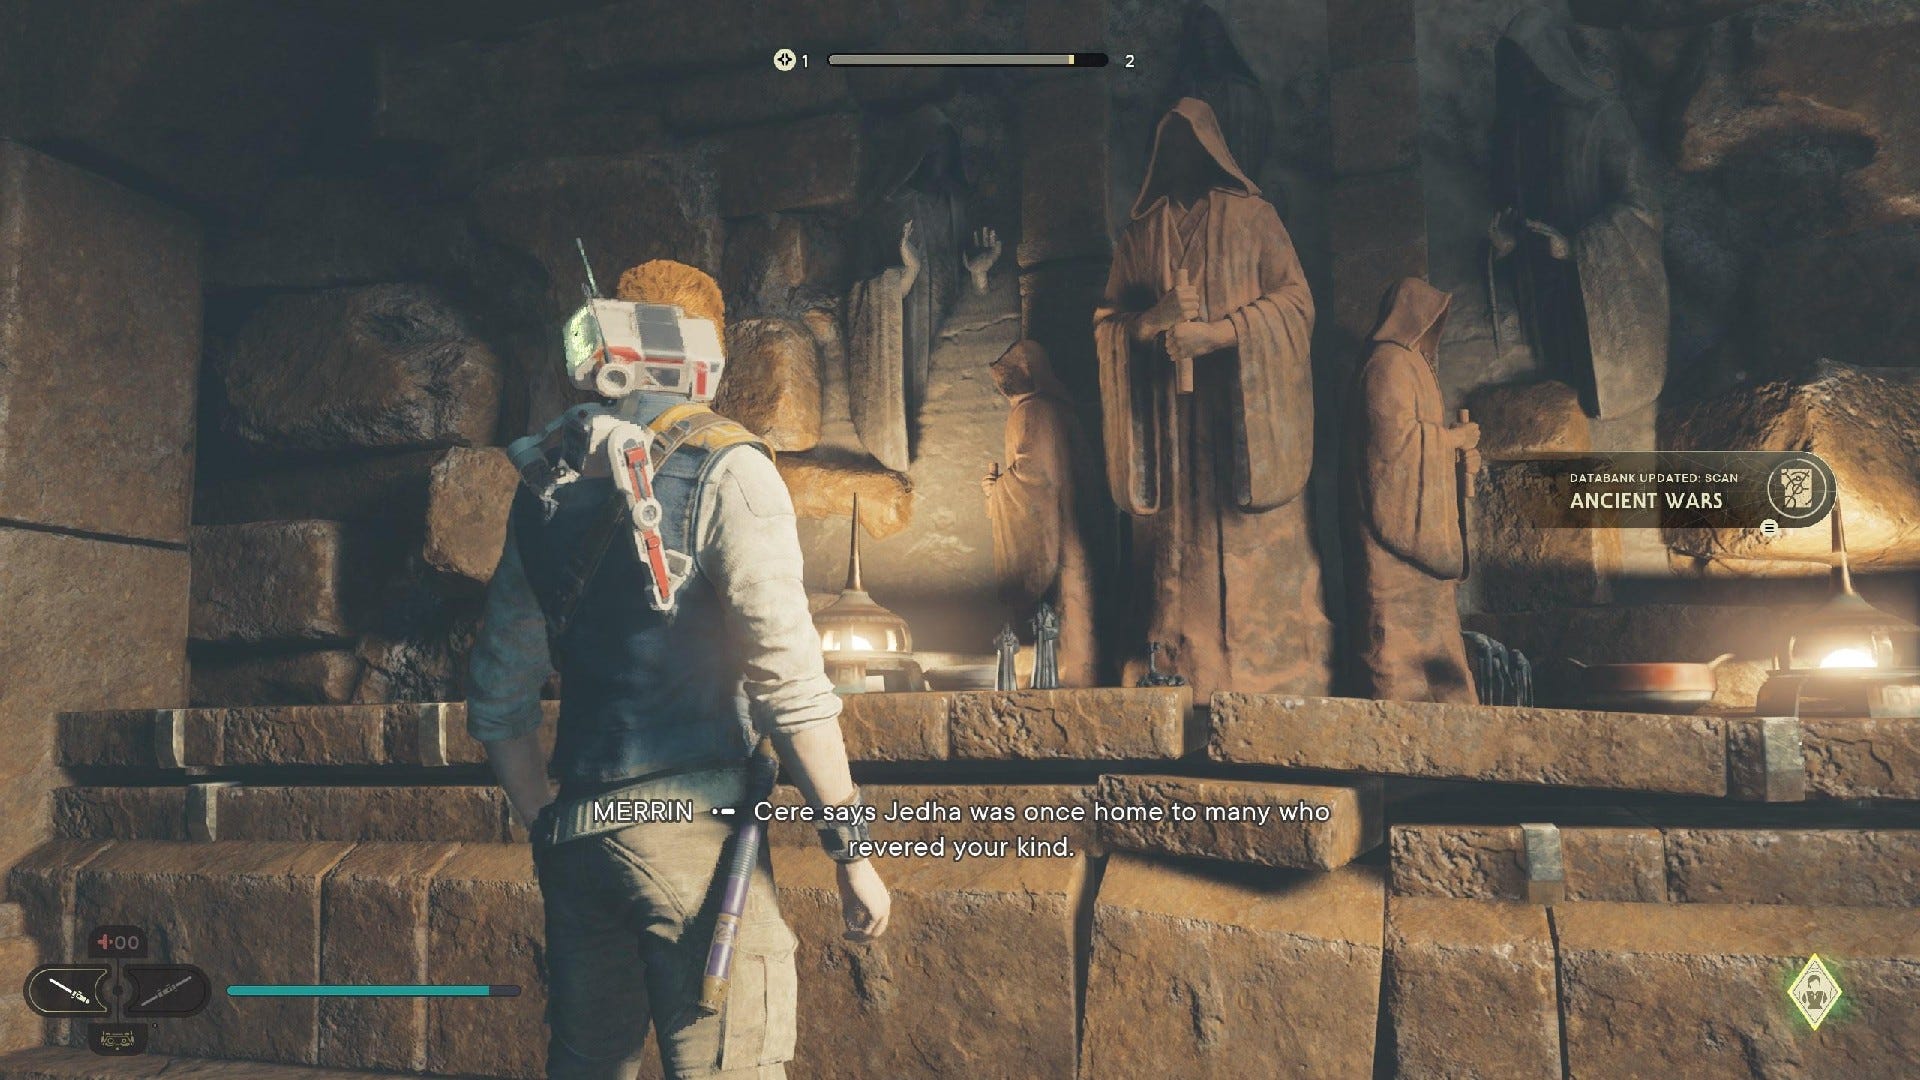
Databank (Ancient Wars): Follow Merrin along the main path, then at the top of the wall-running/climbing section, turn around and jump across the gap to find a room with several stormtroopers. Defeat them, and then scan the nearby ancient Jedi statues.
Halls of Ranvell Treasures:
Jedha Scroll #1: In the cave walkway next to the Halls of Ranvell Meditation Point.
Jedha Scroll #2: After the cool bit where Merrin takes out stormtroopers while you hang along the outside wall, parkour up the next area to reach the scroll.
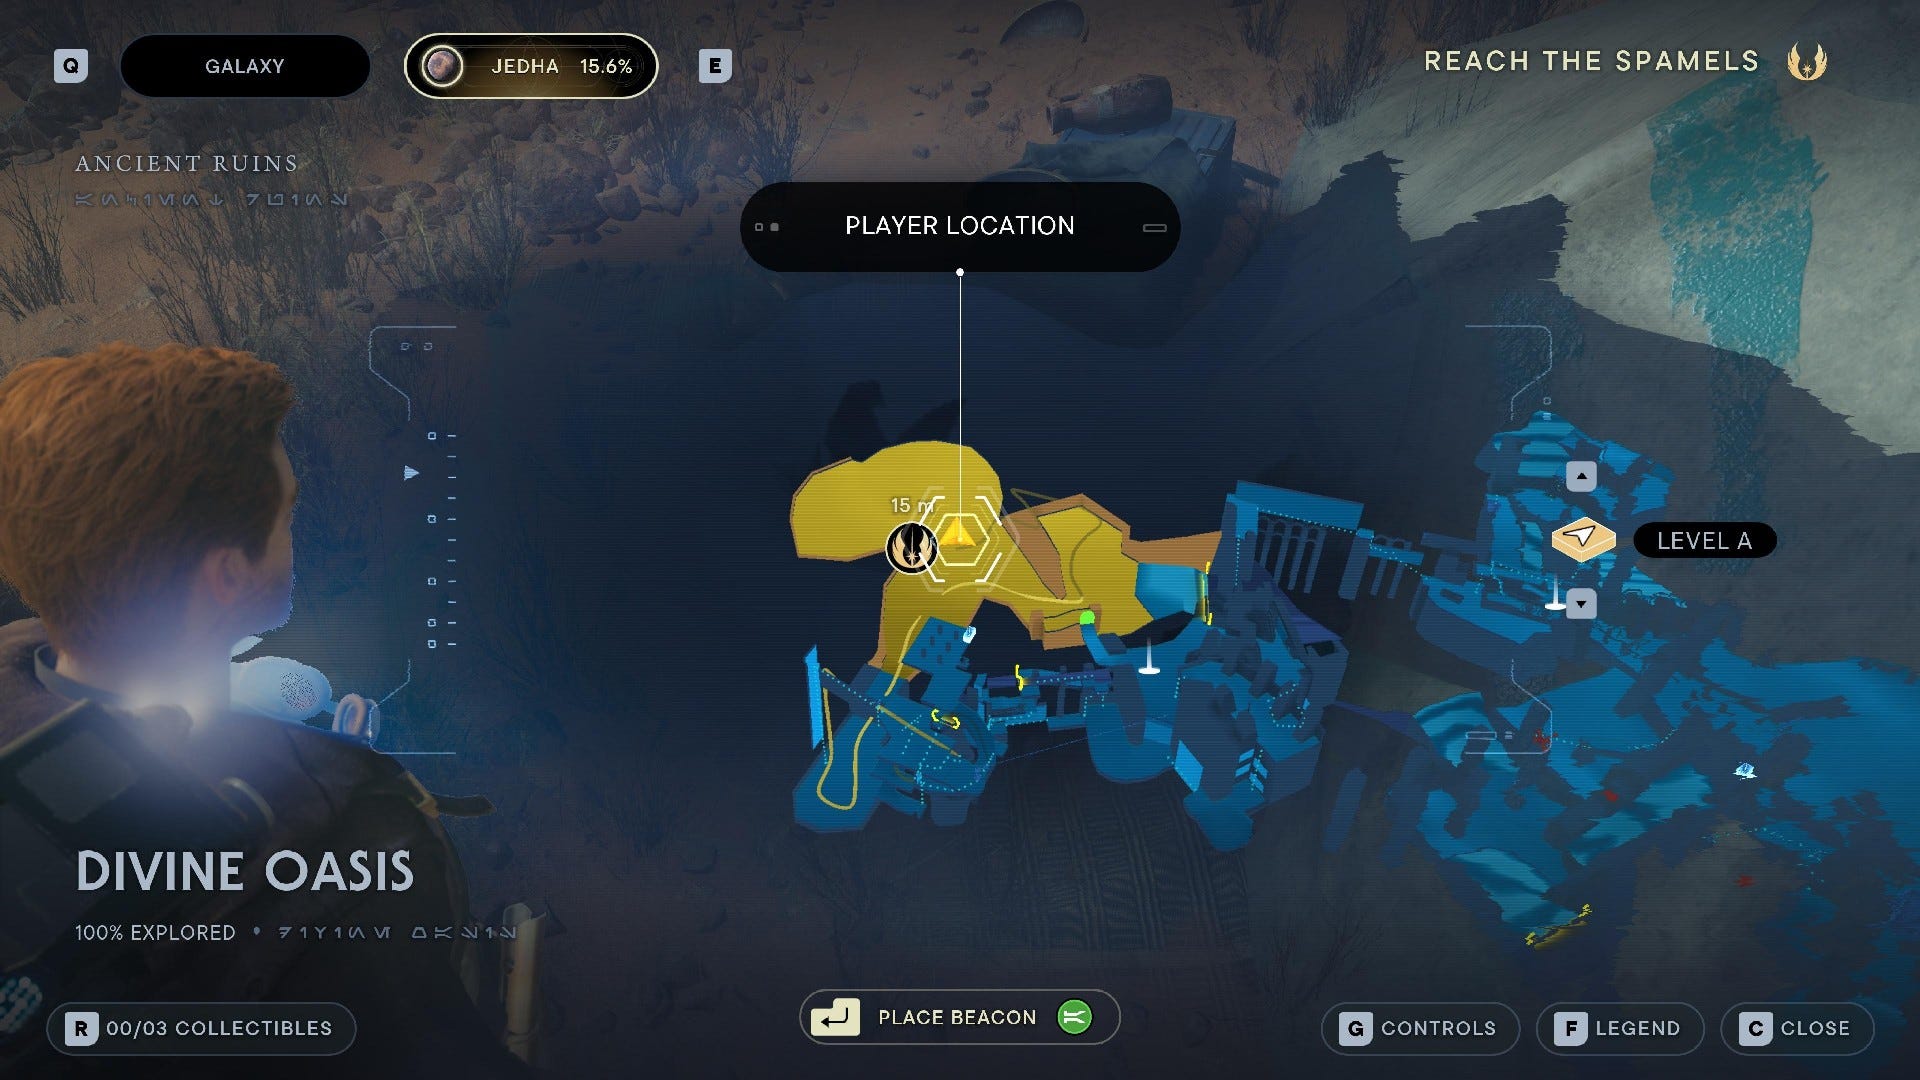
Divine Oasis collectibles
Divine Oasis is the last area you'll explore in the Ancient Ruins region of Jedha, before being whisked off to Cere's base. In the Divine Oasis, you'll find 3 collectibles:
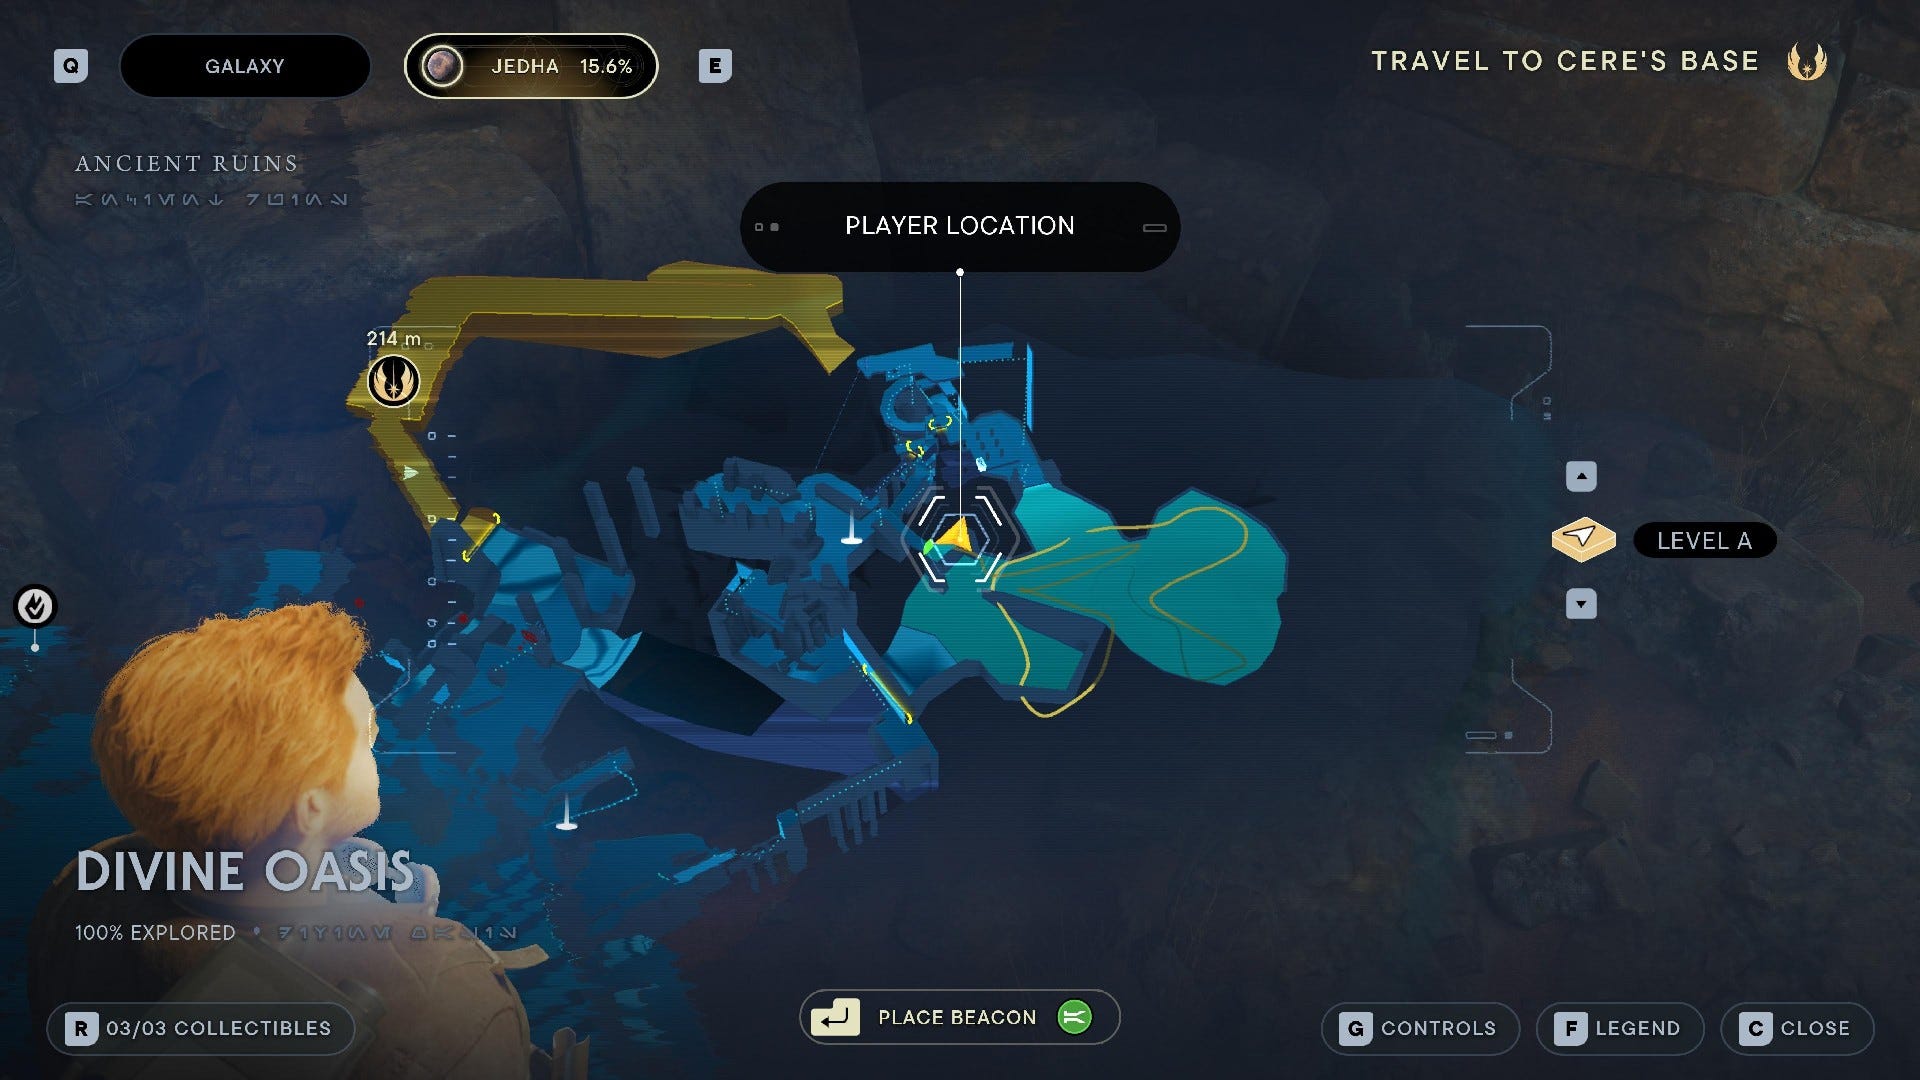
Divine Oasis Databanks:

Force Echo (Pilgrims, Saved): Follow the main path after the Skriton boss fight.
Divine Oasis Treasures:
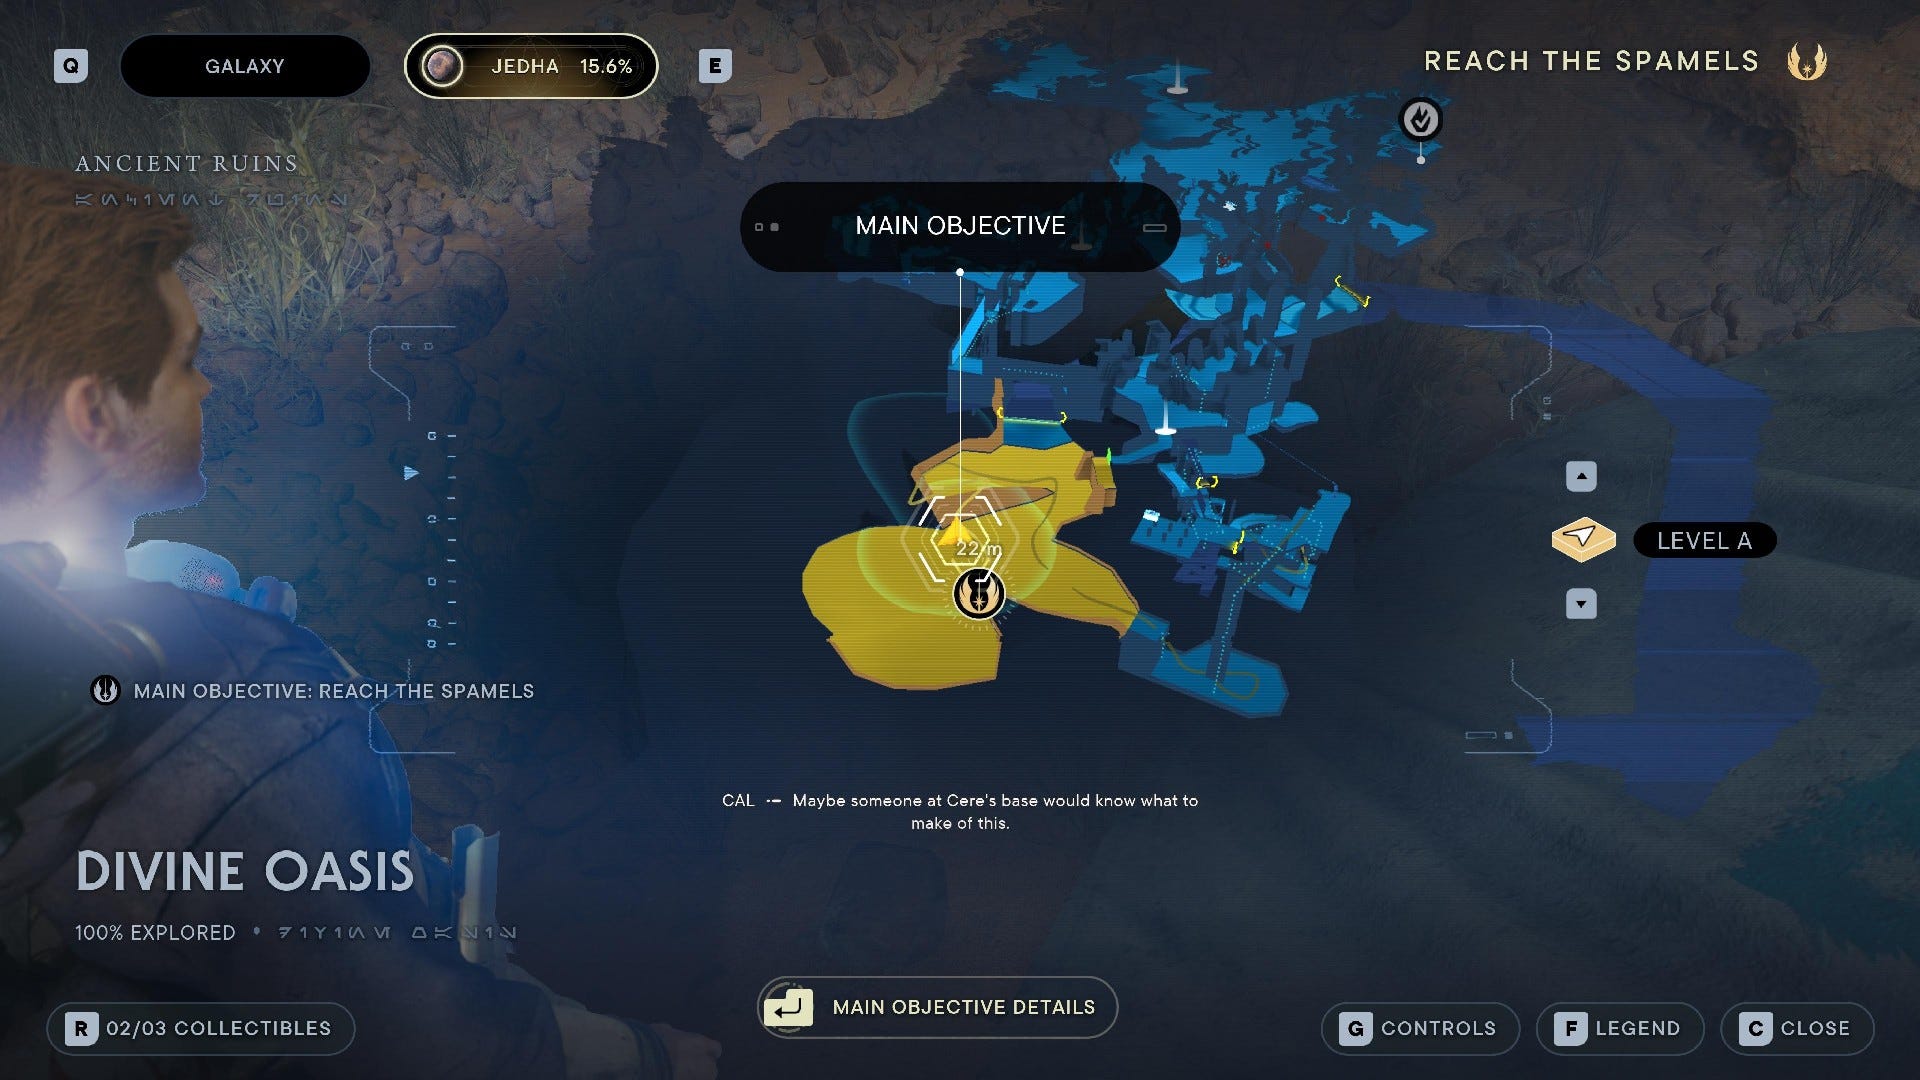
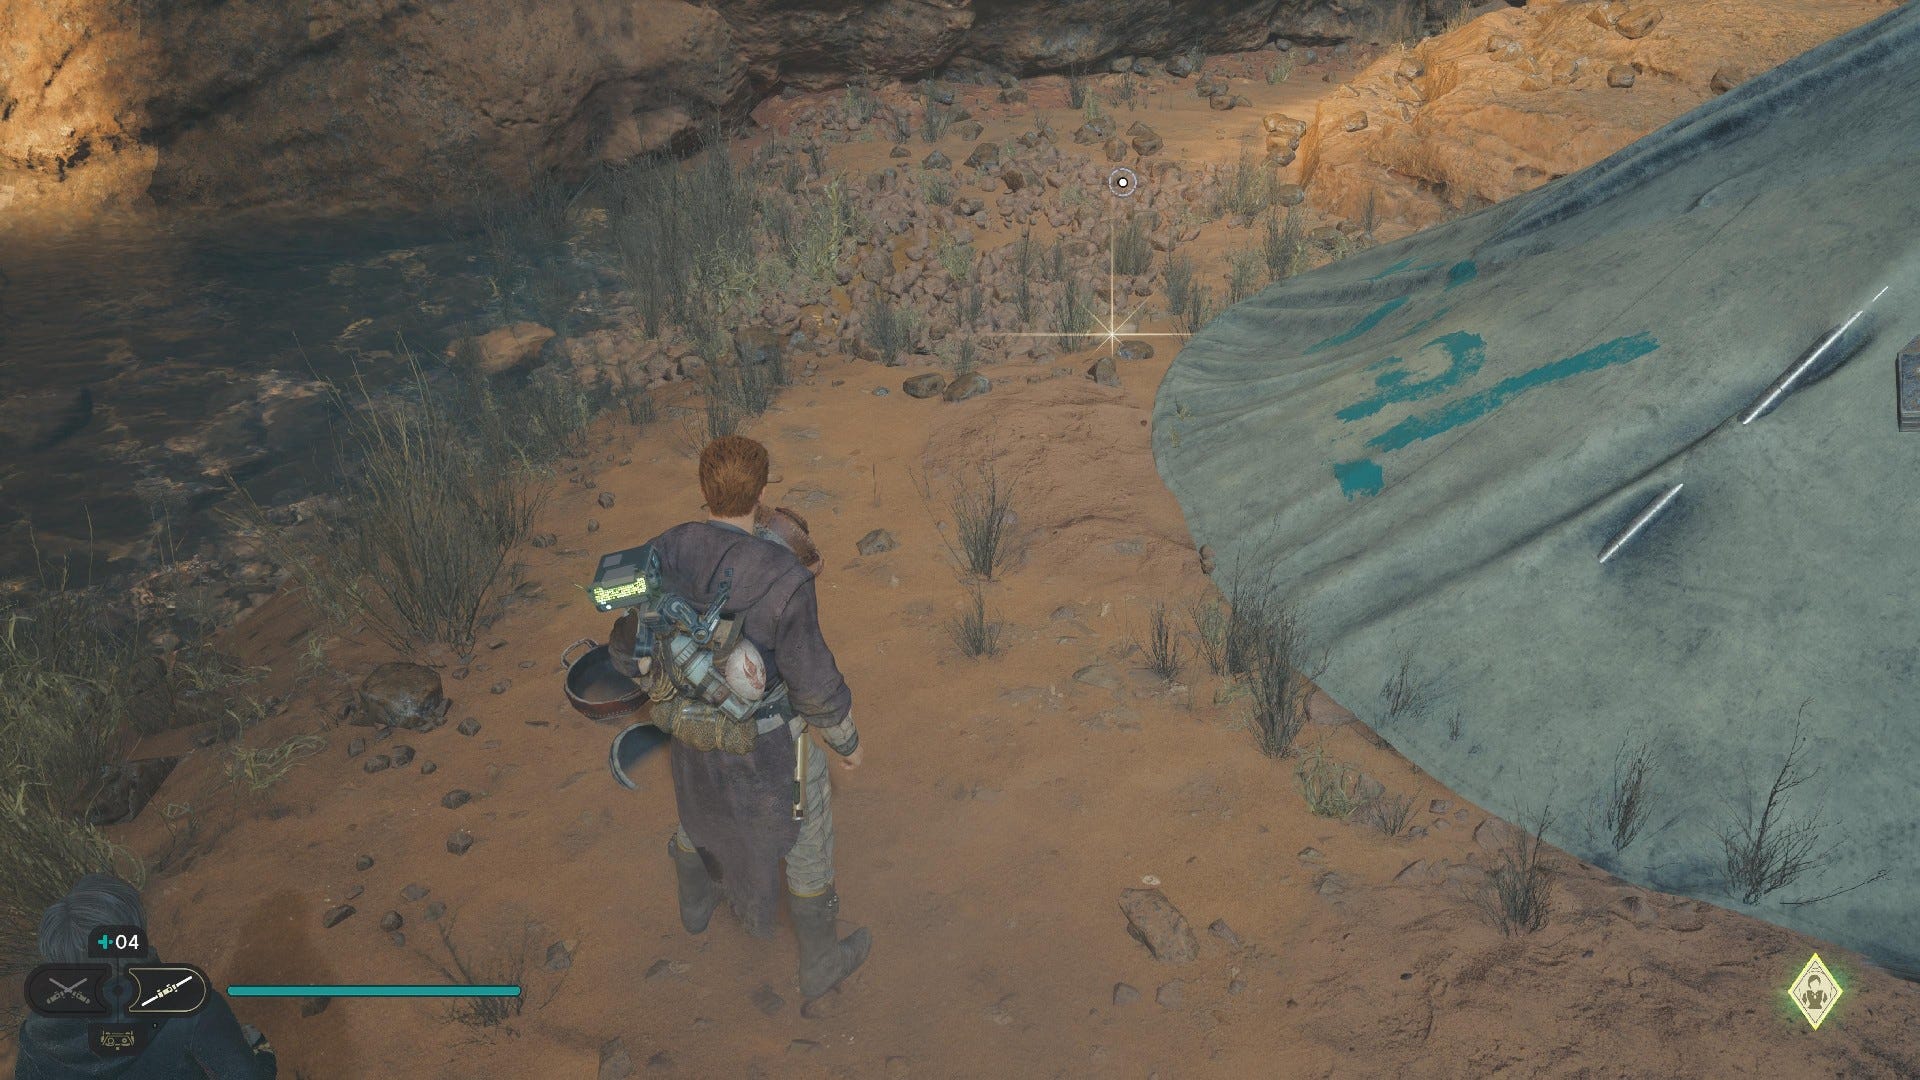
Jedha Scroll #1: Behind the tent at the oasis.
Jedha Scroll #2: Use the mount to reach the high ledge to the right as you enter the oasis.
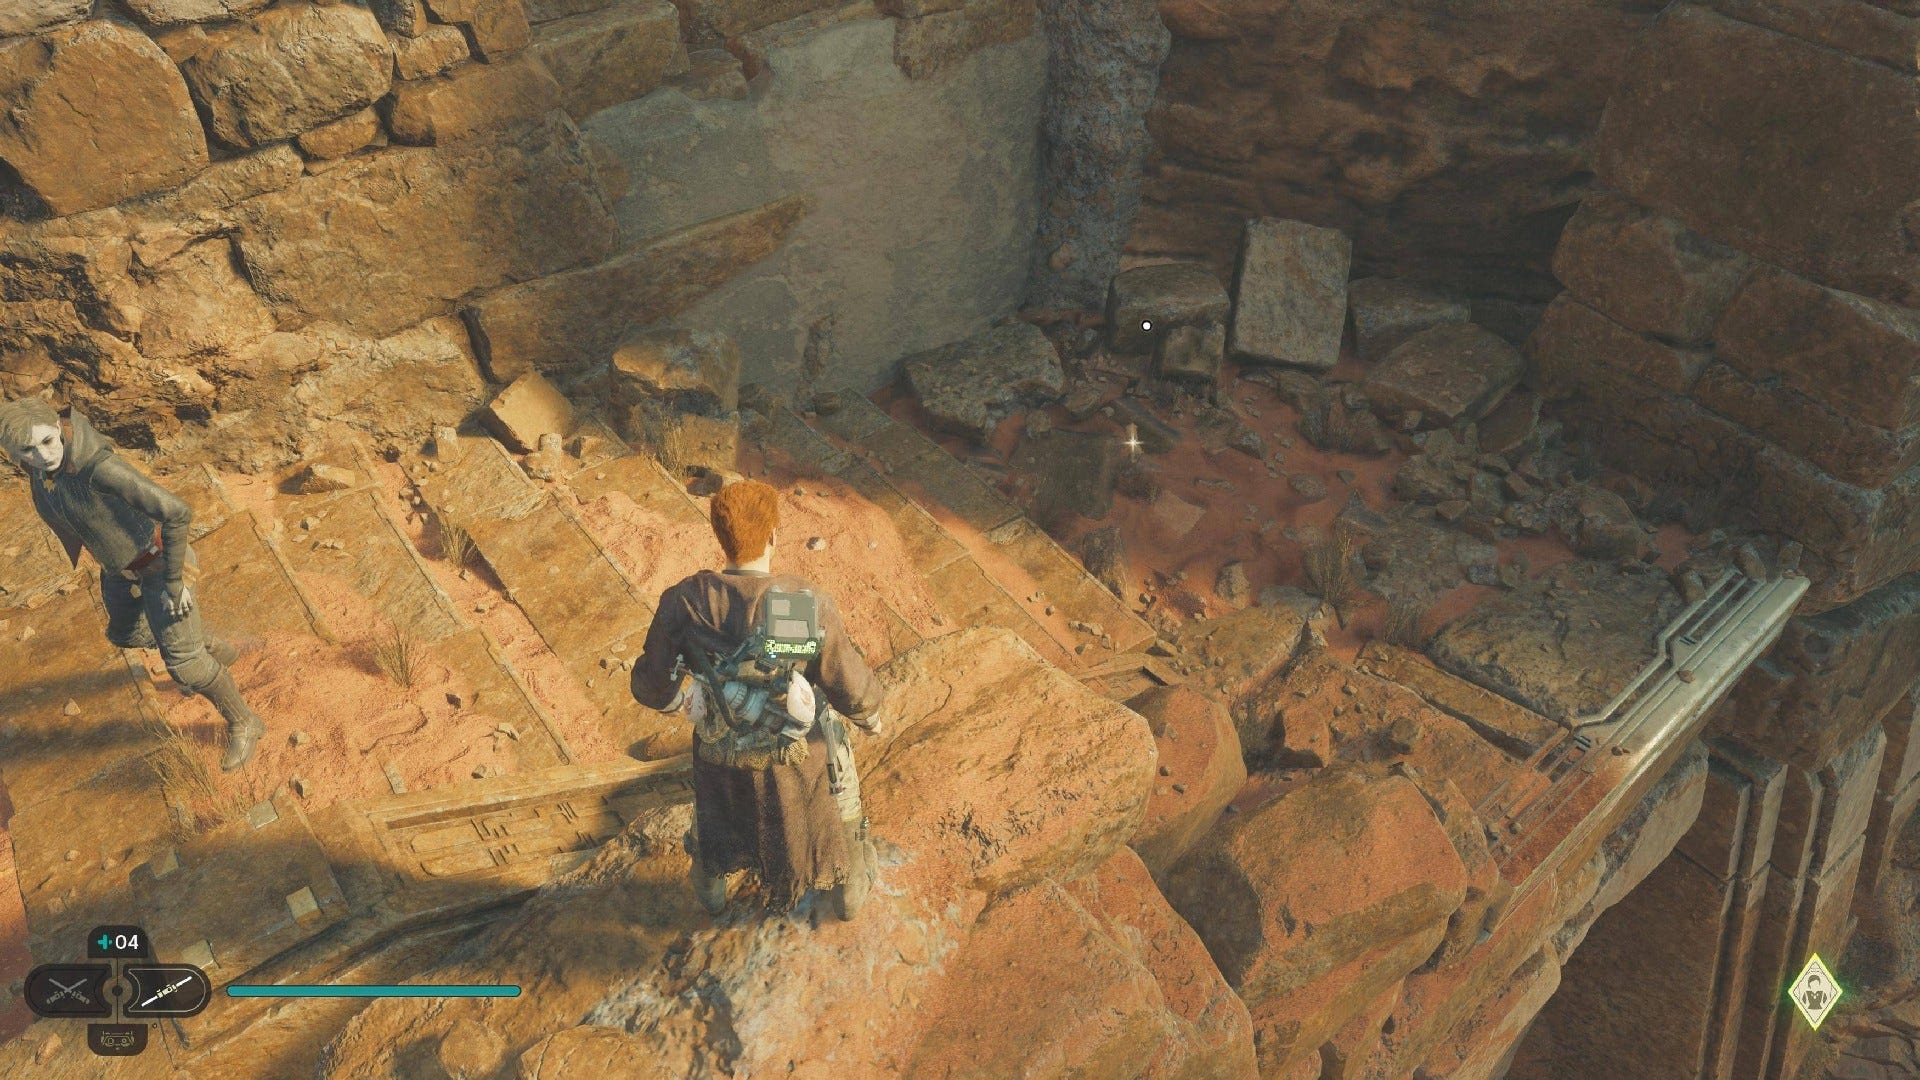
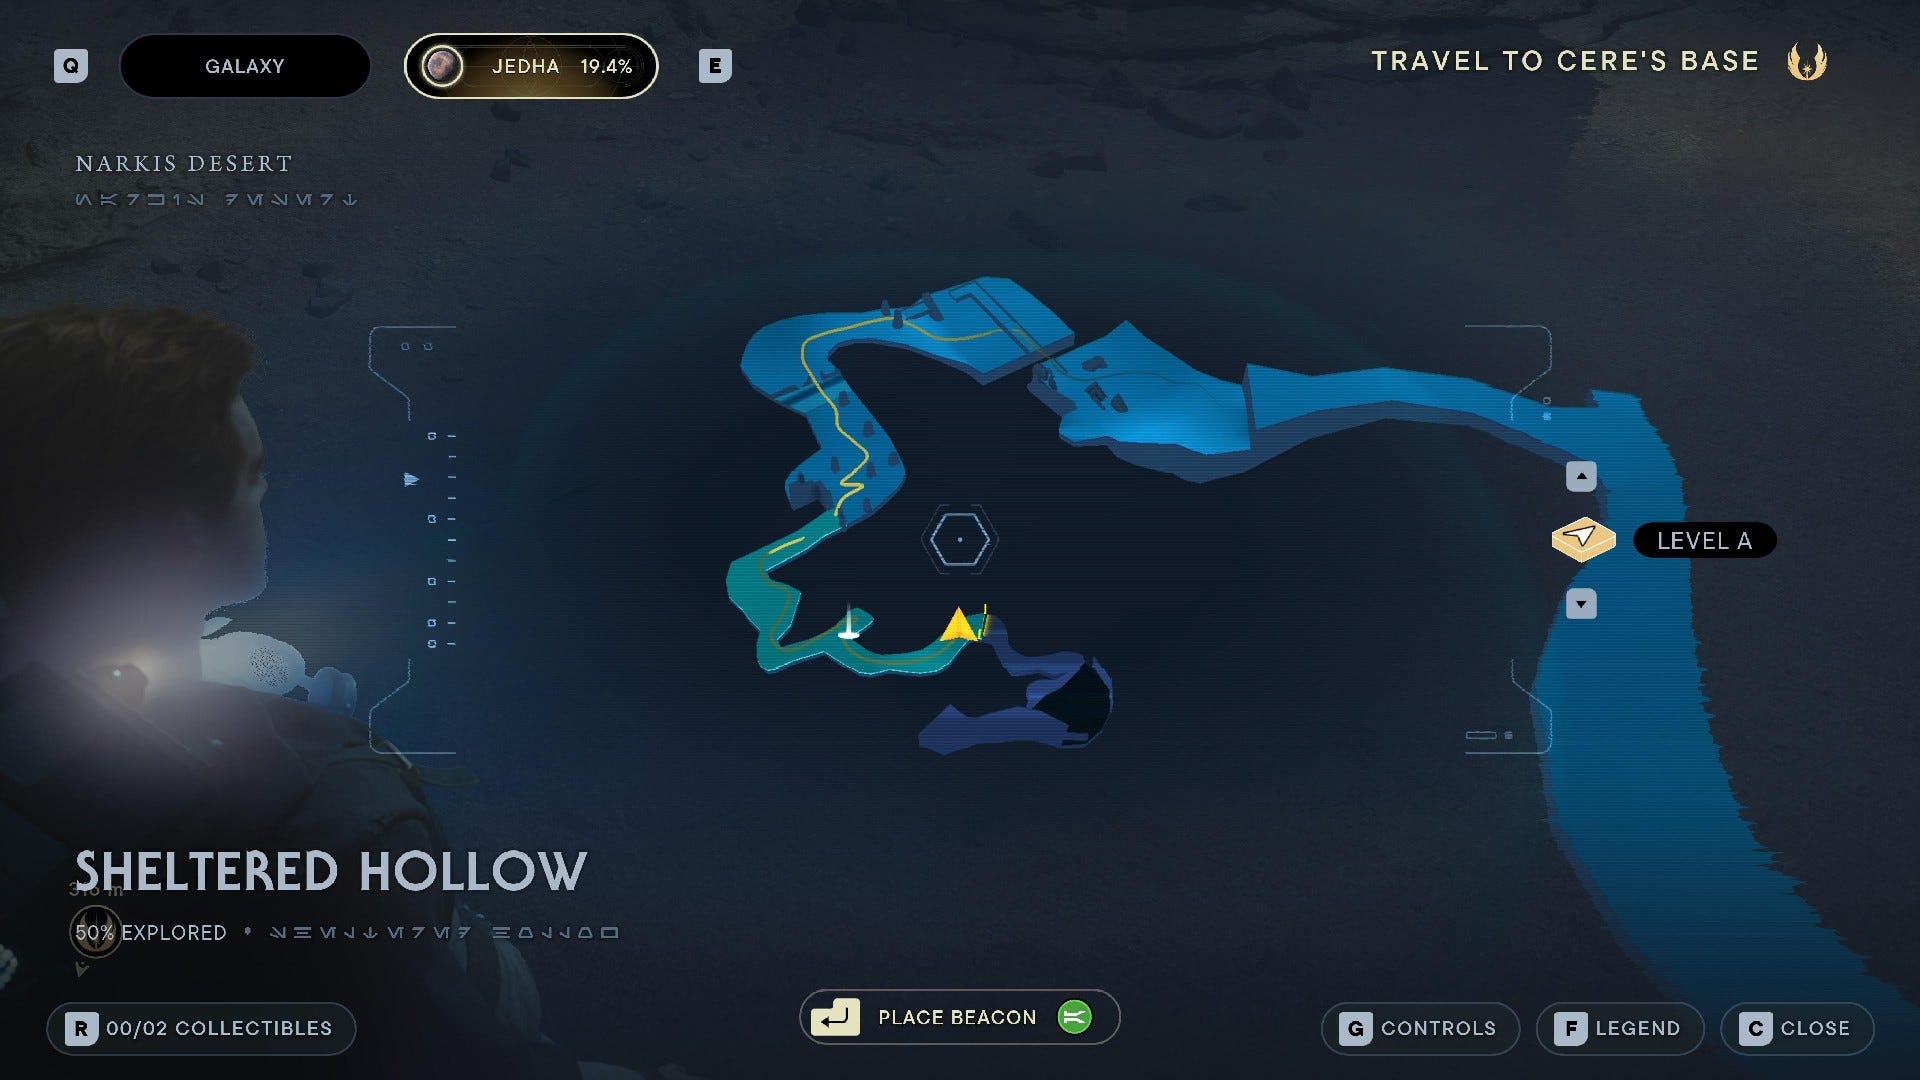
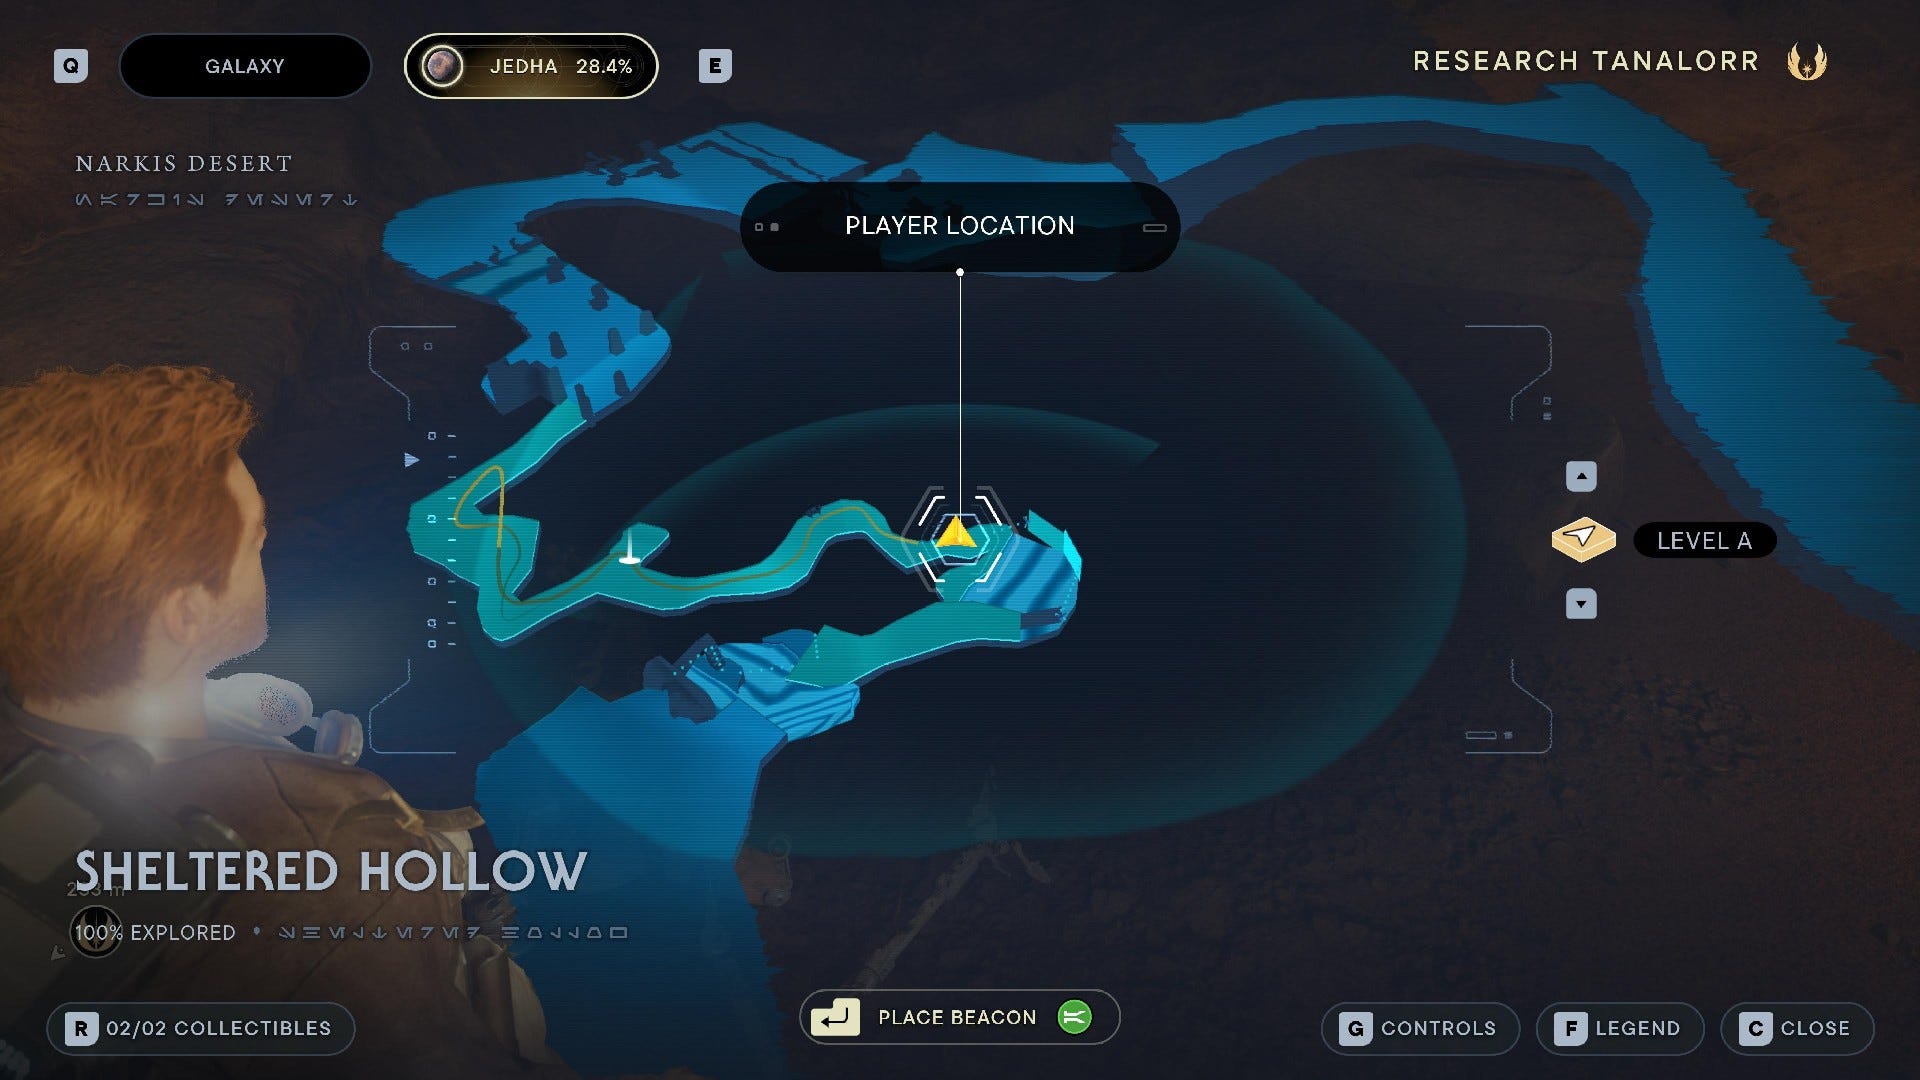
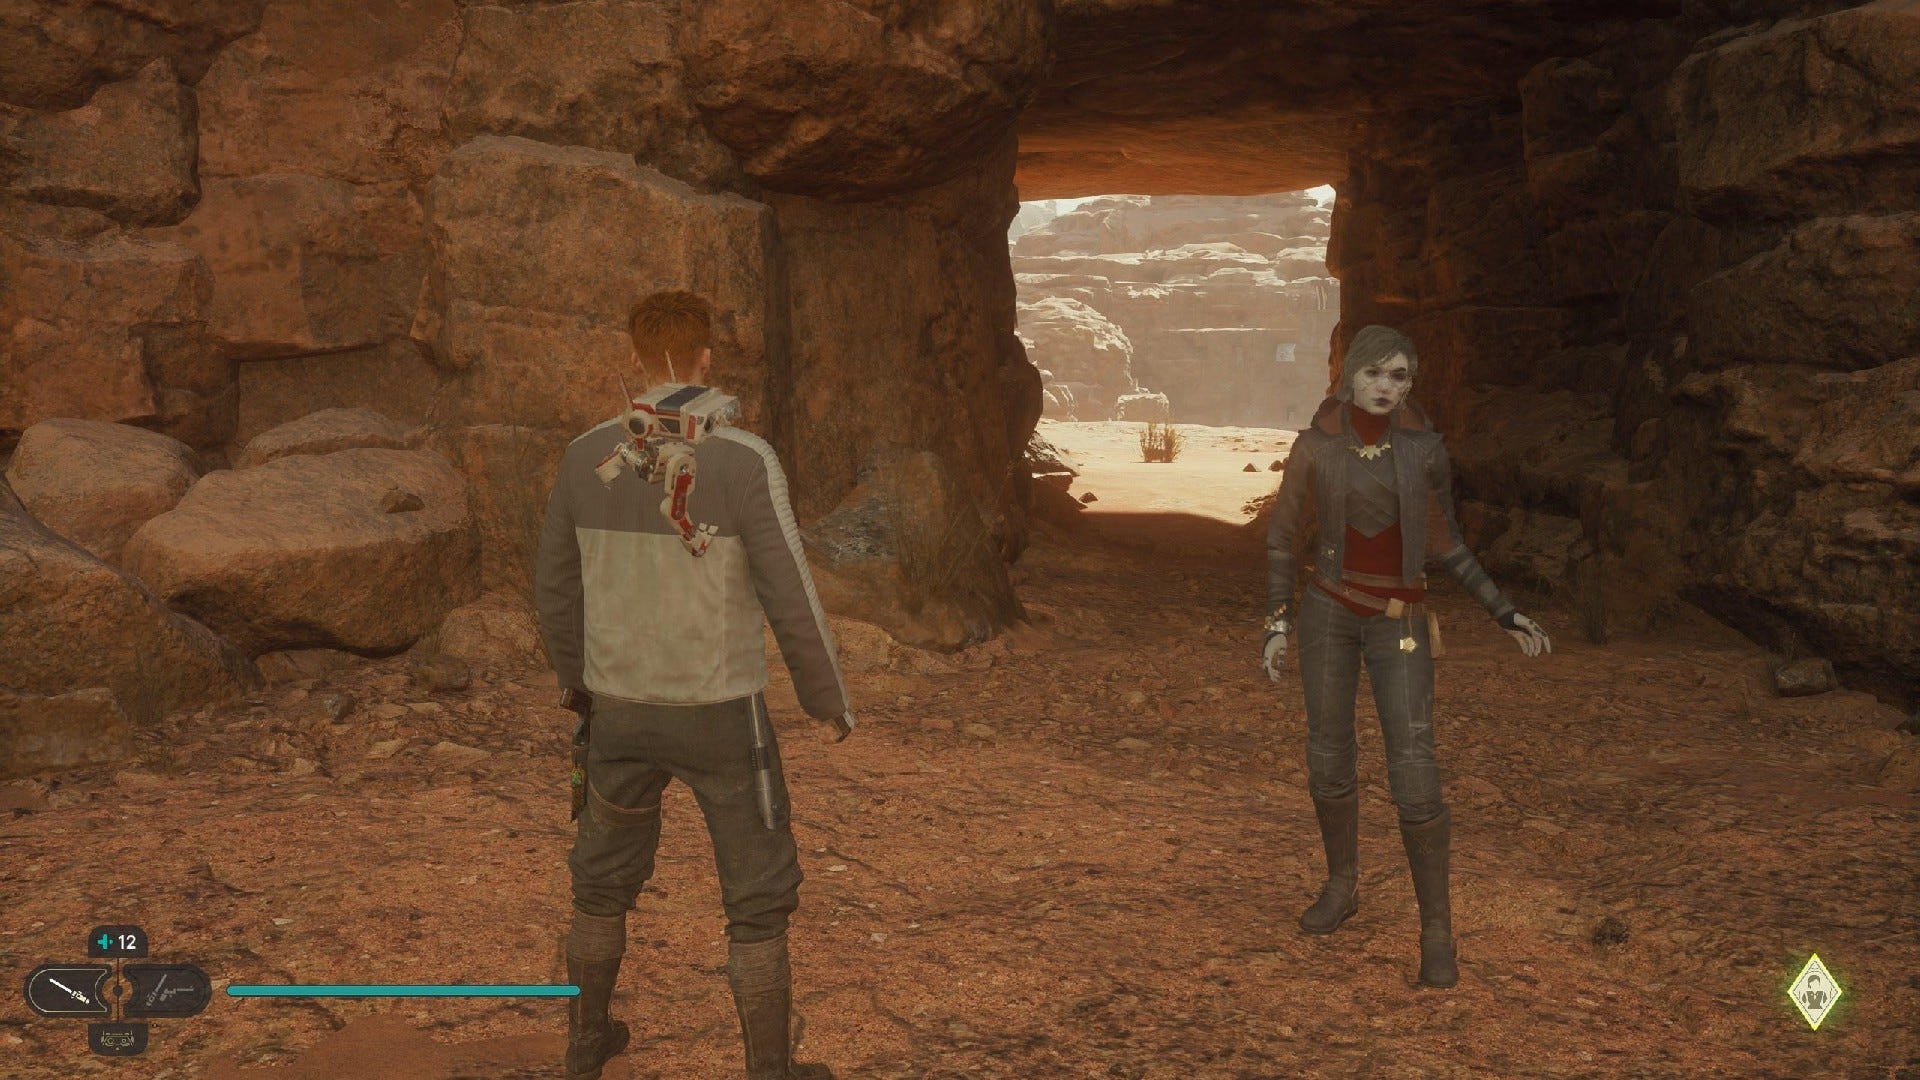
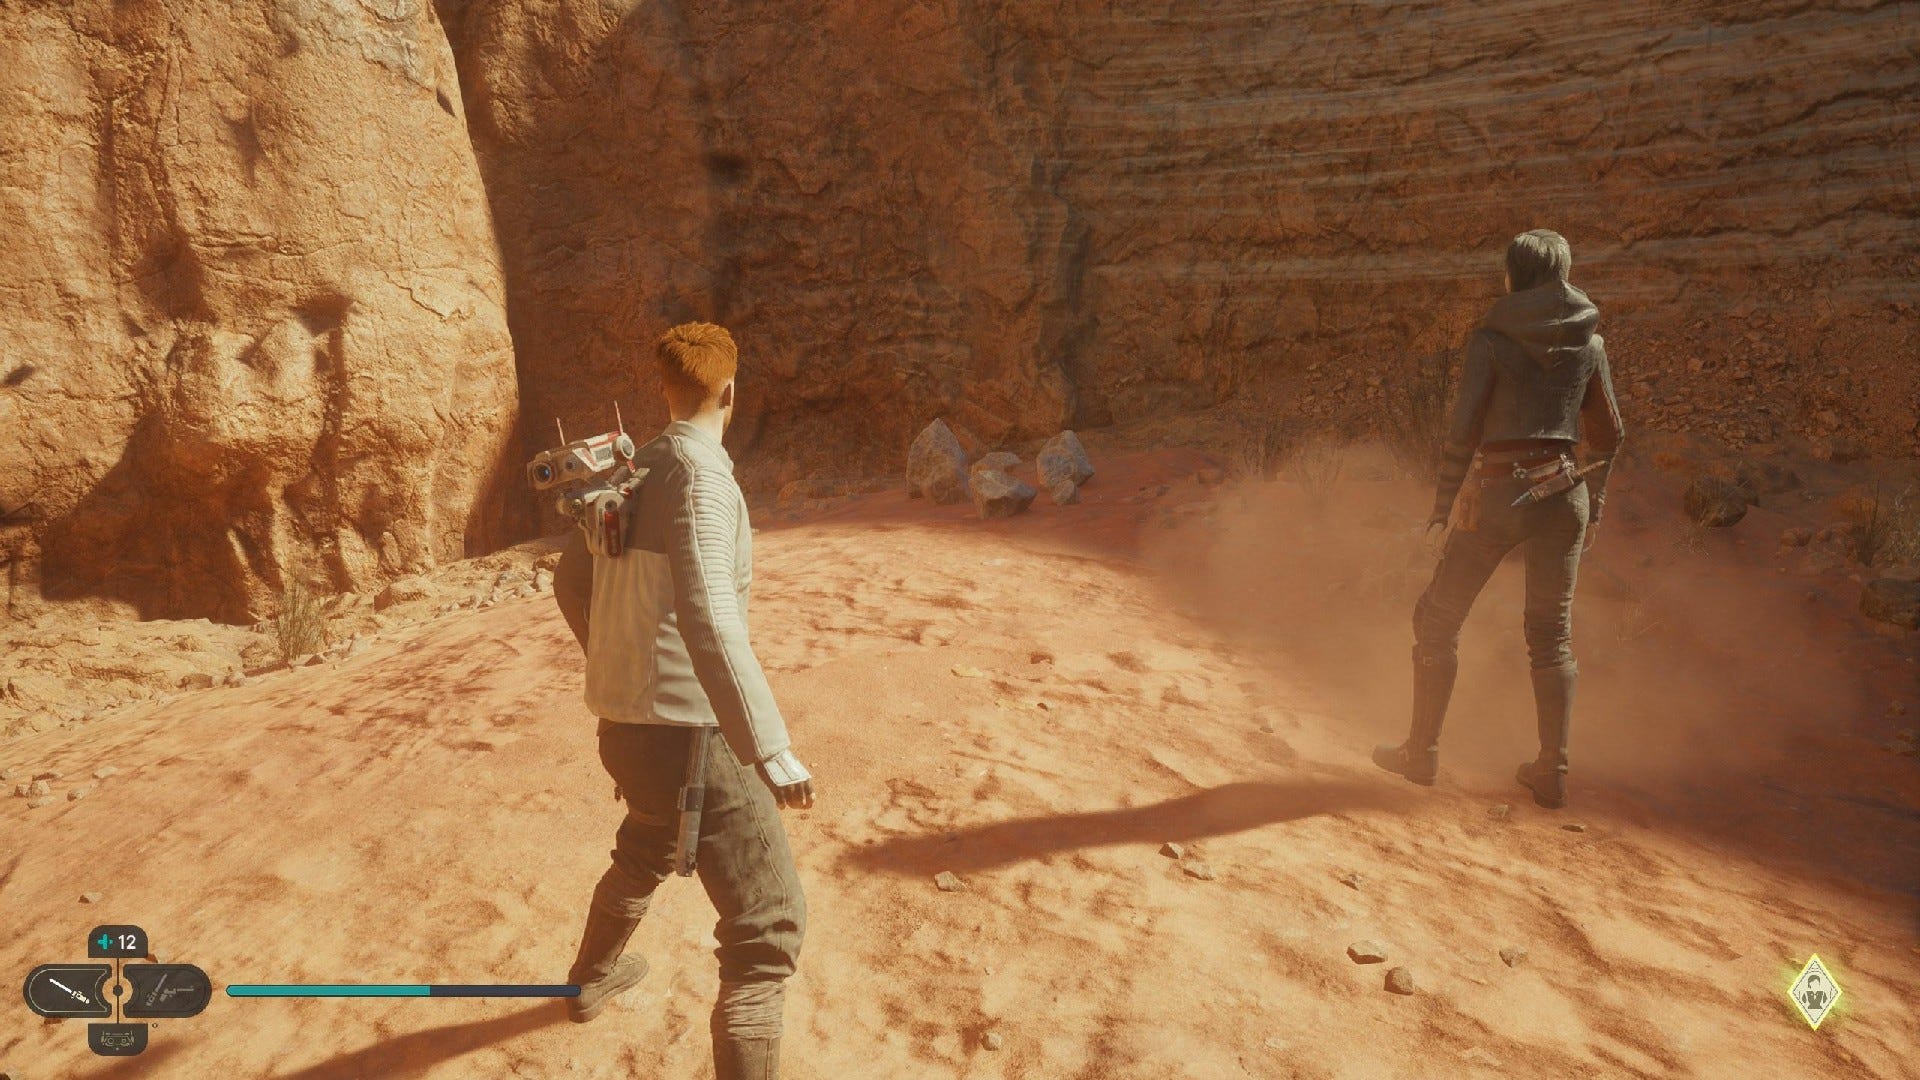
Sheltered Hollow collectibles
The Sheltered Hollow is a small cave in which Cal and Merrin spend the night during the main story on Jedha. There, you'll find 2 collectibles:
Sheltered Hollow Chests:
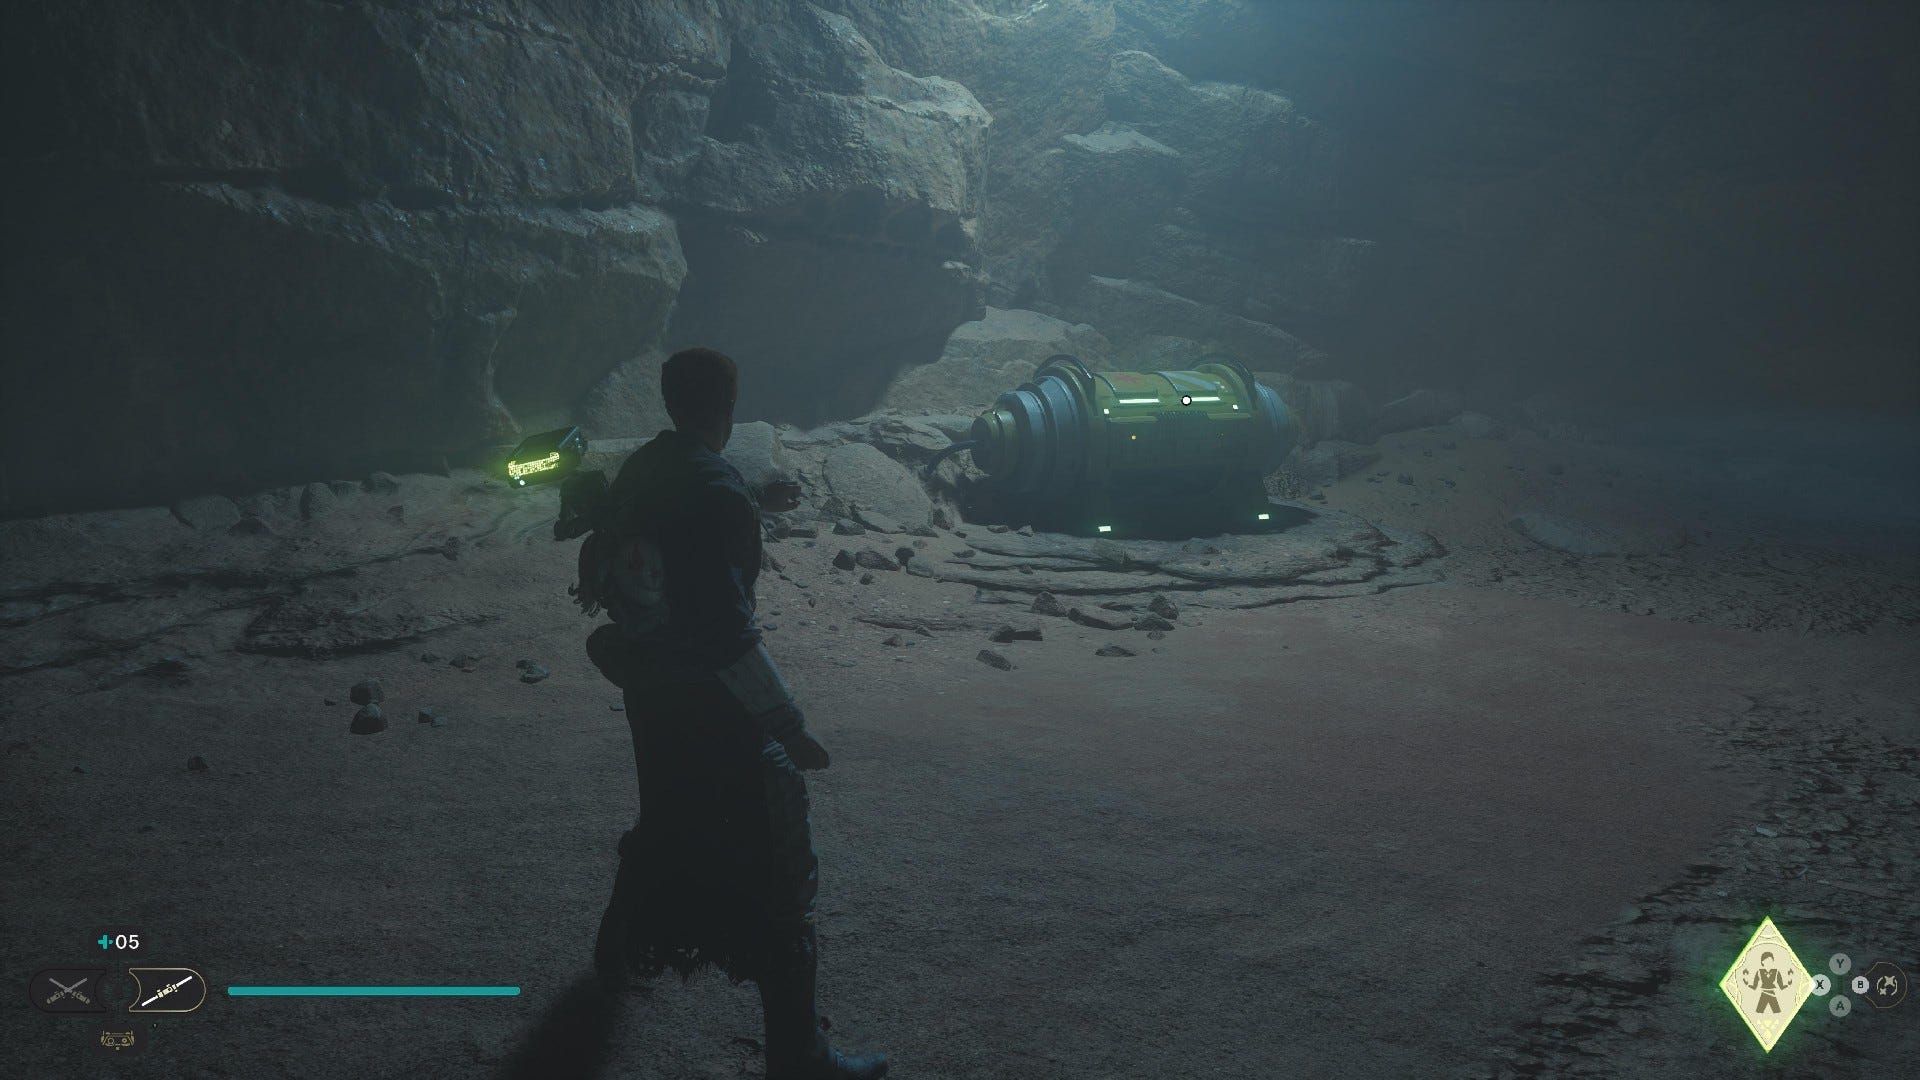
Stim Canister #1: Main path after overnight cutscenes with Merrin, can't miss it.
Sheltered Hollow Treasures:

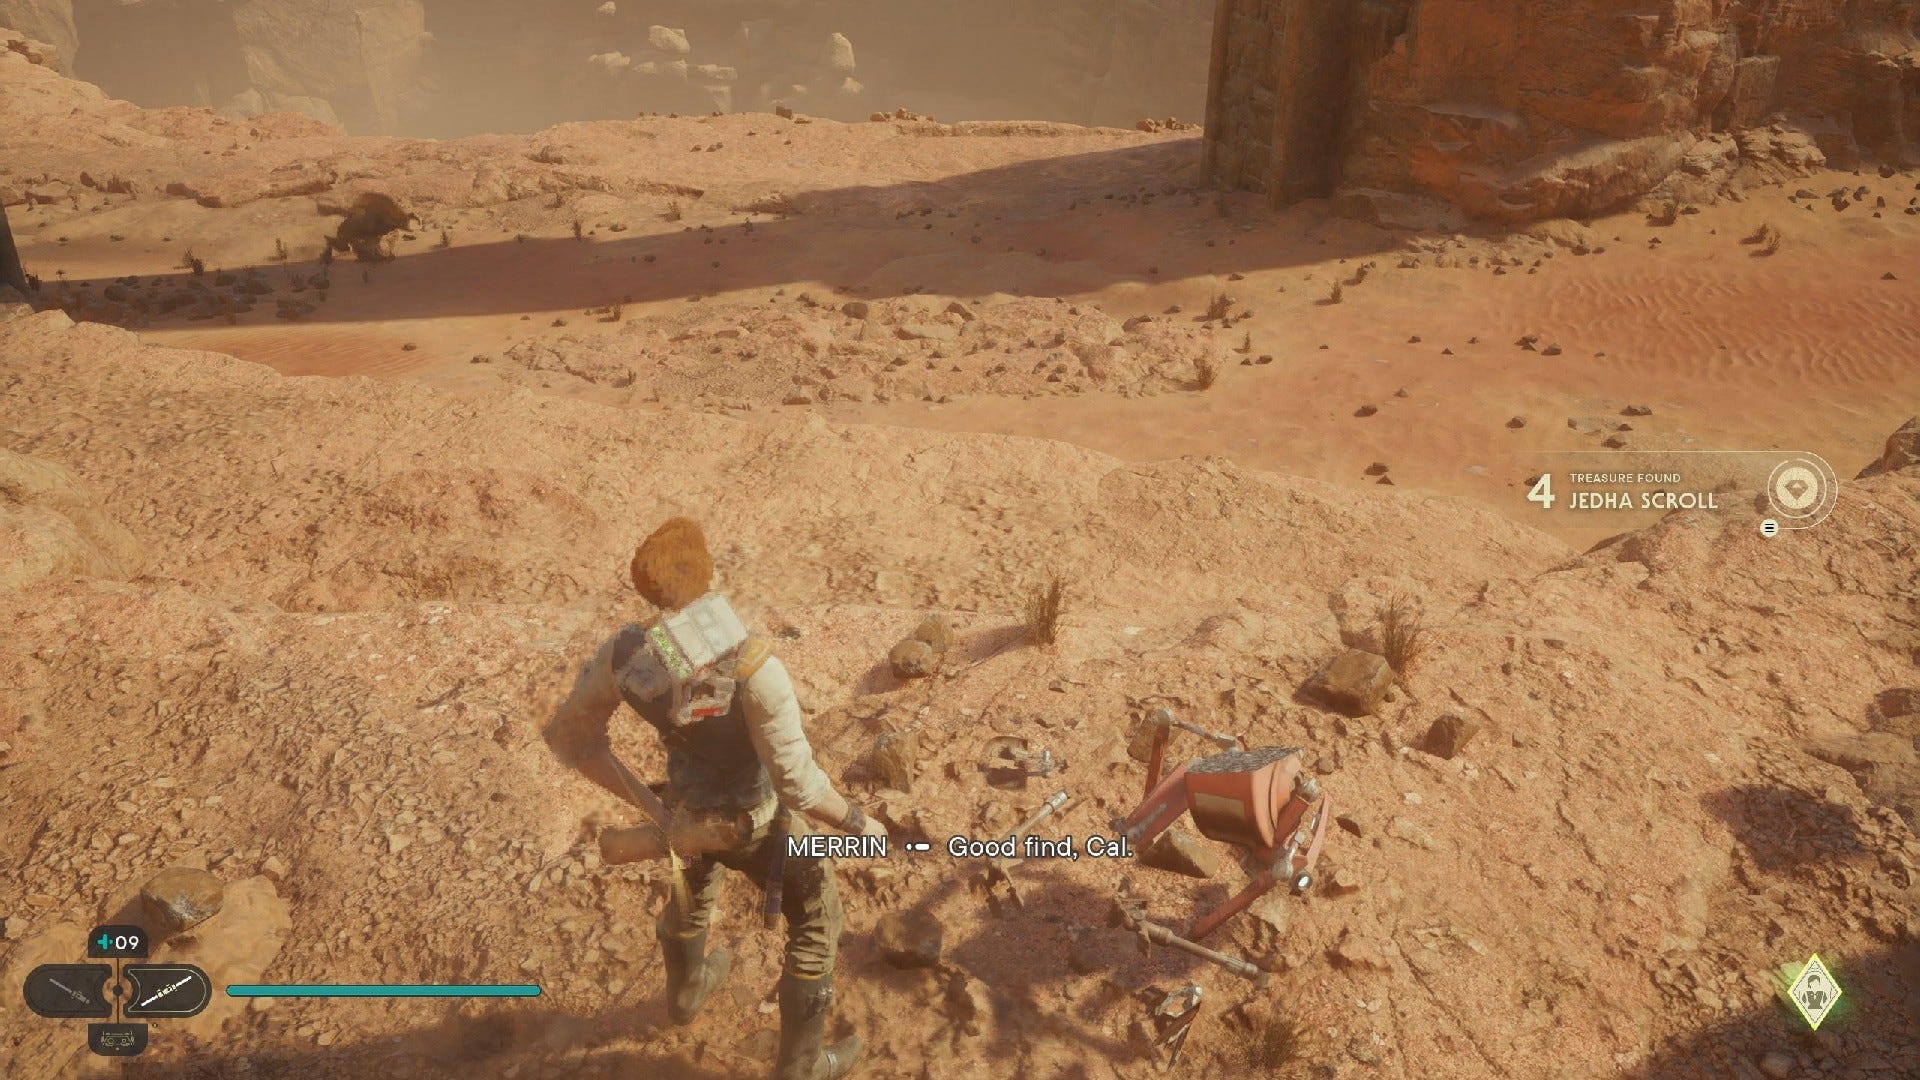
Jedha Scroll #1: Found by killing a Scavenger Droid, just after exiting the overnight cave with Merrin. It seems to only appear upon visiting a second time.
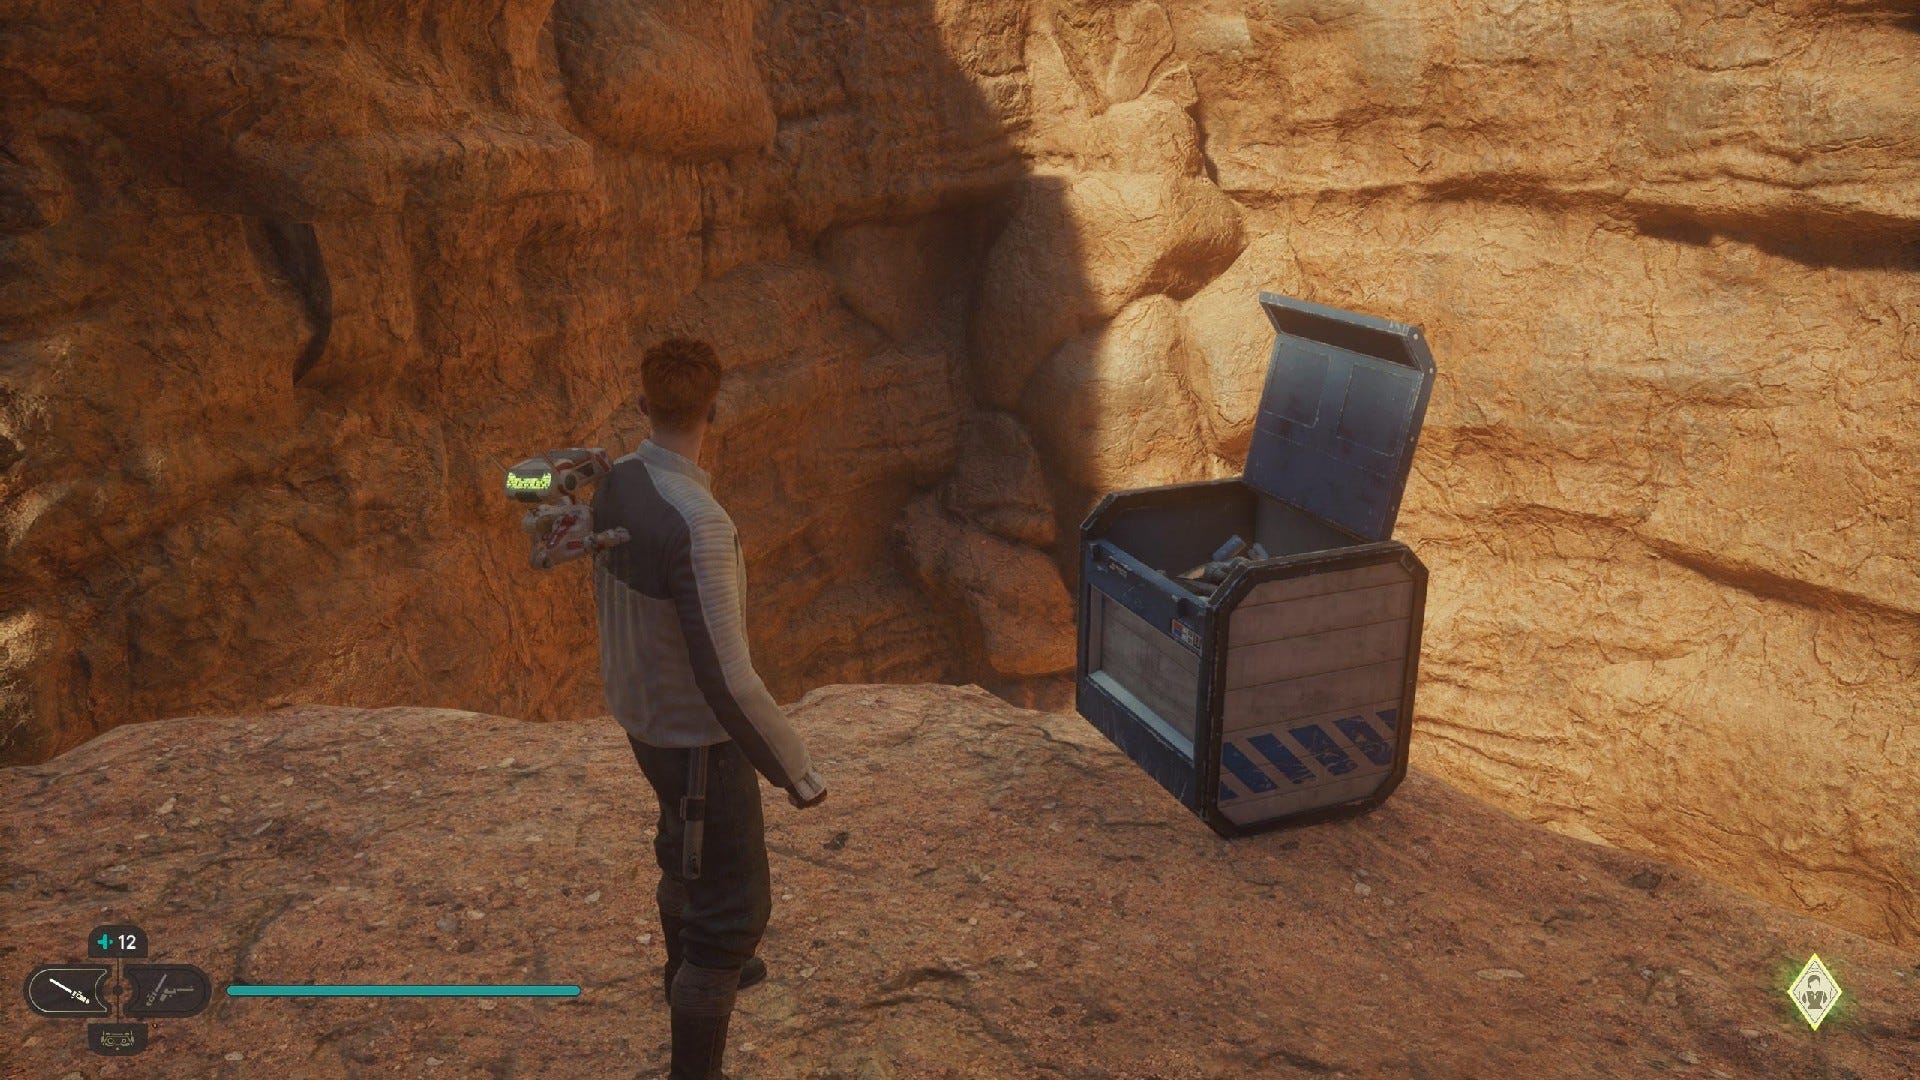
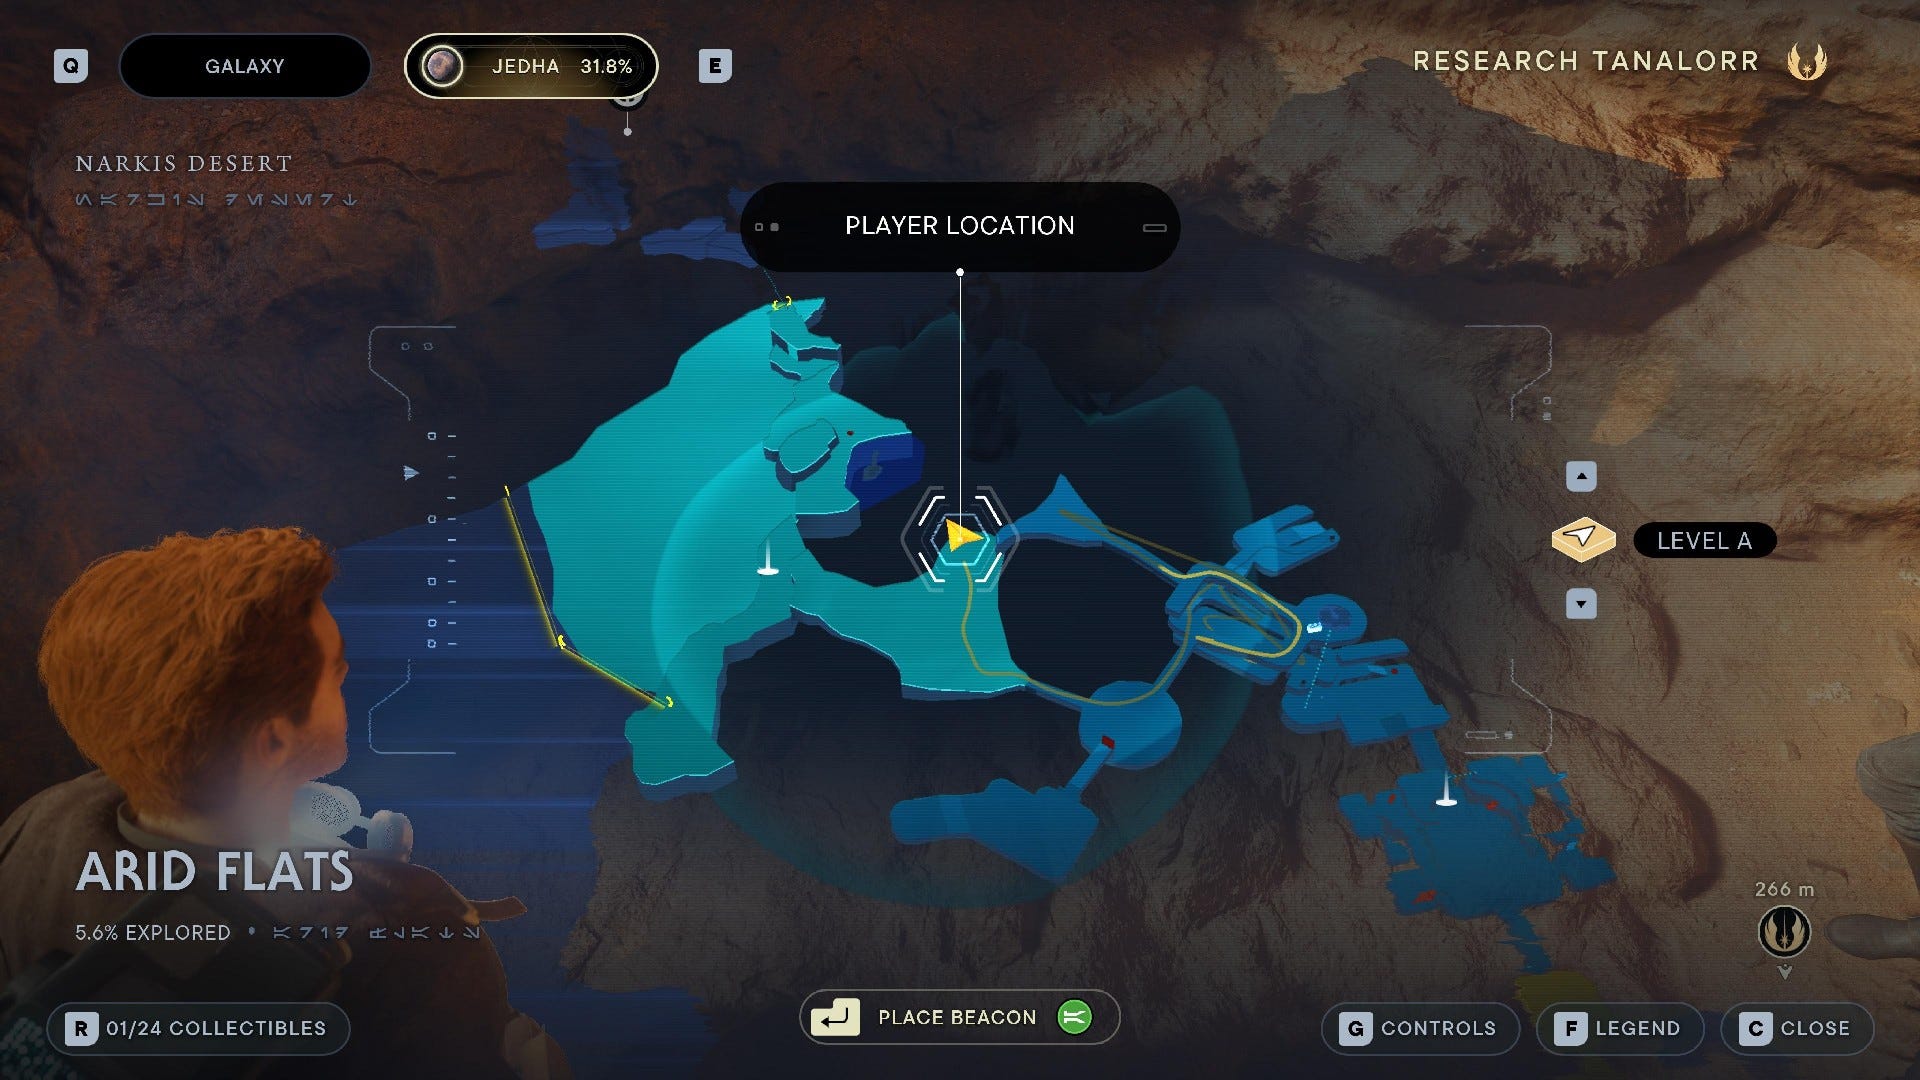
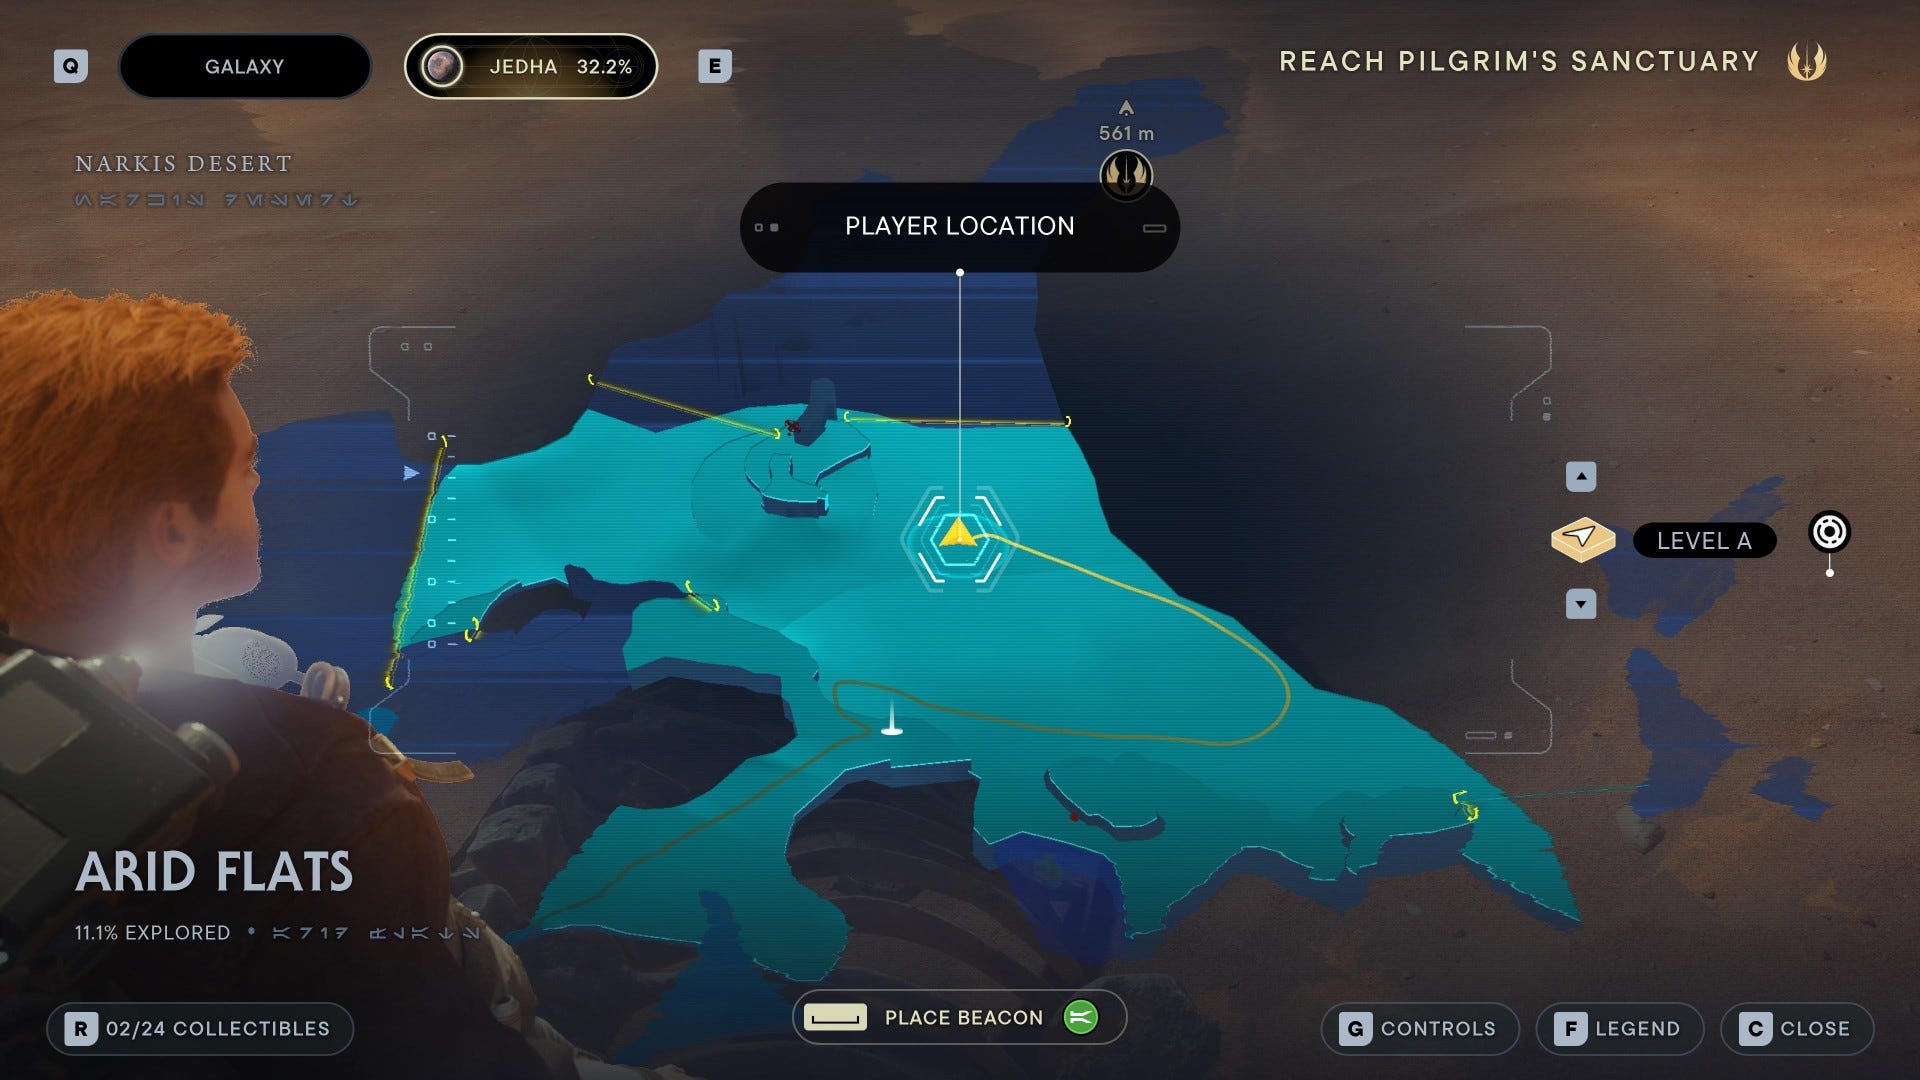
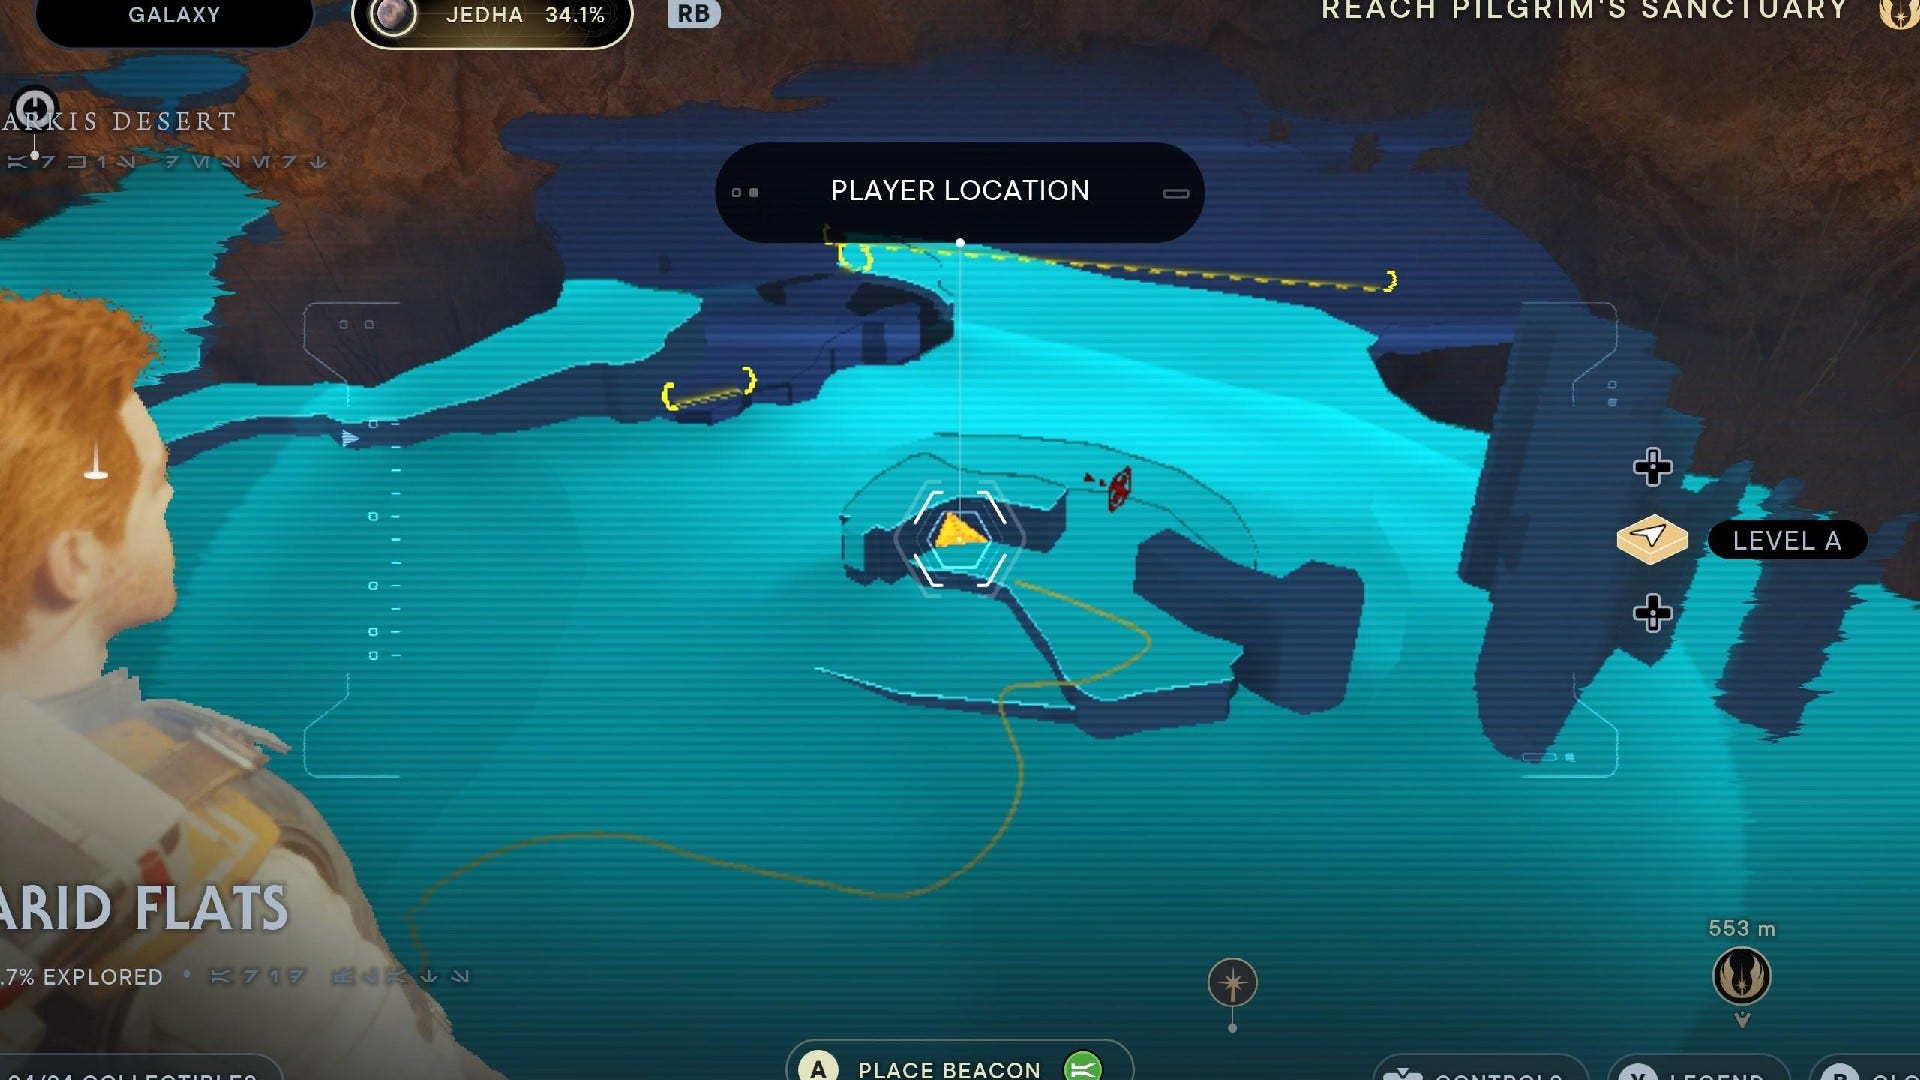
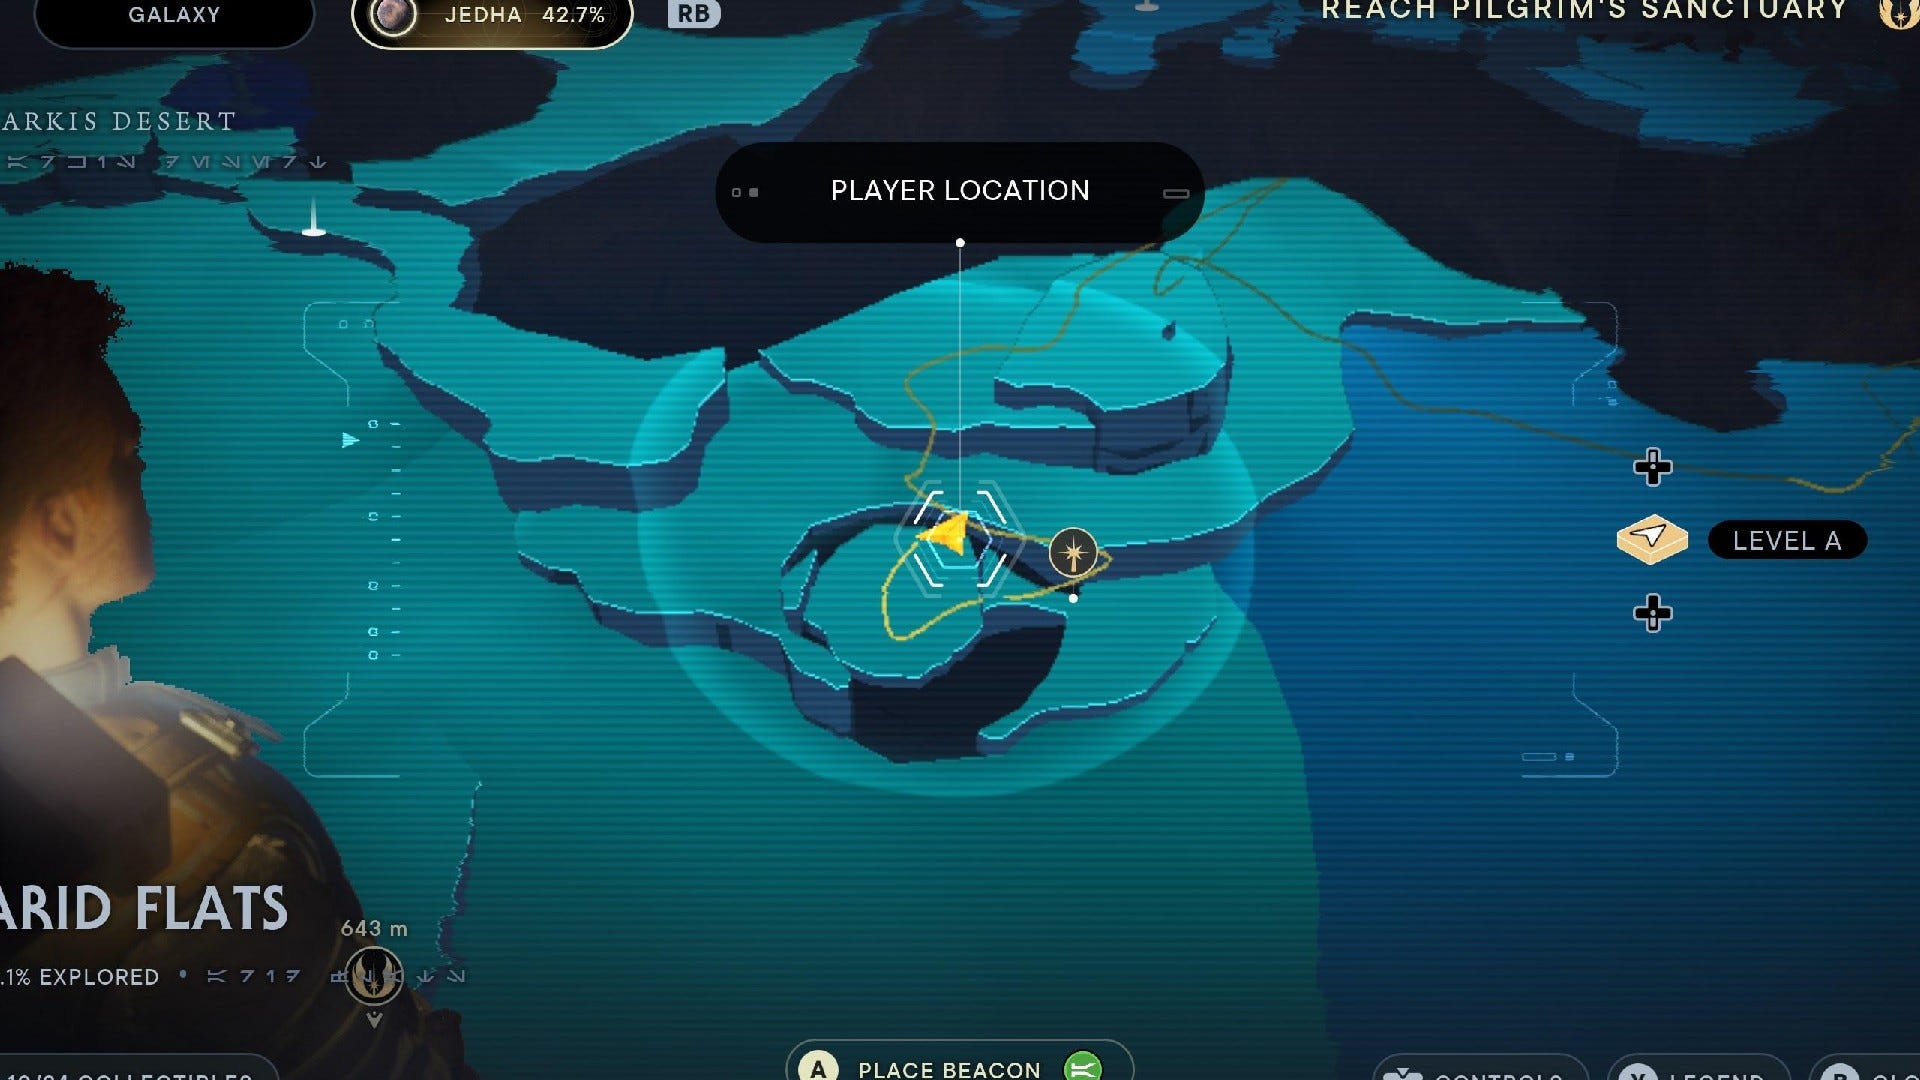
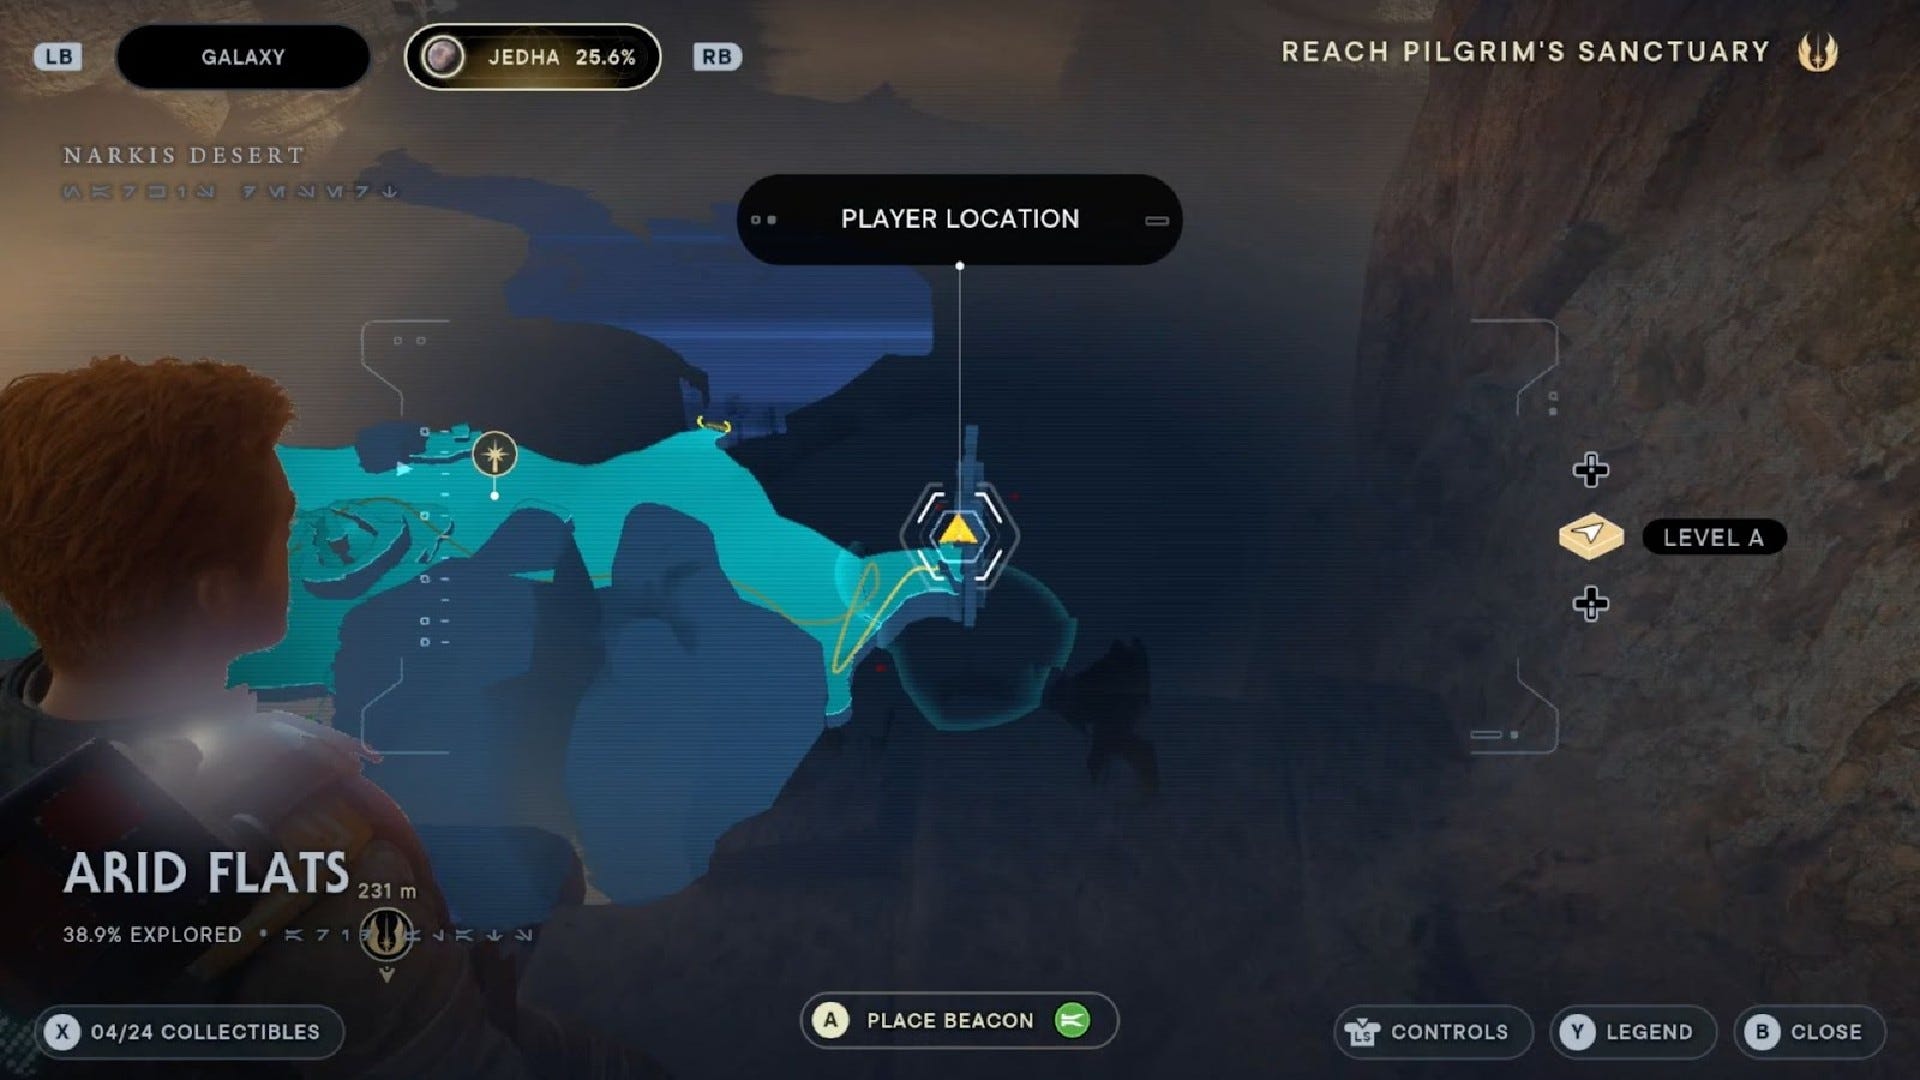
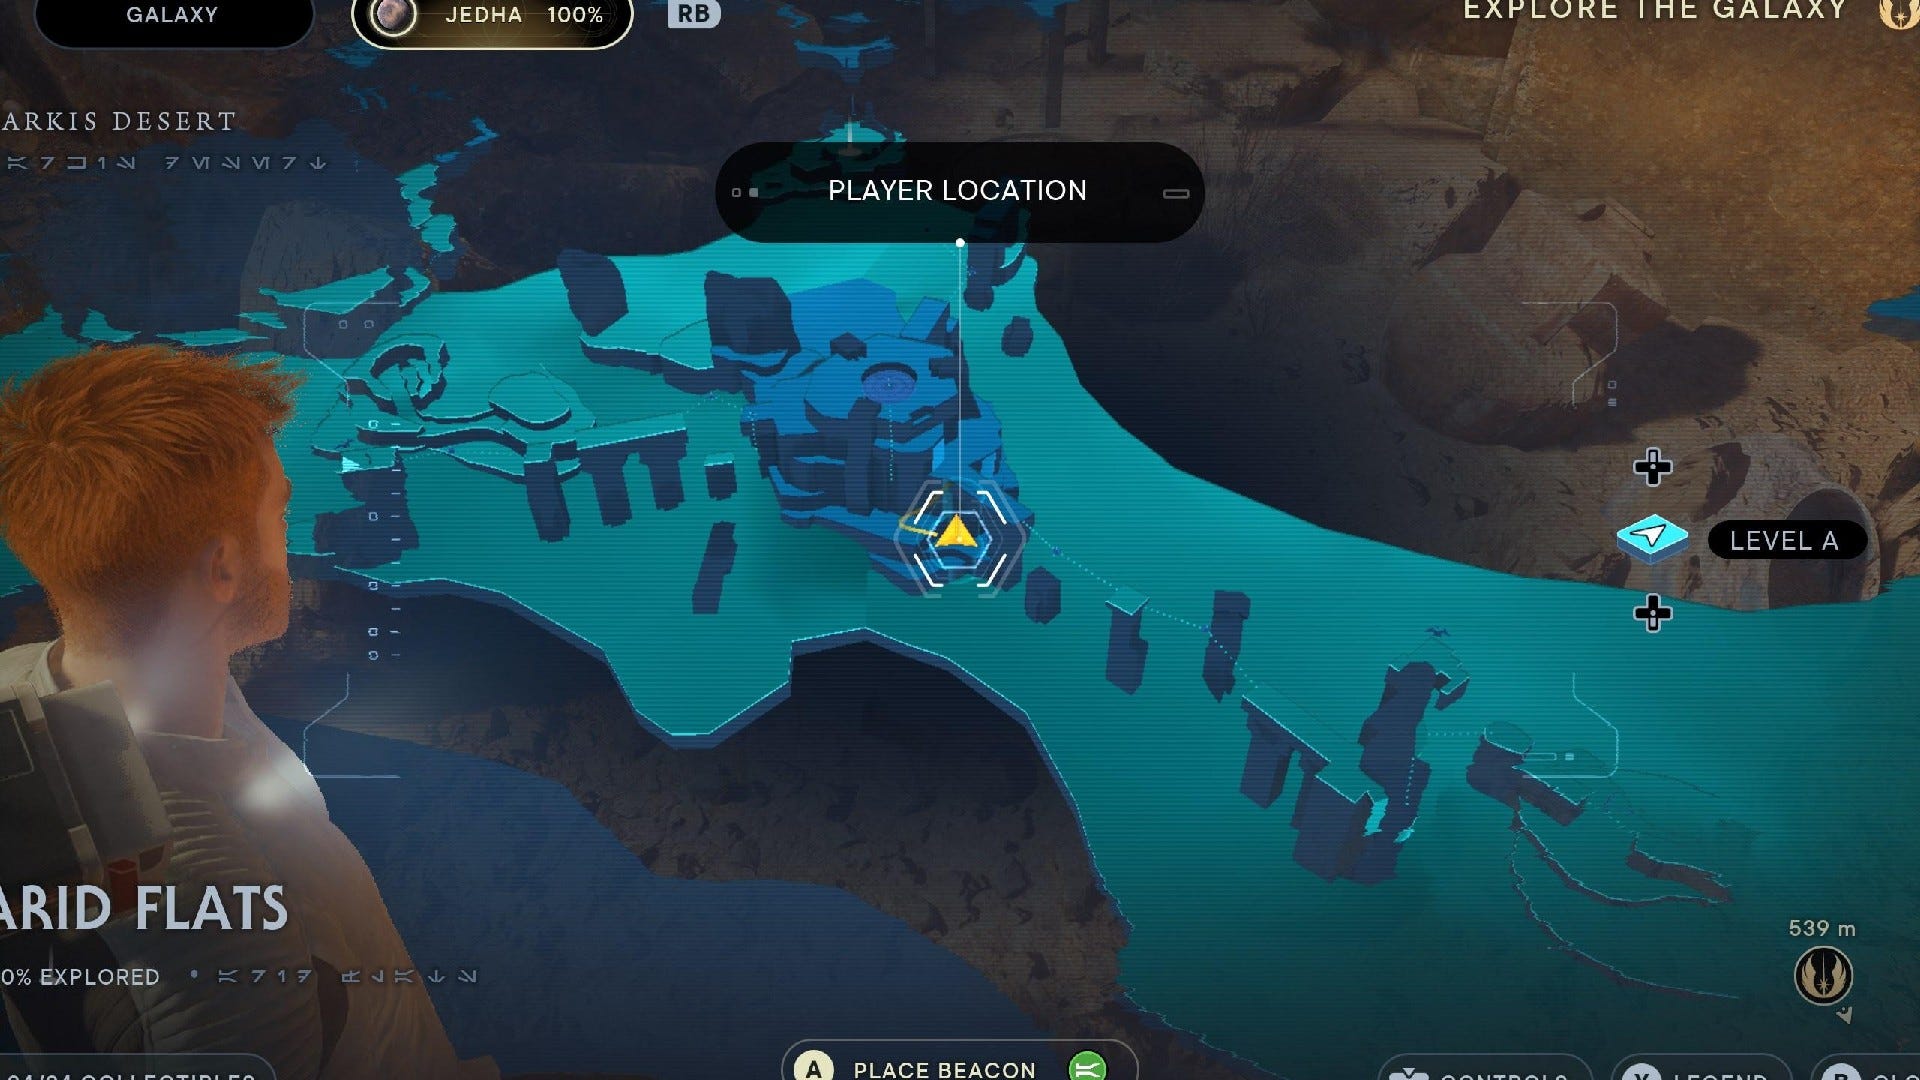
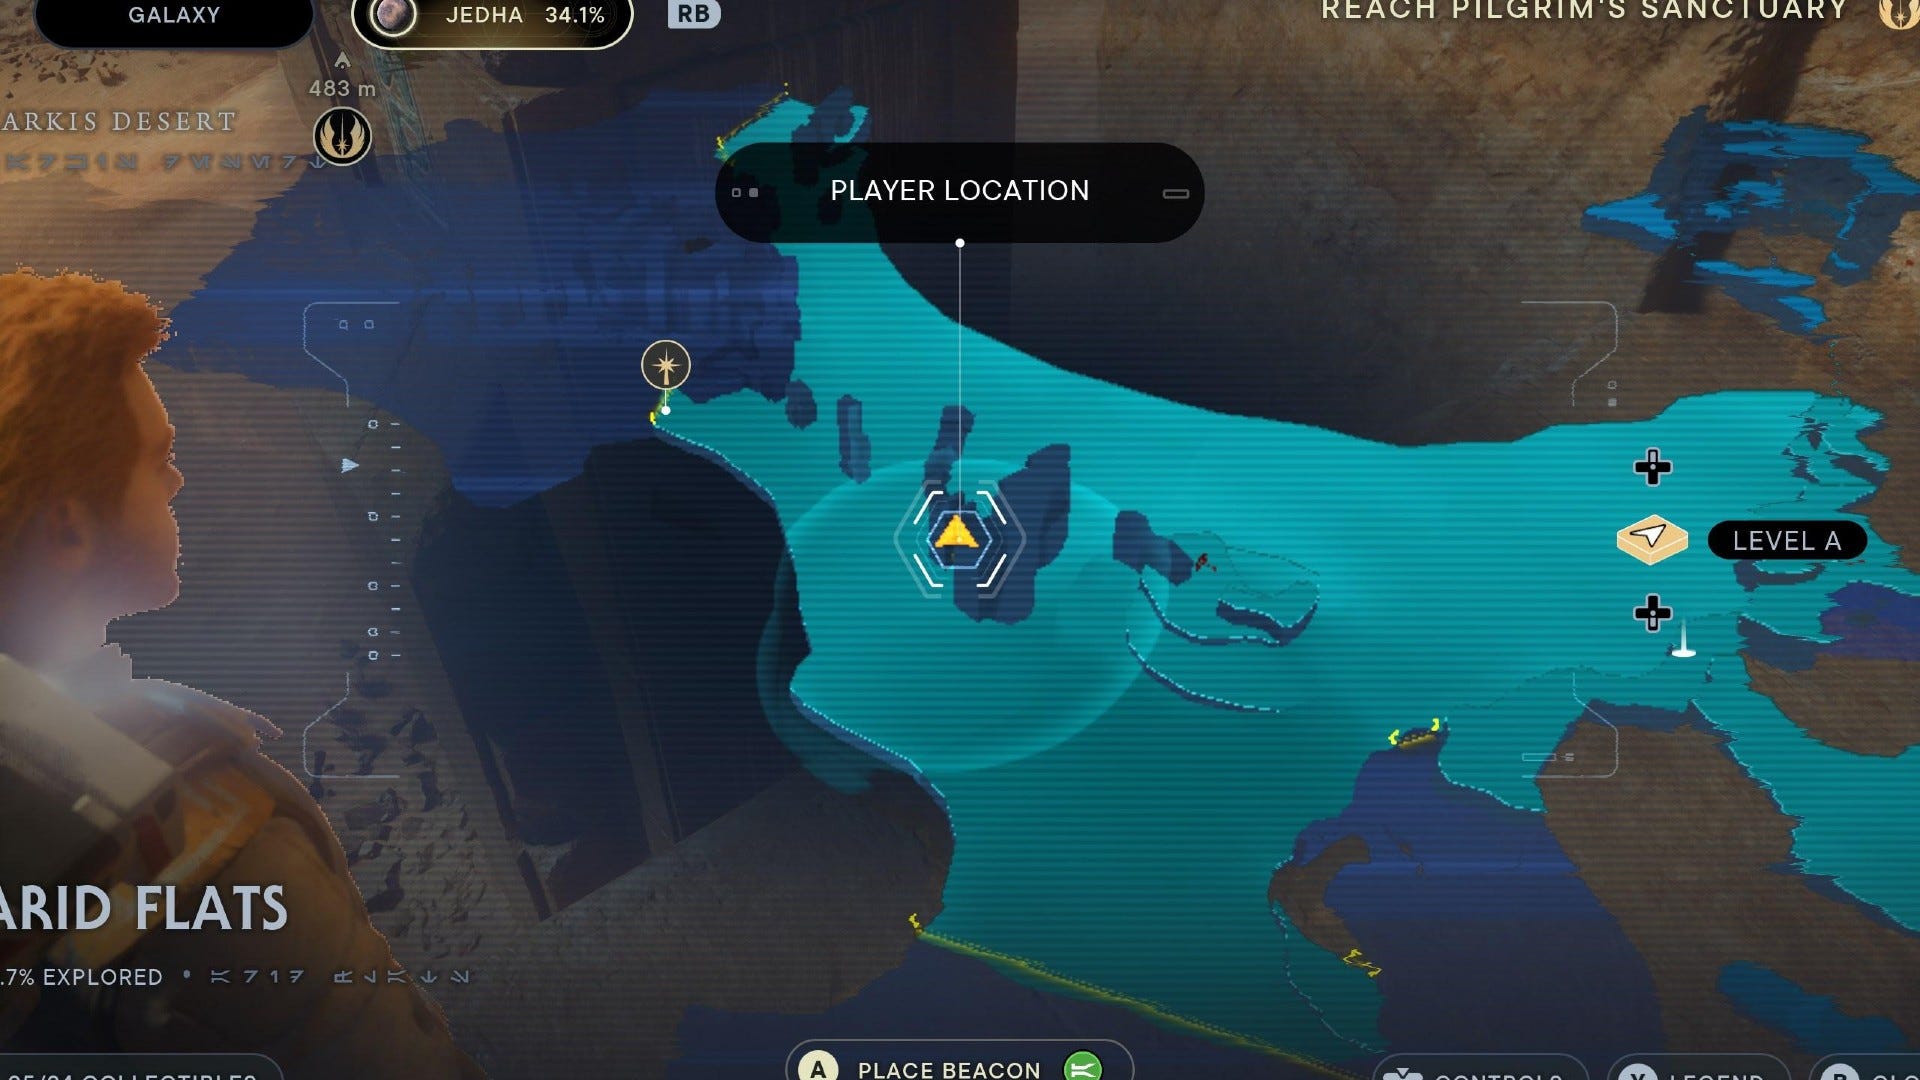
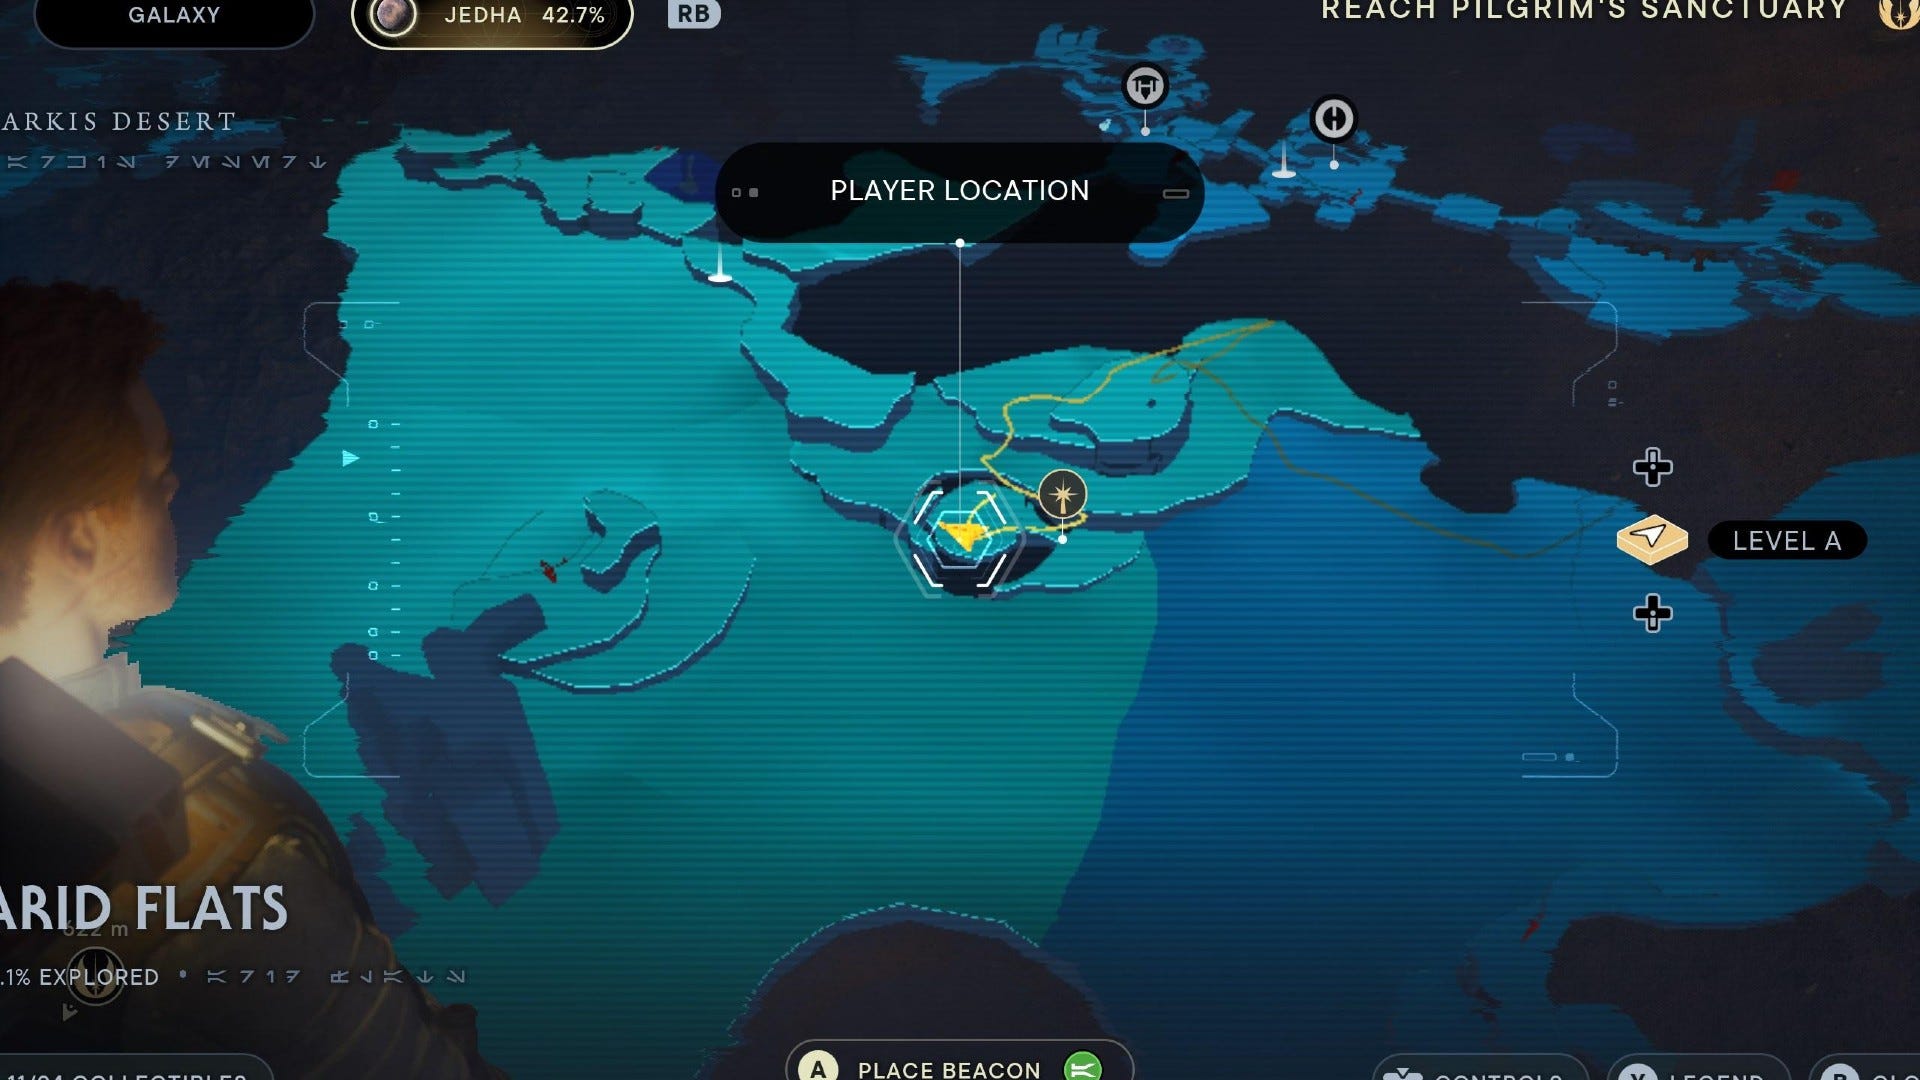
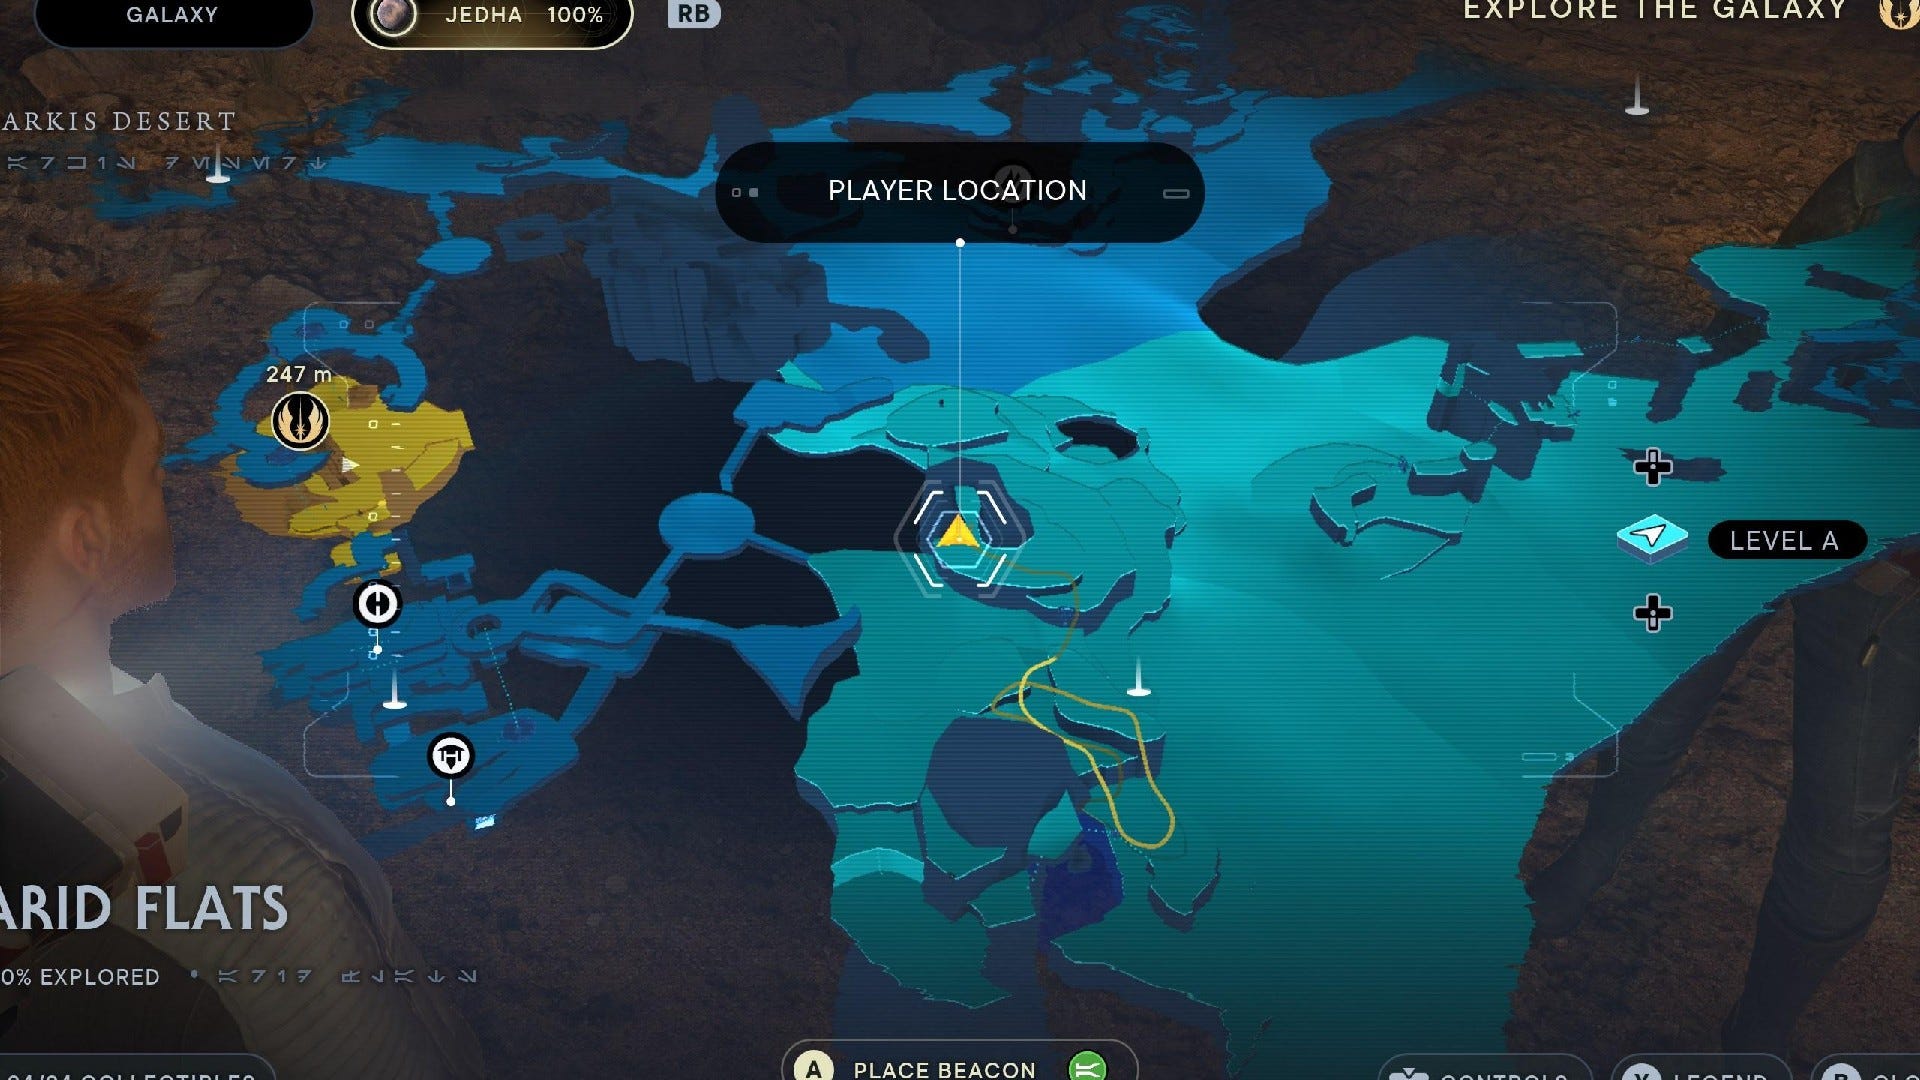
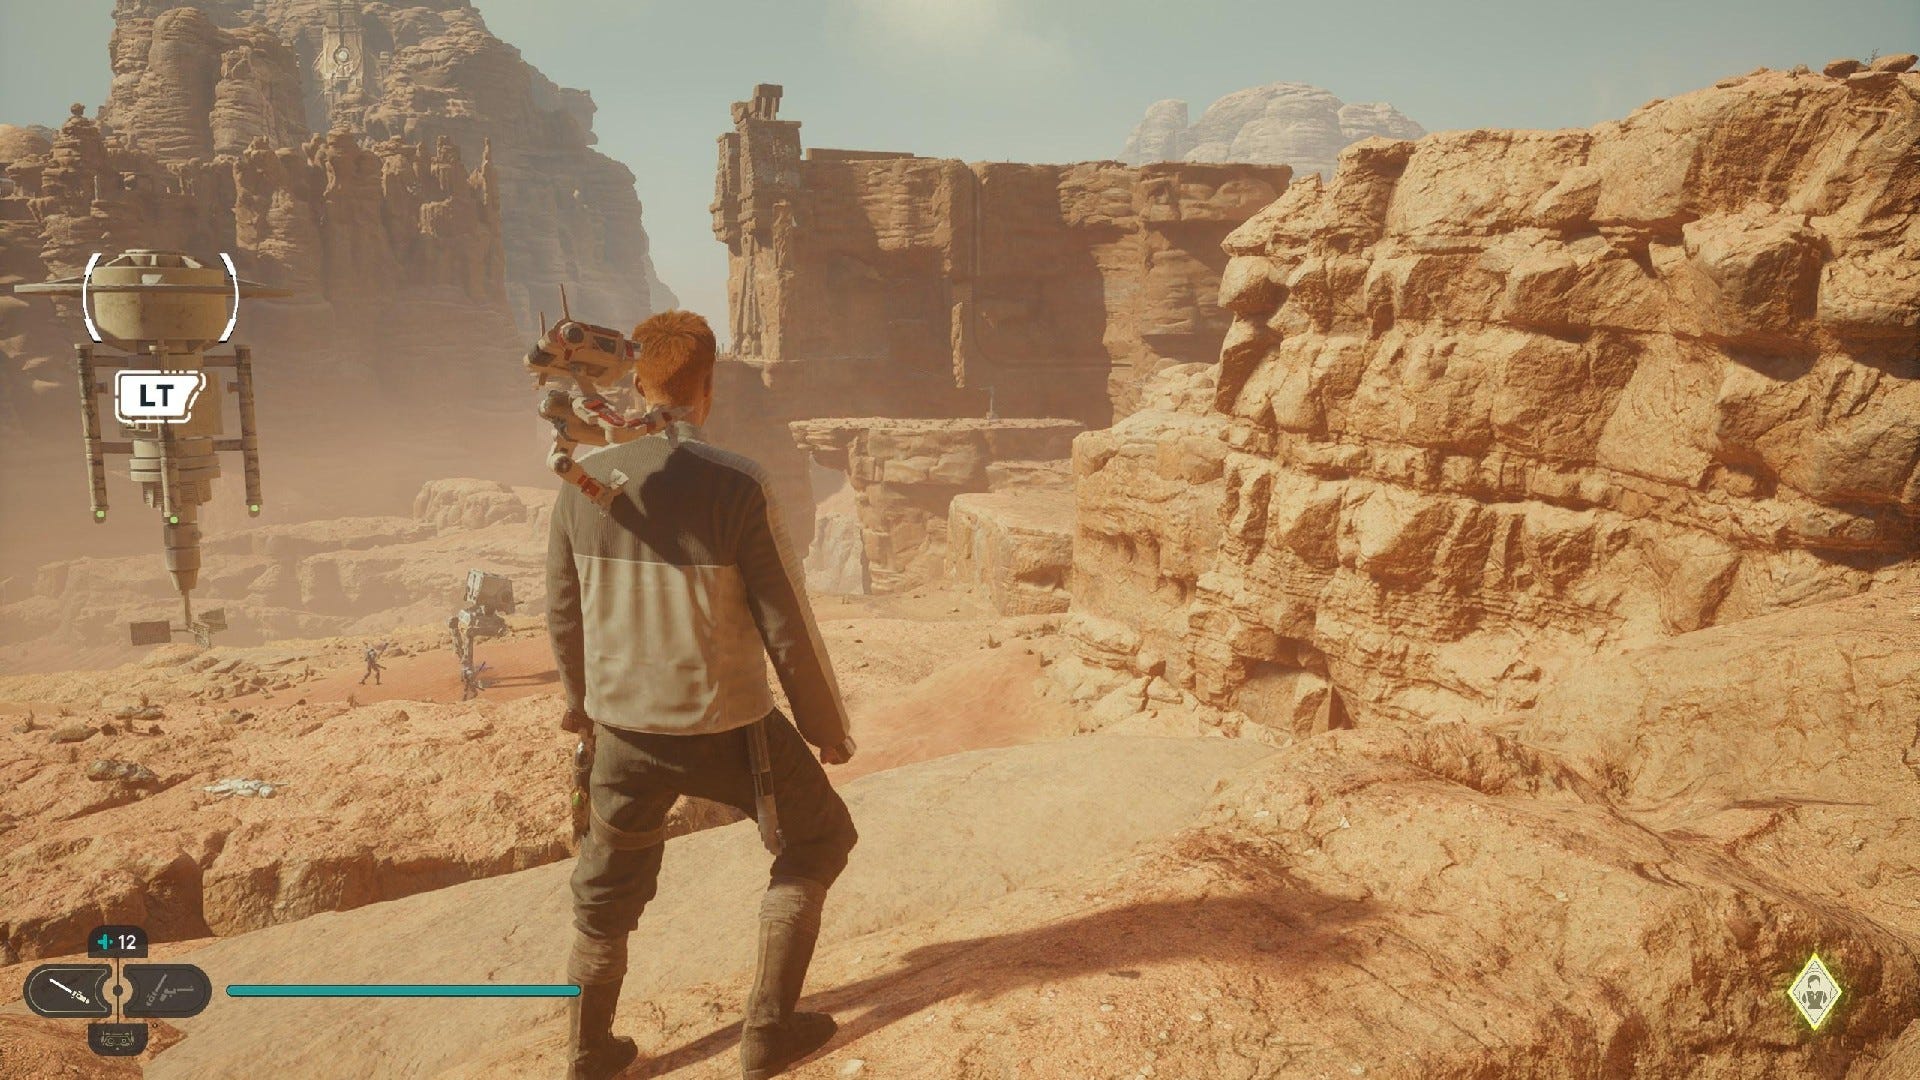
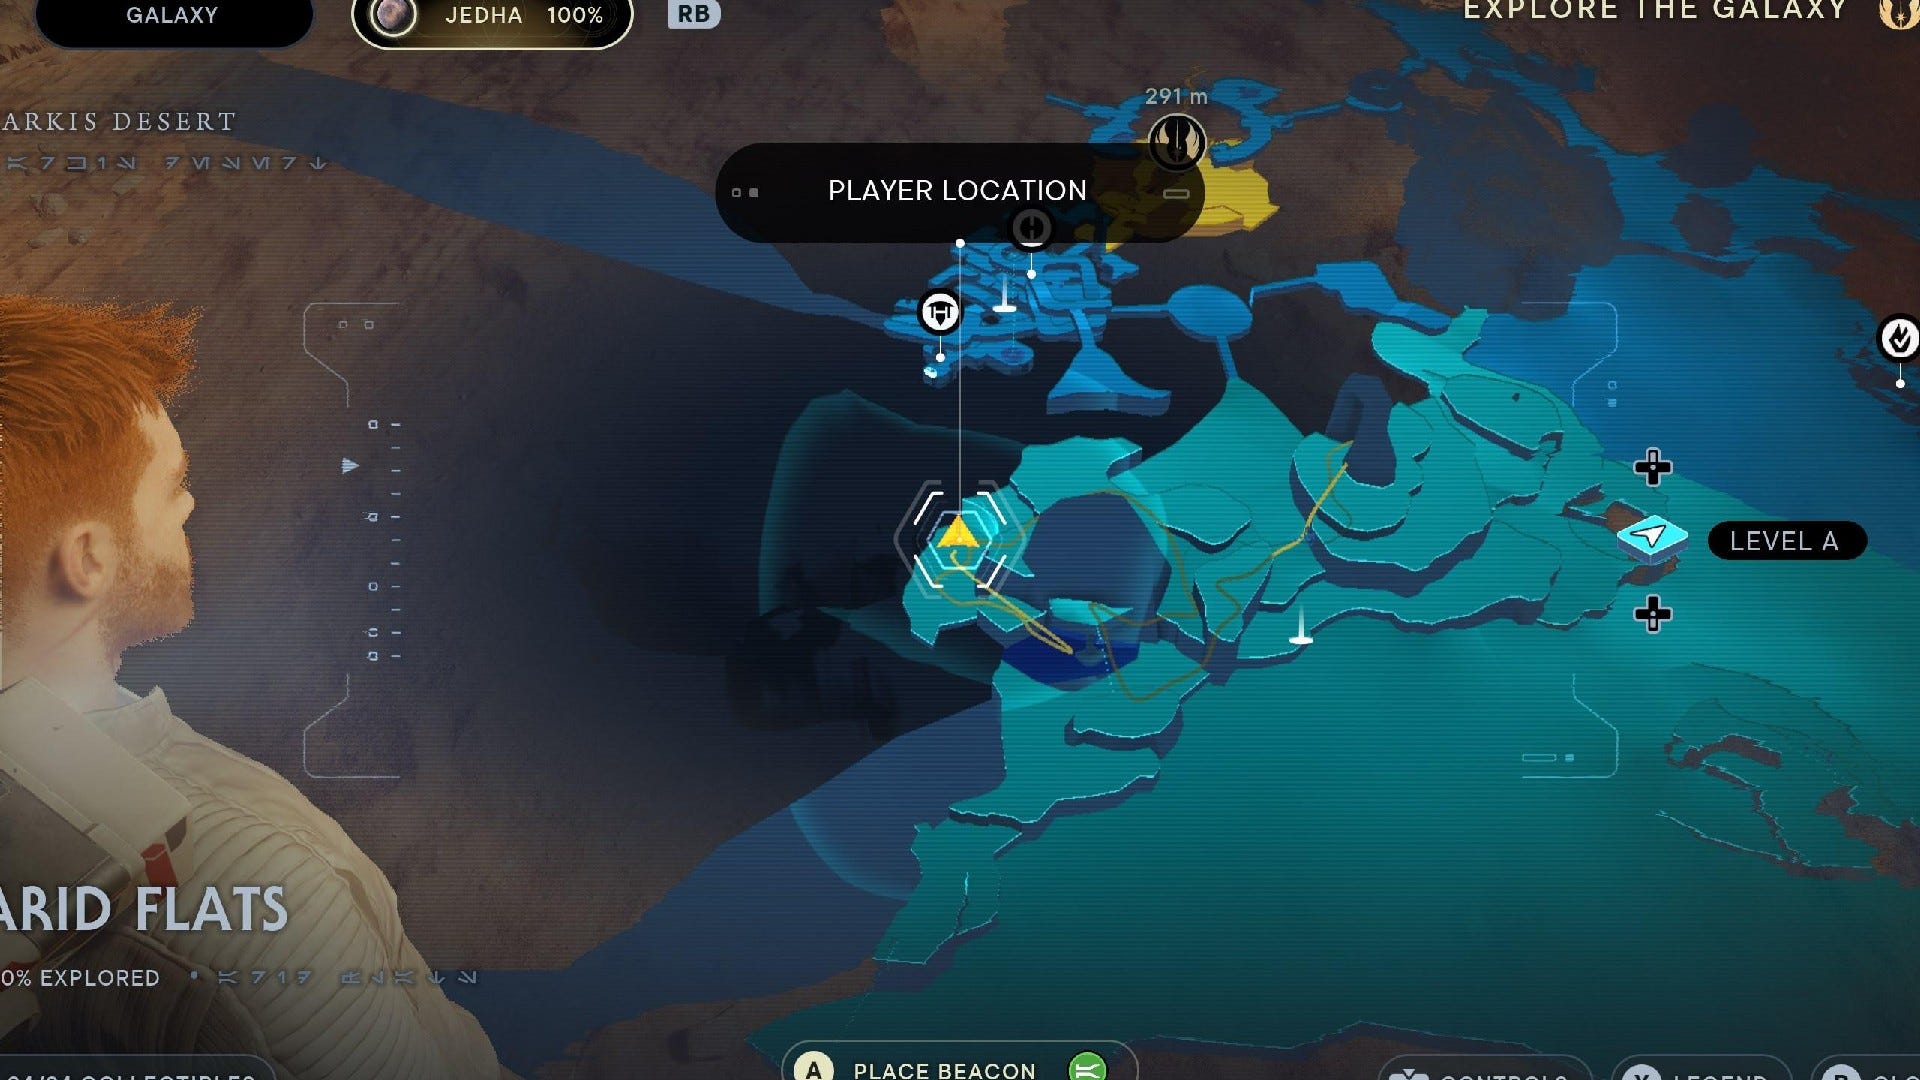
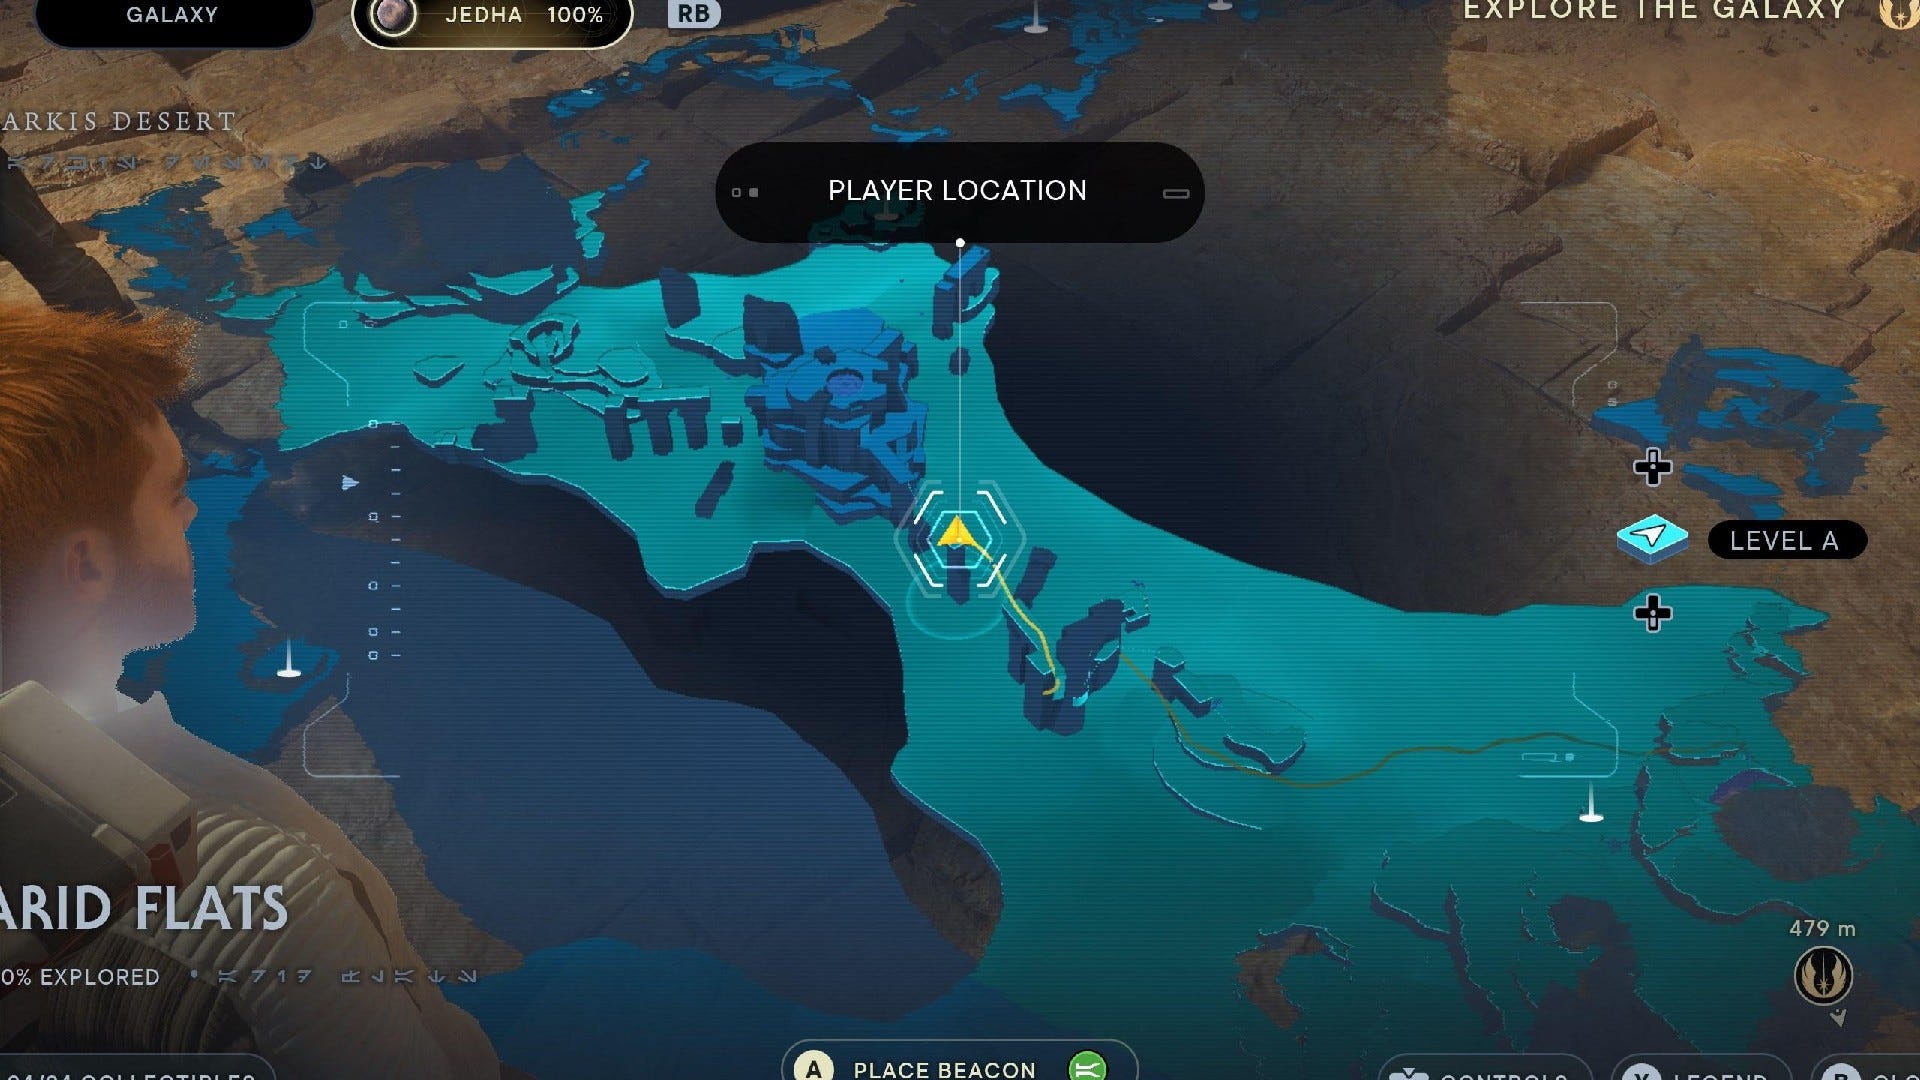
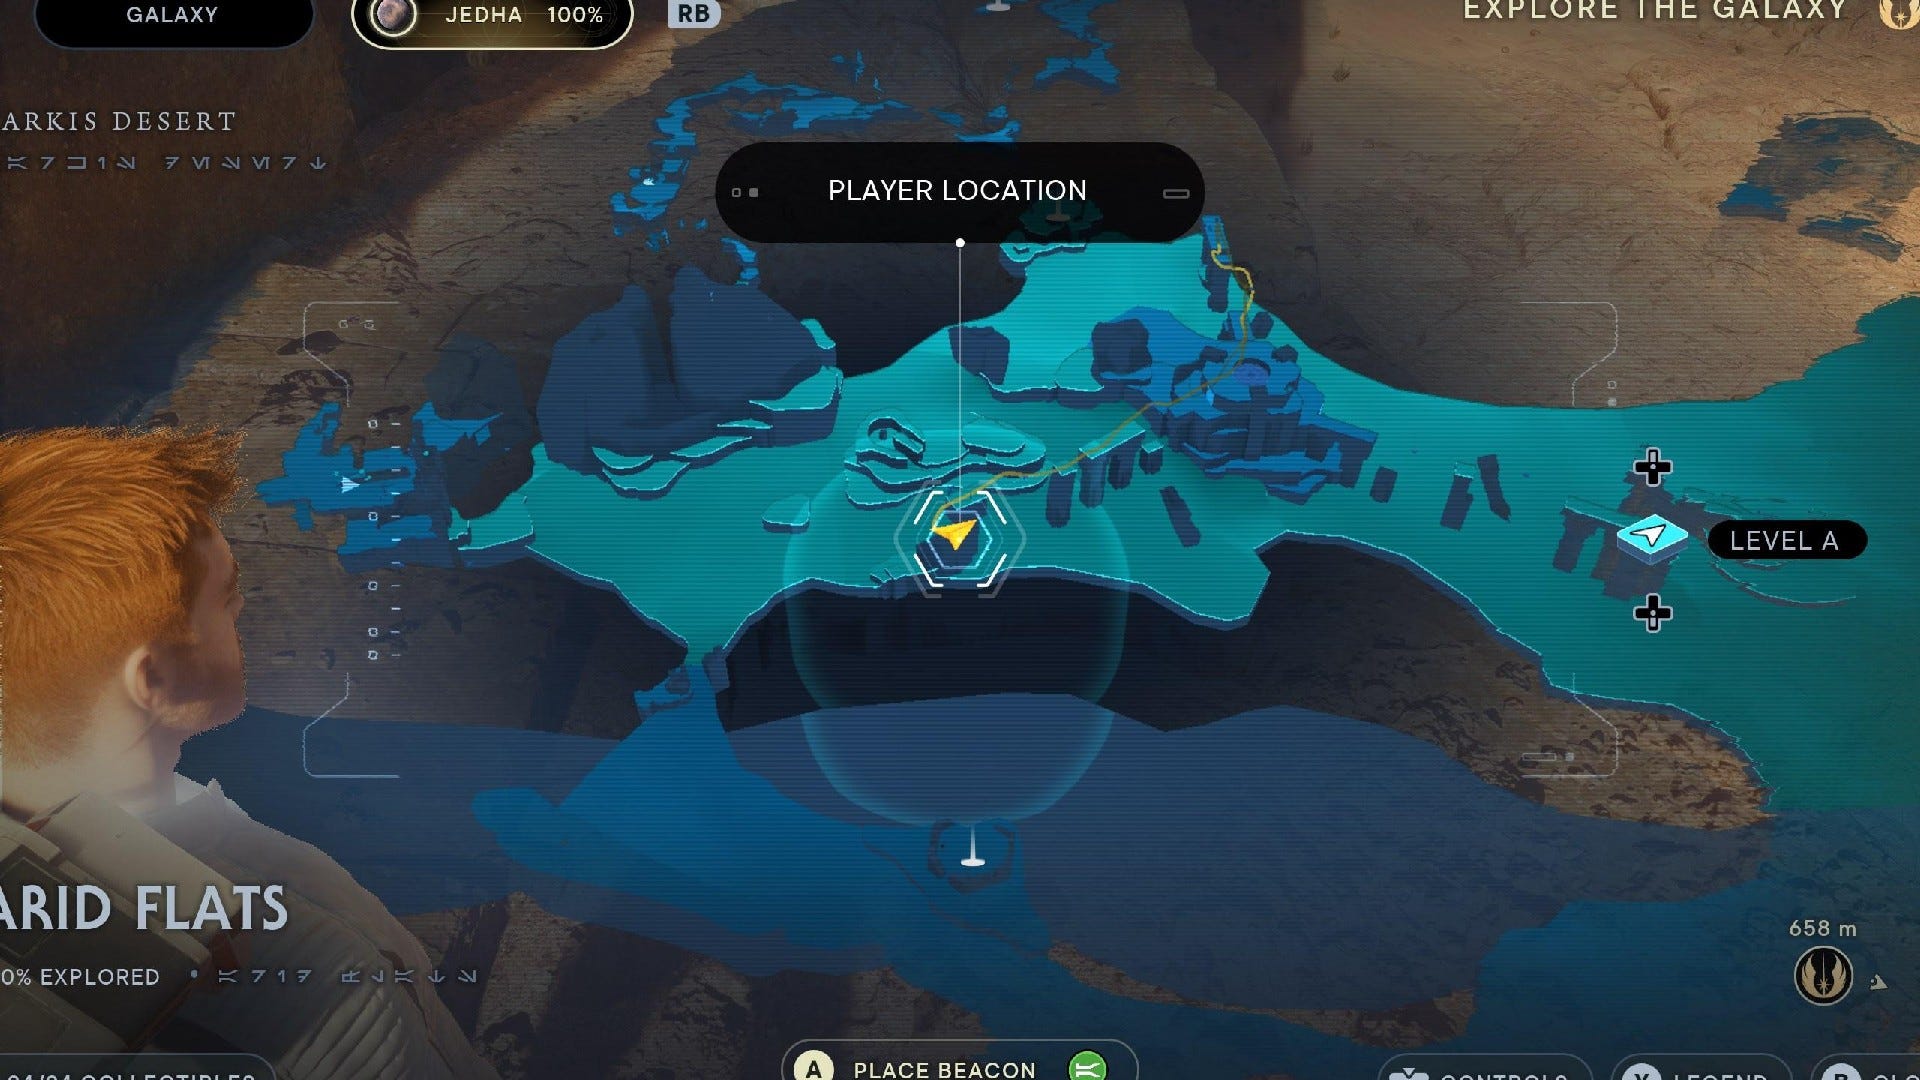
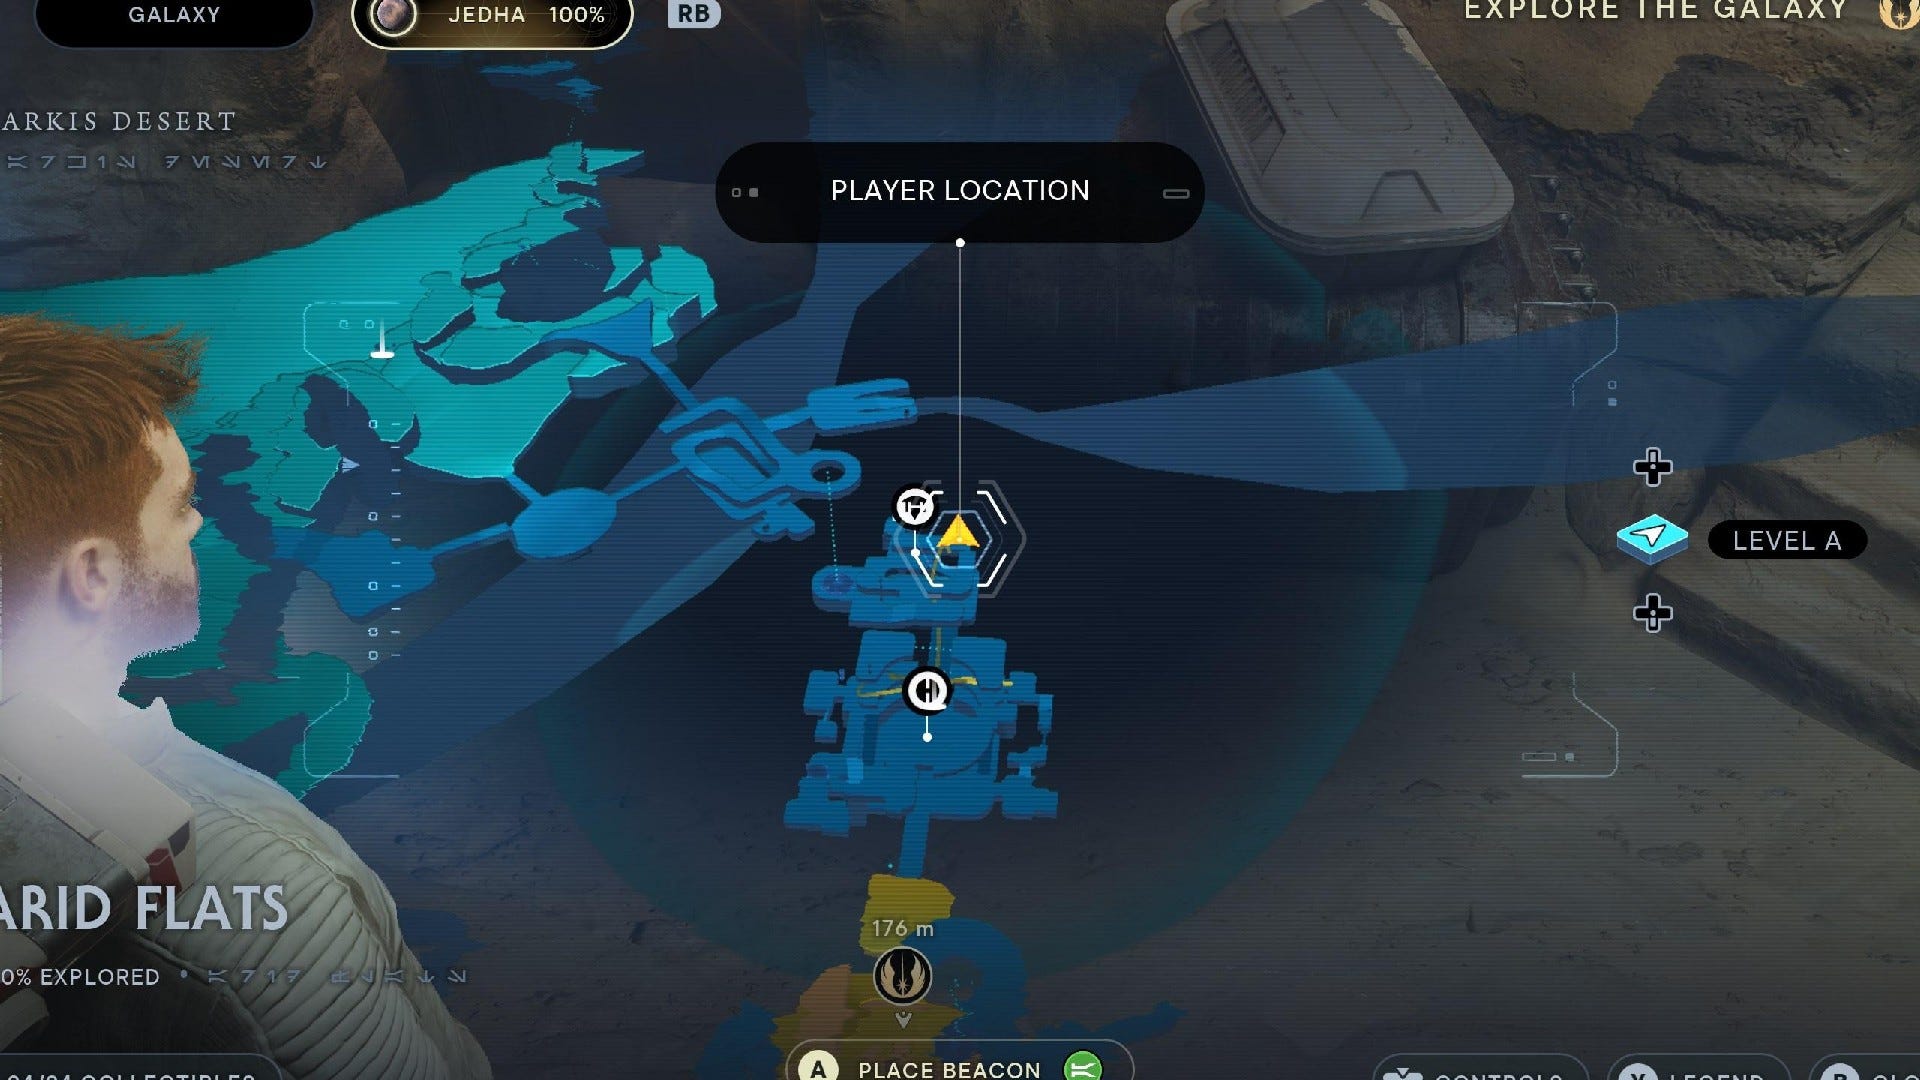
Arid Flats collectibles
Arid Flats, a huge desert and the largest area on Jedha, is home to a whopping 24 collectibles:
Arid Flats Chests:
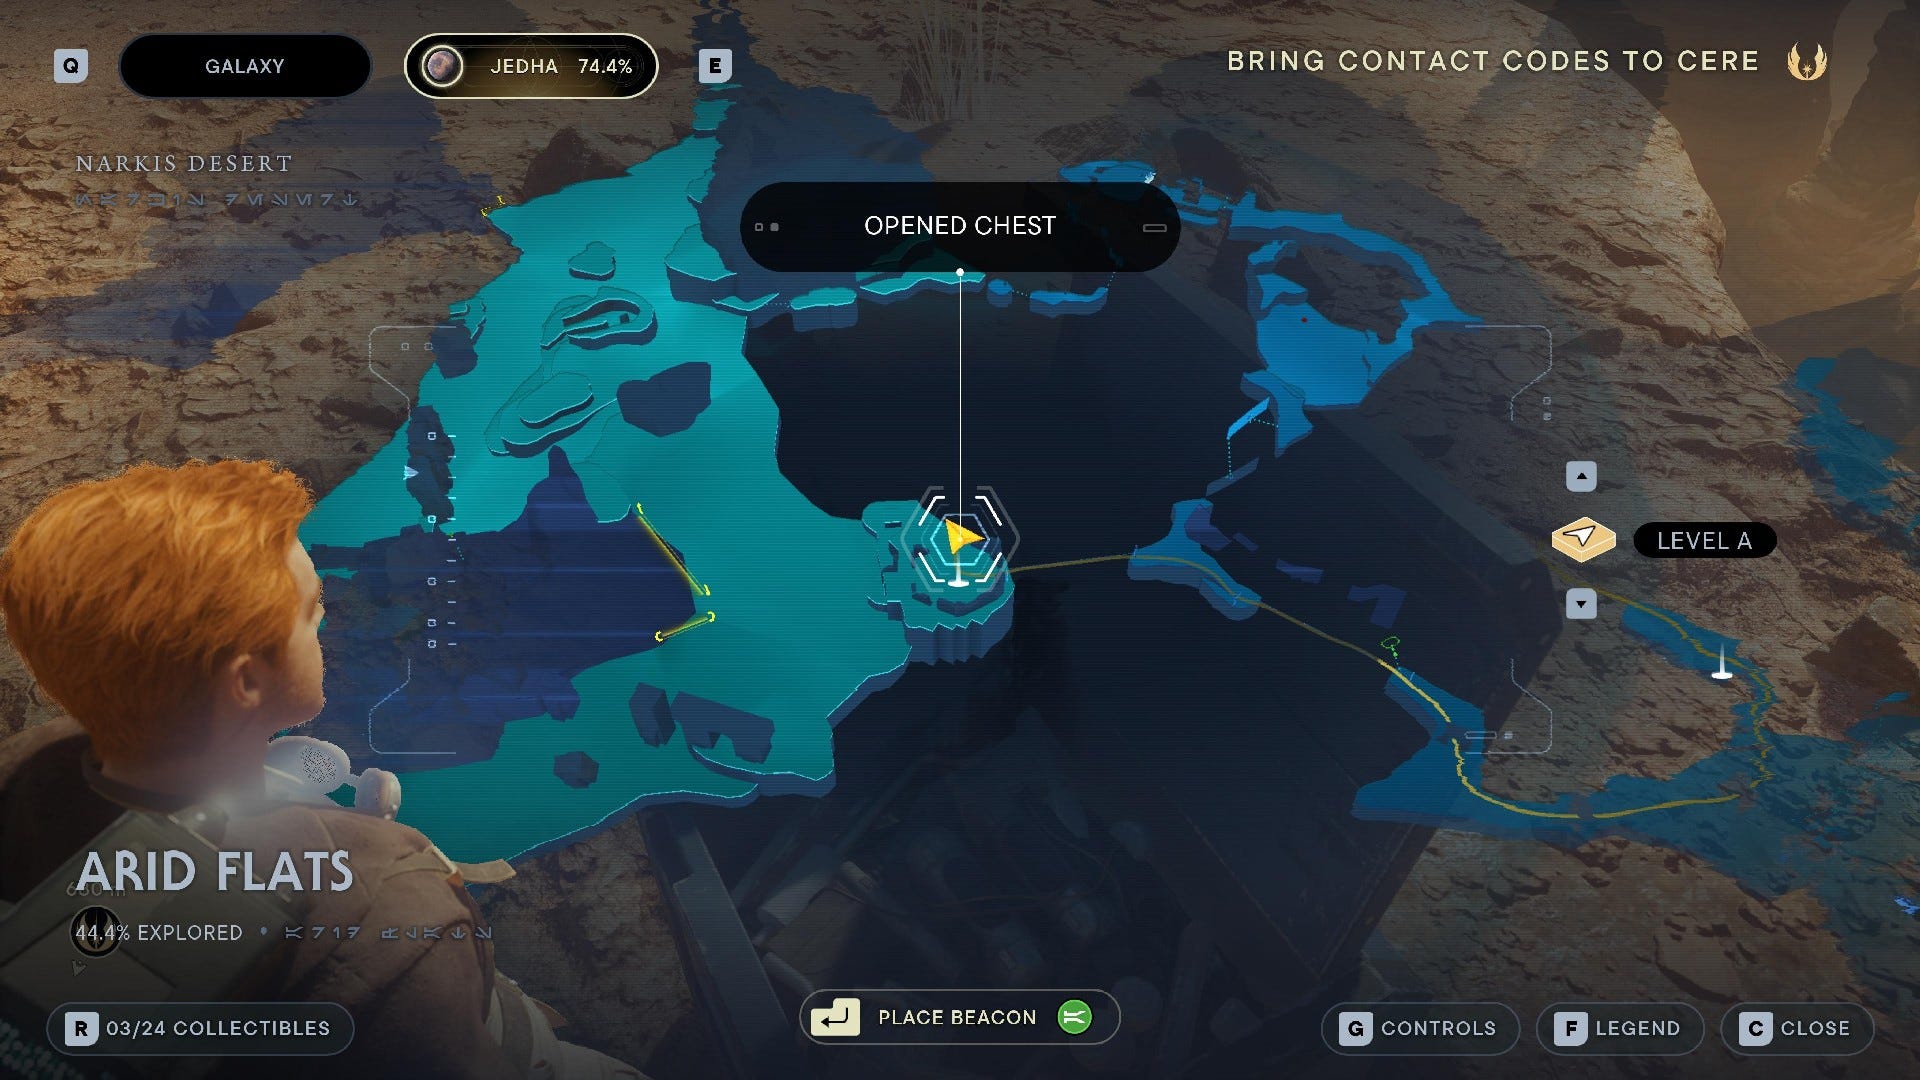

Chest #1 (Commander Pants): Right next to the Arid Flats Meditation Point.
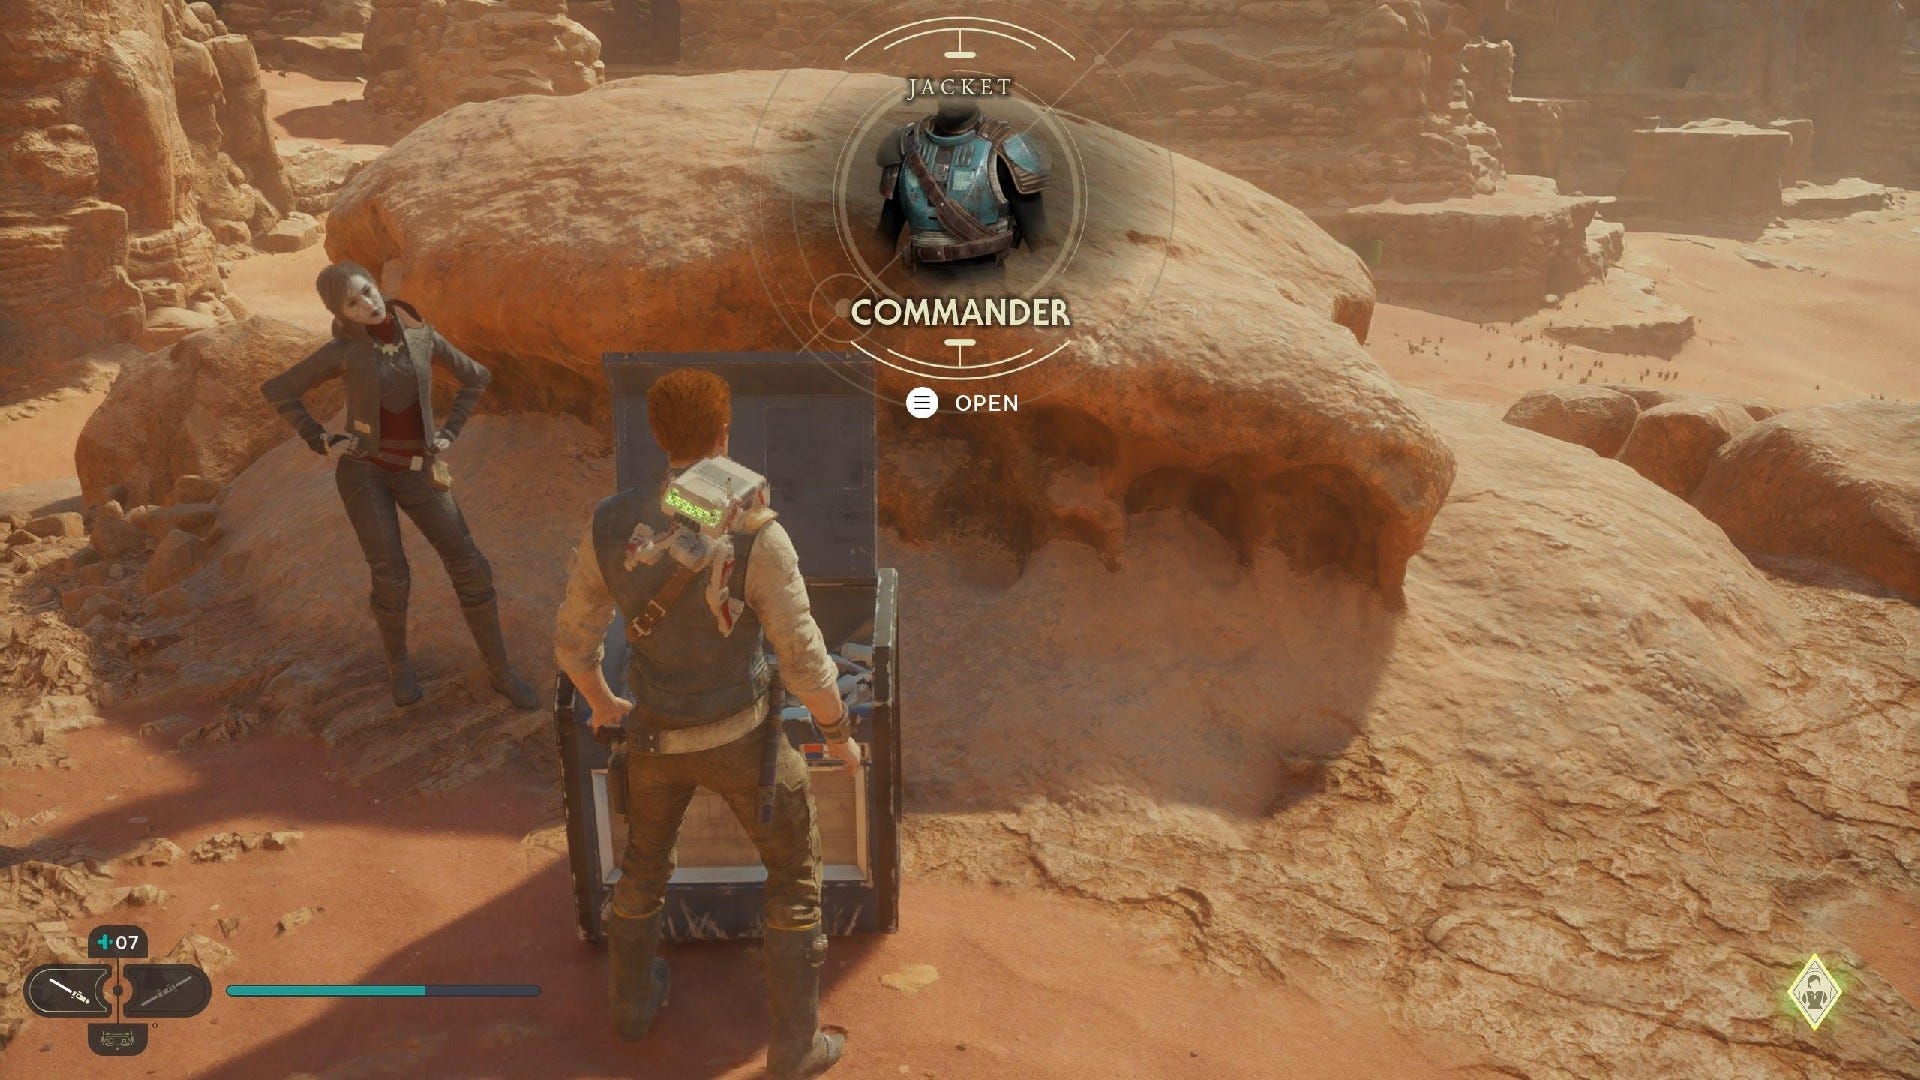
Chest #2 (Commander Jacket): Head left from the Arid Flats Meditation Point and climb the ledge near the Sutaban cave.
Chest #3 (Exile Jacket): Hop up the ledge from Skoova Stev to find a Stormtrooper corpse with the Desert Ghost Force Echo. Then, turn back and use the advanced grapple hook to reach the balloon hovering nearby. Use the balloon to leap to the right and dash through the air to reach the ledge up ahead. Hug the left wall and follow it around until you find a chest on a shaded ledge.

Chest #4 (Detachment Emitter): Reach the top of Wayfinder's Tomb, and then use the advanced grapple hook to zip across the broken bridge with two balloons hovering in the gap. There's a Chest on the other side.
Arid Flats Essences:
Force Essence #1: On the ledge in the Sutaban cave.
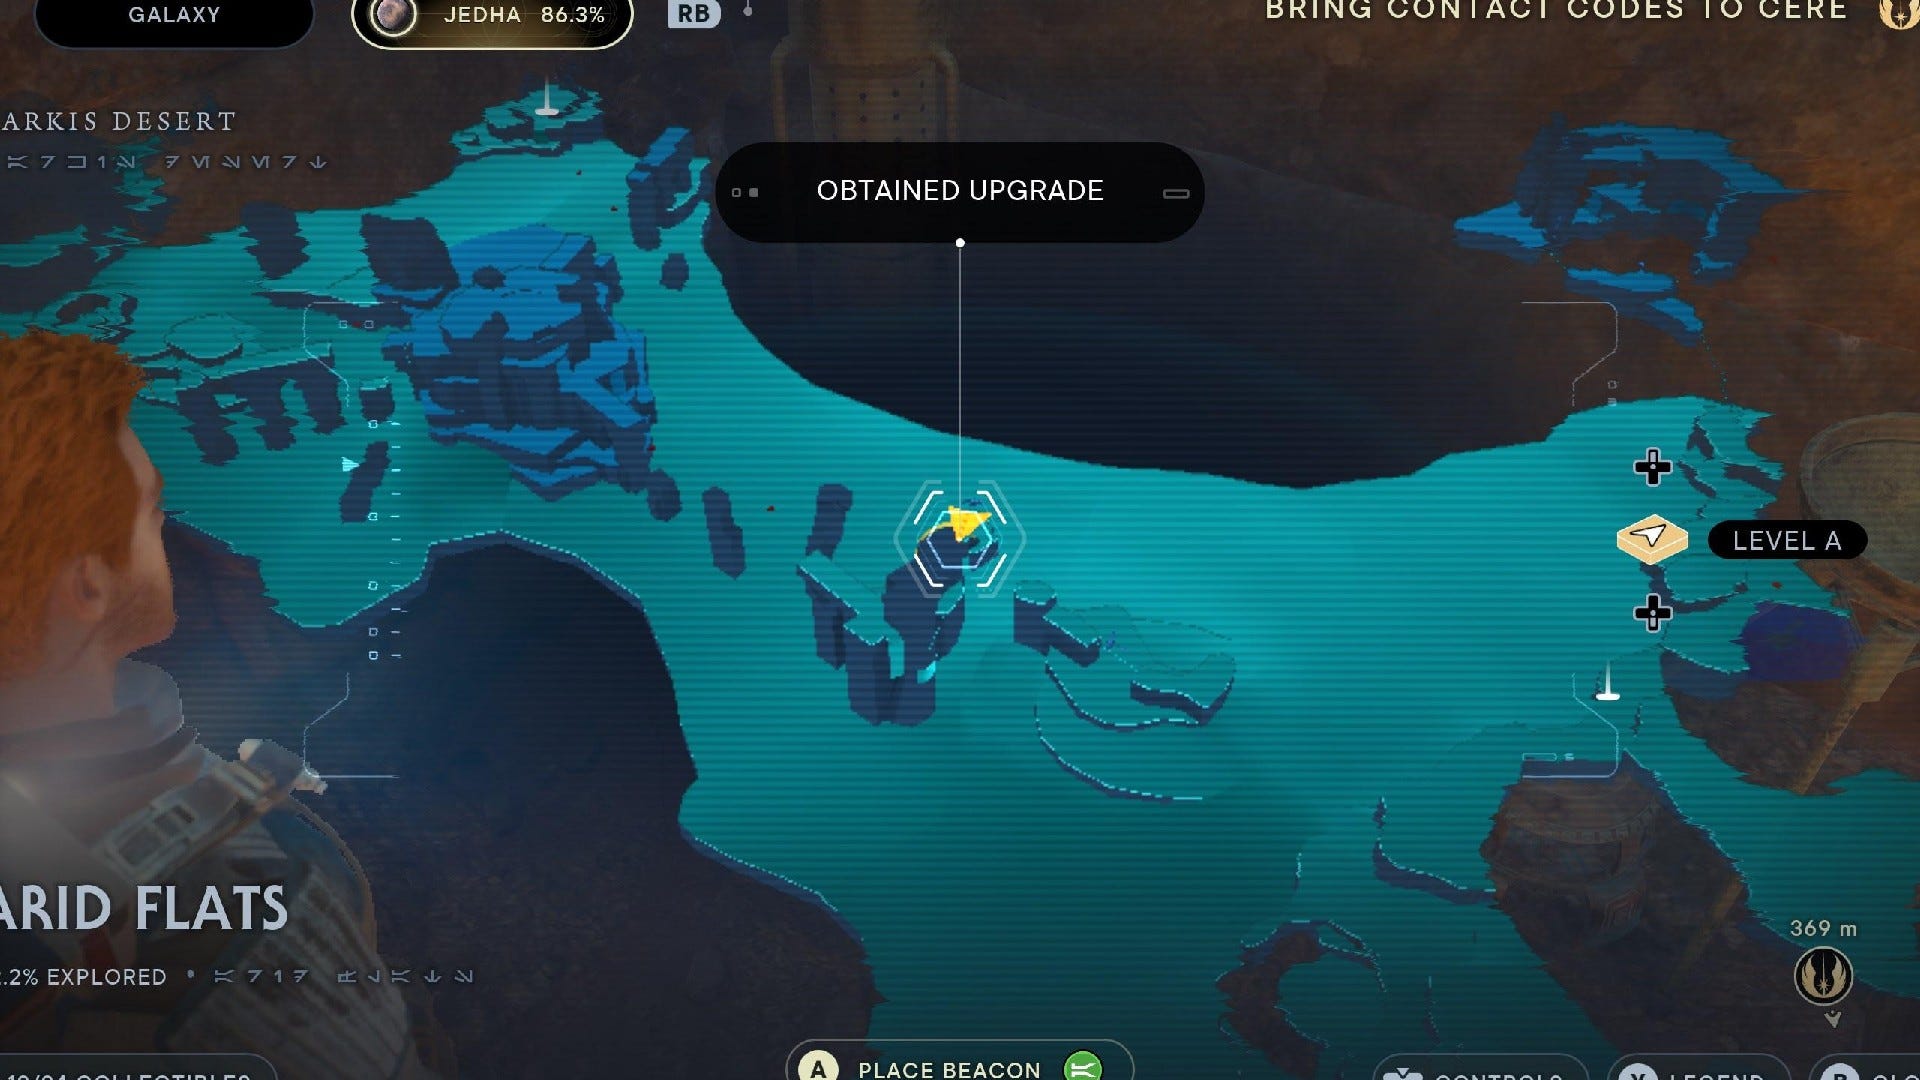
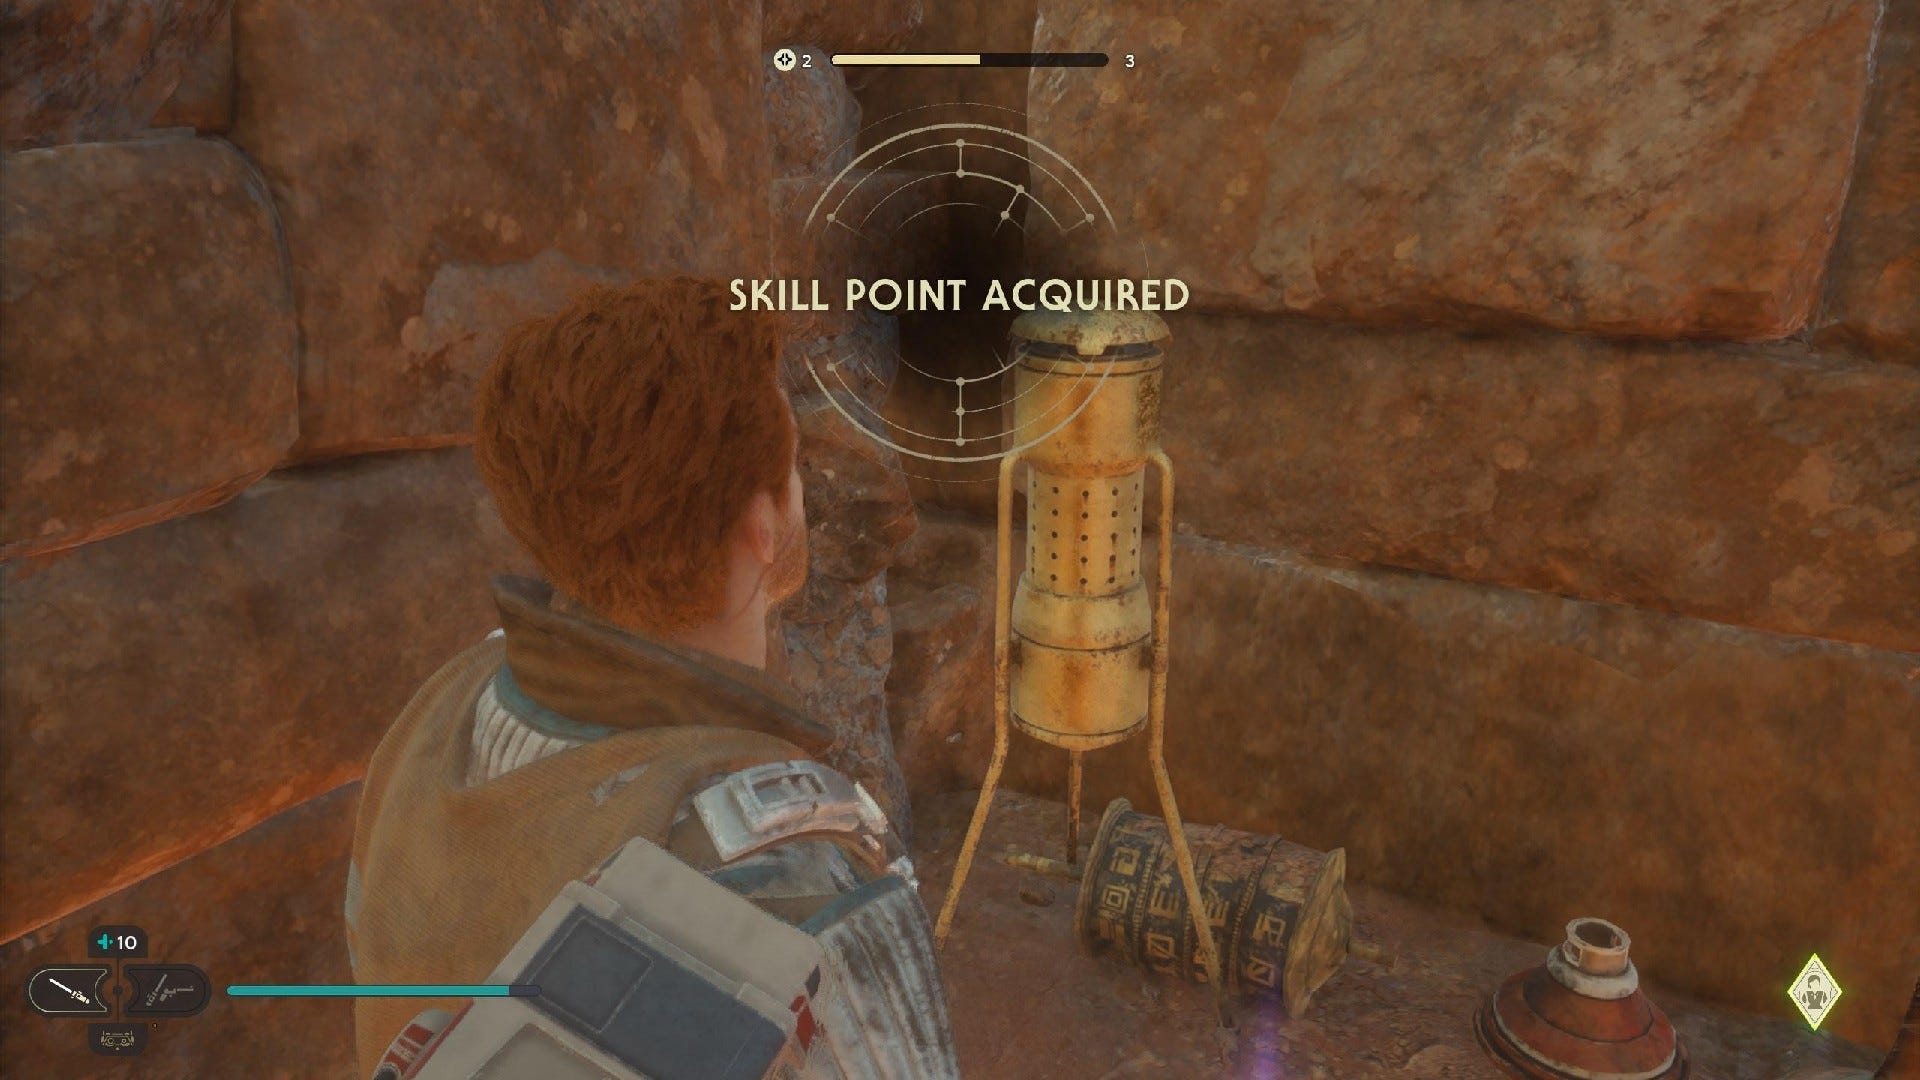
Skill Point Essence #2: Use dash ability (unlocked later) to climb the structure ahead of the Anchorite Base Meditation Point, and then dash again at the top to reach the Anchorite. Mind control them to give you door codes, and then grab the Skill Point Essence from inside.
Health Essence #3: Reach the top of Wayfinder's Tomb, and then use the advanced grapple hook to zip across the broken bridge (there are multiple gaps to cross). There's an Essence on the final pillar.
Arid Flats Databanks:
Force Echo (Foundation): Turn right as you leave the Desert Passages and enter the Arid Flats.

Force Echo (The Beasts Of Jedha): On some creature bones in the centre of the desert in front of the Meditation Point.
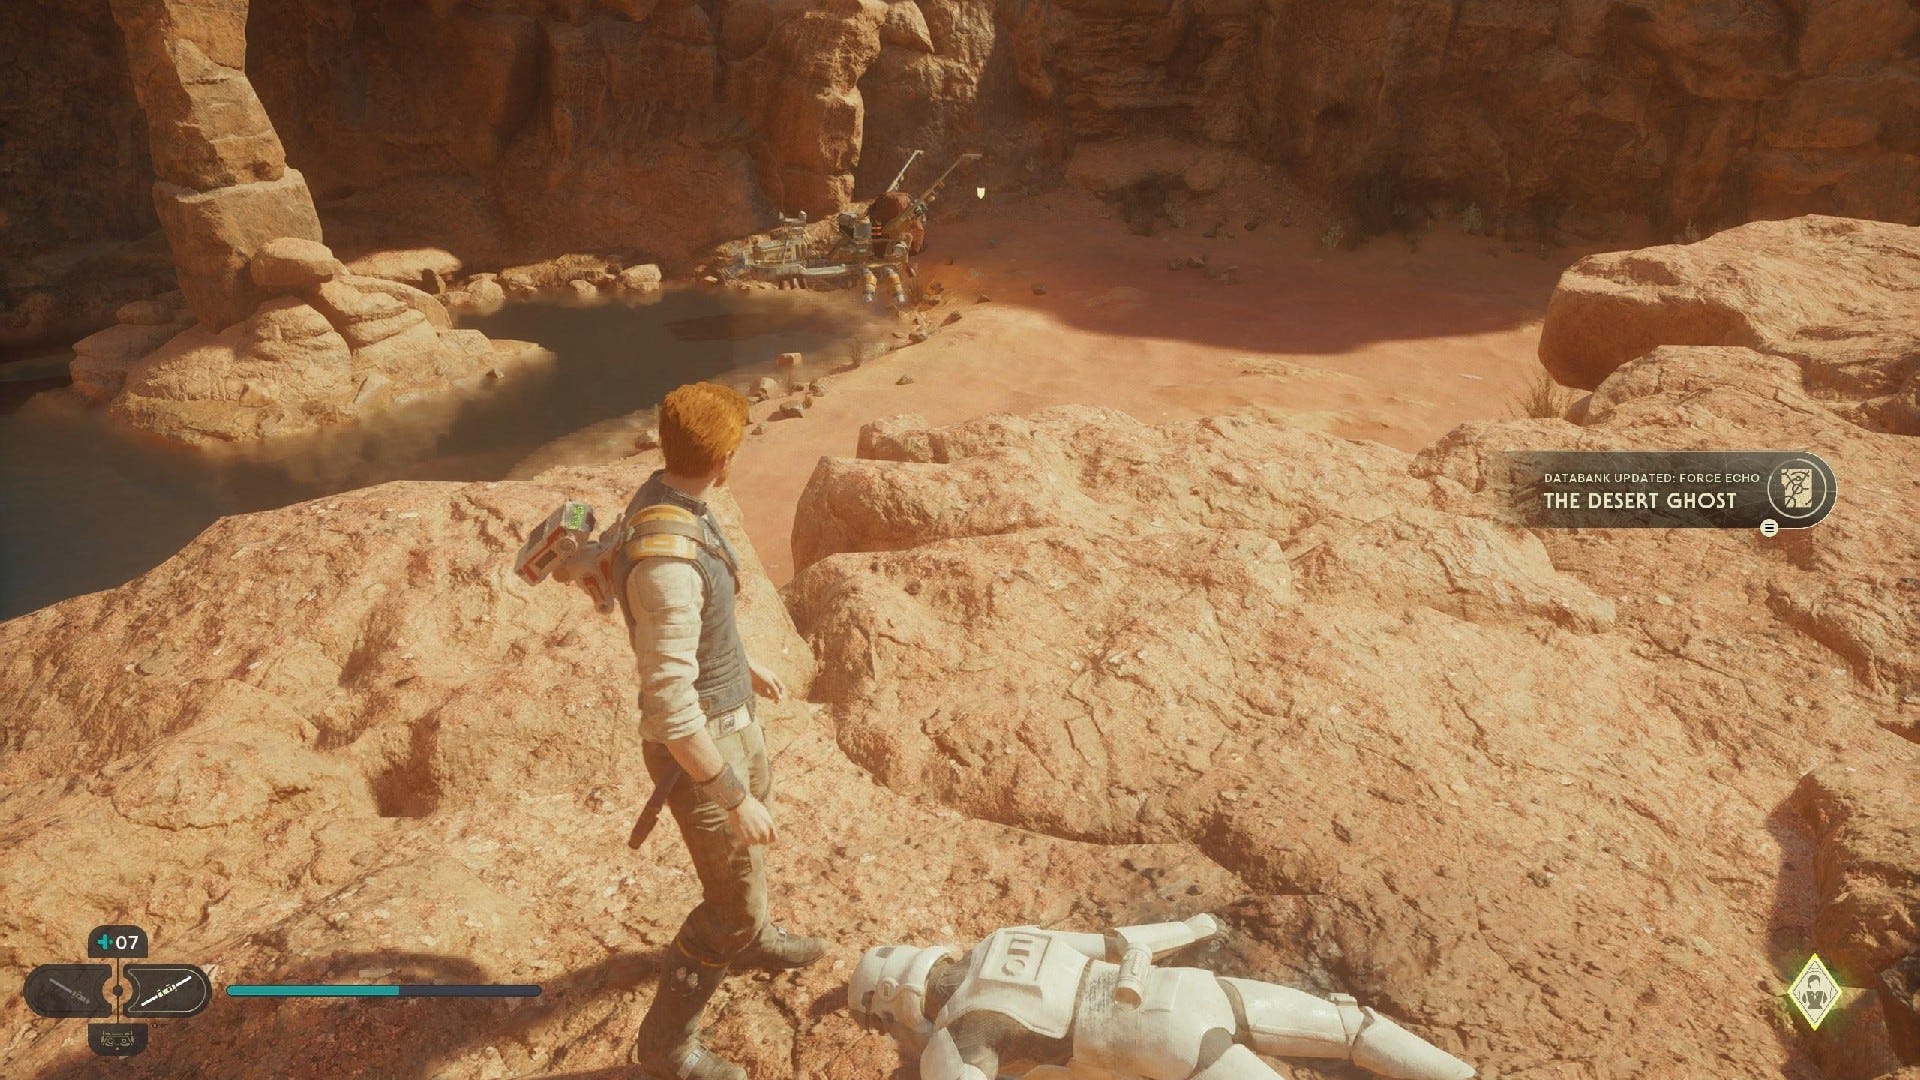
Force Echo (Desert Ghost): Hop up the ledge from Skoova Stev and interact with the nearby stormtrooper corpse.
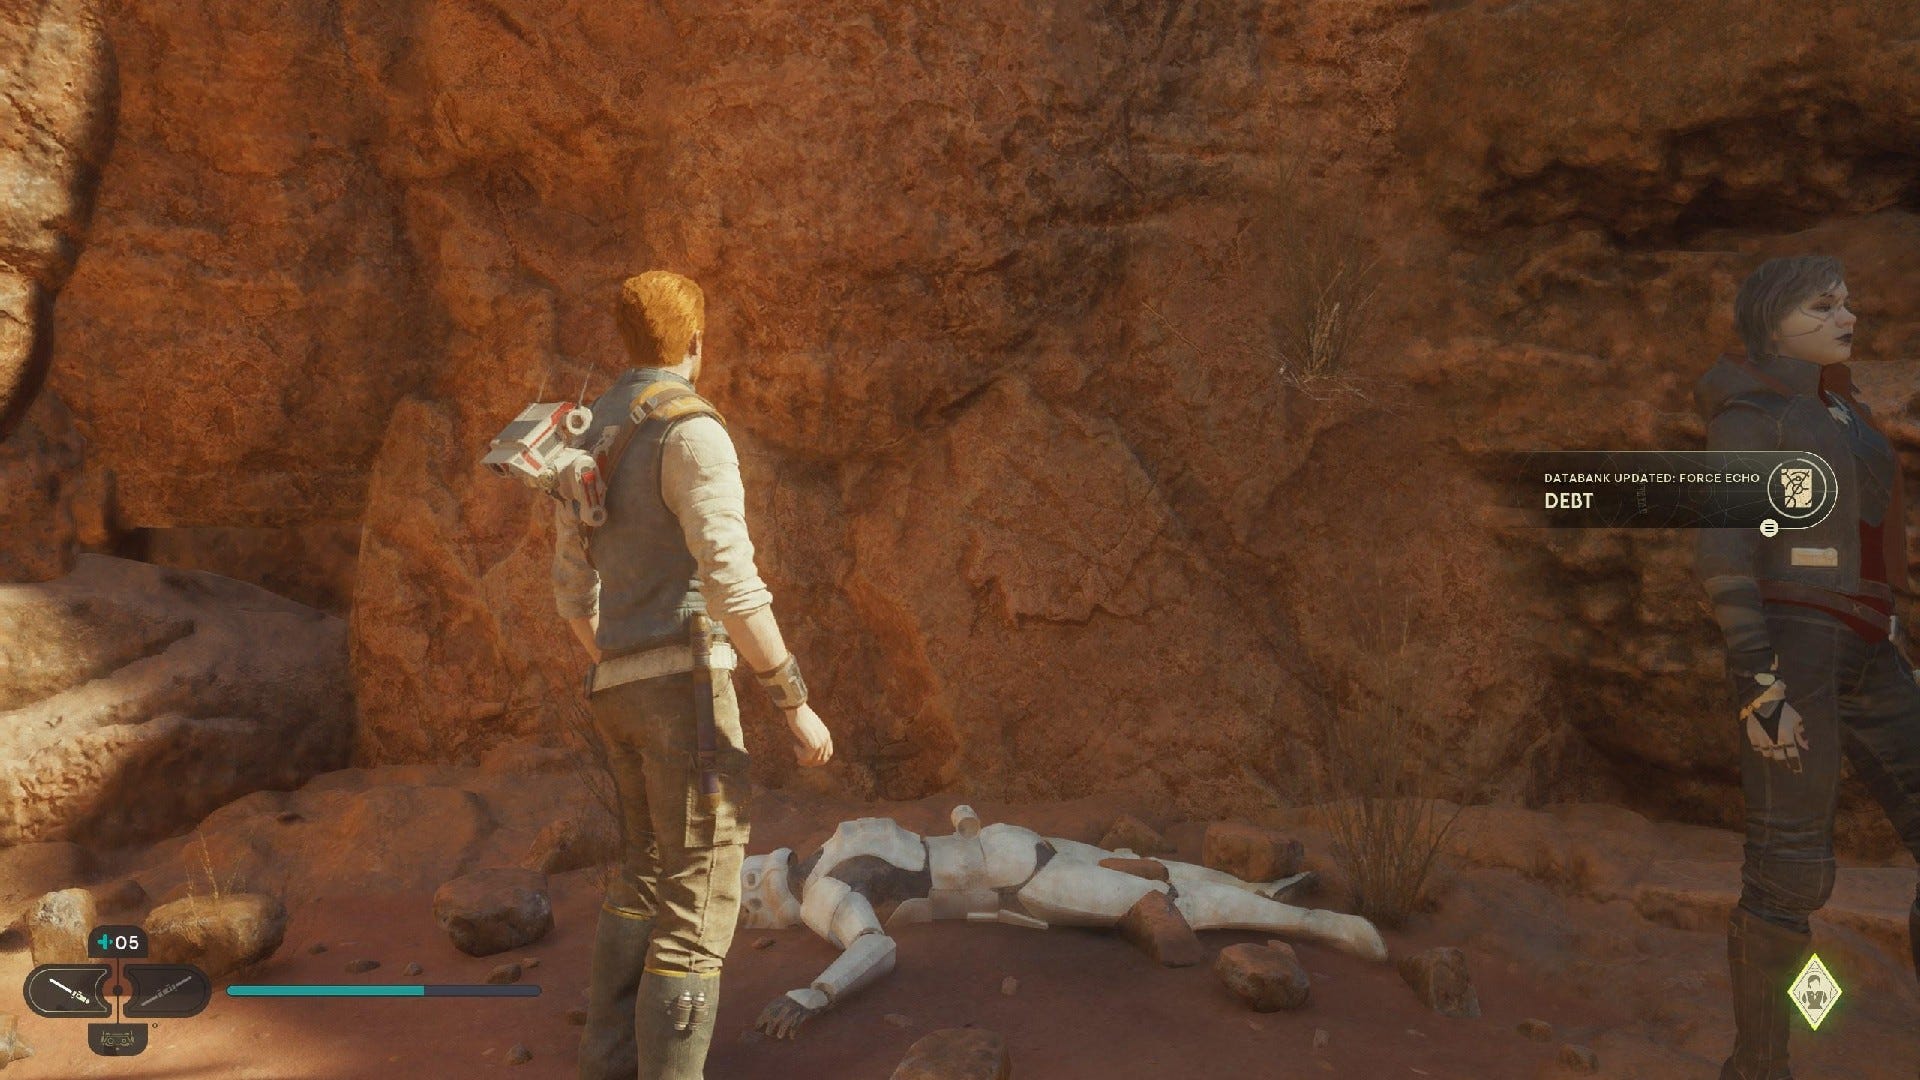
Force Echo (Debt): Hop up the rock ledge near the Beasts of Jedha bones and interact with the stormtrooper corpse.

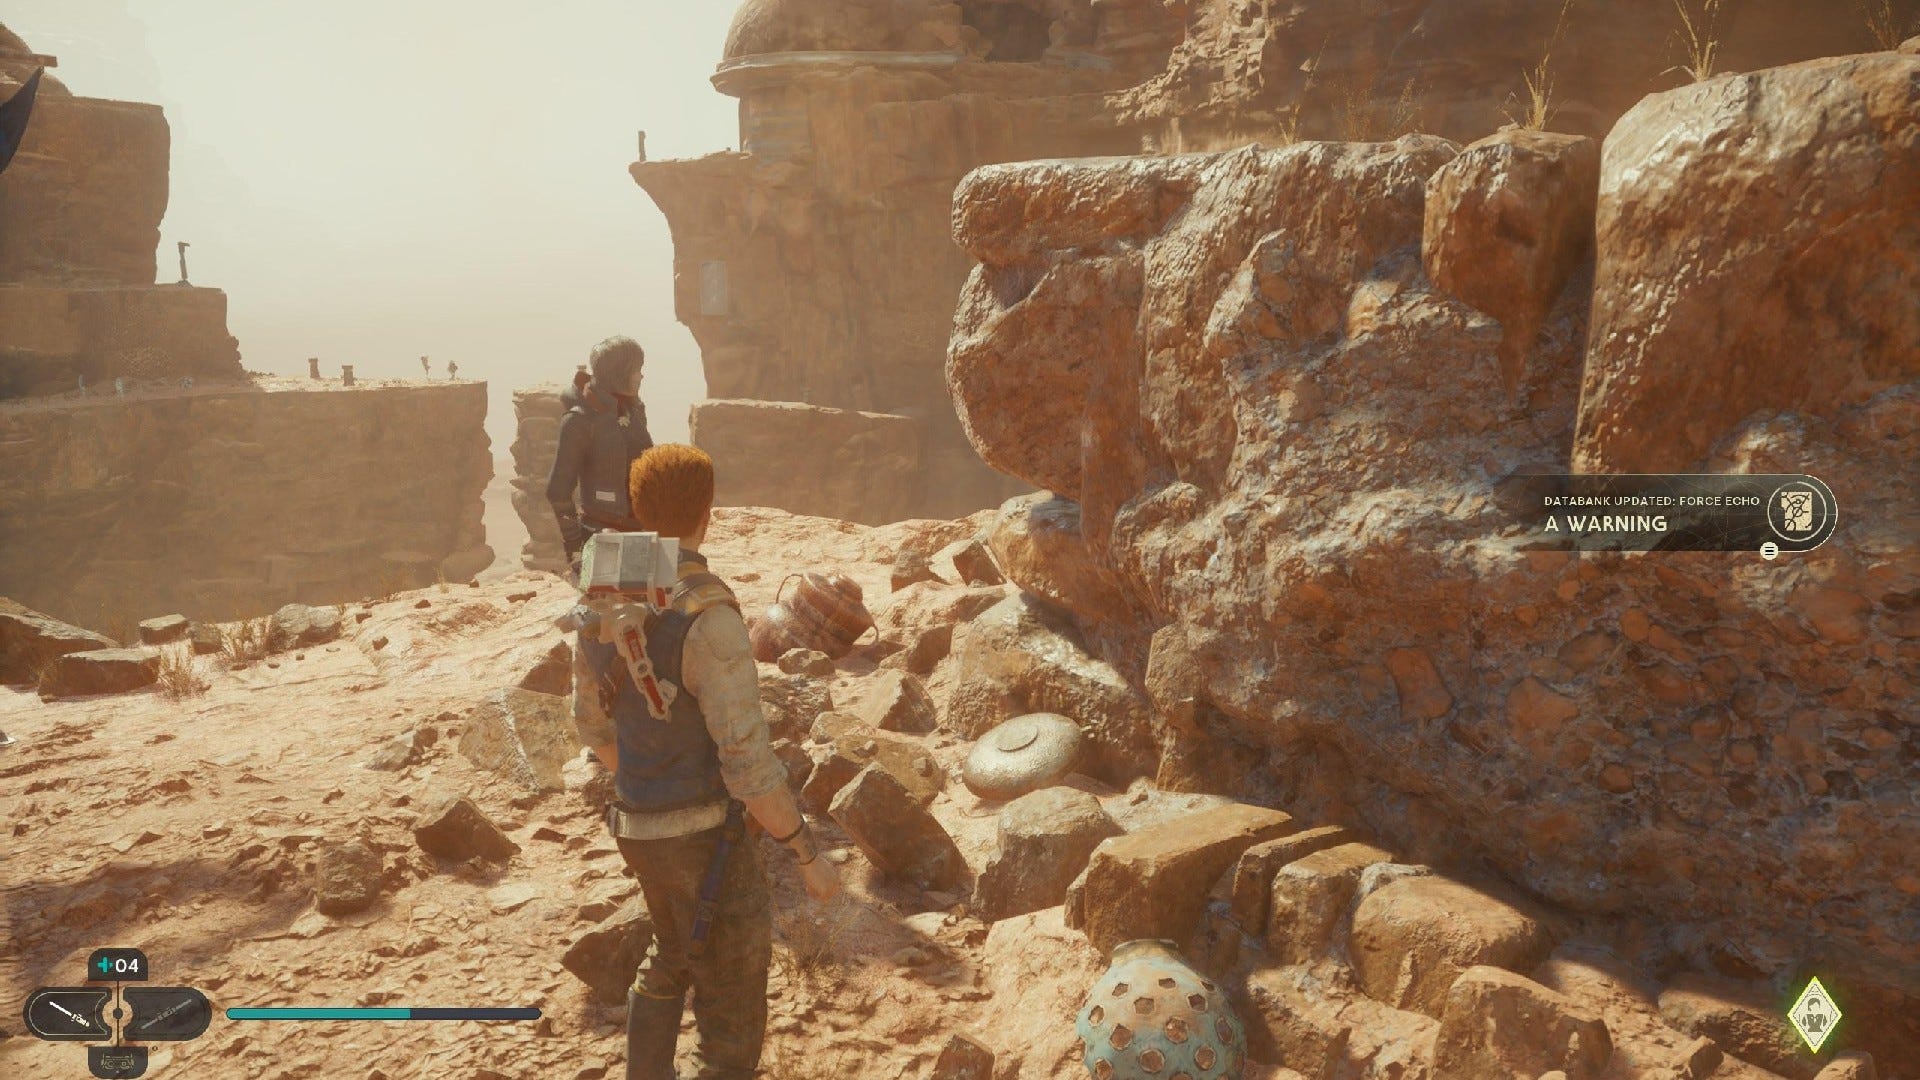
Force Echo (A Warning): Drop down to the left of the Arid Flats Meditation Point.

Force Echo (The Pilgrims of Jedha): To the right as you enter the Sutaban cave in Arid Flats, to the left of the Arid Flats Meditation Point

Databank (Cordova's Travels on Jedha III): Fight Stormtroopers off to the left while nearing the end of the Path of Conviction, then use a Spanel to boost your jump to reach the ledge.
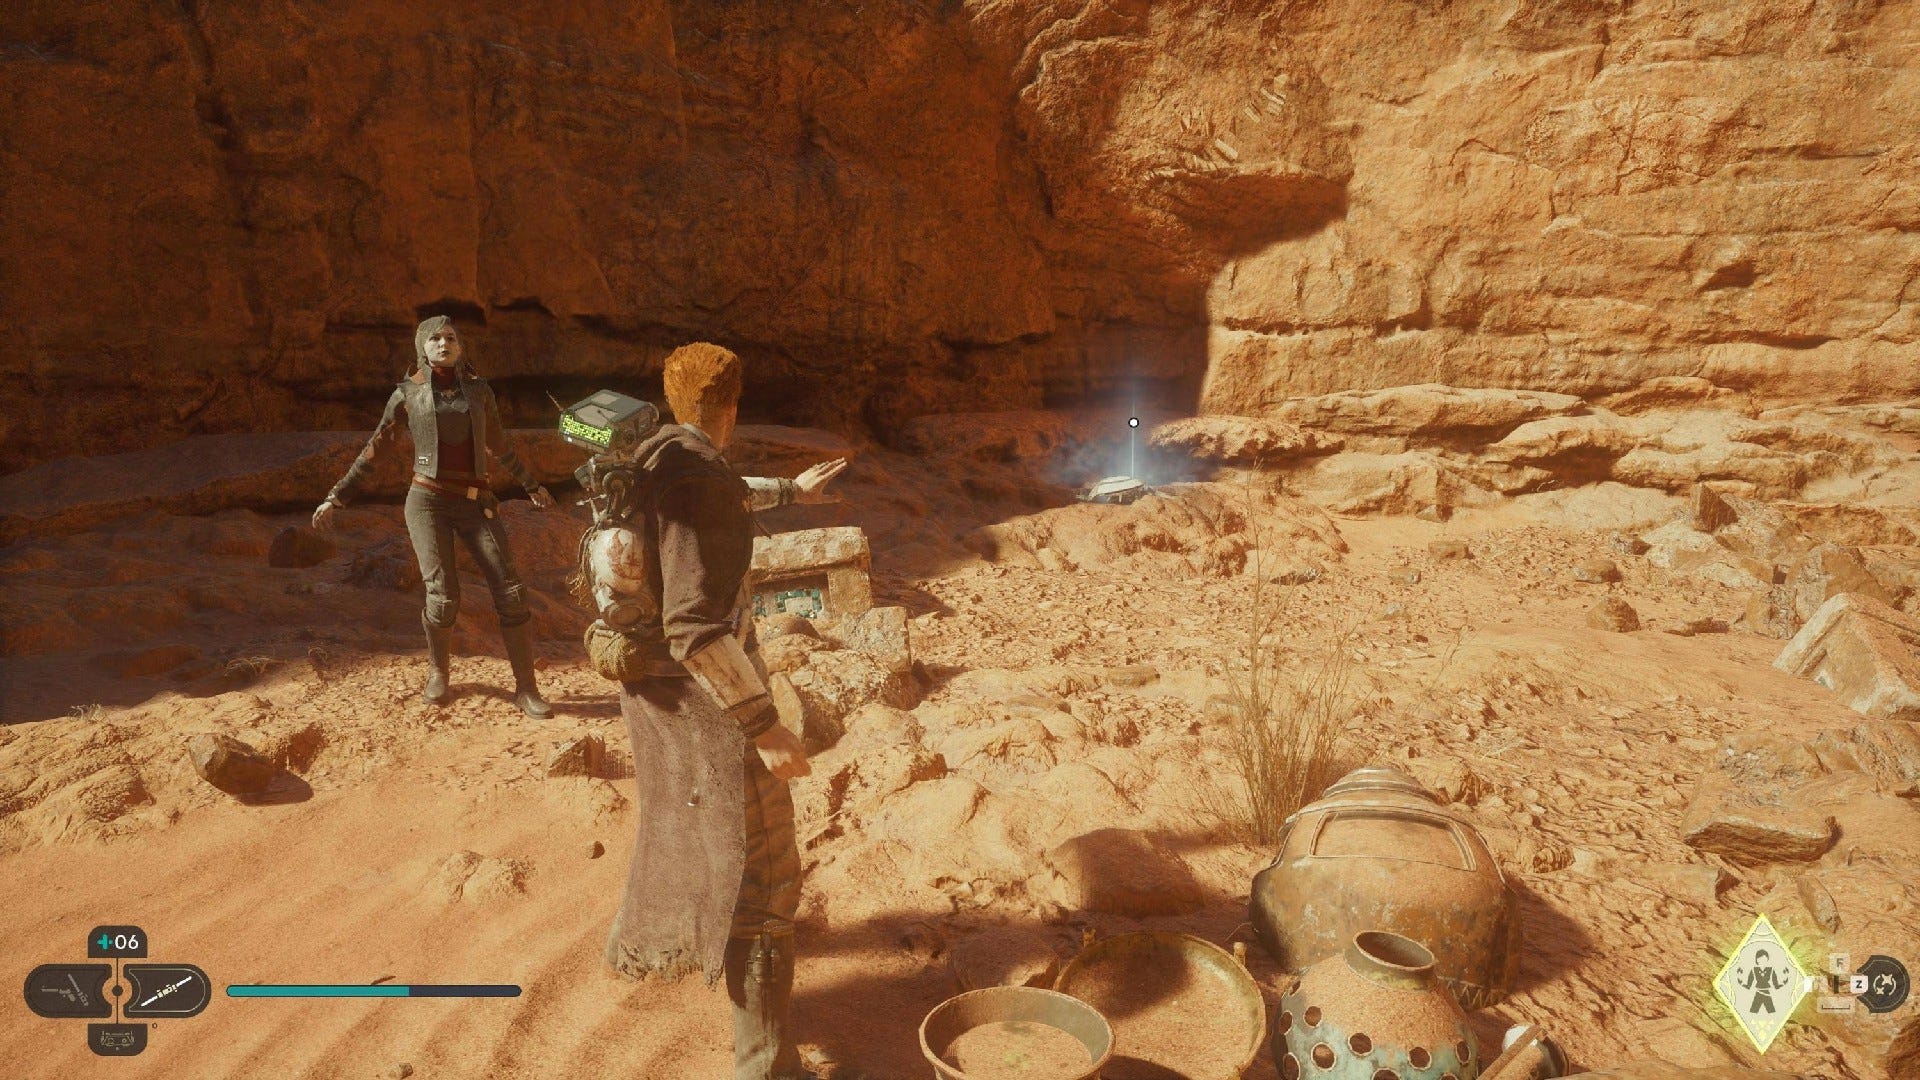
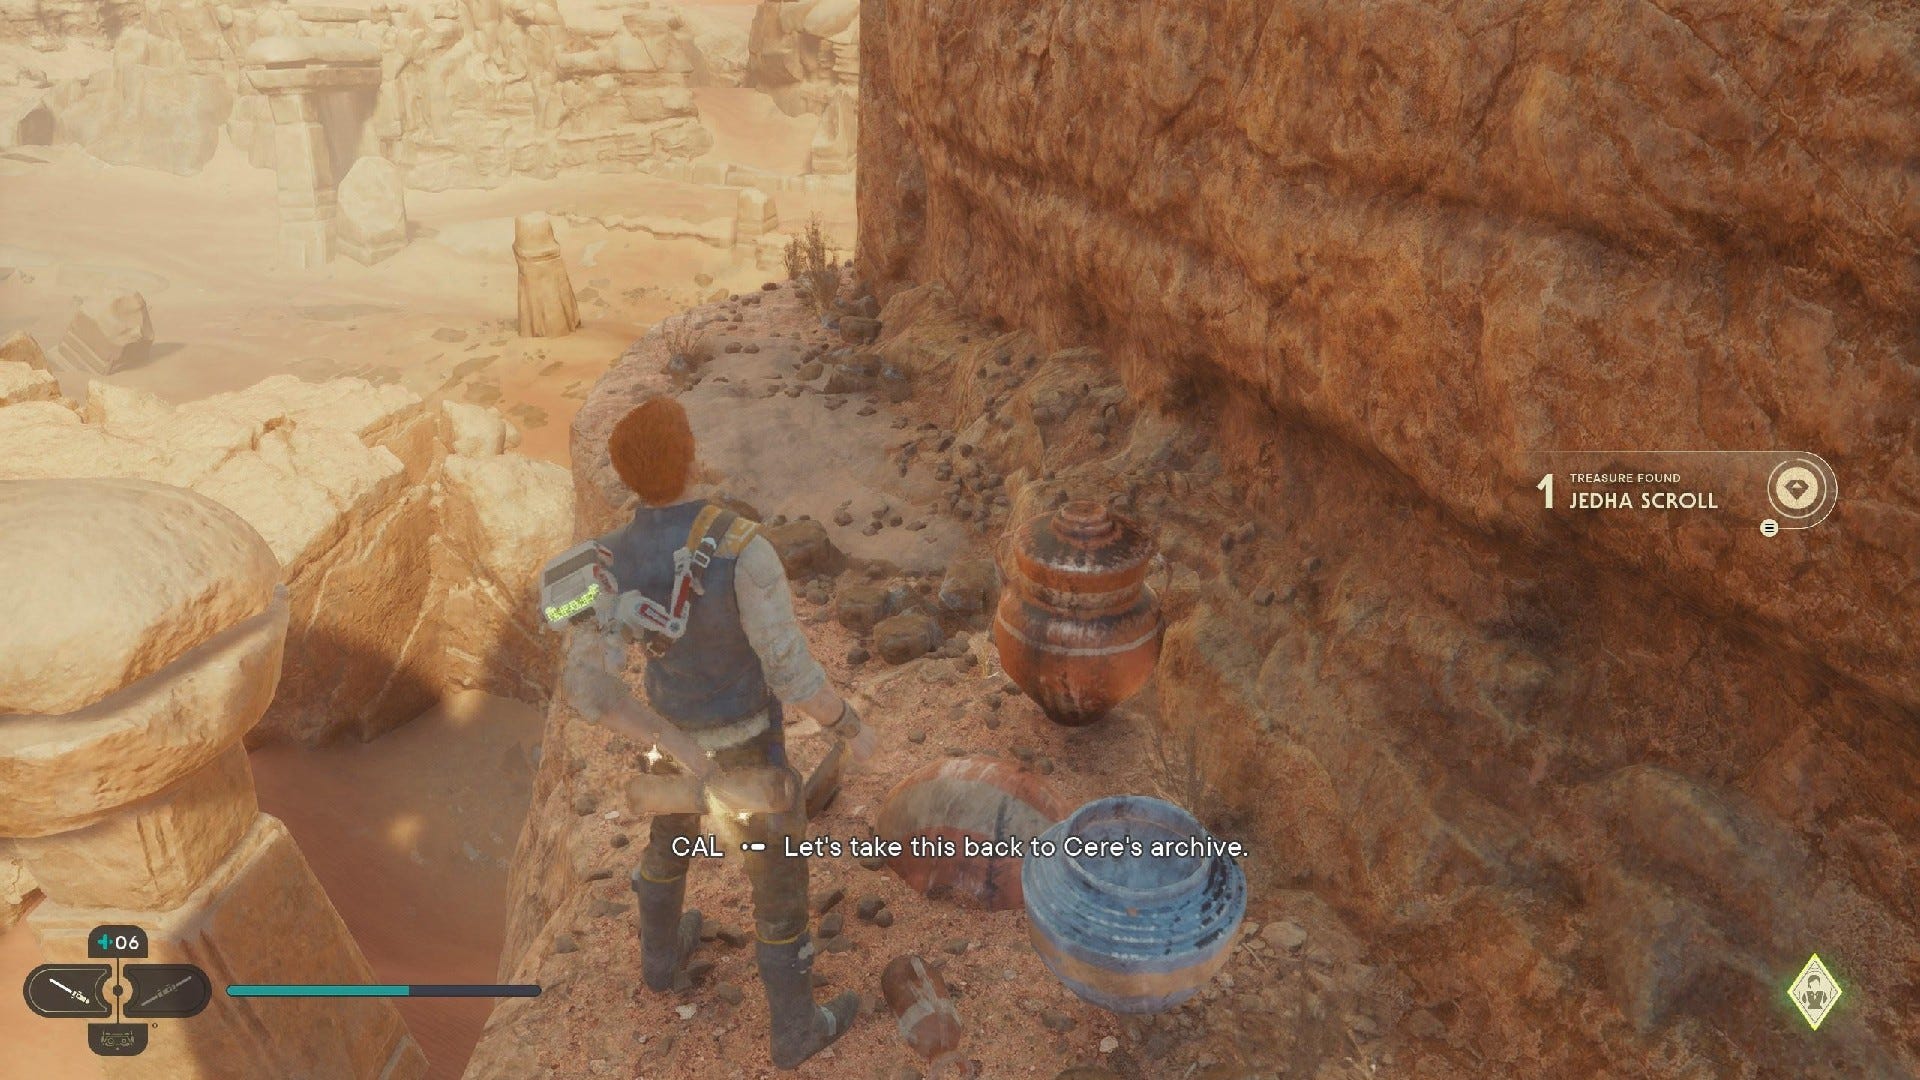
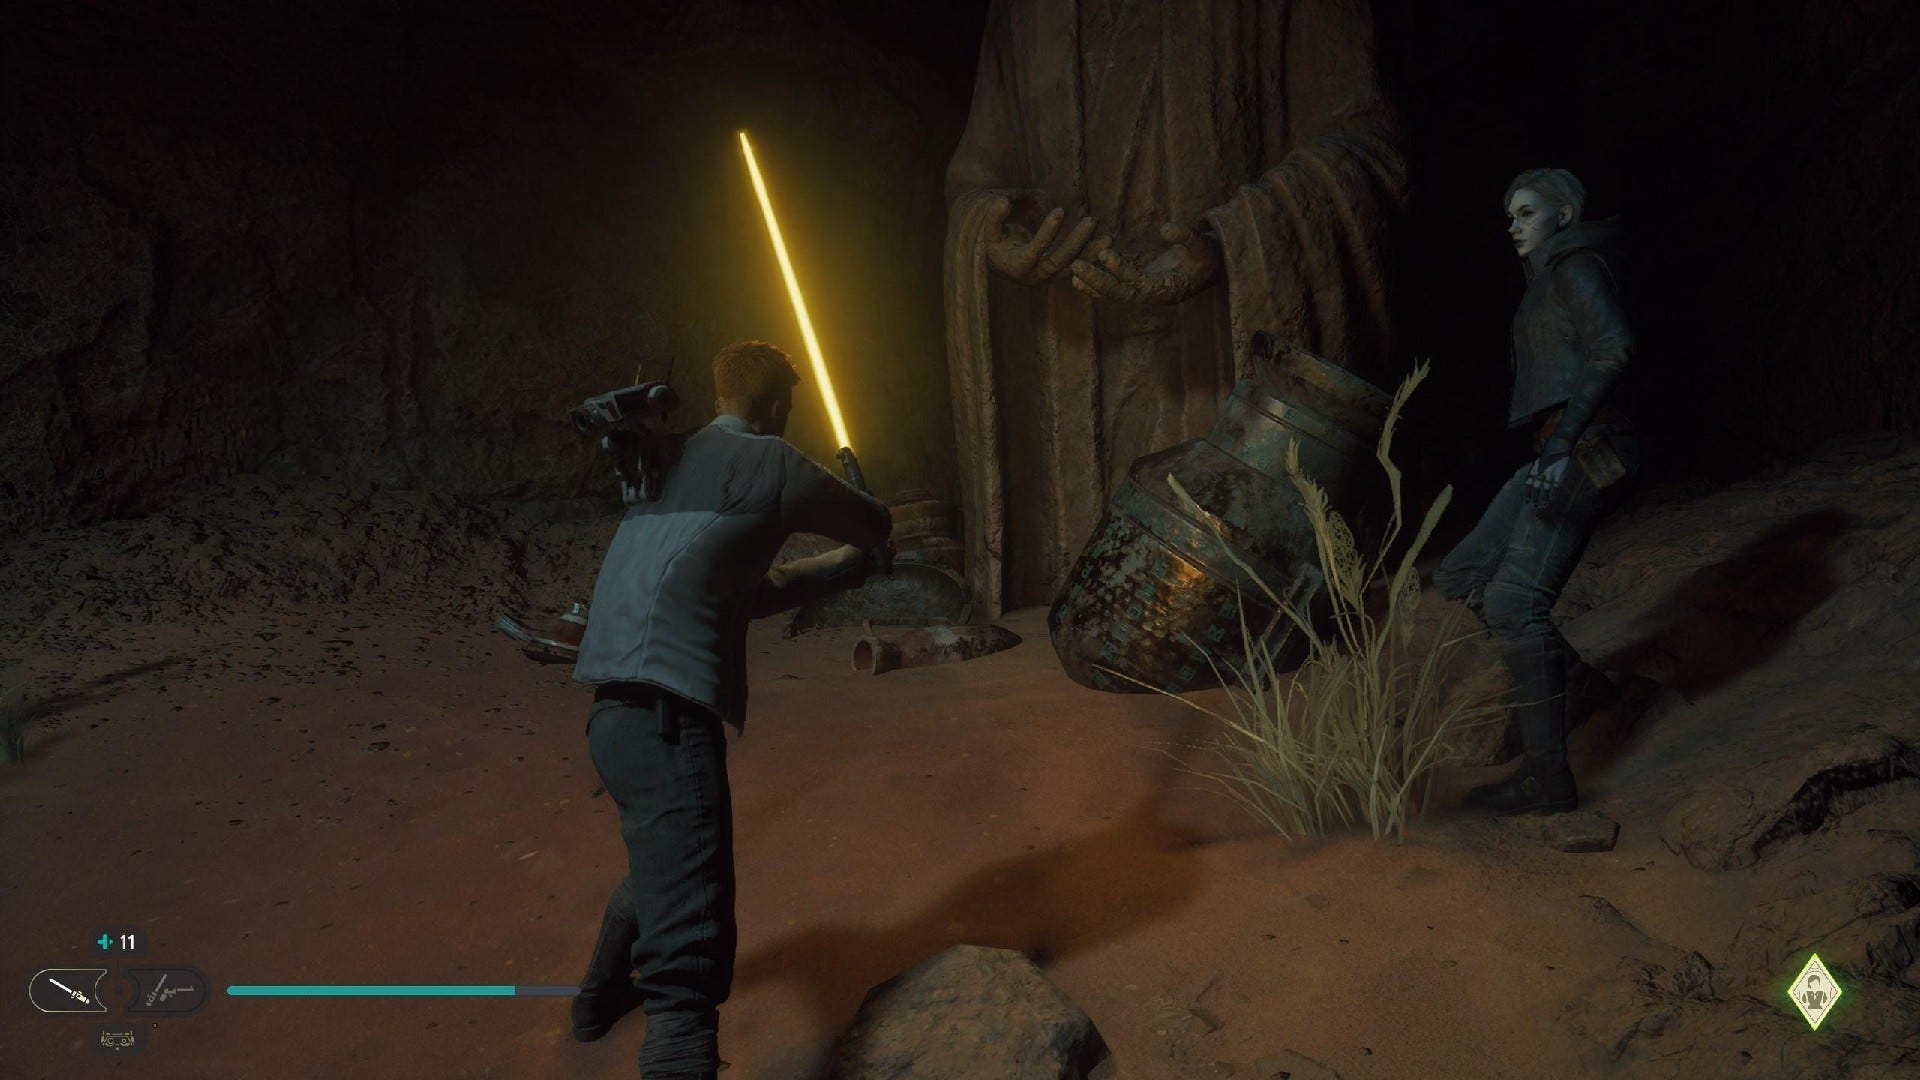
Databank (Cere's Journey): At the base of Wayfinder's Tomb, you'll find this Echo in small bowl next to a large urn in a shaded corner.
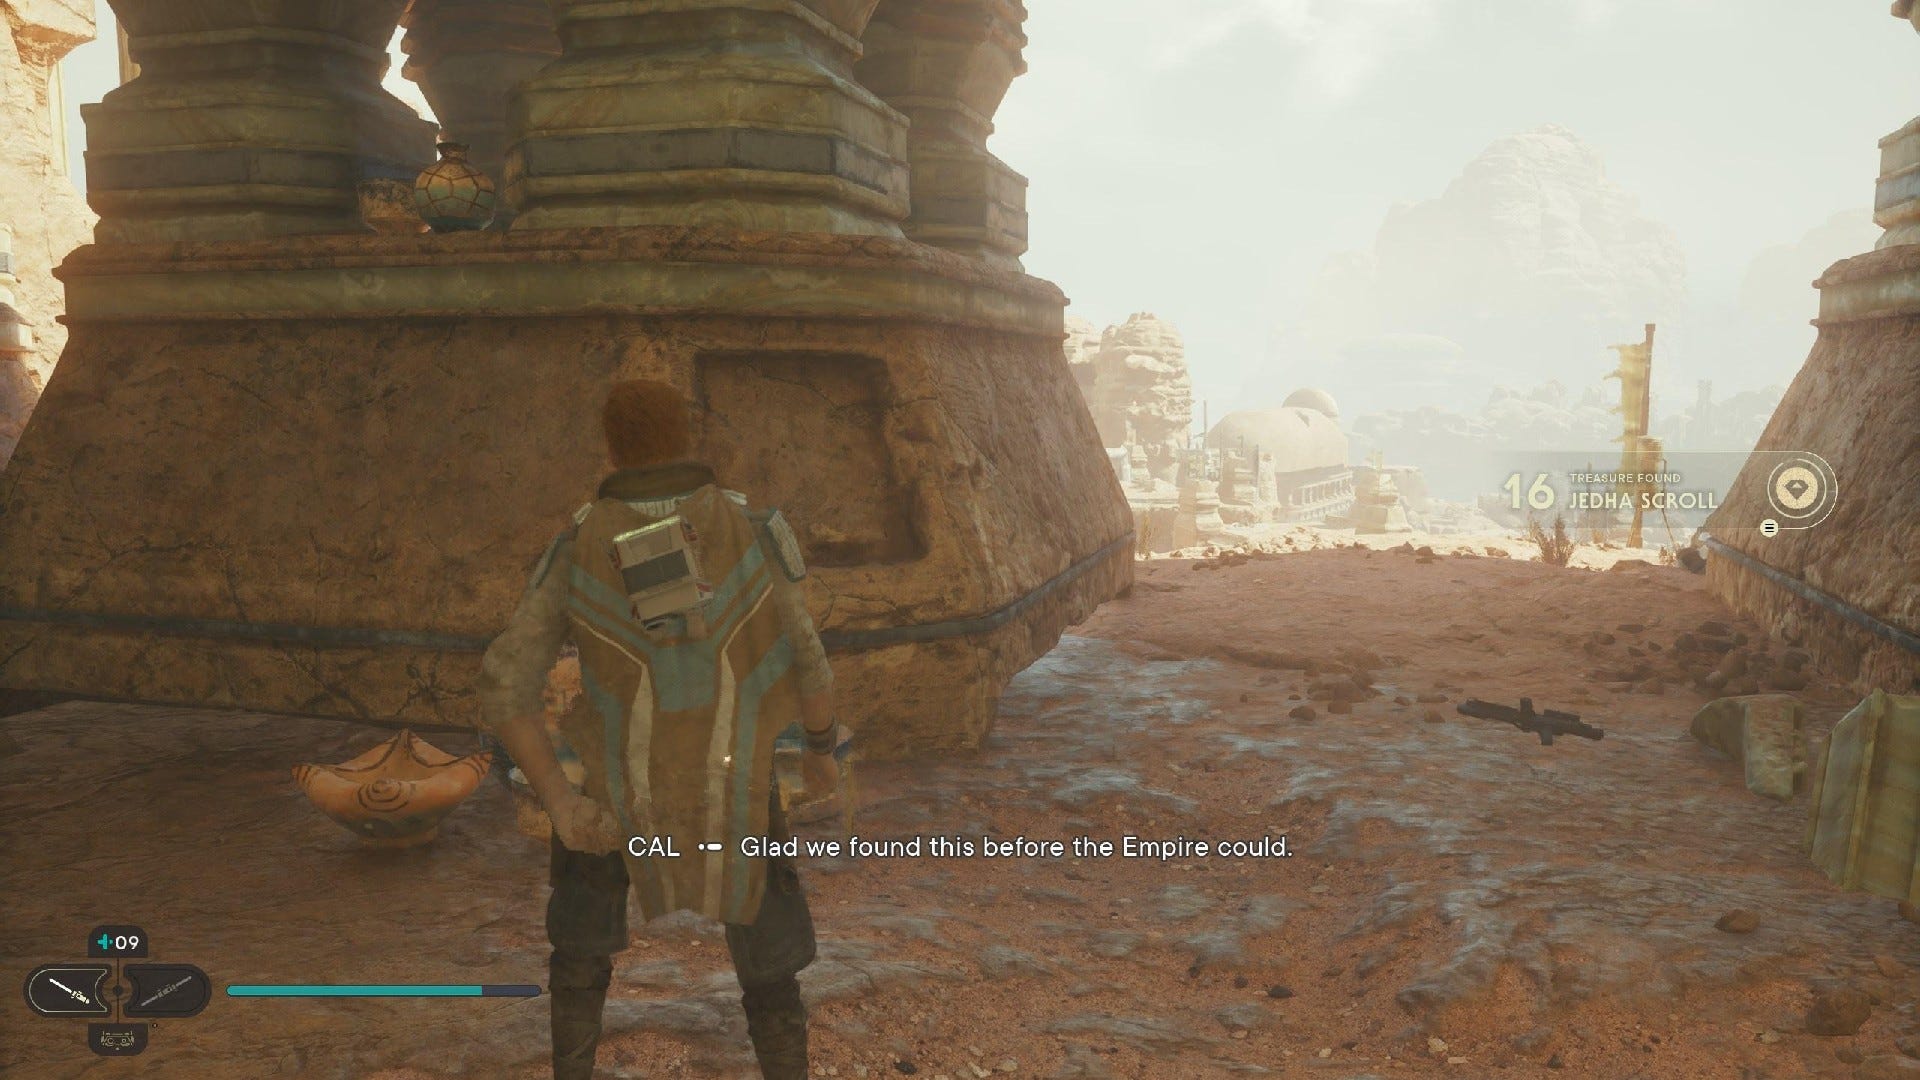
Arid Flats Treasures:
Jedha Scroll #1: Climb pillars on the sand ahead of the Anchorite Base Meditation Point, and then leap to nearby ledge to grab Jedha Scroll. Fair warning, this one's pretty tricky!

Jedha Scroll #2: At the base of the pillars that you can climb to reach the Jedha Scroll listed above, look for a Scavenger Droid nearby.
Jedha Scroll #3: On a ledge to the left of the Wayfinder's Tomb.

Jedha Scroll #4: To the left as you enter the Sutaban cave in Arid Flats, to the left of the Arid Flats Meditation Point.
Jedha Scroll #5: Hop up the ledge from Skoova Stev to find a Stormtrooper corpse with the Desert Ghost Force Echo. Then, turn back and use the advanced grapple hook to reach the balloon hovering nearby. Use the balloon to leap to the right and dash through the air to reach the ledge up ahead. Jump the gap over the Anchorite Base Meditation Point, turn left, and head over to the dark passage nearby to find a Scavenger Droid.

Jedha Scroll #6: Hop up the ledge from Skoova Stev to find a Stormtrooper corpse with the Desert Ghost Force Echo. Then, turn back and use the advanced grapple hook to bounce forward from the balloon to reach the higher ledge nearby and get this Jedha Scroll.
Jedha Scroll #7: Head to the balloon hovering near Skoova Stev and use the advanced grapple hook to zip up and bounce off to the left. Follow this short path around the bend, fight the Skriton, and use your Force Lift/Slam ability (unlocked during the main story) to smash the nearby rock.
Jedha Scroll #8: Head to the top of the ruin where you mind control the Anchorite, and then use the advanced grapple hook to zip across the gap to reach the nearby pillar. There's a Jedha Scroll on top.
Jedha Scroll #9: Reach the top of Wayfinder's Tomb, and then use the advanced grapple hook to zip across the broken bridge (there are multiple gaps to cross). Pass the Essence on the final pillar and drop down to find a Jedha Scroll on the ledge below.
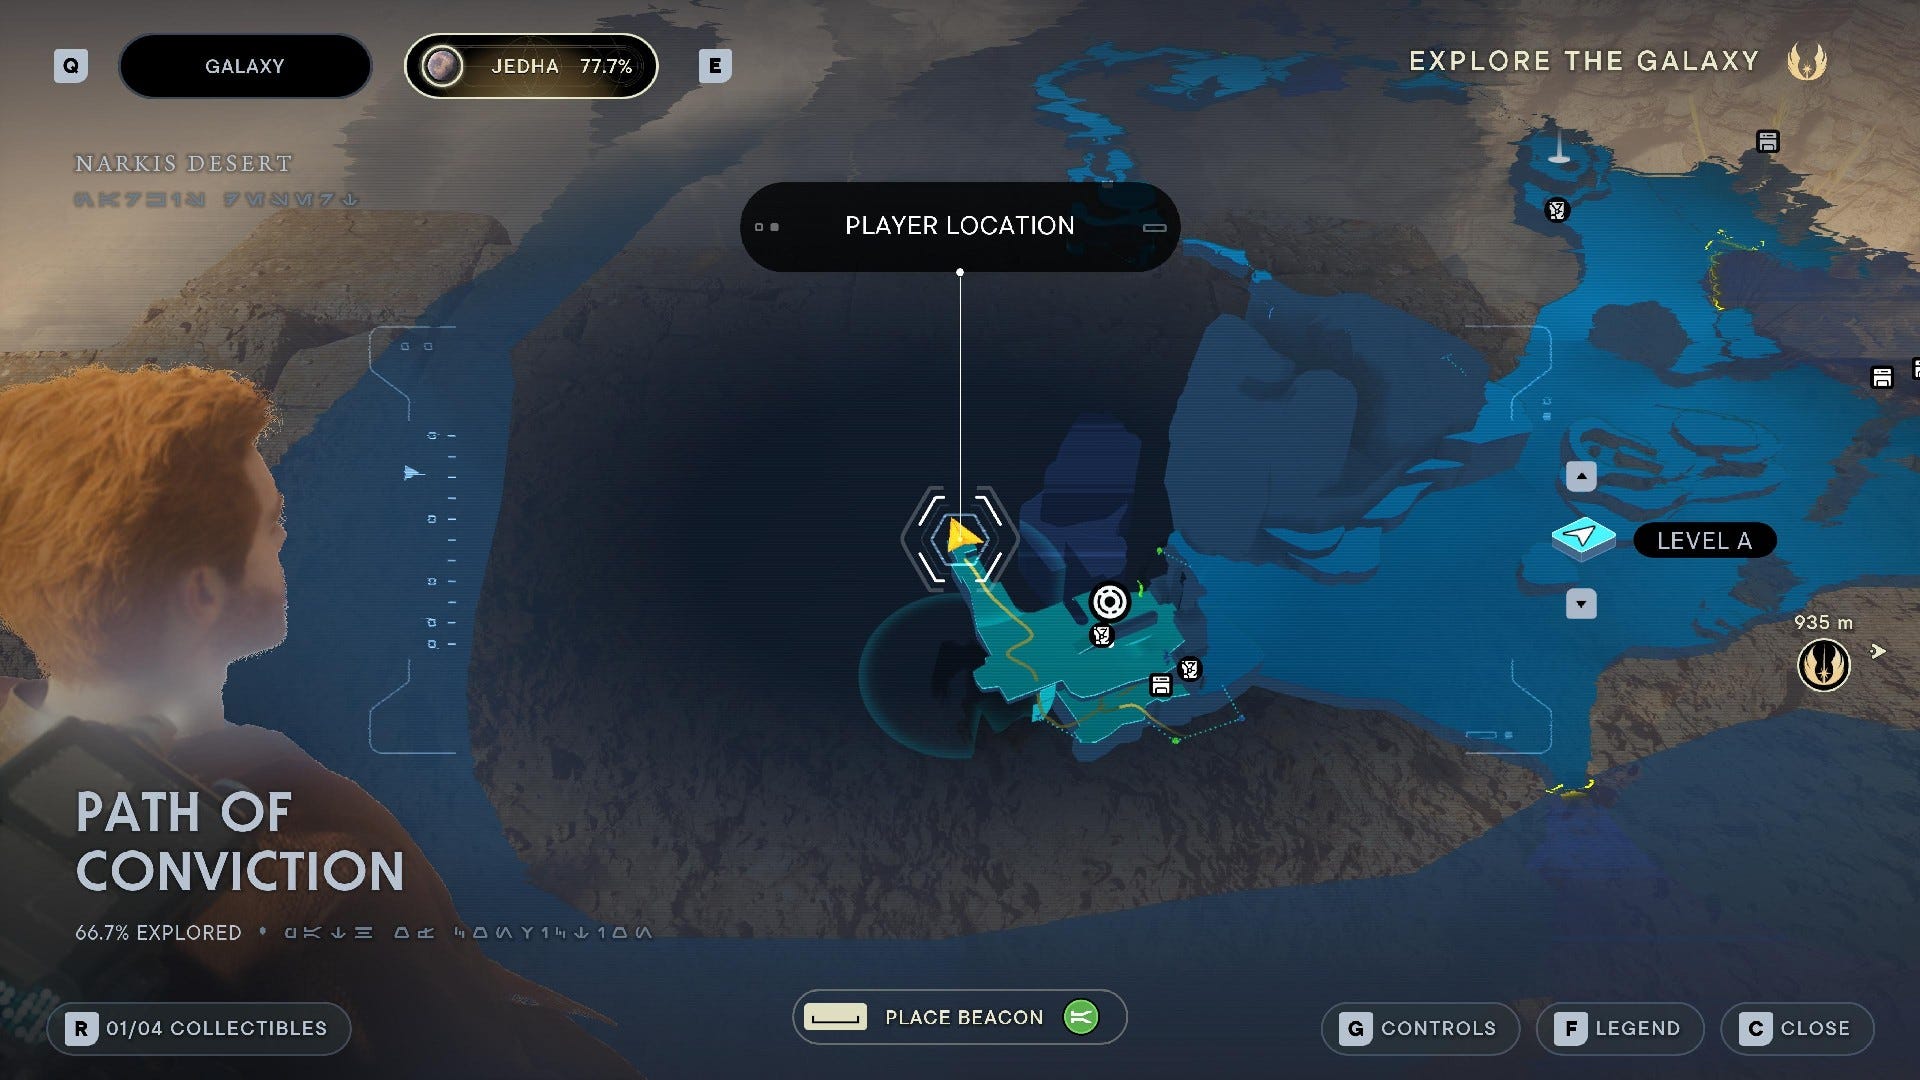
Path of Conviction collectibles
The Path of Conviction is one of several Paths that you'll find scattered around Jedha. They're small areas with a puzzle to solve, which'll reward you with a new perk slot. At the Path on Conviction, you'll find 2 collectibles:
Path of Conviction Essences:

New Perk Slot: Complete the orb puzzle.
Path of Conviction Treasures:
Jedha Scroll #1: Up the wall-climbing segment and straight on, break the vase at the end.
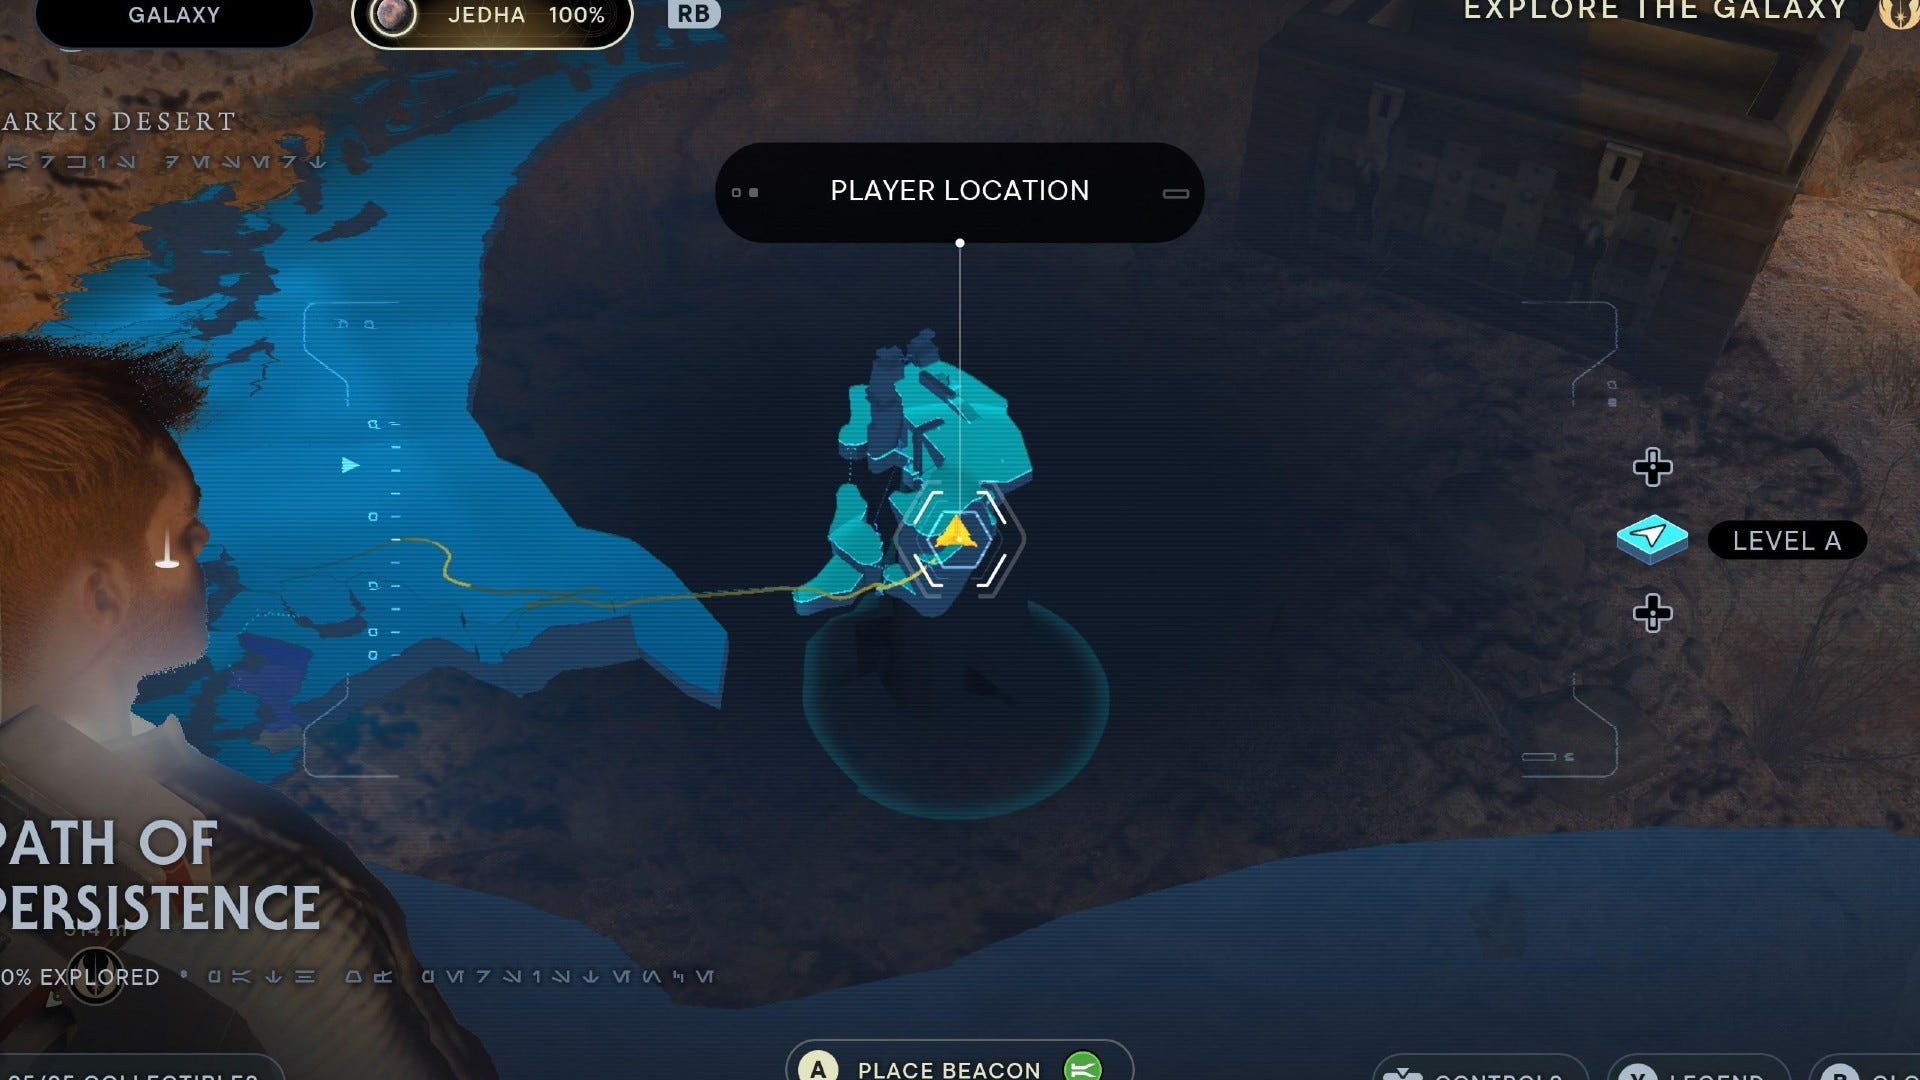
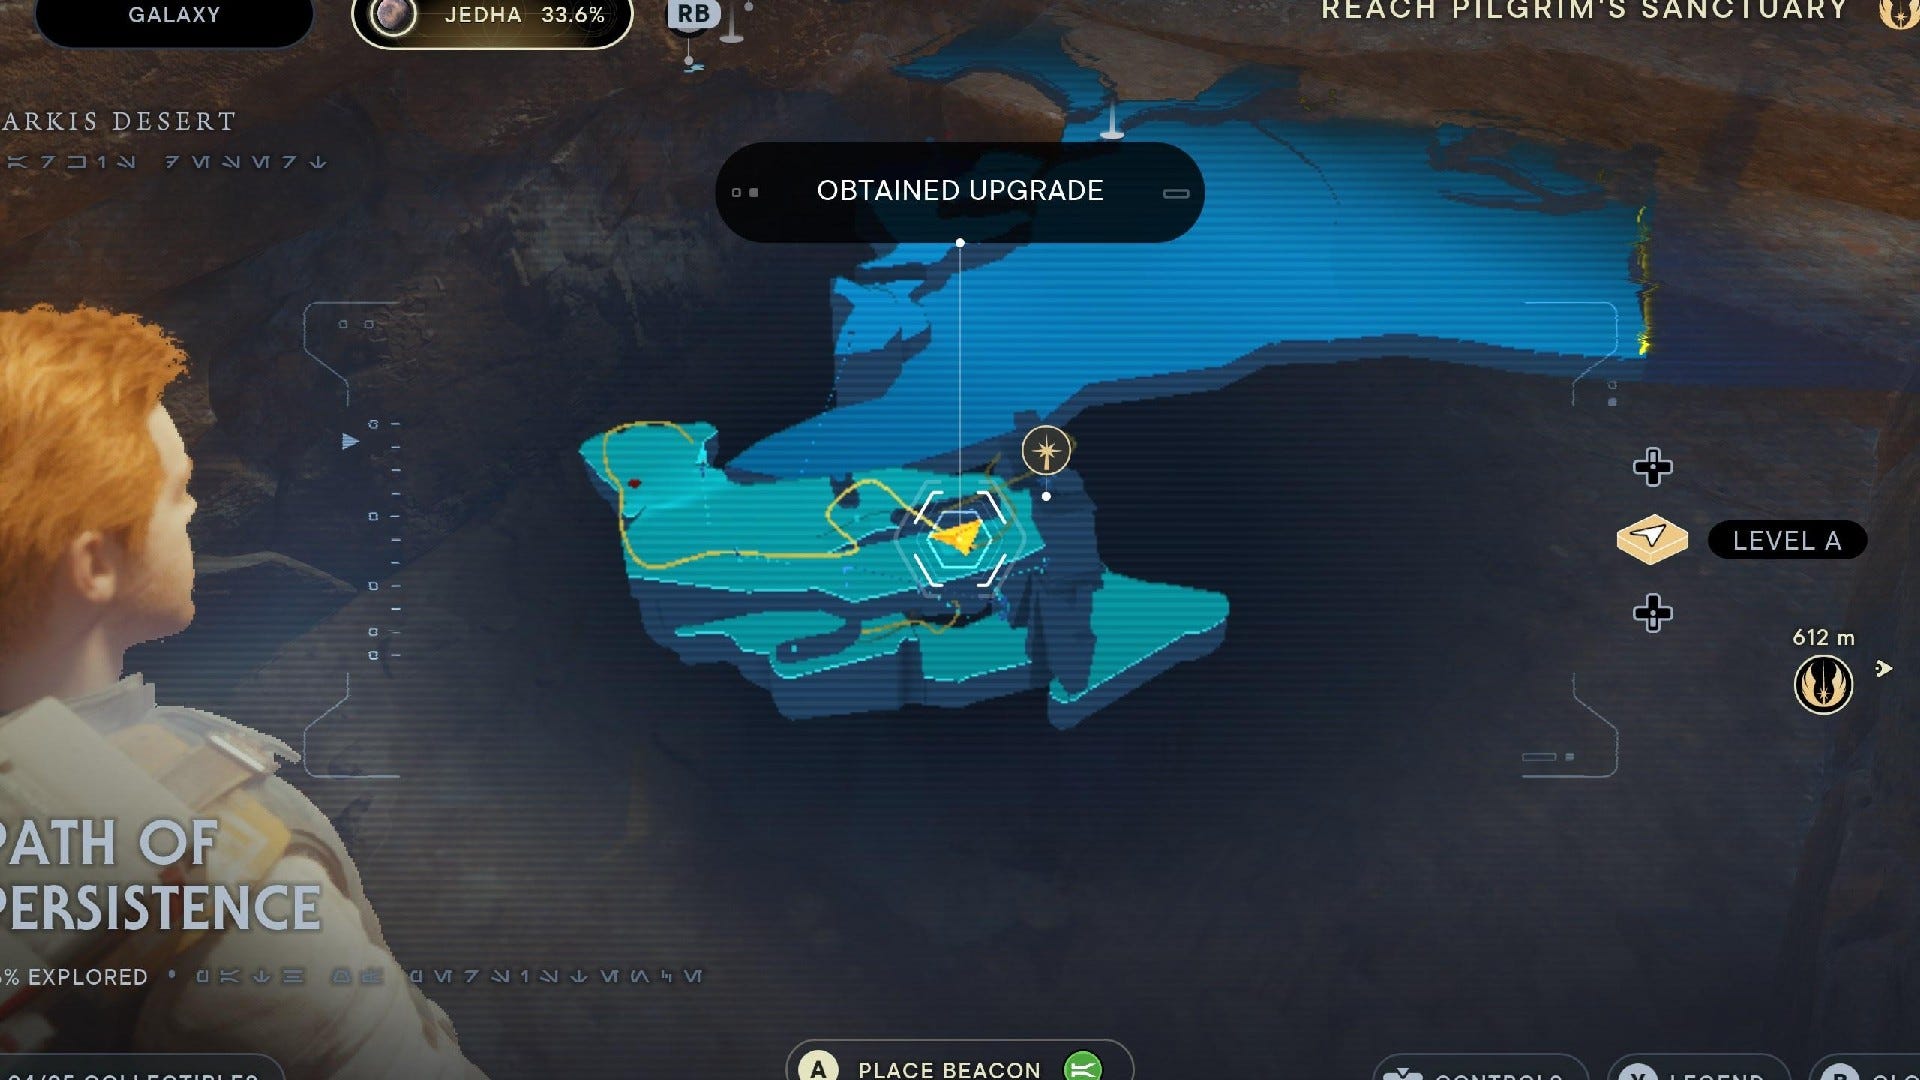
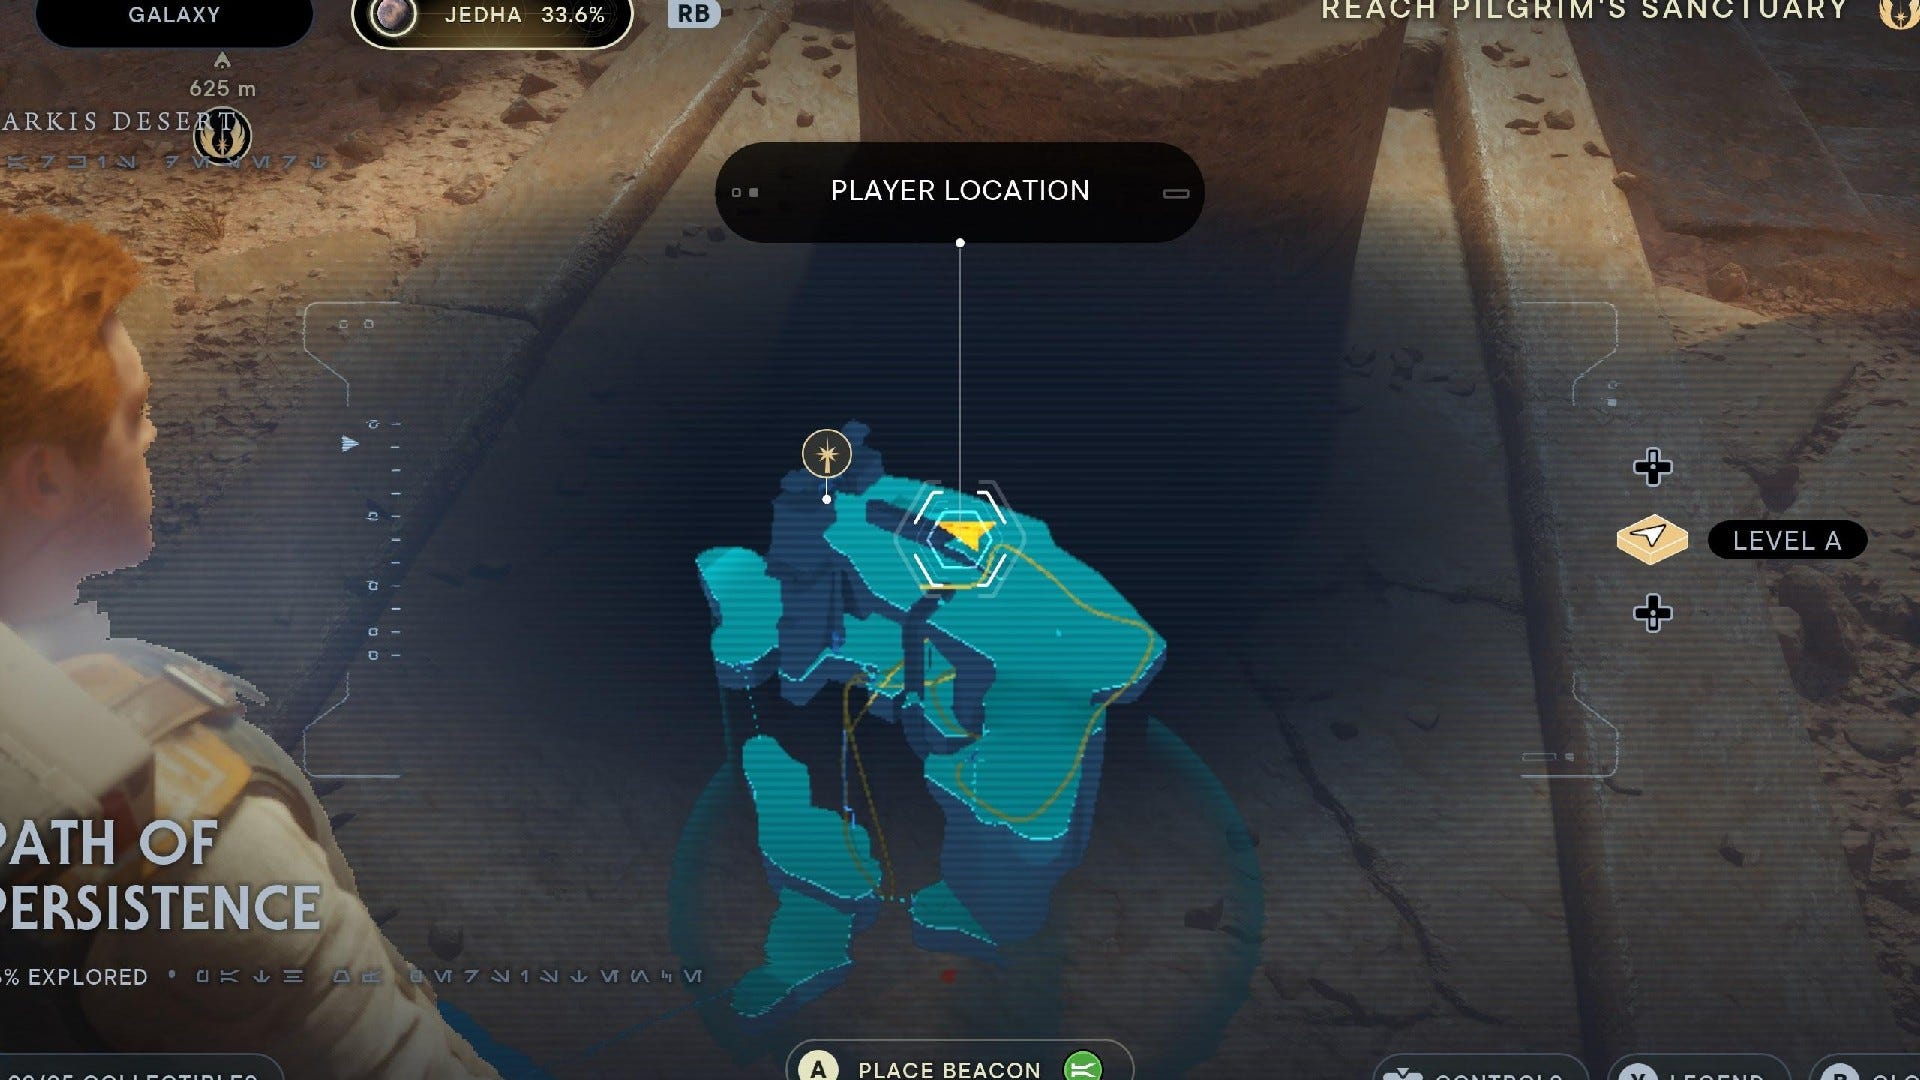
Path of Persistence collectibles
The Path of Persistence has 5 collectibles:
Path of Persistence Chests:
Chest #1 (Industrial - BD-1): As you enter the Path of Persistence, grapple up to the ledge on the right side. Then, grapple to the nearby balloon, leap into the air, turn back, and grapple up to the ledge on your right. The Chest is on the ledge up ahead.
Path of Persistence Essences:
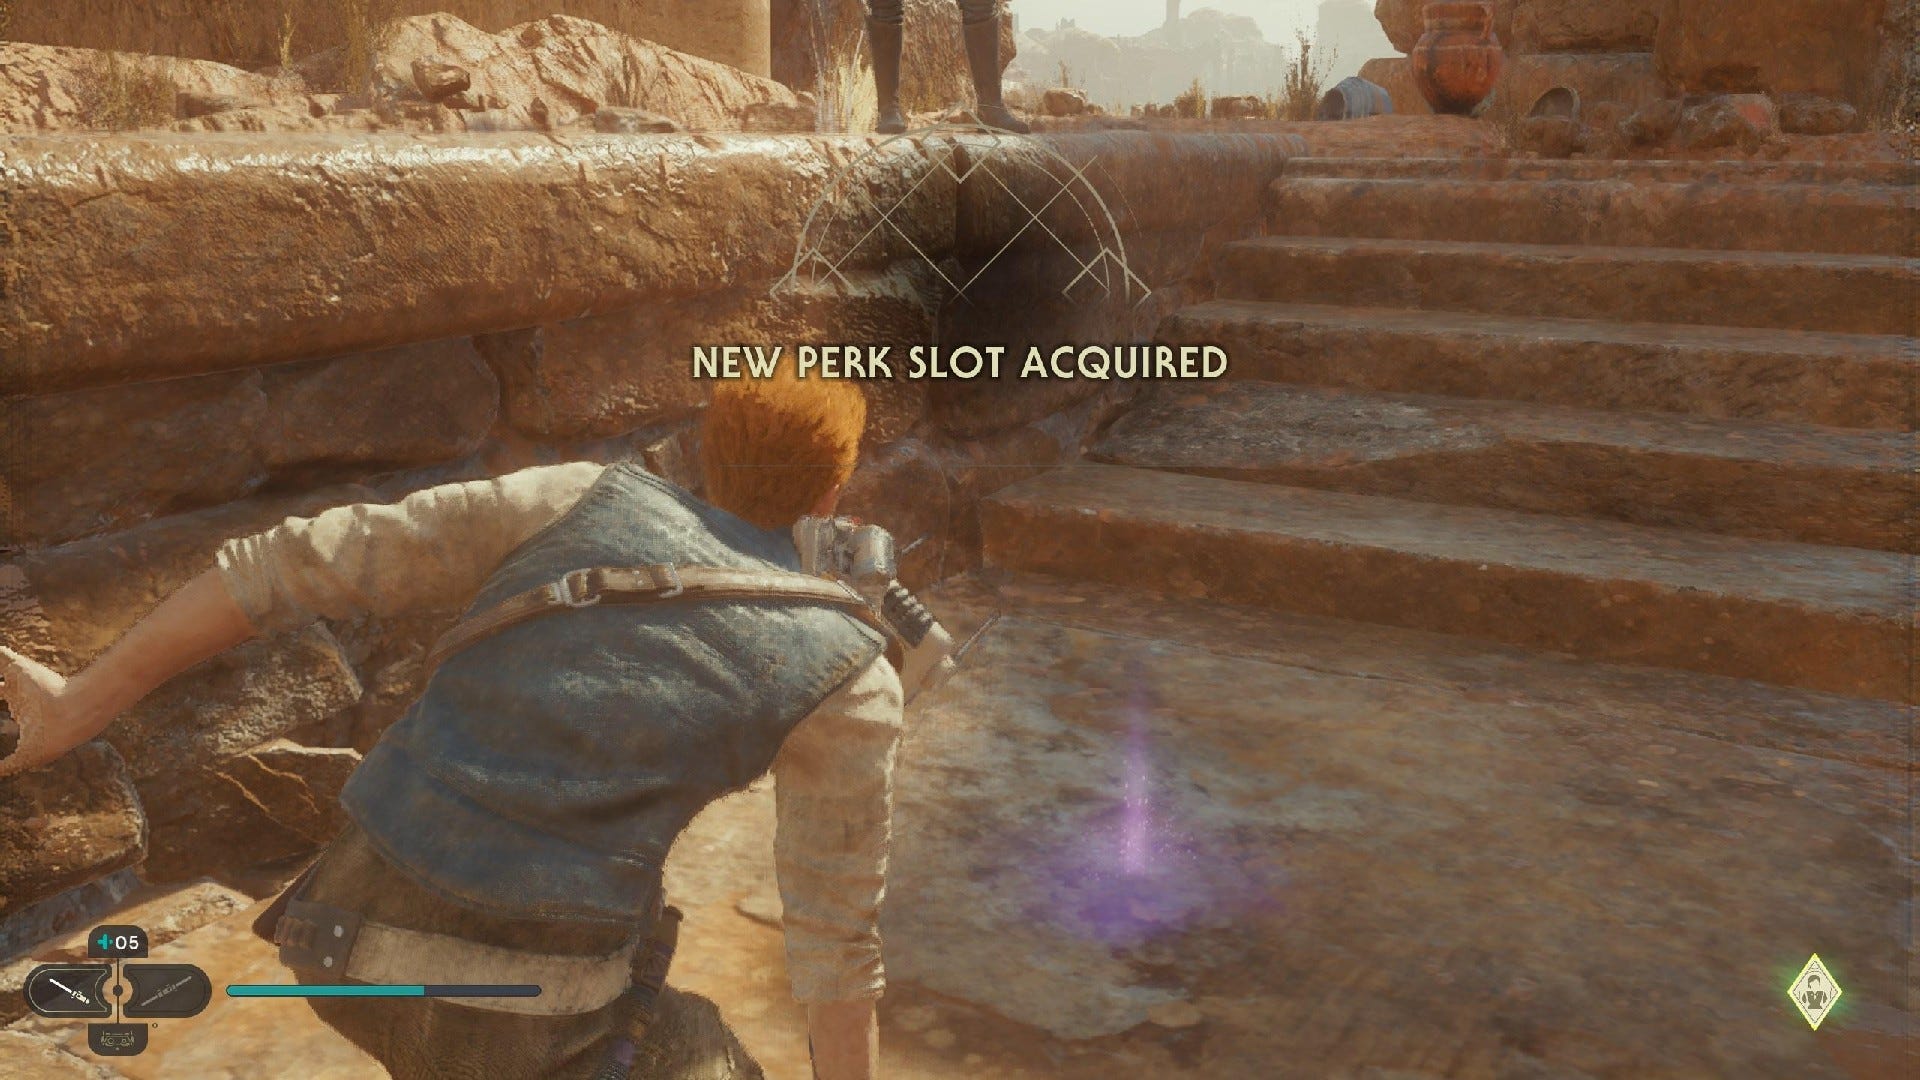
New Perk Slot: Climb to top of Path of Persistence and force push orb at top to open container holding perk slot.
Path of Persistence Databanks:

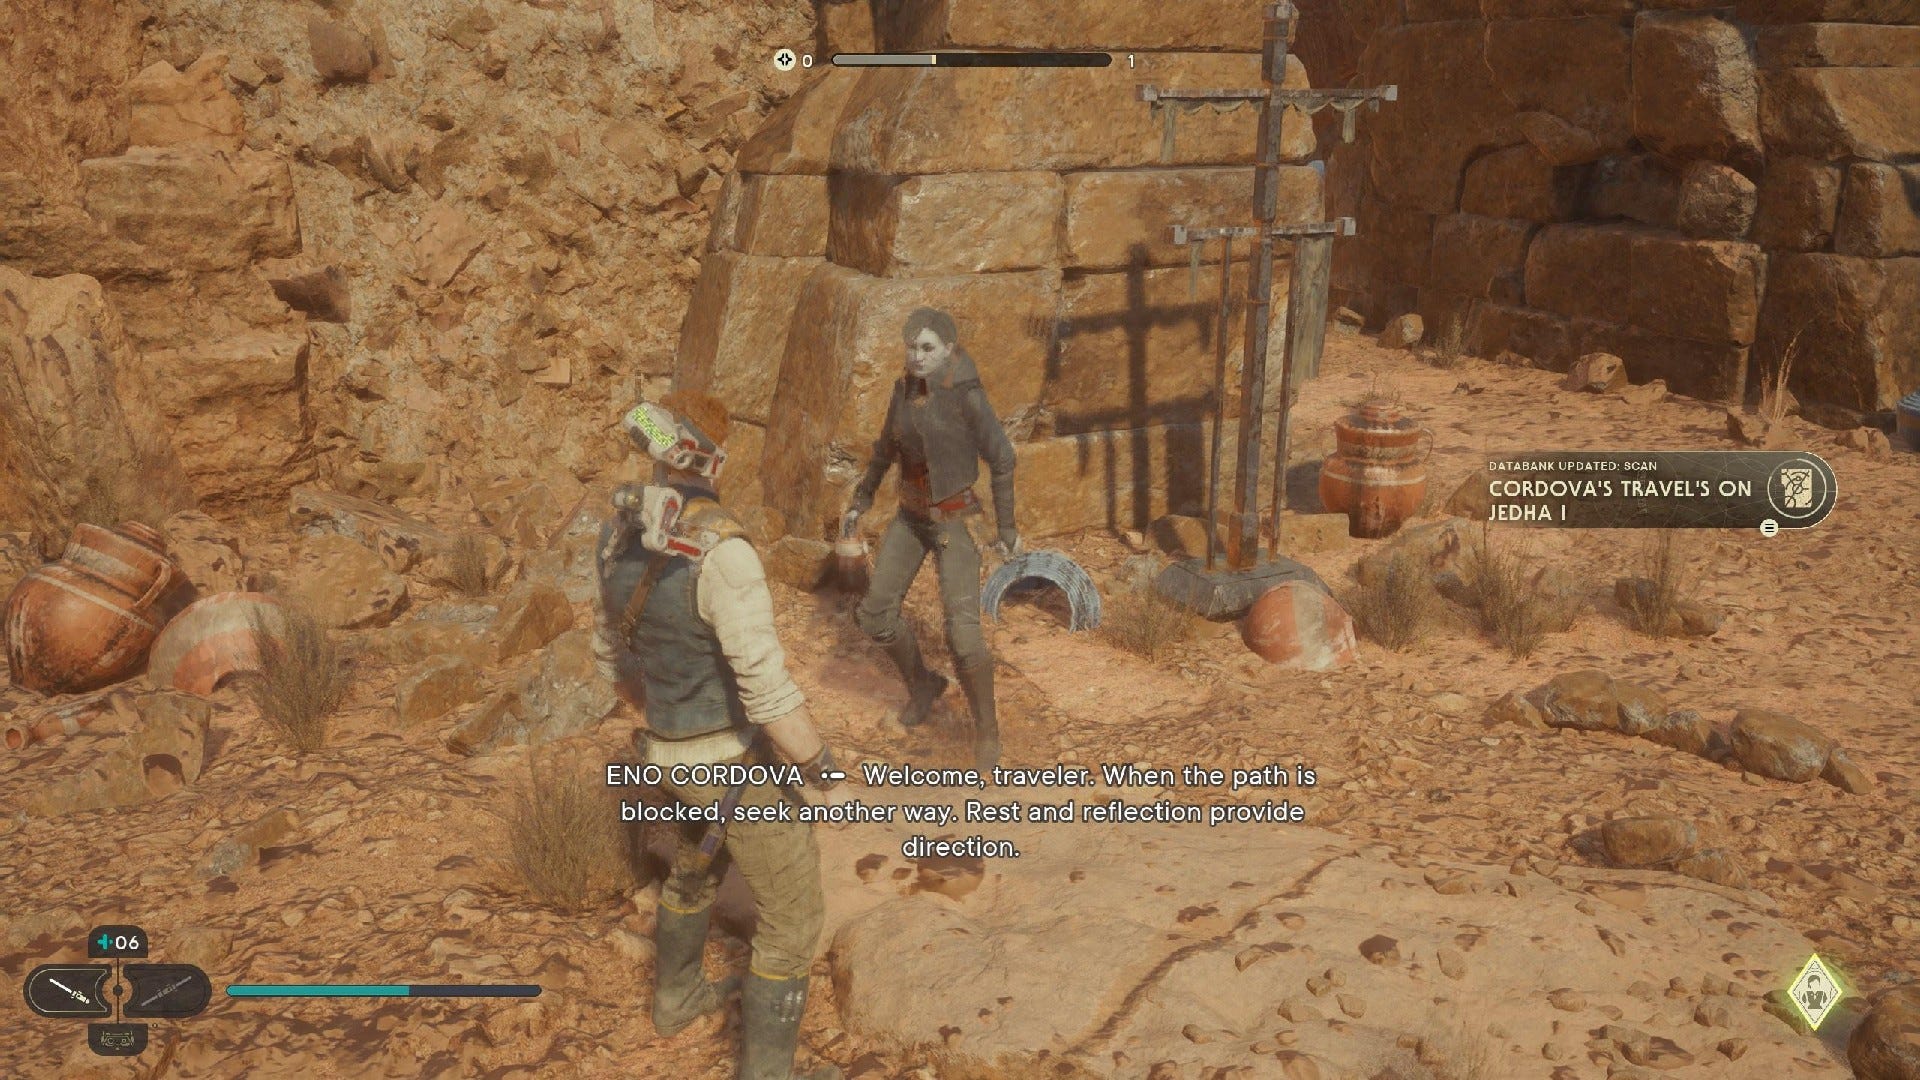
Databank (Cordova's Travels on Jedha I): Head right from Anchorite Base Meditation Point and zipline across to stormtroopers. Climb the ledge, fight the troopers, and then scan to the left of the nearby passageway entrance.
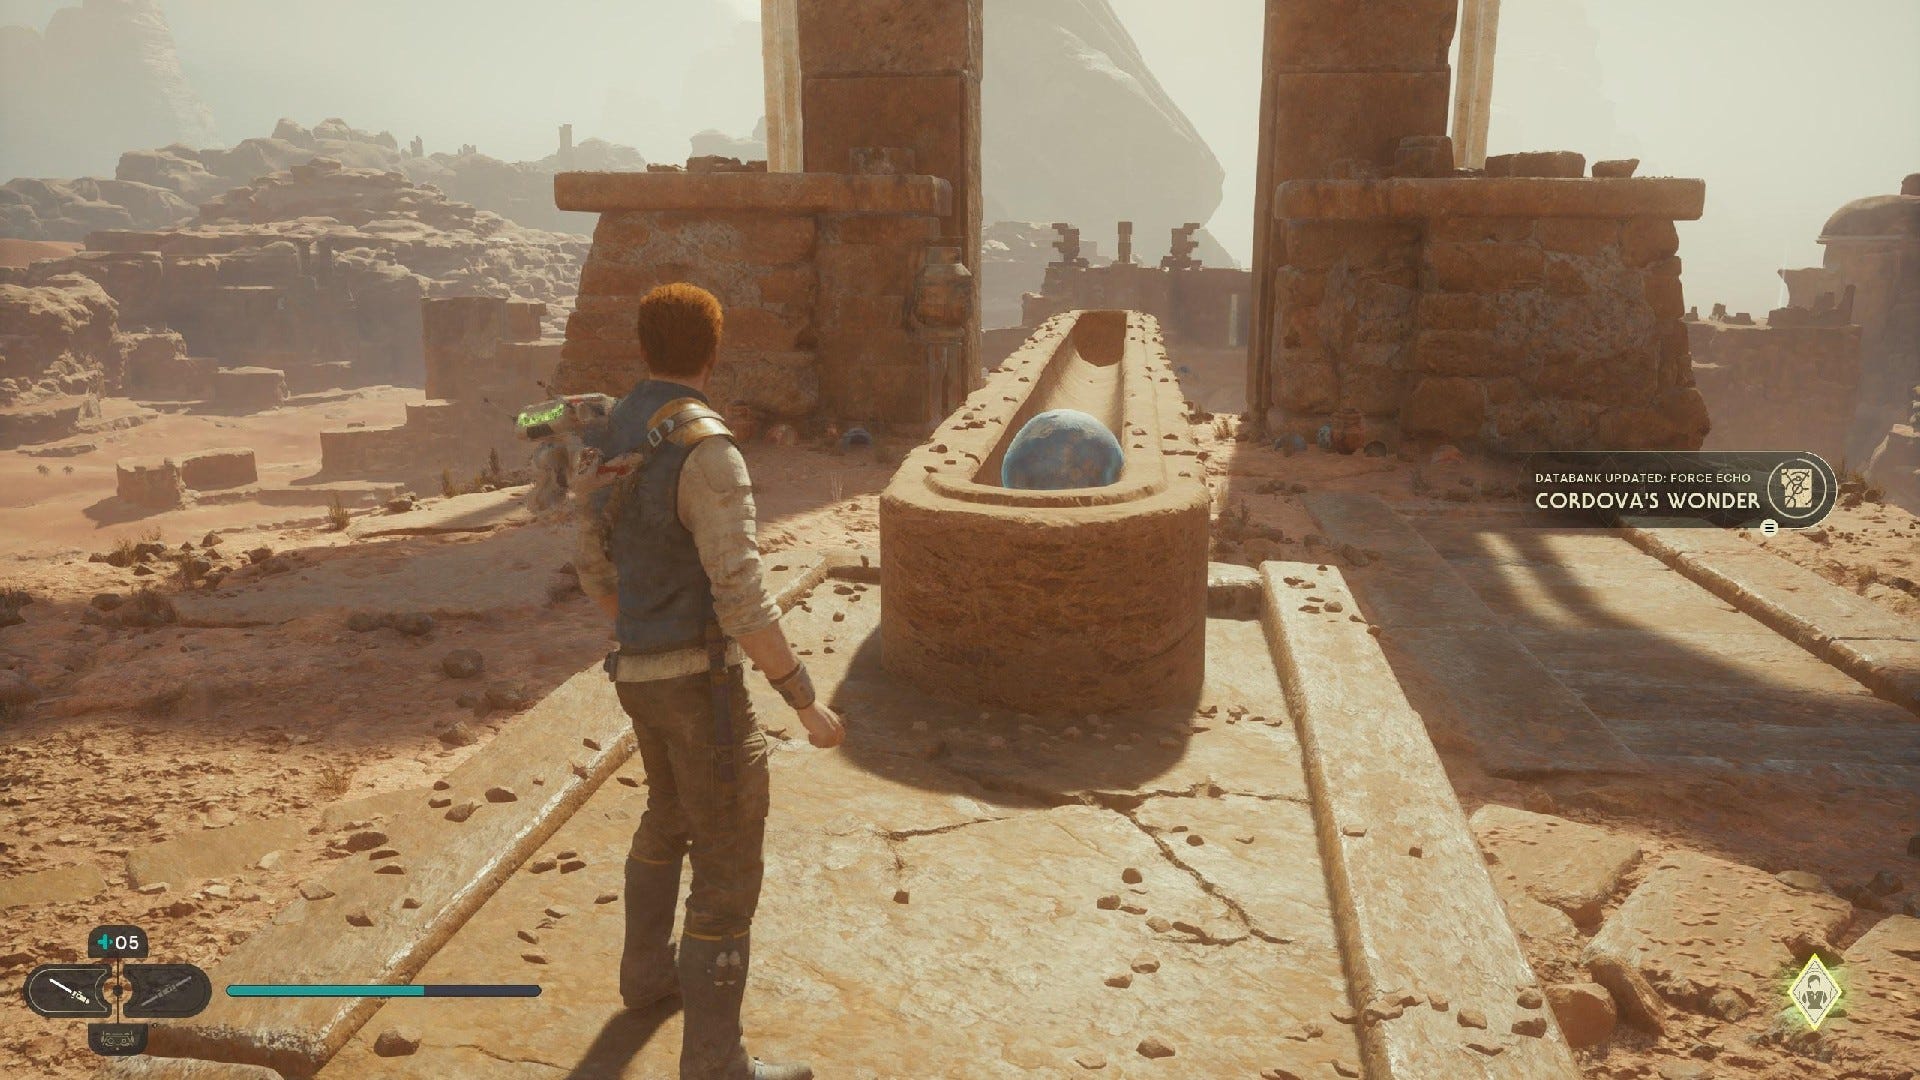
Force Echo (Cordova's Wonder): Climb to top of the Path of Persistence and scan the echo up the steps after fighting stormtroopers and security droids.
Path of Persistence Treasures:
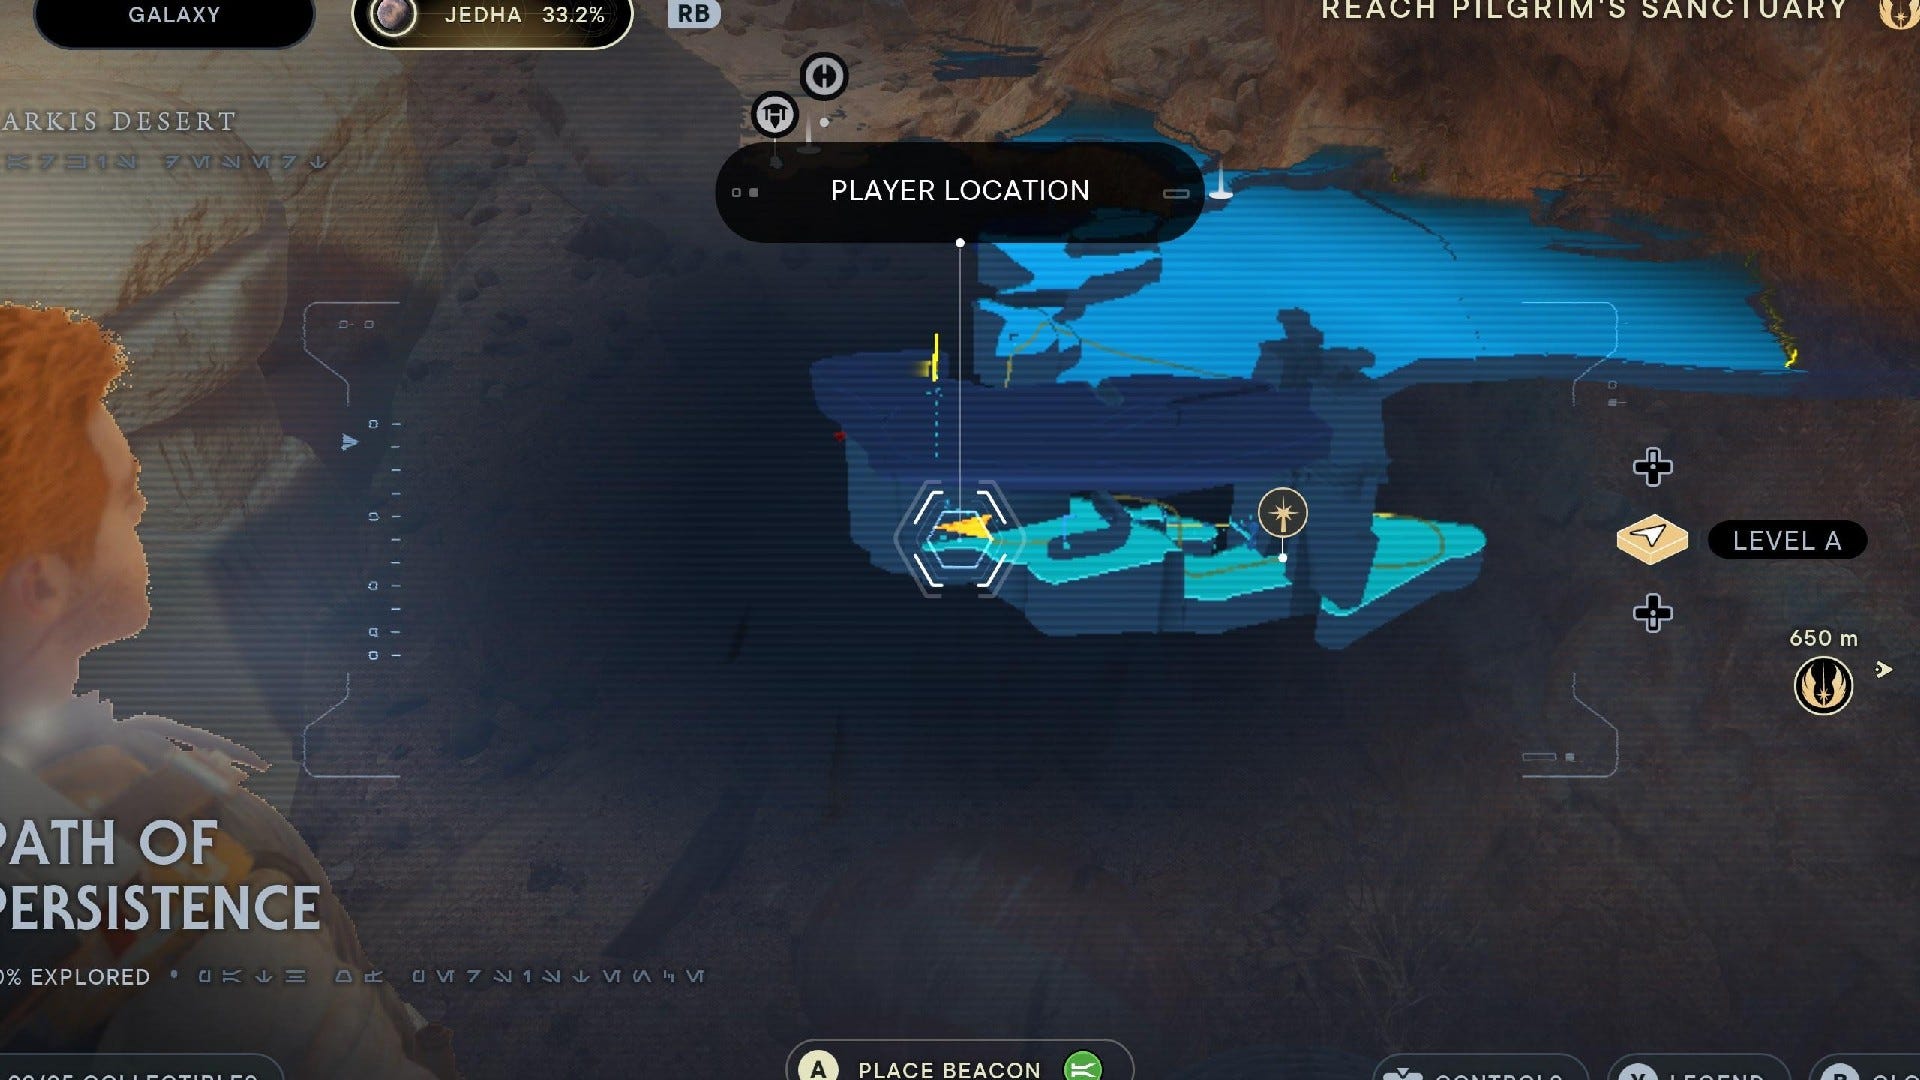
Jedha Scroll #1: Climb the ledge and look ahead of the resting stormtrooper.
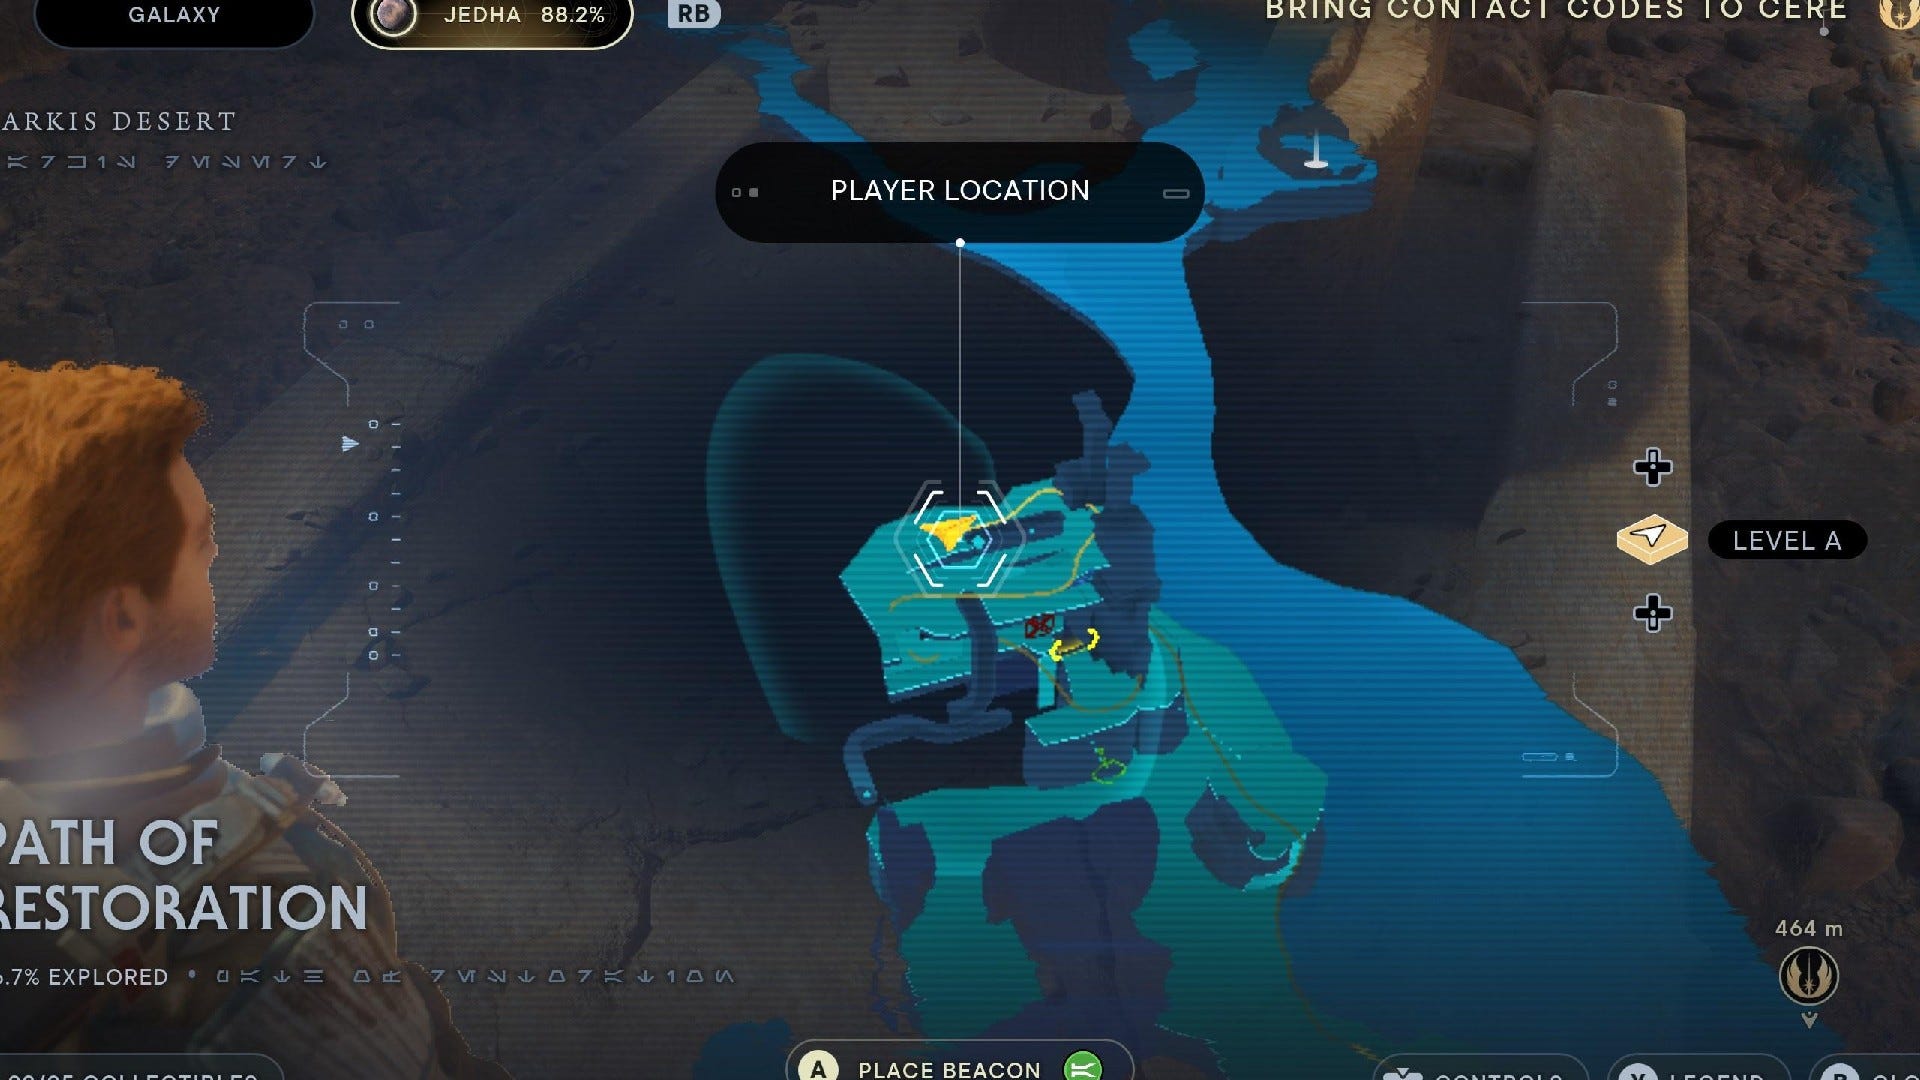
Path of Restoration collectibles
The Path of Restoration also has 5 collectibles:
Path of Restoration Chests:
Chest #1 (Wanderer Material): Climb up and dash over to nearby platform where stormtrooper fires at you. Then, turn right and climb up to the other stormtrooper. Wall run around and climb up to find chest.
Path of Restoration Essences:

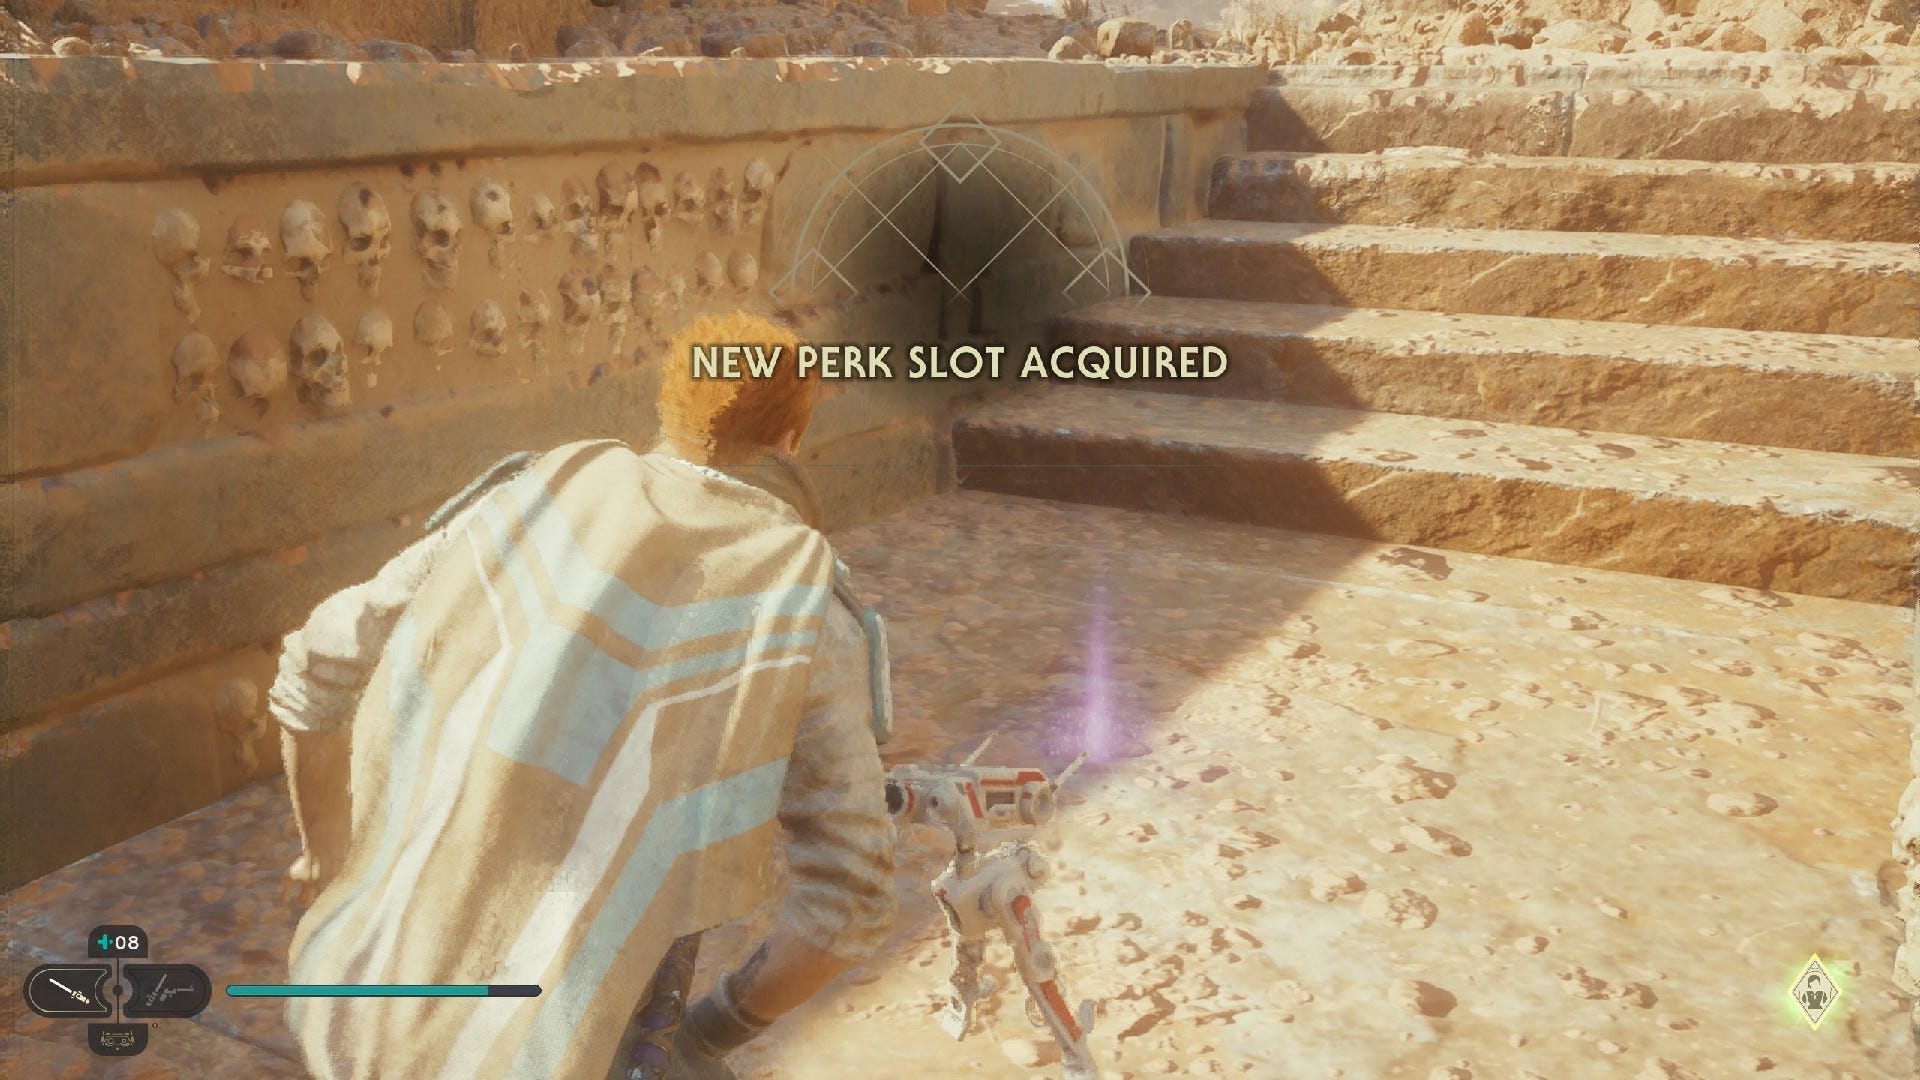
New Perk Slot: Zipline up to top of Path of Restoration and push ball on altar to uncover a new perk slot.
Path of Restoration Databanks:

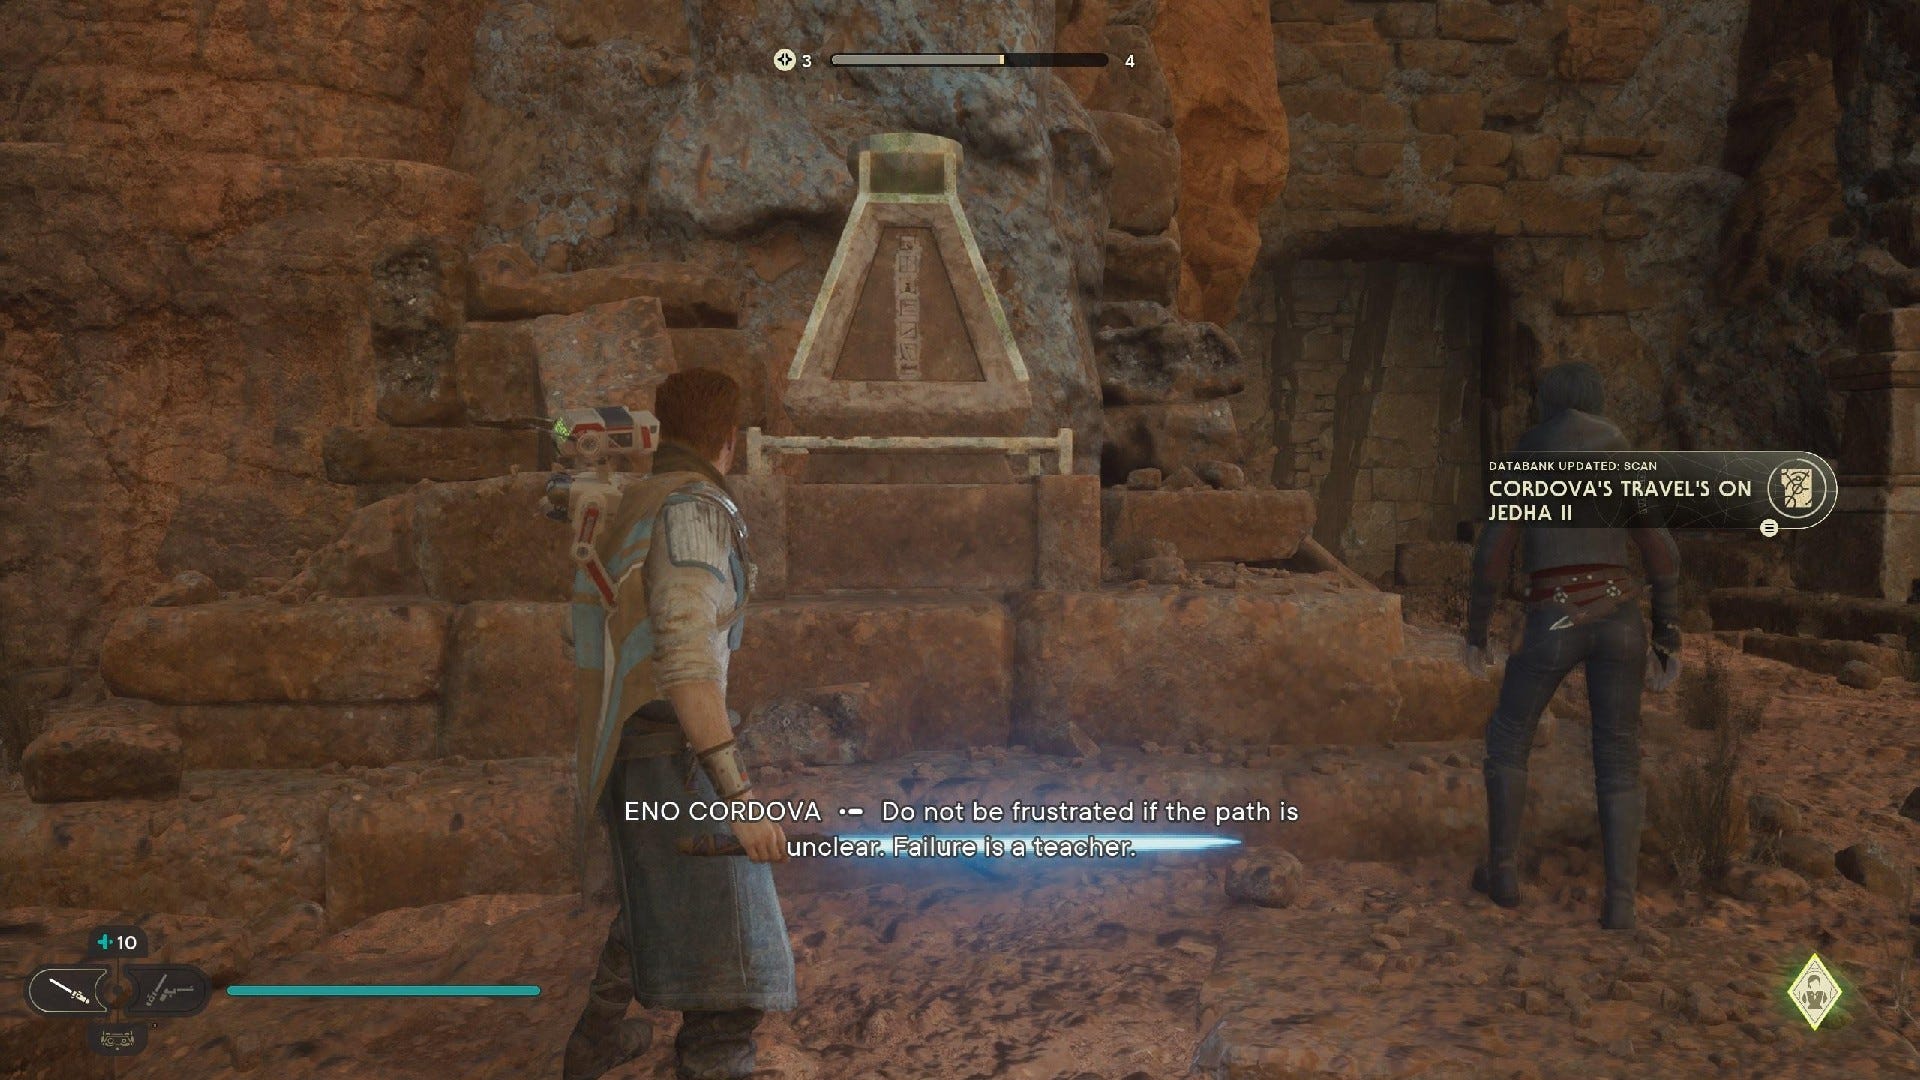
Databank (Cordova's Travels on Jedha II): Follow path up the slope to the right of Desert Ridge laser door, and use dash to climb up to Path of Restoration. Scan point is at top where stormtrooper fires at you, near entrance.

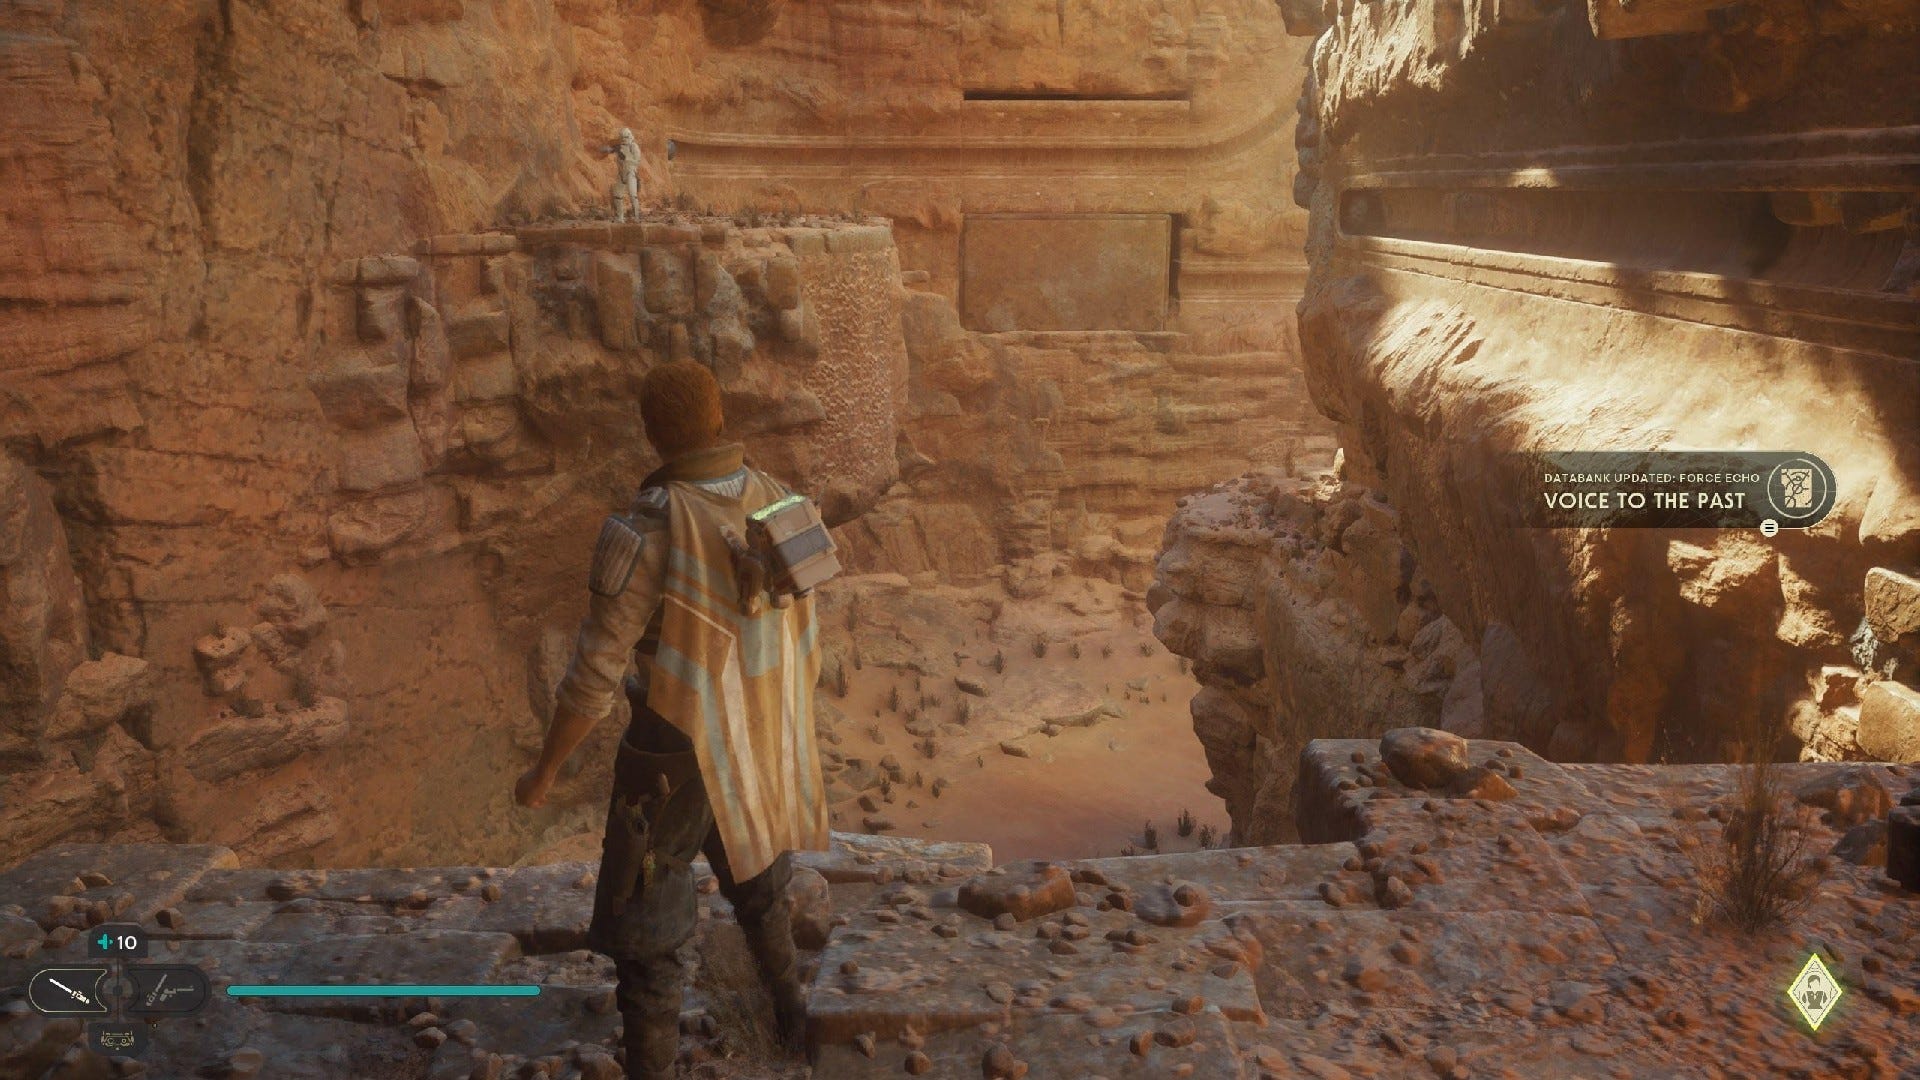
Force Echo (Voice to the Past): Turn back from scan point and dash over to nearby platform. Then, turn right and climb up to stormtrooper. Wall run around to find echo.
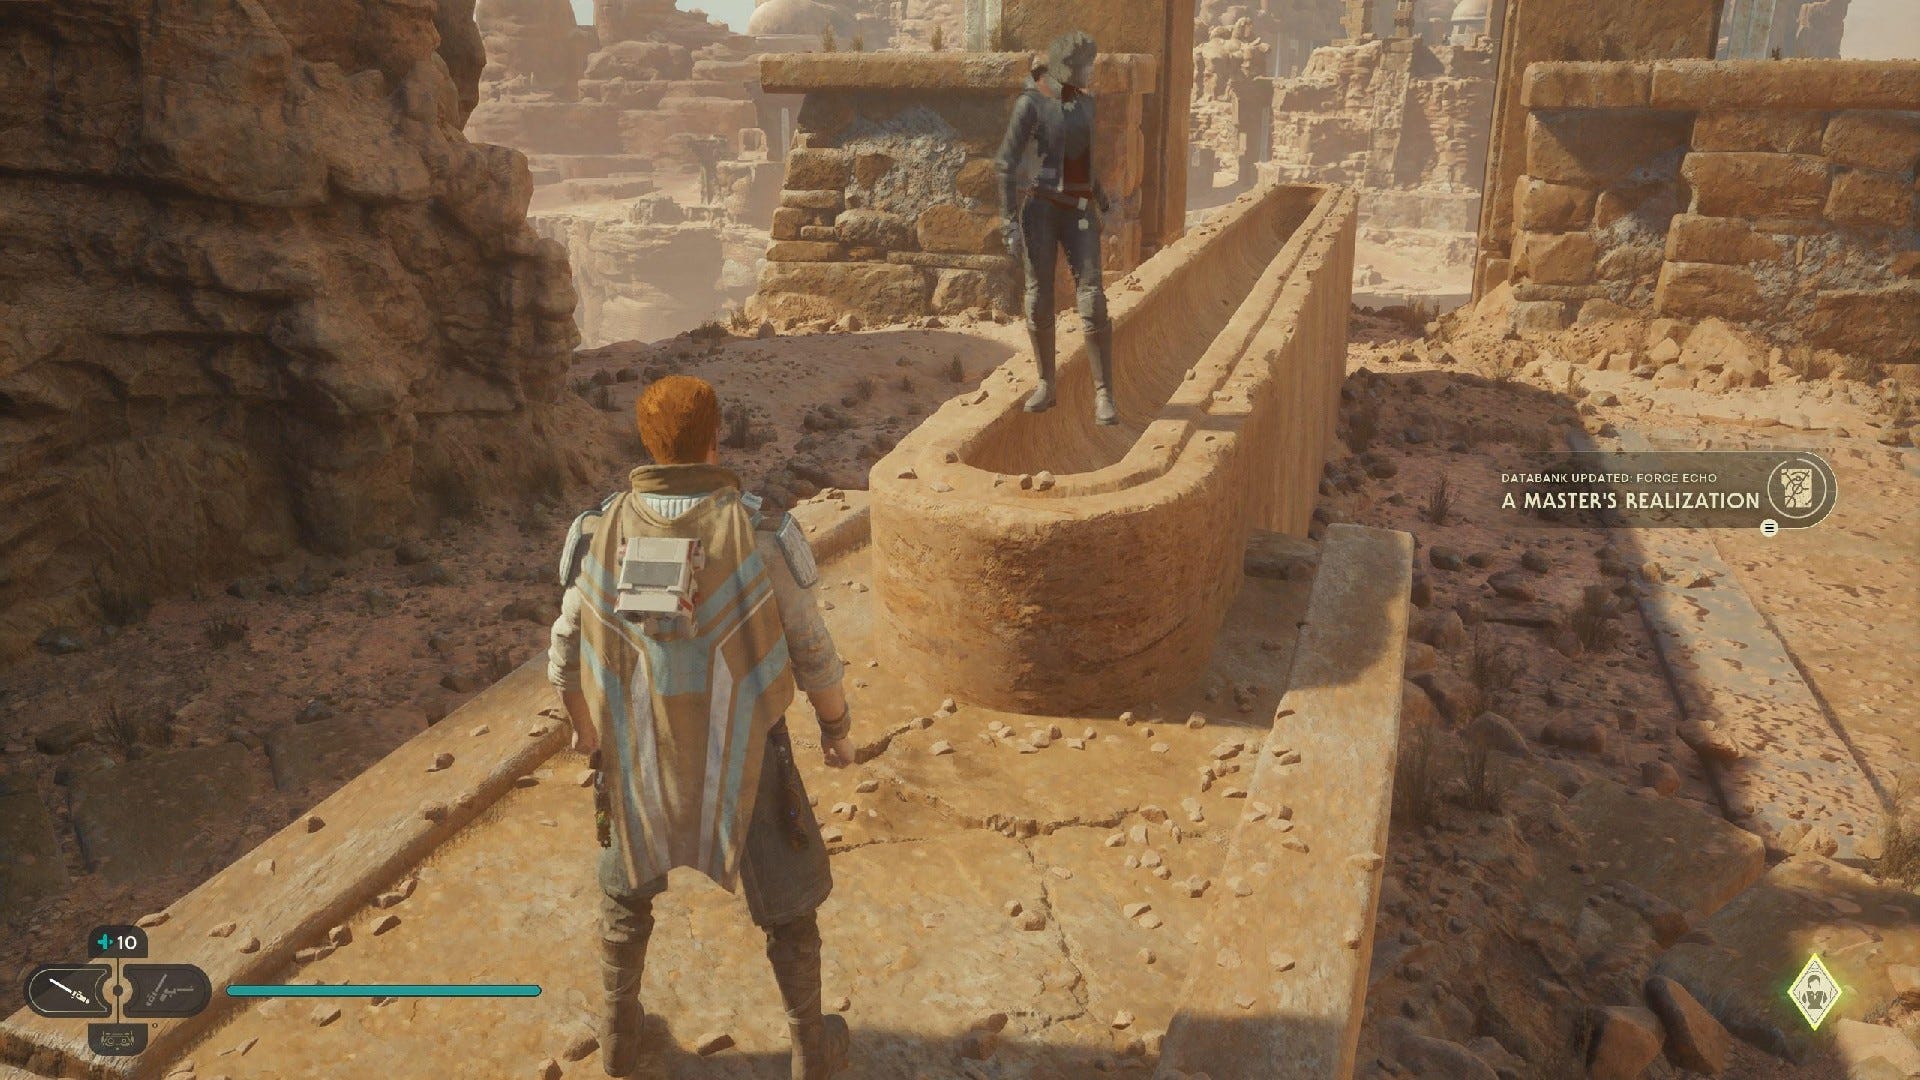
Force Echo (A Master's Realisation): Parkour around to chest and zipline up to top of path to find echo on altar.
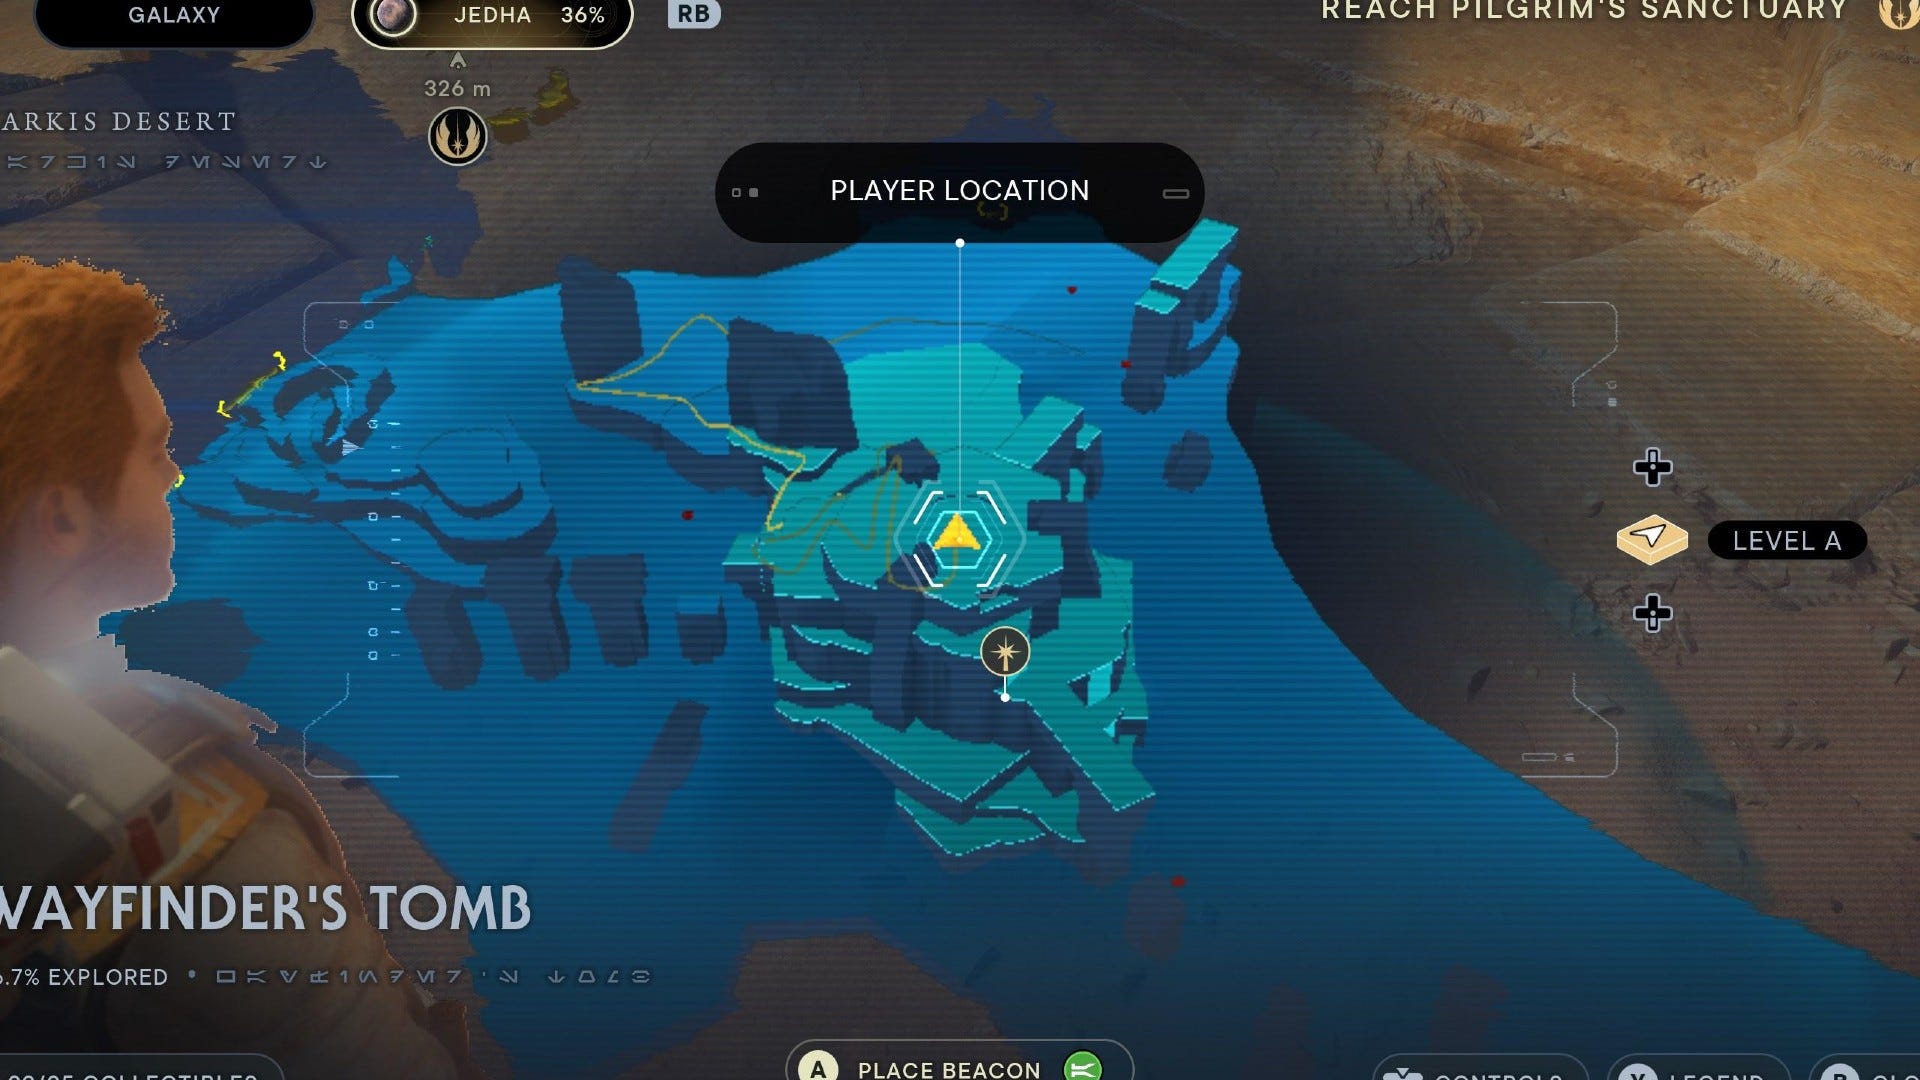
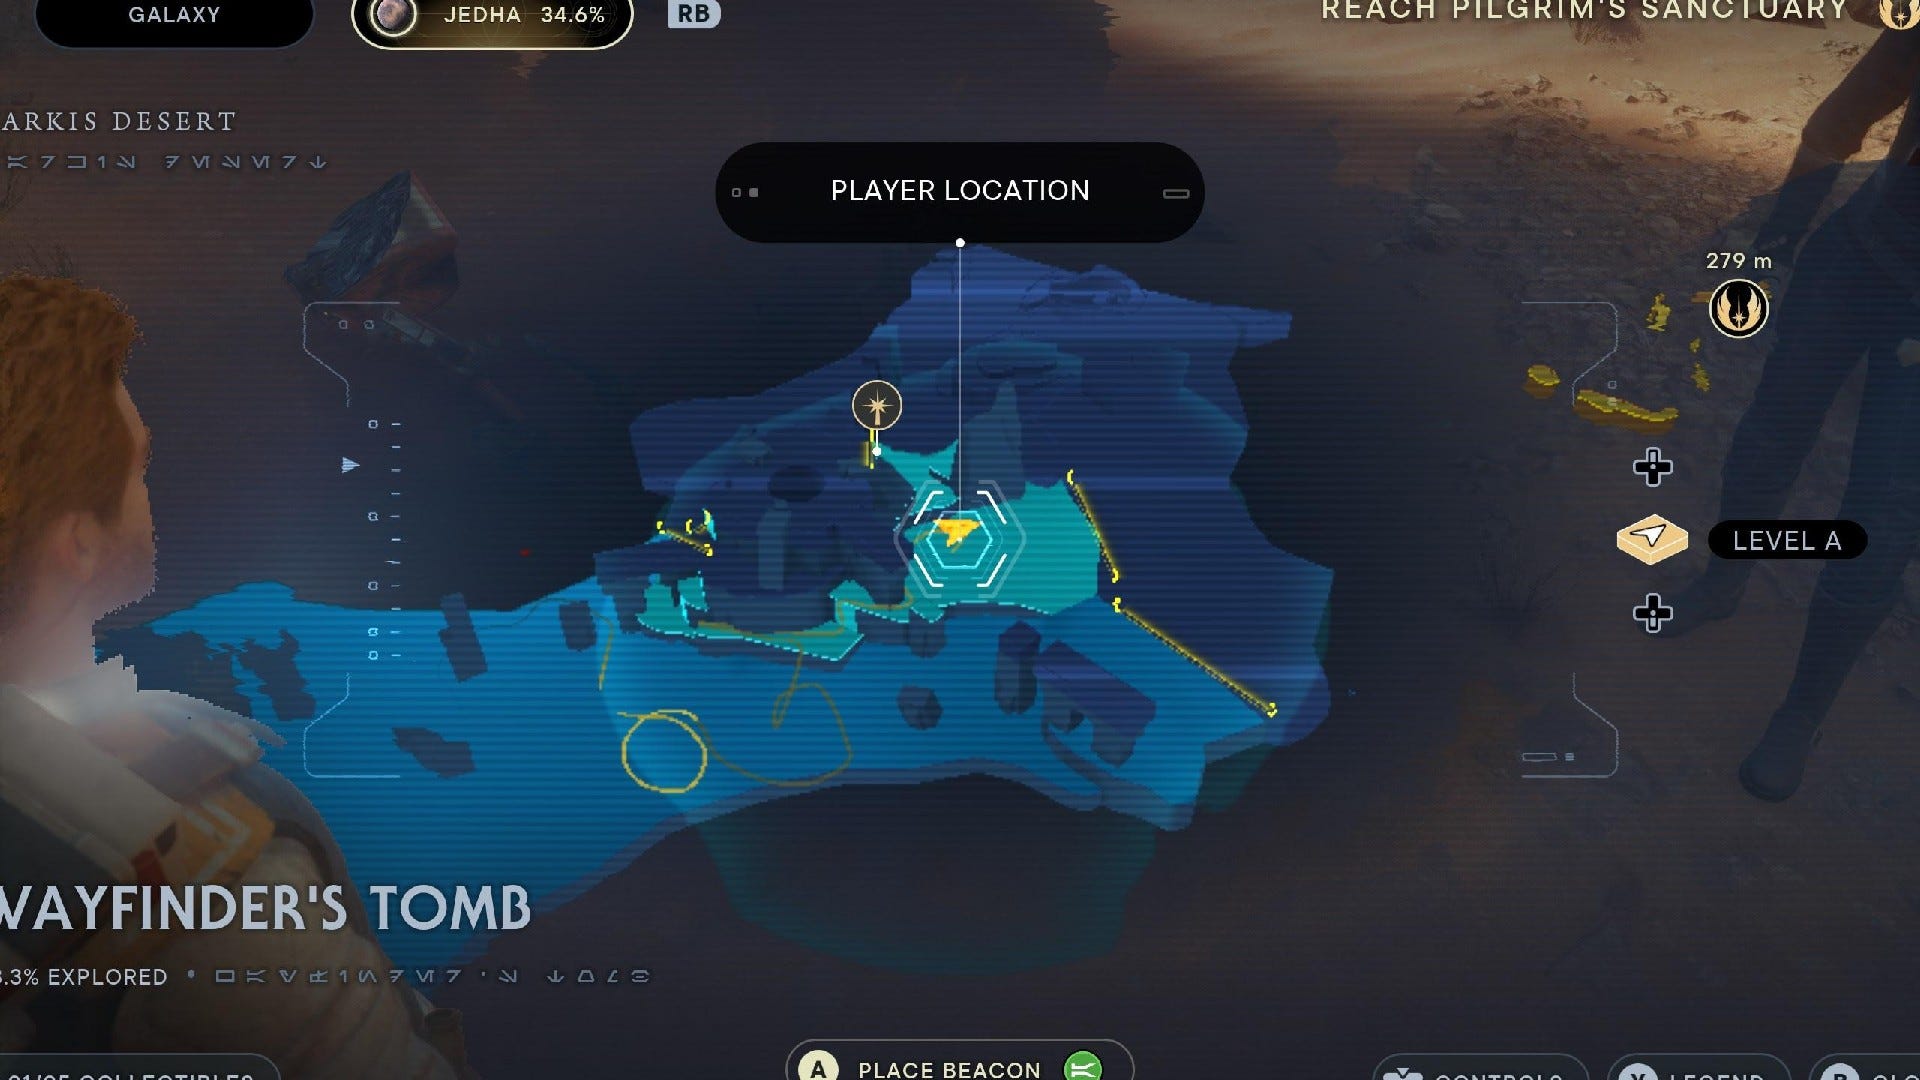
Wayfinder's Tomb collectibles
The Wayfinder's Tomb is a high plateau in the middle of the Arid Flats. There, you'll find 5 collectibles:
Wayfinder's Tomb Chests:


Chest #1 (Eno Cordova's Lightsaber): Complete the three Paths and then take the elevator down.
Chest #2 (Map Upgrade - Treasures): Complete the three Paths and then take the elevator down.
Wayfinder's Tomb Databanks:
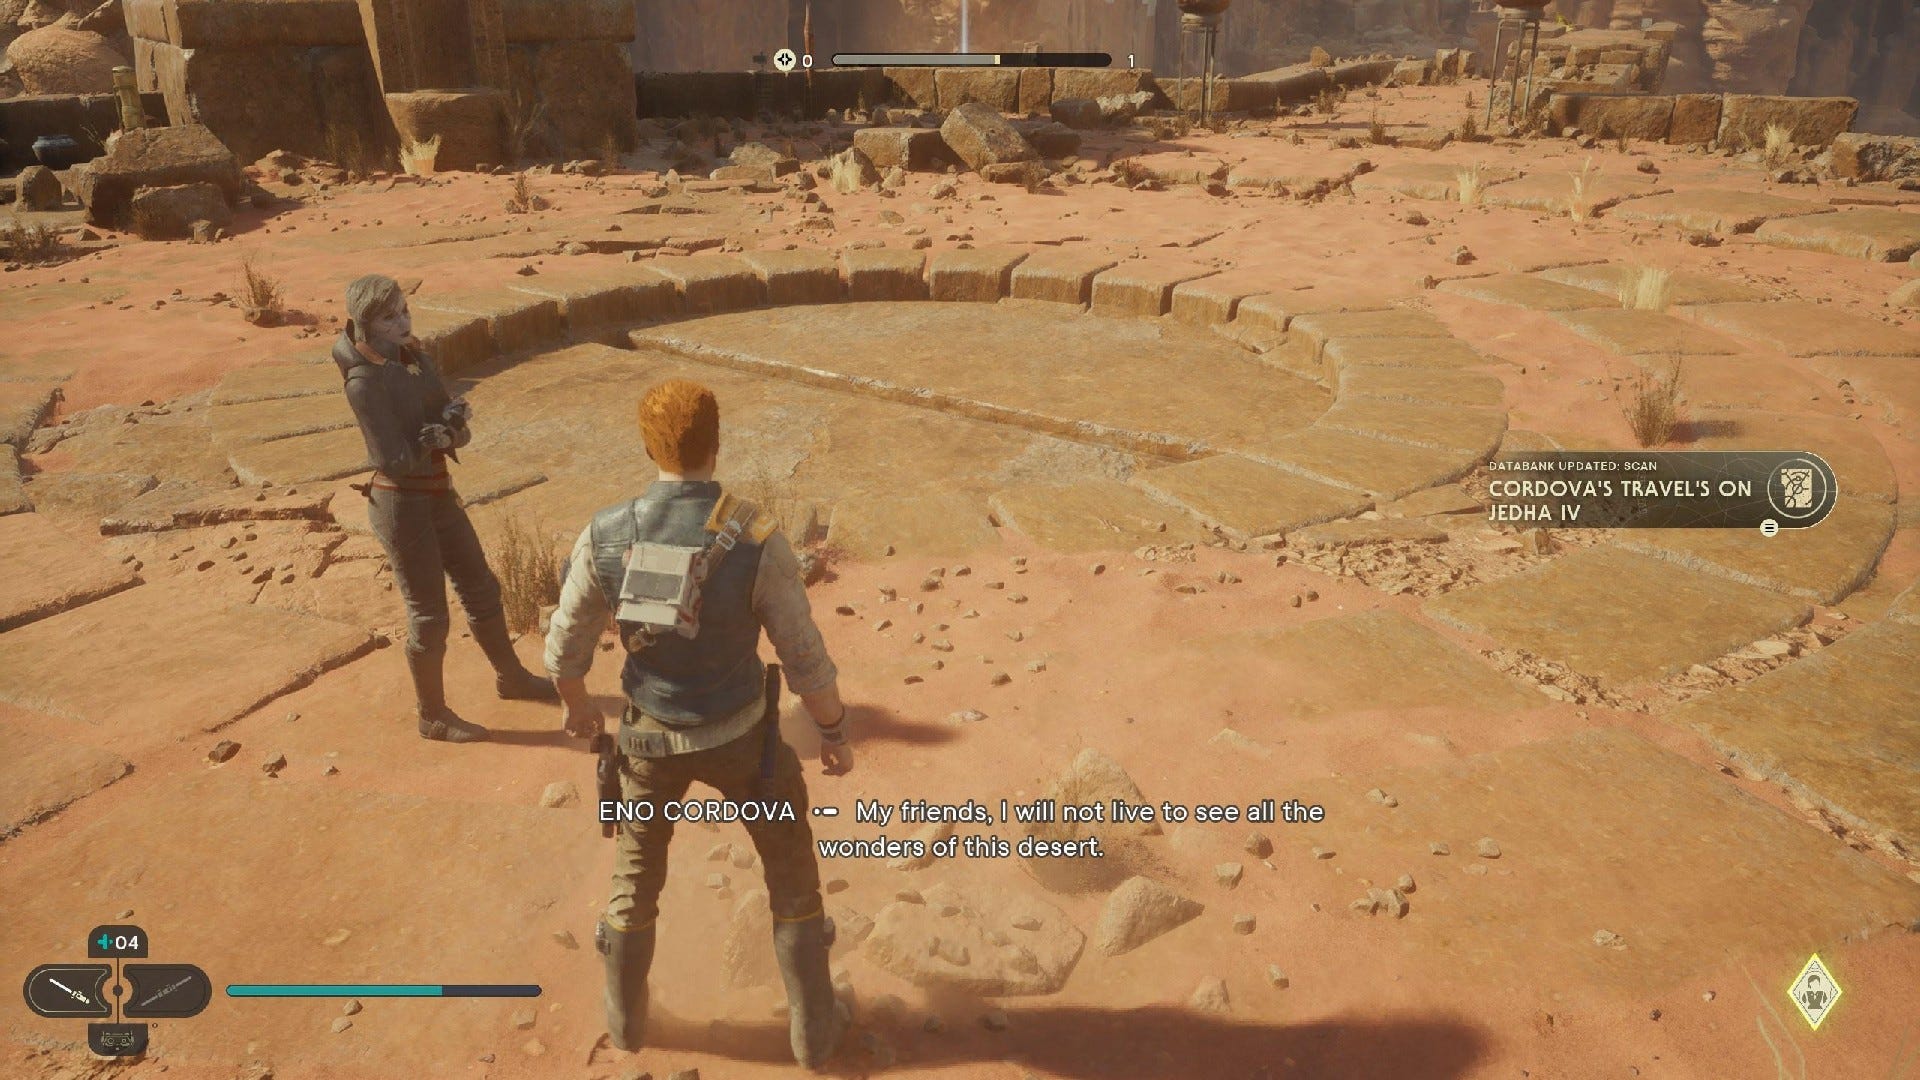
Databank (Cordova's Travels on Jedha IV): Climb to top of Wayfinder's Tomb and scan the circle on the floor.
Force Echo (The Final Lesson): Complete the three Paths and then take the elevator down.
Wayfinder's Tomb Treasures:

Jedha Scroll #1: Climb up to low ledge of Wayfinder's Tomb, in the desert between the Anchorite Base and Arid Flats Meditation Points.
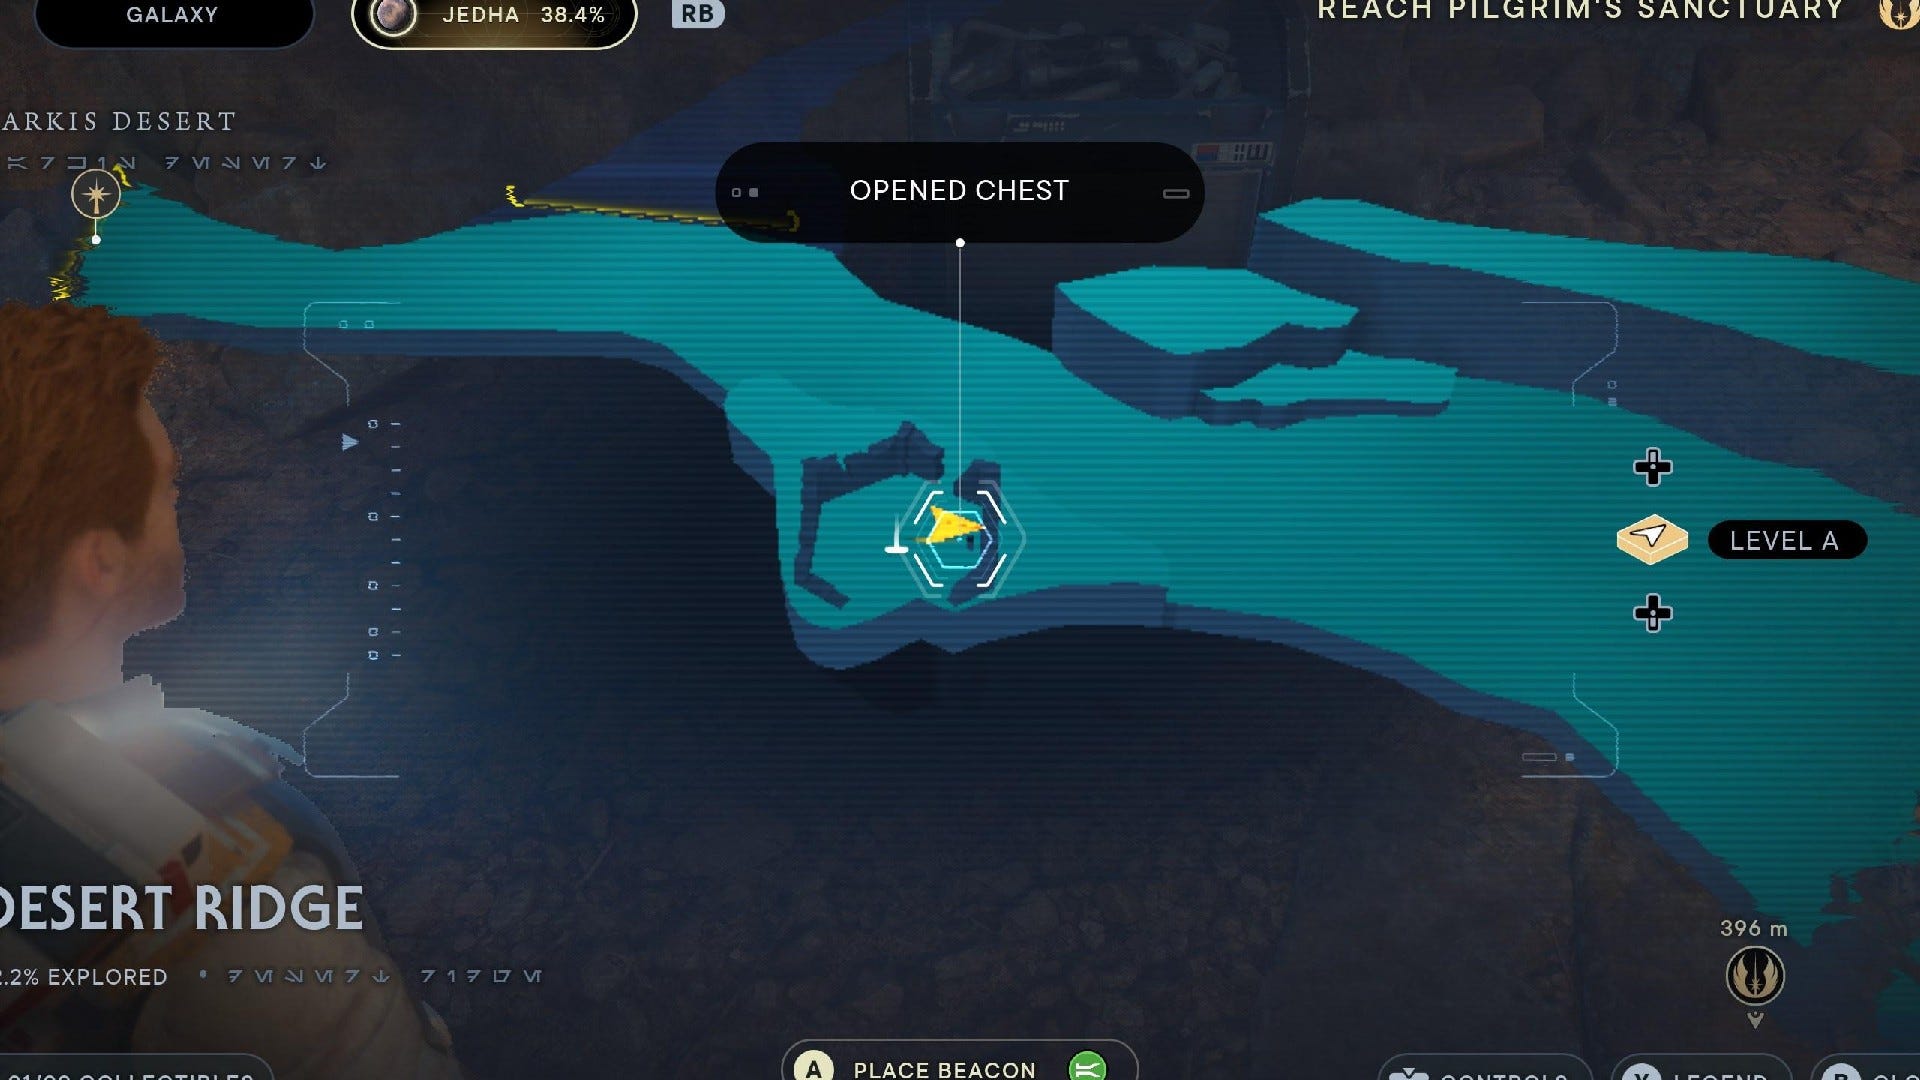
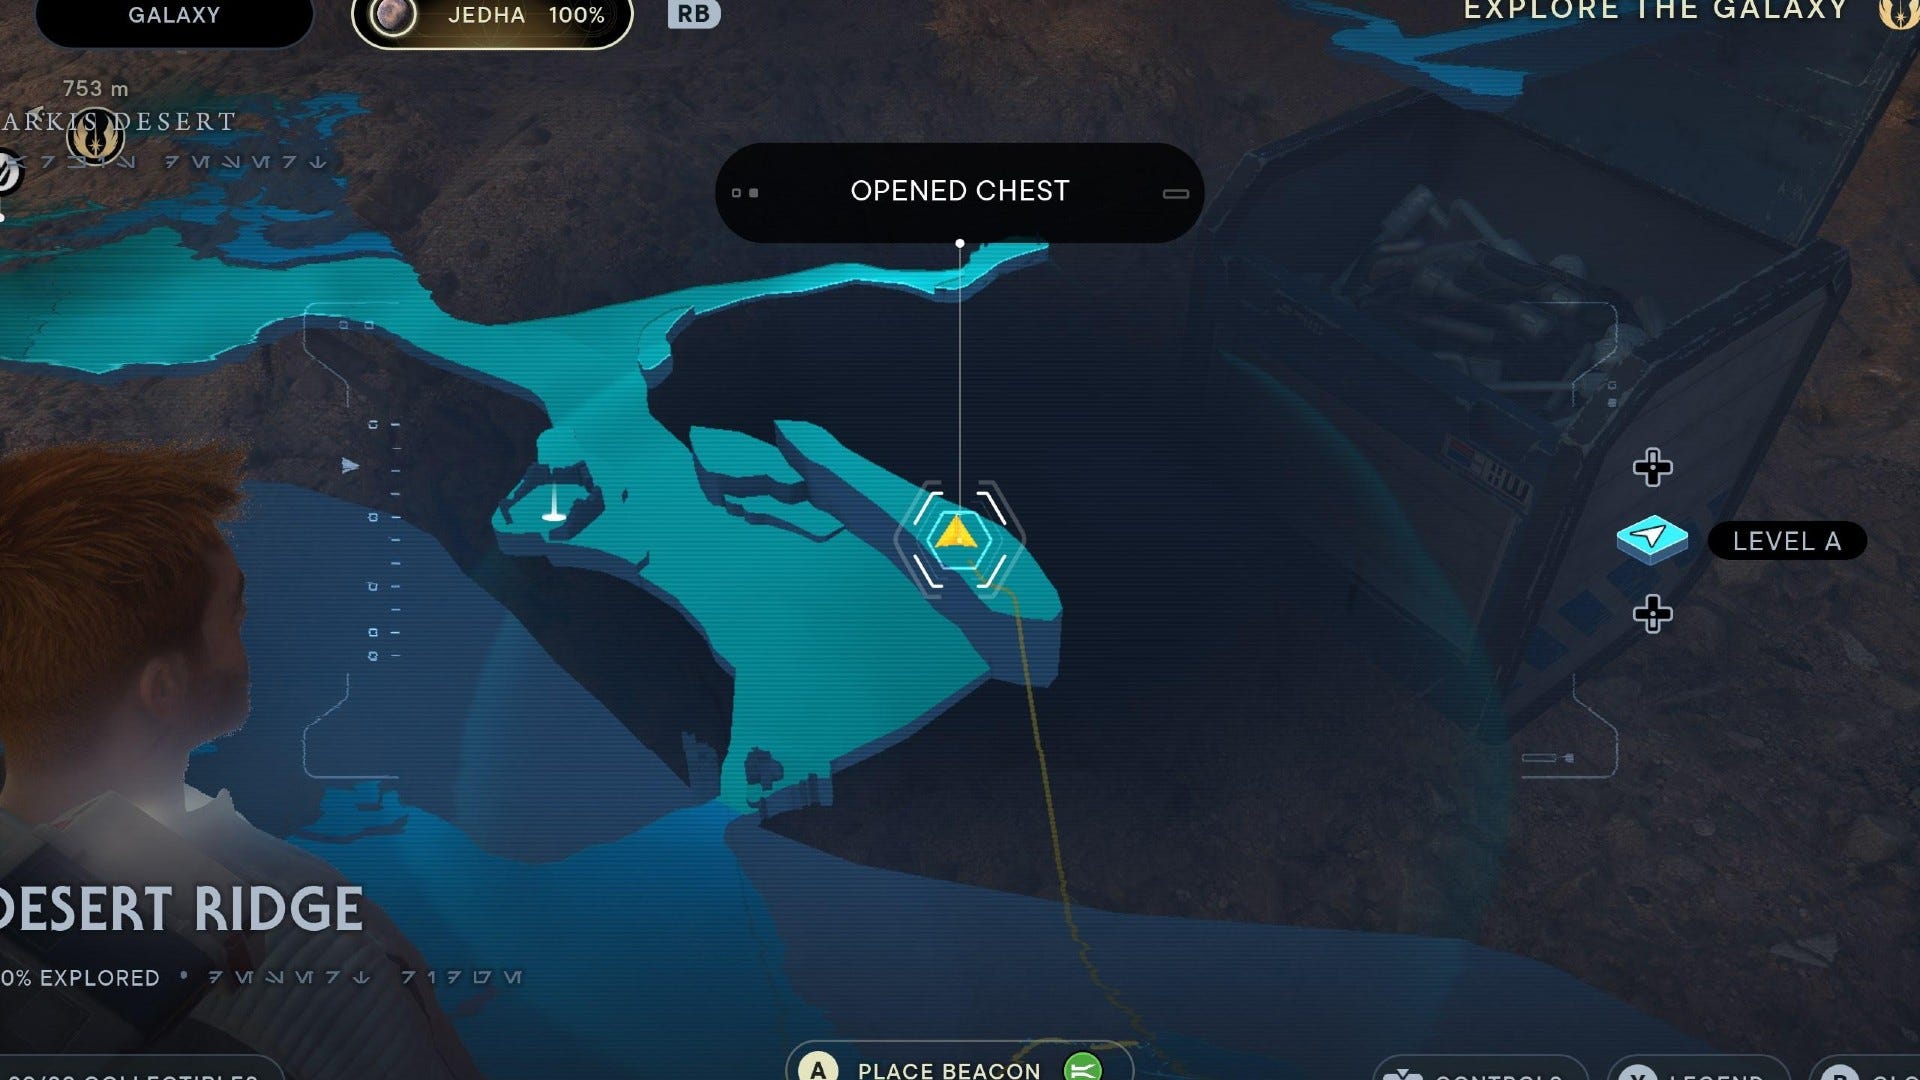
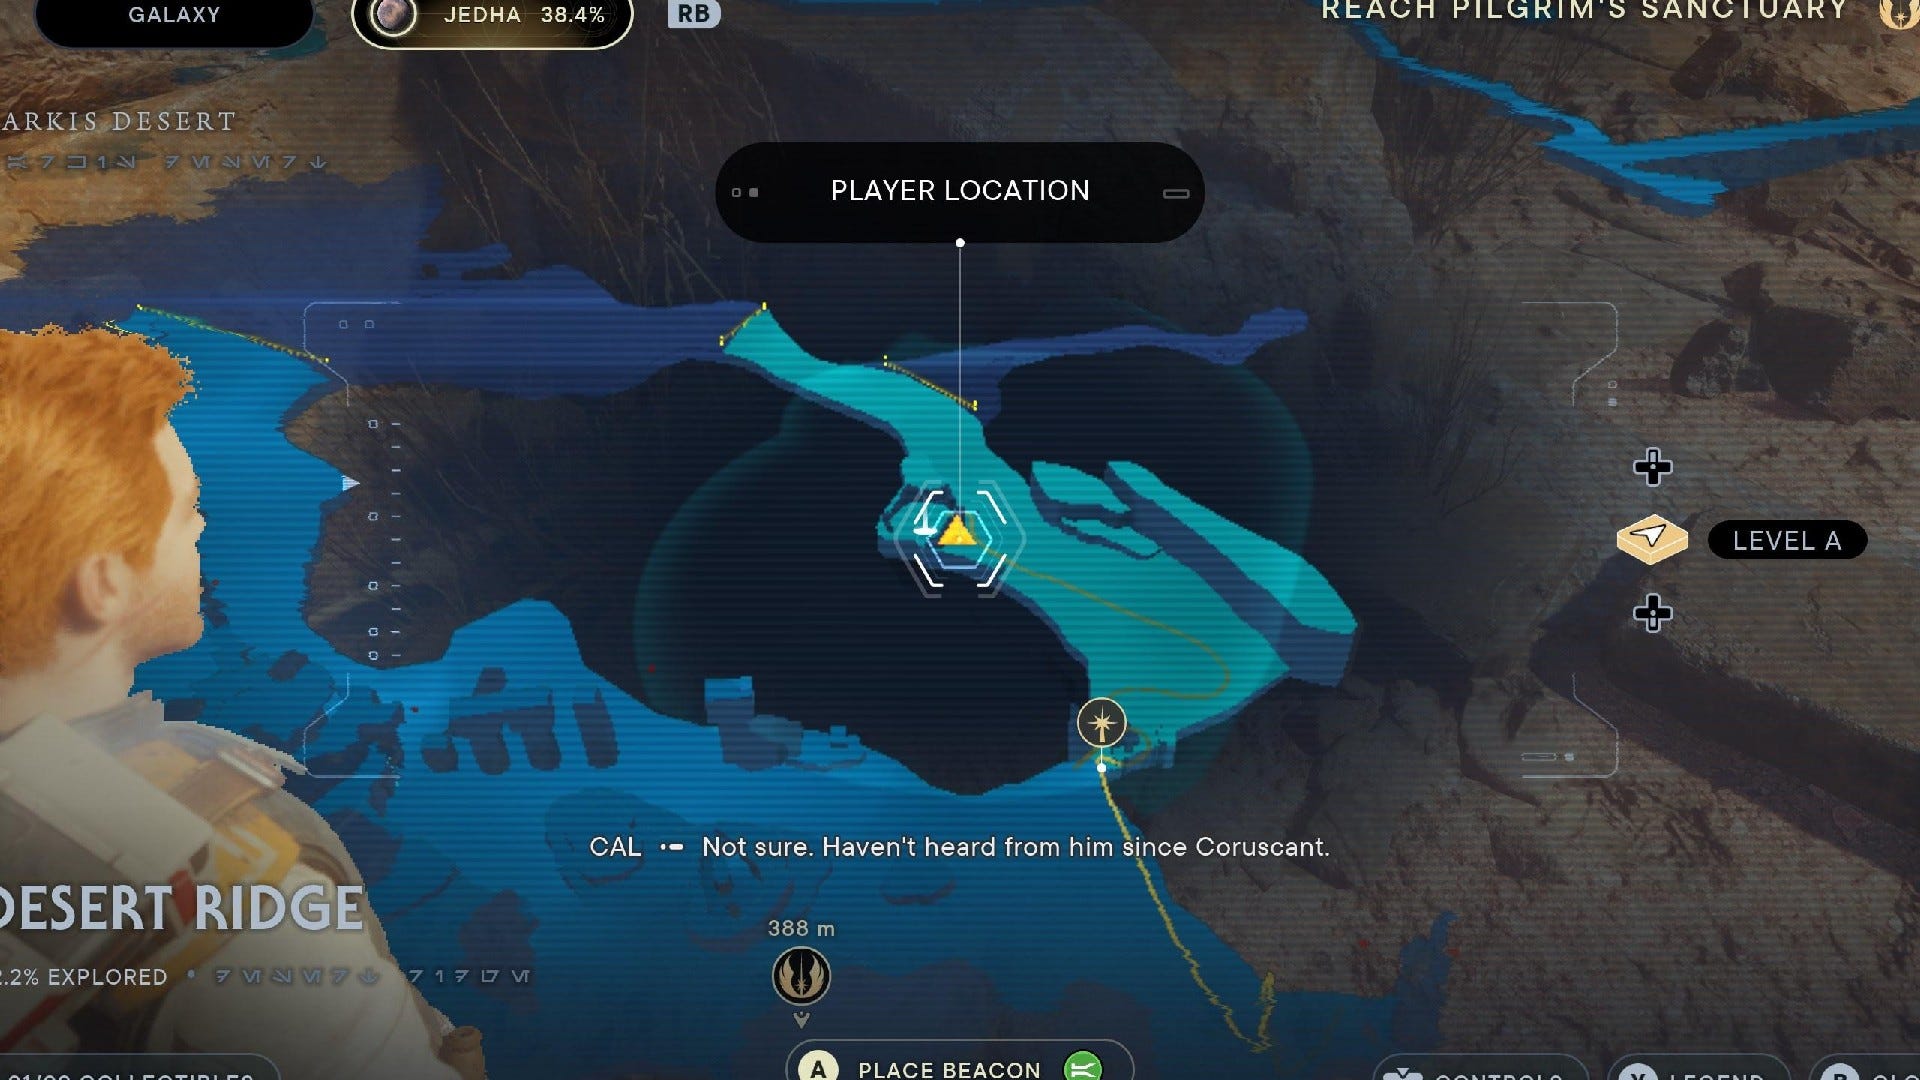
Desert Ridge collectibles
Desert Ridge is the connection between the Arid Flats and the original entrance to Cere's Base, with a handy shortcut taking you back down. It has 9 collectibles:
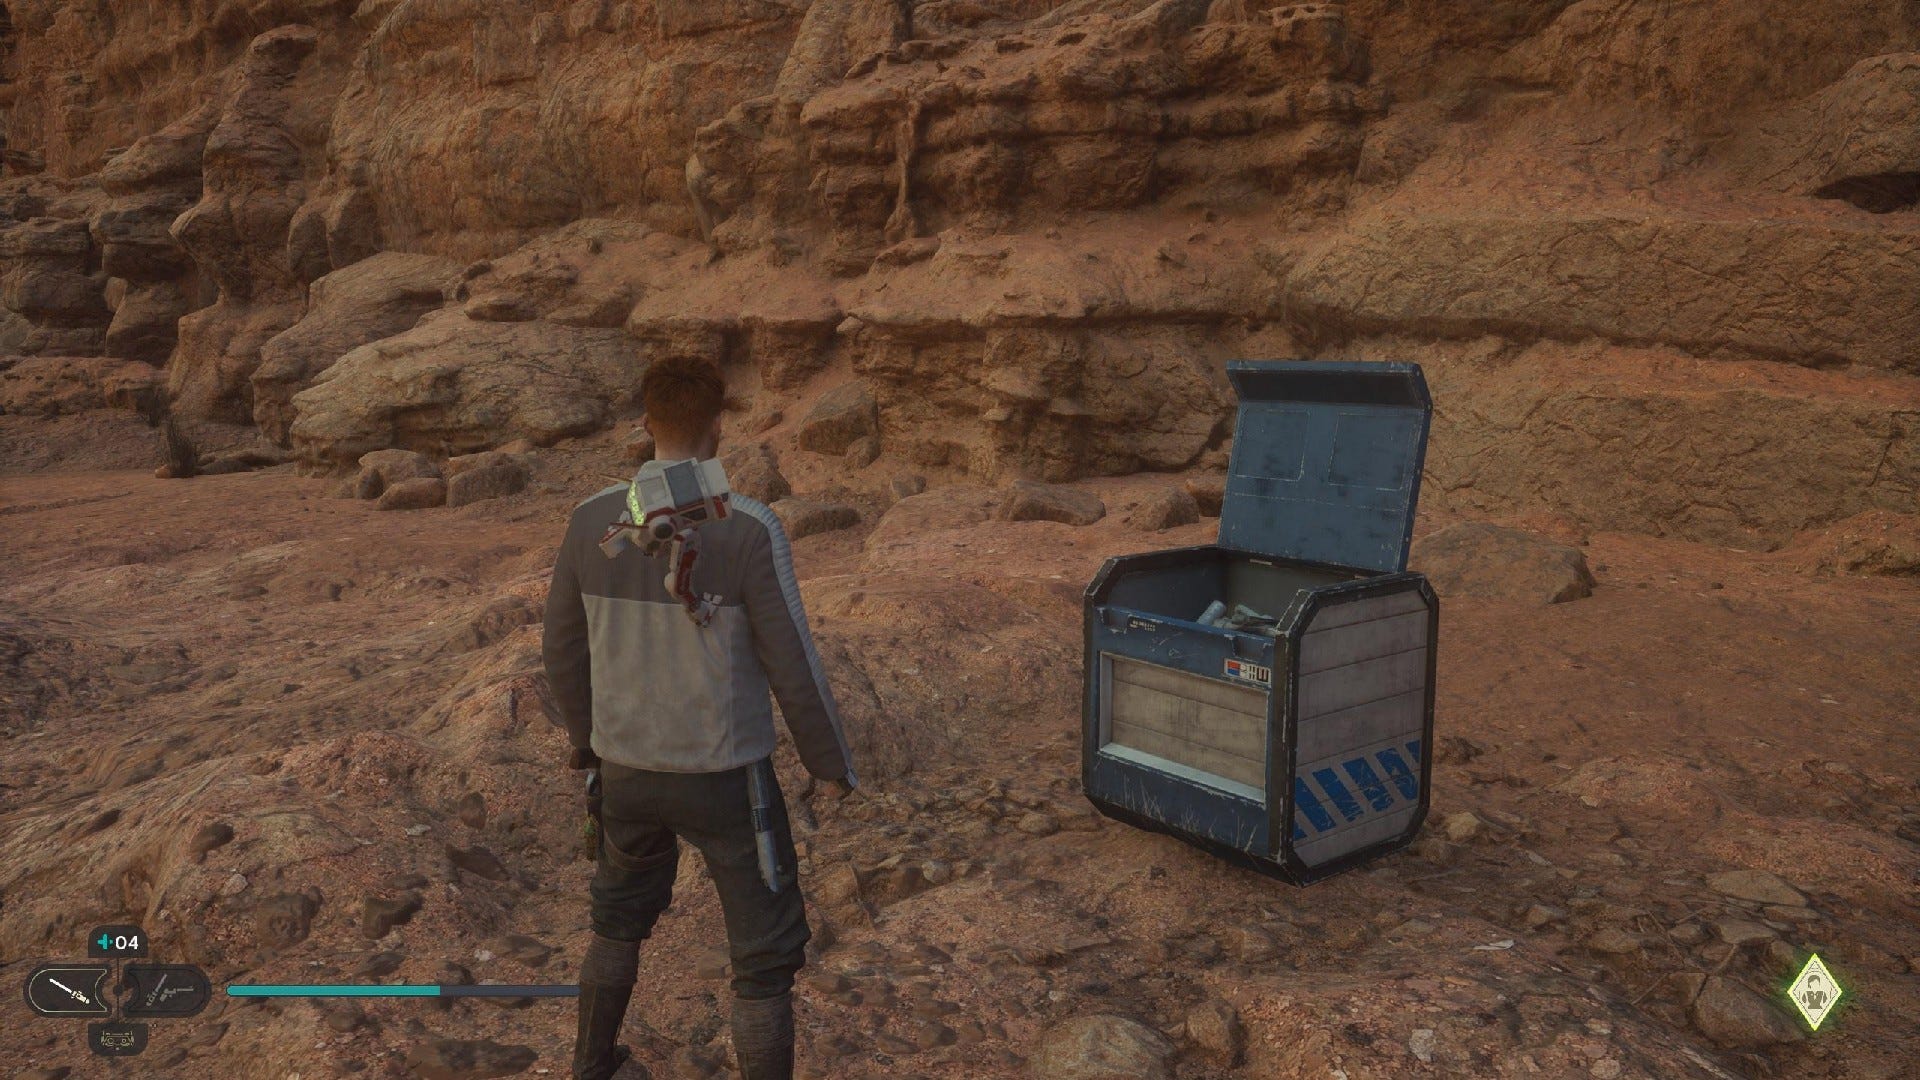
Desert Ridge Chests:
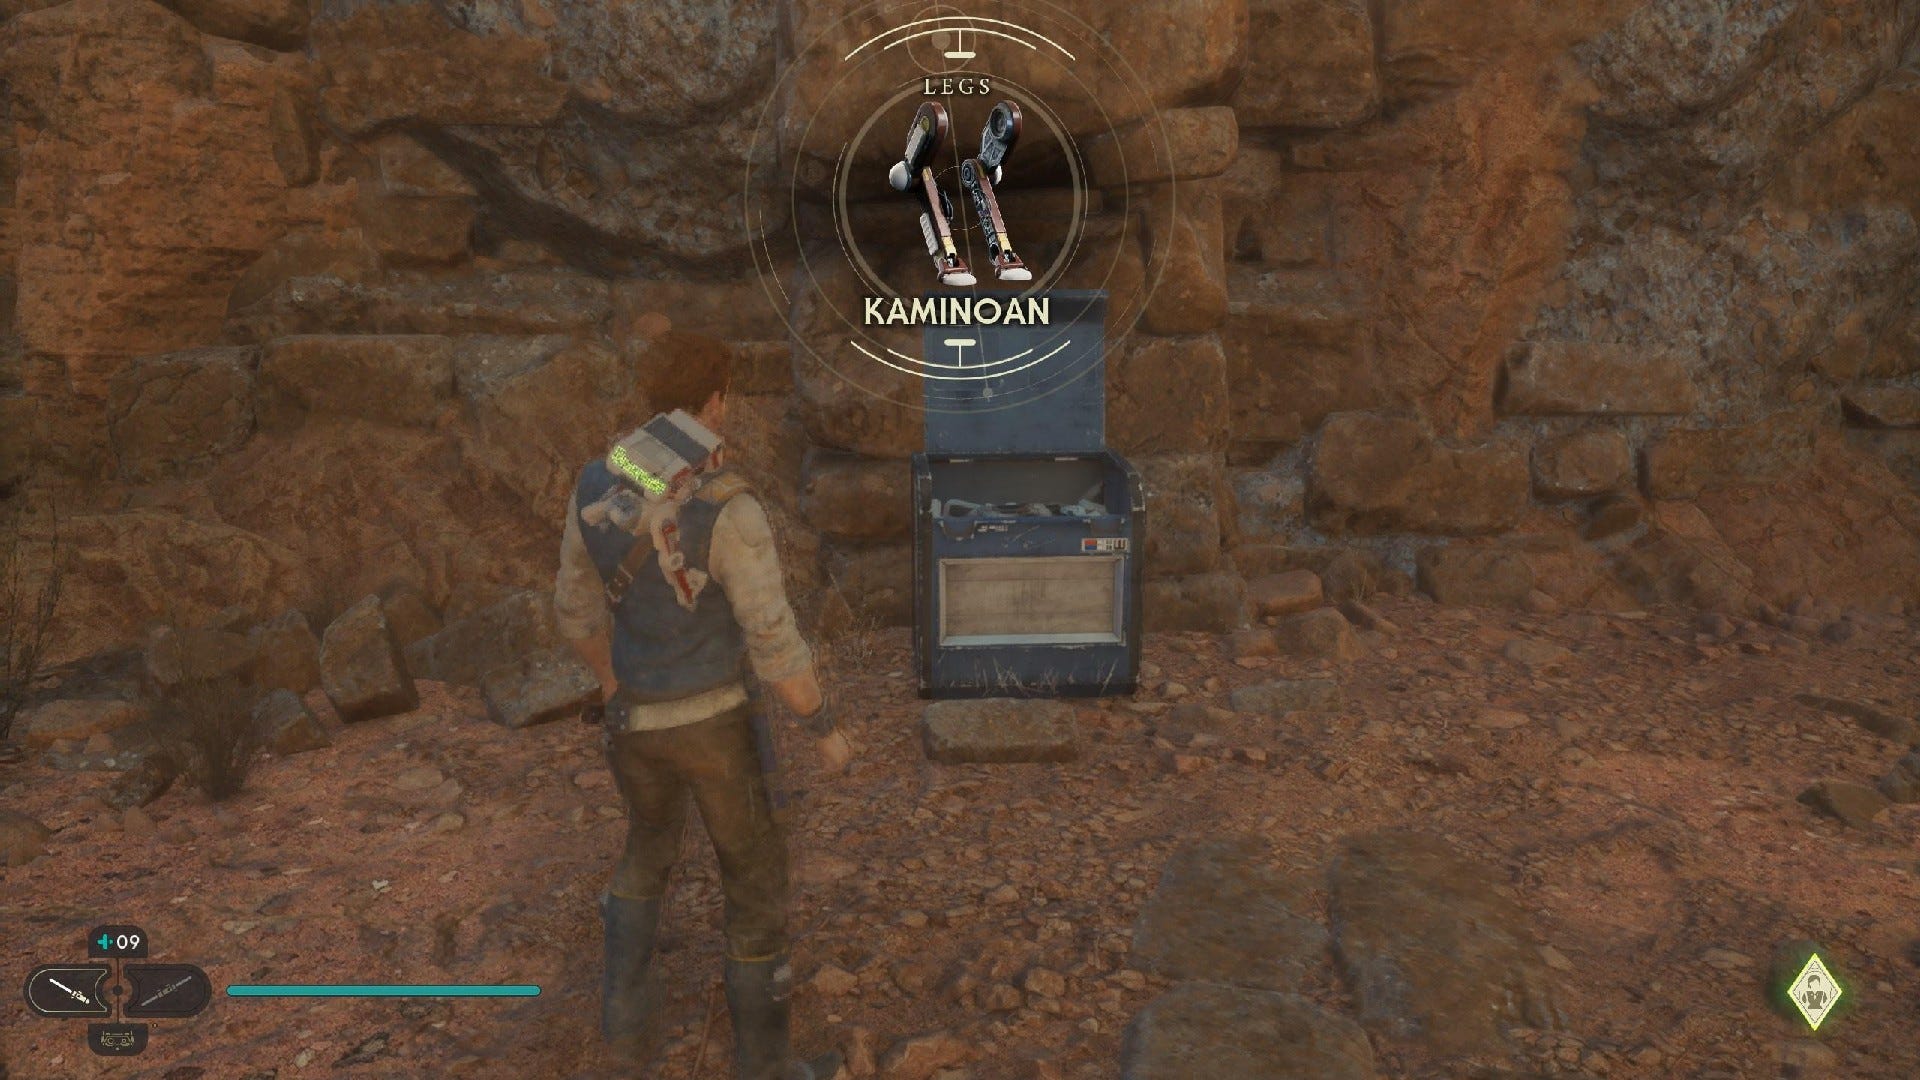
Chest #1 (Kaminoan Legs): Next to Desert Ridge Meditation Point, in ruin.

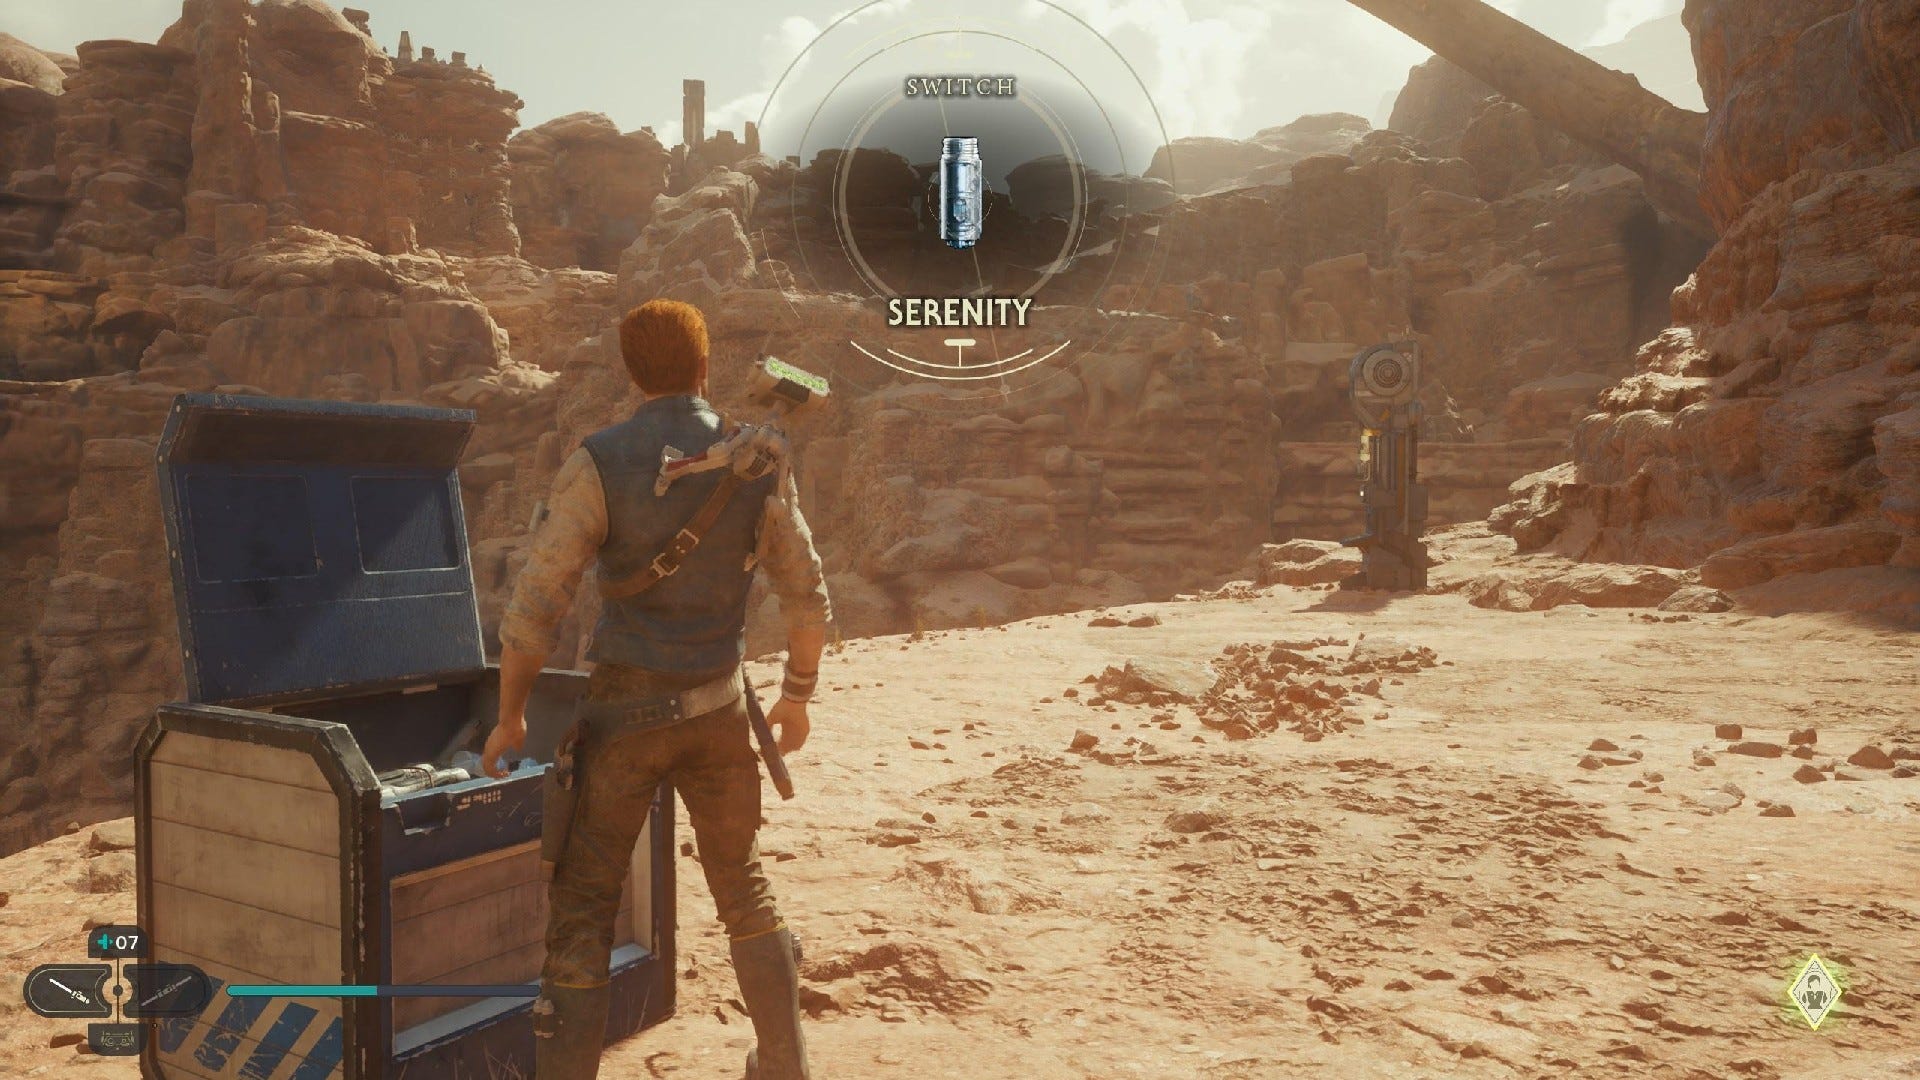
Chest #2 (Serenity Switch): Follow path from Desert Ridge Meditation Point that leads to Abandoned Tradeway shortcut zipline.
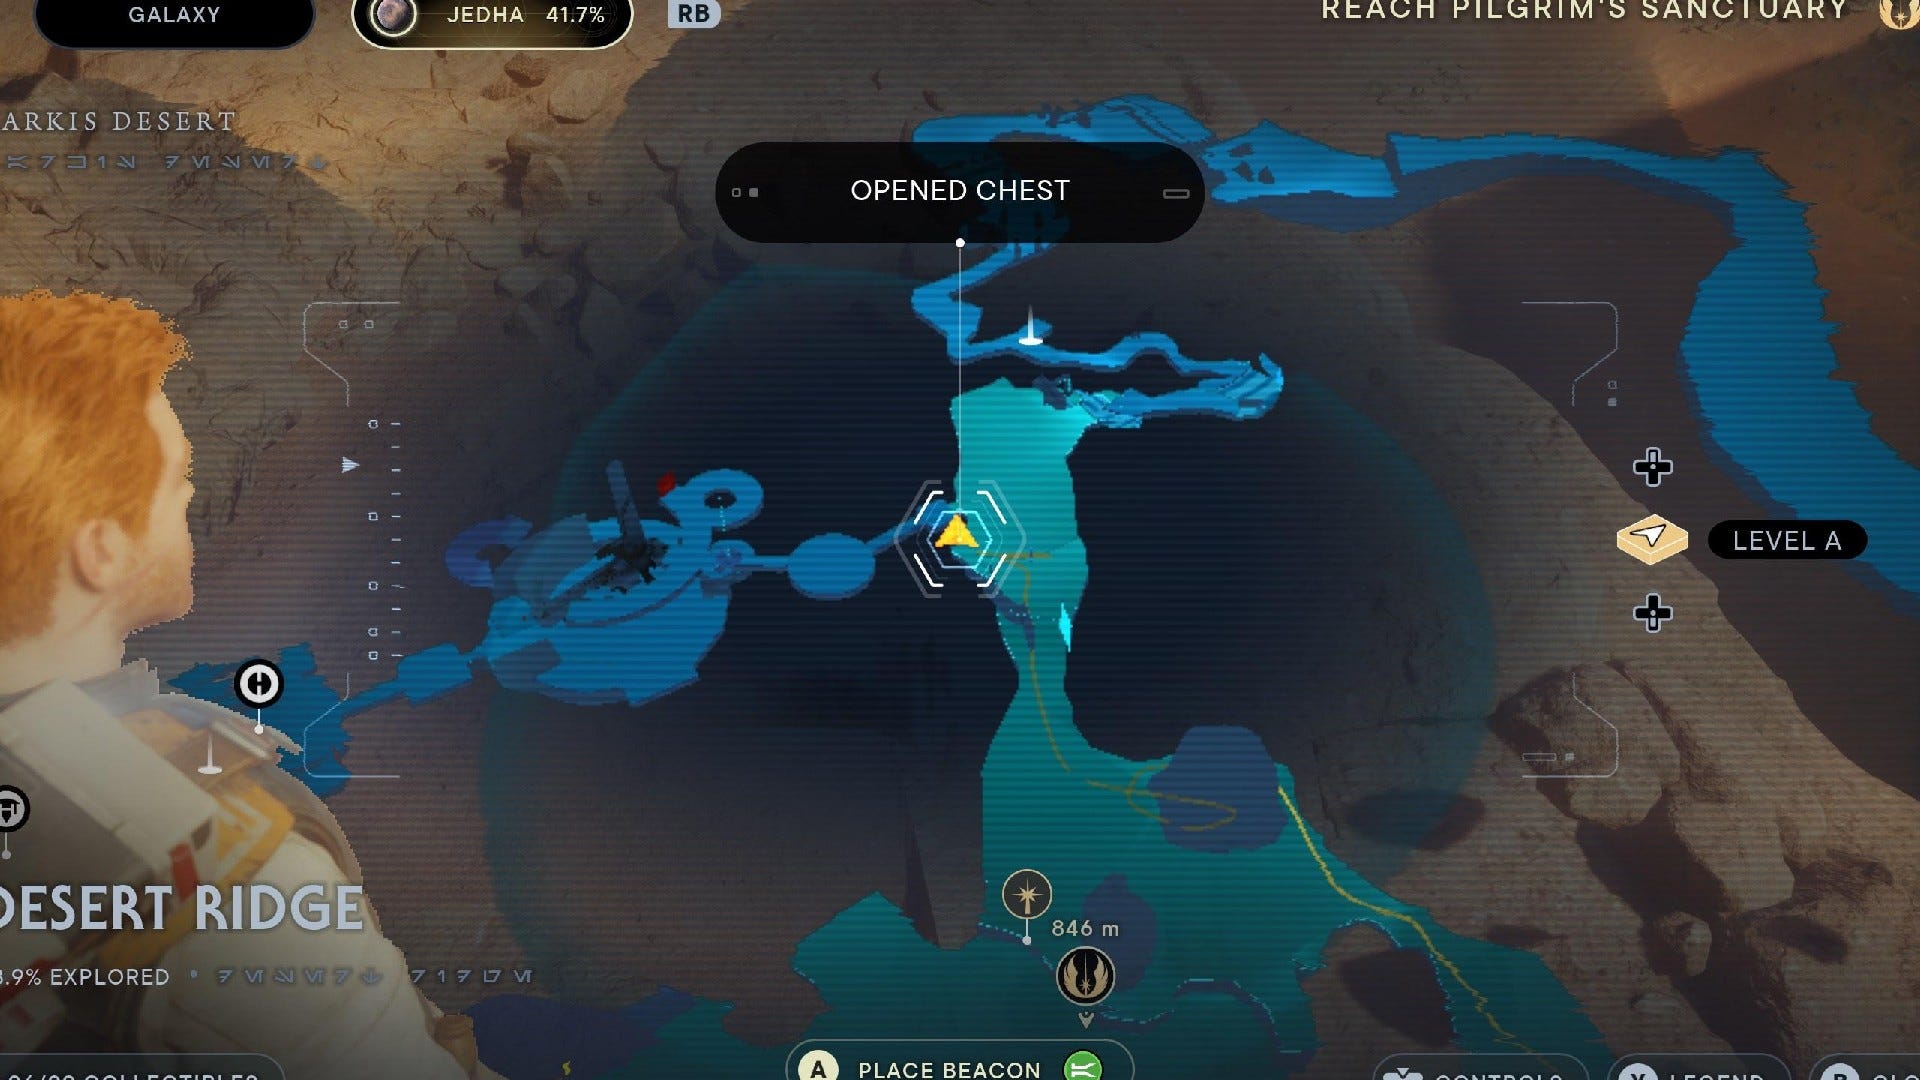
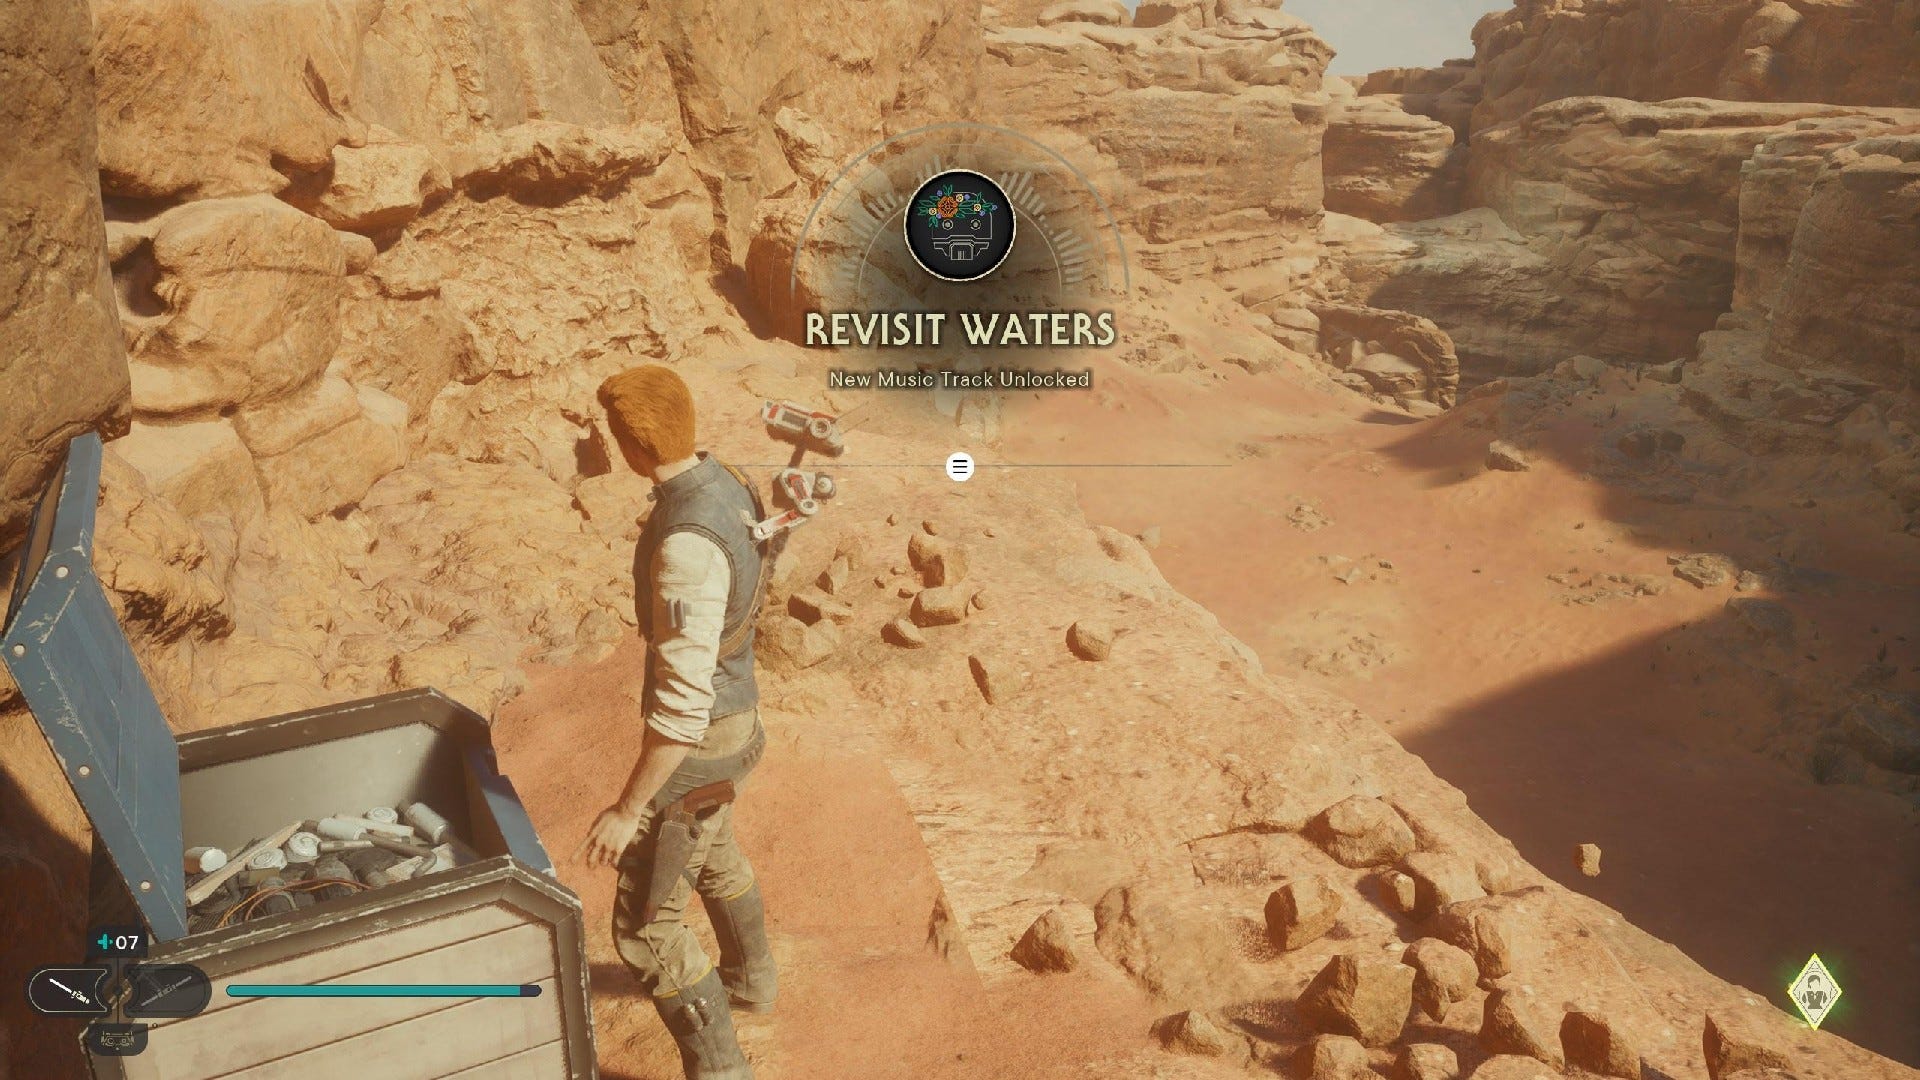
Chest #3 (Revisit Waters Music Track): Follow Desert Ridge path from Arid Flats until you find rope shortcut back to Cere's Base entrance. Wall run to left of rope and leap to ridge to find chest.
Chest #4 (Temperance Emitter): As you approach the Path of Conviction, use the upgraded grapple to zip over to the balloons on the left side. Climb to the top of the Path of Conviction, and then use the flying creature nearby to soar back down to Desert Ridge. Keep high and to the right to land on a high ridge, atop which you'll find this Chest.
Desert Ridge Essences:
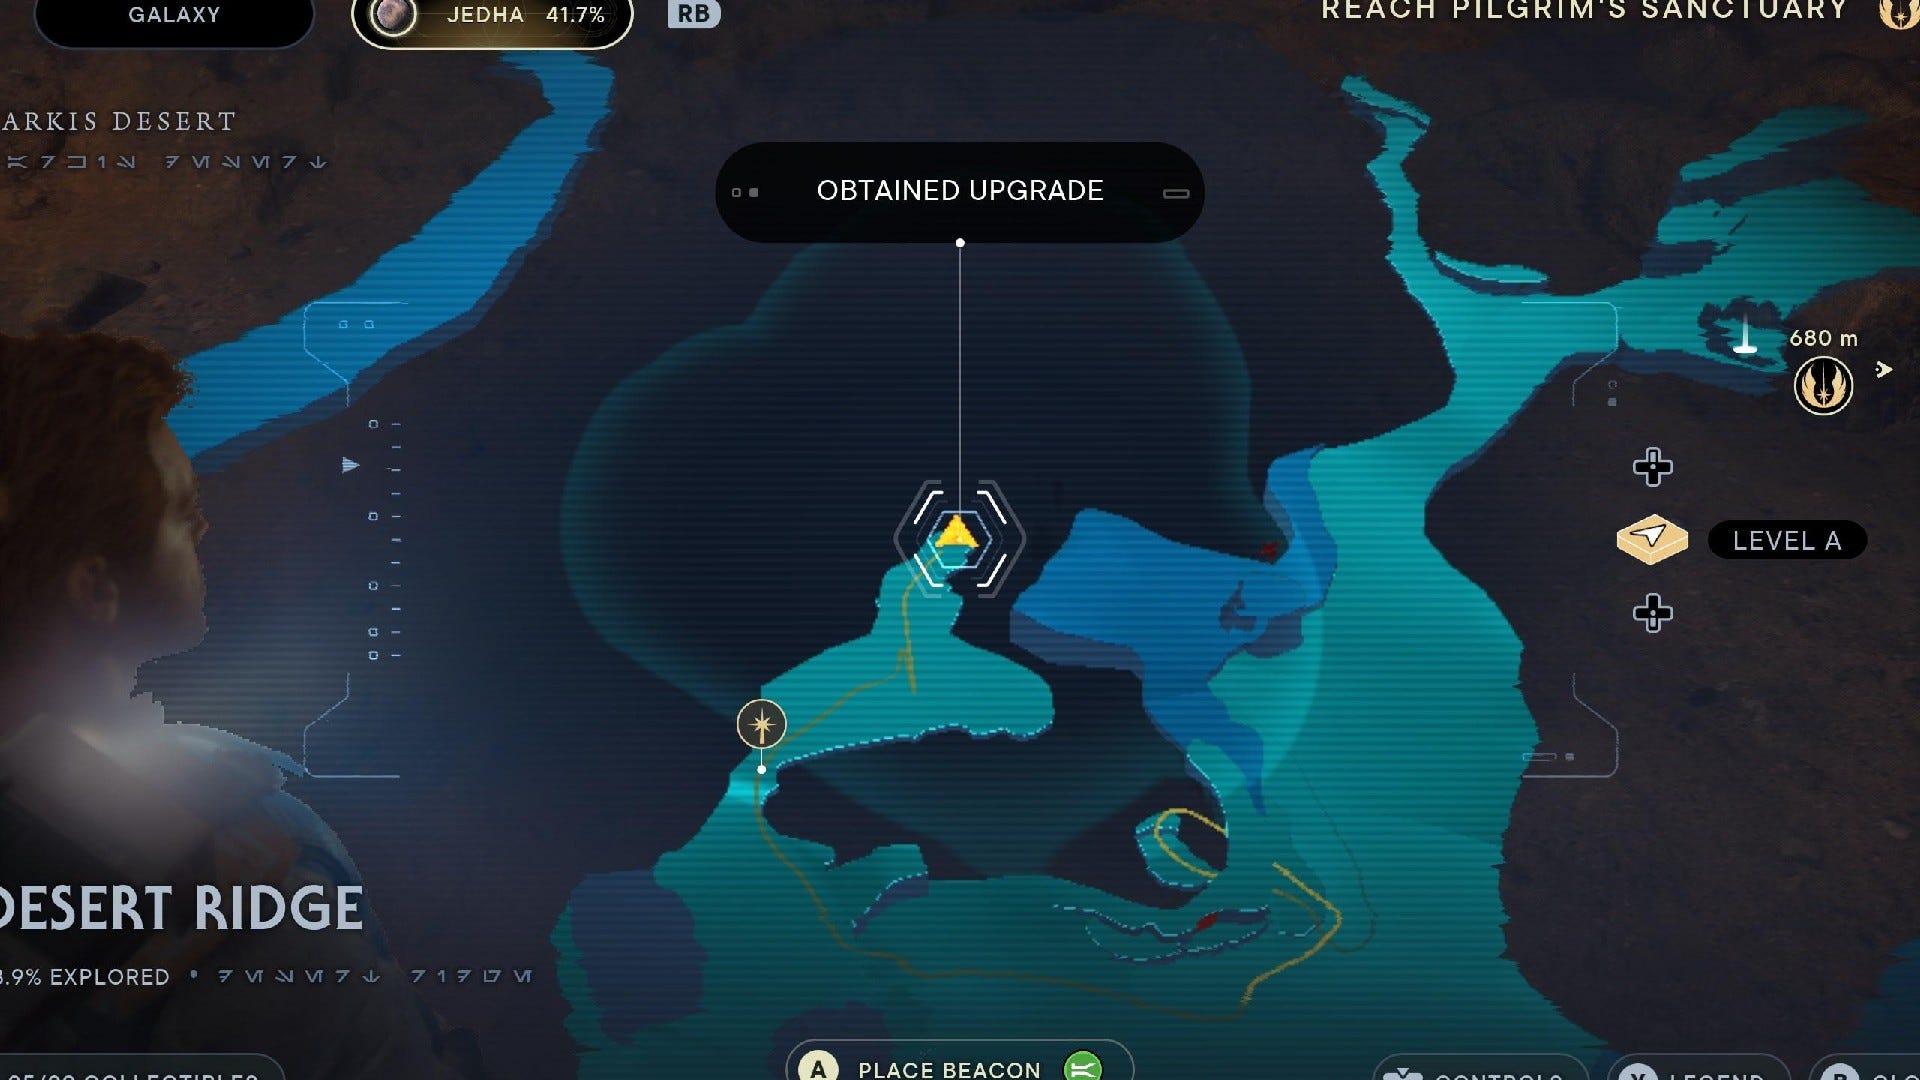
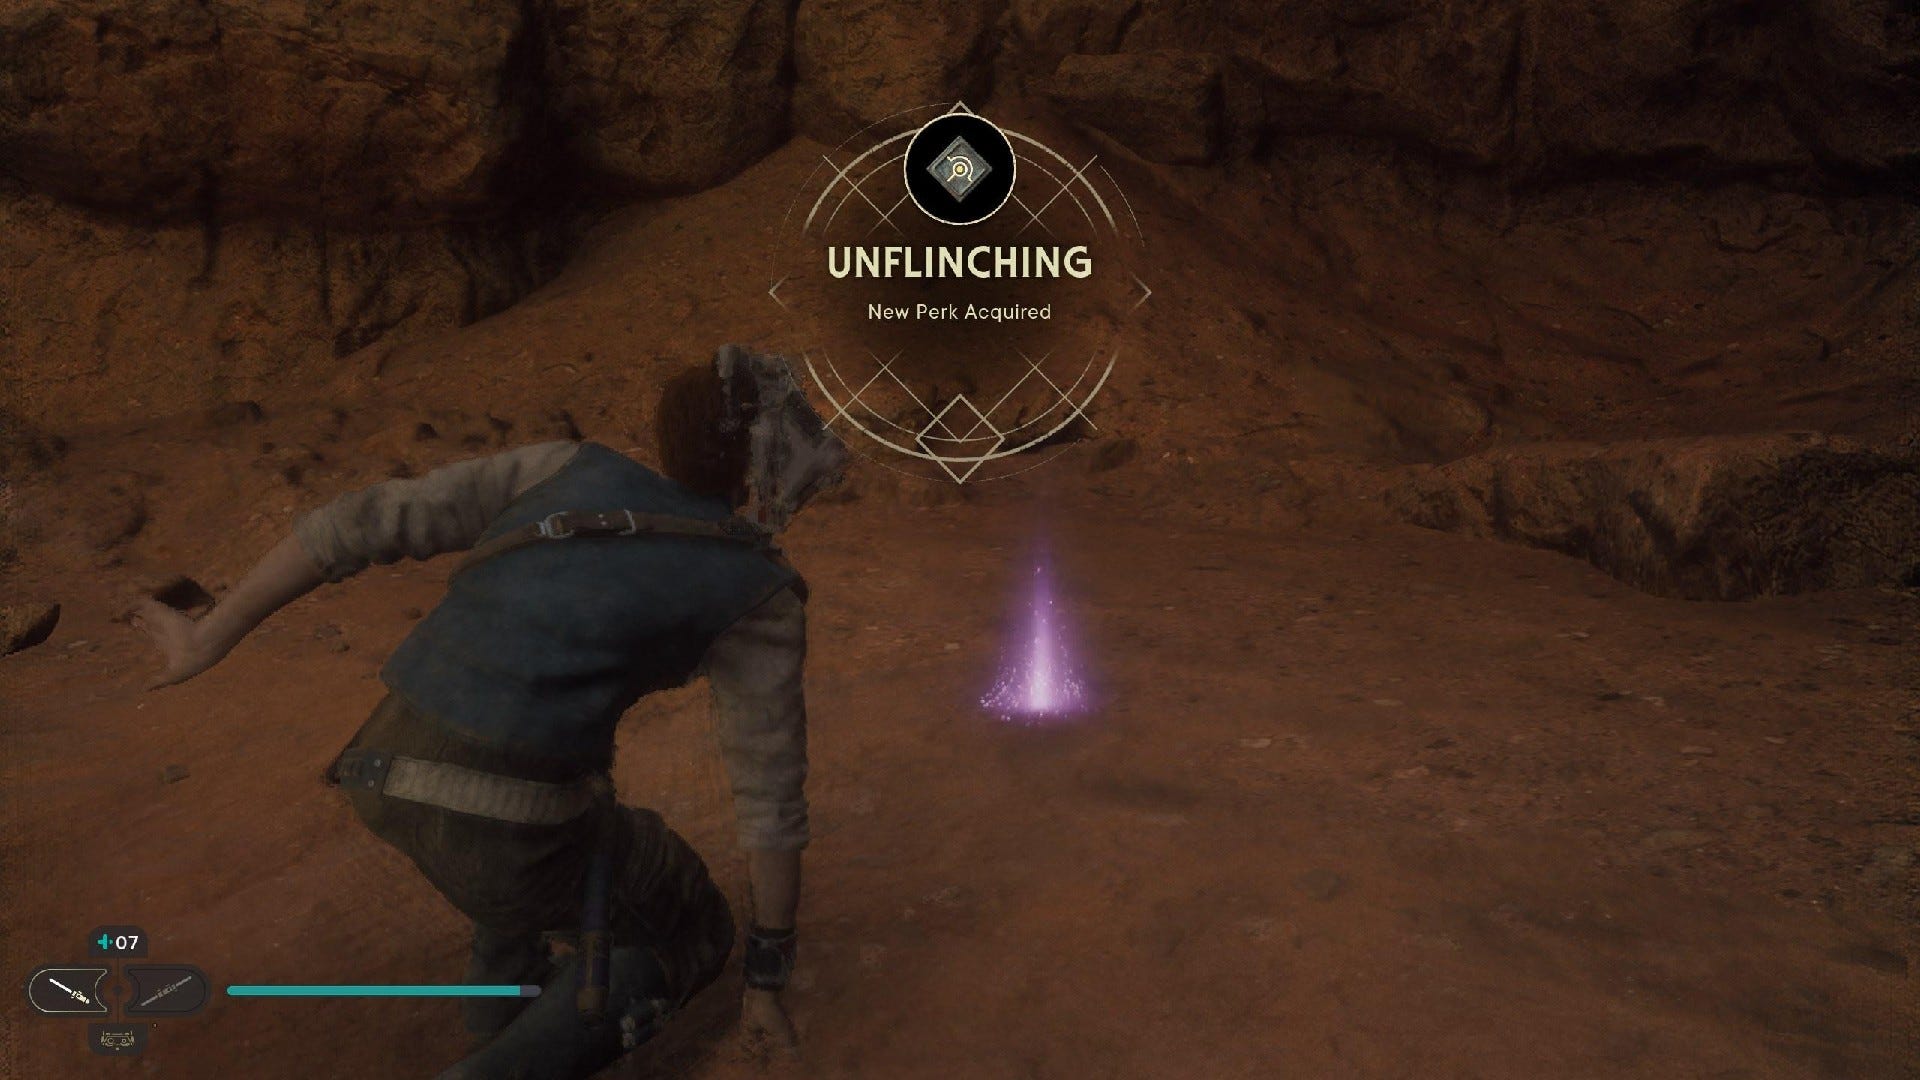
Perk (Unflinching): Defeat Golden Skriton and find it at end of boss arena.
Desert Ridge Databanks:
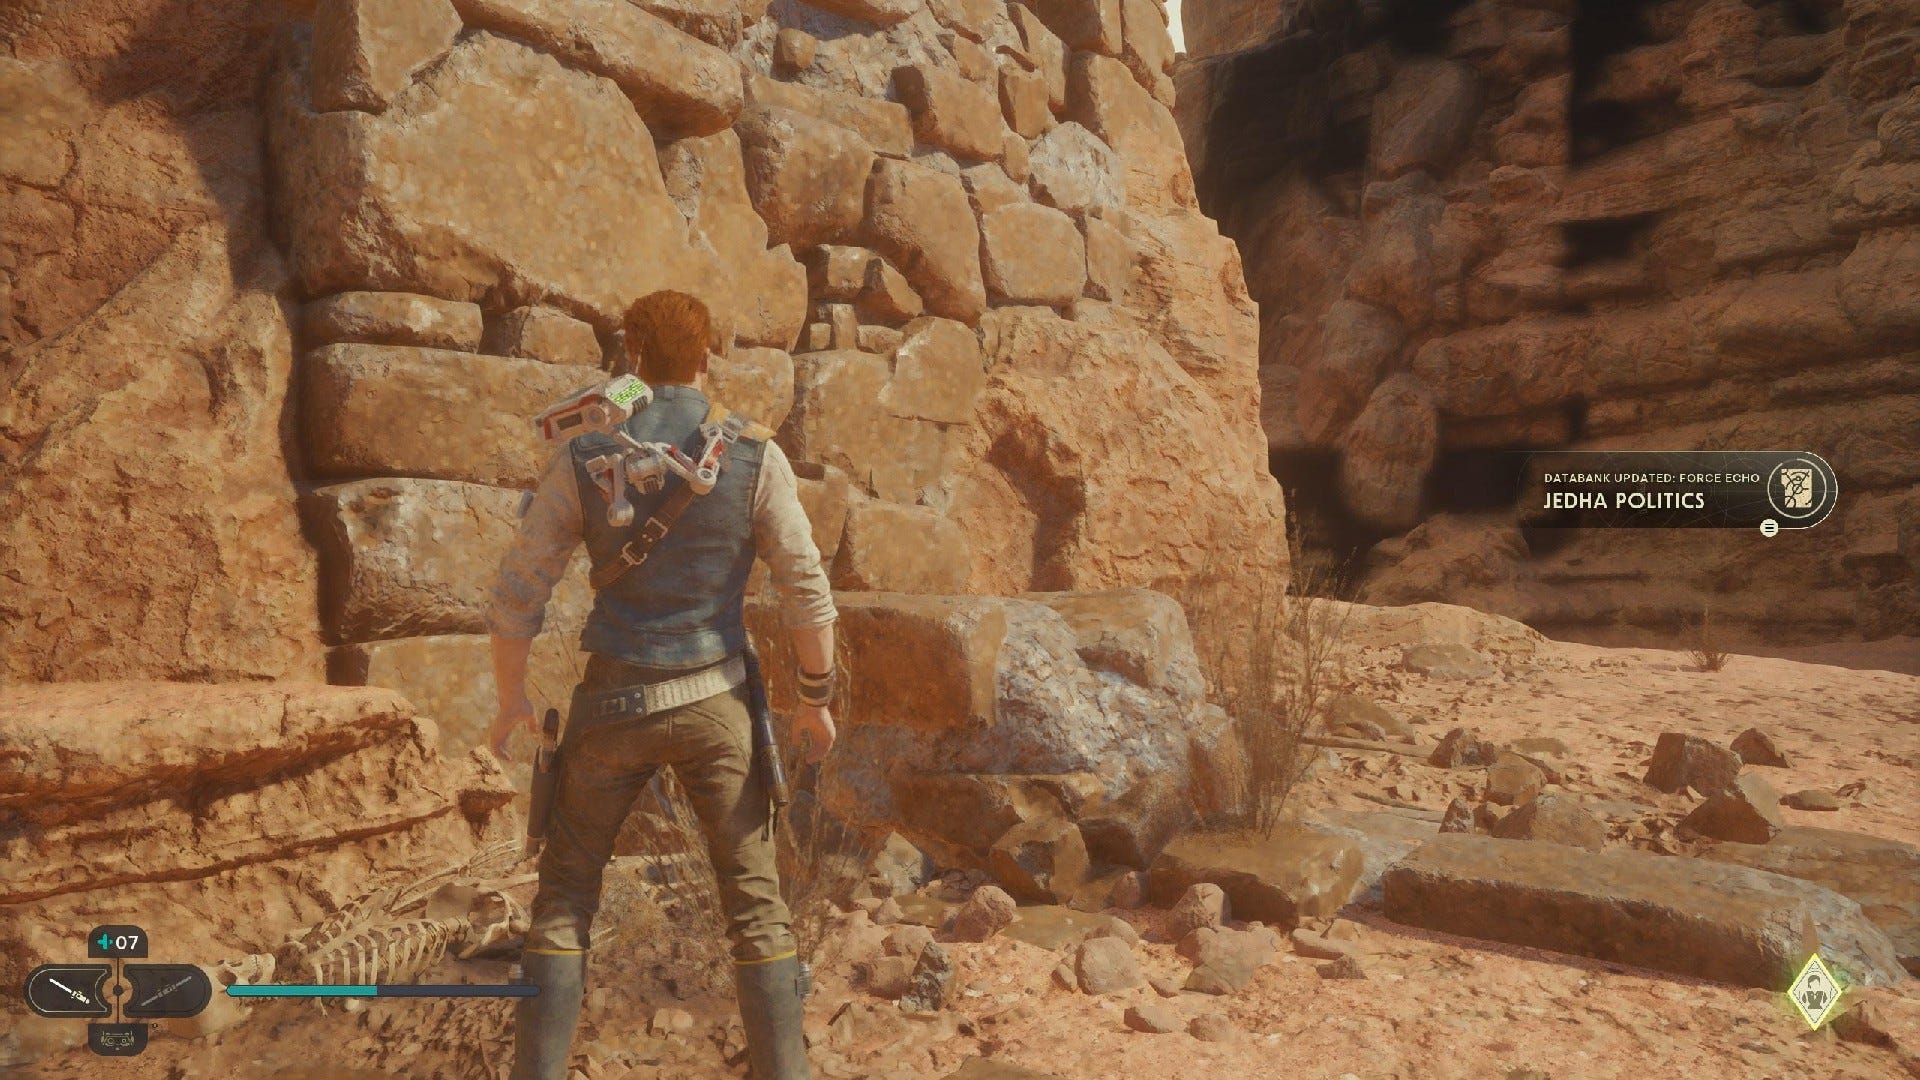
Databank (Jedha Politics): Just behind the ruin that contains the Desert Ridge Meditation Point.

Databank (A Pilgrimage): Force push rocks to enter the cave near the laser door in Desert Ridge, force echo is just within.
Desert Ridge Force Tears:


Force Tear (Fractured Determination): Through green laser door (requires Merrin's Charm).
Desert Ridge Treasures:
Jedha Scroll #1: Wall run from Desert Ridge shortcut that leads back to Cere's Base and reach Music Track Chest. Then, wall run again around to glint on wall, and jump over to grab it automatically while sliding down.
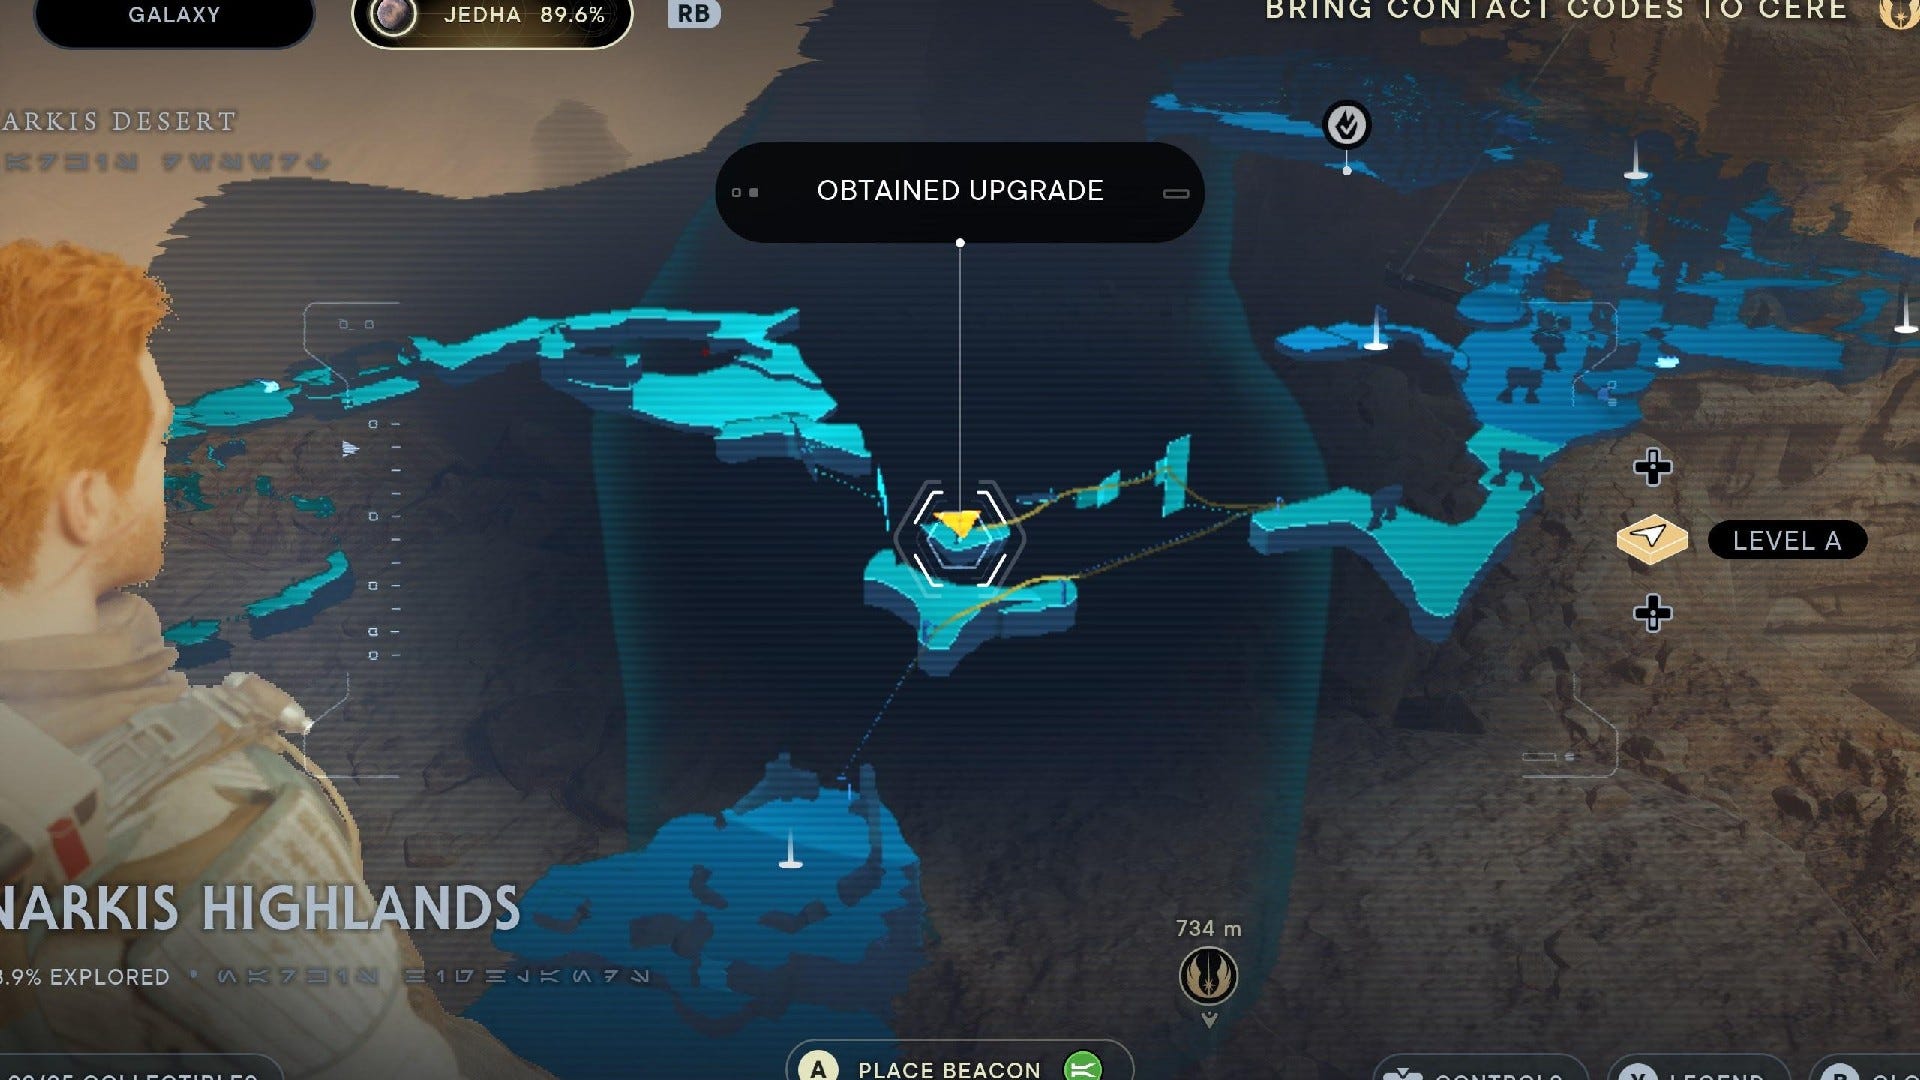
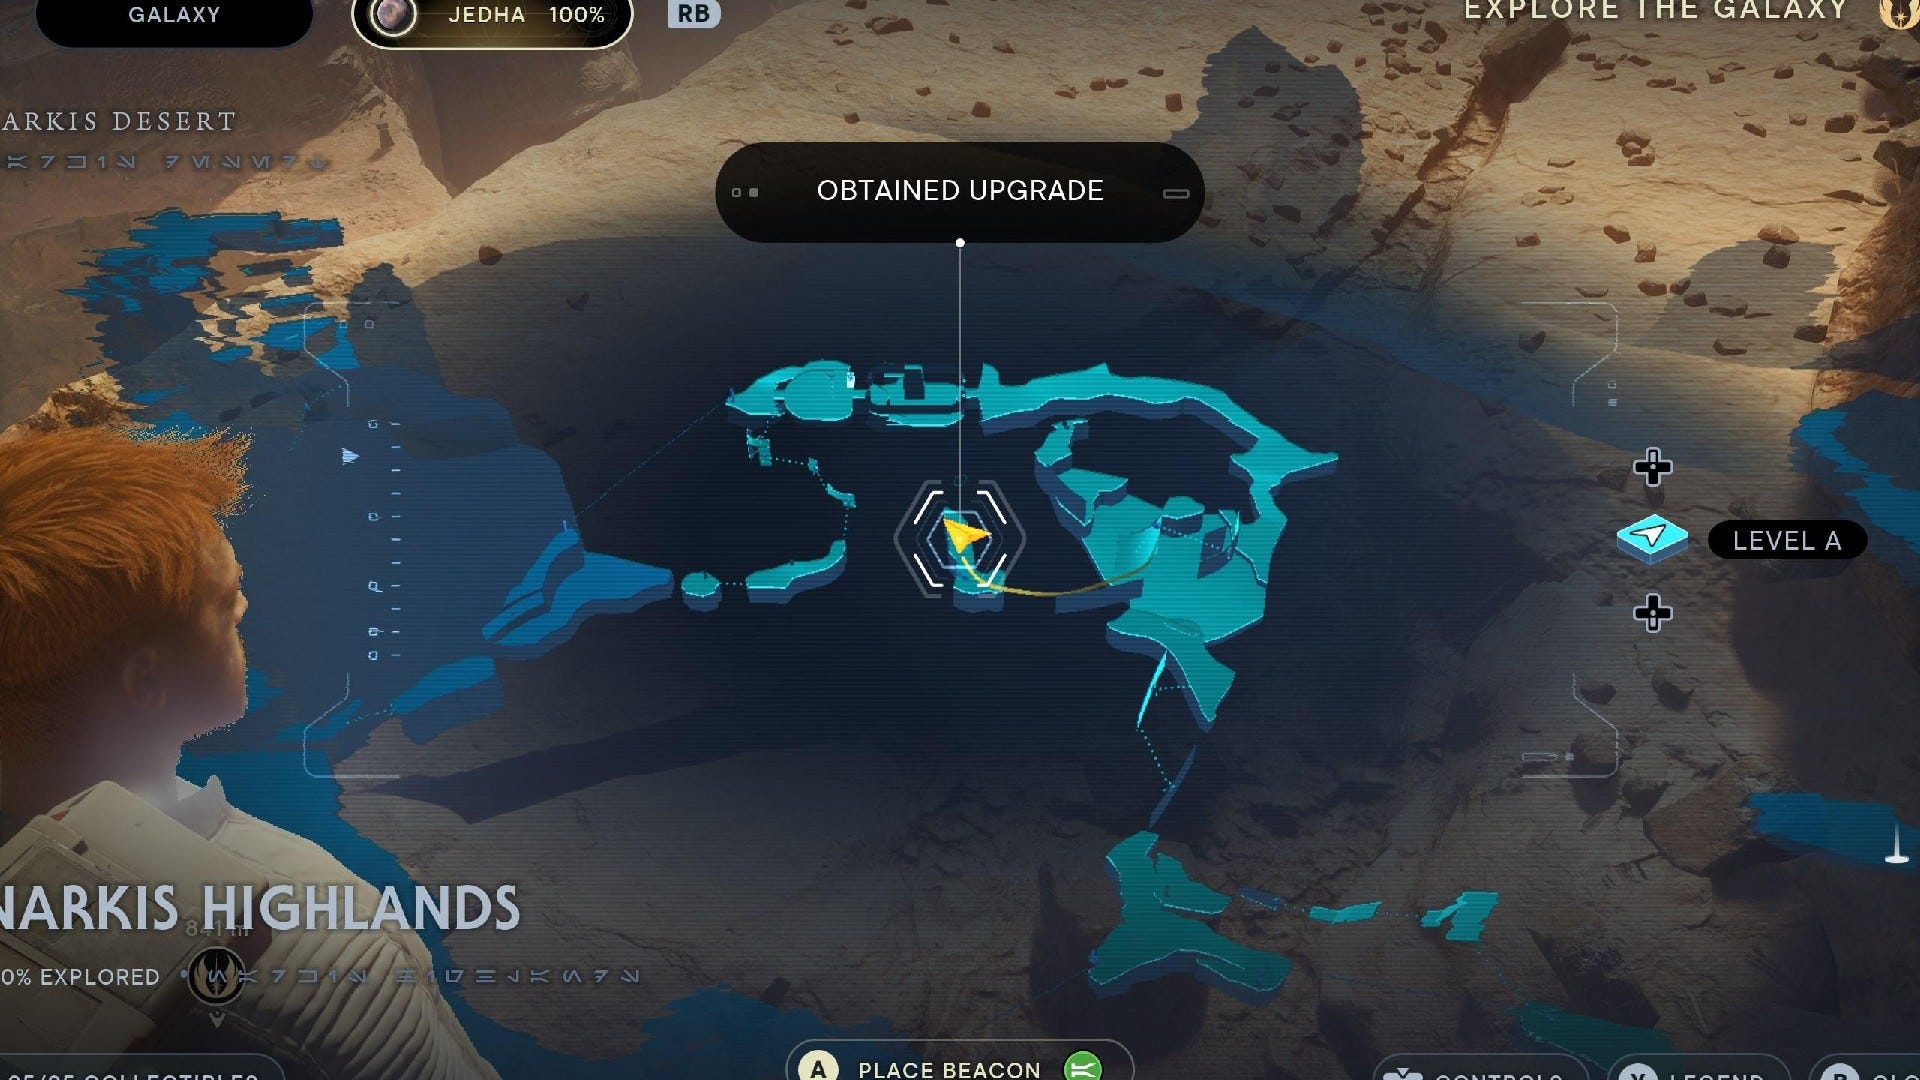
Narkis Highlands collectibles
The Narkis Highlands is the start of the path leading towards the Sanctuary Temple. Here, you'll find 5 collectibles:
Narkis Highlands Chests:
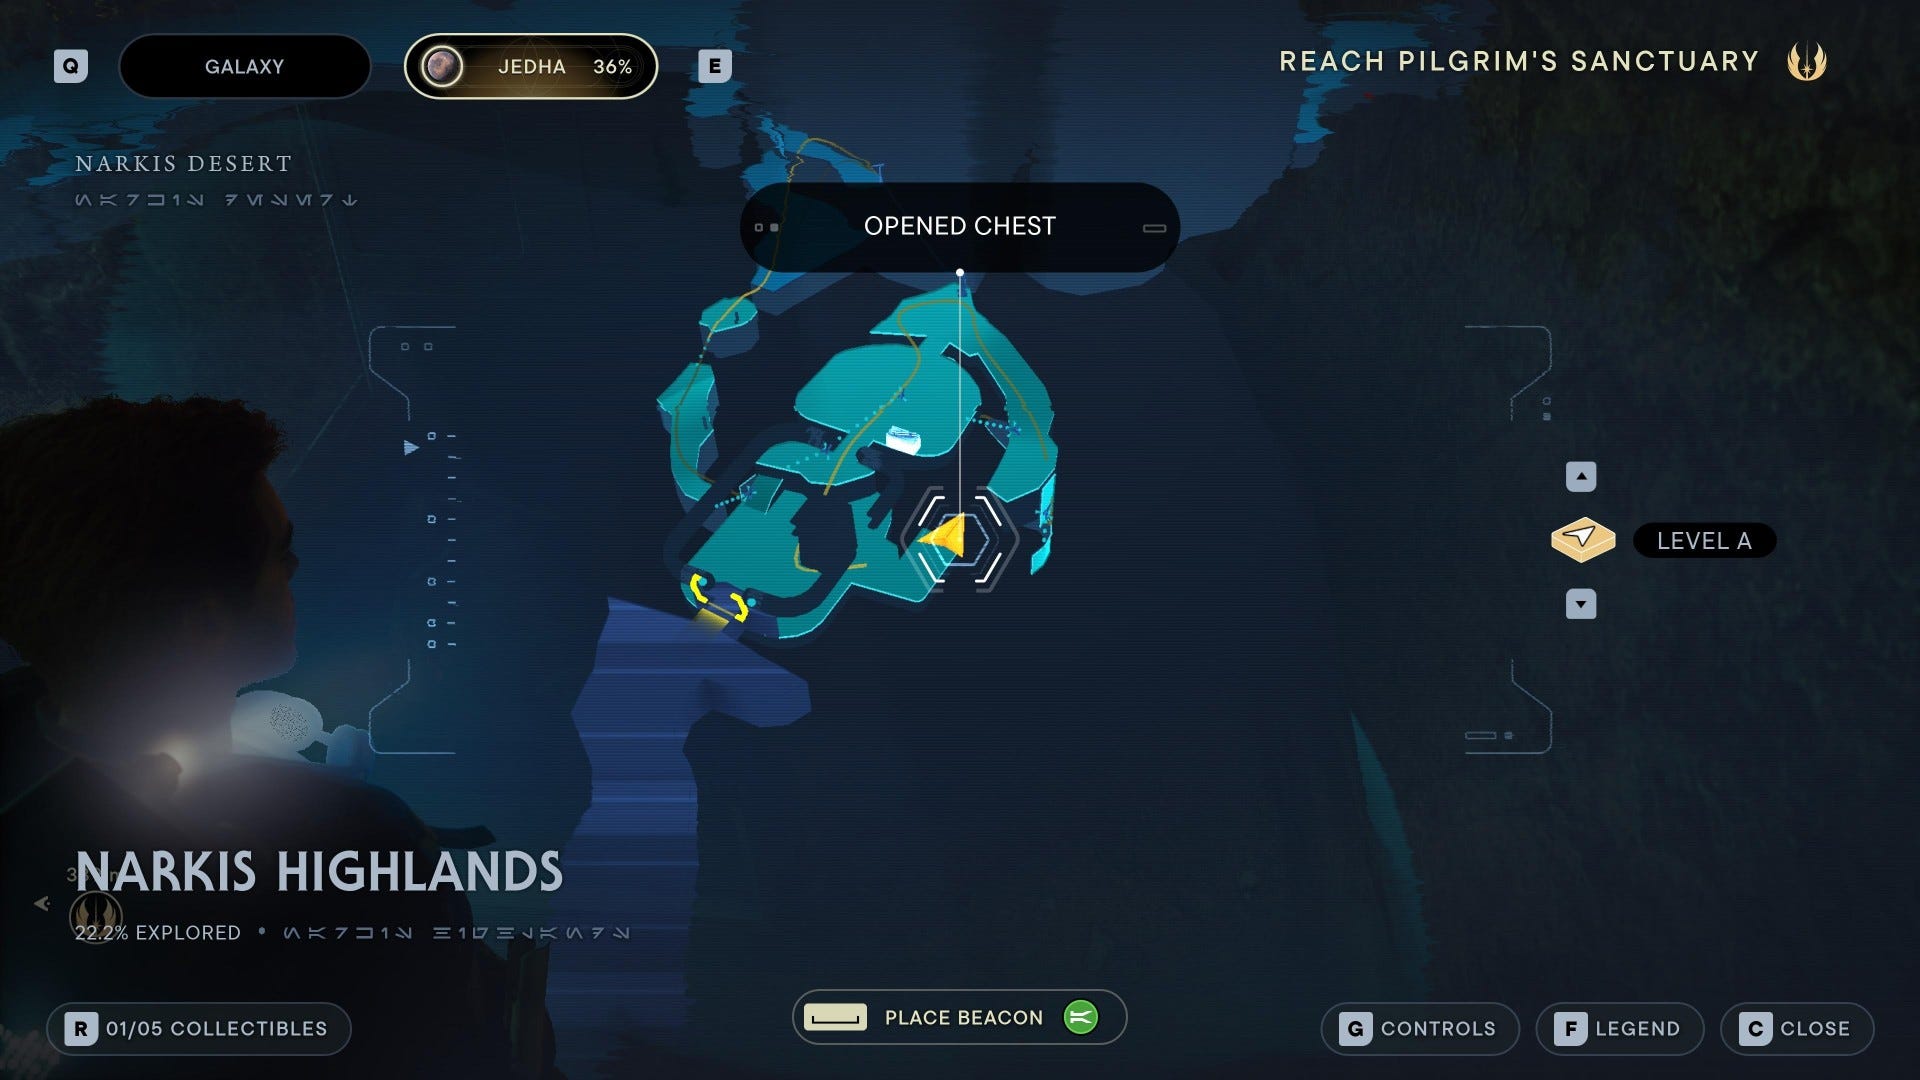
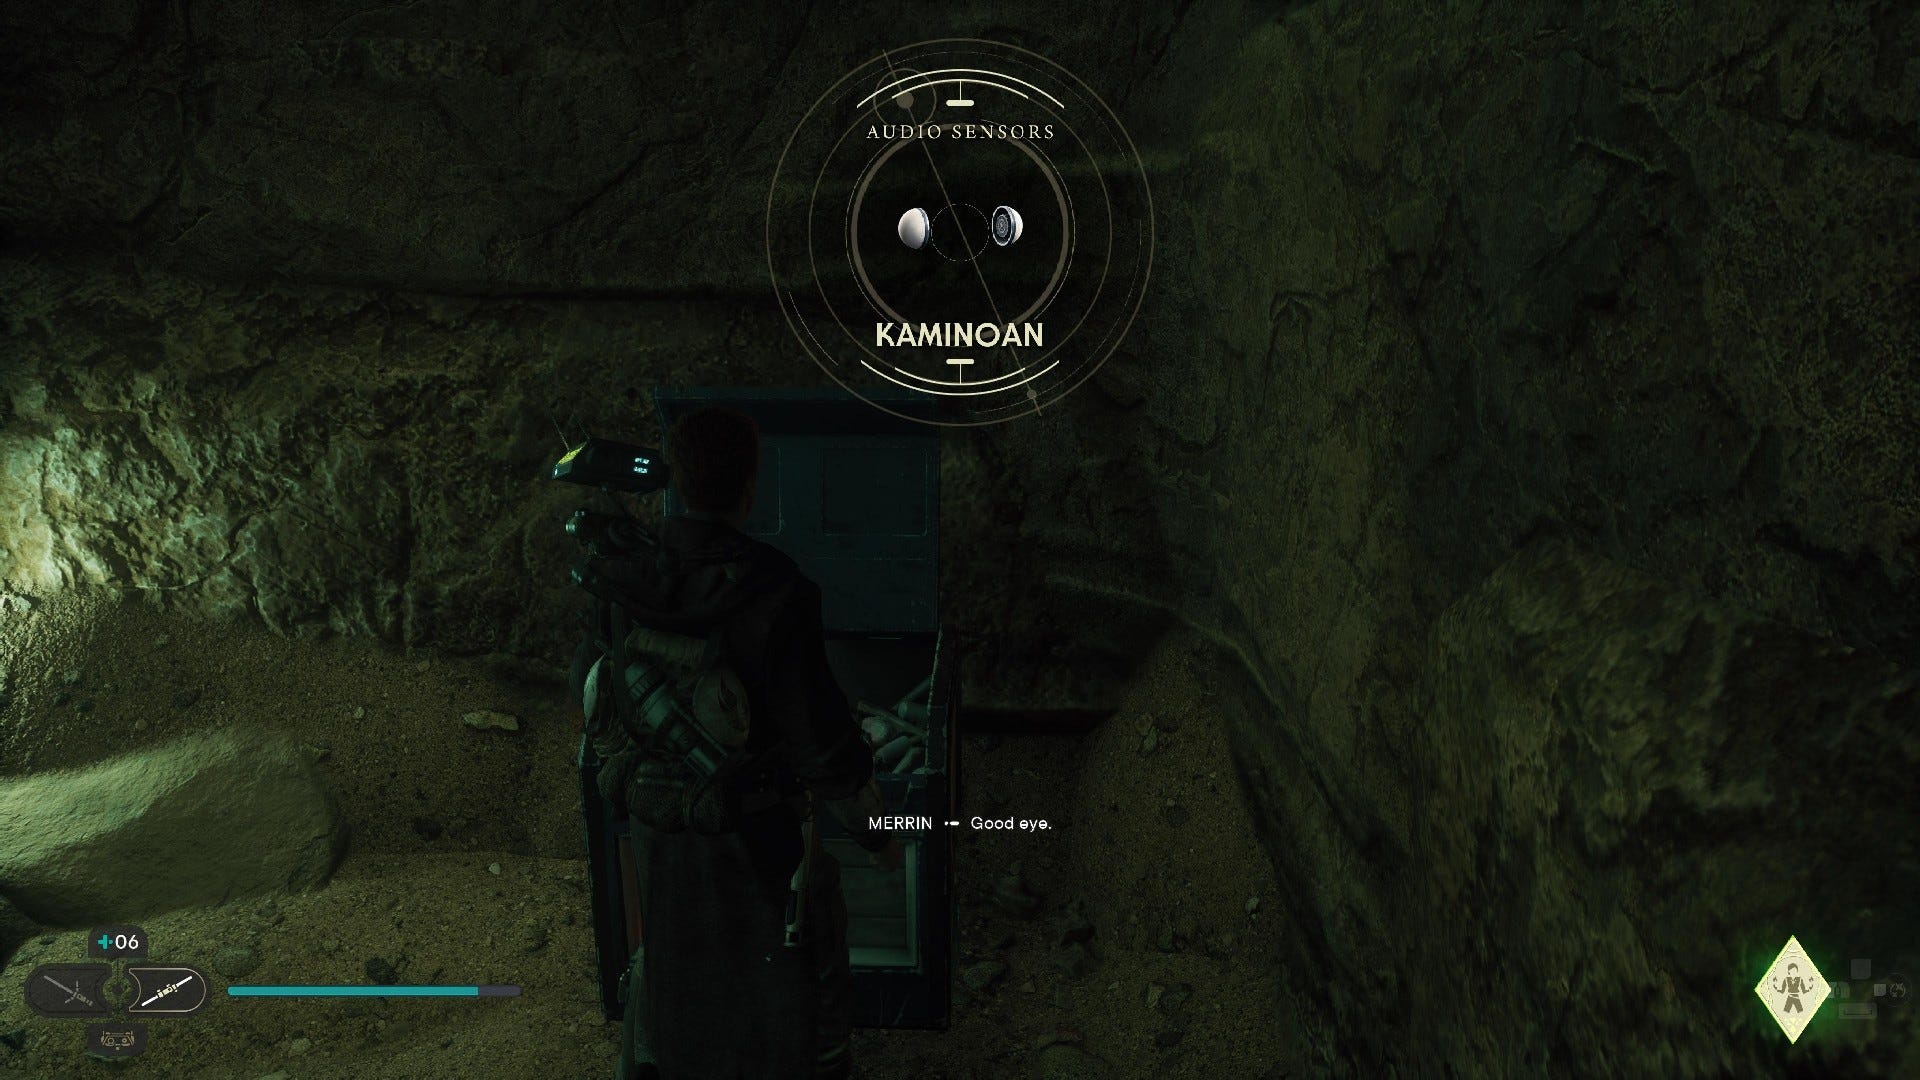
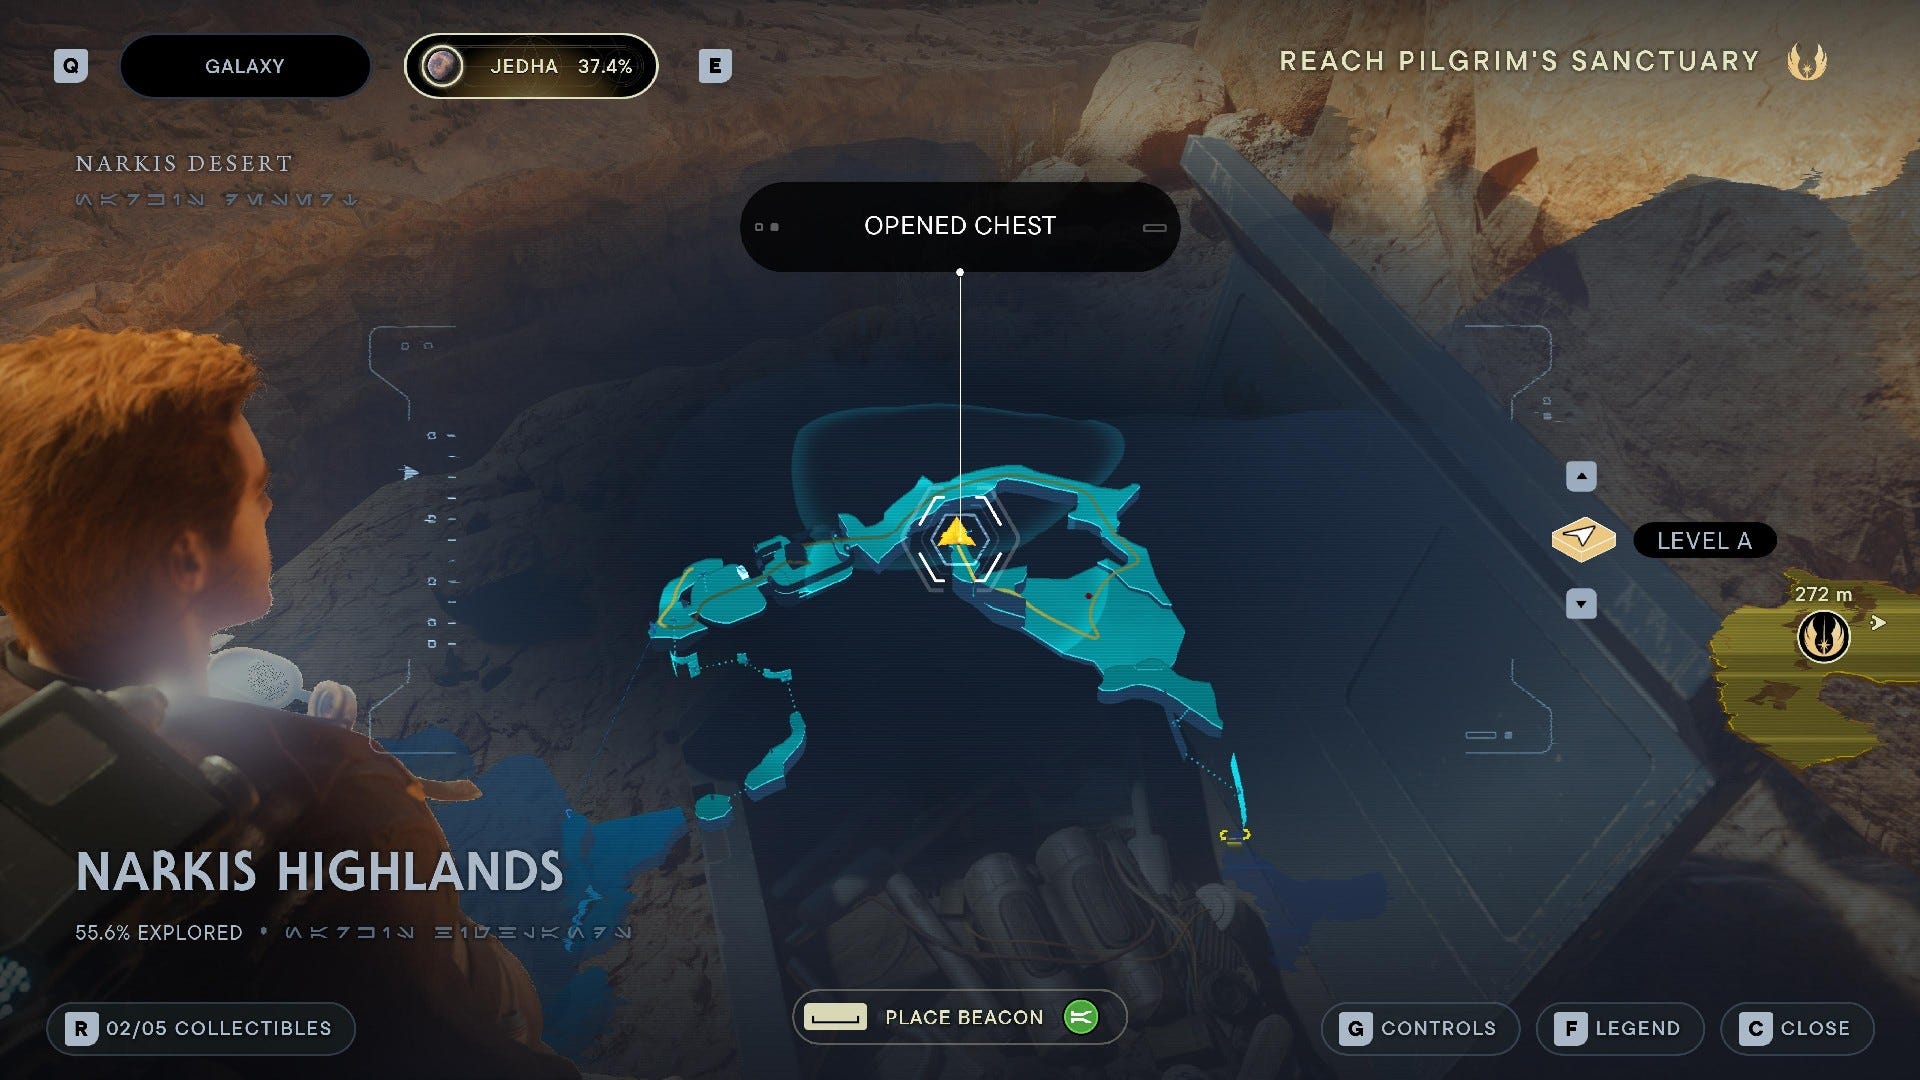
Chest #1 (Kaminoan Audio Sensors): In the room where you must push in a section of the wall to complete the ball's path to open the door, look in the area that you push the section of wall into, and you'll find a chest.

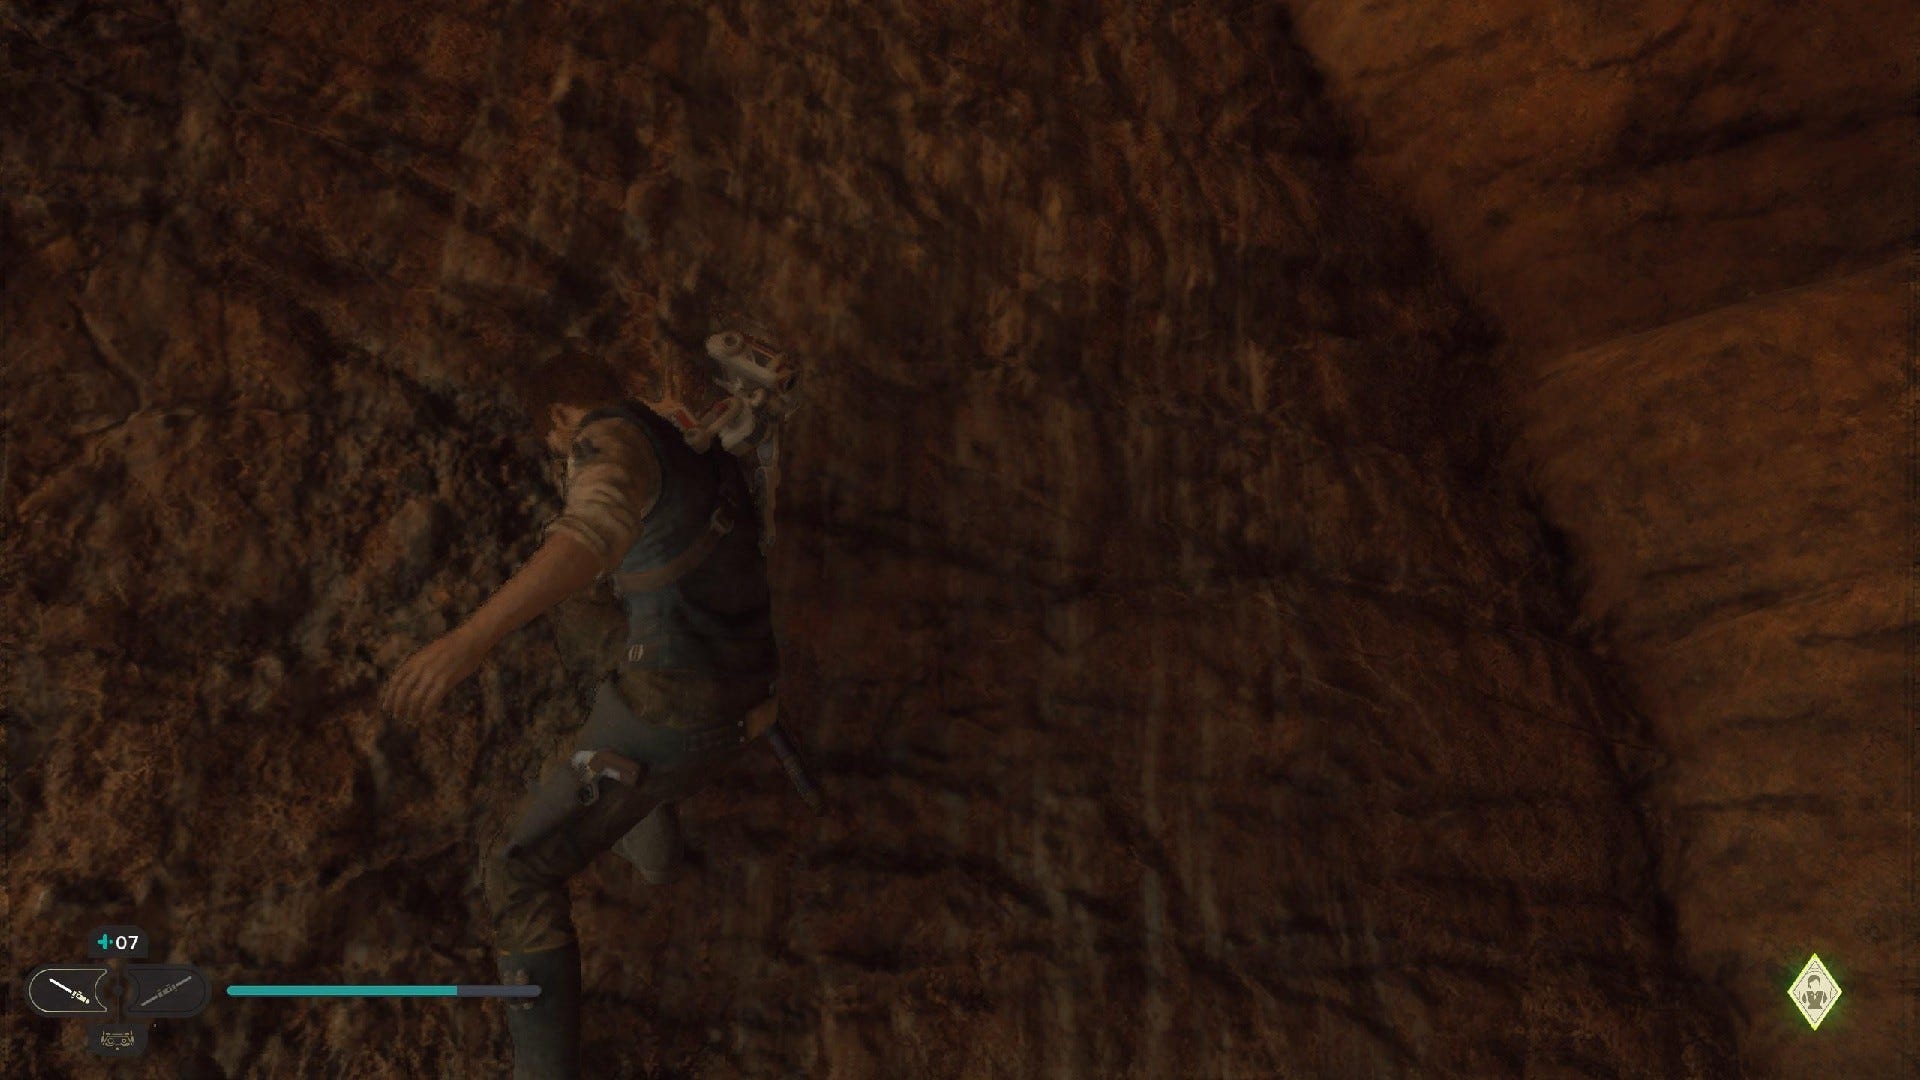
Chest #2 (Jedha Paint BD-1 Materials): After the Skriton fight, parkour up the wall-running section nearby.
Narkis Highlands Essences:
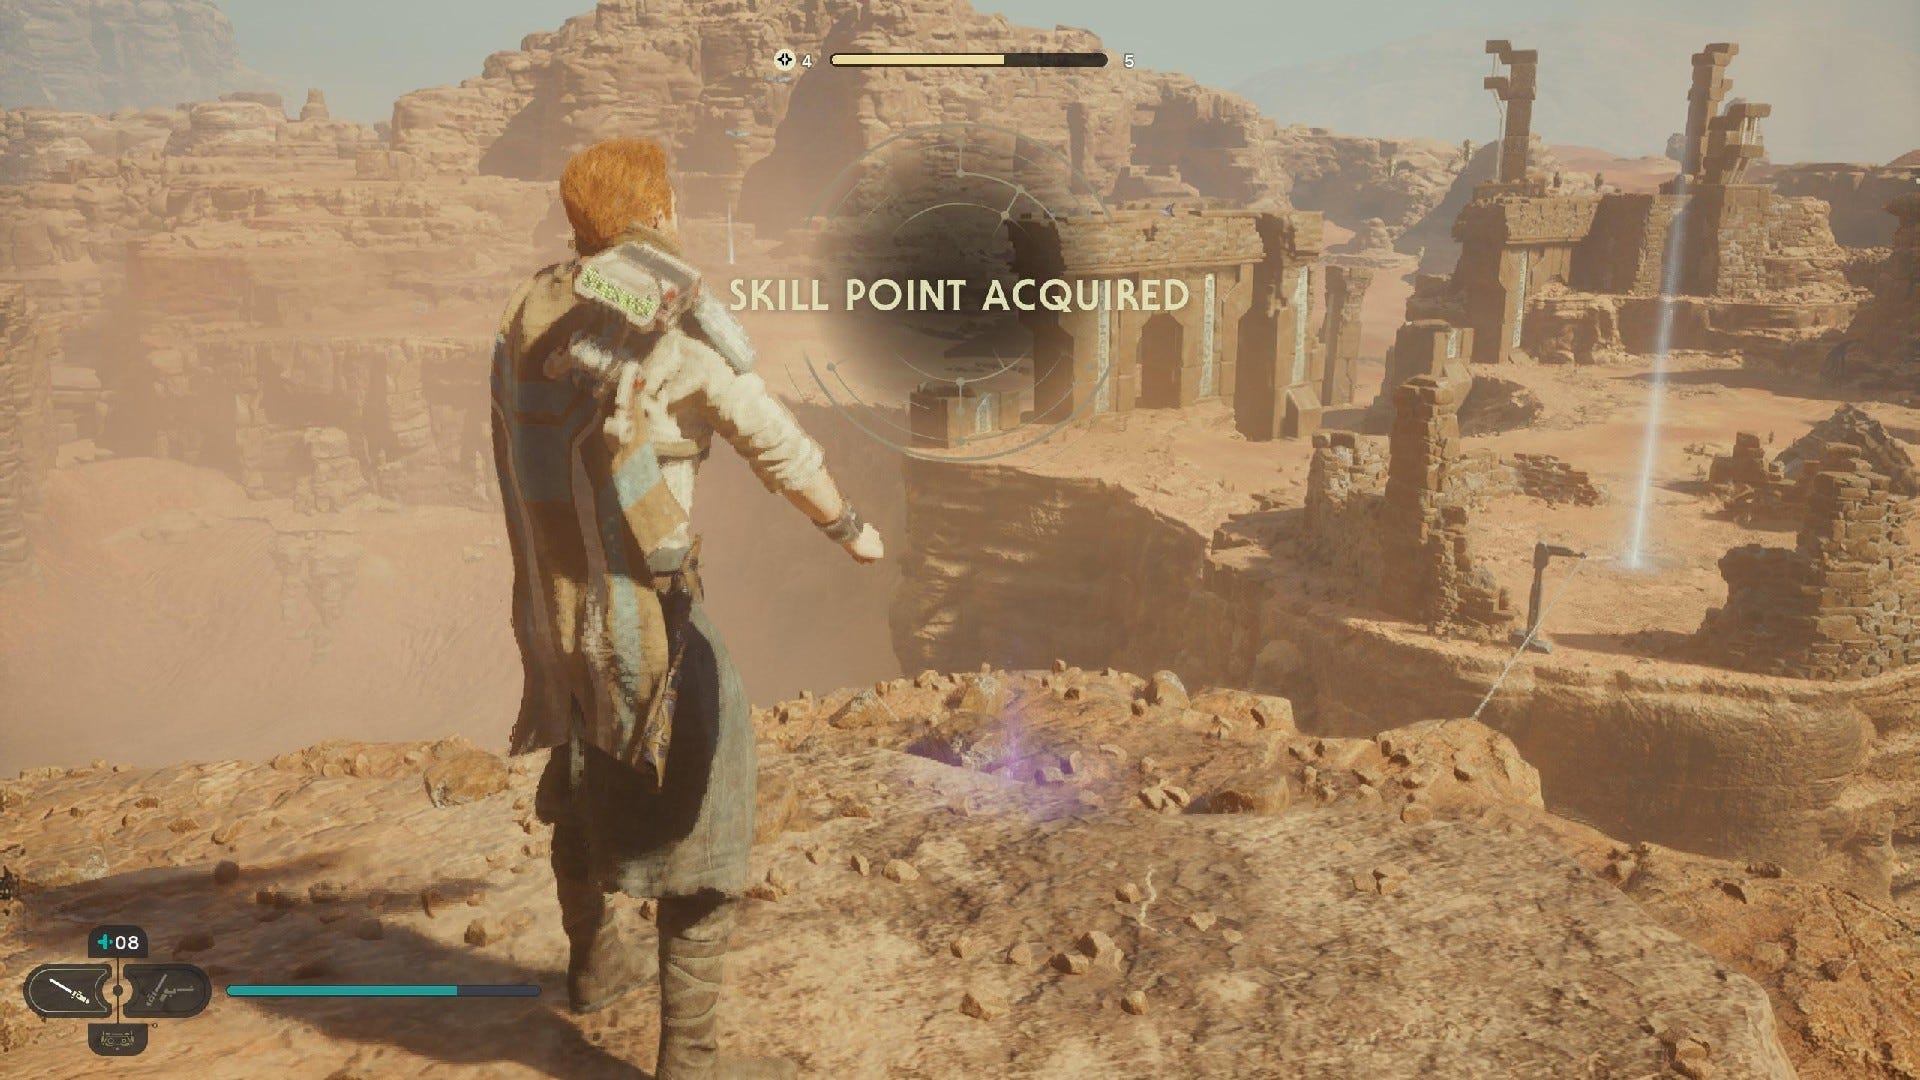
Skill Point Essence #1: Zipline over from Arid Flats, turn right and zipline again. Turn left and use dash to parkour up the wall and climb around to reach the Skill Point Essence.
Skill Point Essence #2: In the area where you fight the Skriton, zip up to the hovering balloon and bounce over to the grapple point on the wall. Wall-run along and hop over to the wall on the other side. Hop back across to the second wall-run and parkour along until you reach the flying creature up ahead. Run past to find this Skill Point Essence.
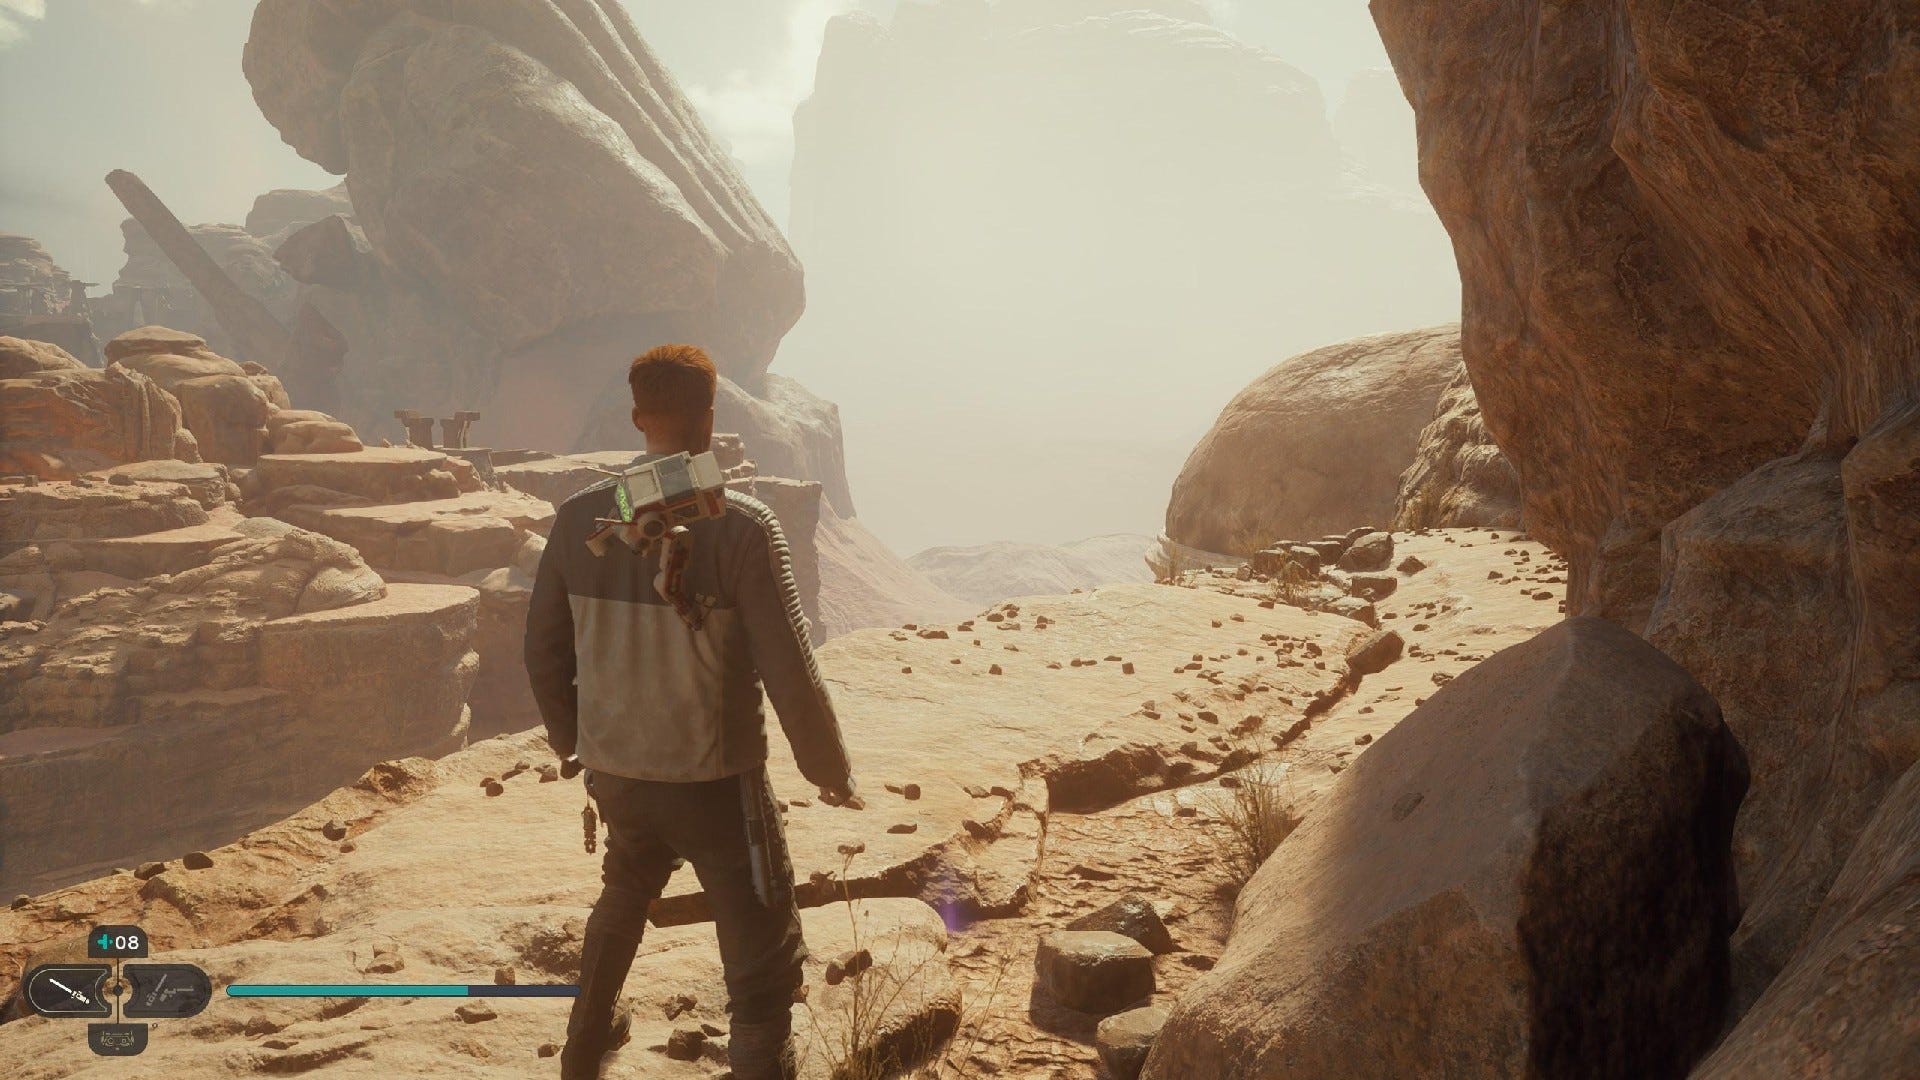
Narkis Highlands Treasures:


Jedha Scroll #1: In the area where you fight the Skriton, zip up to the hovering balloon and bounce over to the grapple point on the wall. Wall-run along and hop over to the wall on the other side. Parkour up and then leap to the right to reach a ledge with this Jedha Scroll.
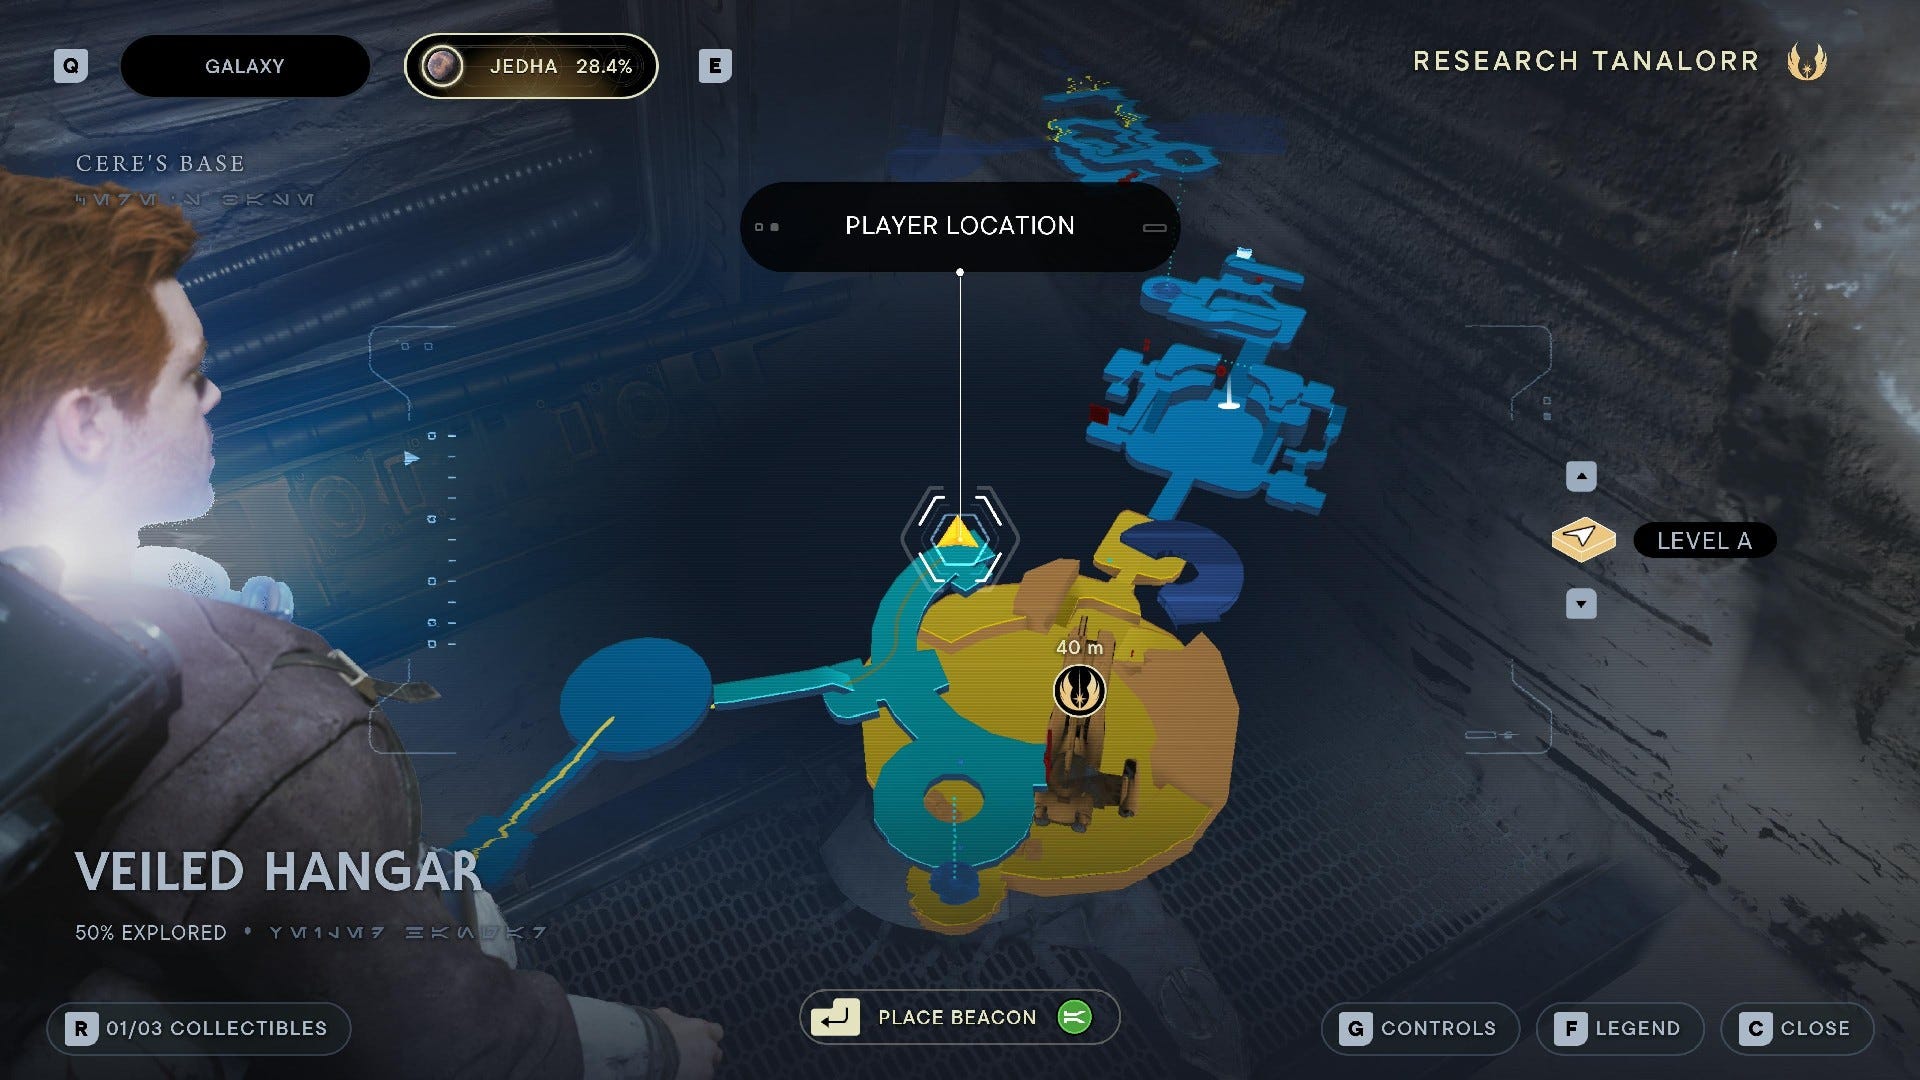
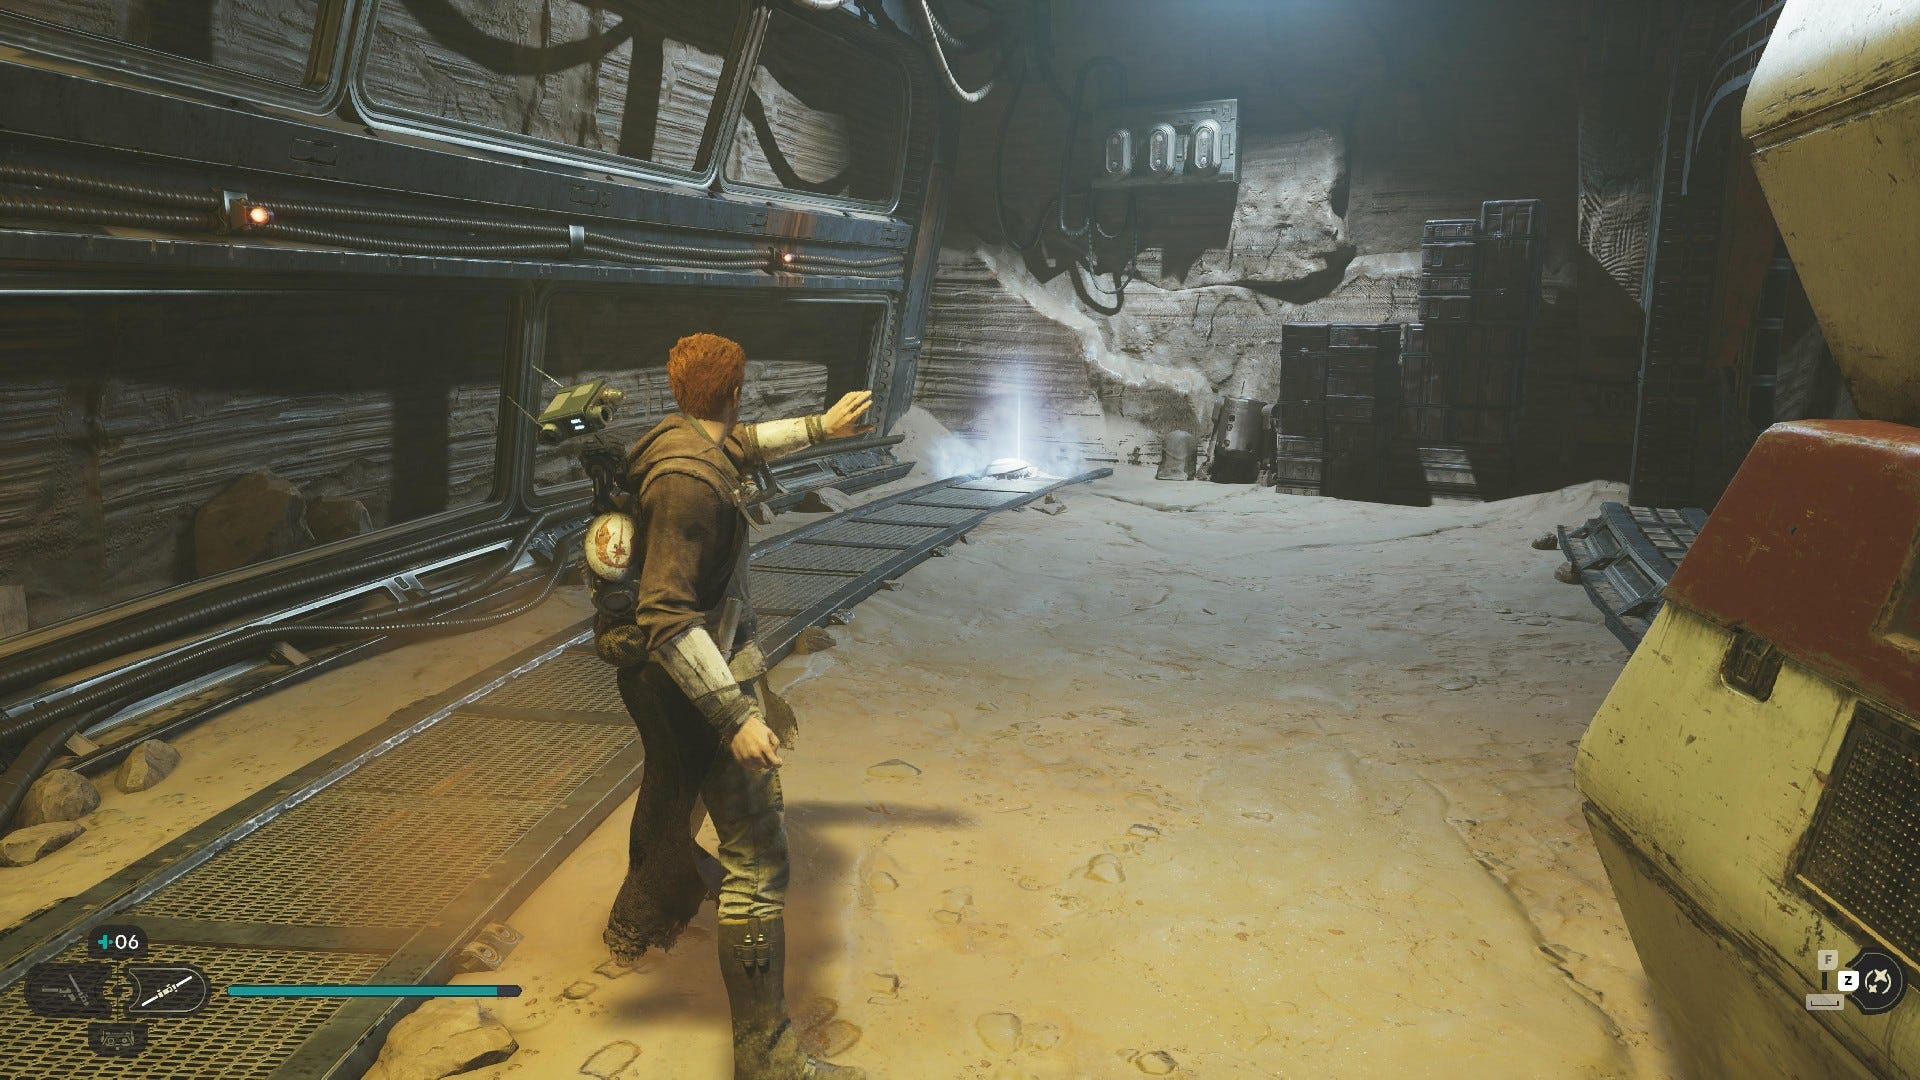
Veiled Hangar collectibles
The Veiled Hangar is the hidden entrance to Cere's Base on Jedha. It has 3 collectibles:
Veiled Hangar Chests:
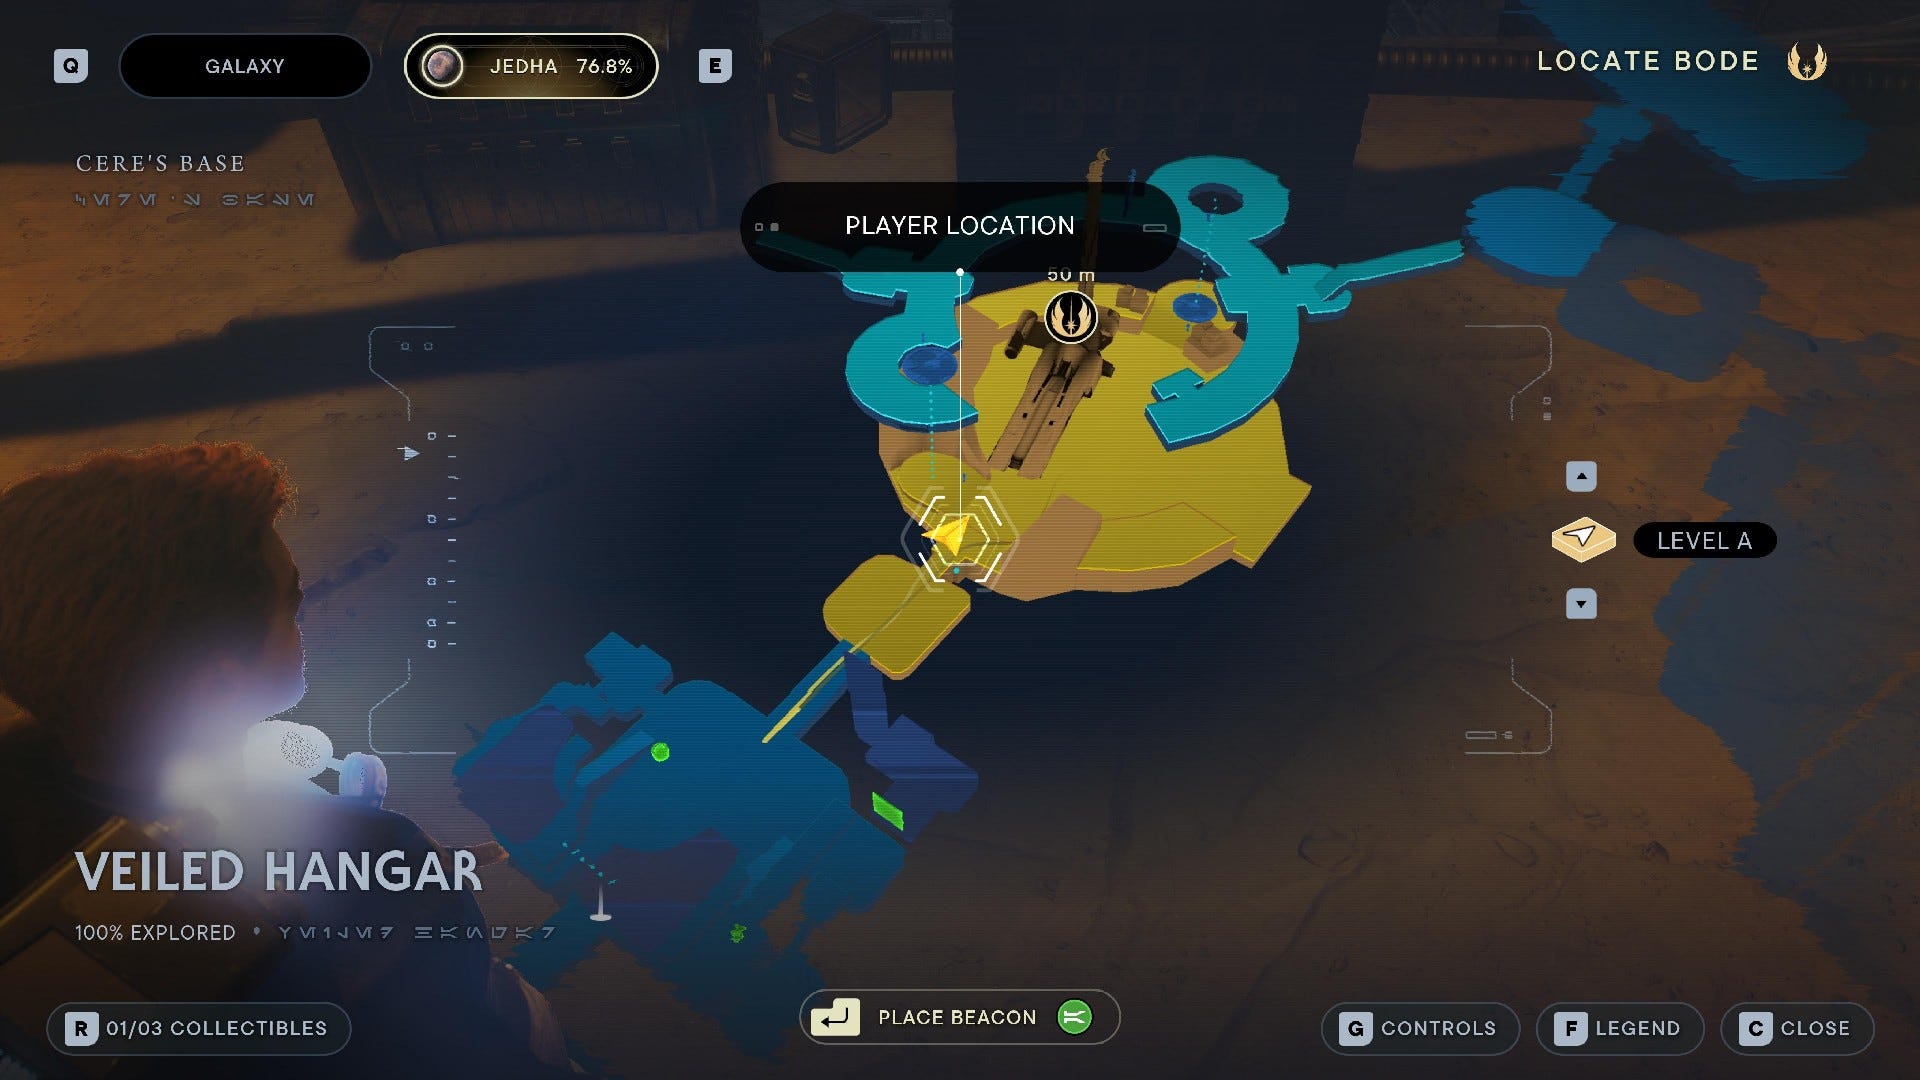
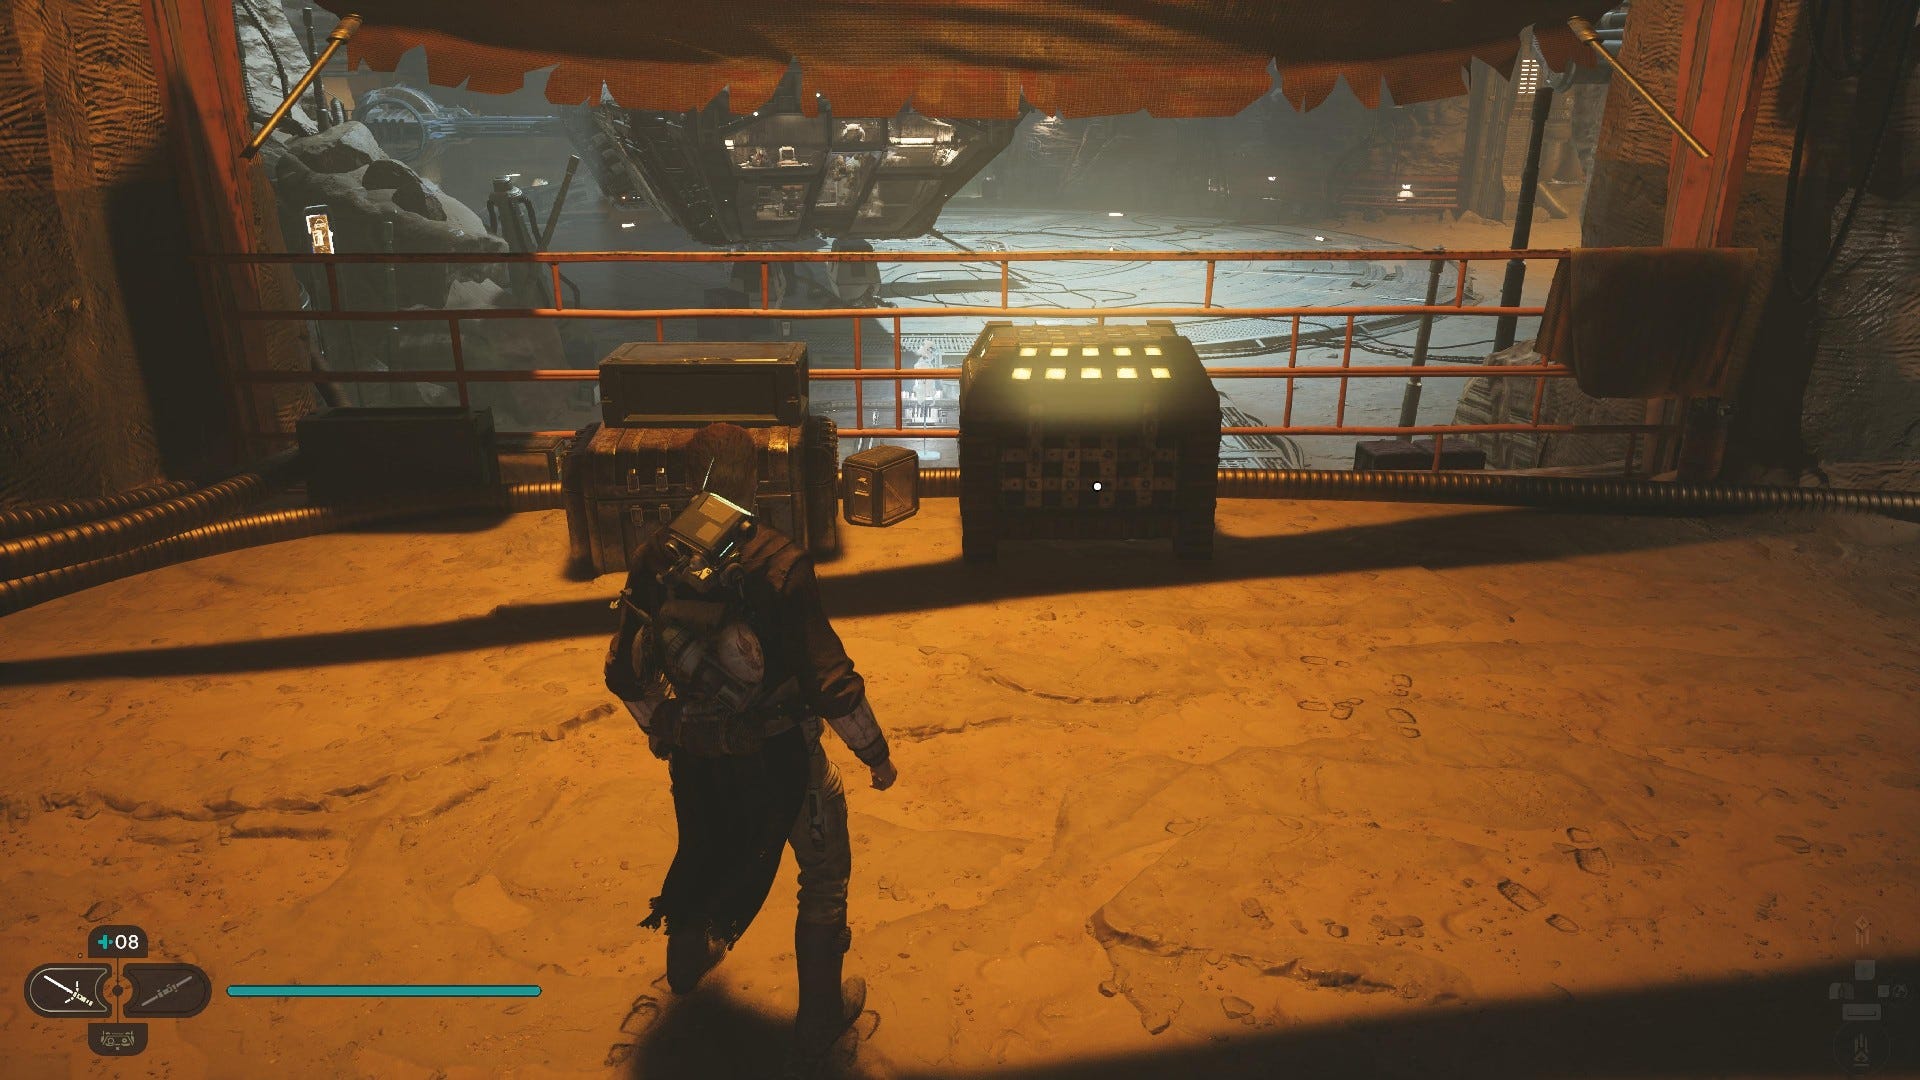
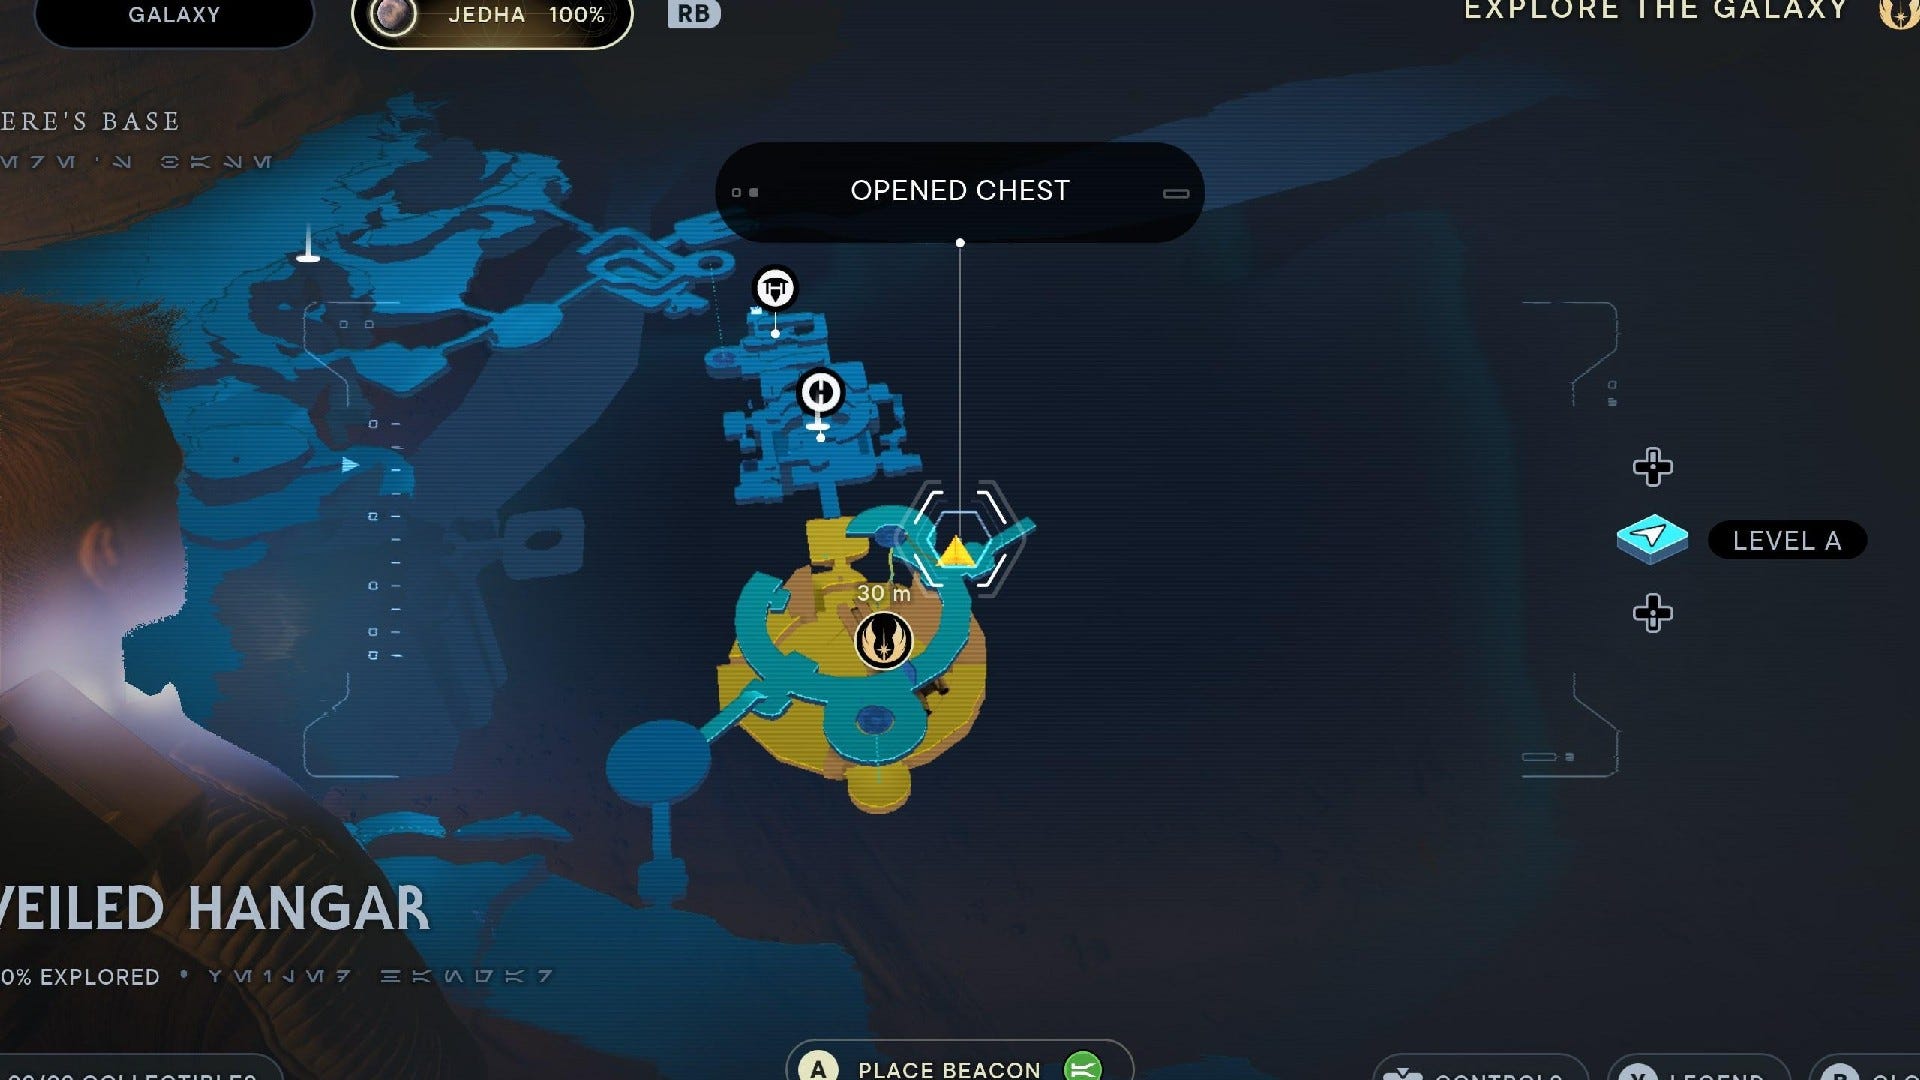
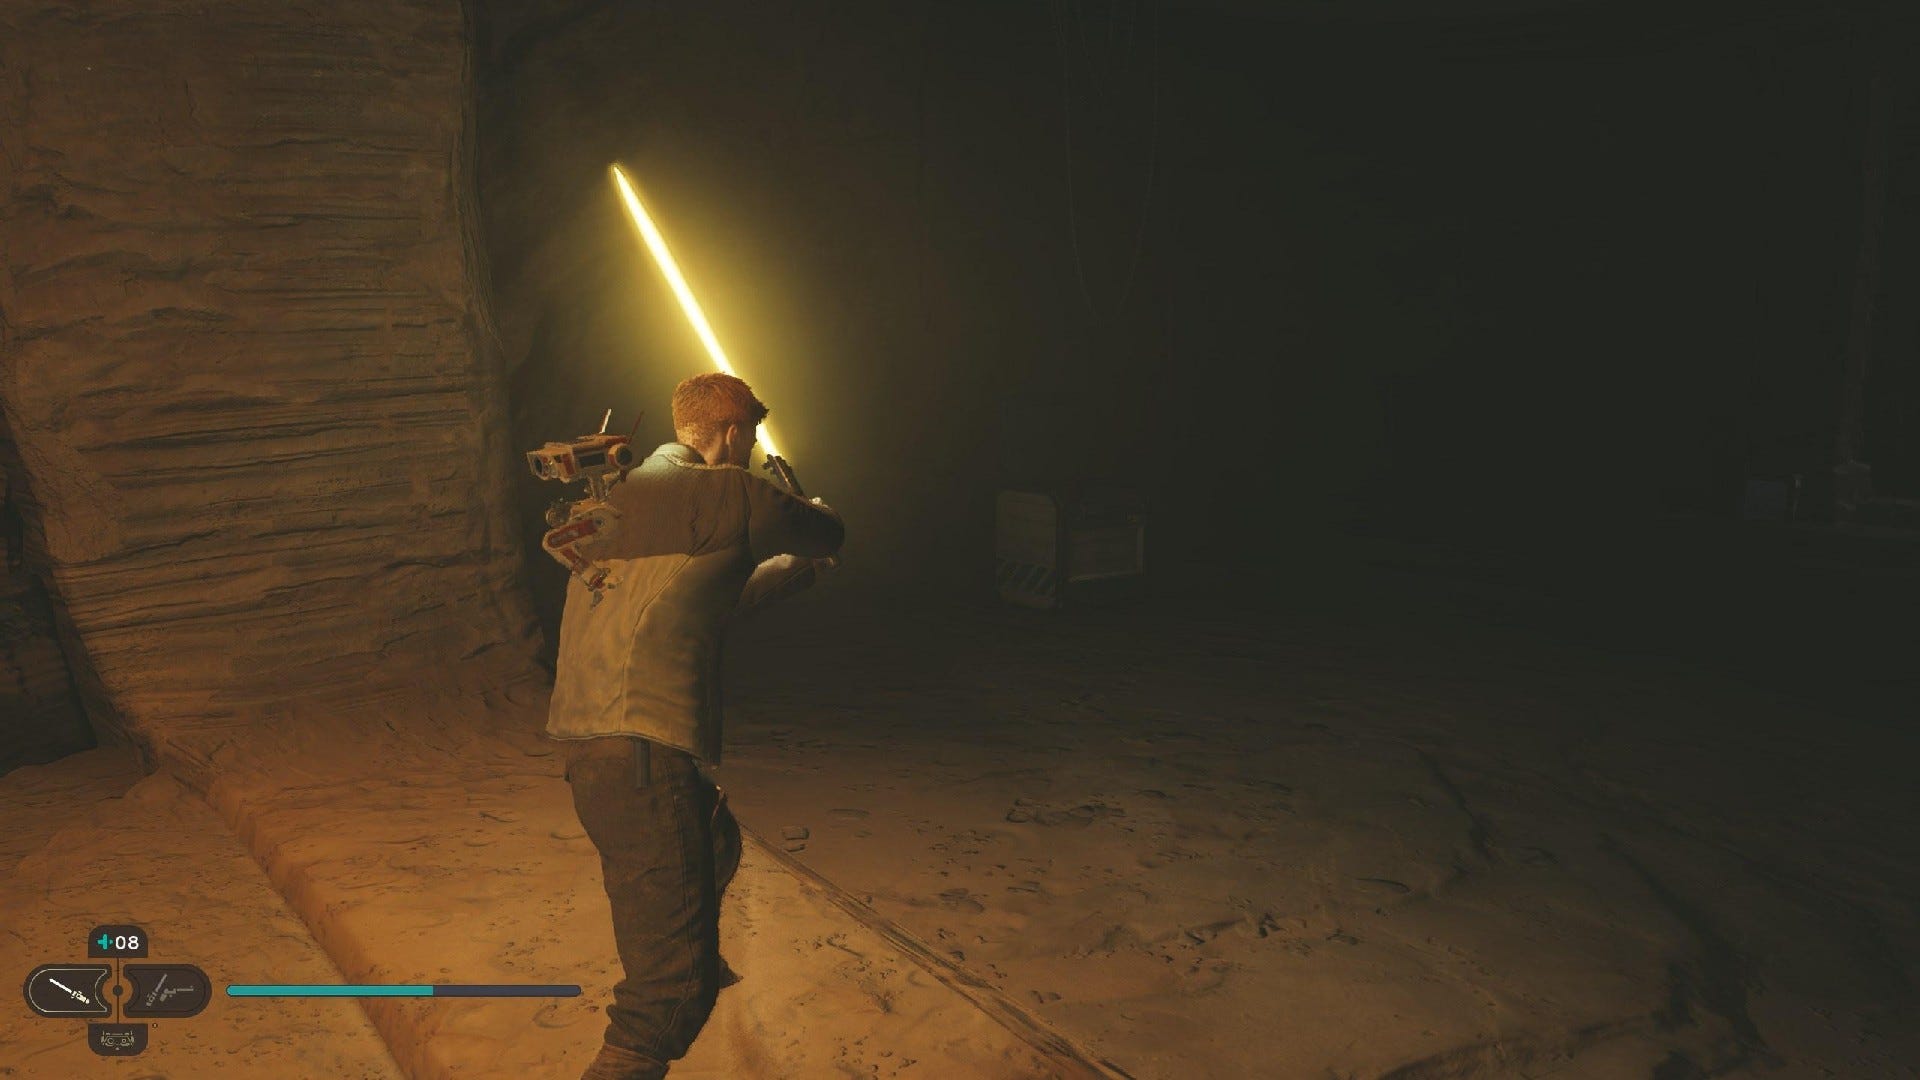
Chest #1 (Cere Junda Lightsaber): Only appears after a major story event happens towards the end of the game. If you've yet to complete the story, skip this one!
You'll find the chest after Cere's Base gets destroyed towards the end of the game. It's just before the door that leads to the Archive.
Chest #2 (Scrapyard Emitter): Take the lift up near the practice dummy, and then head down the corridor and turn left to find a chest in the darkness.
Veiled Hangar Databanks:
Force Echo (The Master's Arrival): Turn left after entering the hangar.
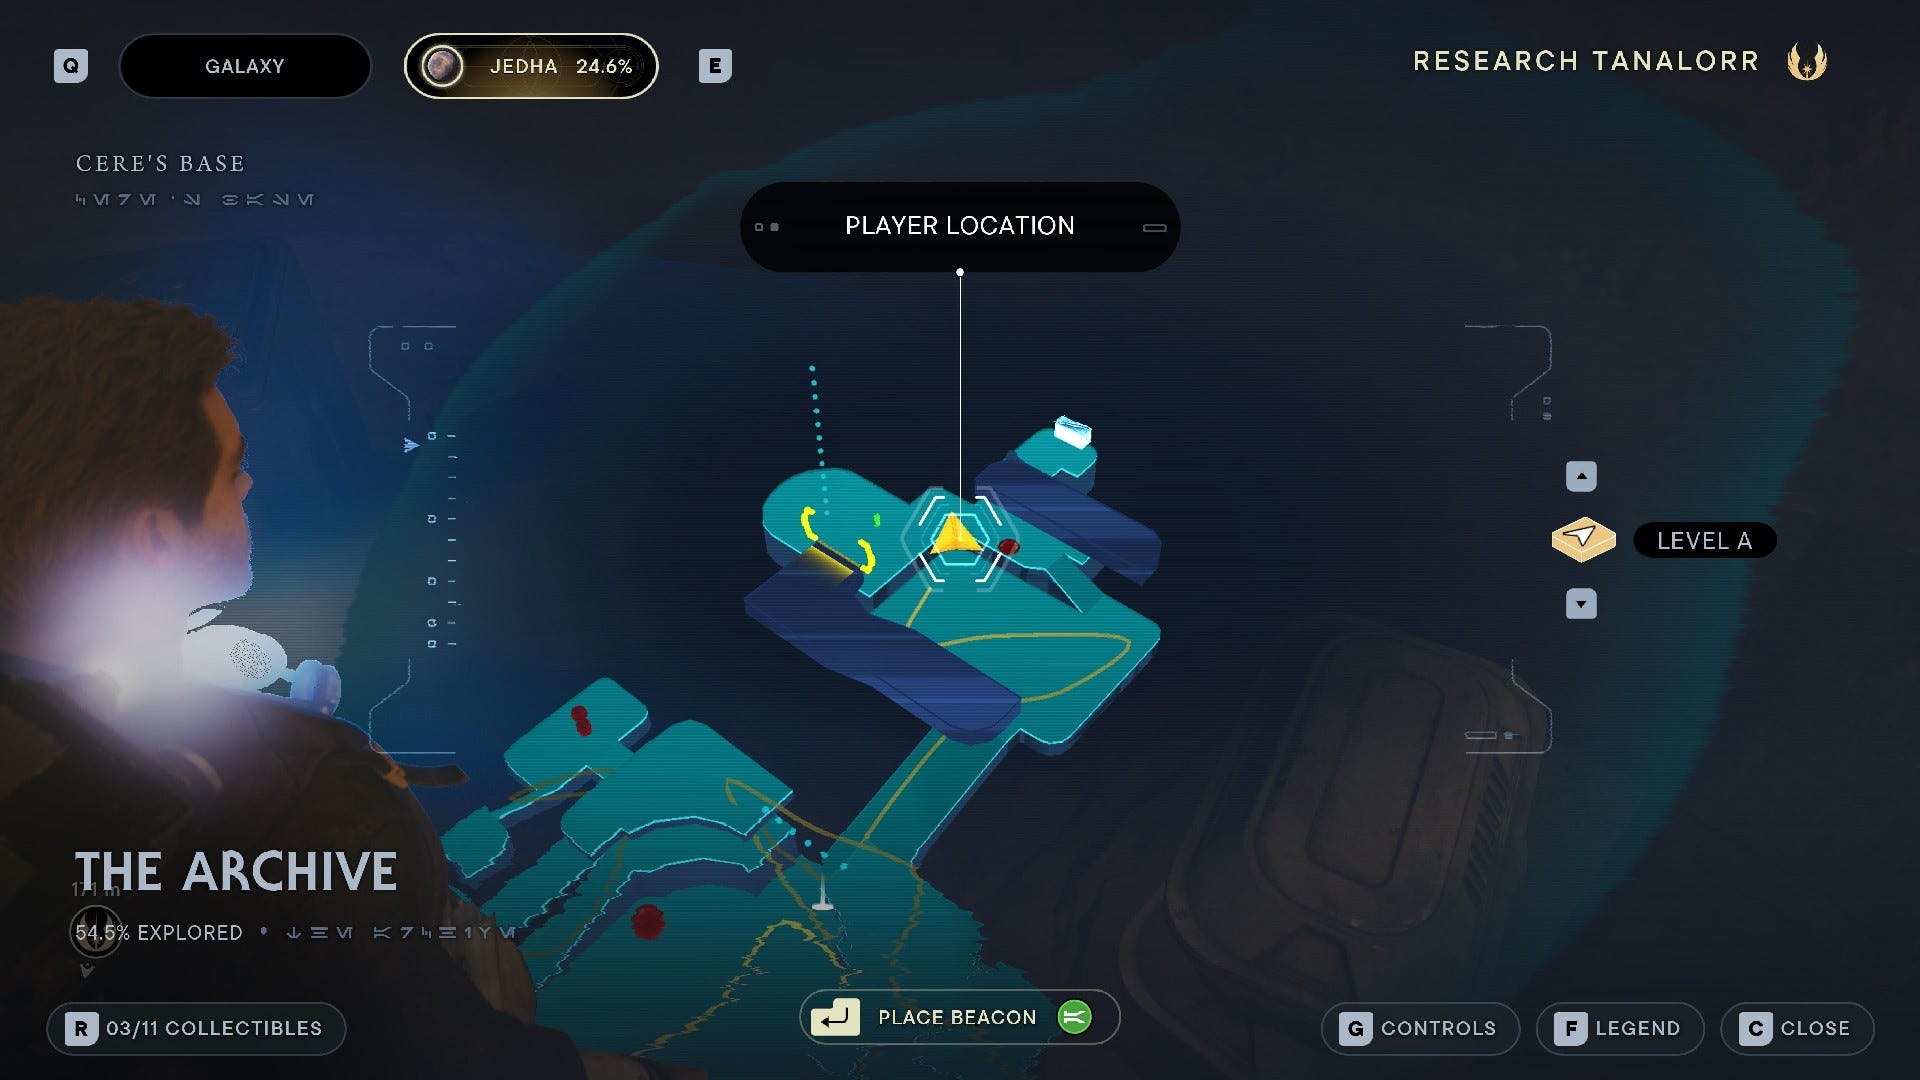
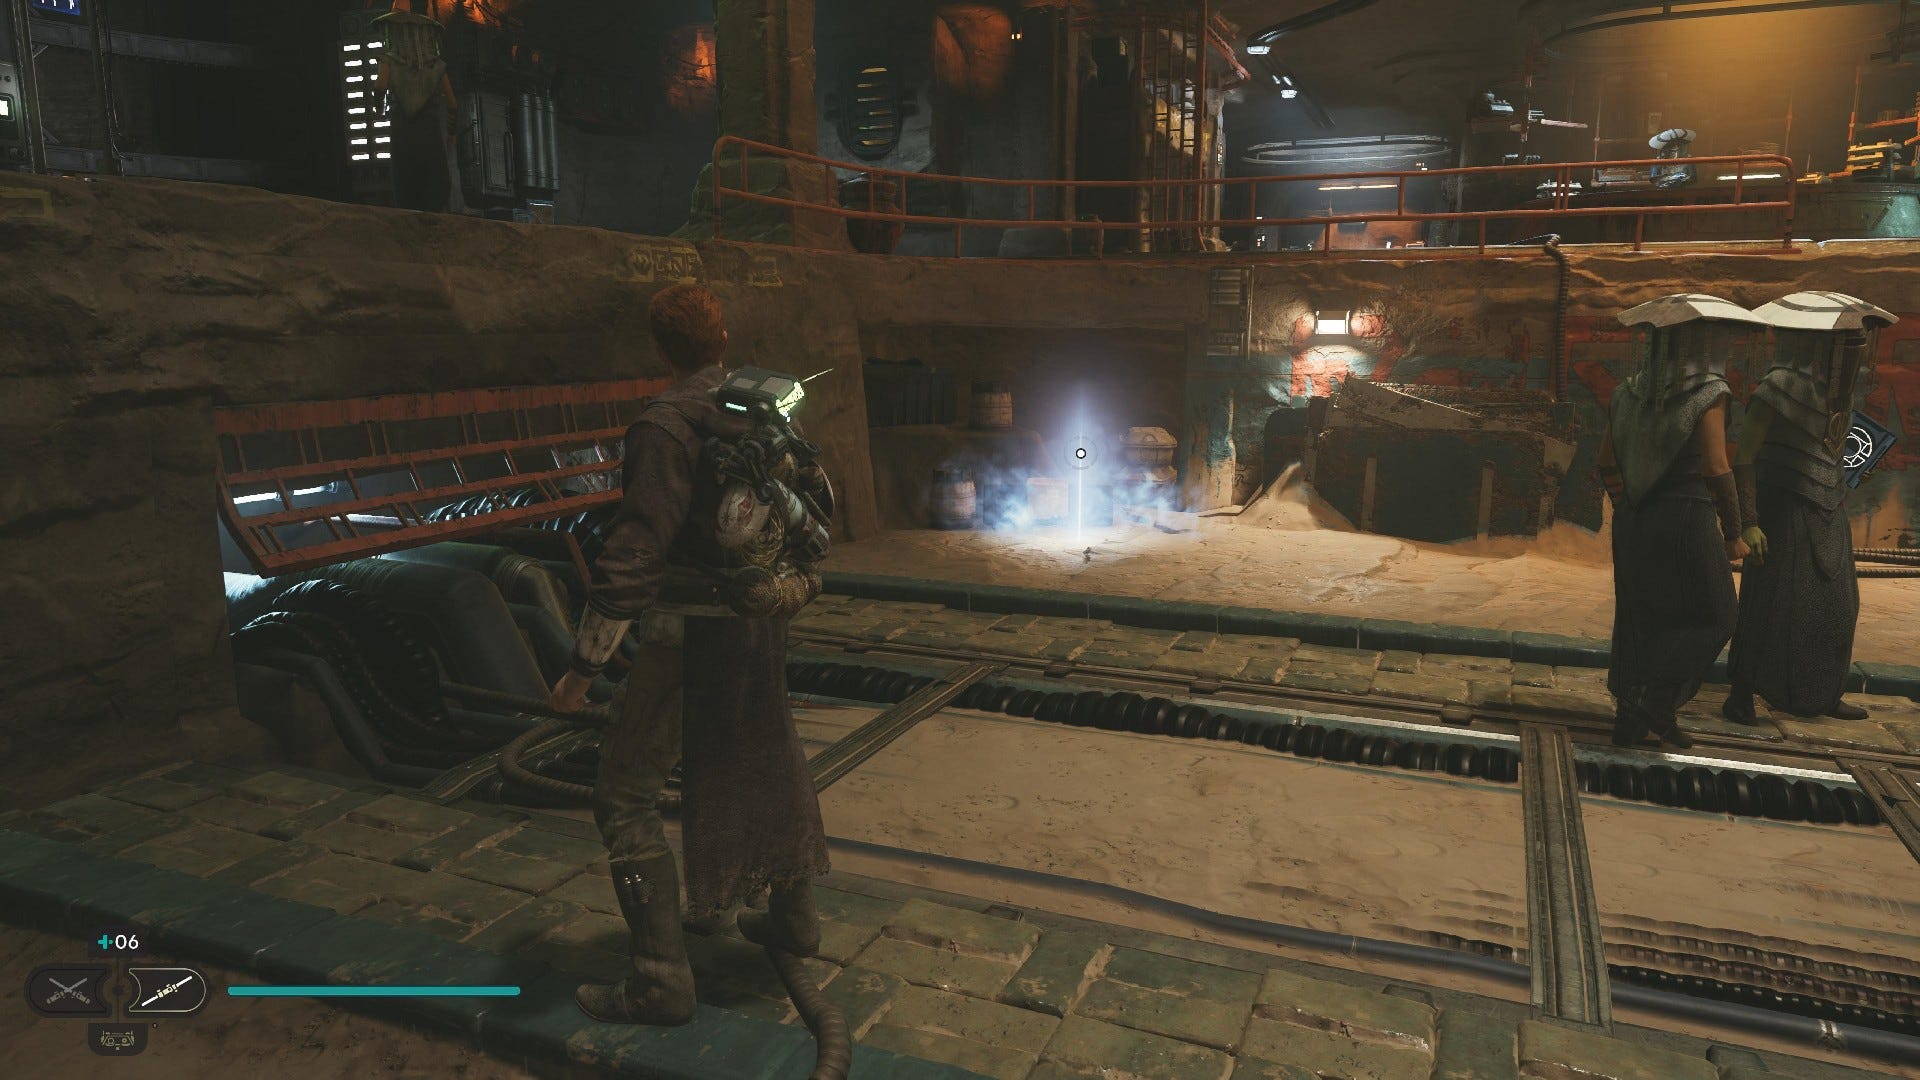
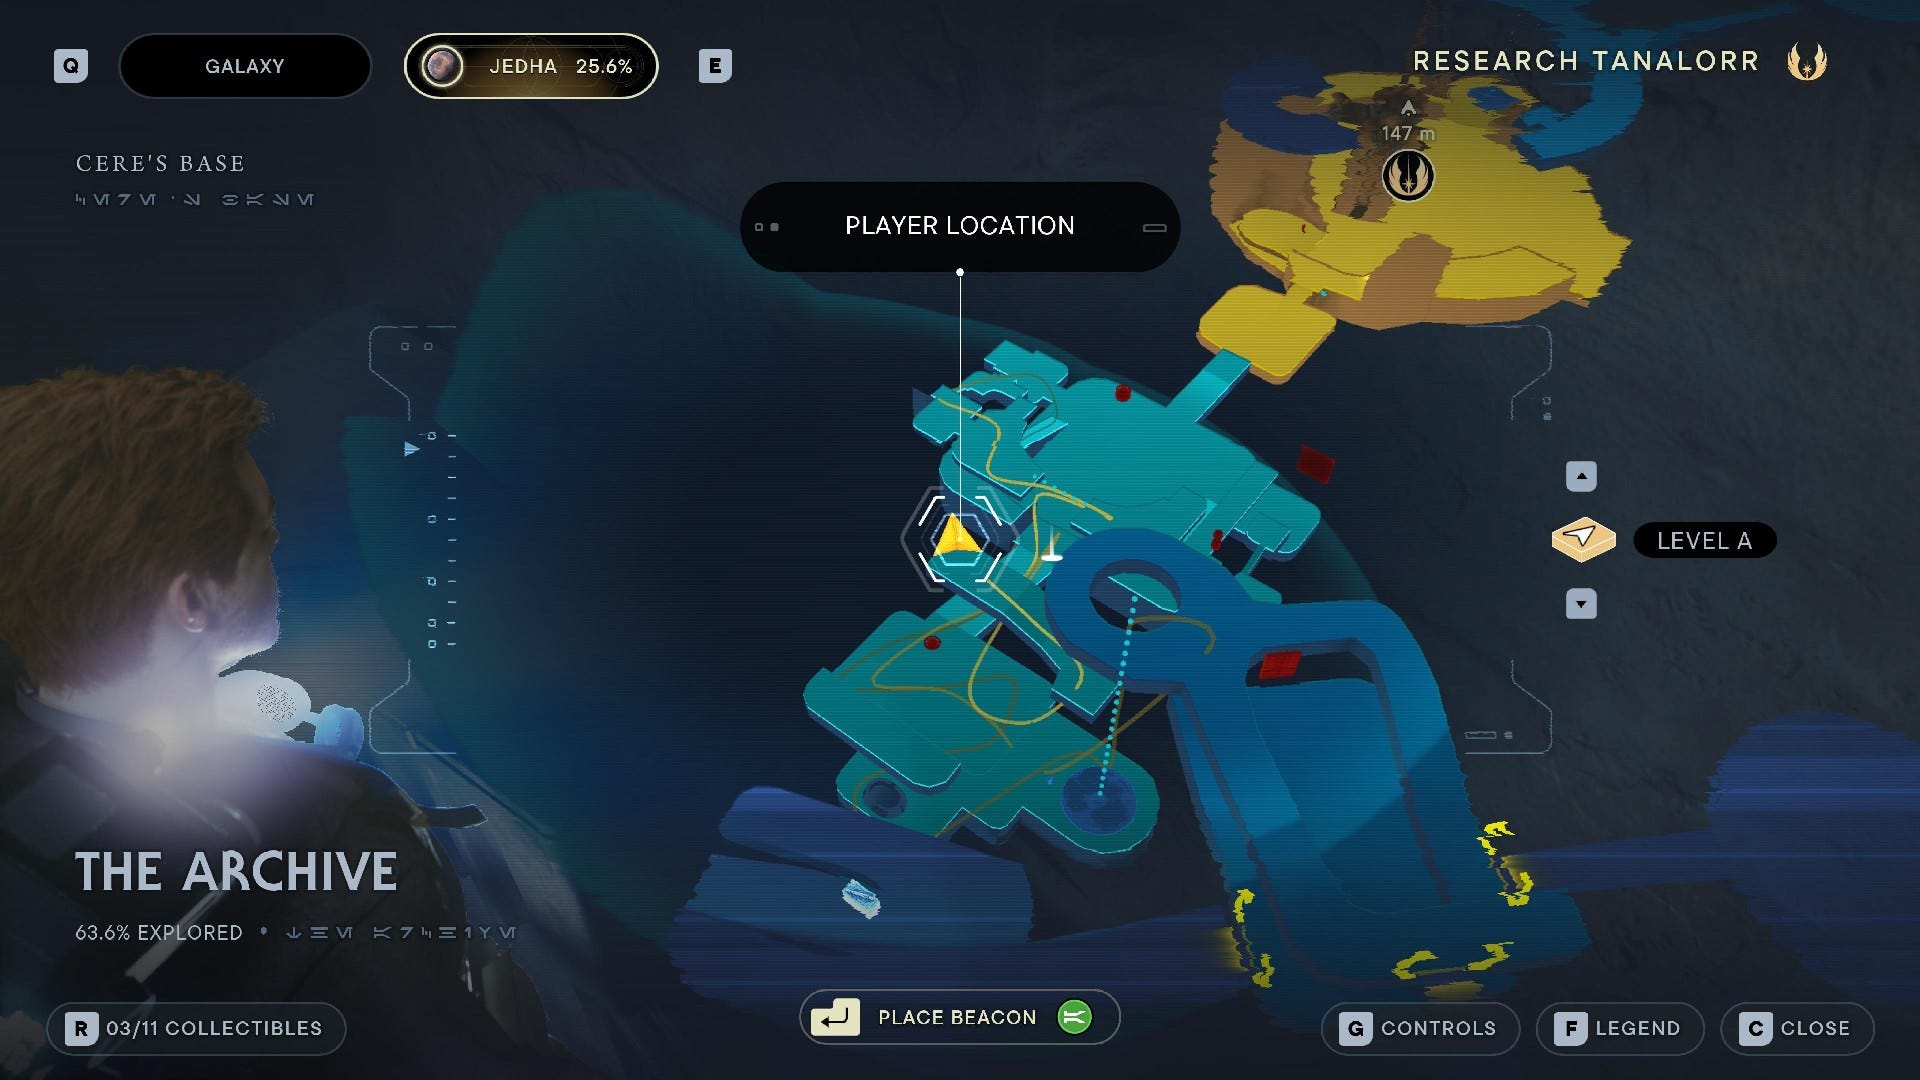
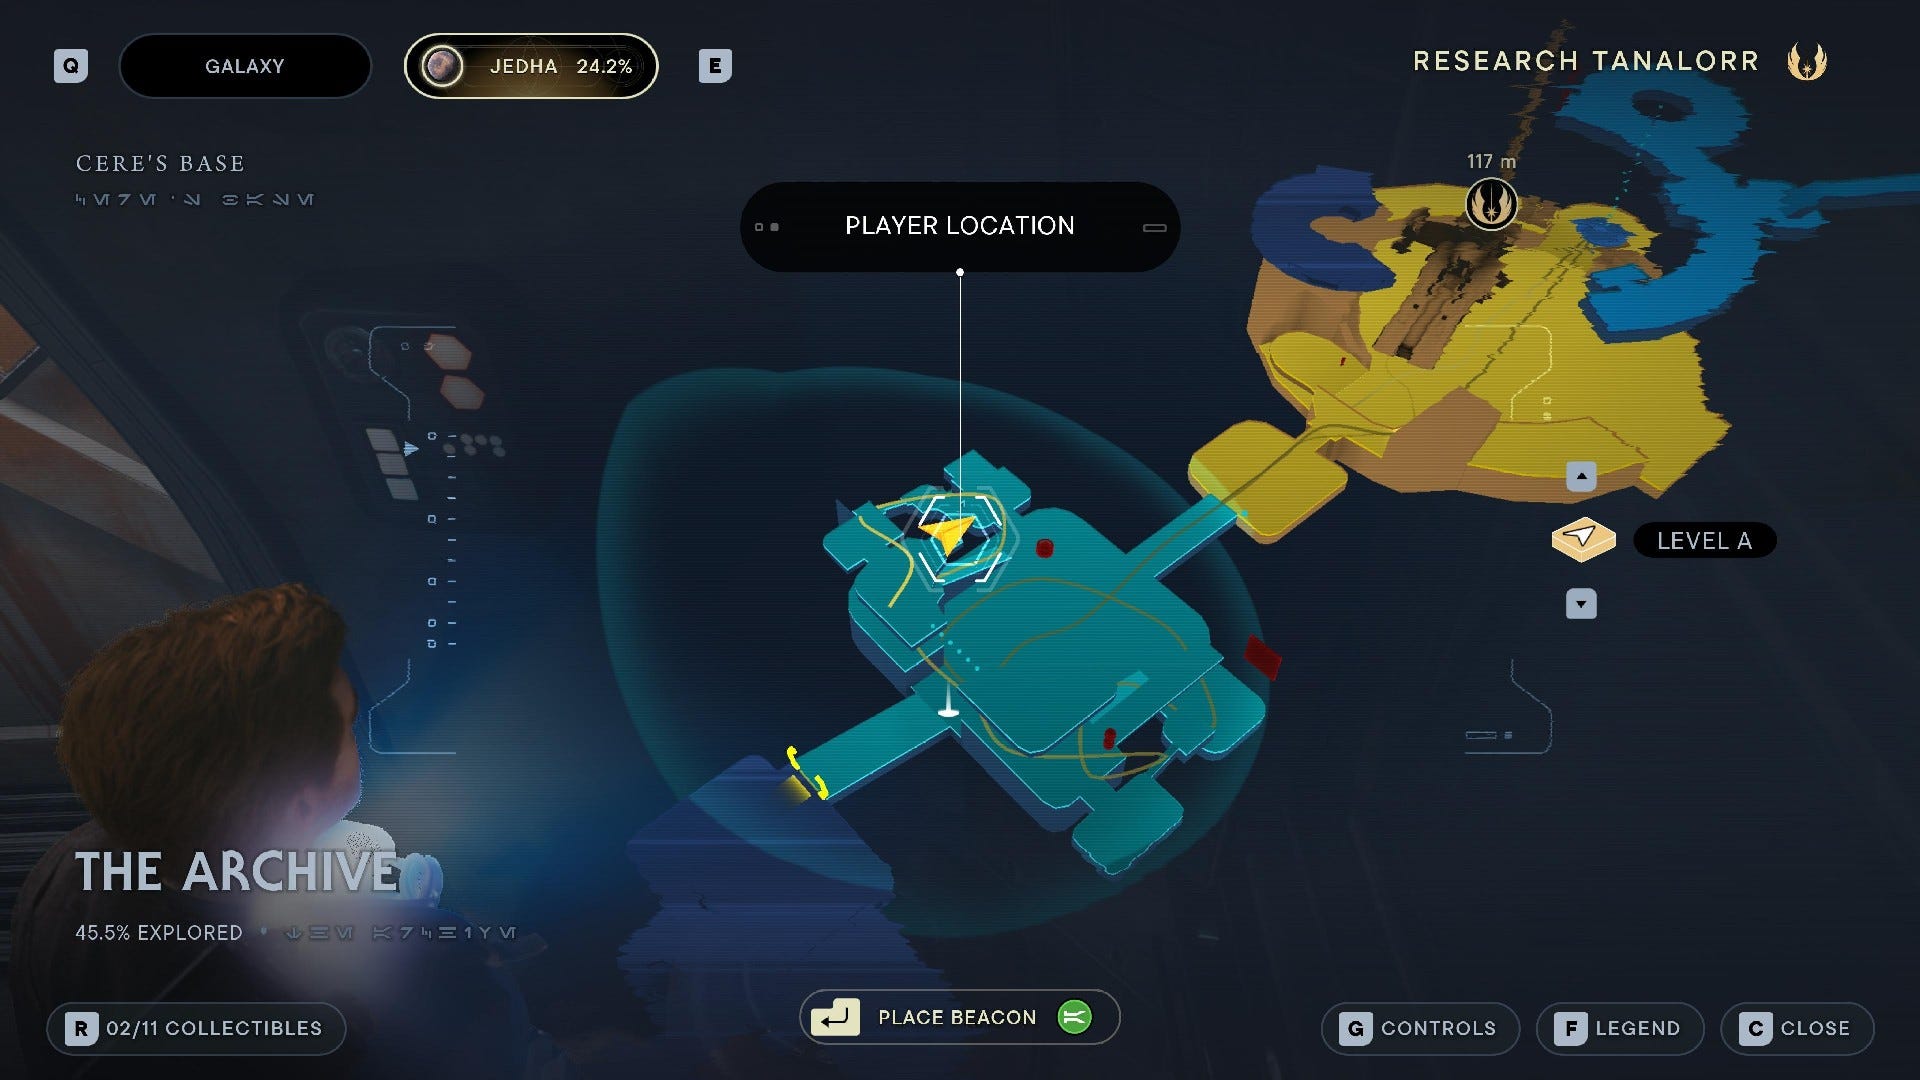
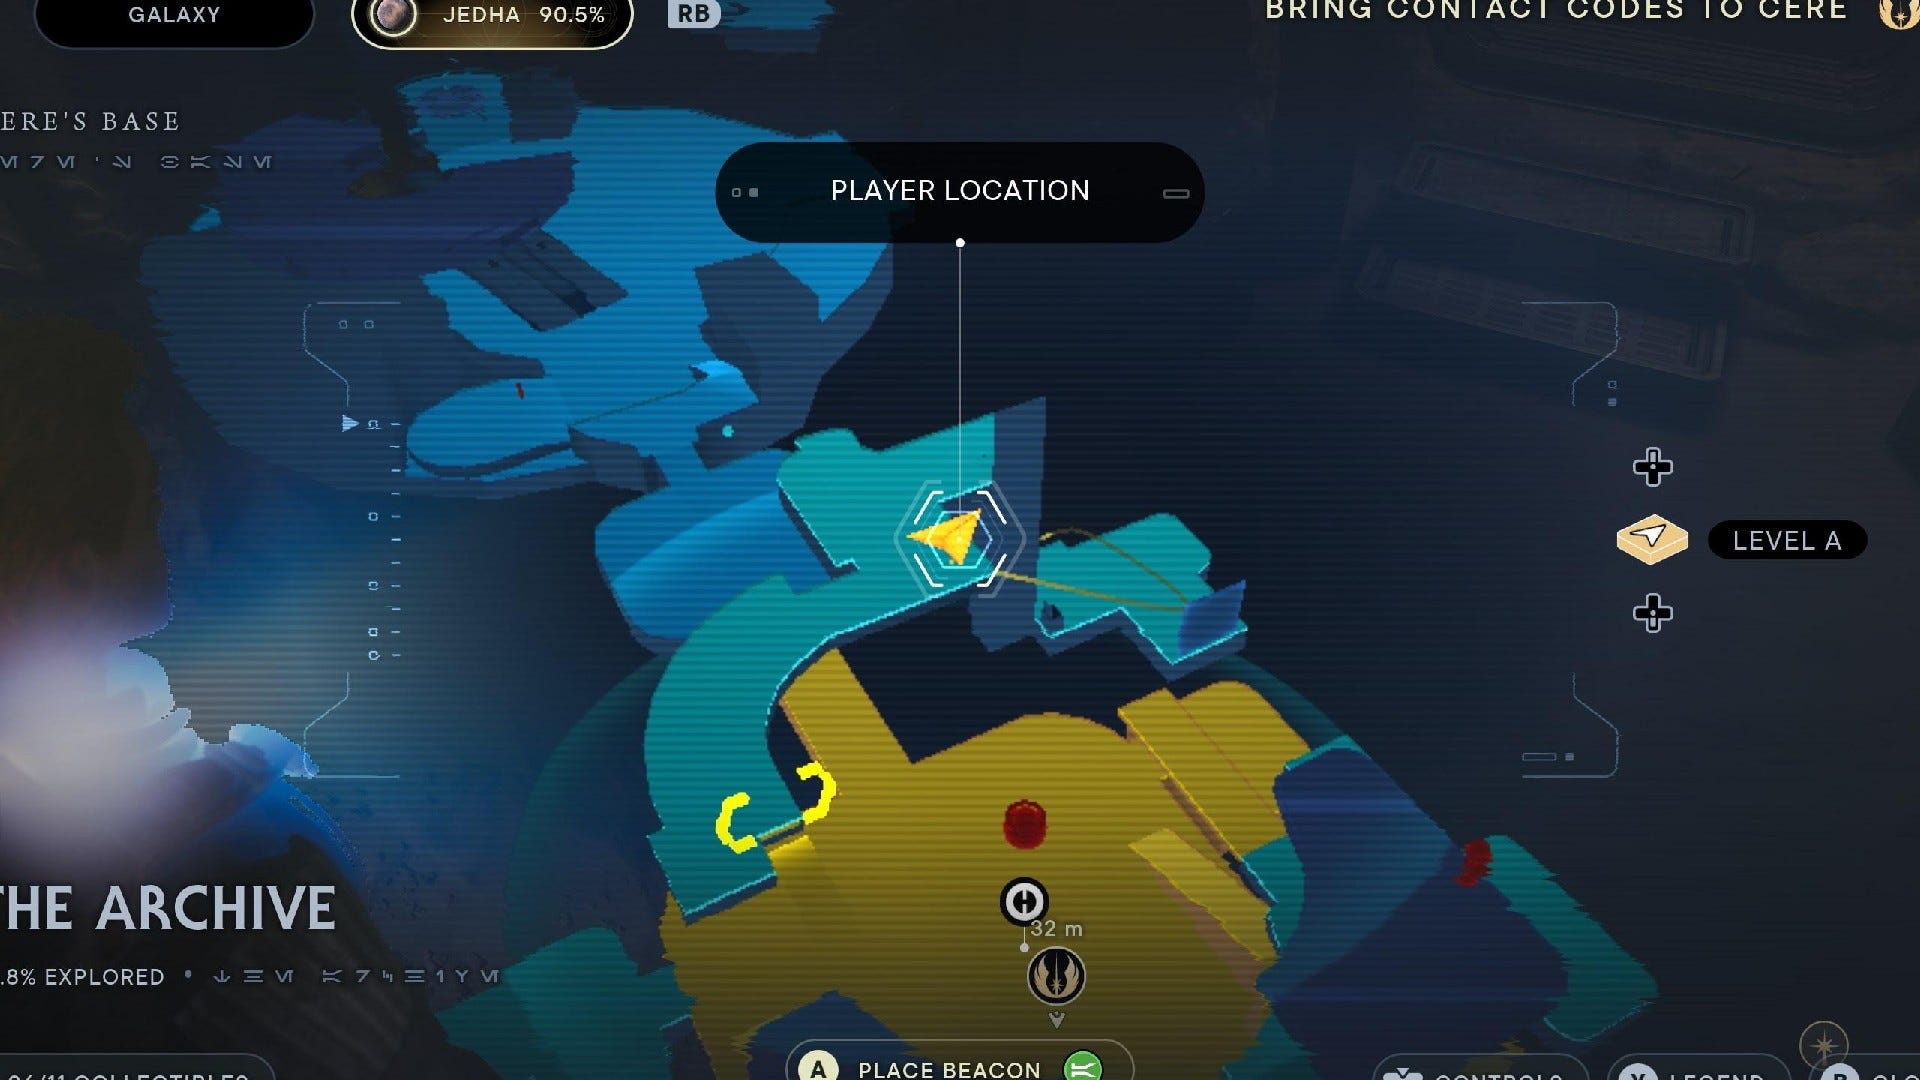
The Archive collectibles
The Archive is the main portion of Cere's Base on Jedha. It has 11 collectibles:
The Archive Chests:
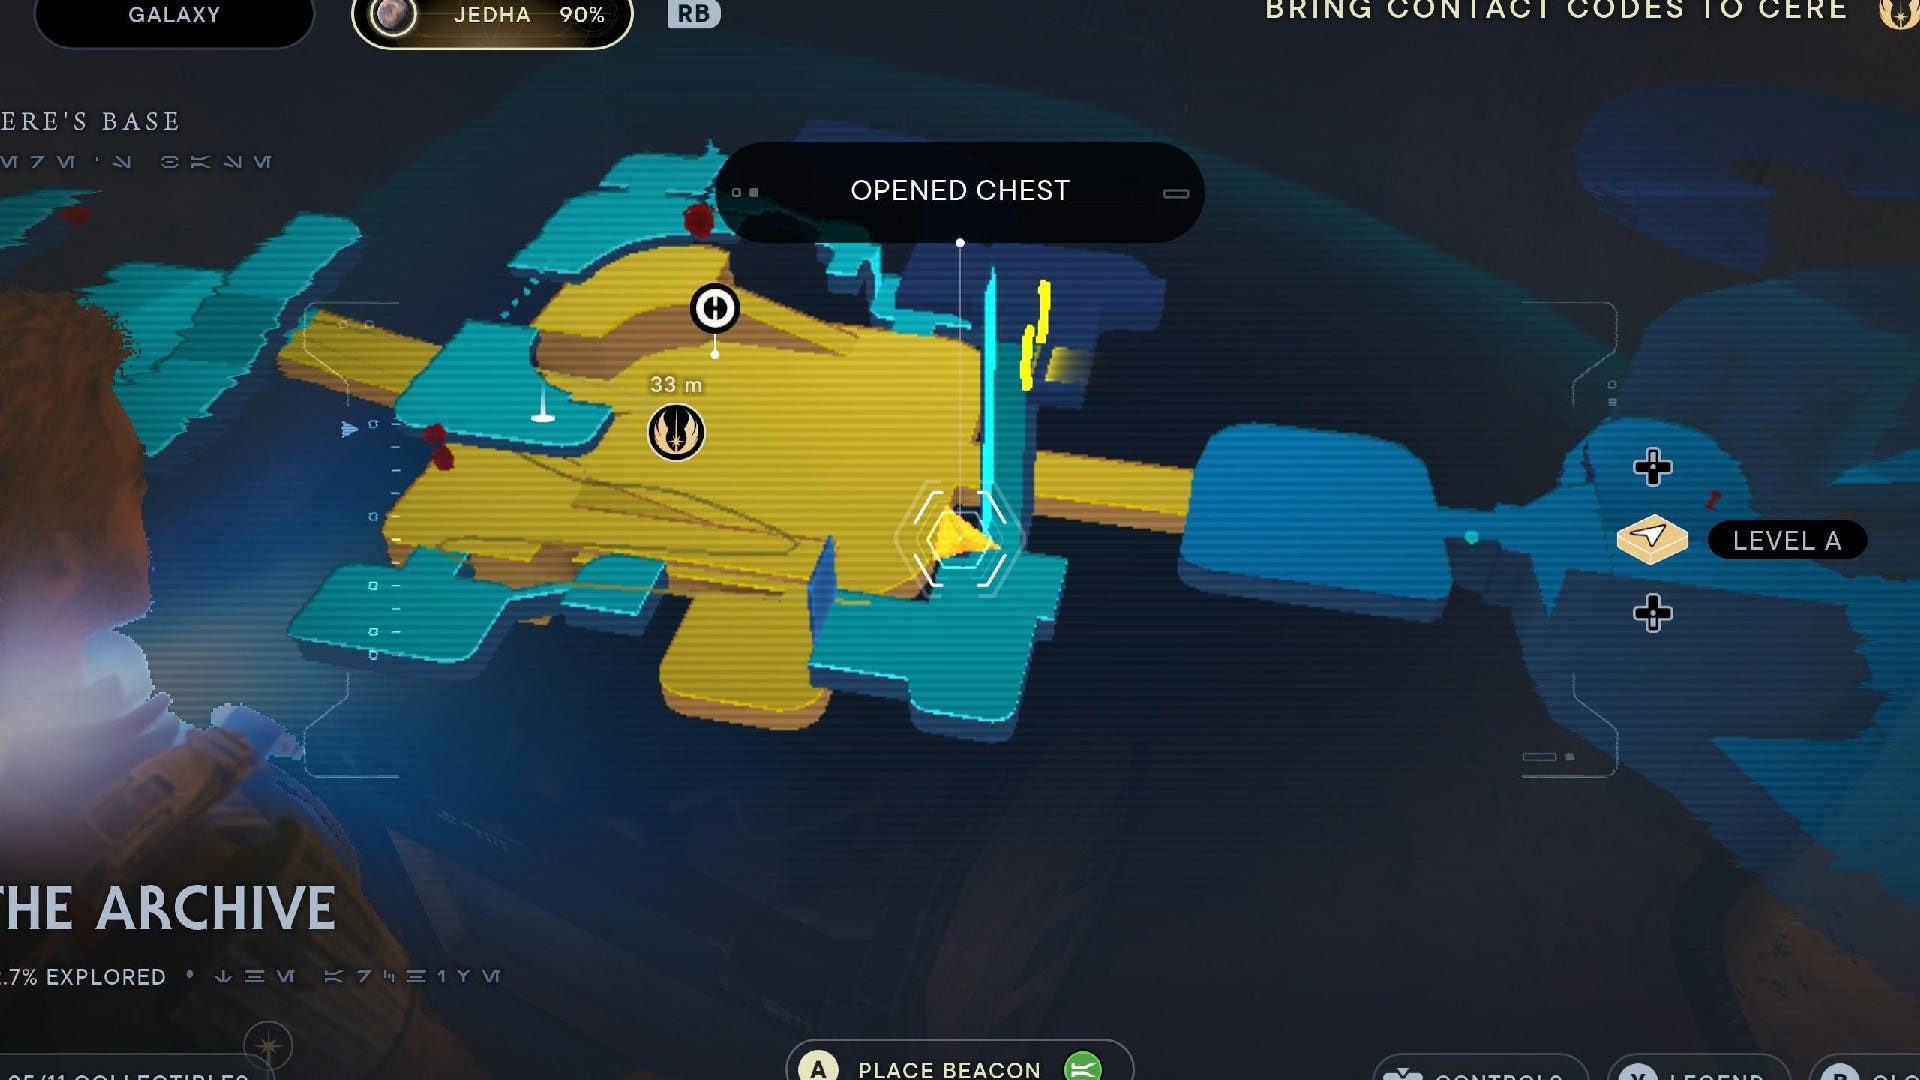
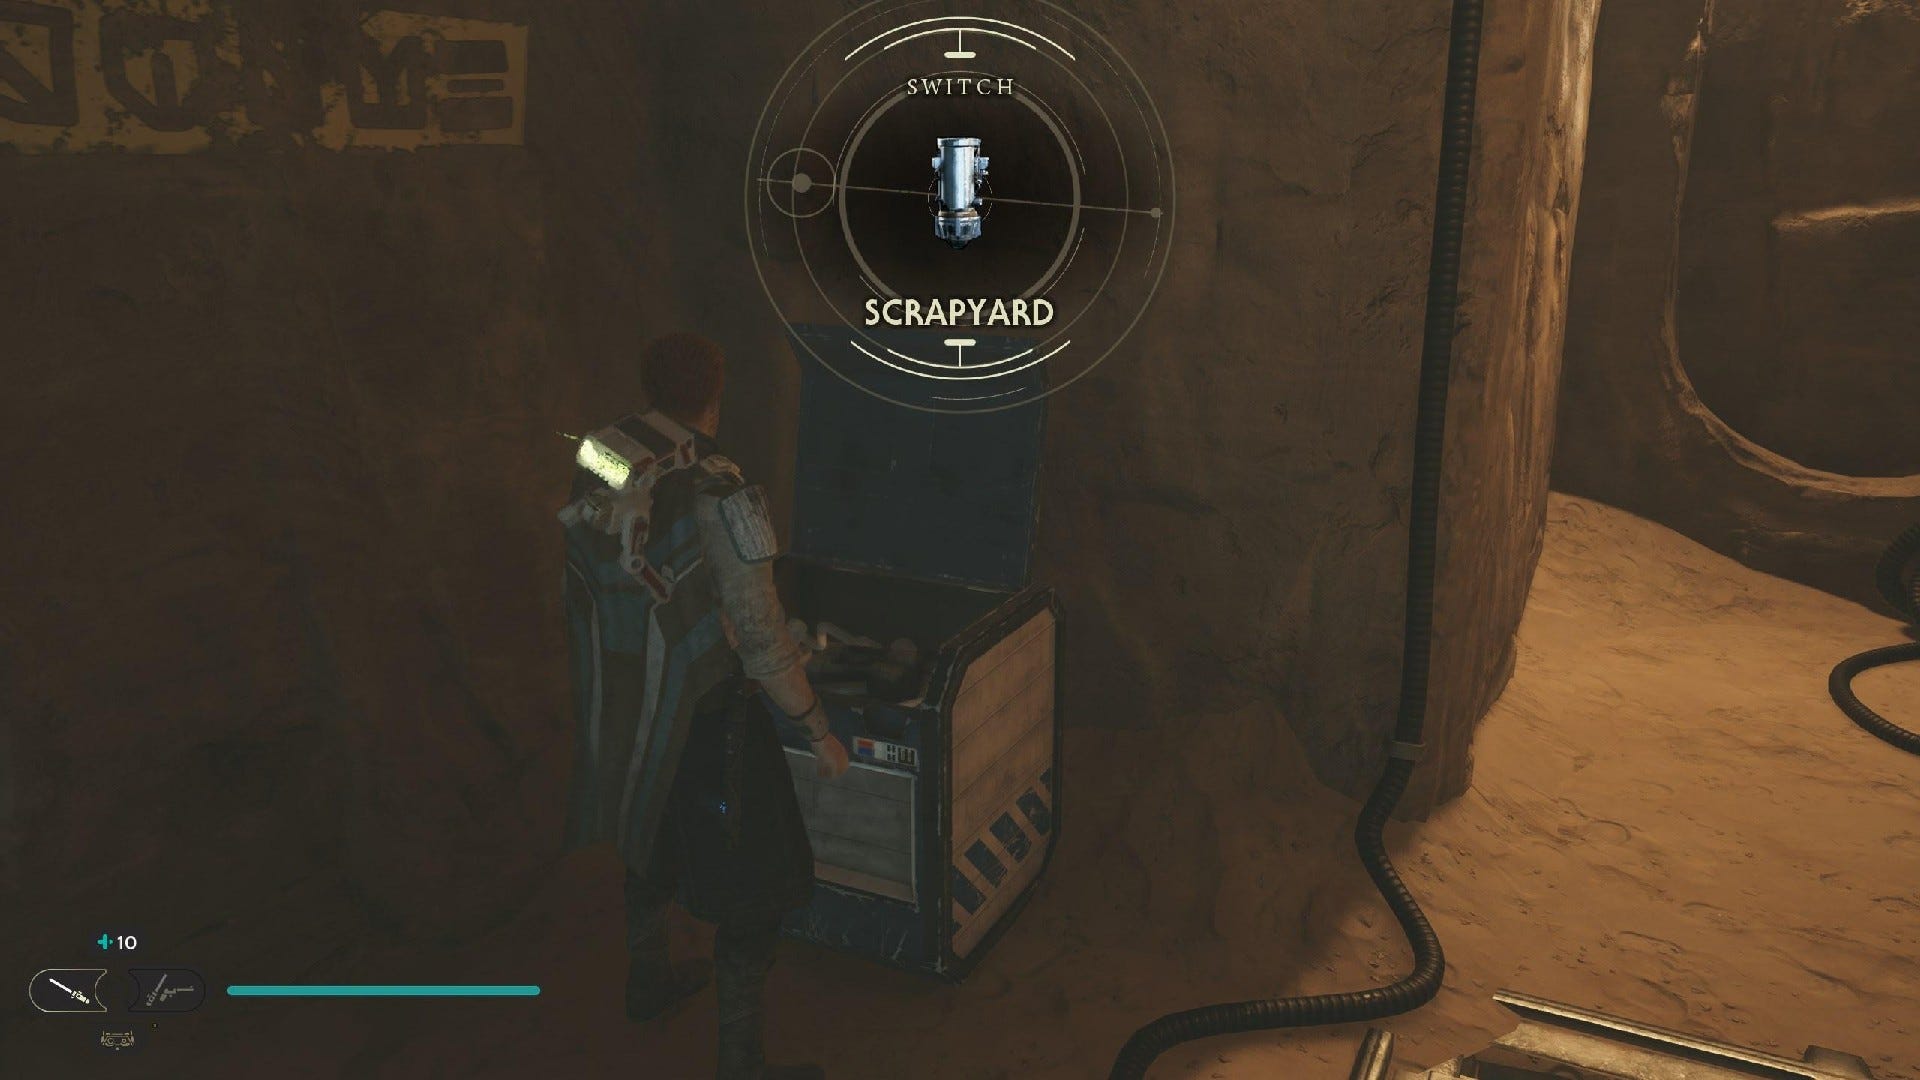
Chest #1 (Scrapyard Switch): From archive, turn left and head up stairs and through door. Squeeze through gap and dash through green laser door to find chest.
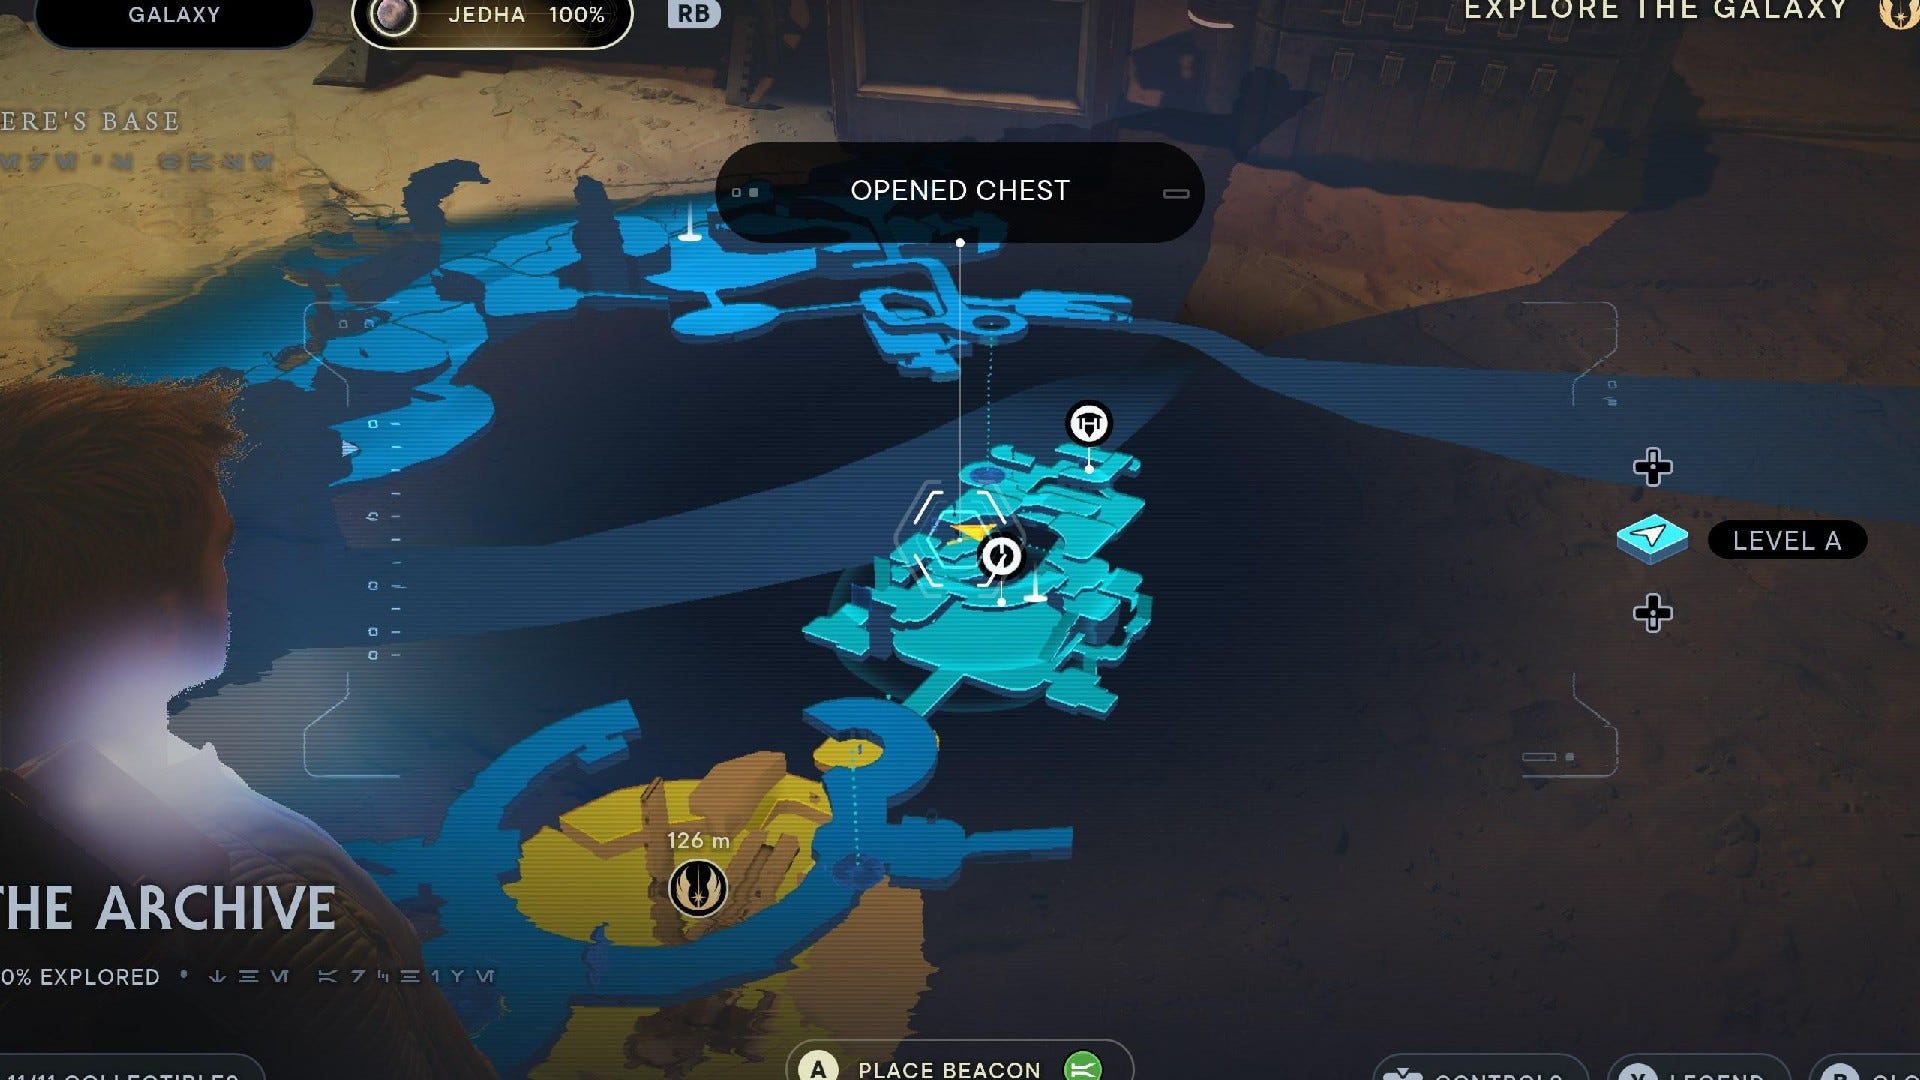

Chest #2 (Scrapyard Grip): Use the advanced grapple hook to reach the balloon in the center of the Archives, and then leap to the middle level ledge to find this chest.
The Archive Essences:

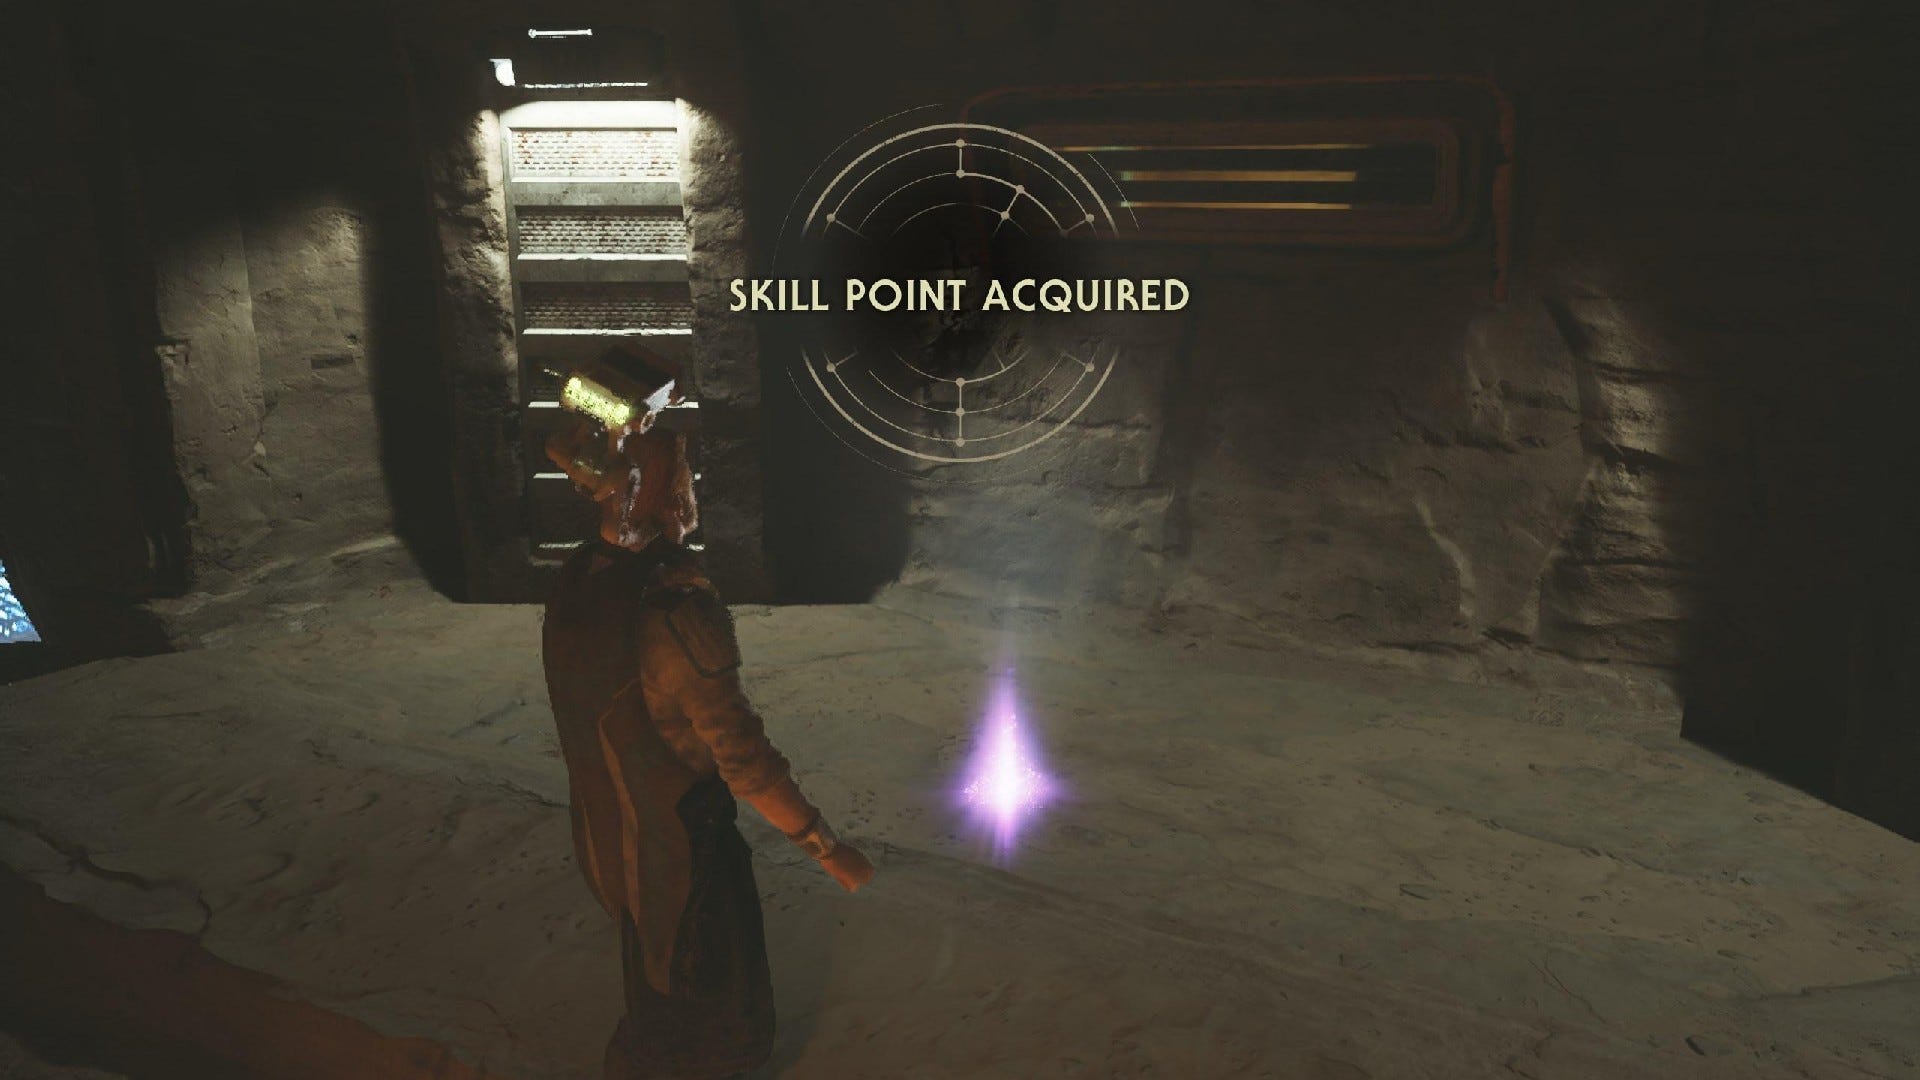
Skill Point Essence #1: Dash through green door, parkour up from chest, and follow ledge around. Dash across to other ledge, and then do the same again to find Skill Point Essence on final ledge.
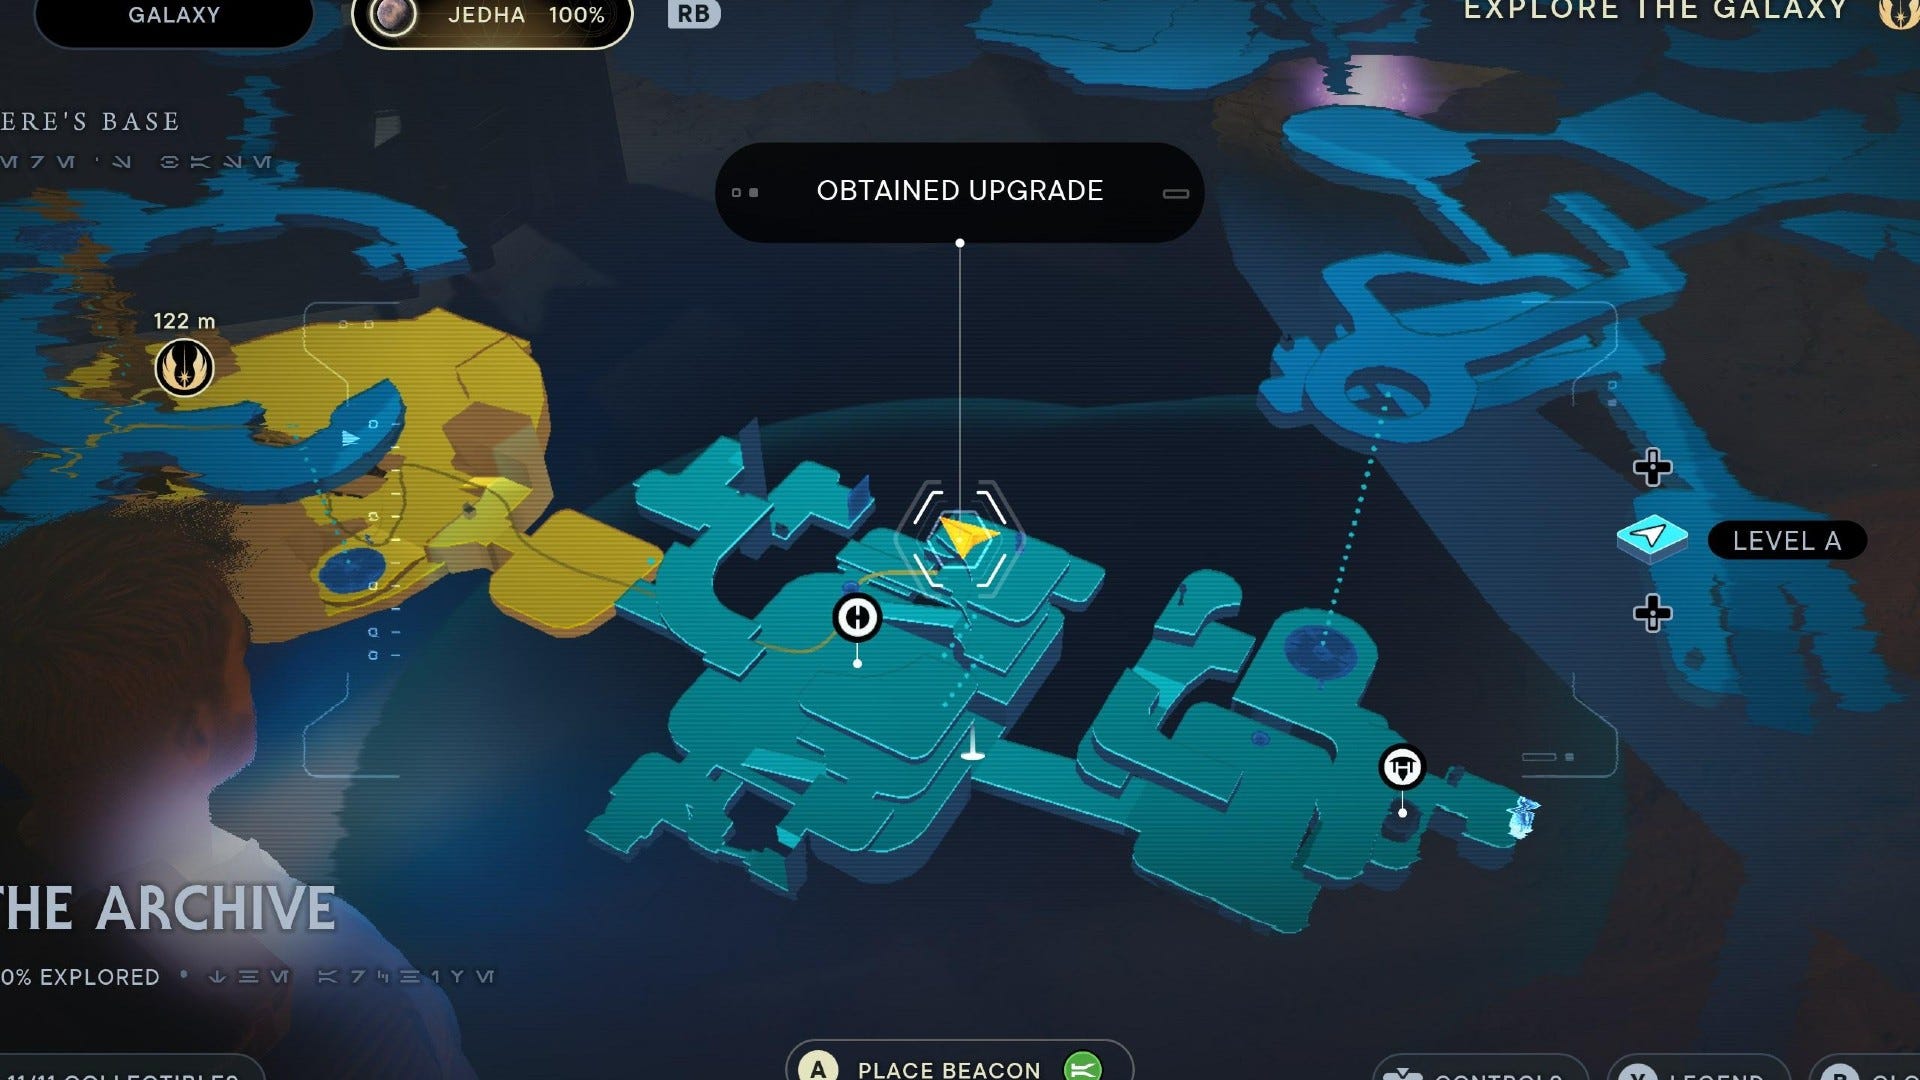

Force Essence #2: Use the advanced grapple hook to reach the balloon in the center of the Archives, and then leap over to the nearby ledge to find a Force Essence.
The Archive Databanks:
Force Echo (Old Connections, New Paths): Up the ramp from The Archive Meditation Point.
Force Echo (A New Path): Up the ledge to the left of the elevator next to Sister Taske's shop.
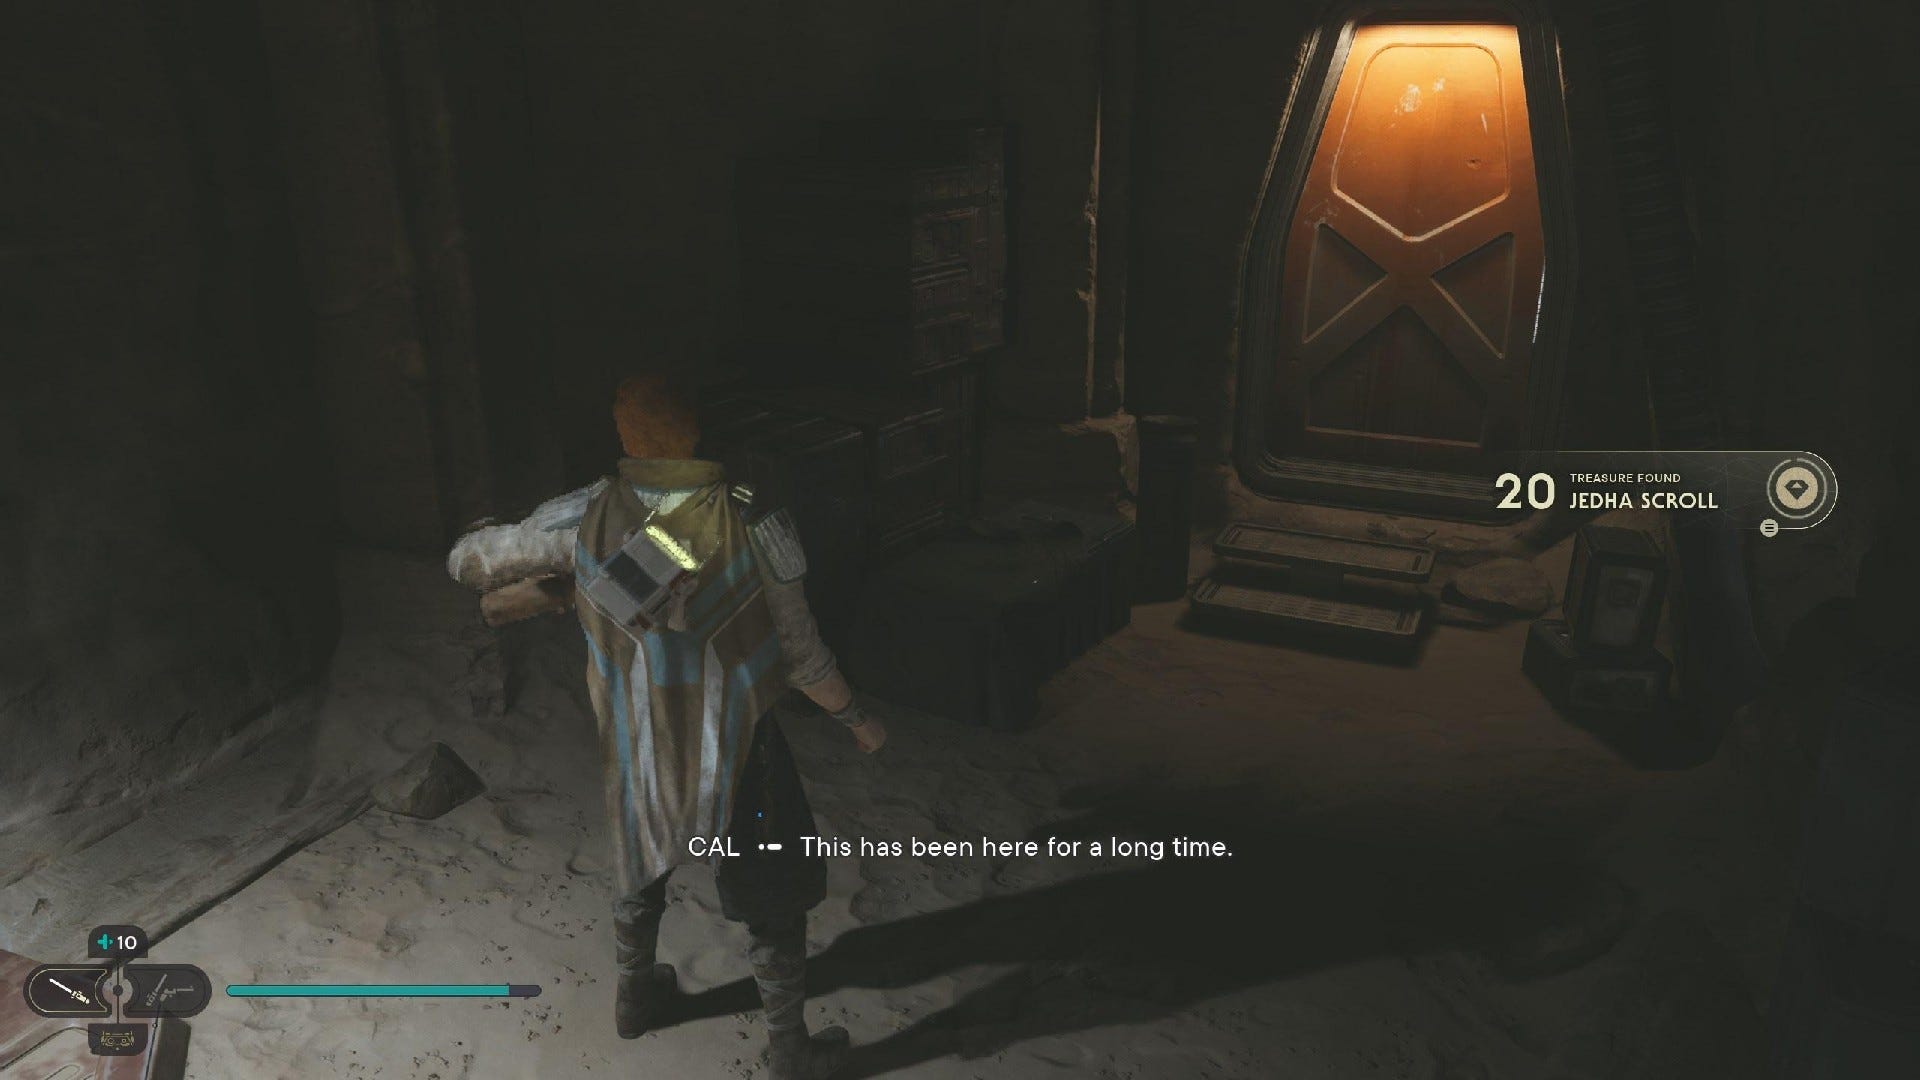
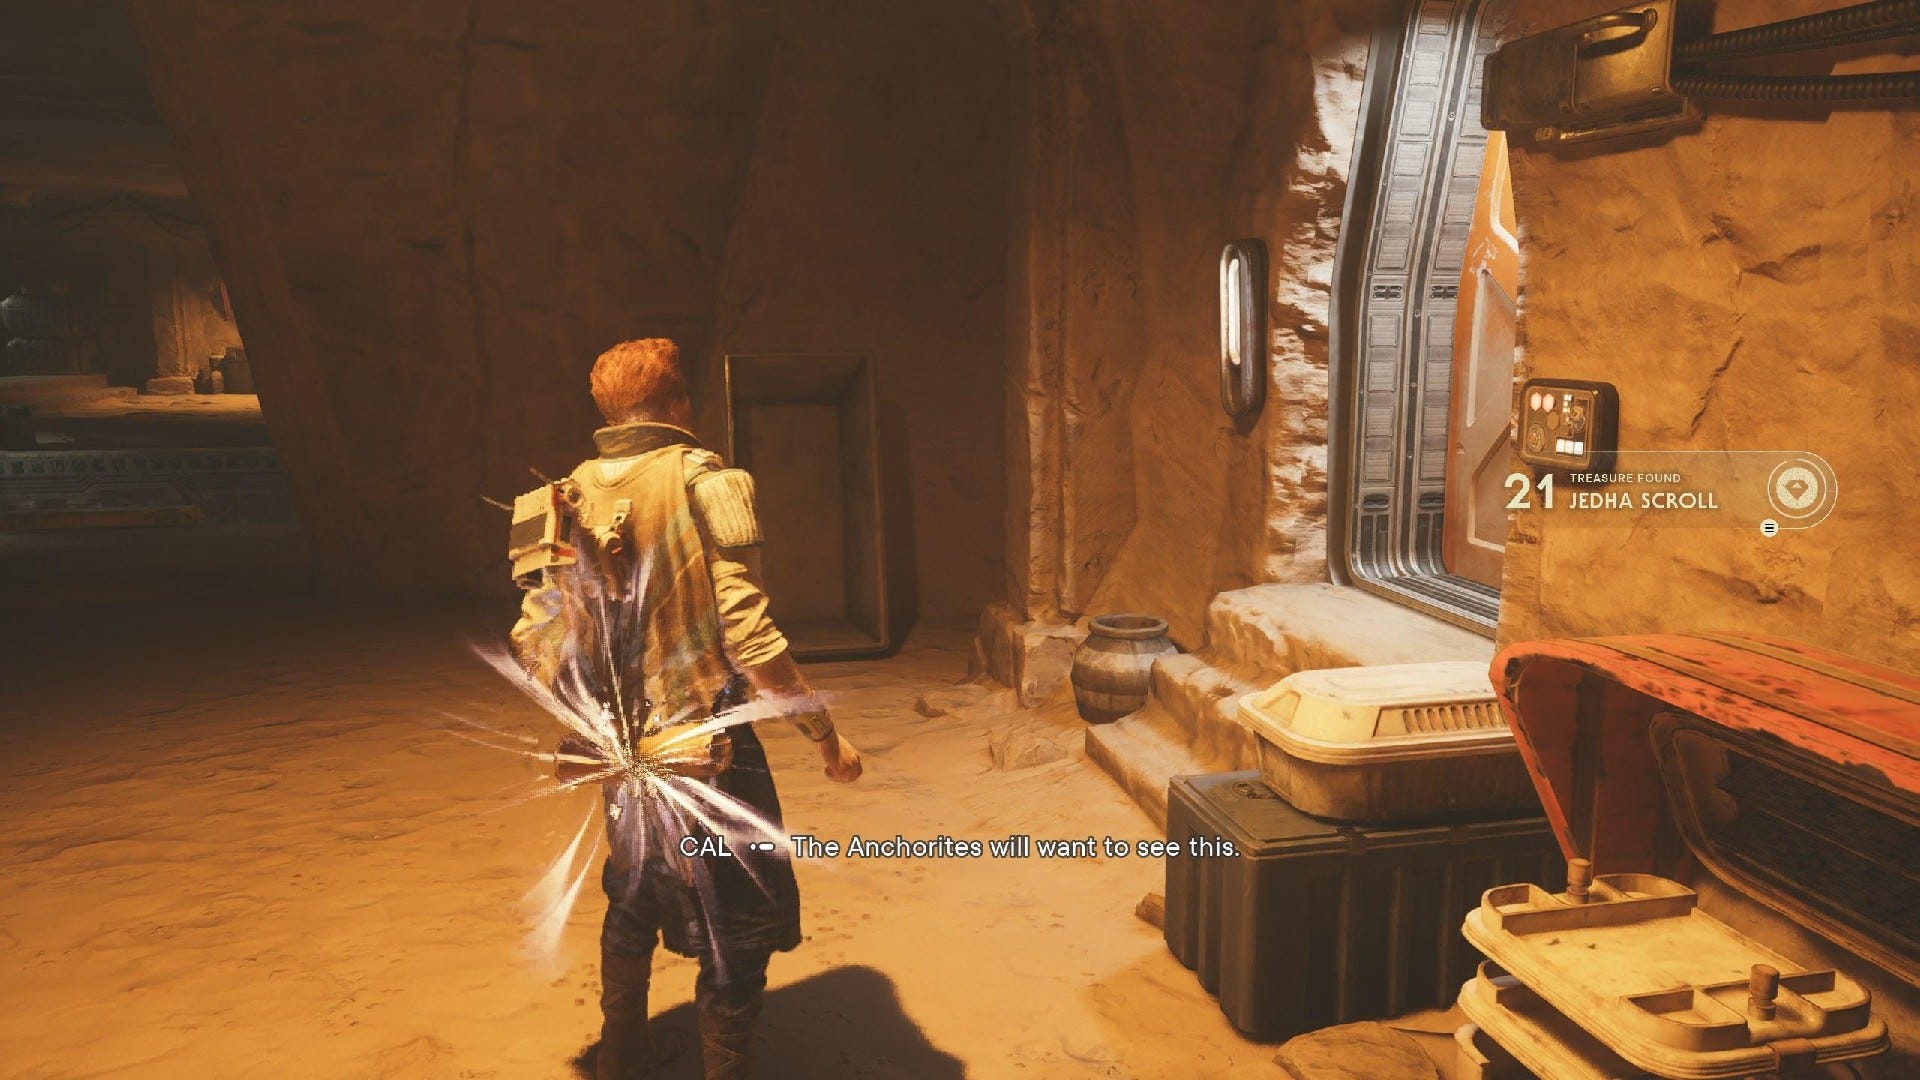
The Archive Treasures:

Jedha Scroll #1: Up side ramp, past the two talking Anchorites, and through the gap.

Jedha Scroll #2: Through the side passage with the three Anchorites talking about Eussen and enlightenment. Climb the wall and squeeze through the gap.
Jedha Scroll #3: Dash through green laser door and parkour up from chest. Follow path past Anchorites to find Jedha Scroll.

Jedha Scroll #4: Dash through green door, parkour up from chest, and follow ledge around. Dash across to other ledge to find Jedha Scroll.
Jedha Scroll #5: Use the advanced grapple hook in the room near Sister Taske's shop to reach the middle level ledges, where you'll find this Jedha Scroll on a crate.
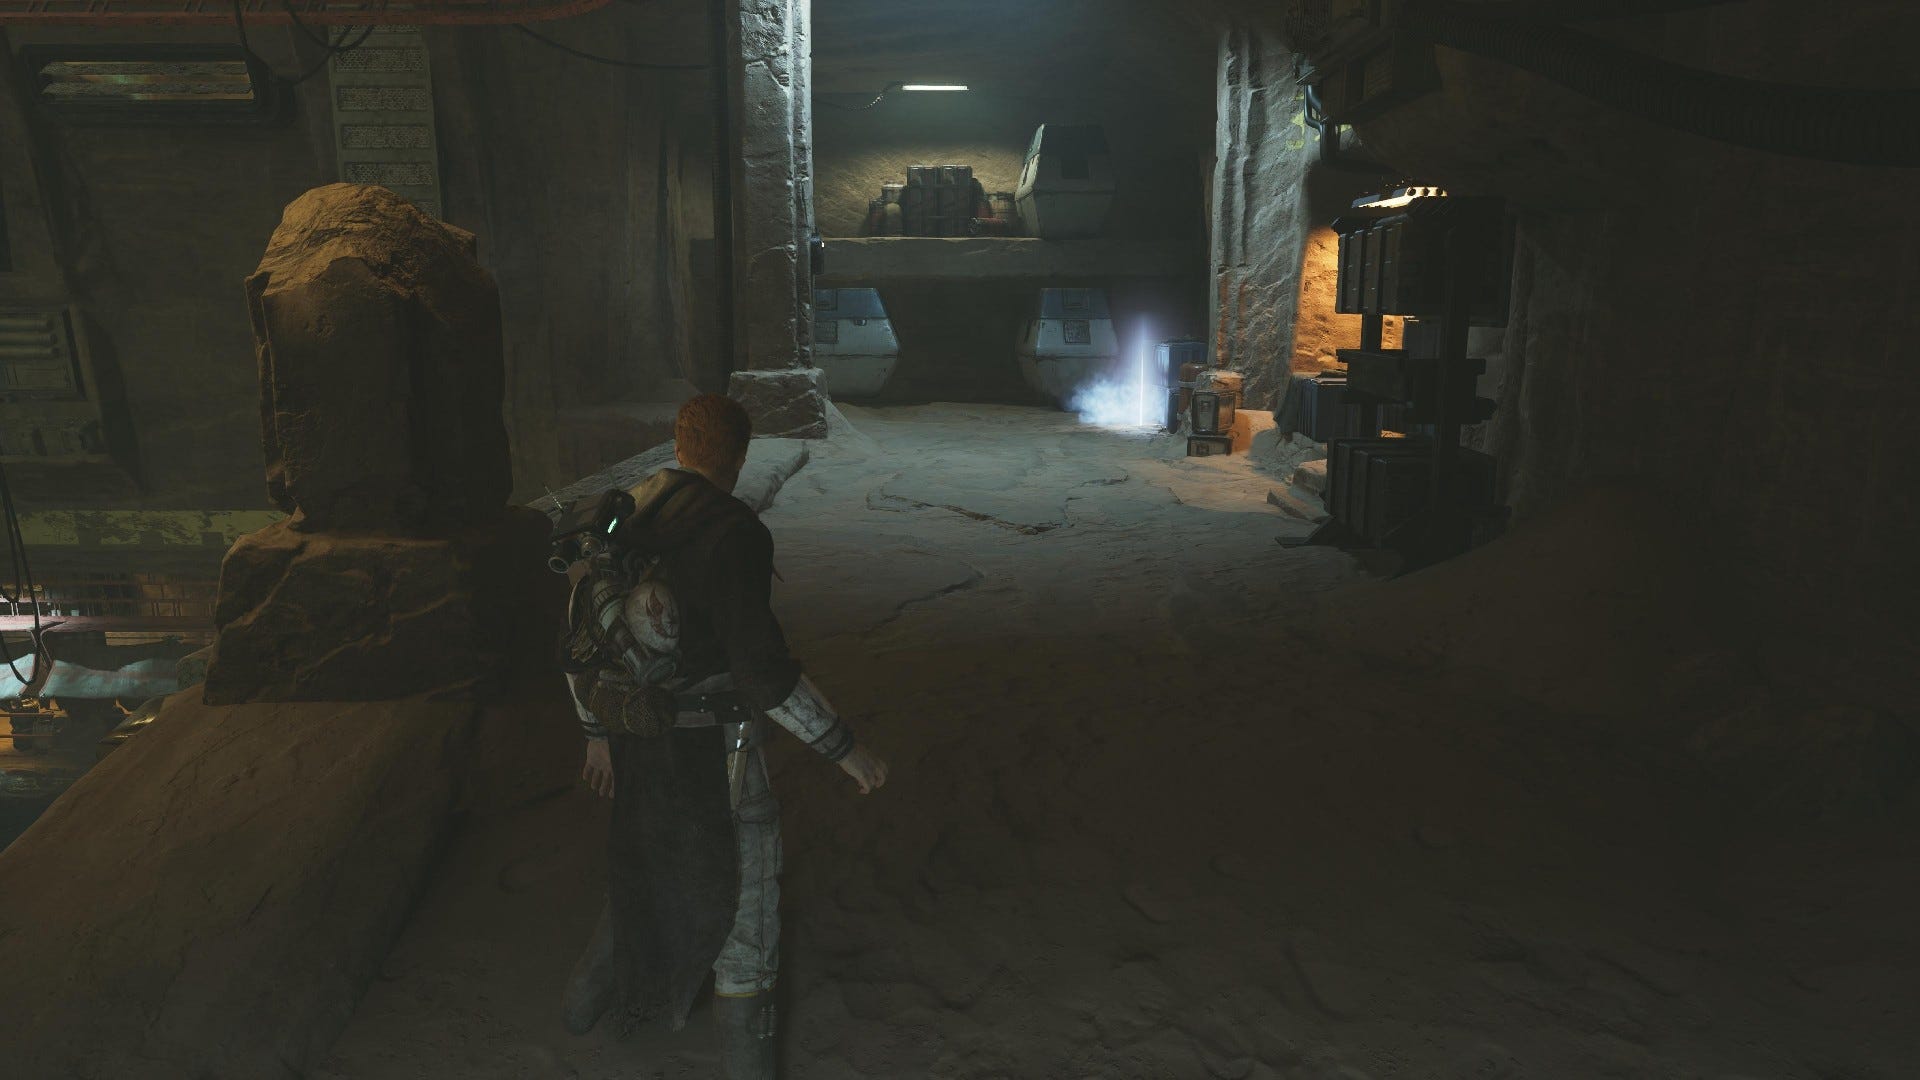
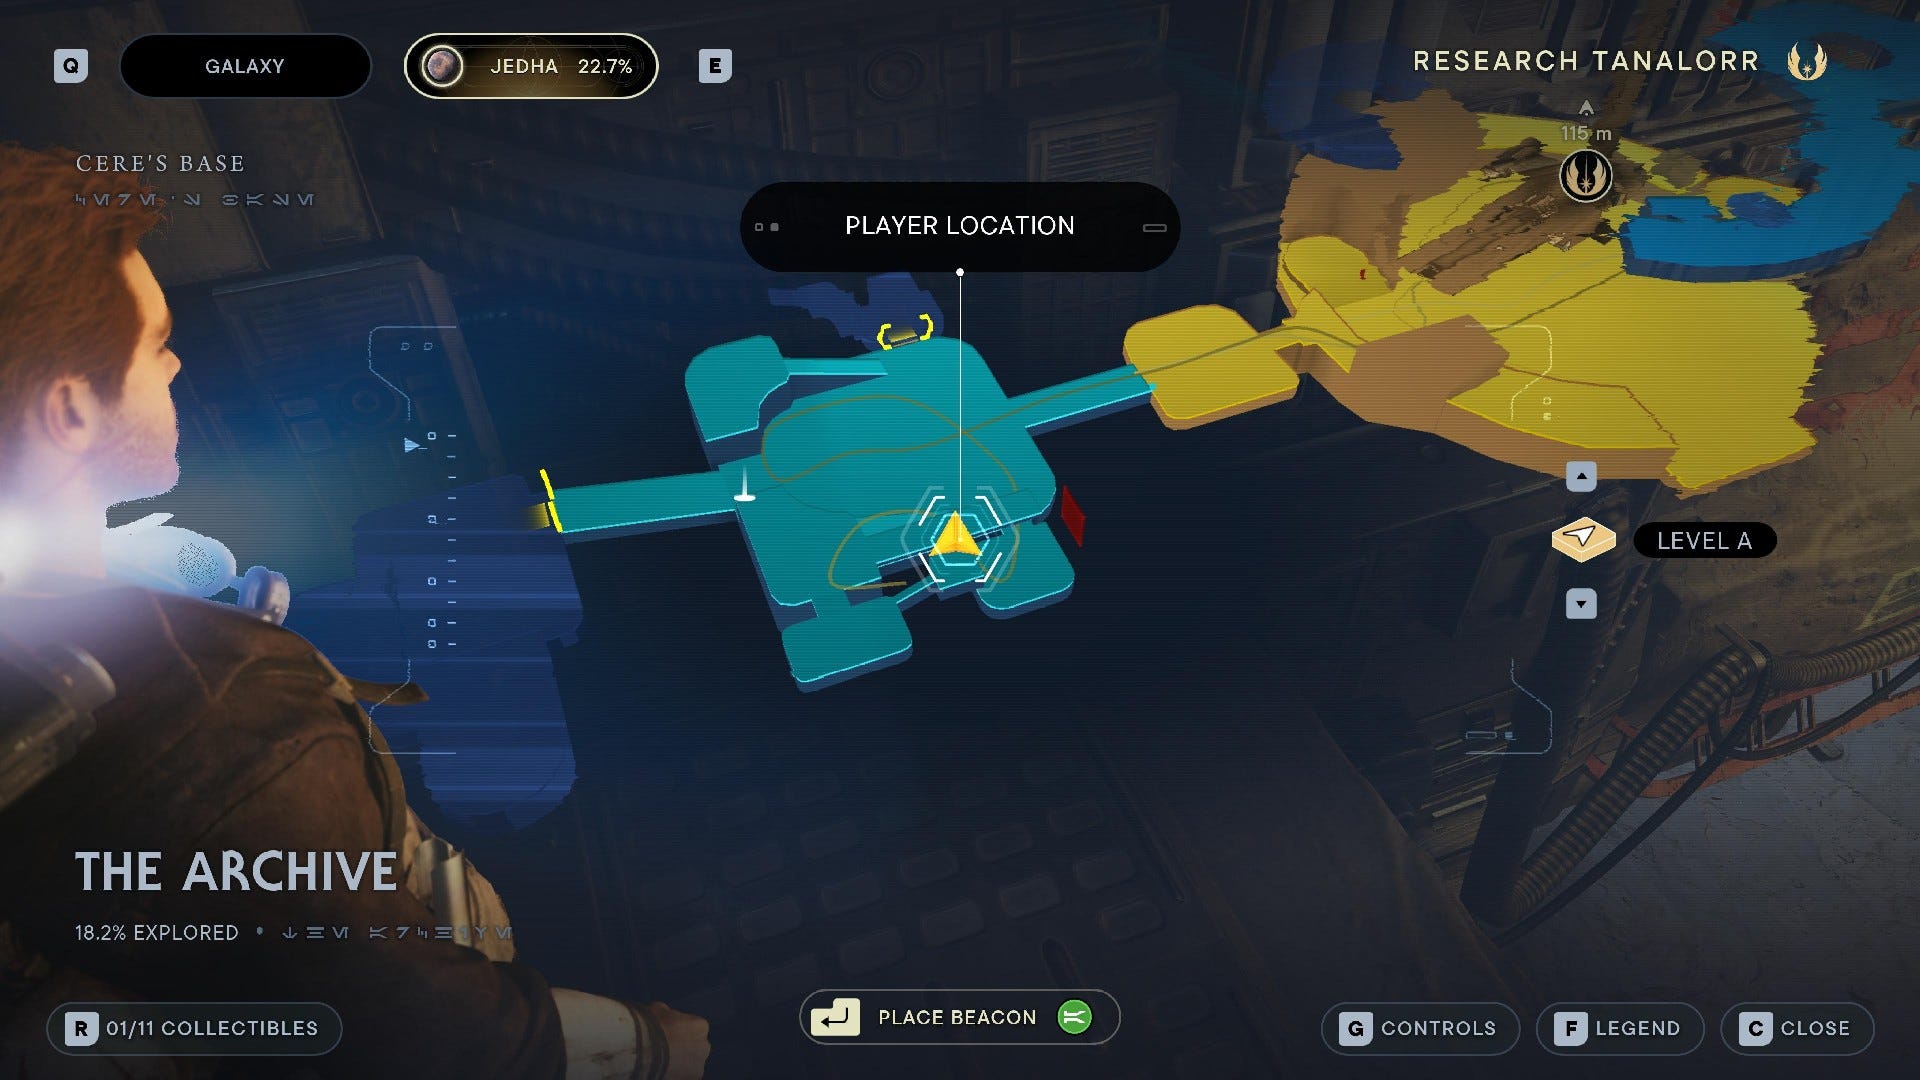
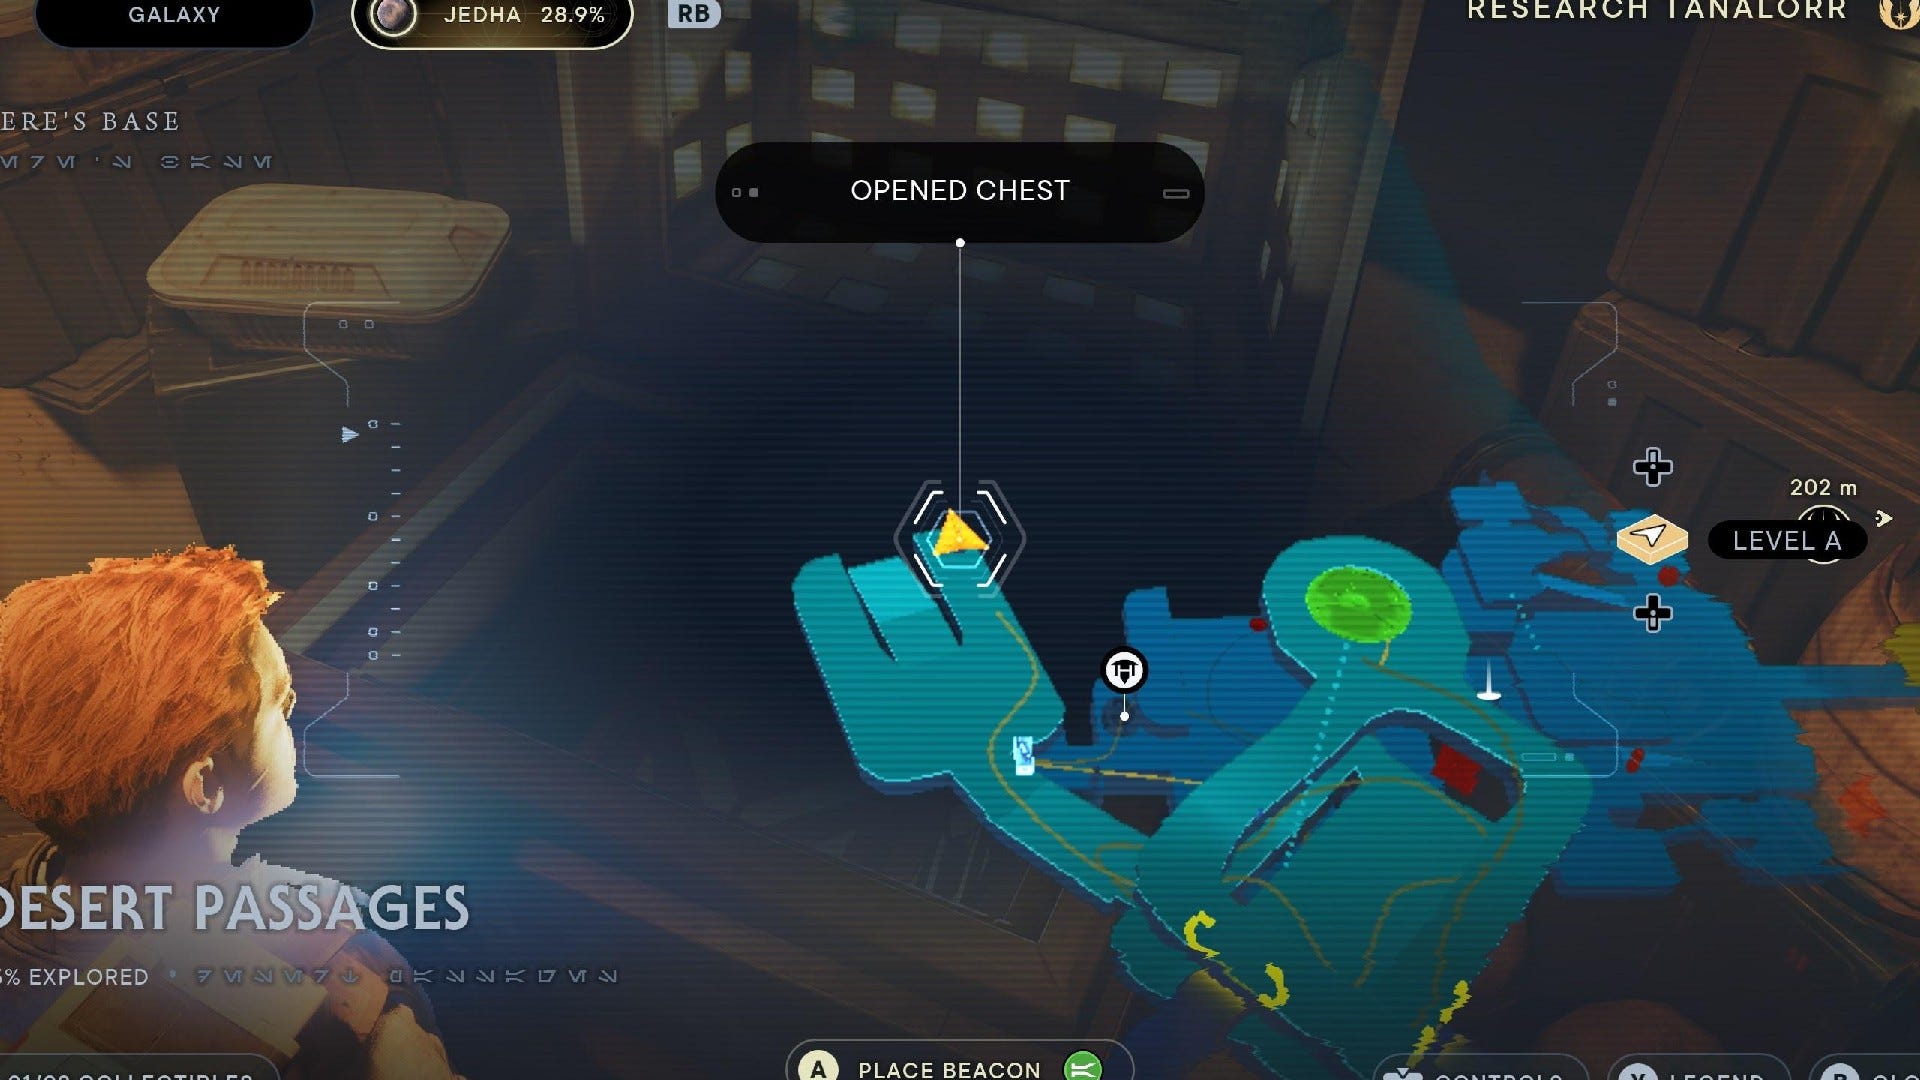
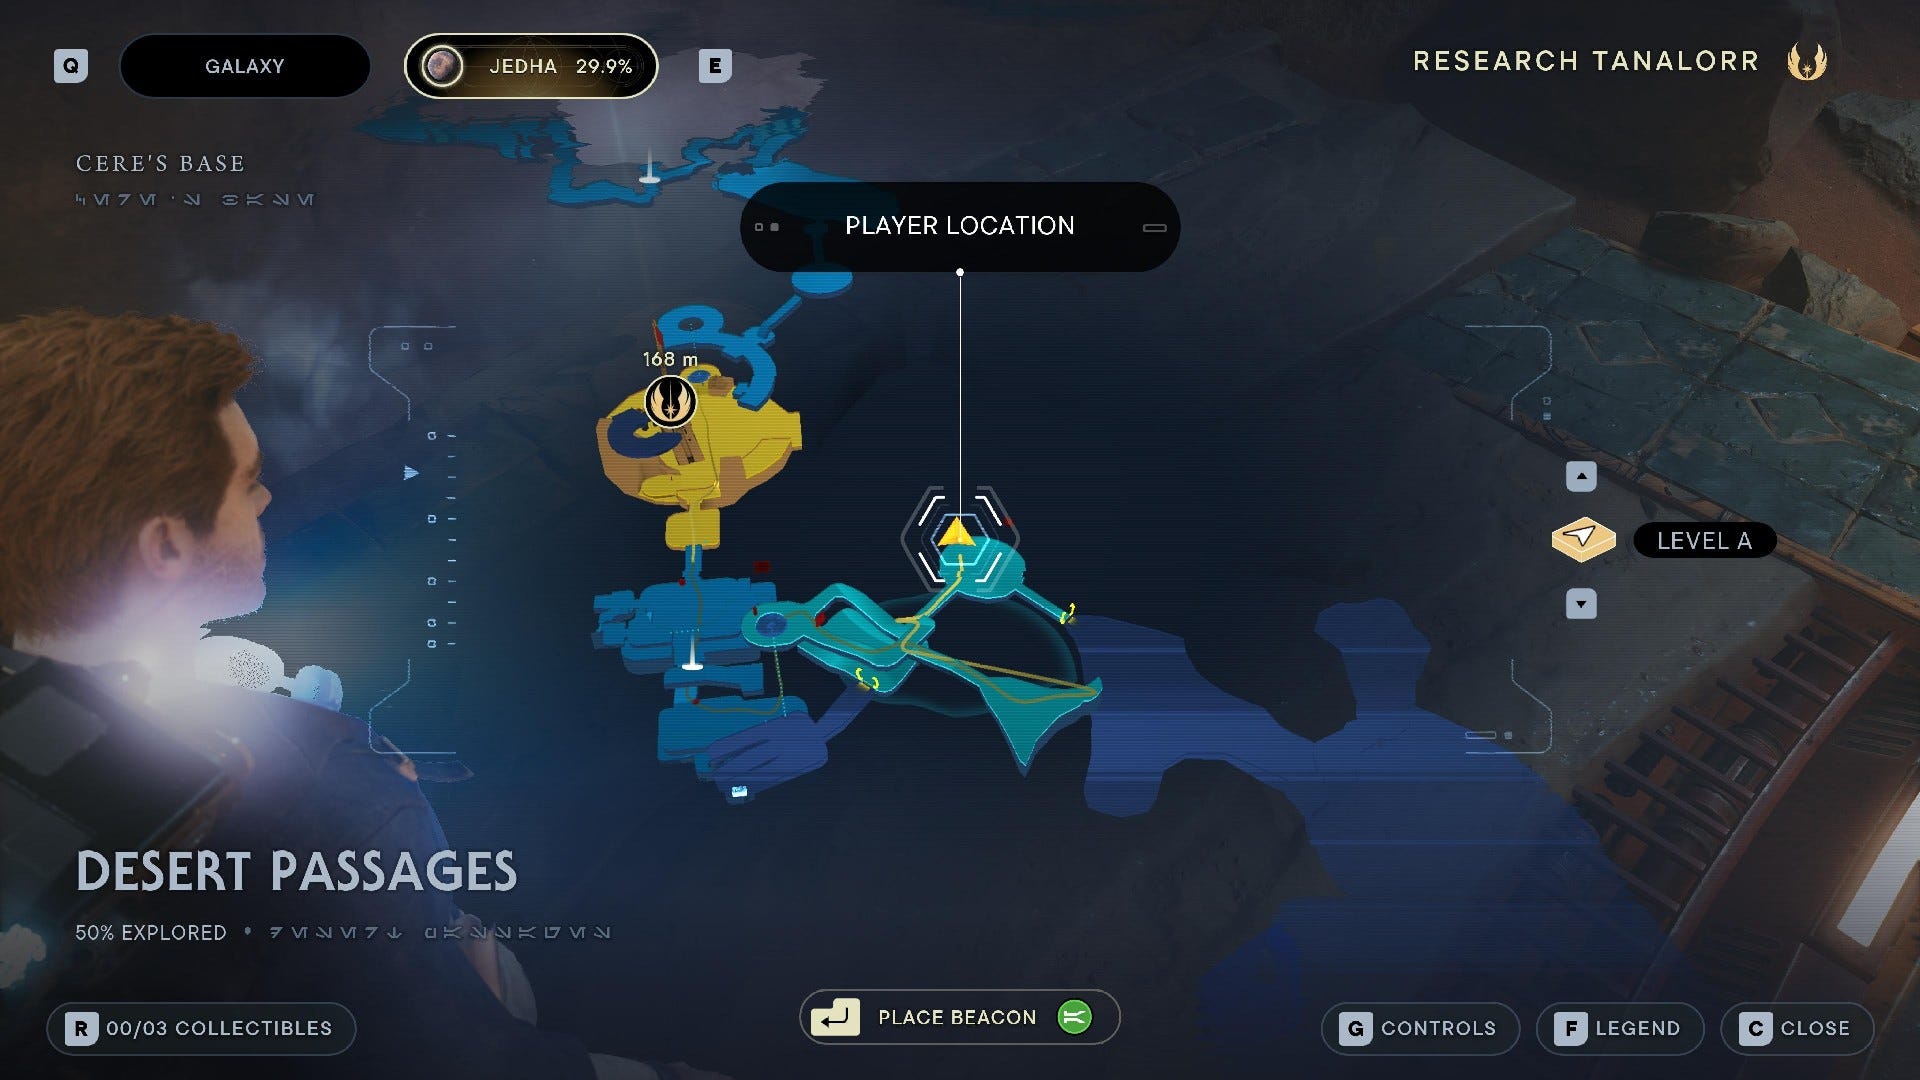
Desert Passages collectibles
Desert Passages is the path leading out of Cere's Base and into the Arid Flats of Jedha. It has just 3 collectibles:
Desert Passages Chests:
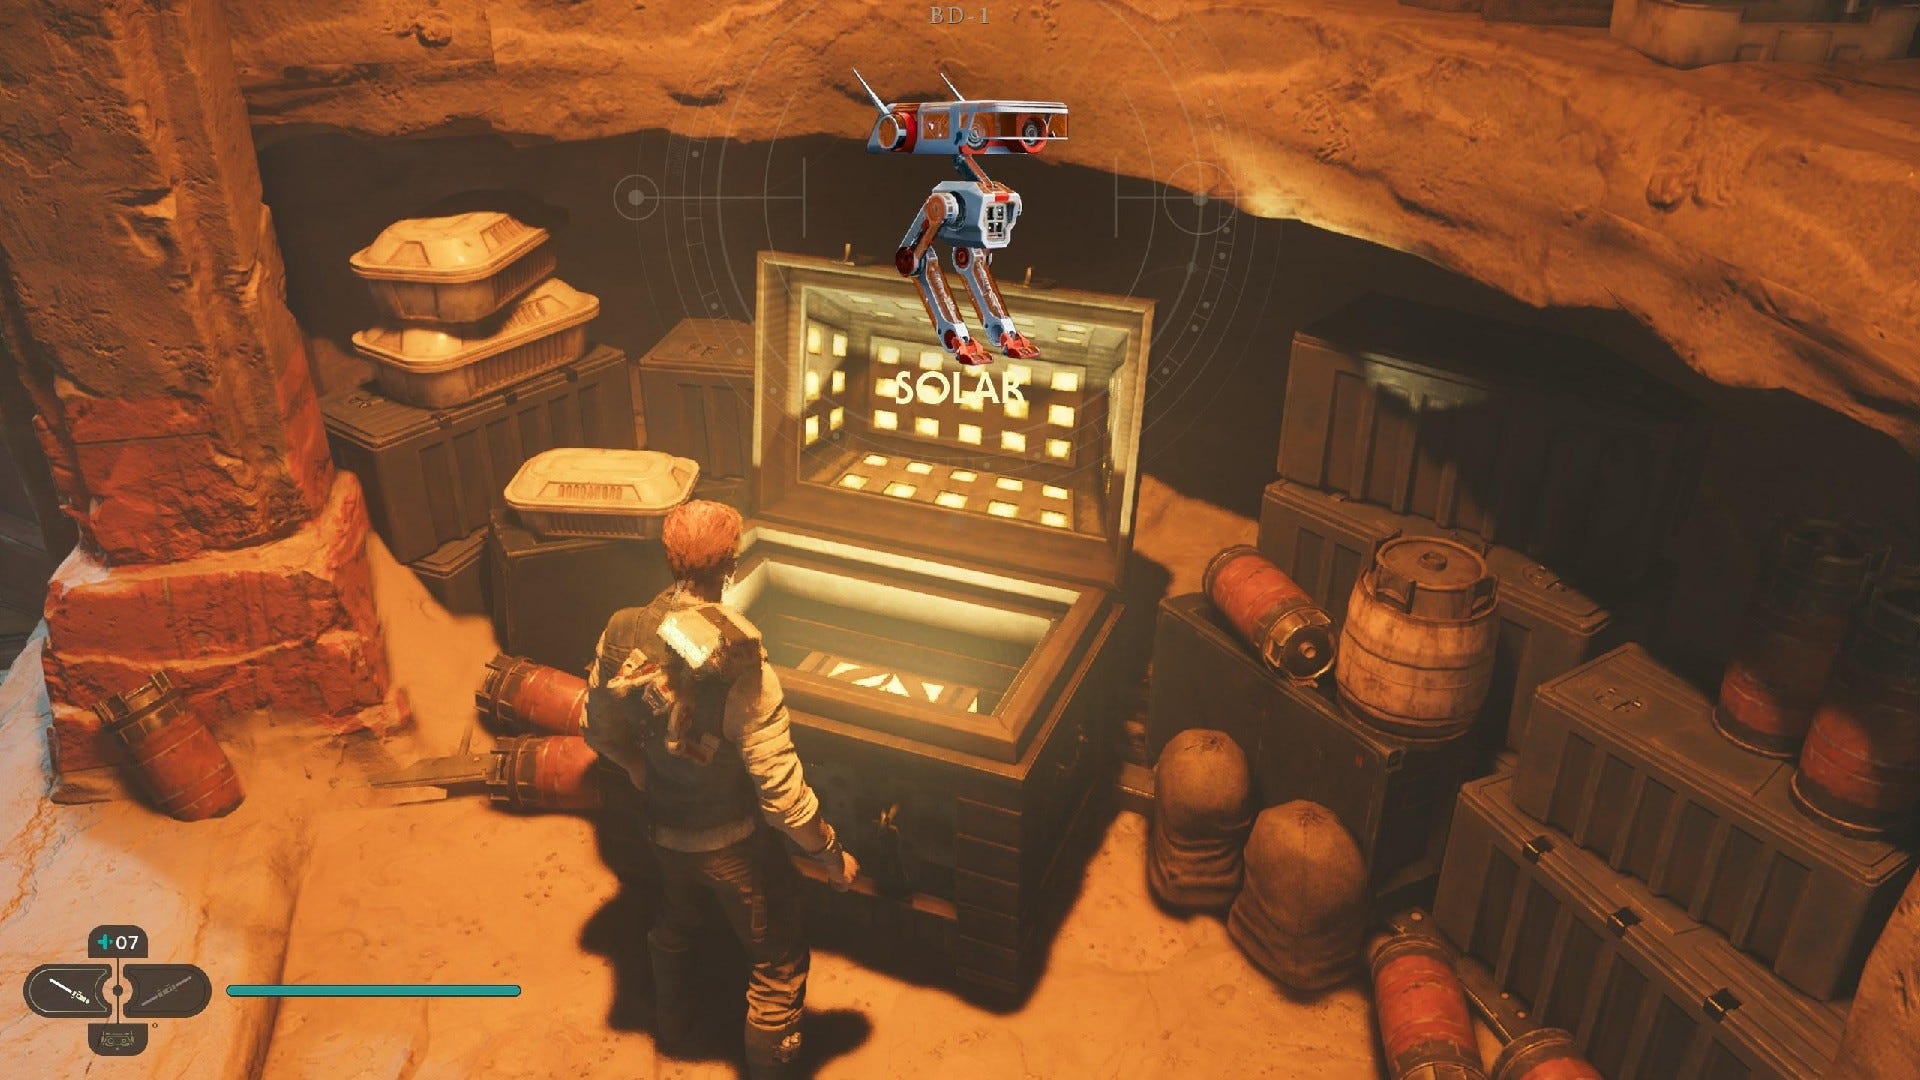
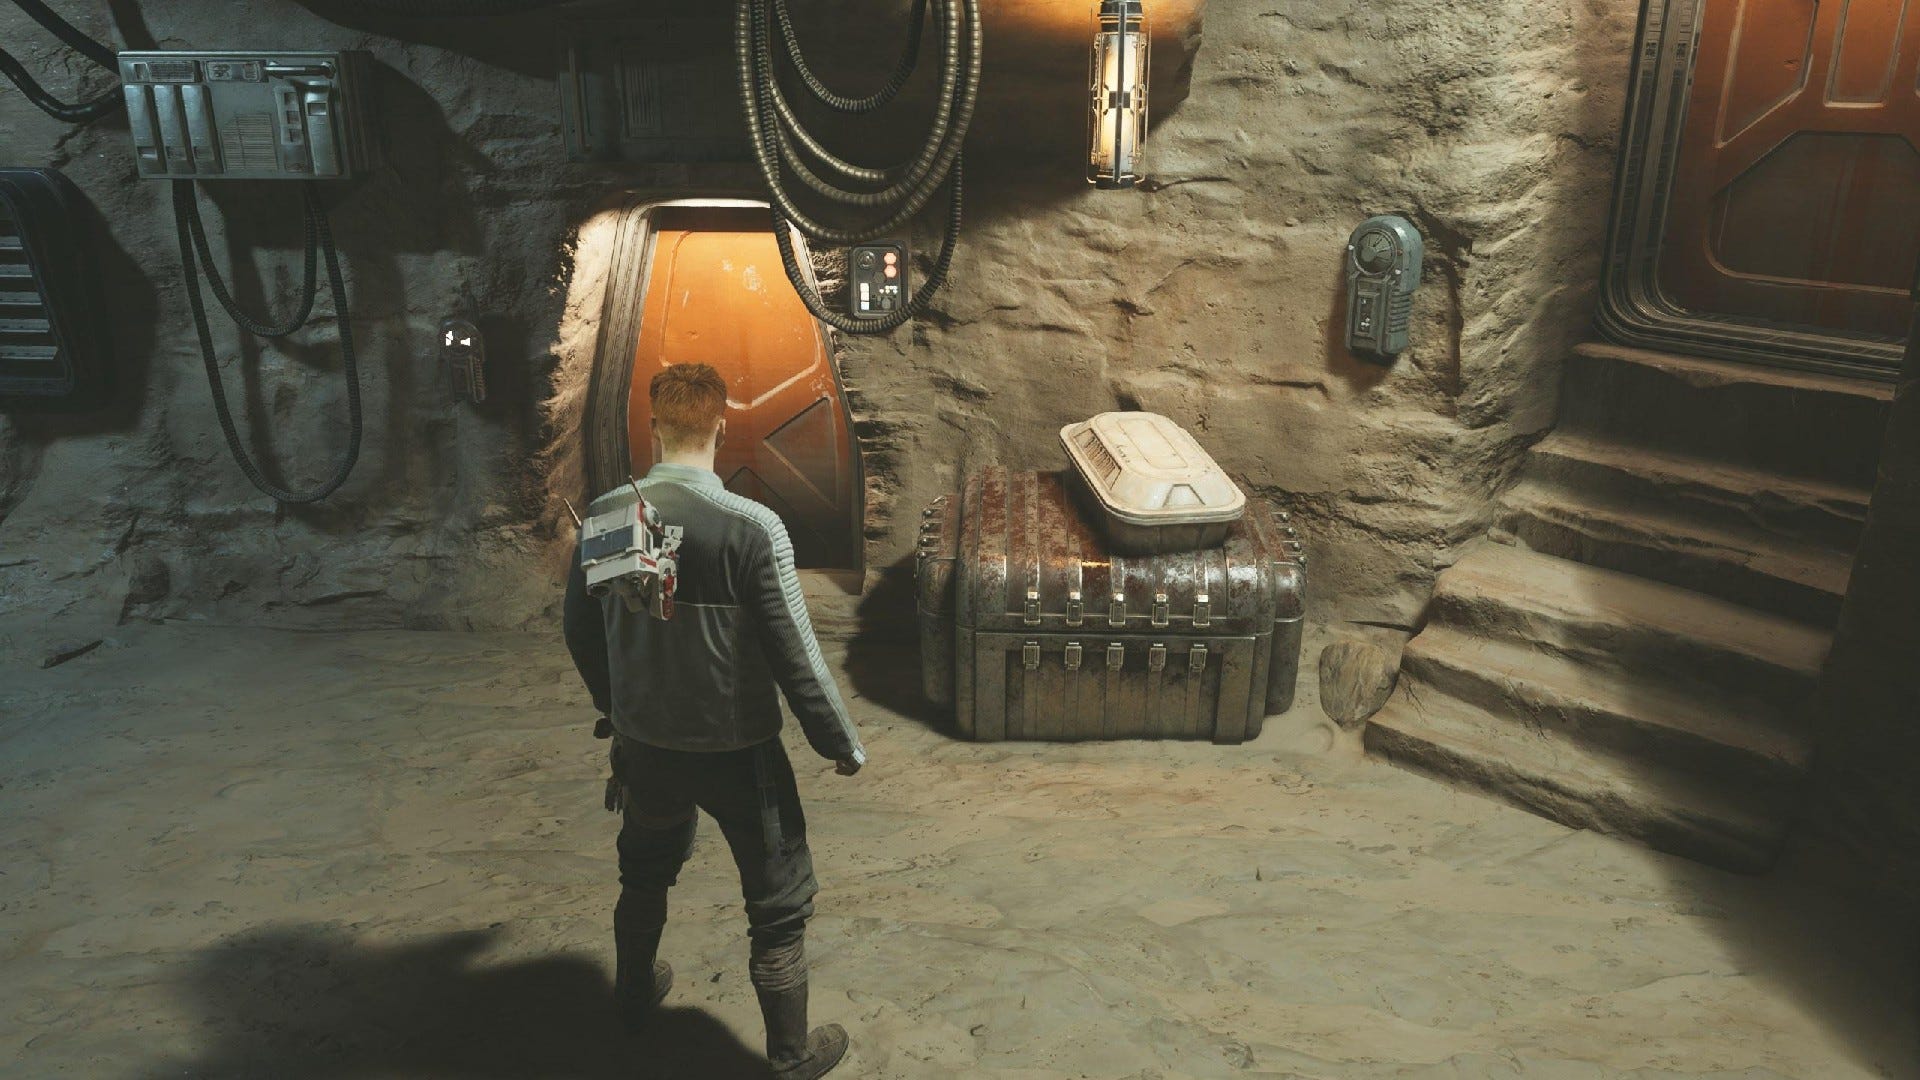
Chest #1 (Solar BD-1): Take elevator up from Sister Taske's, and then follow slope down into room with speeder bike. Chest is on the right side.
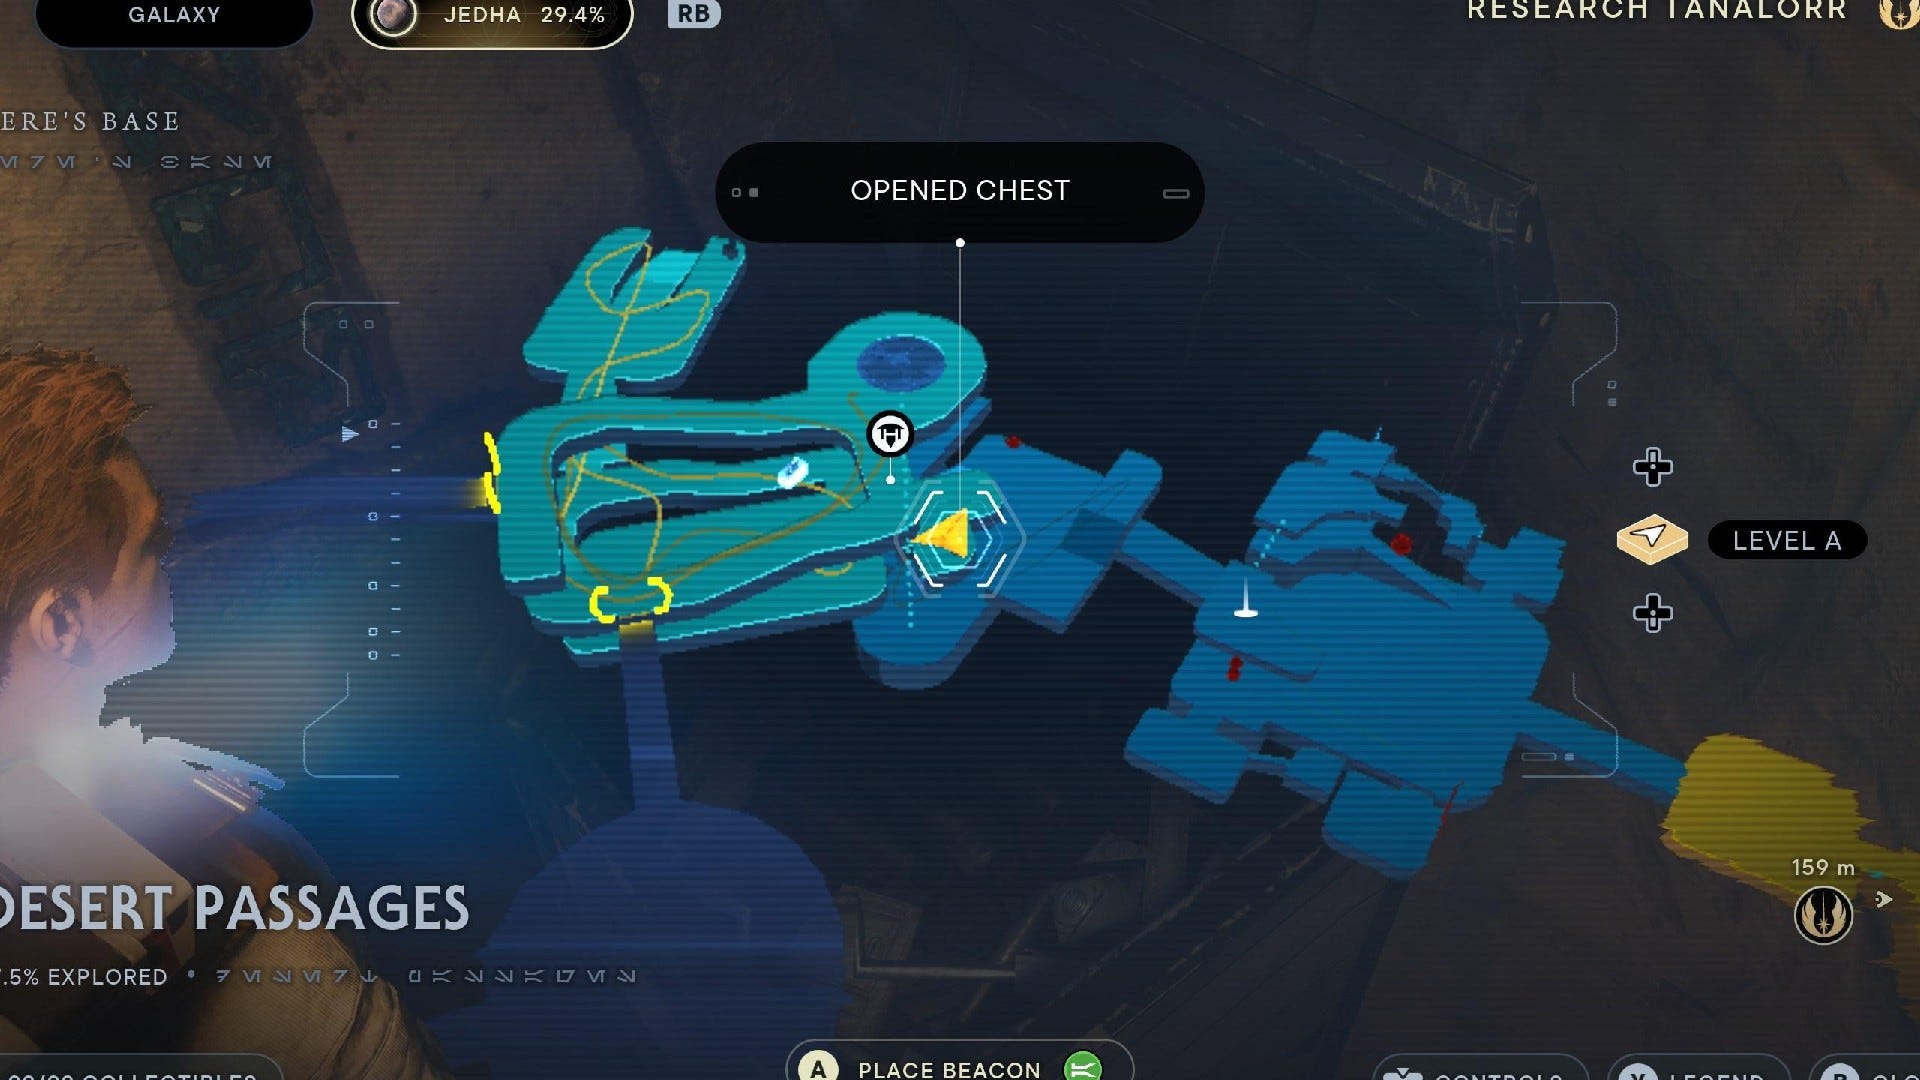

Chest #2 (Scrapyard Pommel): Take elevator up, and then pull the orbs back towards it to open door at bottom of slope. Head through and look to the side of the totem to find this chest.
Desert Passages Databanks:
Force Echo (Witch): Take elevator up, then take the left-hand path into a circular room. On the left is the echo.
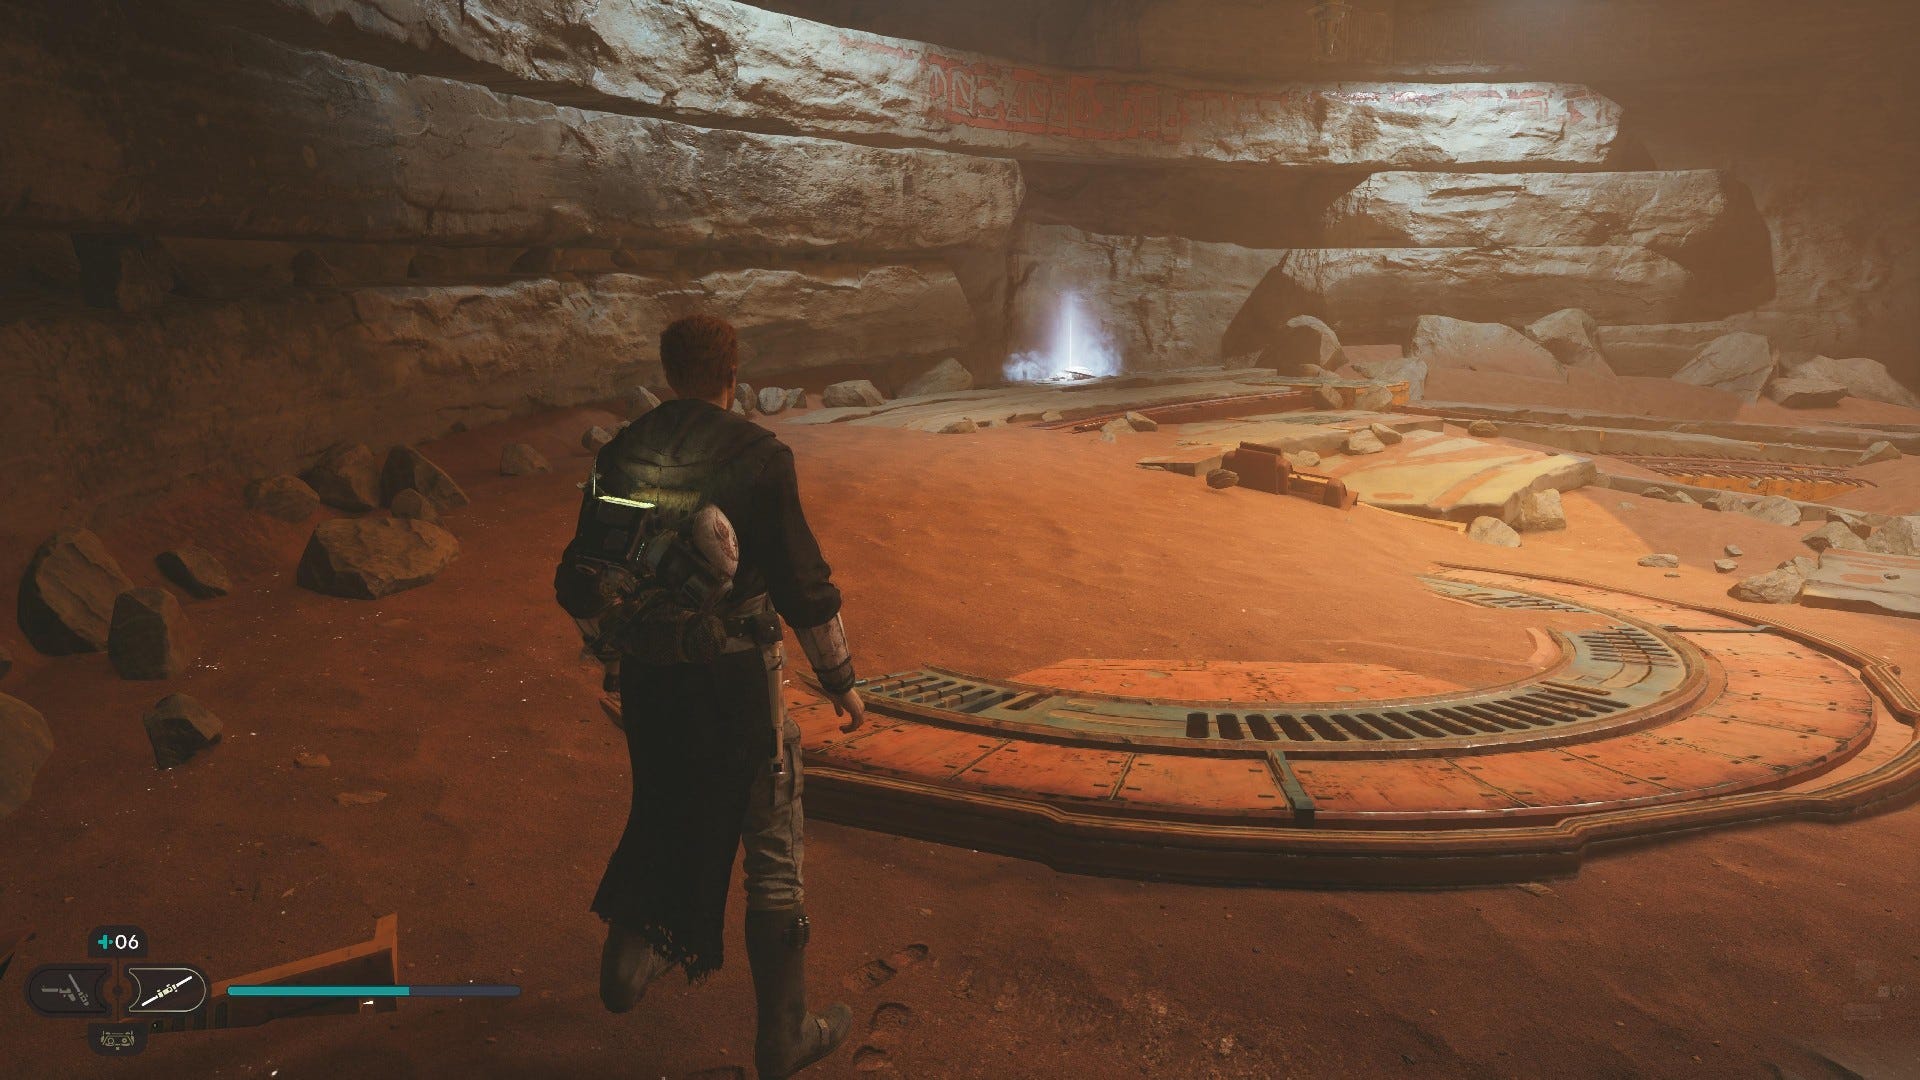
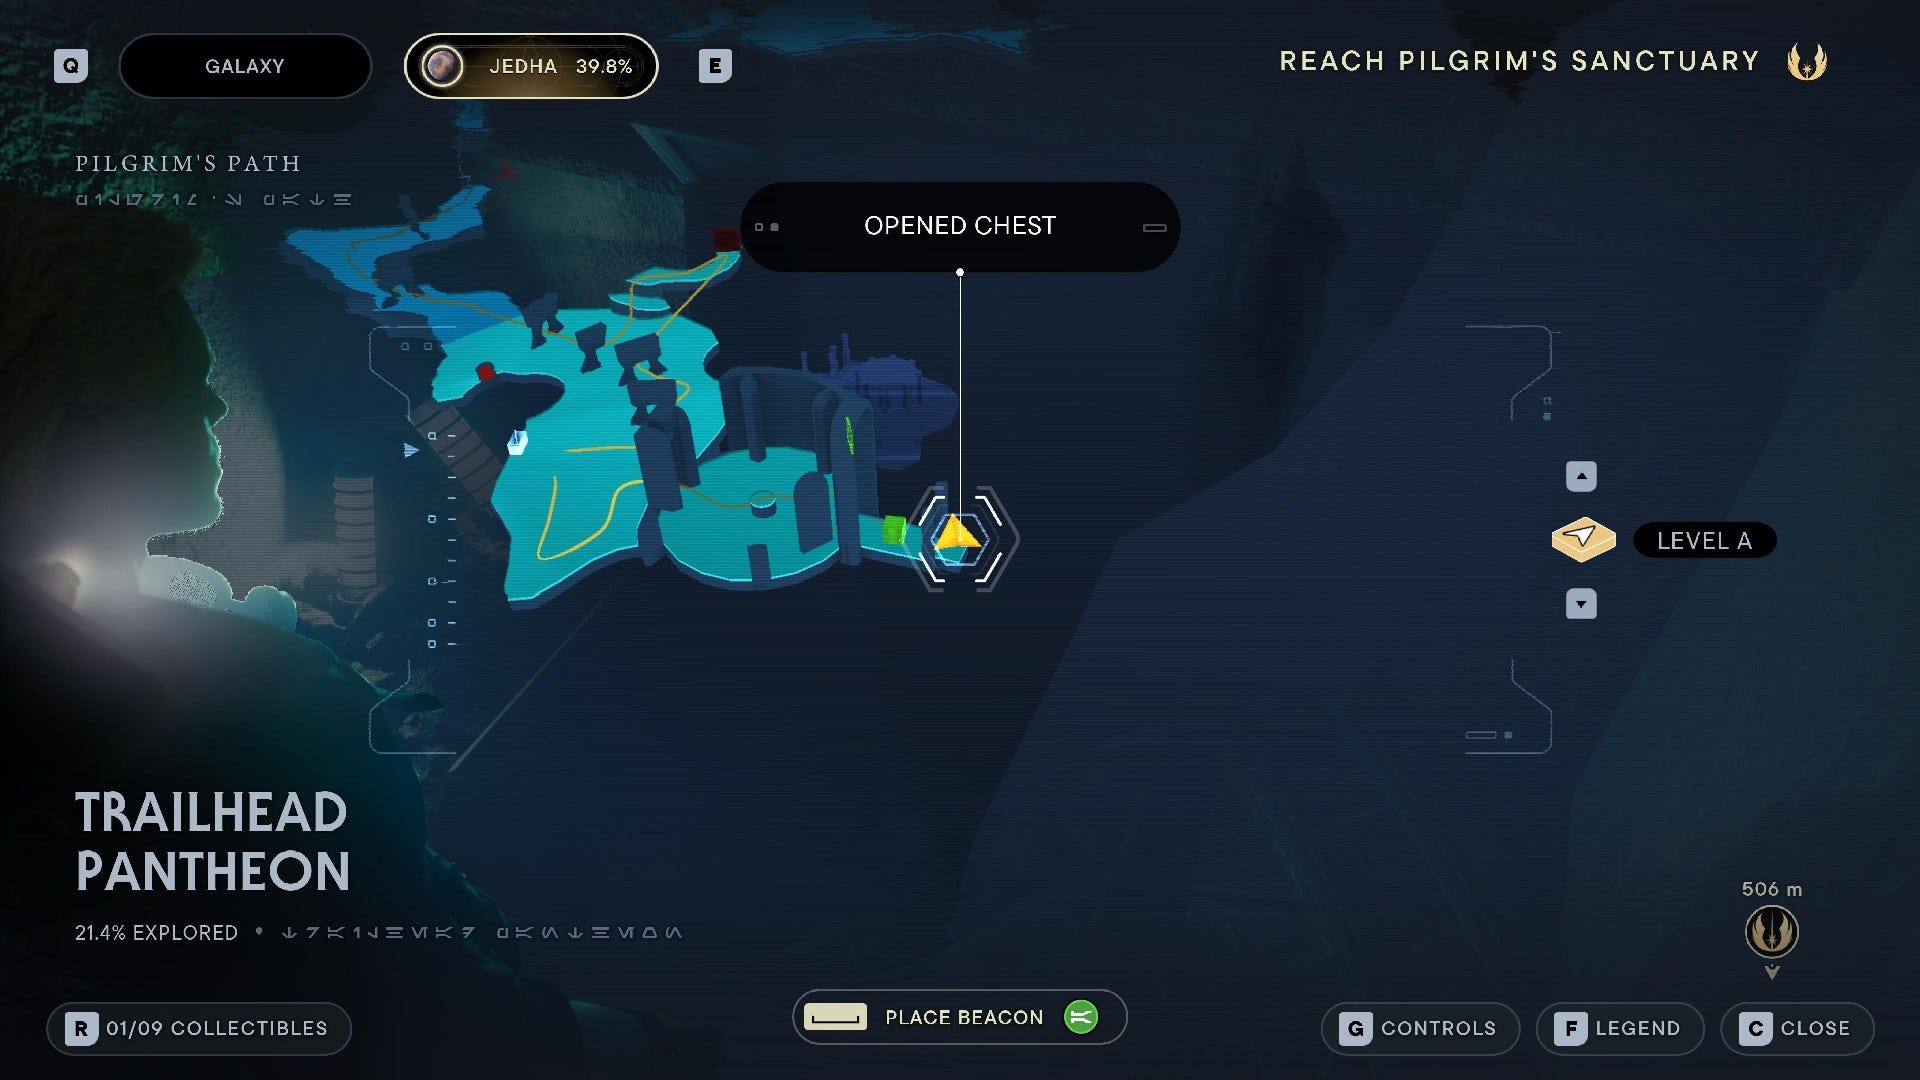
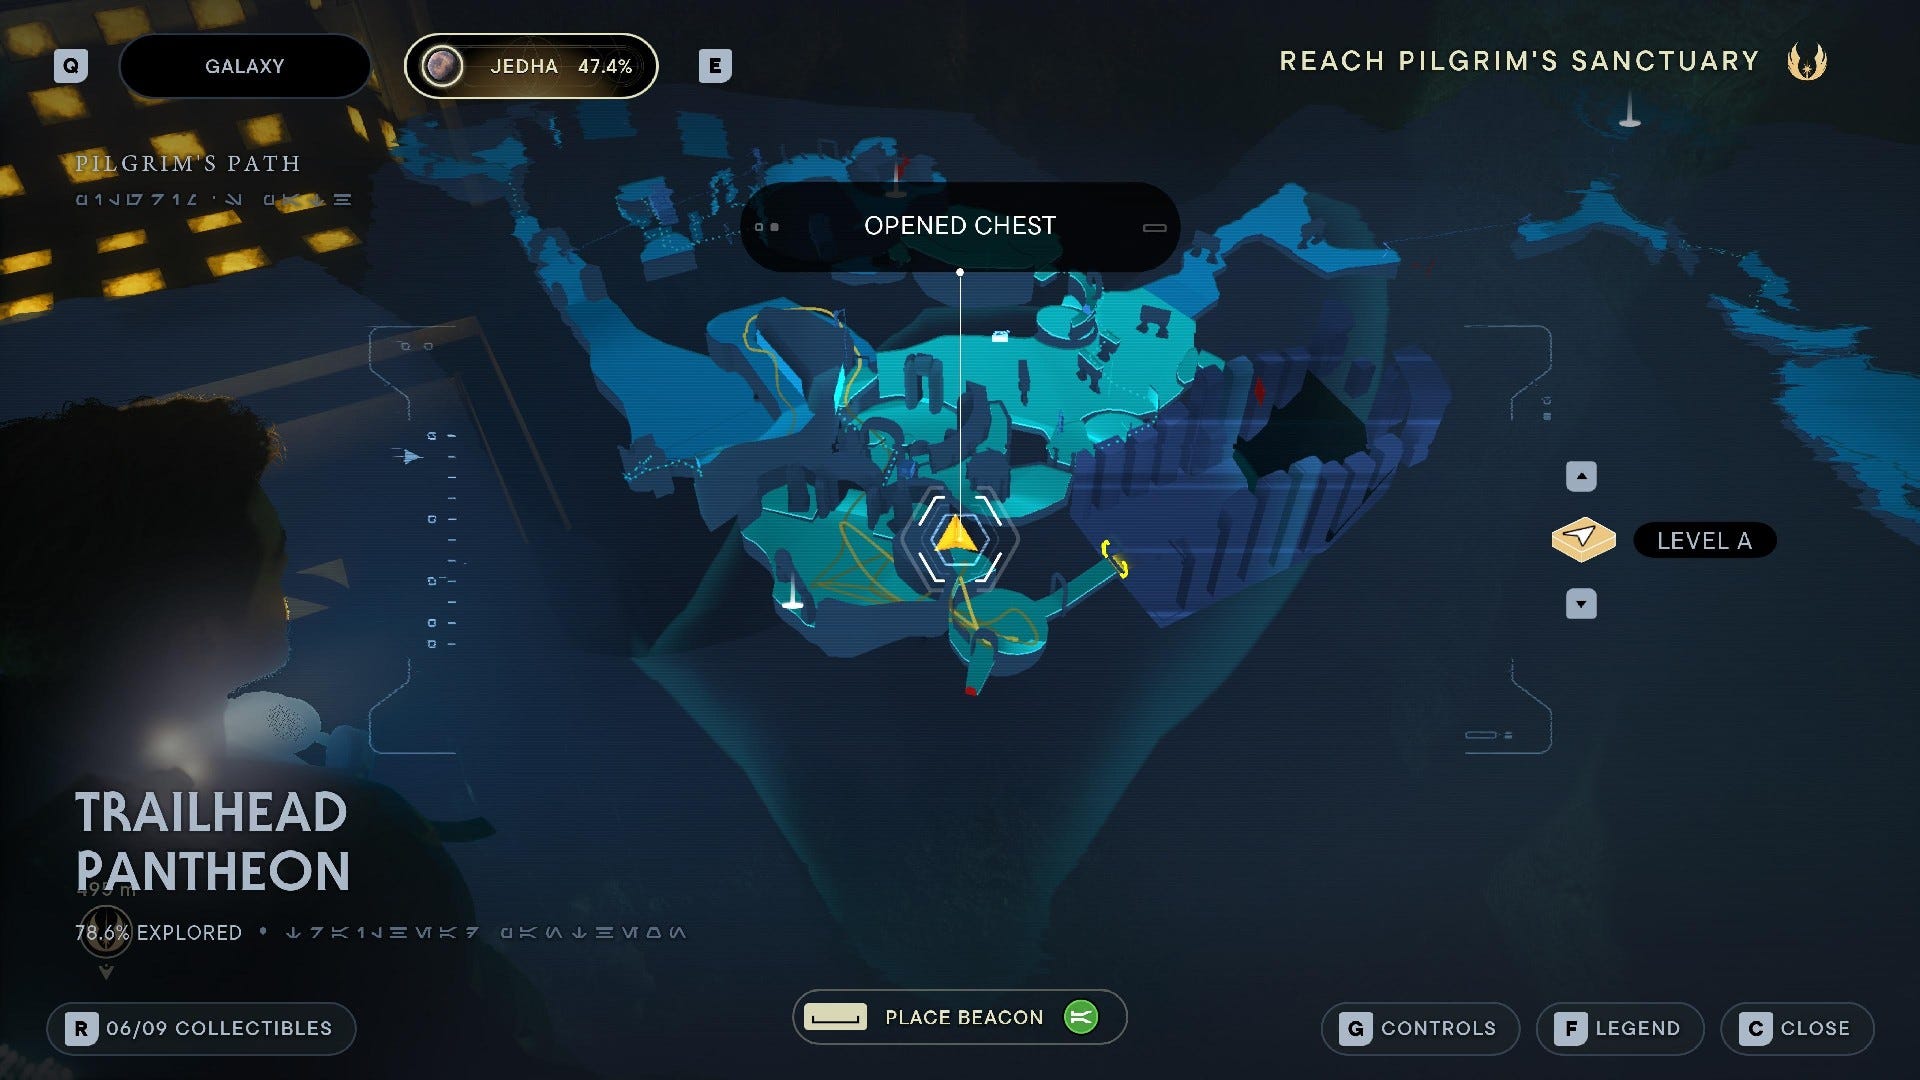
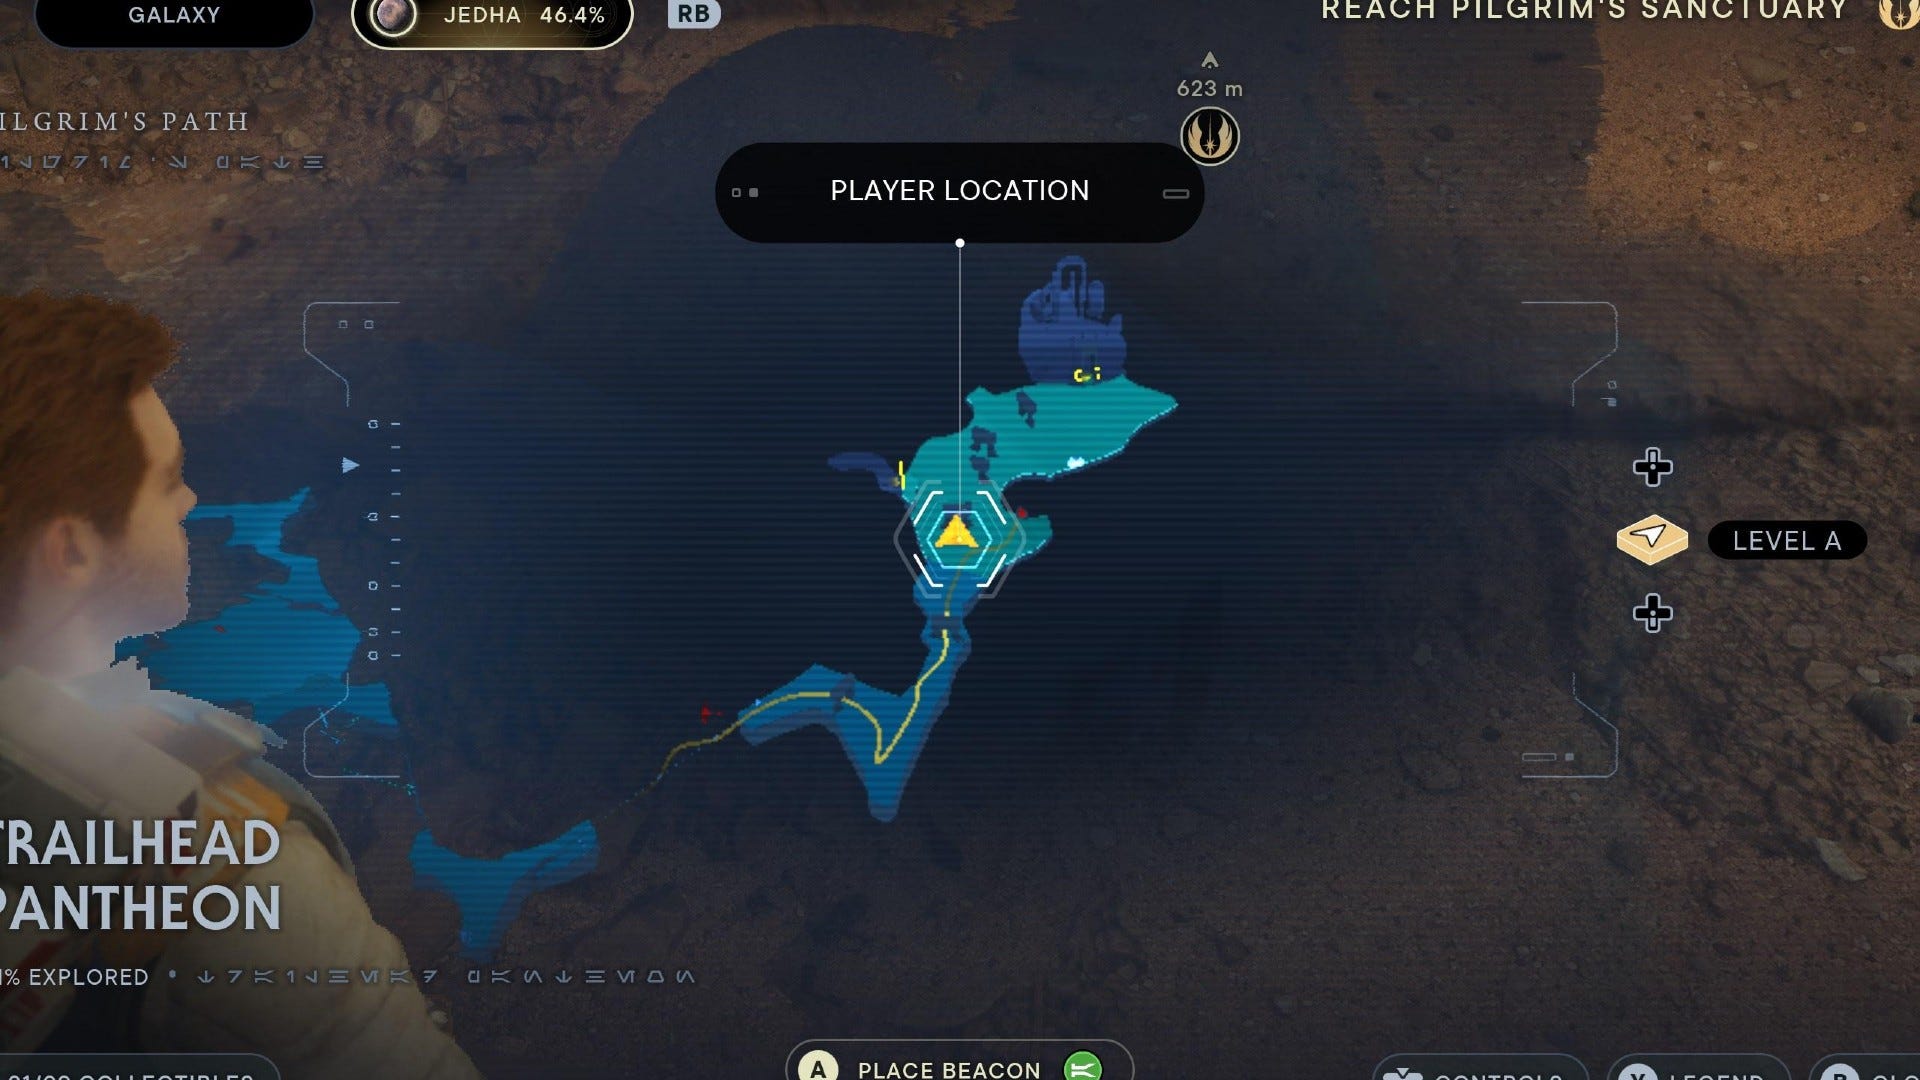
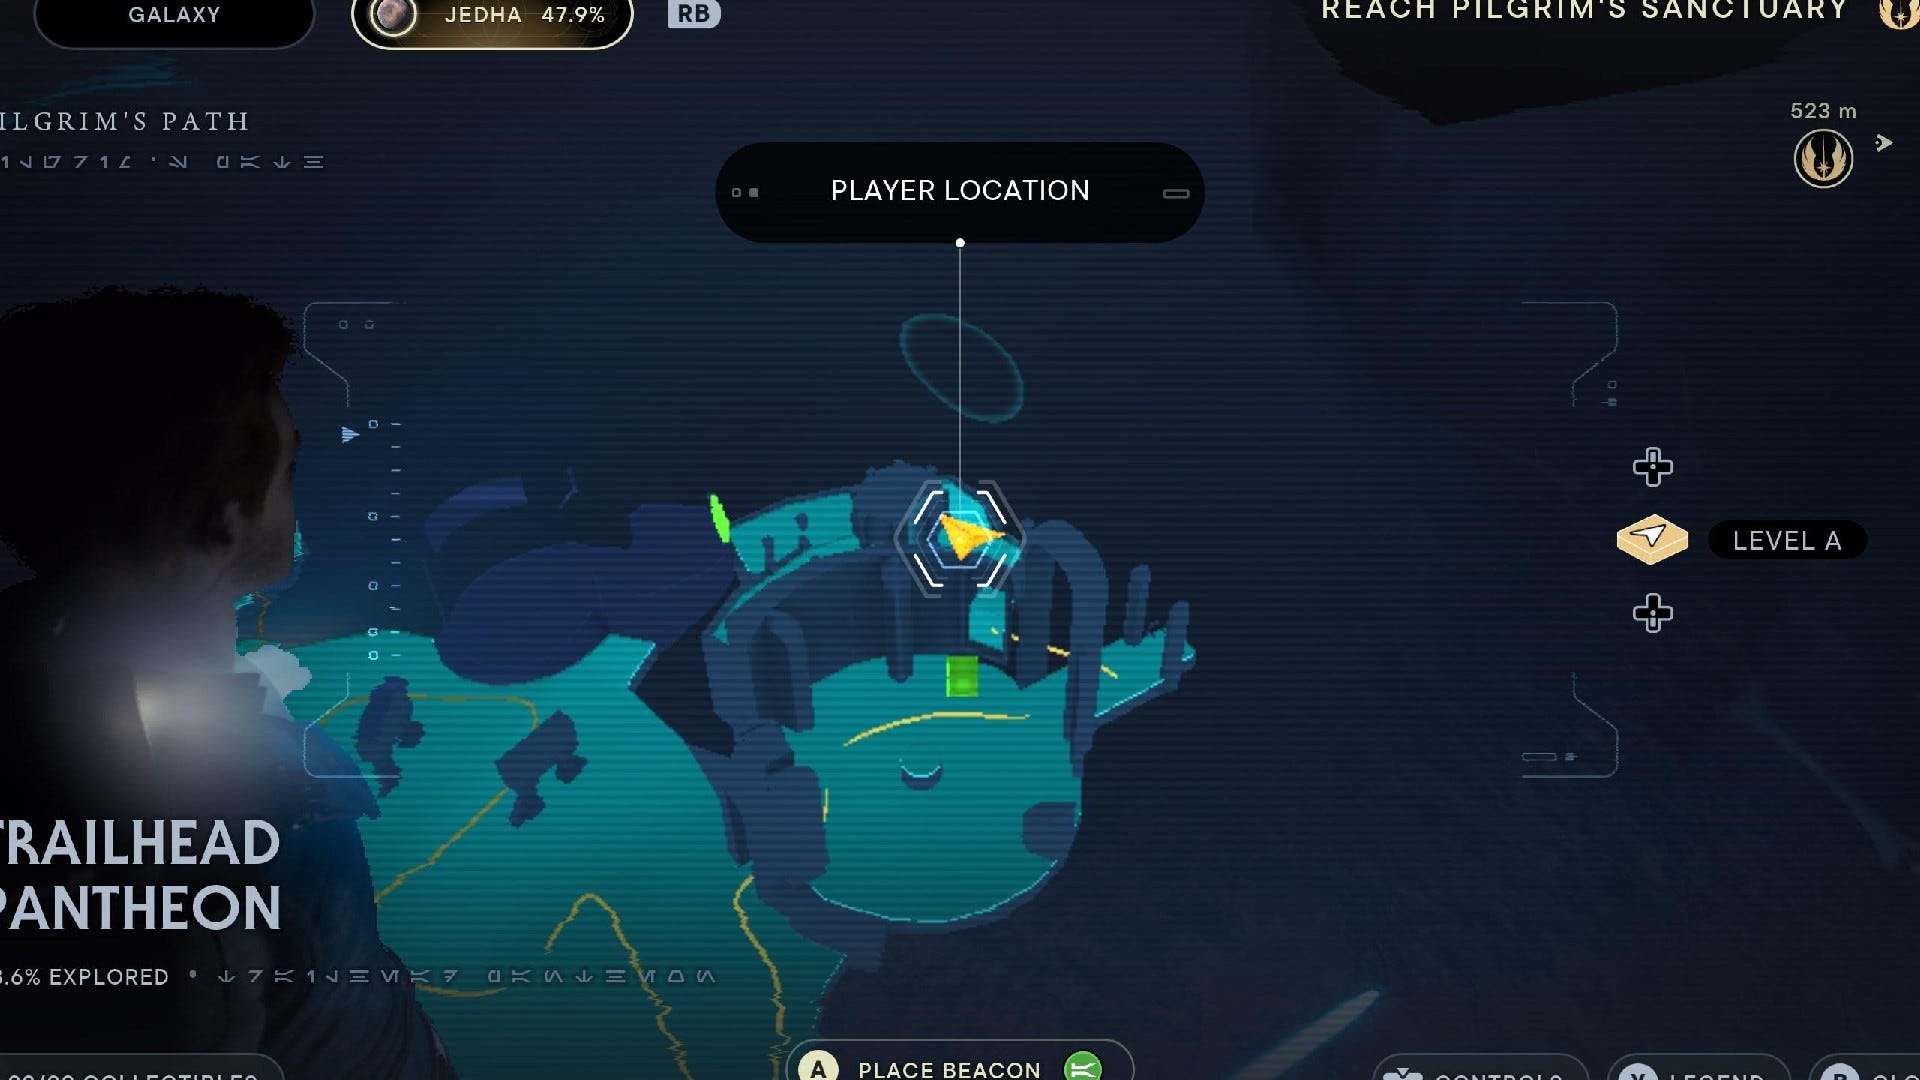
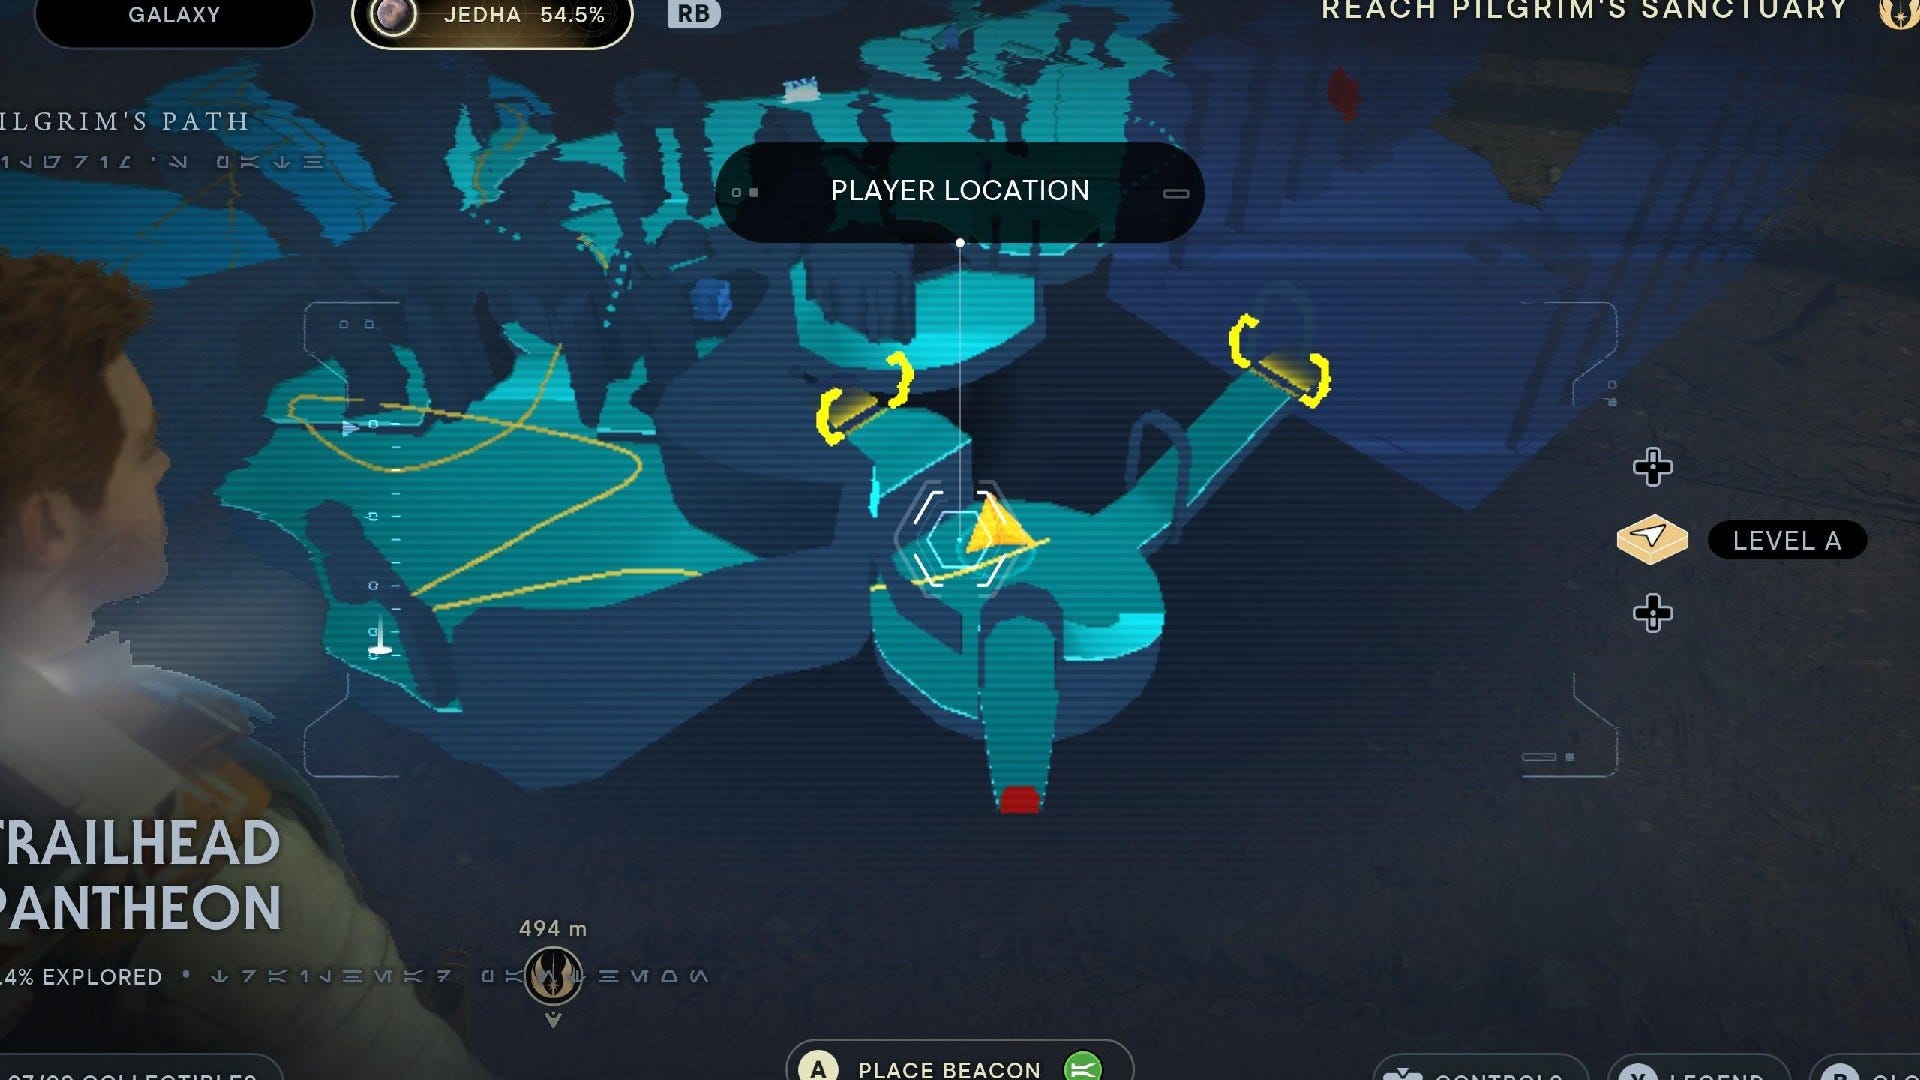
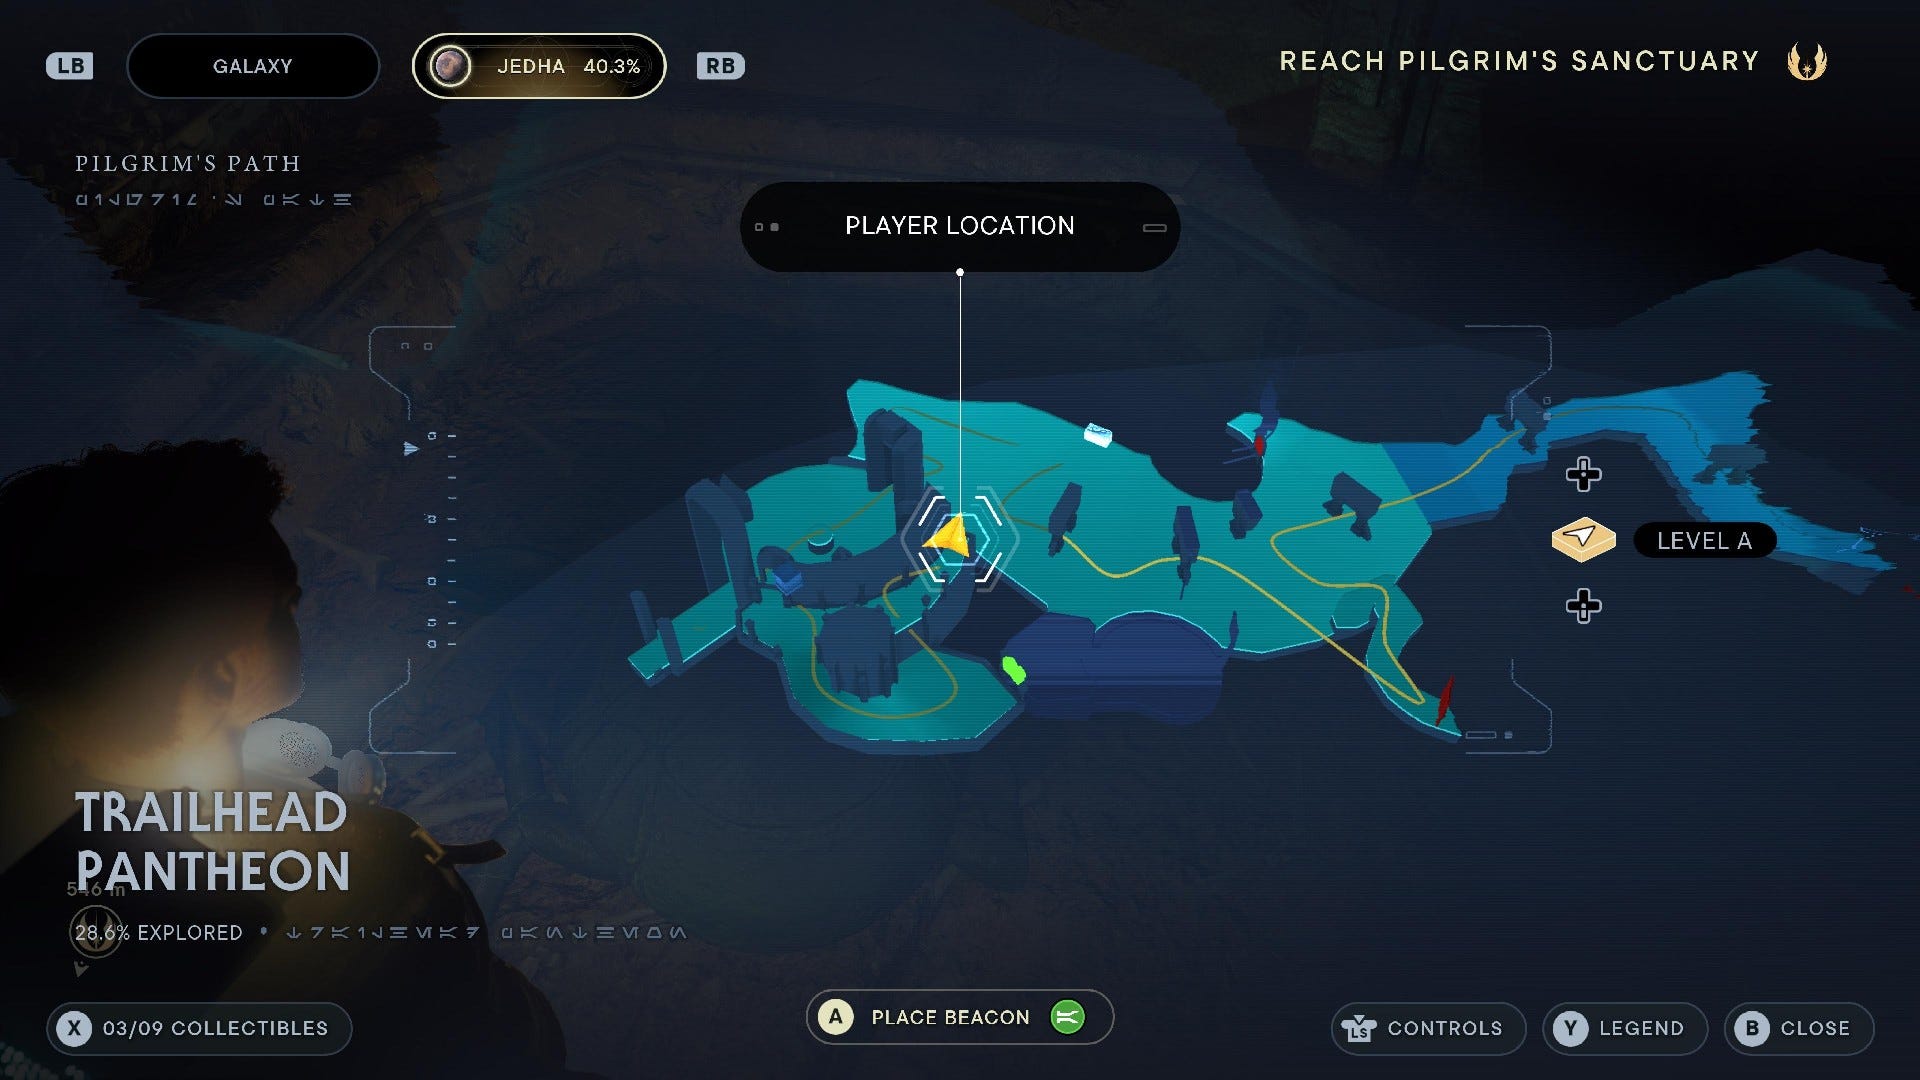
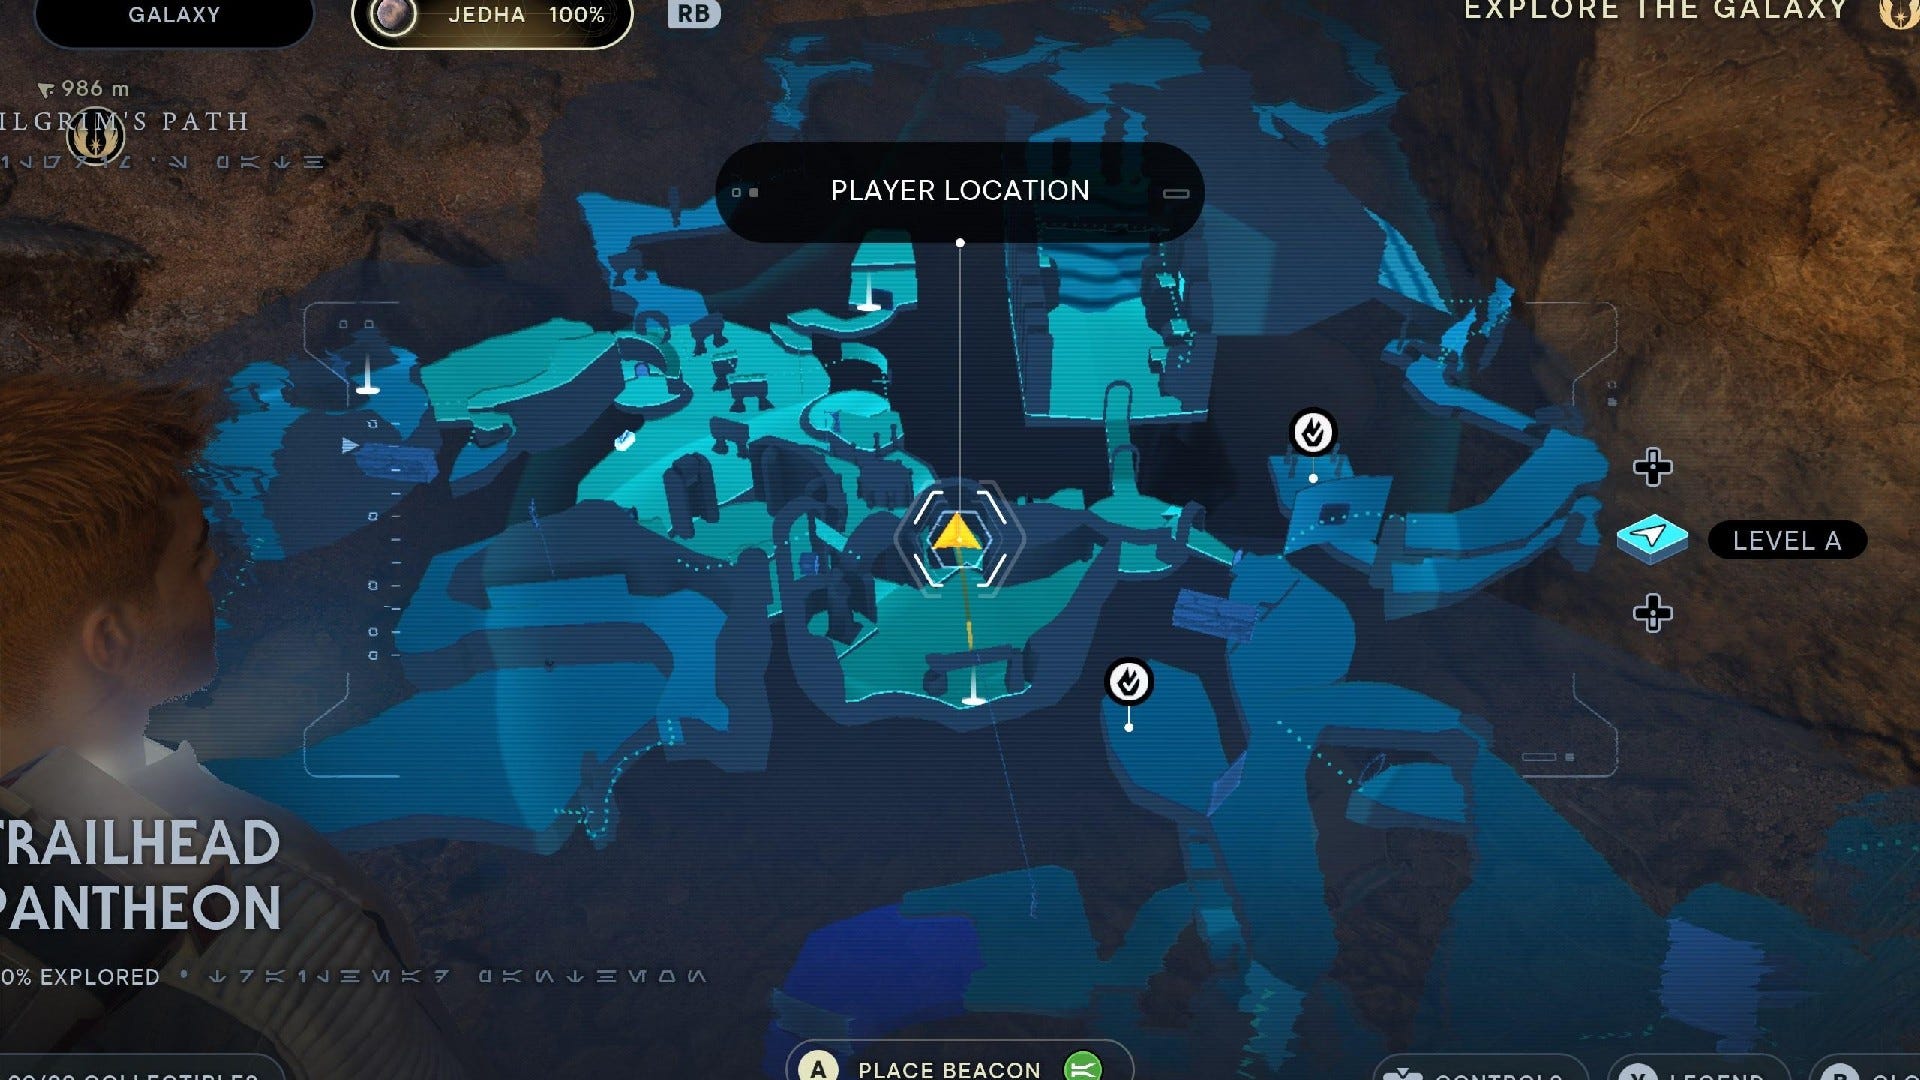
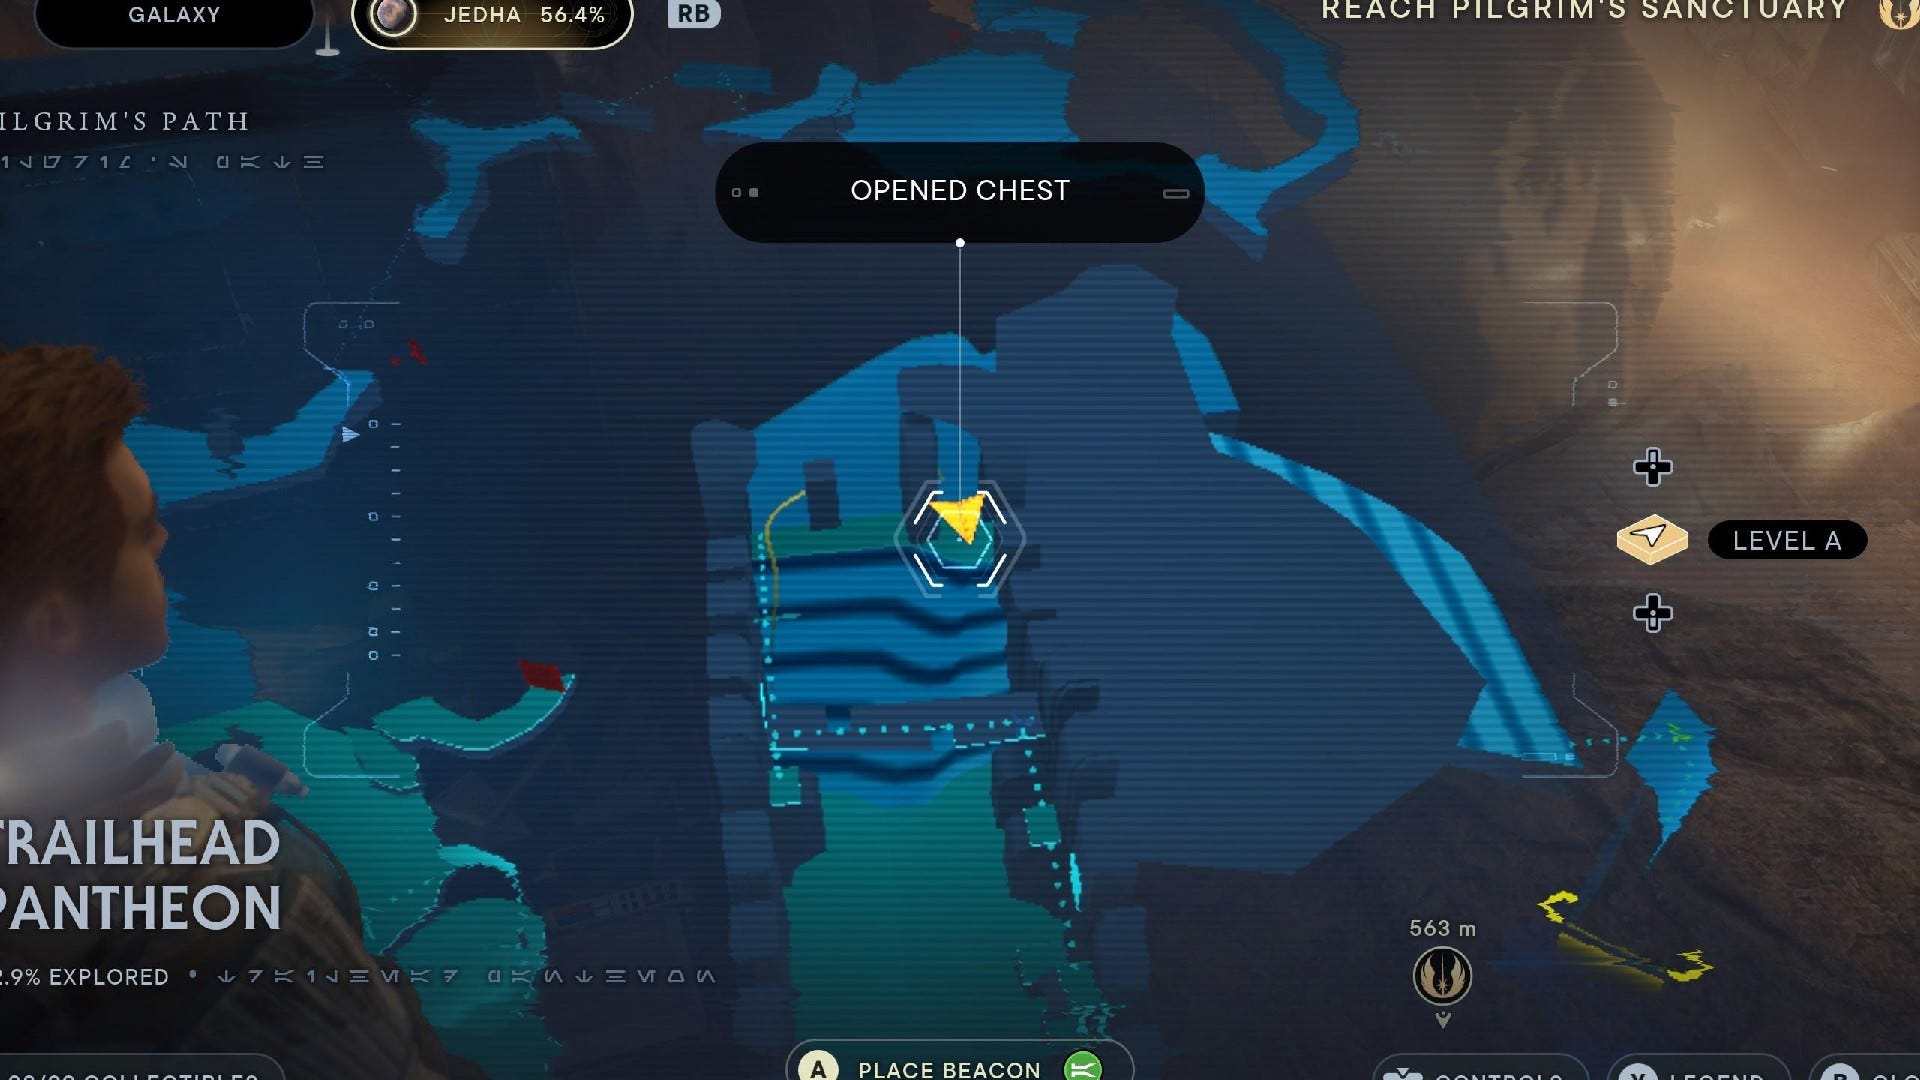
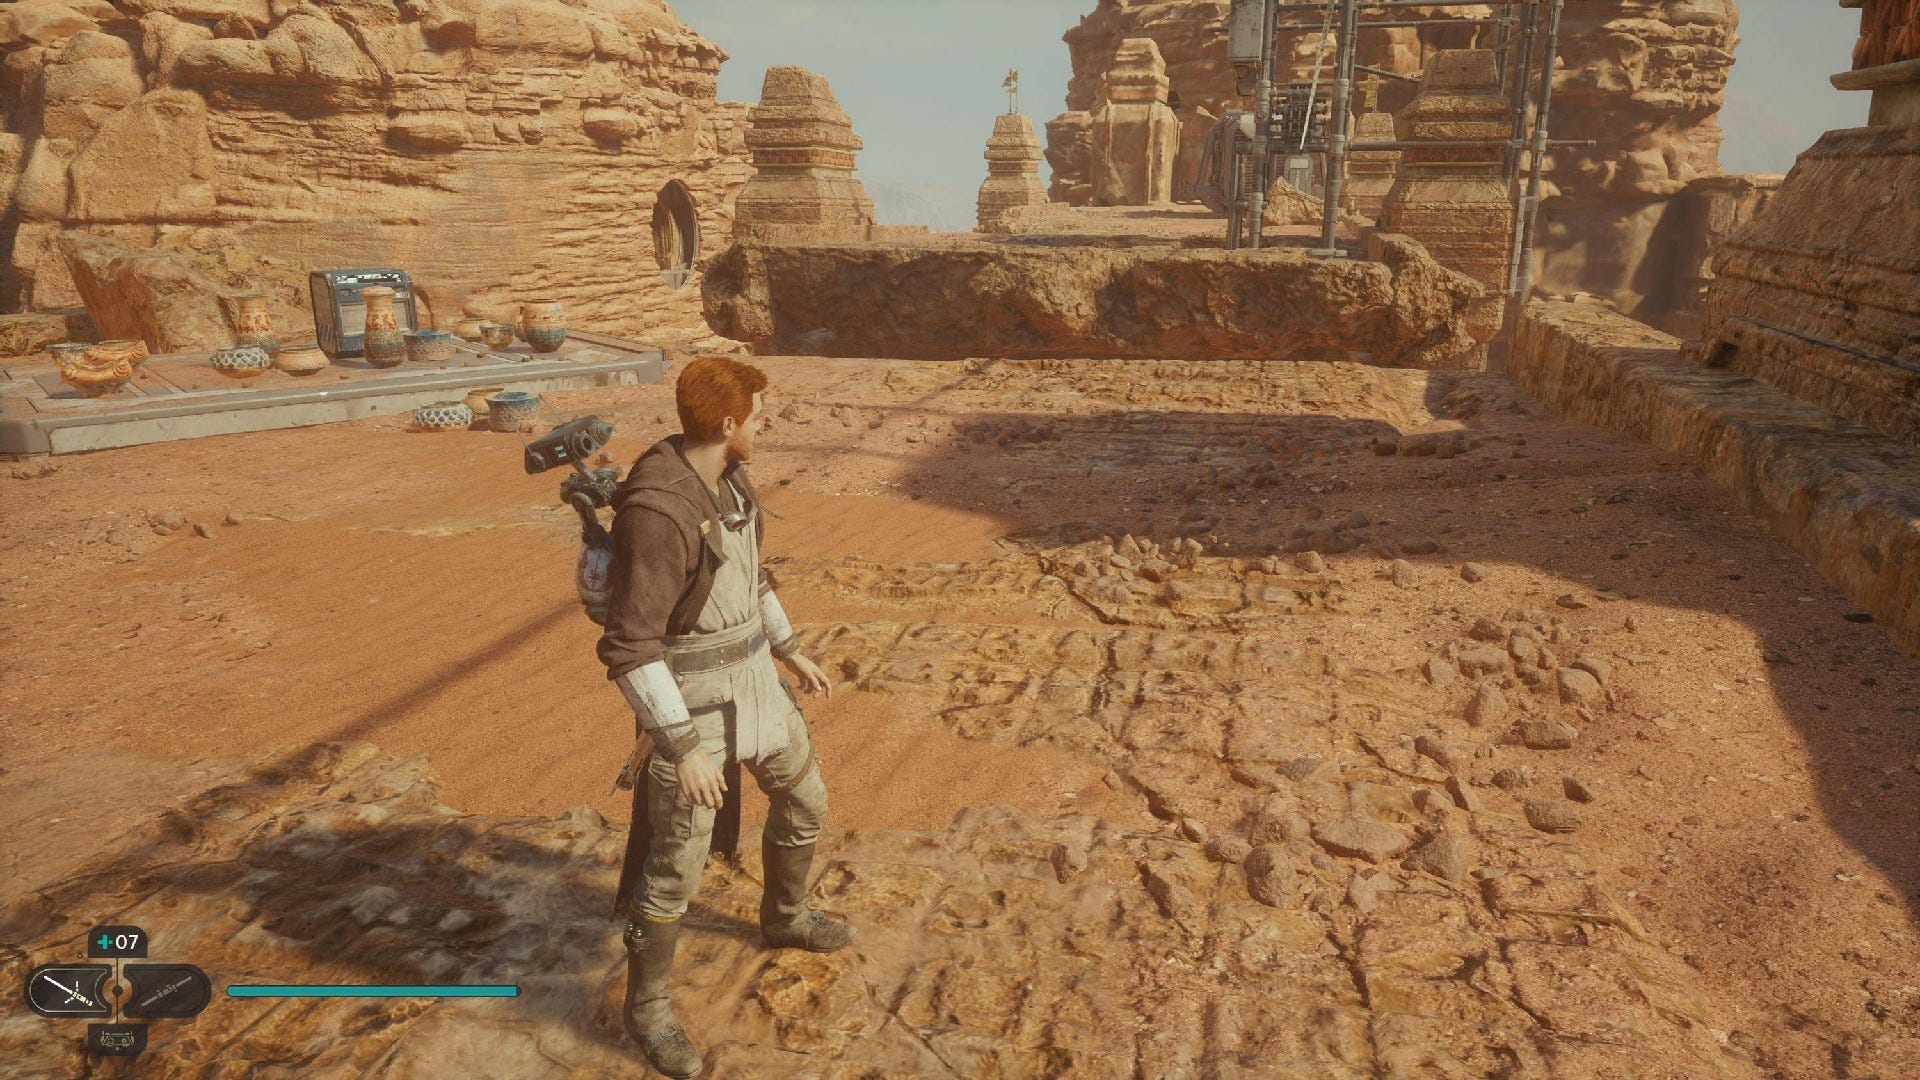
Trailhead Pantheon collectibles
Trailhead Pantheon is the beginning of the path leading to Jedha's Sanctuary Temple, and it's an area you'll explore during the main story of Star Wars Jedi: Survivor. It has 9 collectibles:
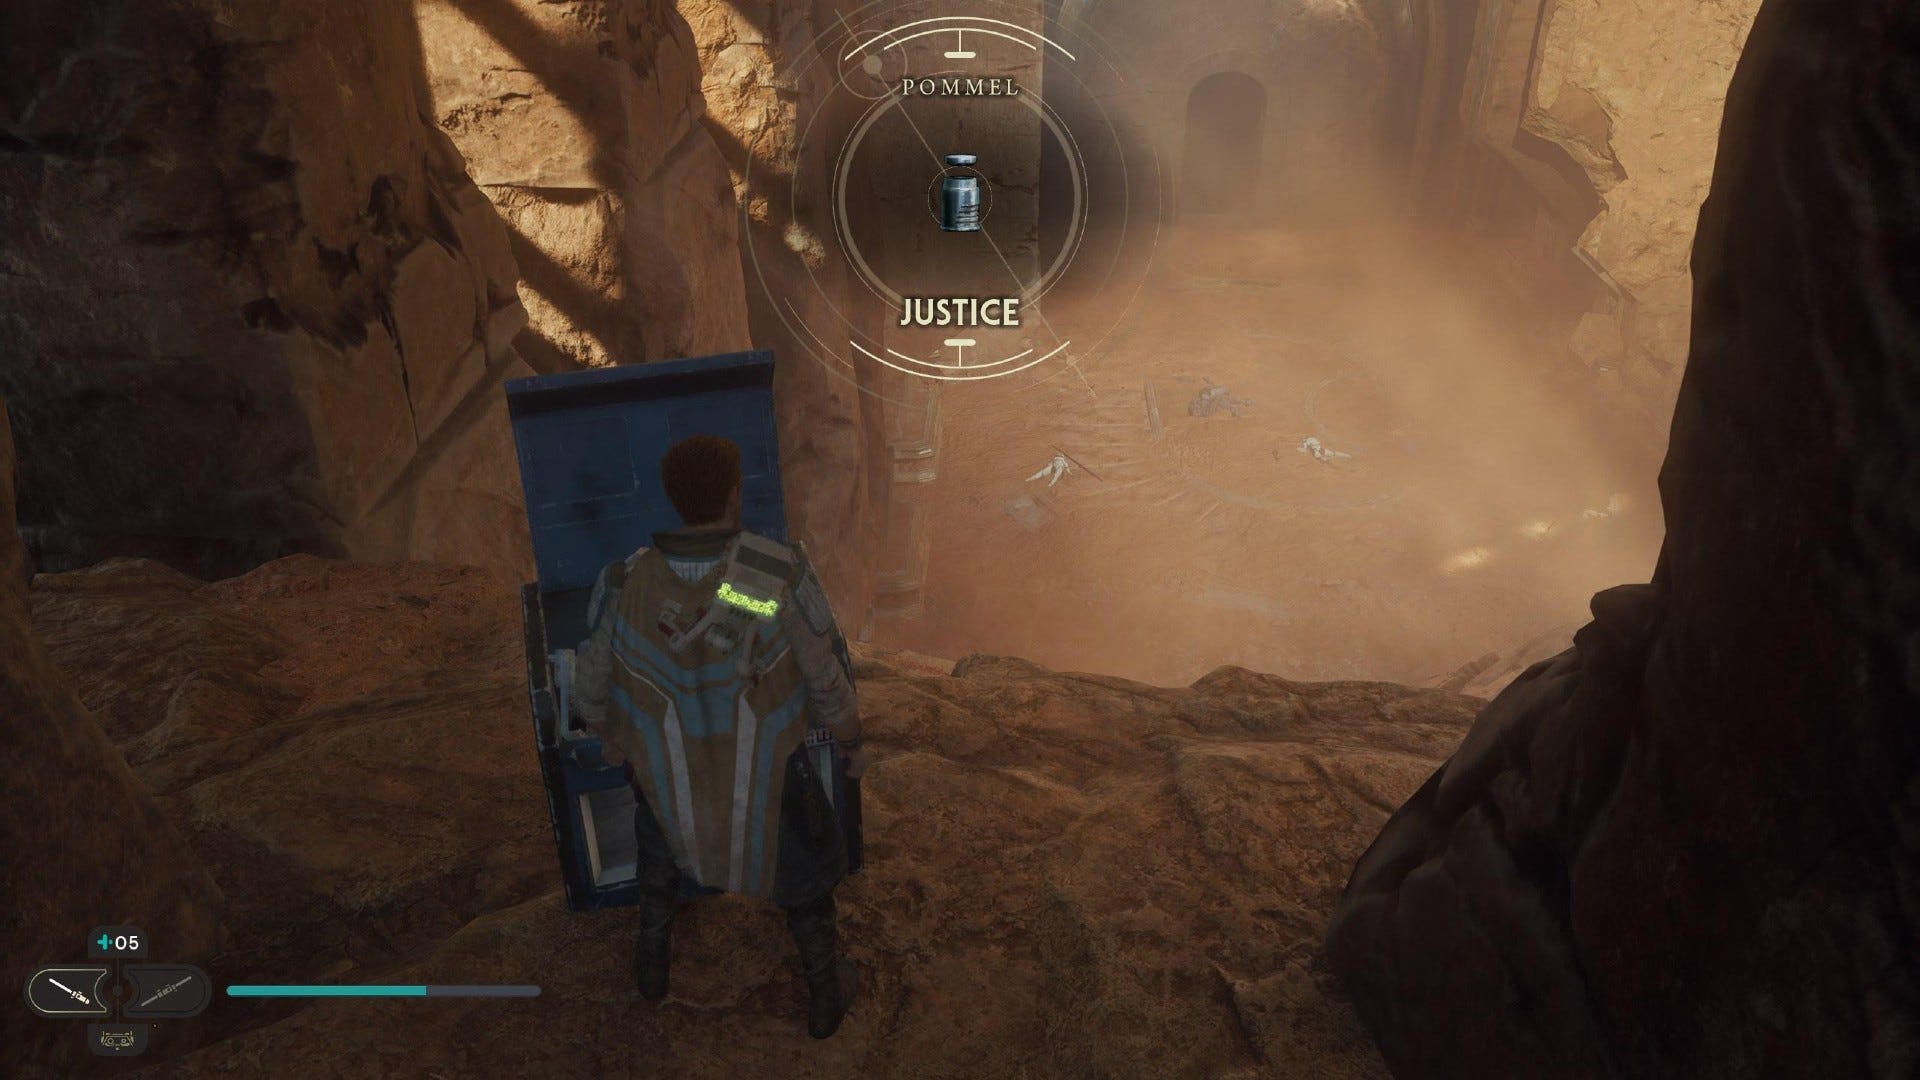
Trailhead Pantheon Chests:

Chest #1 (Justice Grip): In the room where you kill the Sutaban, there's a chest in the alcove at the end where you pull out the giant cube.

Chest #2 (Jedi Outfit): From the Crypt Of Uhrma Meditation Point, head into the nearby room and up the stairs, and then wall-run along the edge.
Trailhead Pantheon Databanks:
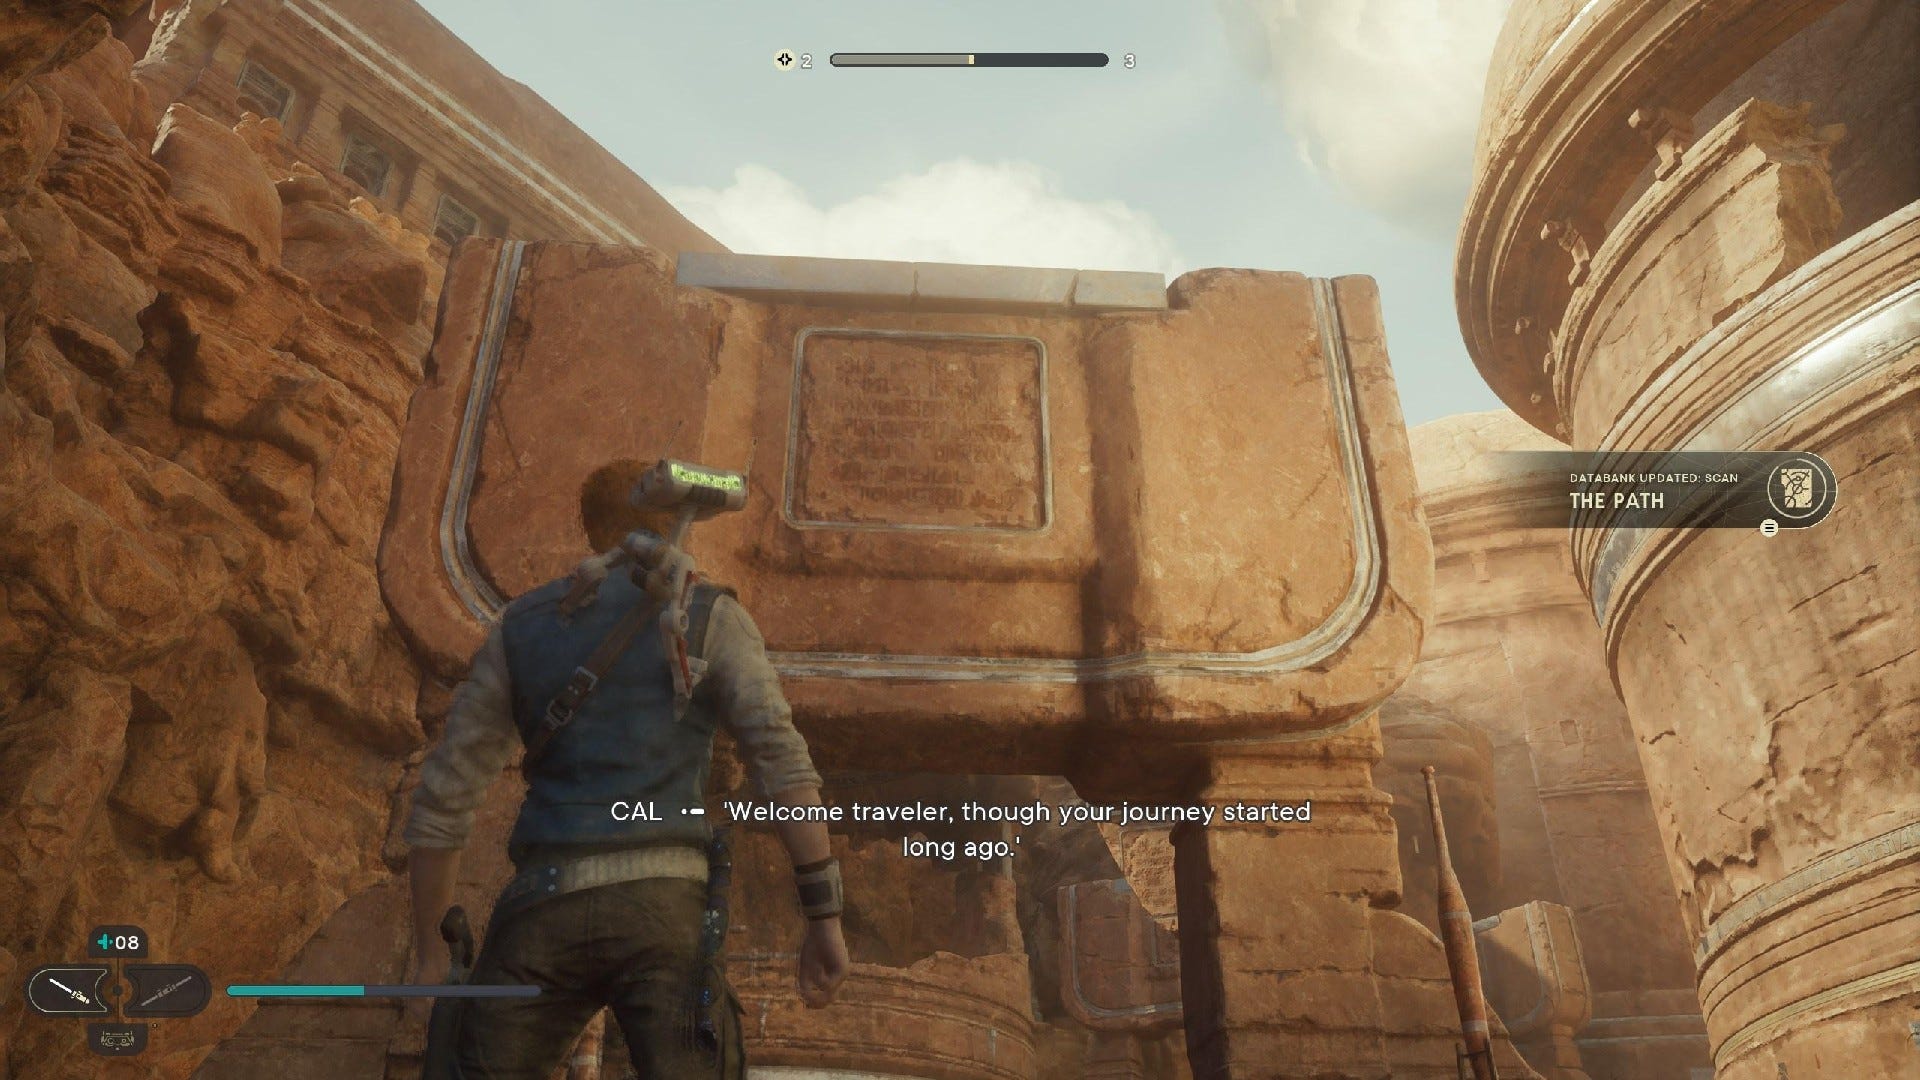
Databank (The Path): After the Skriton fight, continue along the main path and scan arch as you enter Trailhead Pantheon.
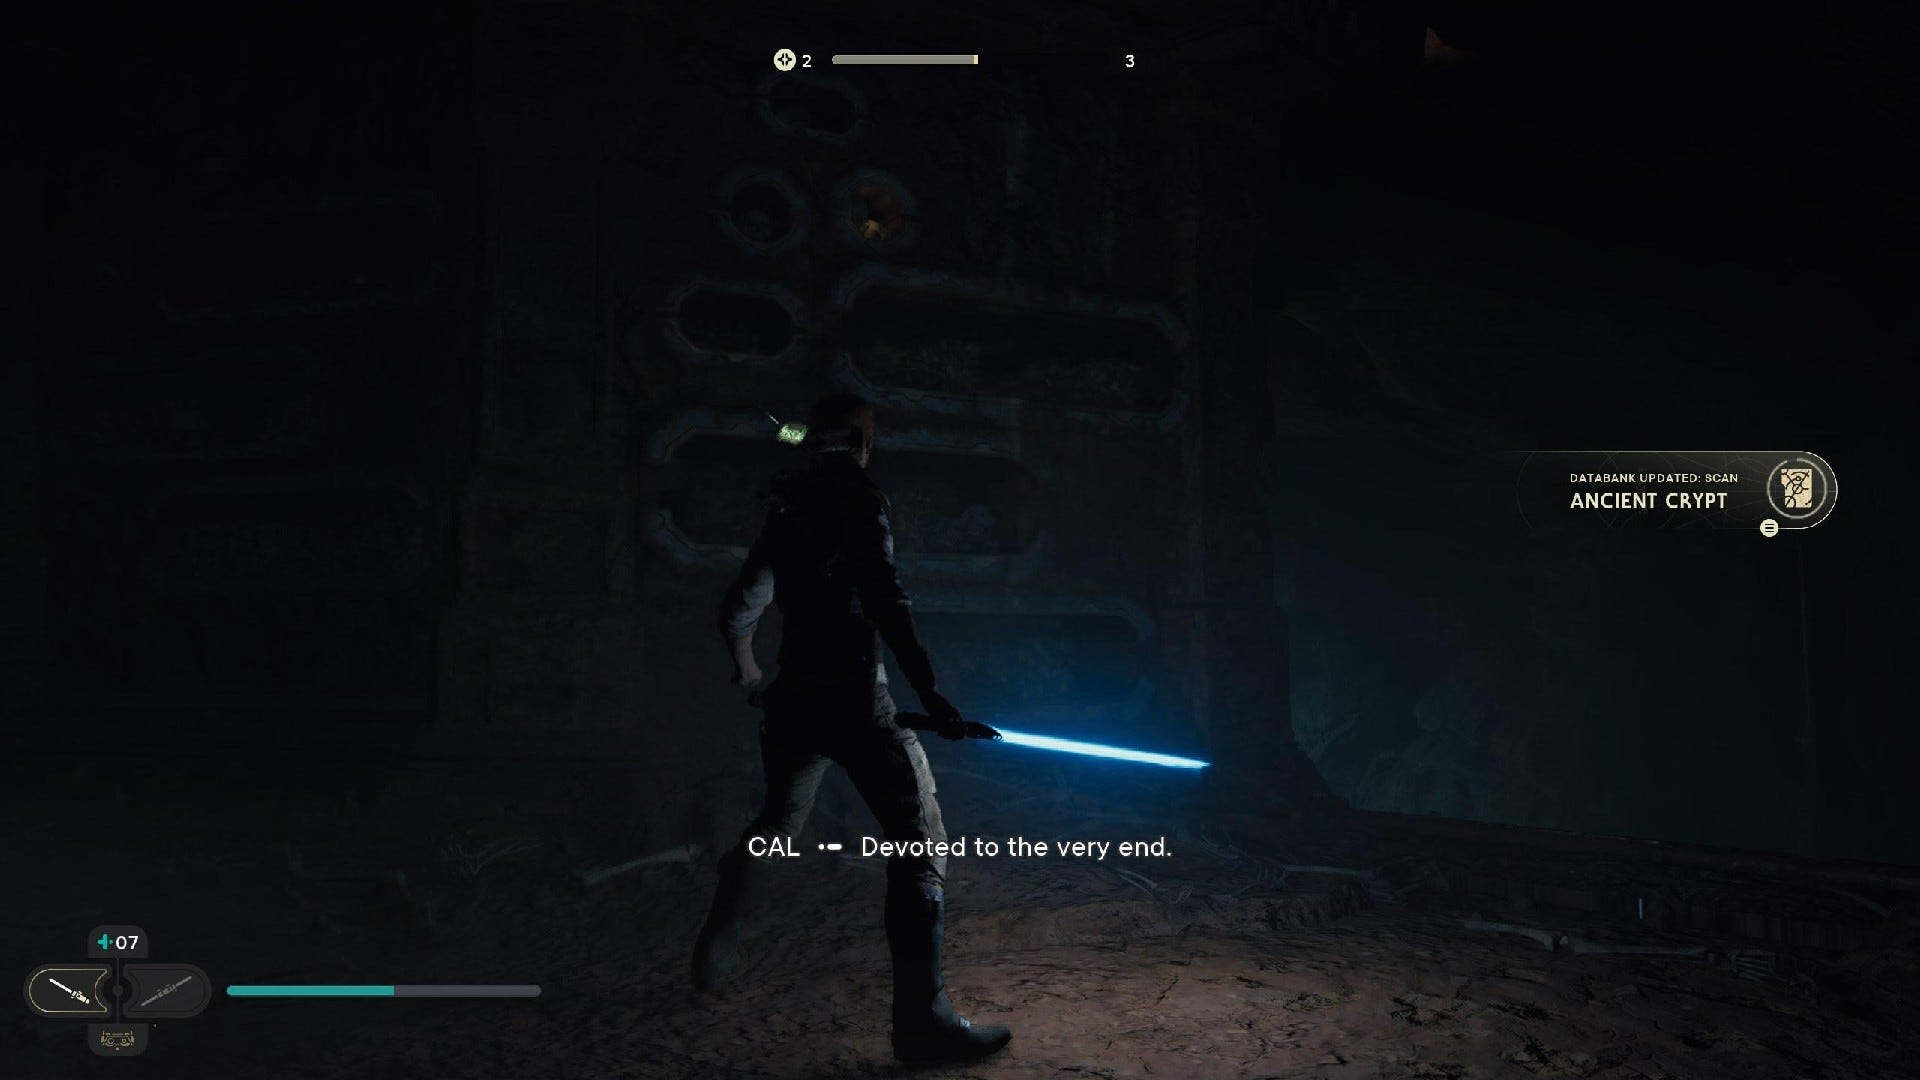
Databank (Ancient Crypt): Turn left once you use the cube to get up into the dark area above the Sutaban room.

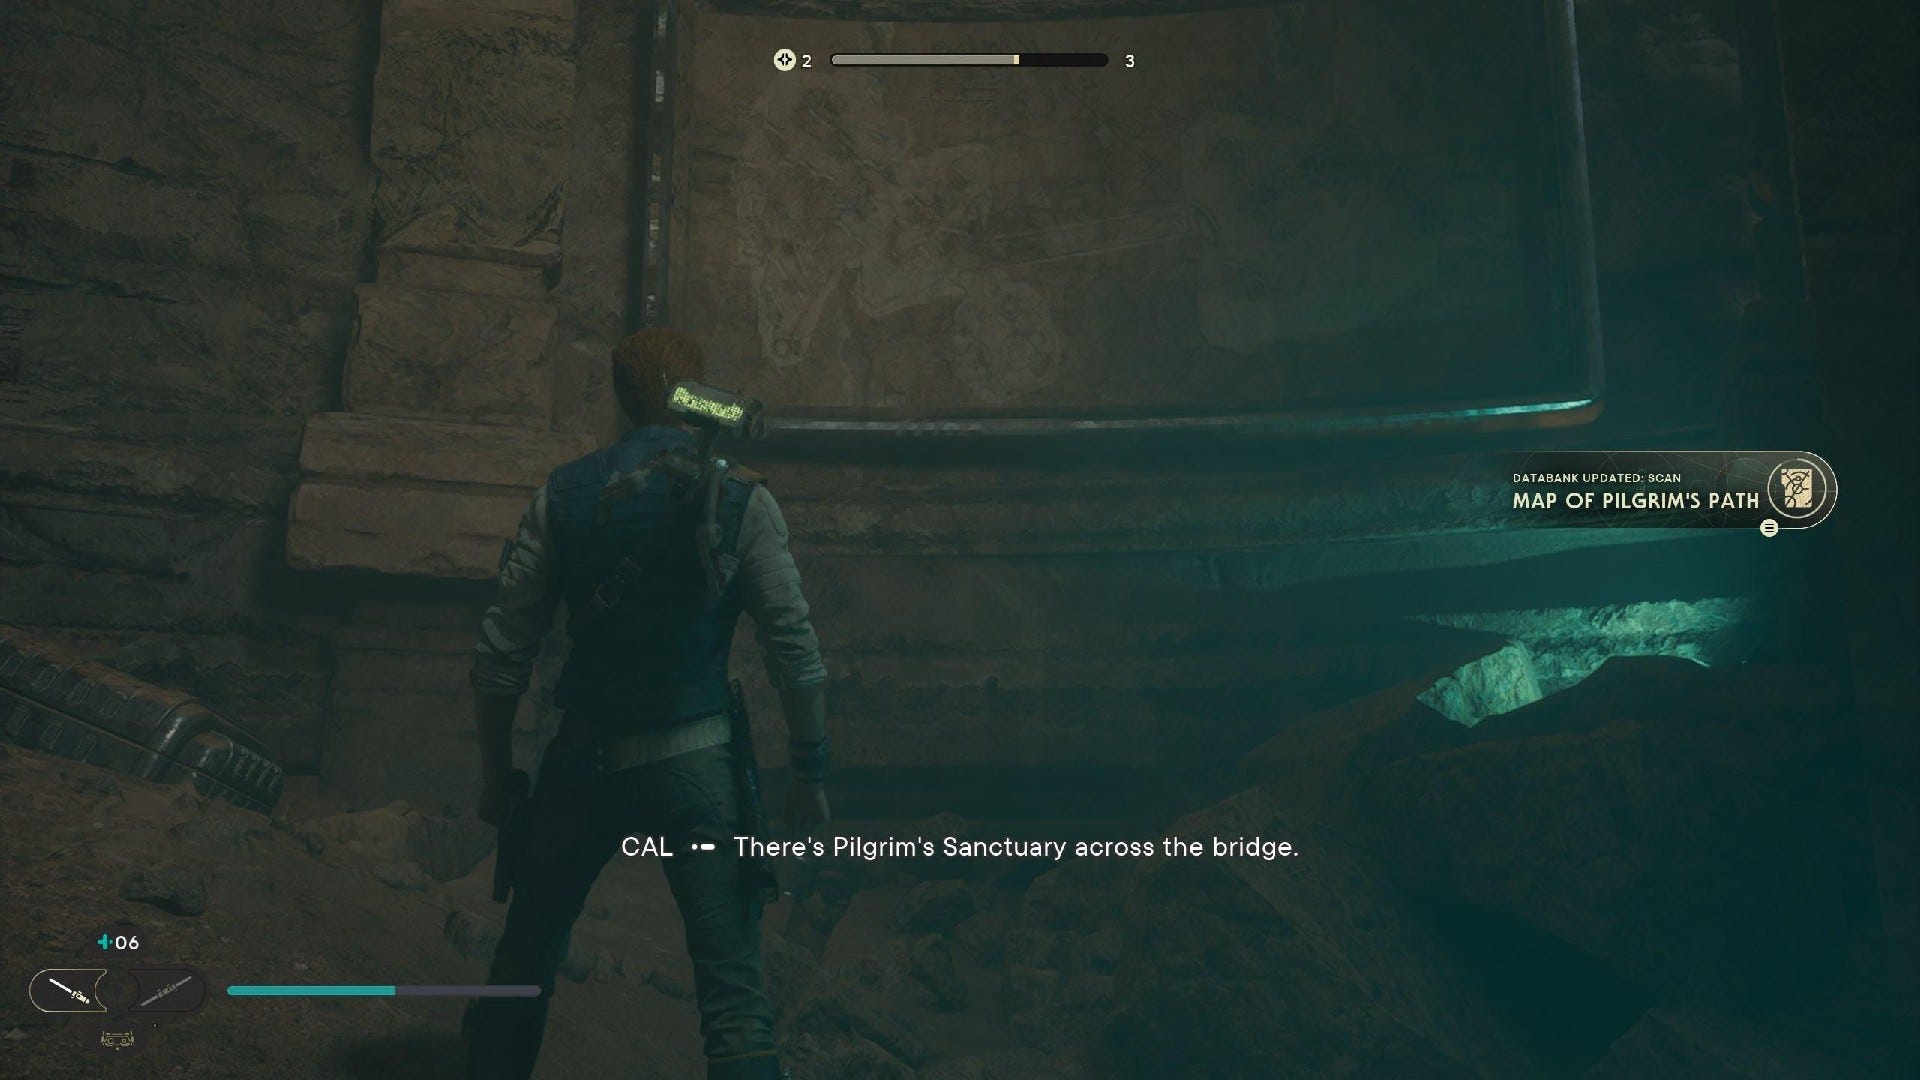
Databank (Map of Pilgrim's Path): After travelling through the dark cave above the Sutaban room, swing and parkour into the room that was previously locked near the workbench. The map is on the wall.
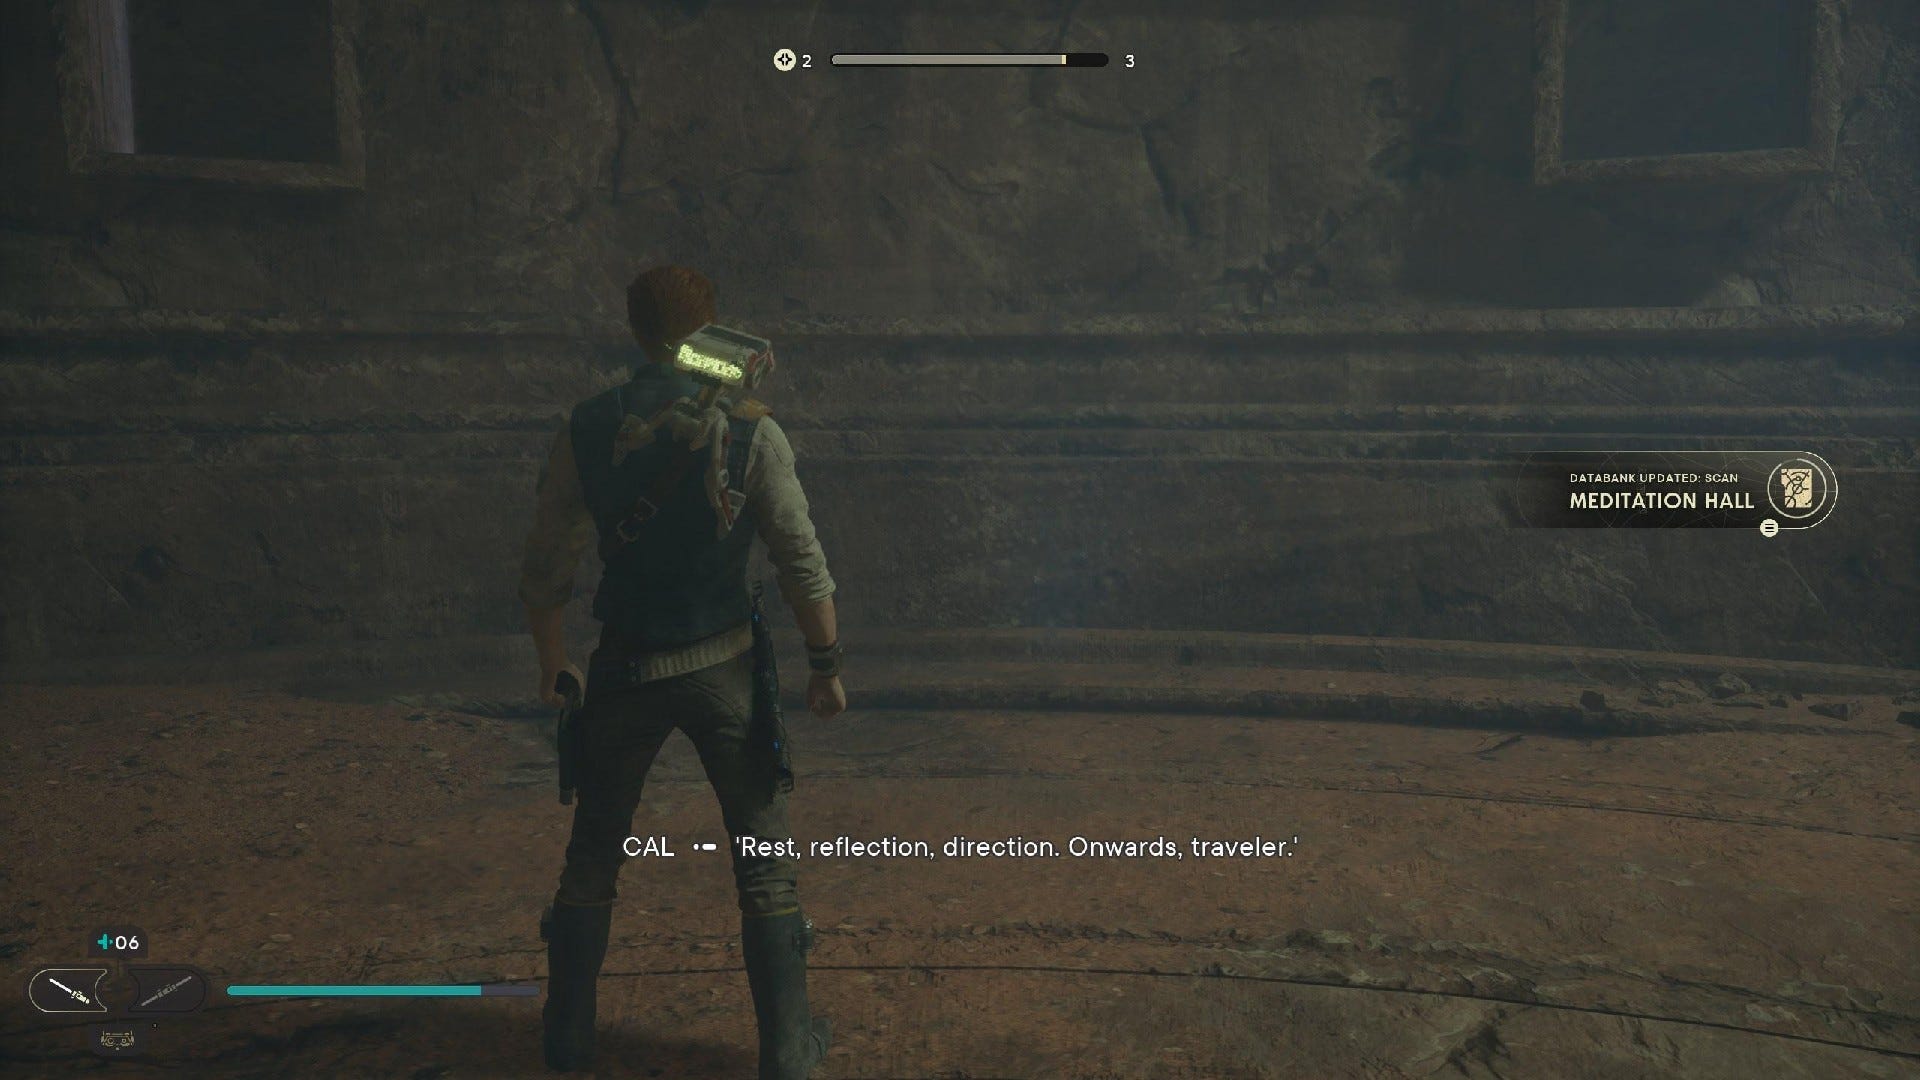
Databank (Meditation Hall): From the Crypt Of Uhrma Meditation Point, head into the nearby room and scan the wall near the Stormtroopers.
Trailhead Pantheon Treasures:

Jedha Scroll #1: Turn left once you use the cube to get up into the dark area above the Sutaban room.


Jedha Scroll #2: After travelling through the dark cave above the Sutaban room, swing and parkour into the room that was previously locked near the workbench. Head downstairs to find this Jedha Scroll.

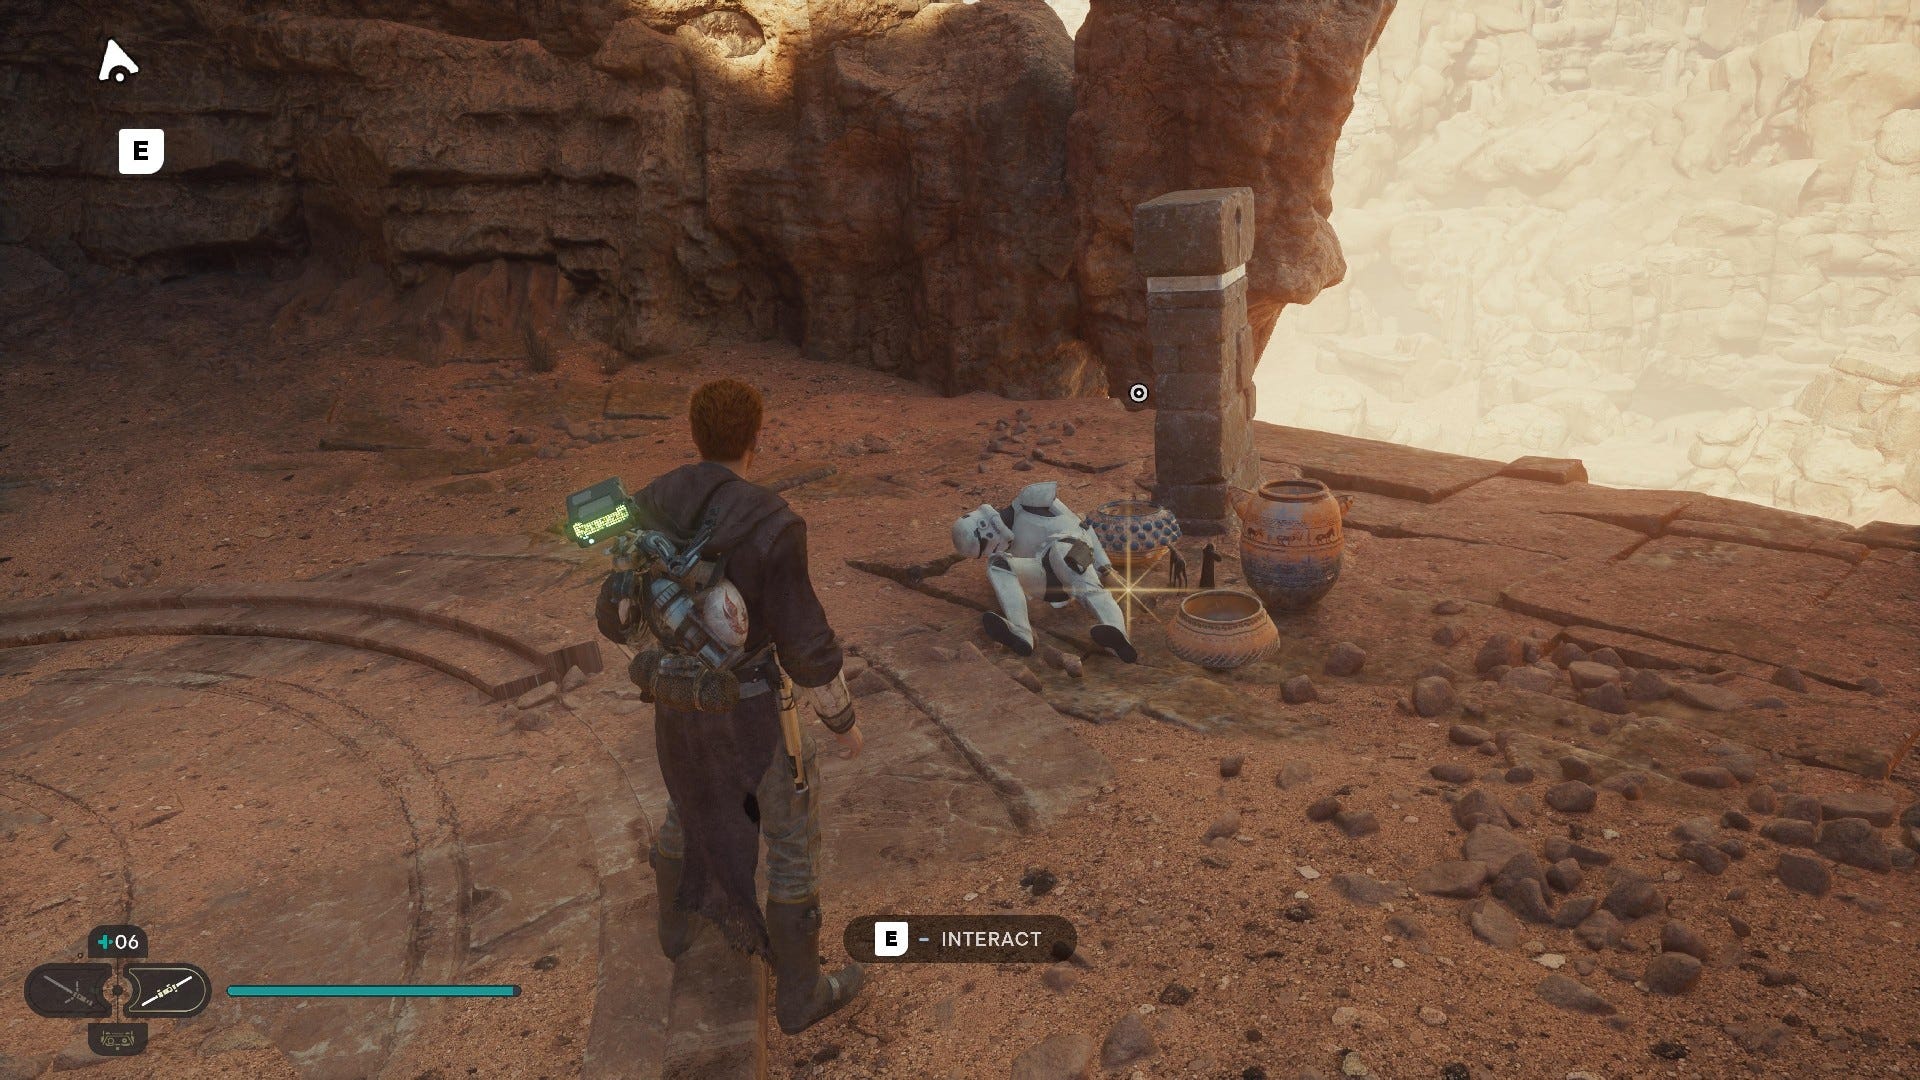
Jedha Scroll #3: From the Crypt of Uhrma Meditation Point, run straight ahead and hop up the ledge to find this Jedha Scroll in the jars.
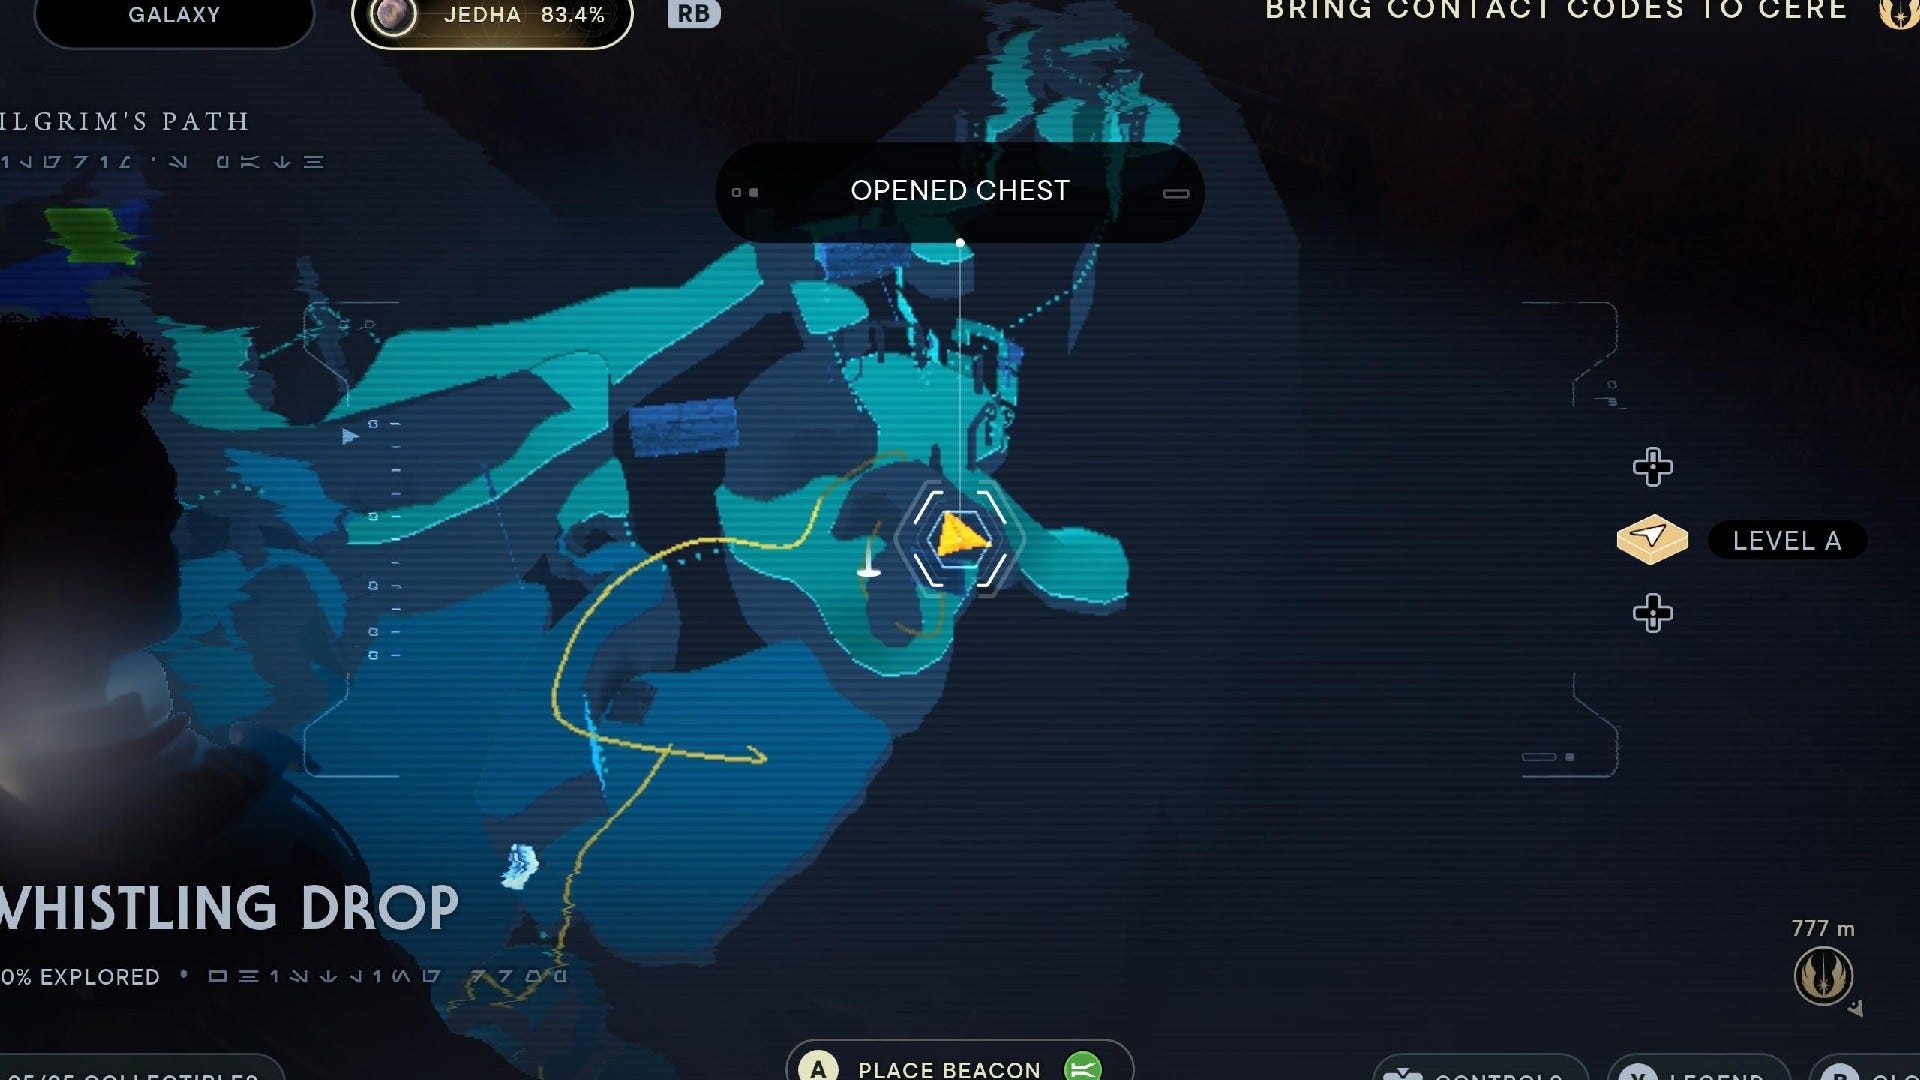
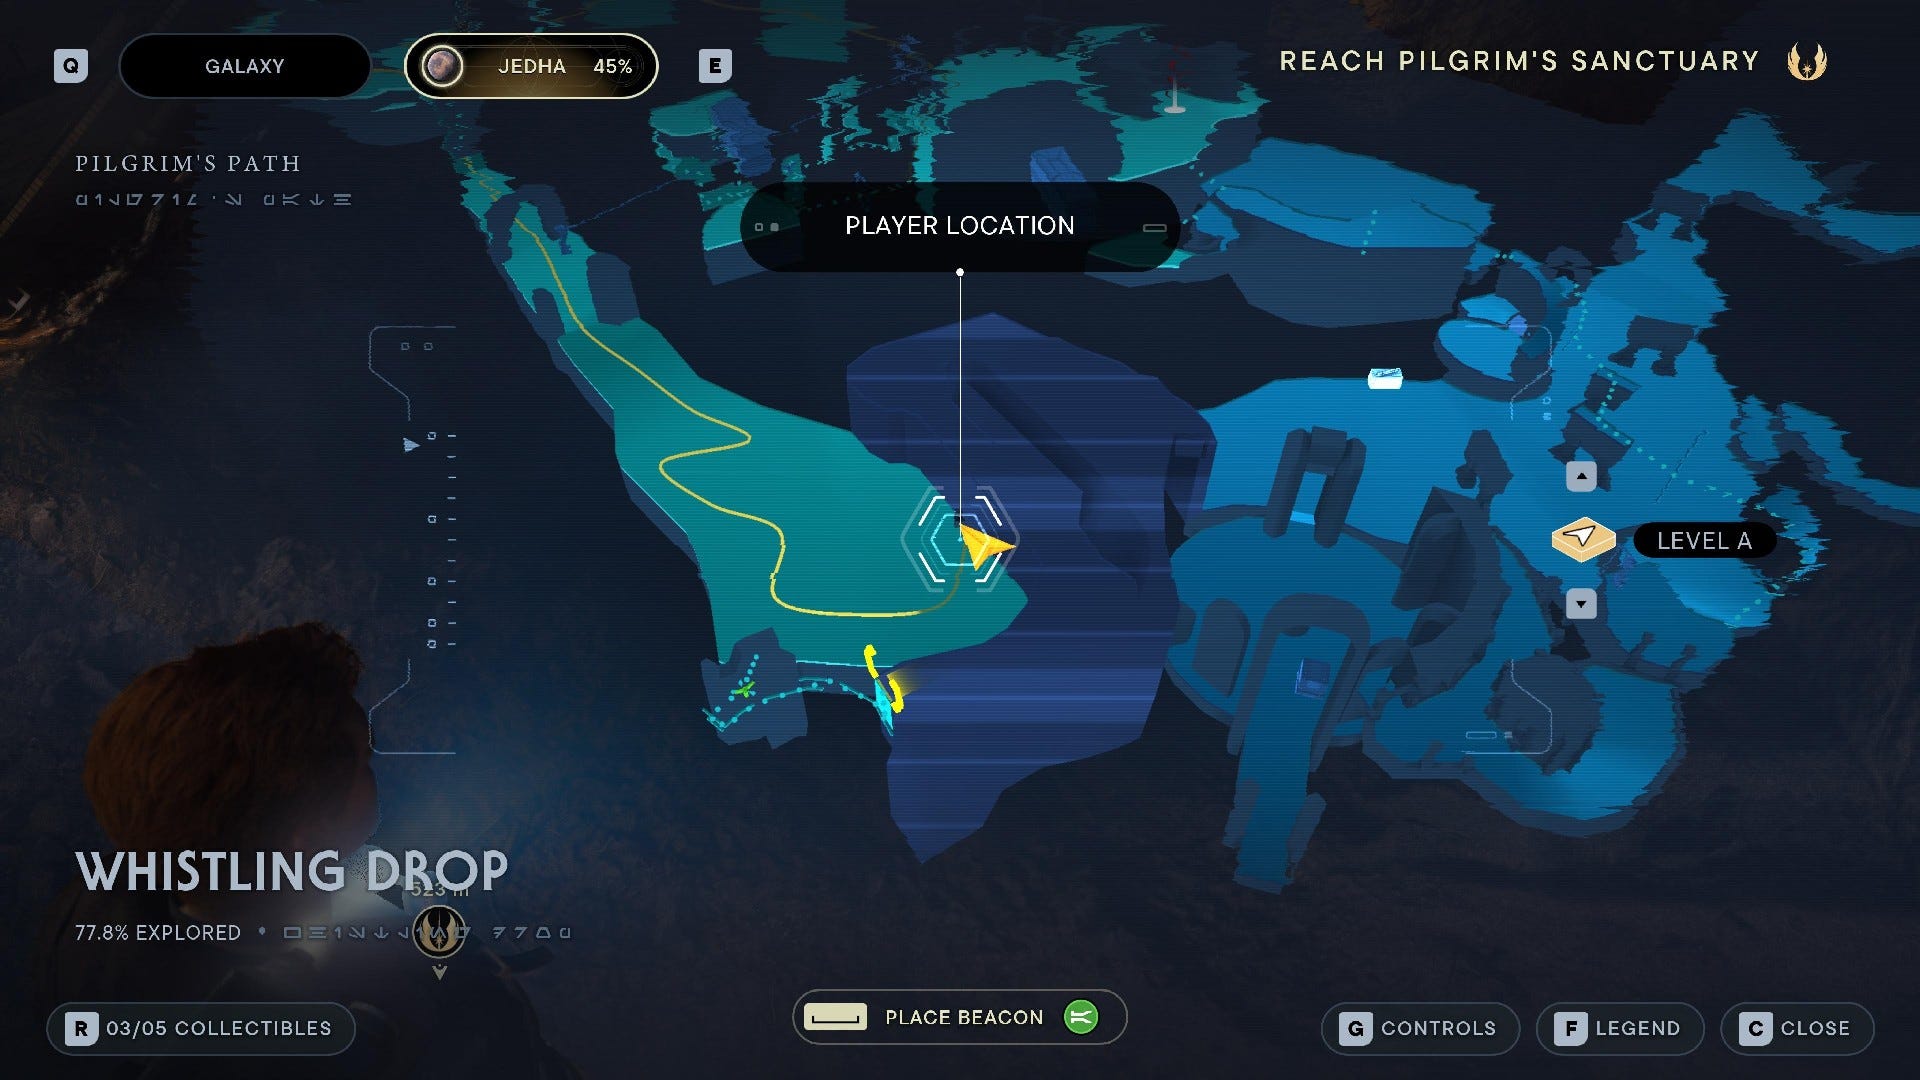
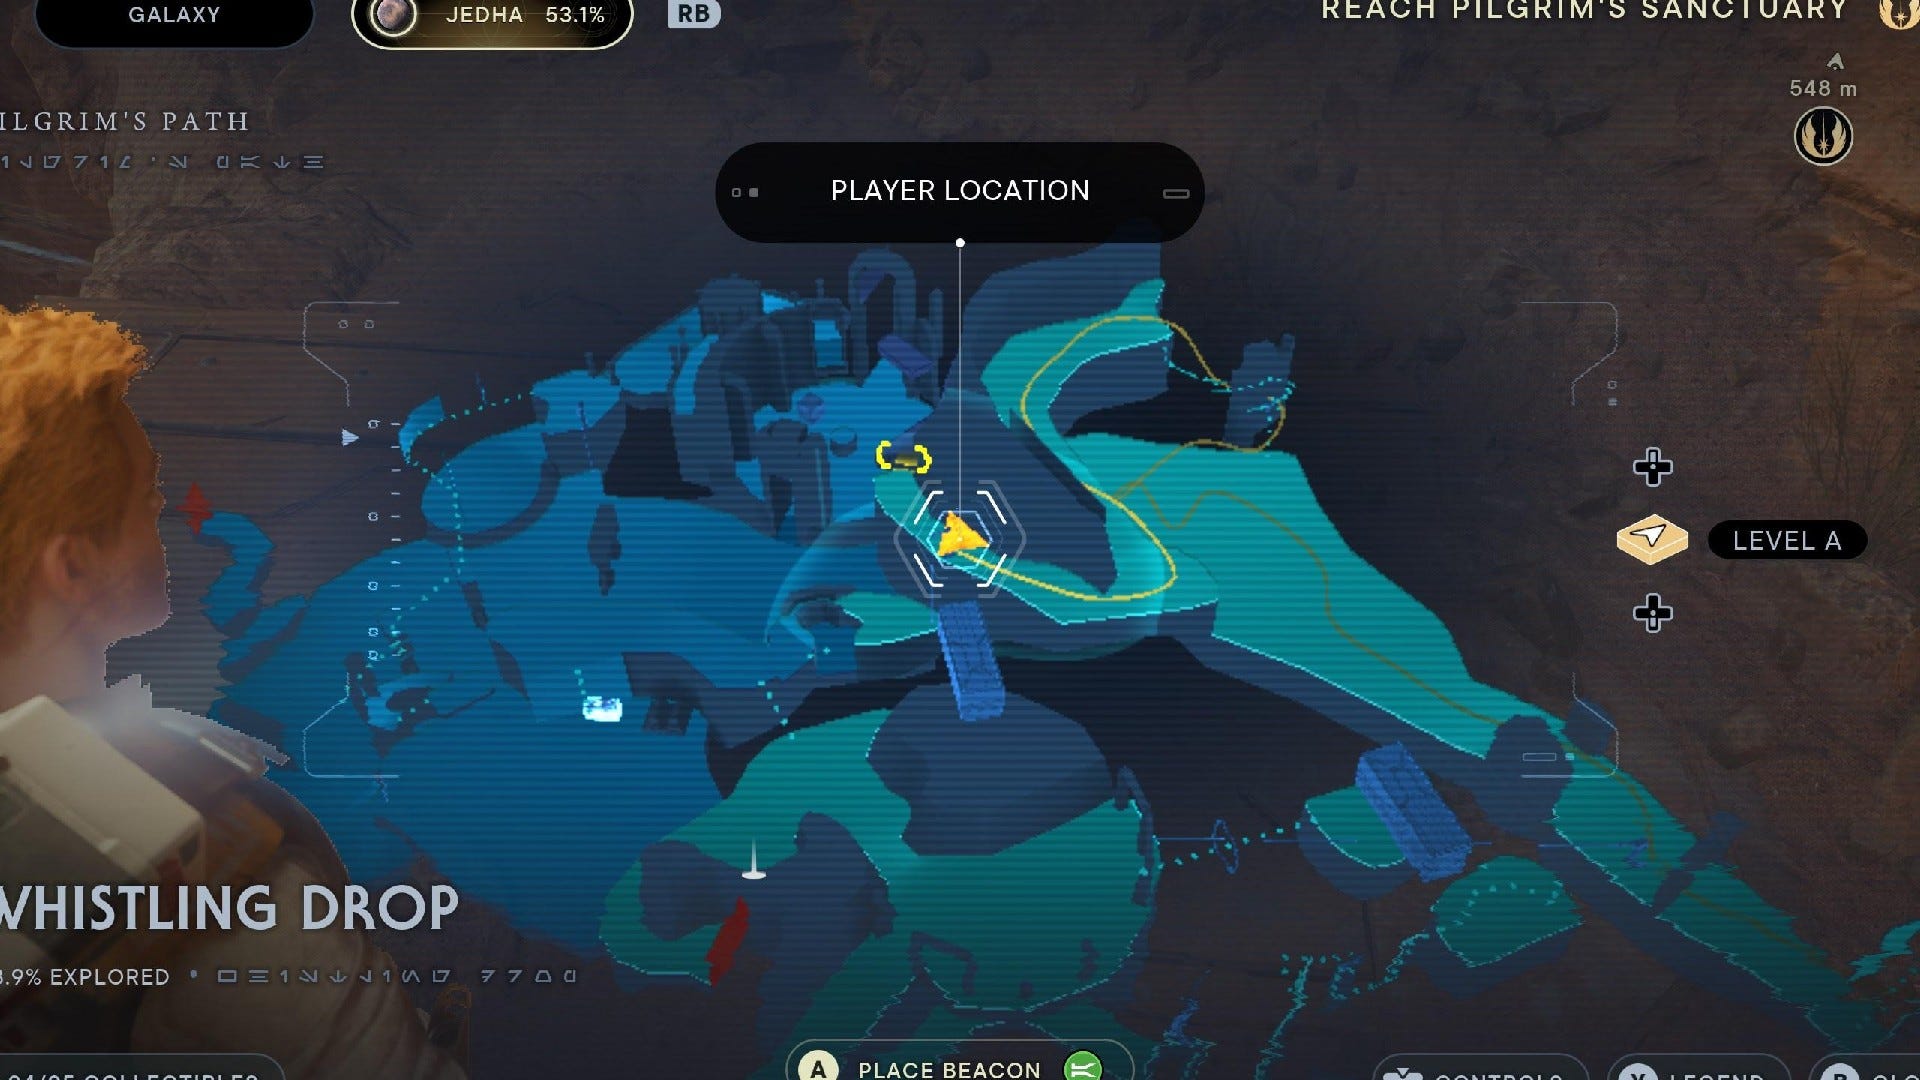
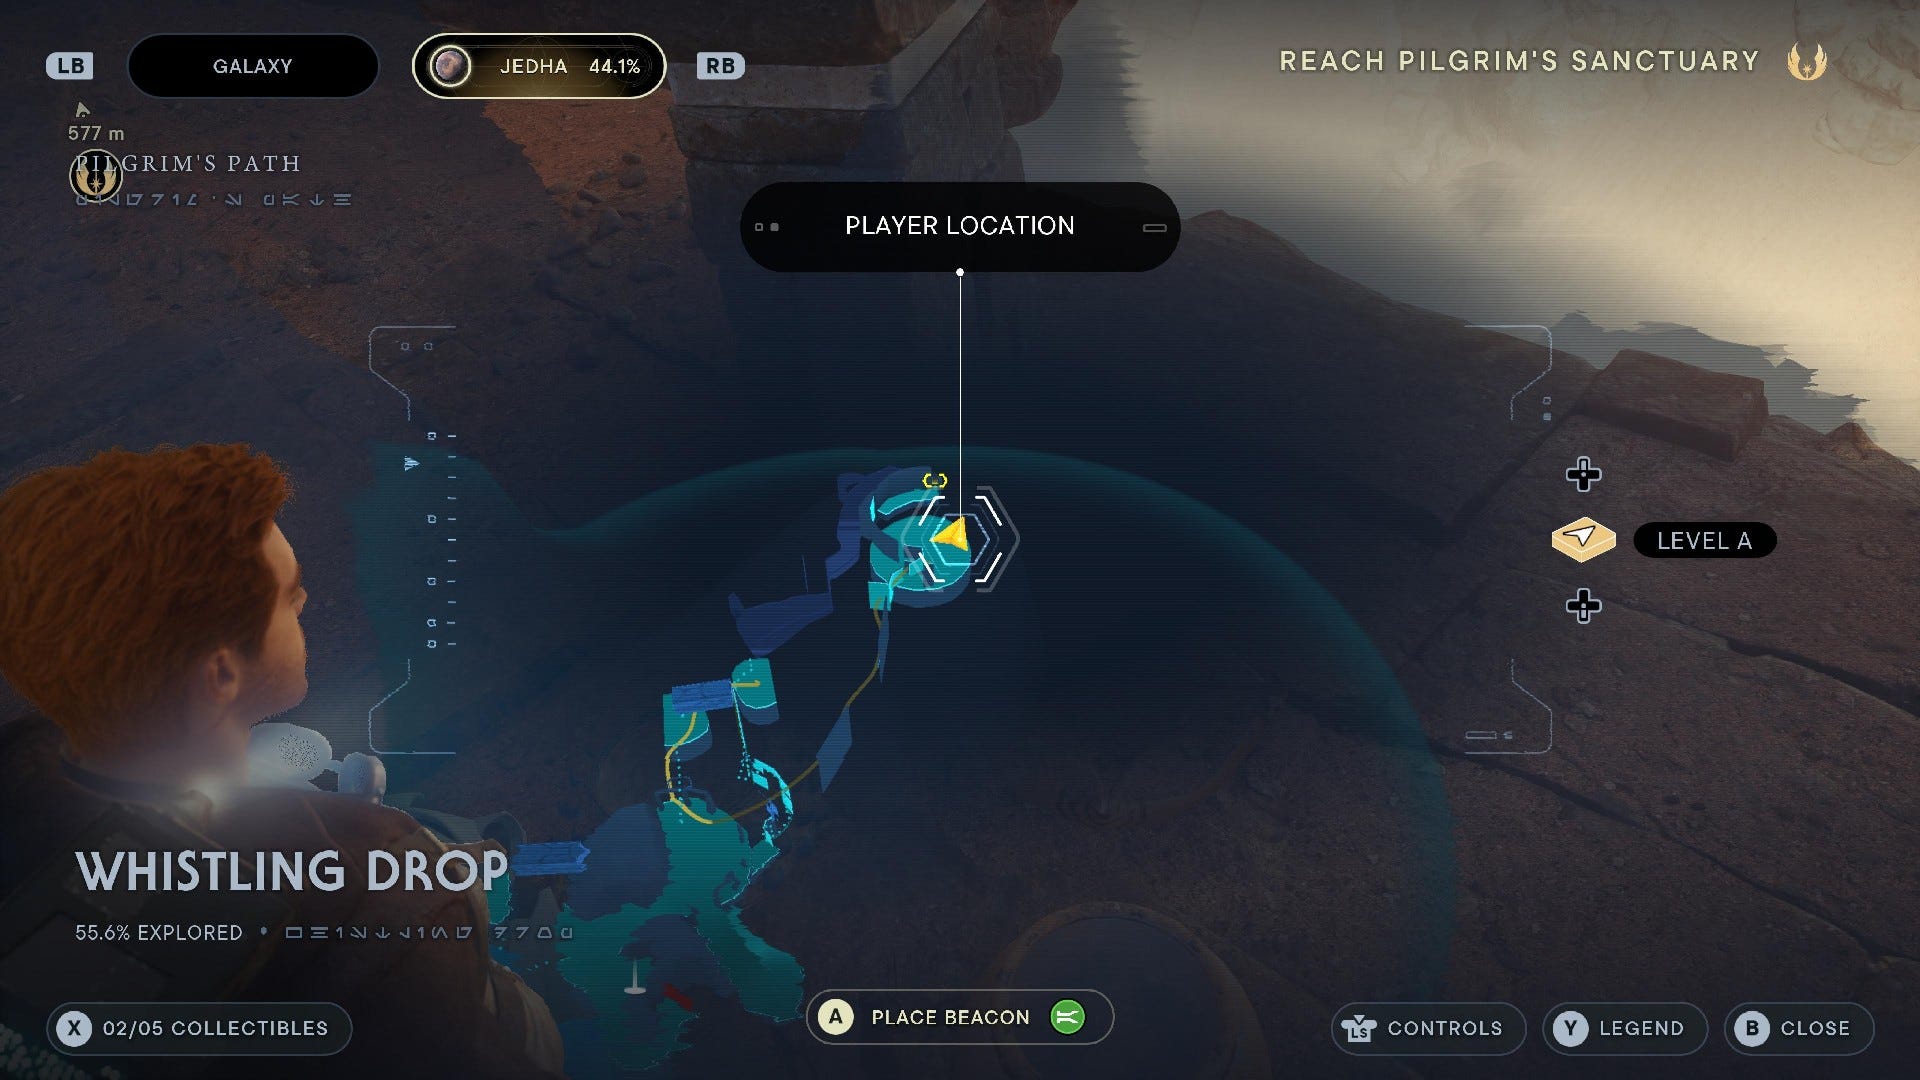
Whistling Drop collectibles
Whistling Drop is a dangerously high cliff ledge that you'll navigate as you travel towards the Sanctuary Temple. It has 5 collectibles:
Whistling Drop Chests:
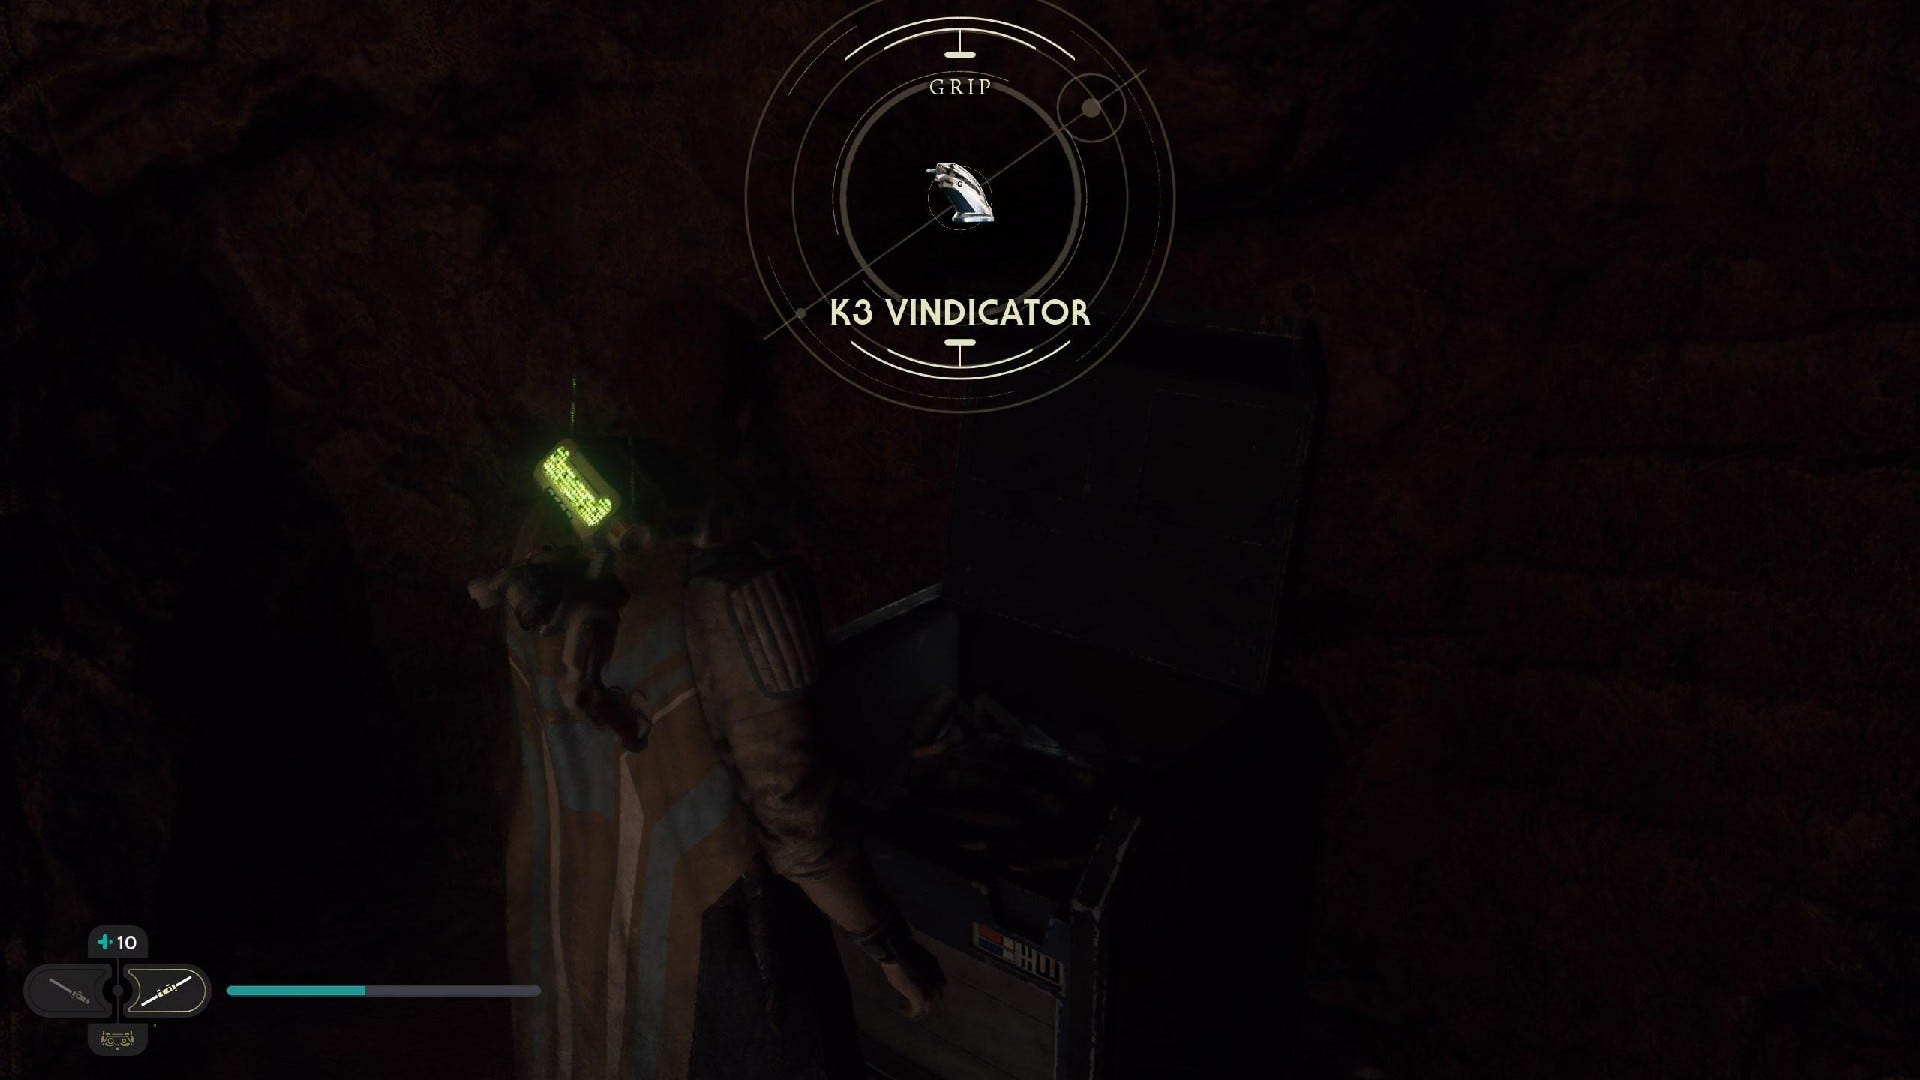
Chest #1 (K3 Vindicator Grip): Dash through the laser door near the Whistling Drop Meditation Point. This requires Merrin's Charm.

Chest (#2 K3 Vindicator Barrel): Behind the damaged ship where the Skriton is attacking the Stormtroopers.
Whistling Drop Databanks:


Force Echo (One Journey Ends): In front of the force field just round the corner from the Whistling Drop Meditation Point on the cliff edge.
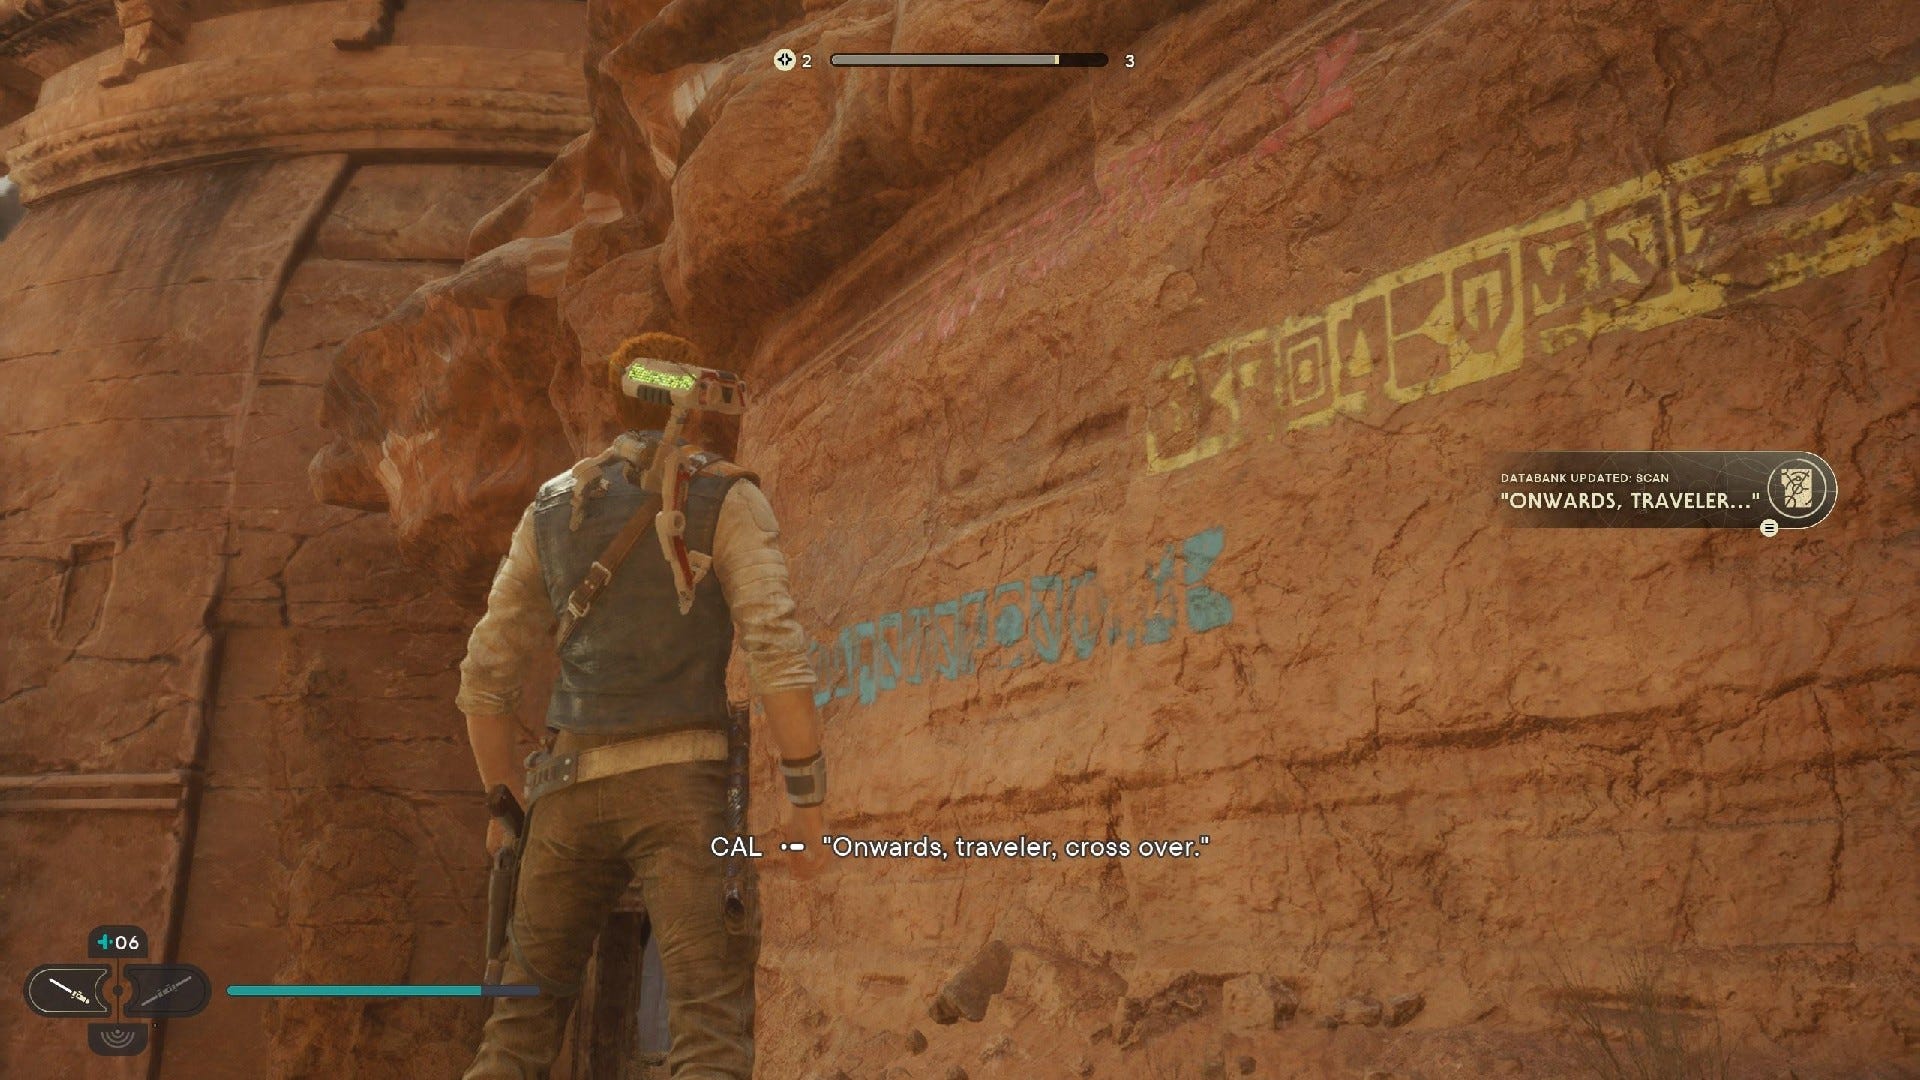
Databank ("Onwards, Traveler"...): After climbing away from the damaged ship, follow the path around until you reach a zipline.
Whistling Drop Treasures:
Jedha Scroll #1: Past the wall-running and climbing bits, where the Stormtroopers are talking about the "desert ghost".
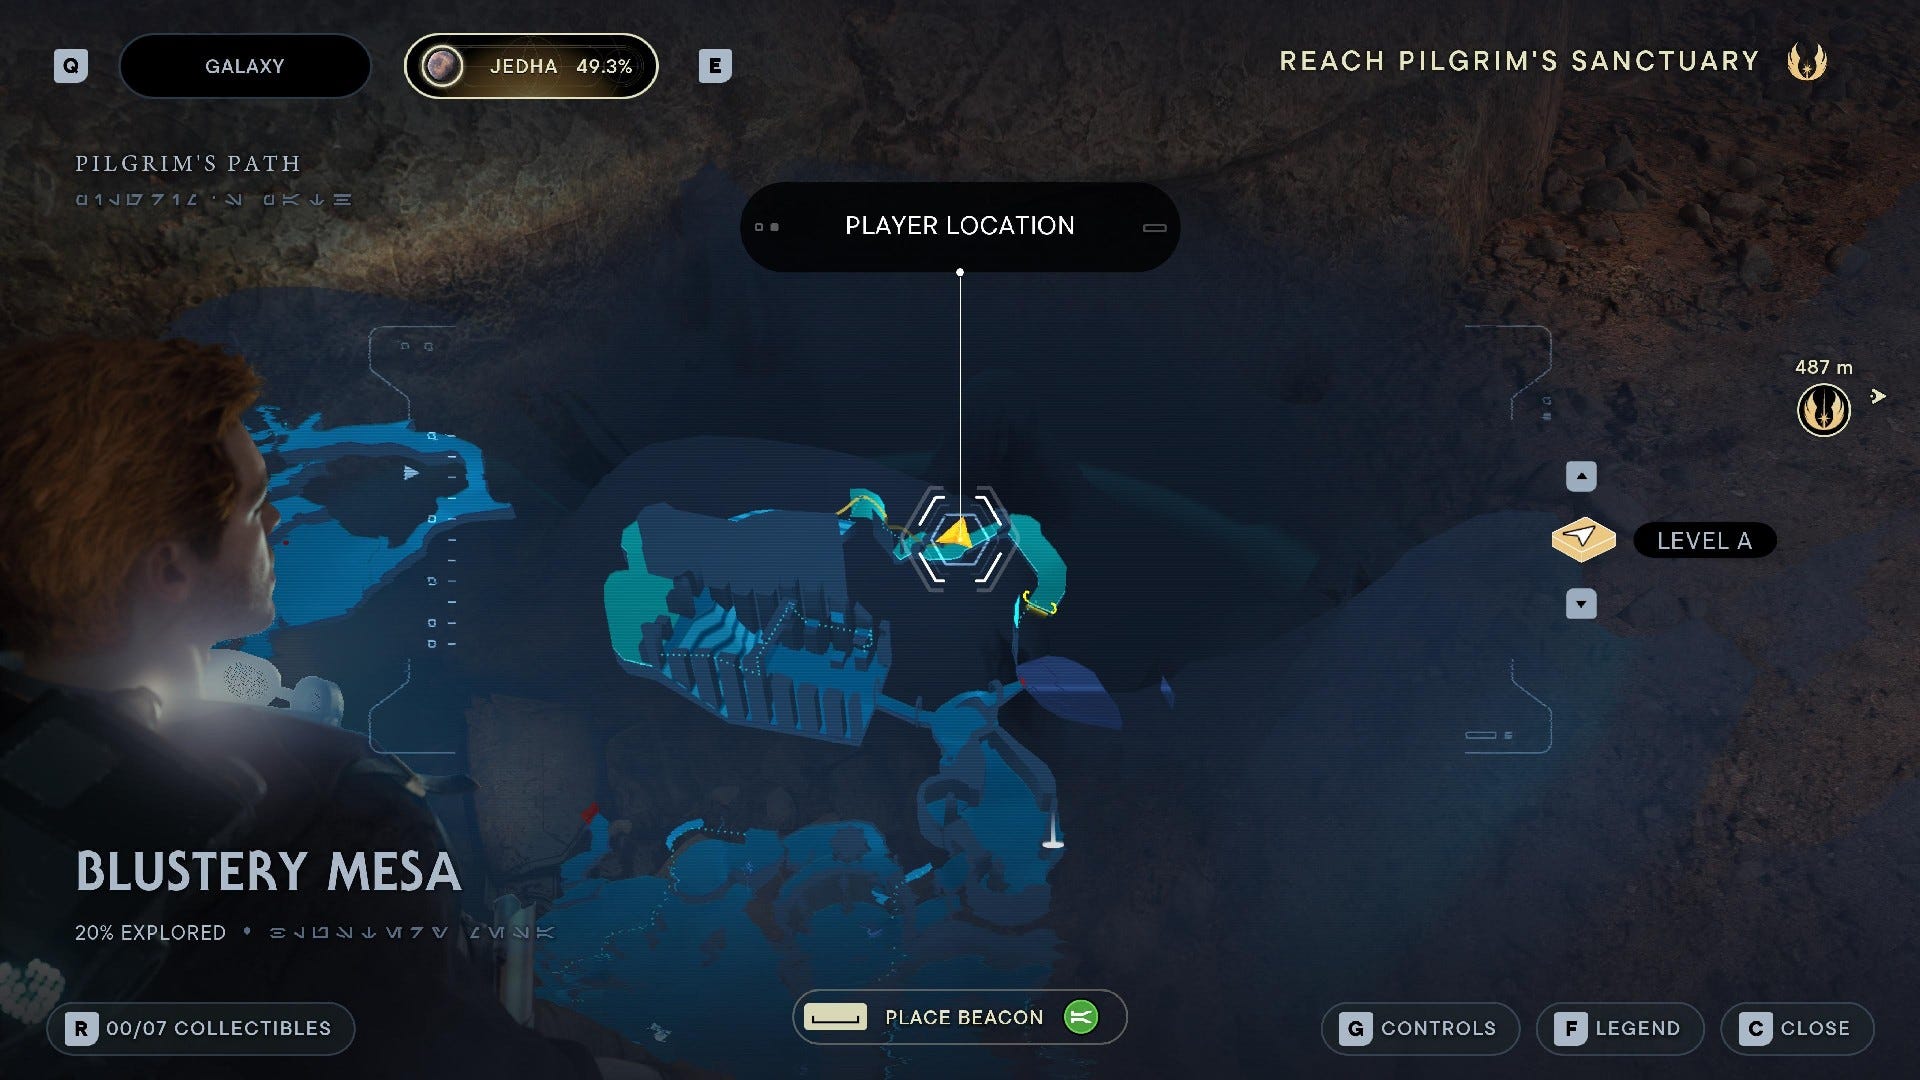
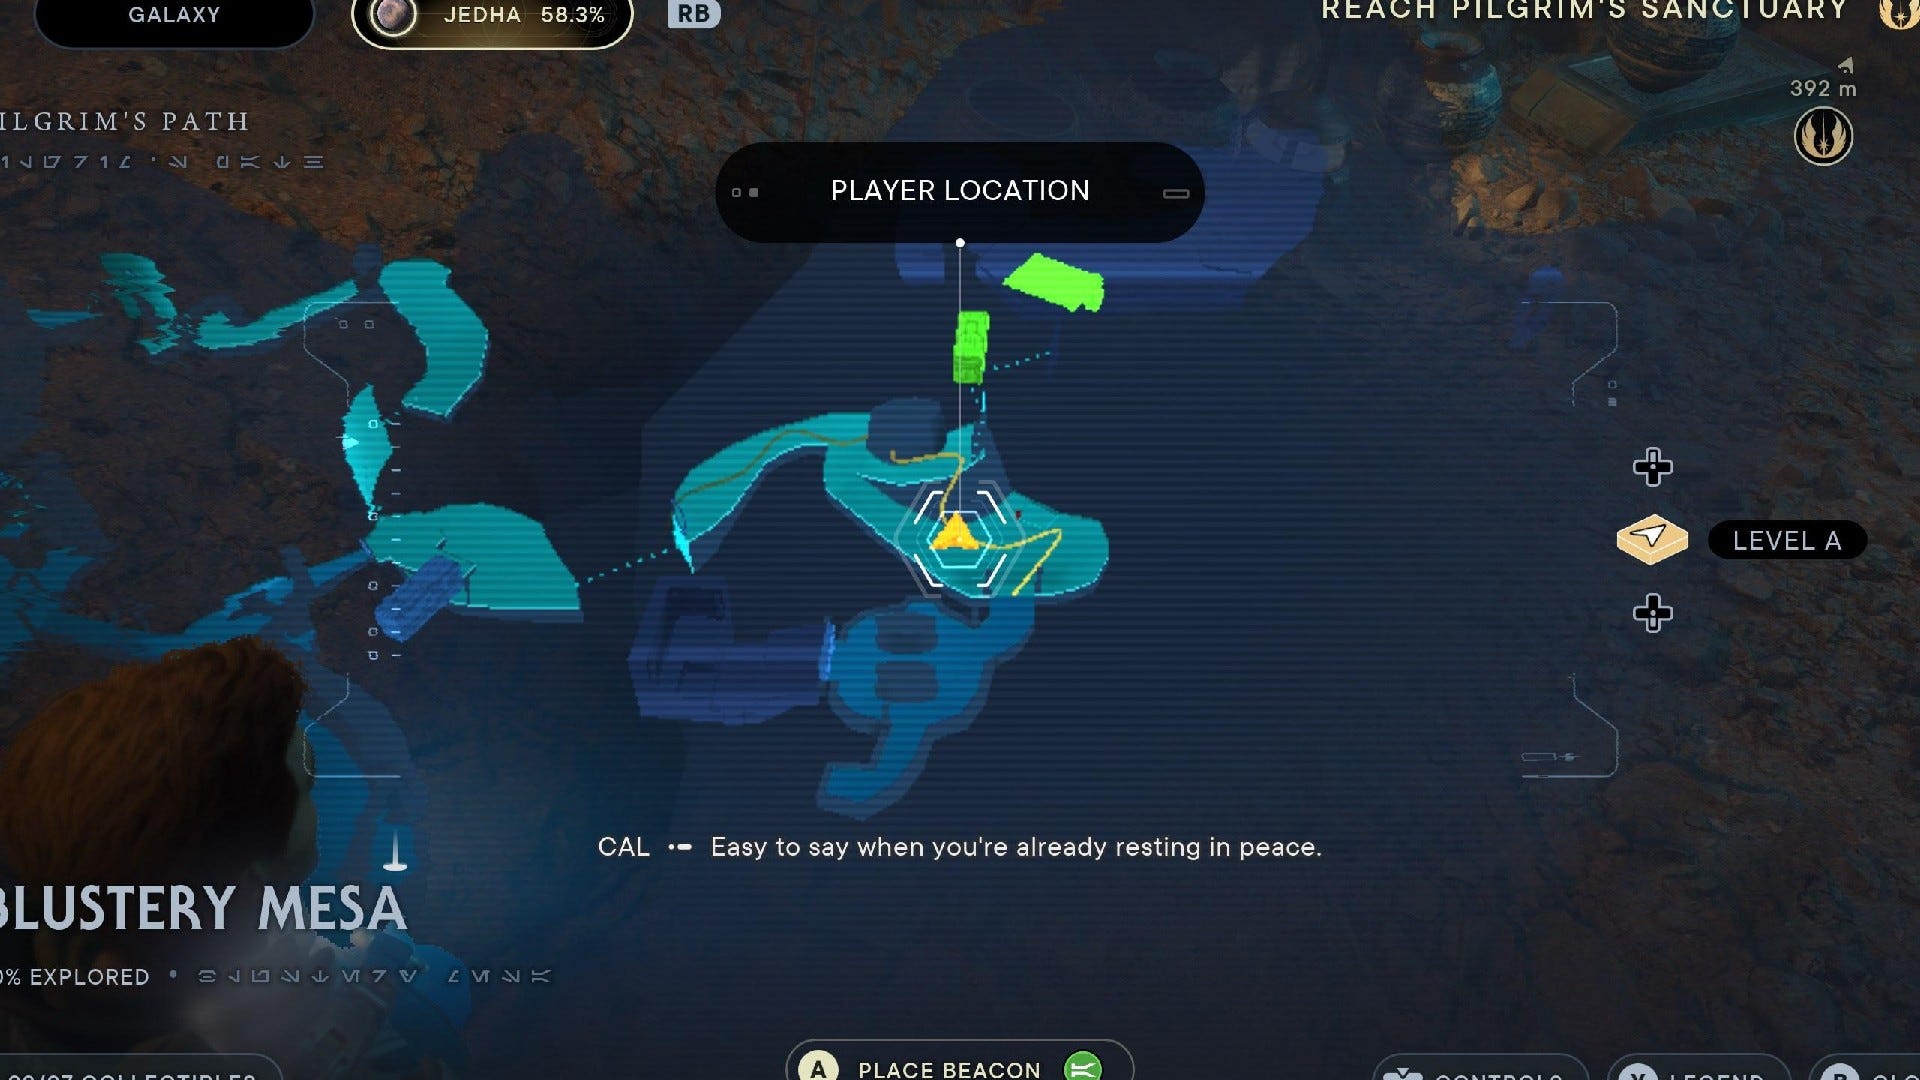
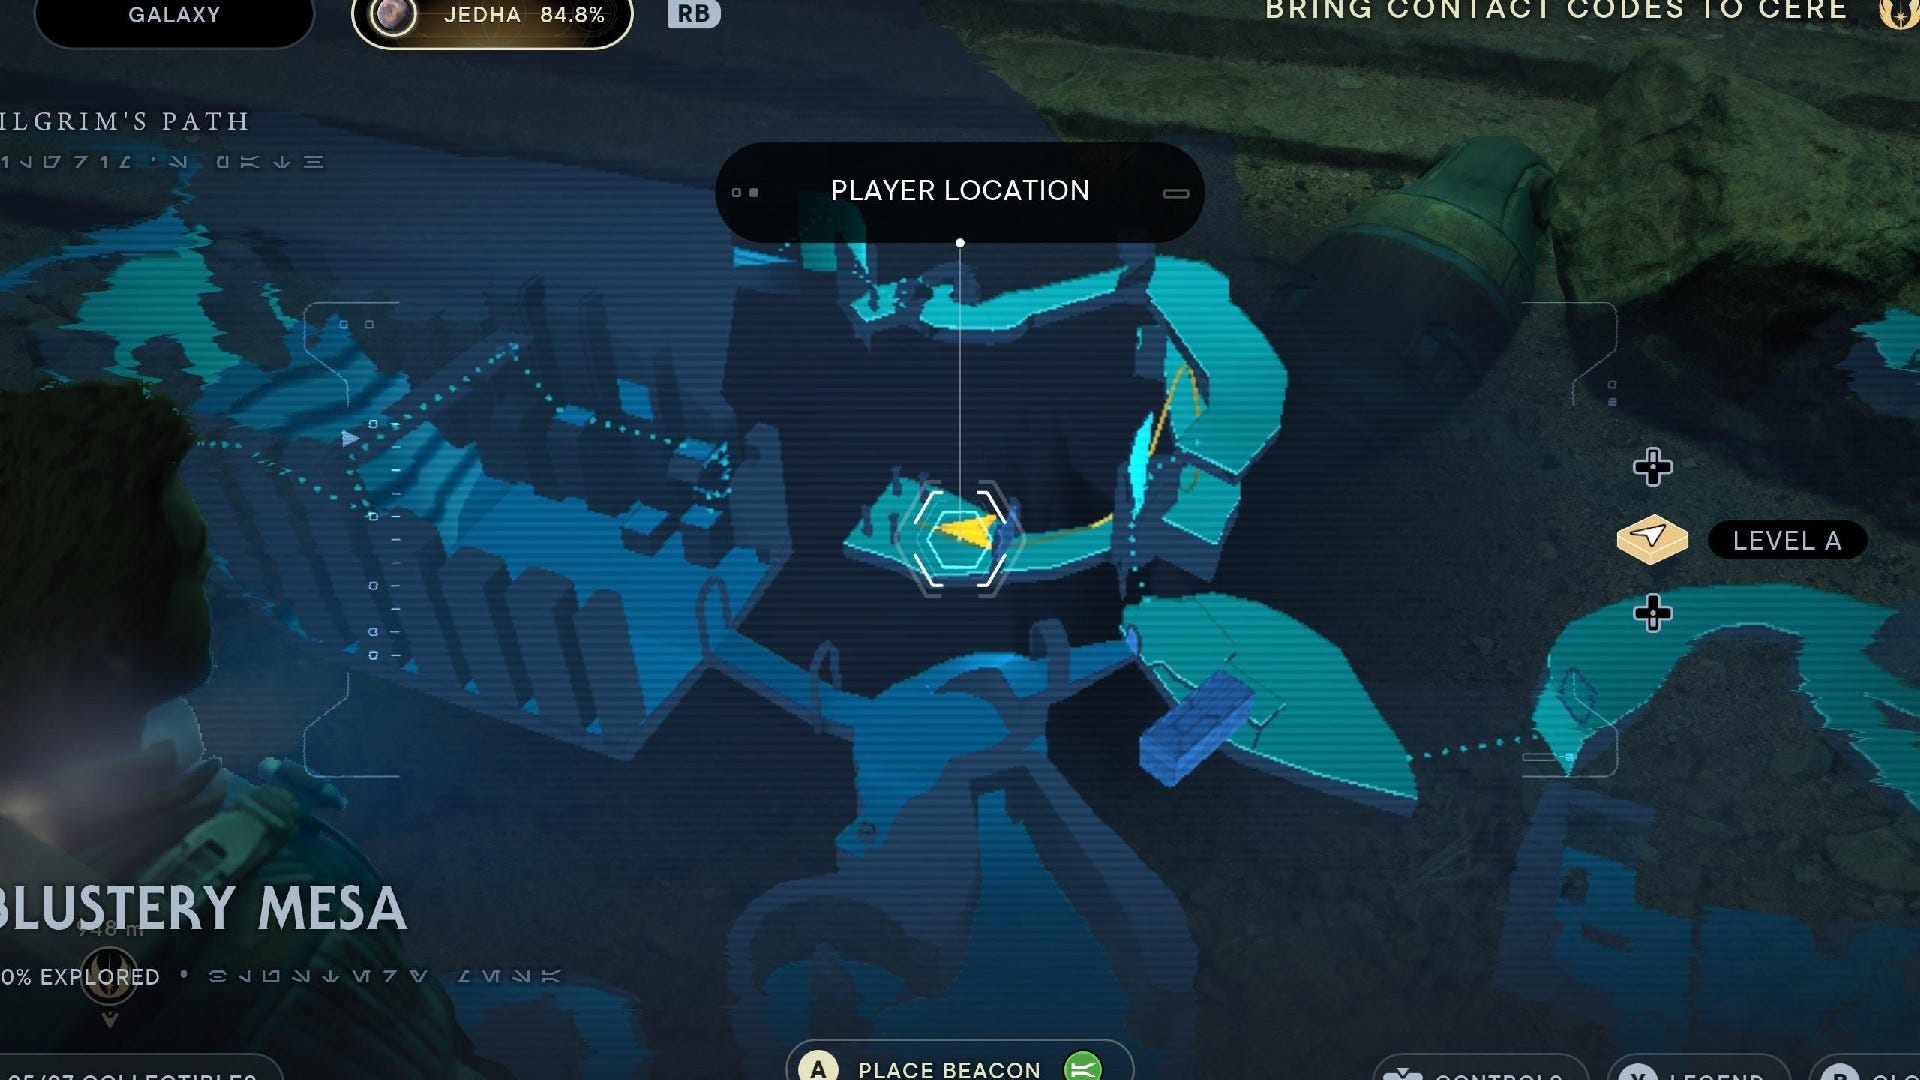
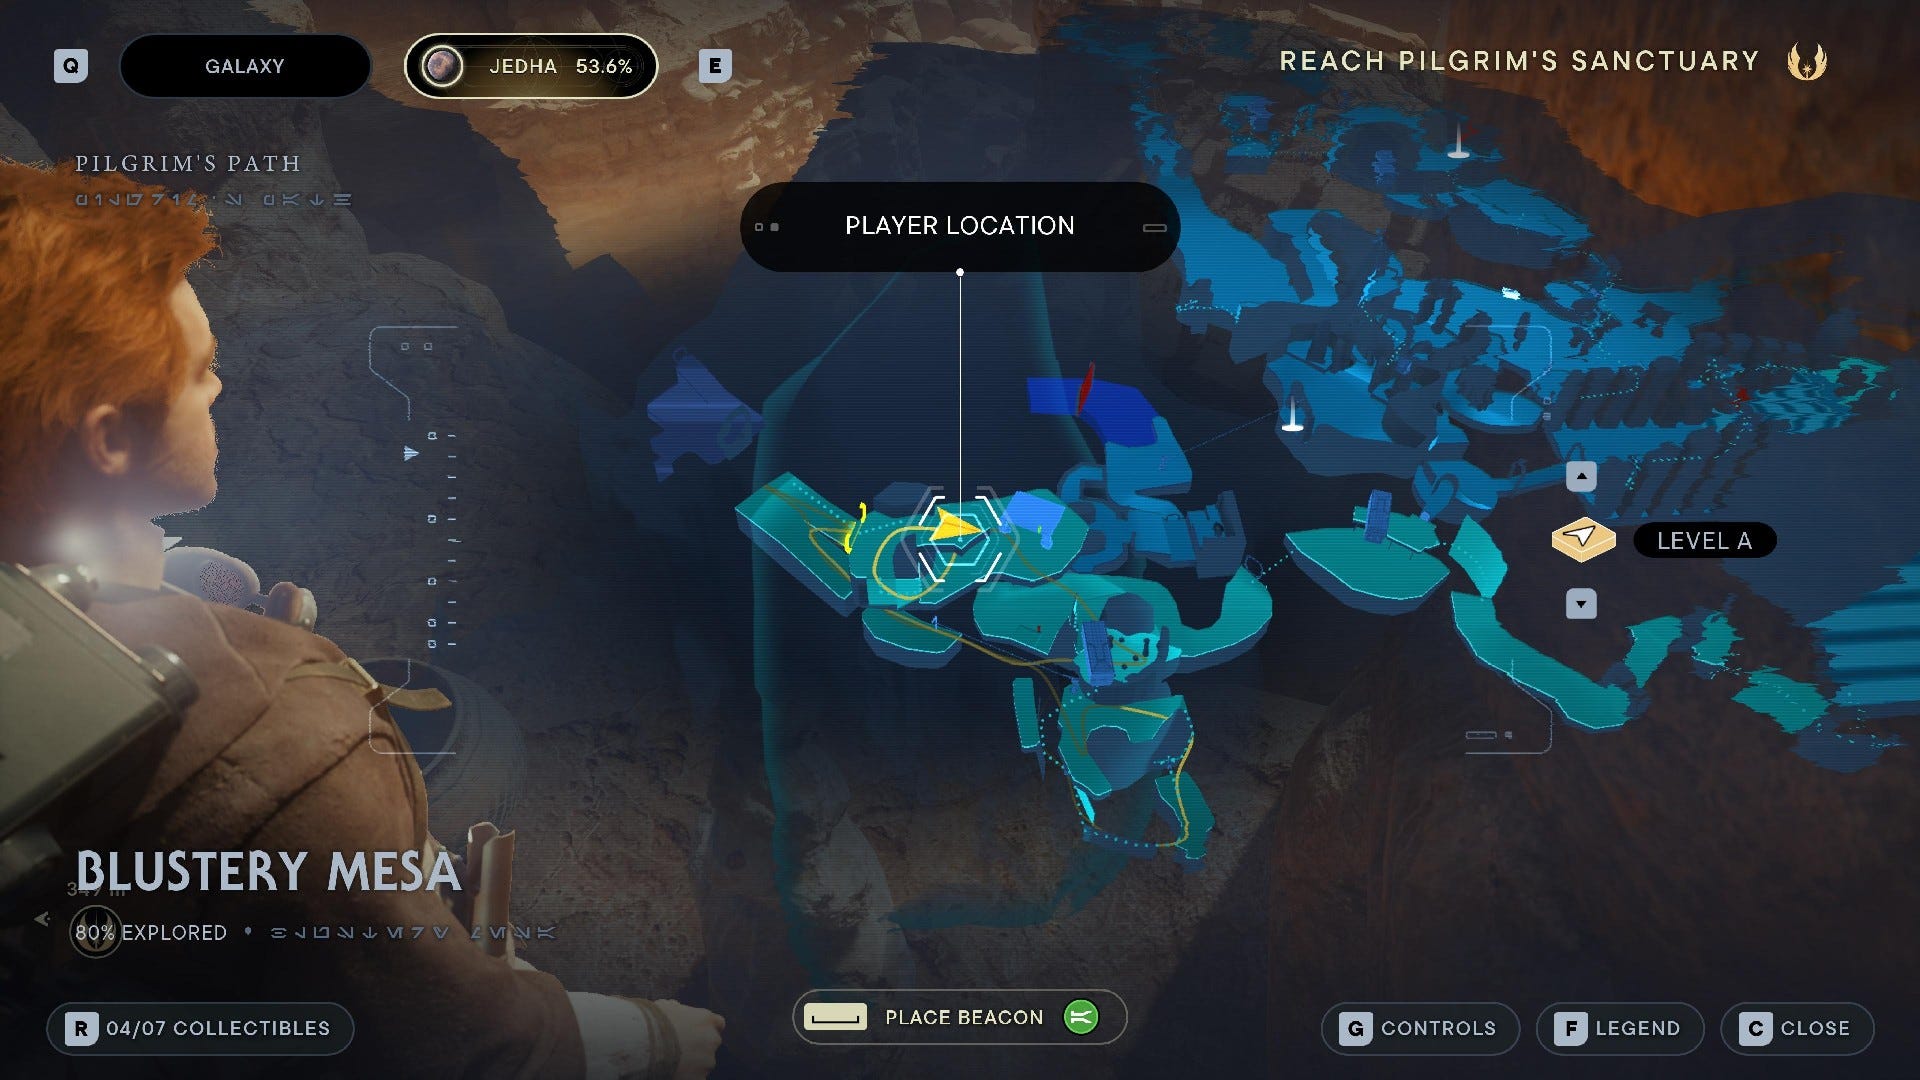
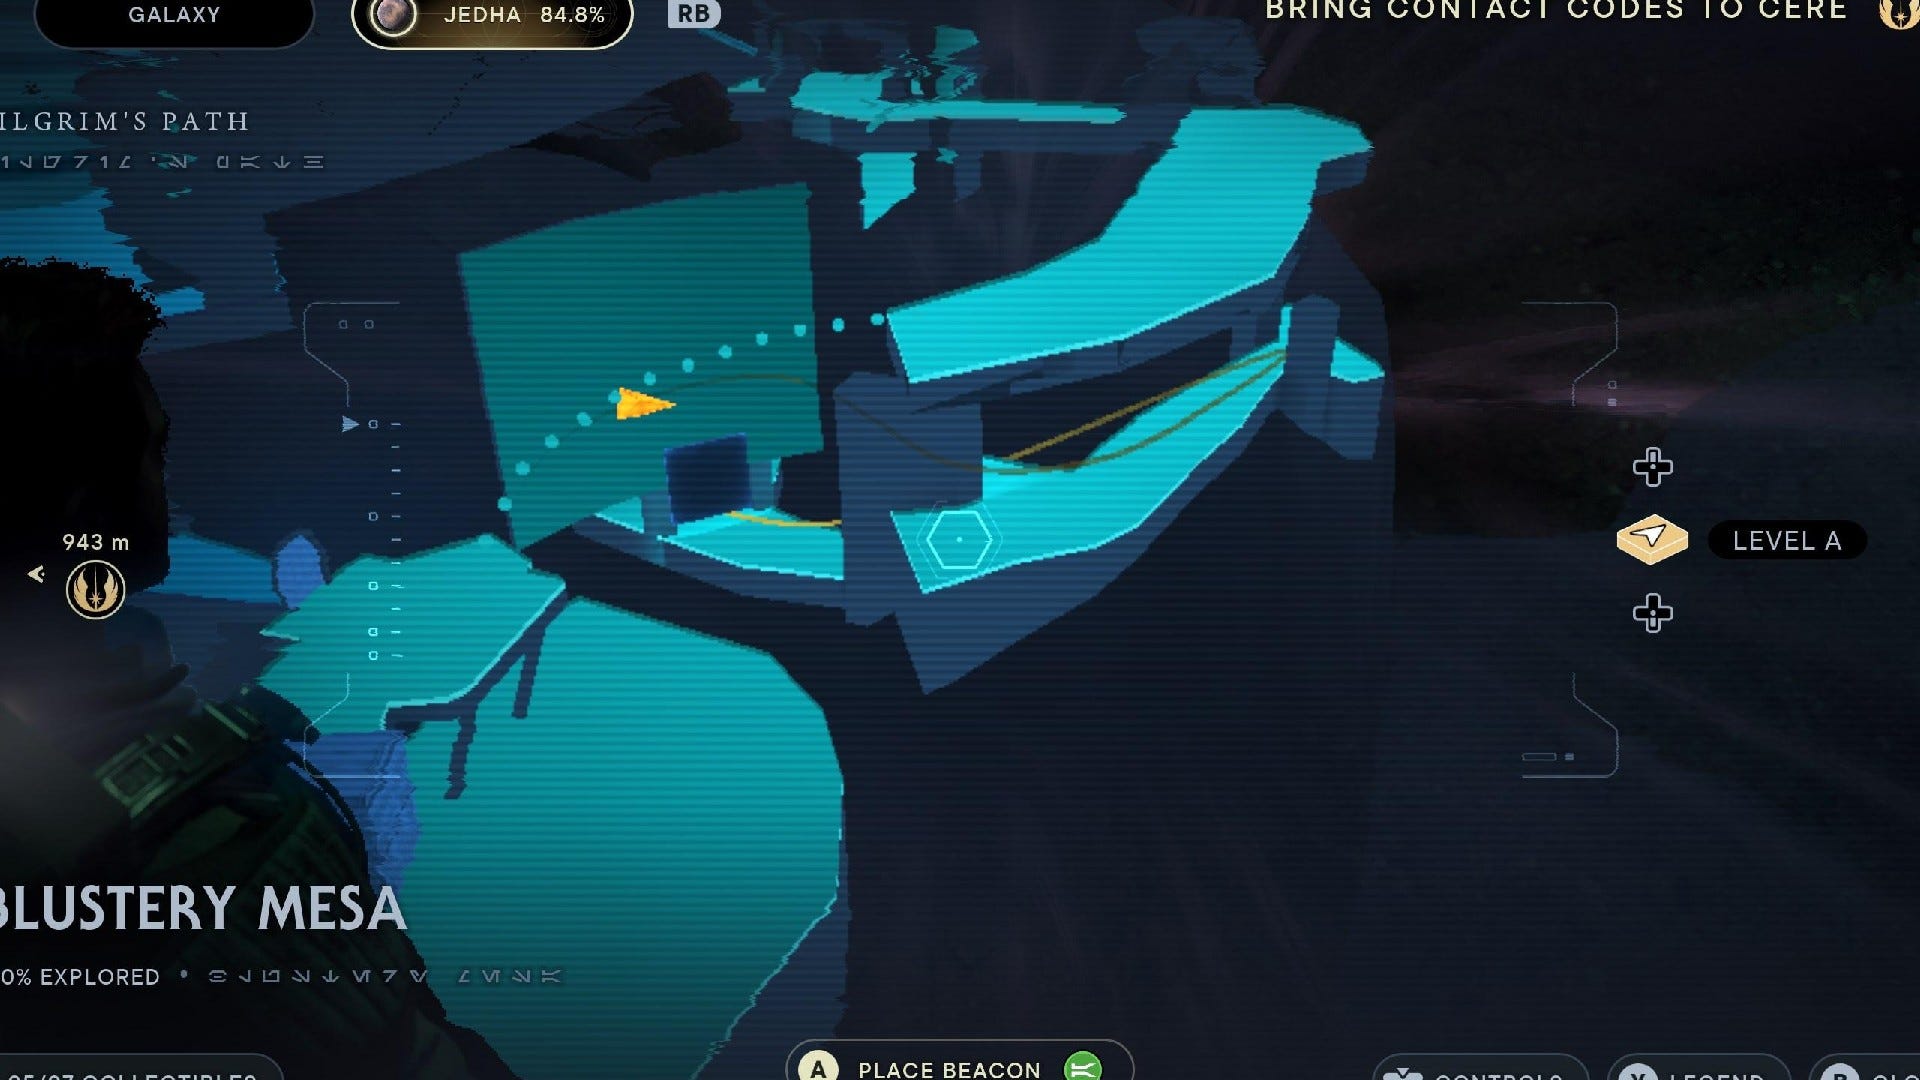
Blustery Mesa collectibles
Blustery Mesa is a windy cliff ledge that you must traverse without being swept away by the sandstorms. It has 7 collectibles:
Blustery Mesa Chests:
Chest #1 (Justice Pommel): After fighting the DT sentry droid and parkouring up the windy slope, turn right to find a Chest in the small alcove overlooking the slope.
Blustery Mesa Databanks:

Force Echo (Ghost Or Guardian): After the slide and wall-run to the right, enter the cave with the Hardshells.
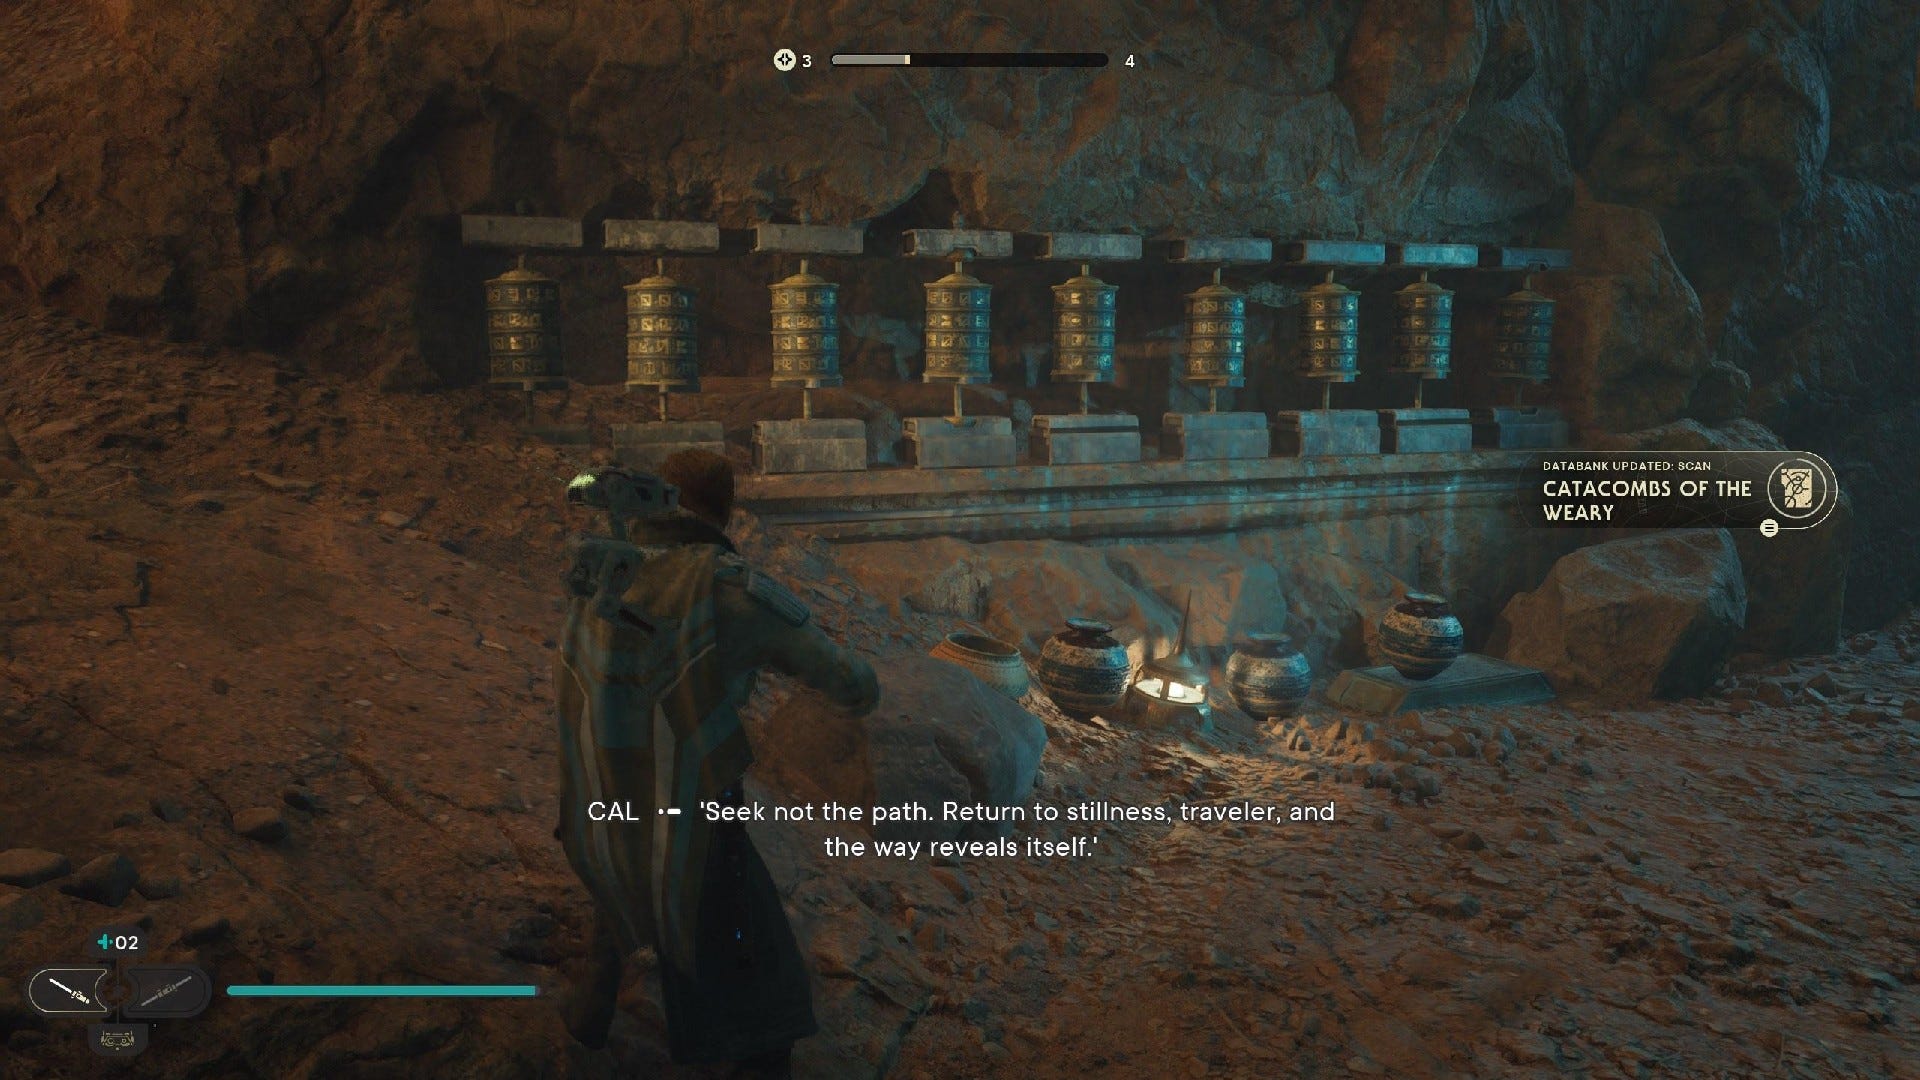
Databank (Catacombs of the Weary): Head down the slope towards the Crypt of Uhrma and scan the prayer scrolls on the left.
Blustery Mesa Force Tears:

Force Tear (Fractured Dexterity): From the Crypt of Uhrma Meditation Point, head through the door to the Stormtroopers and go upstairs to reach Blustery Mesa. Wall-run and dash across the nearby gap, and then turn left and dash through the green door to find a Force Tear.
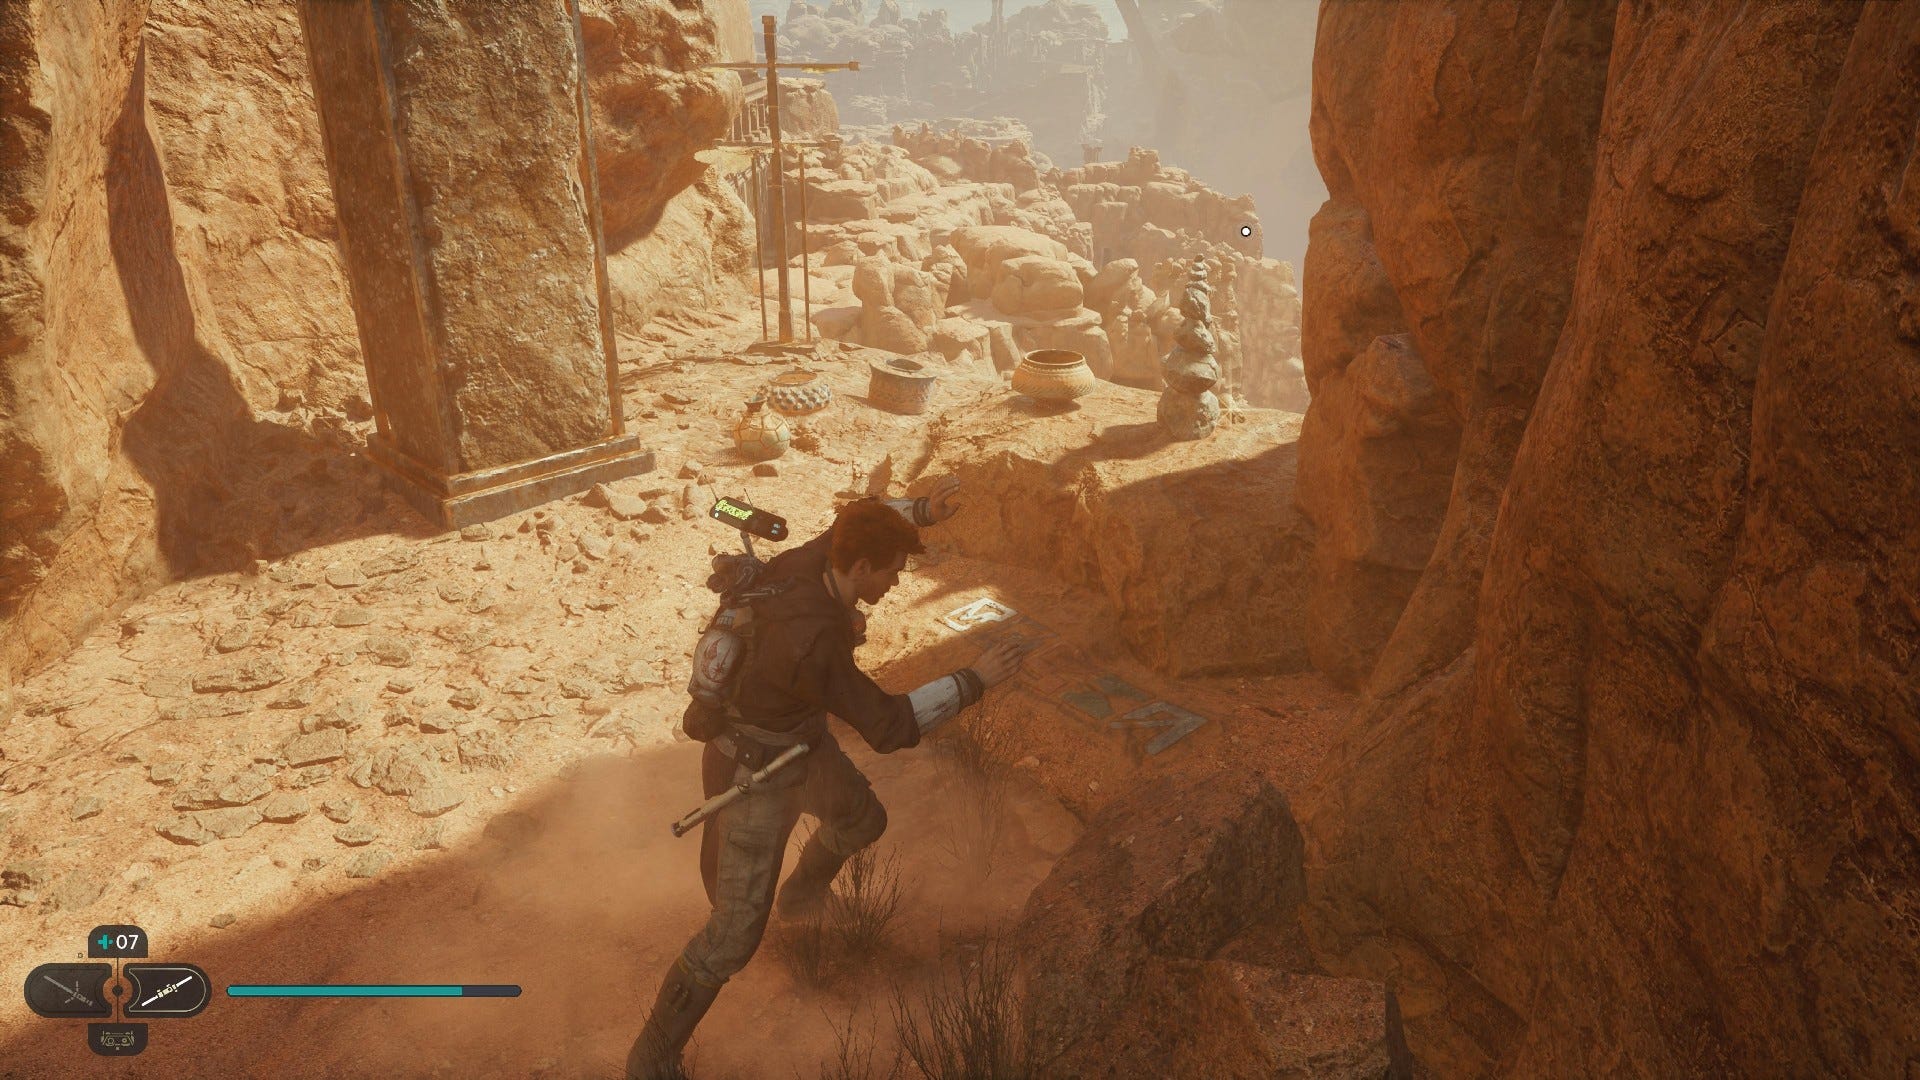
Blustery Mesa Treasures:

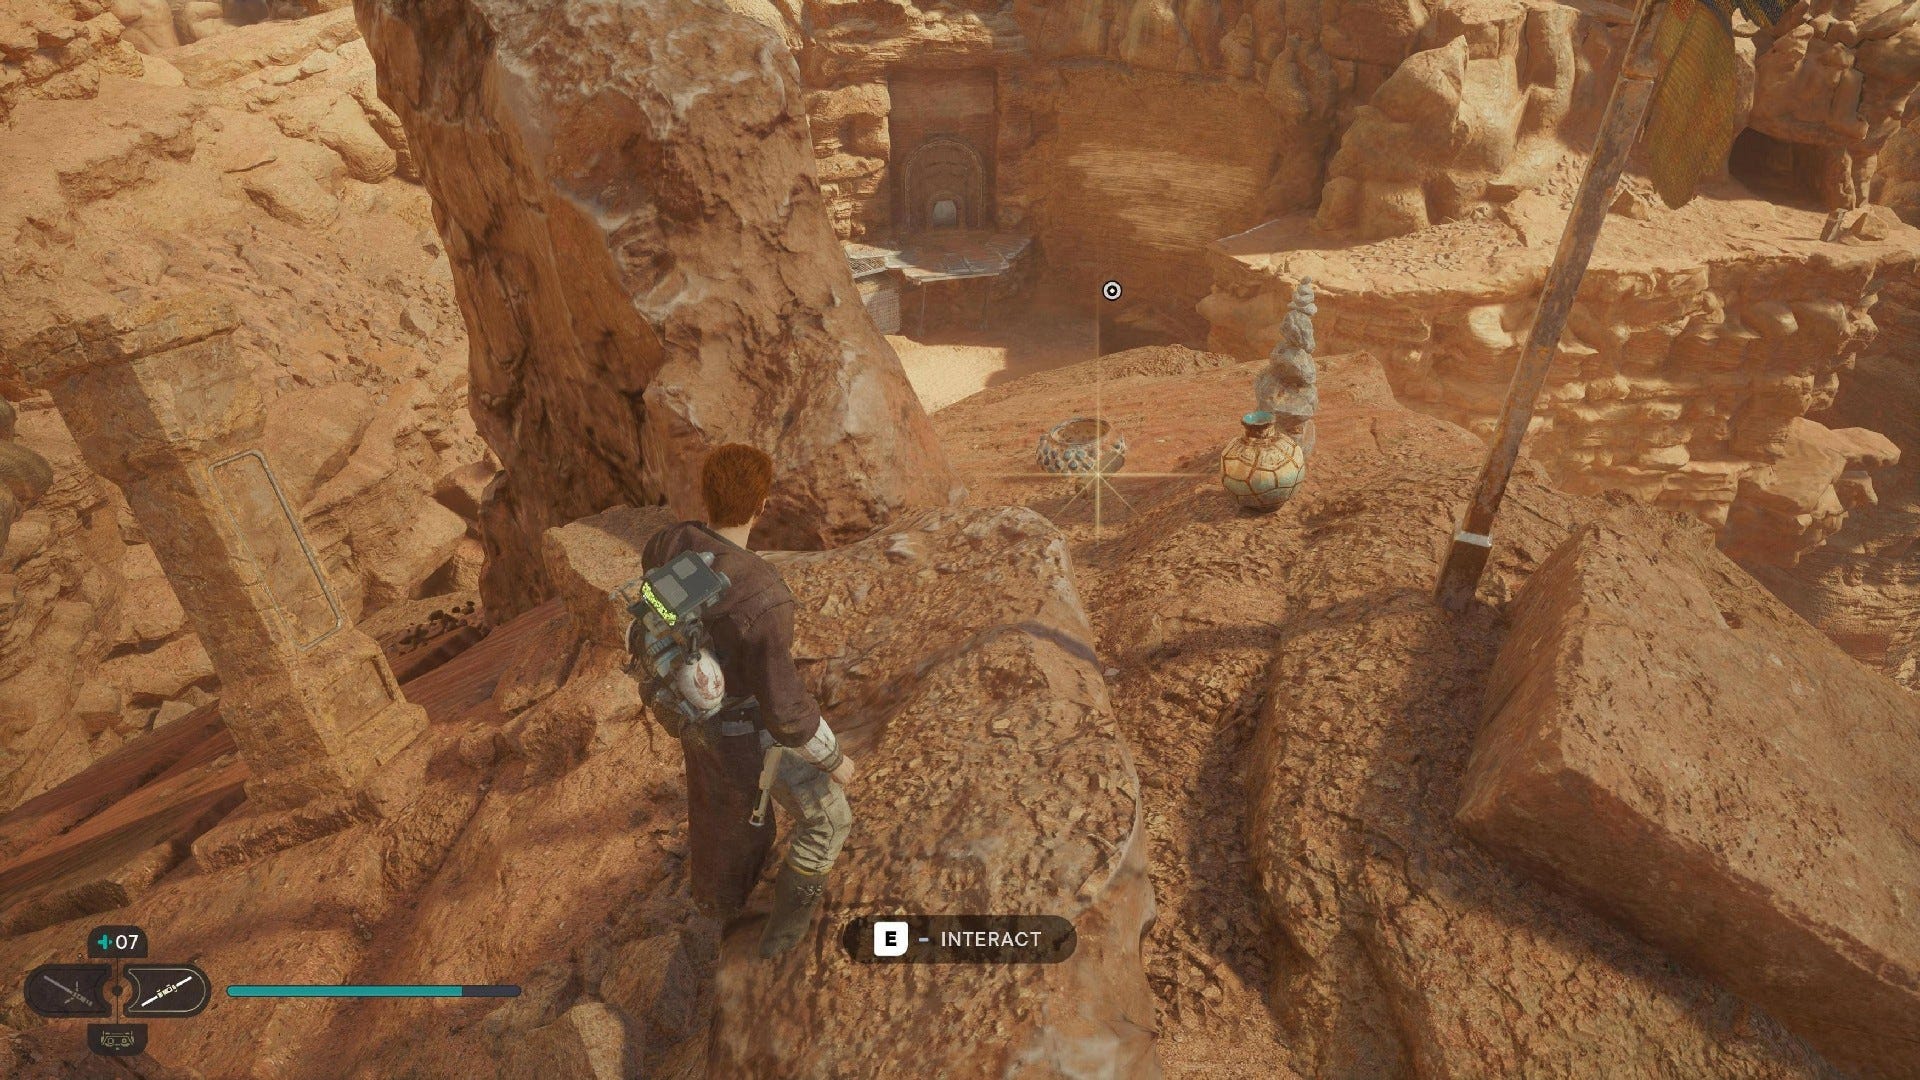
Jedha Scroll #1: After following the path beginning with the obstacle you can pull out from the cliff and climb along the underside. Keep going, then when you reach the elevator, turn and jump across to the ledge opposite.
Jedha Scroll #2: Climb up the wall near the elevator above the Crypt Of Uhrma, and head right around the rock

Jedha Scroll #3: From the Crypt of Uhrma Meditation Point, head through the door to the Stormtroopers and go upstairs to reach Blustery Mesa. Wall-run and dash across the gap to find a Scavenger Droid on the nearby platform.
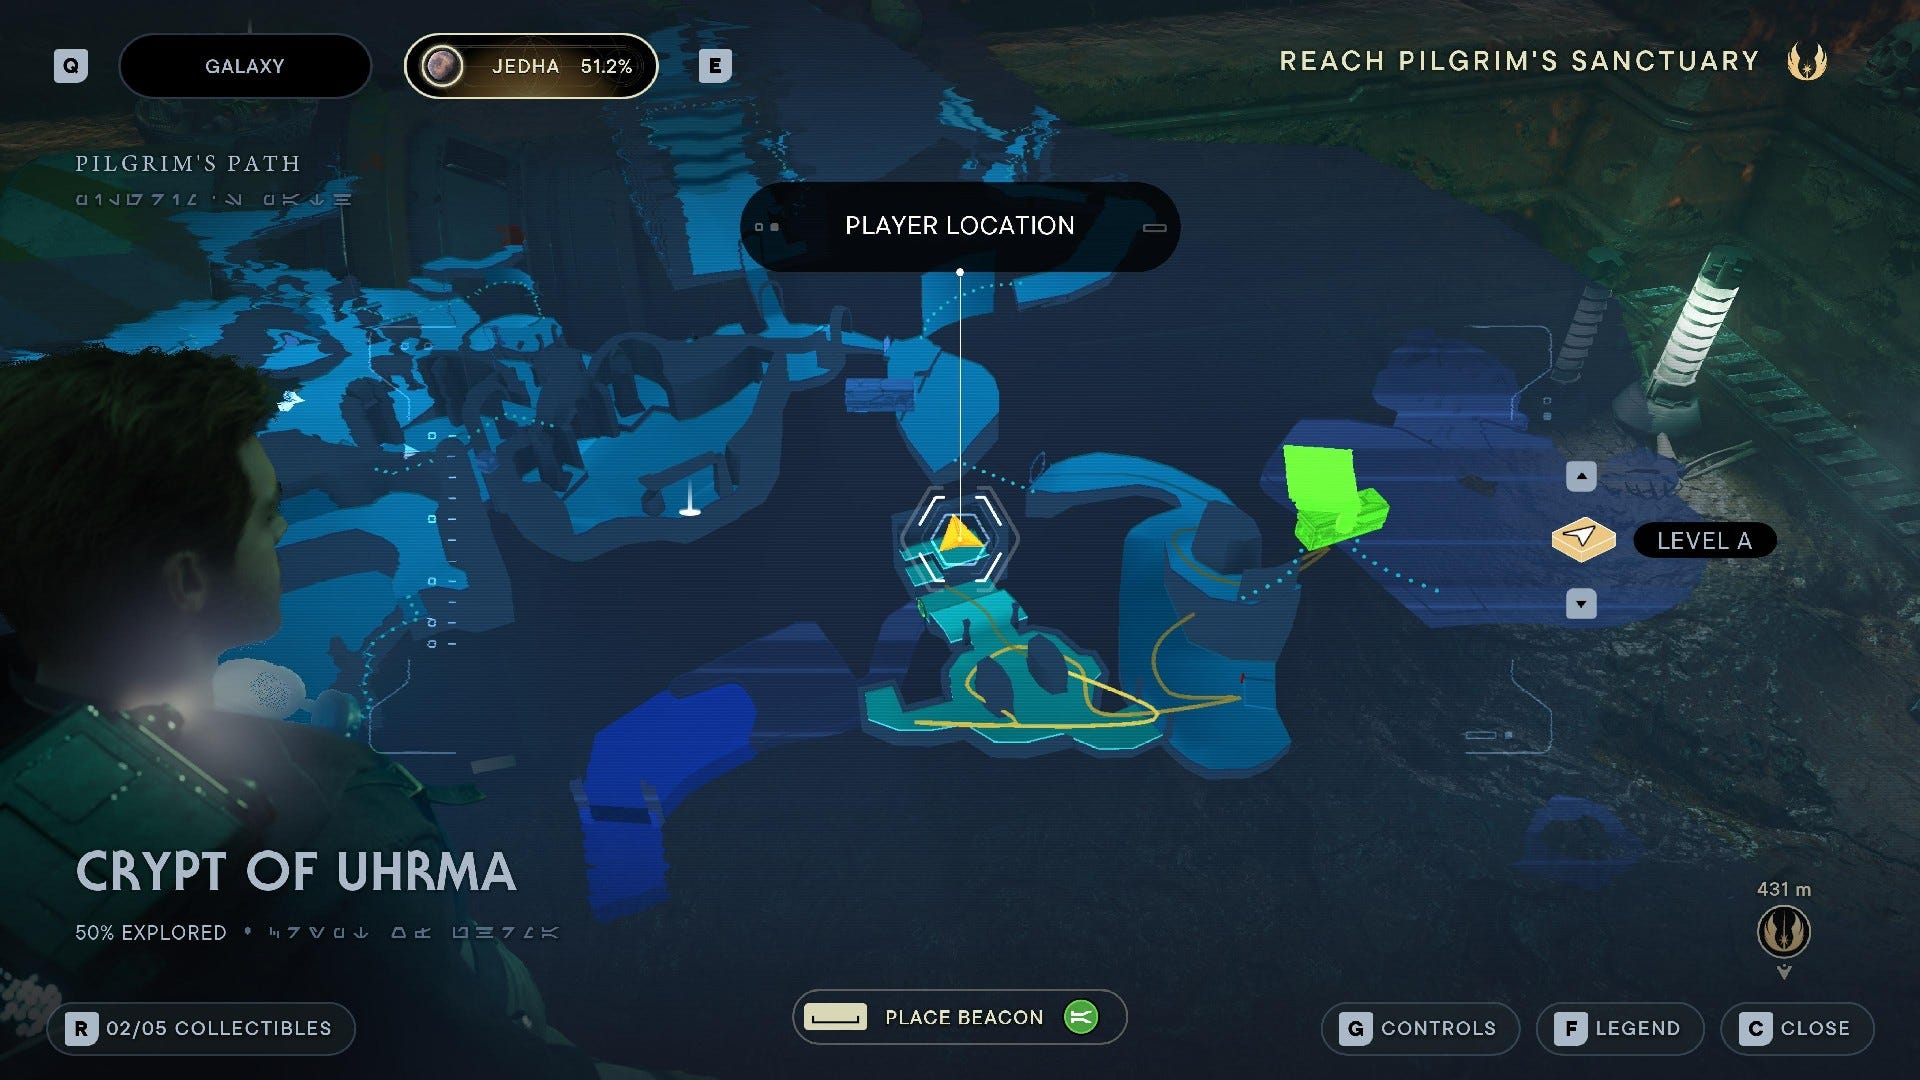
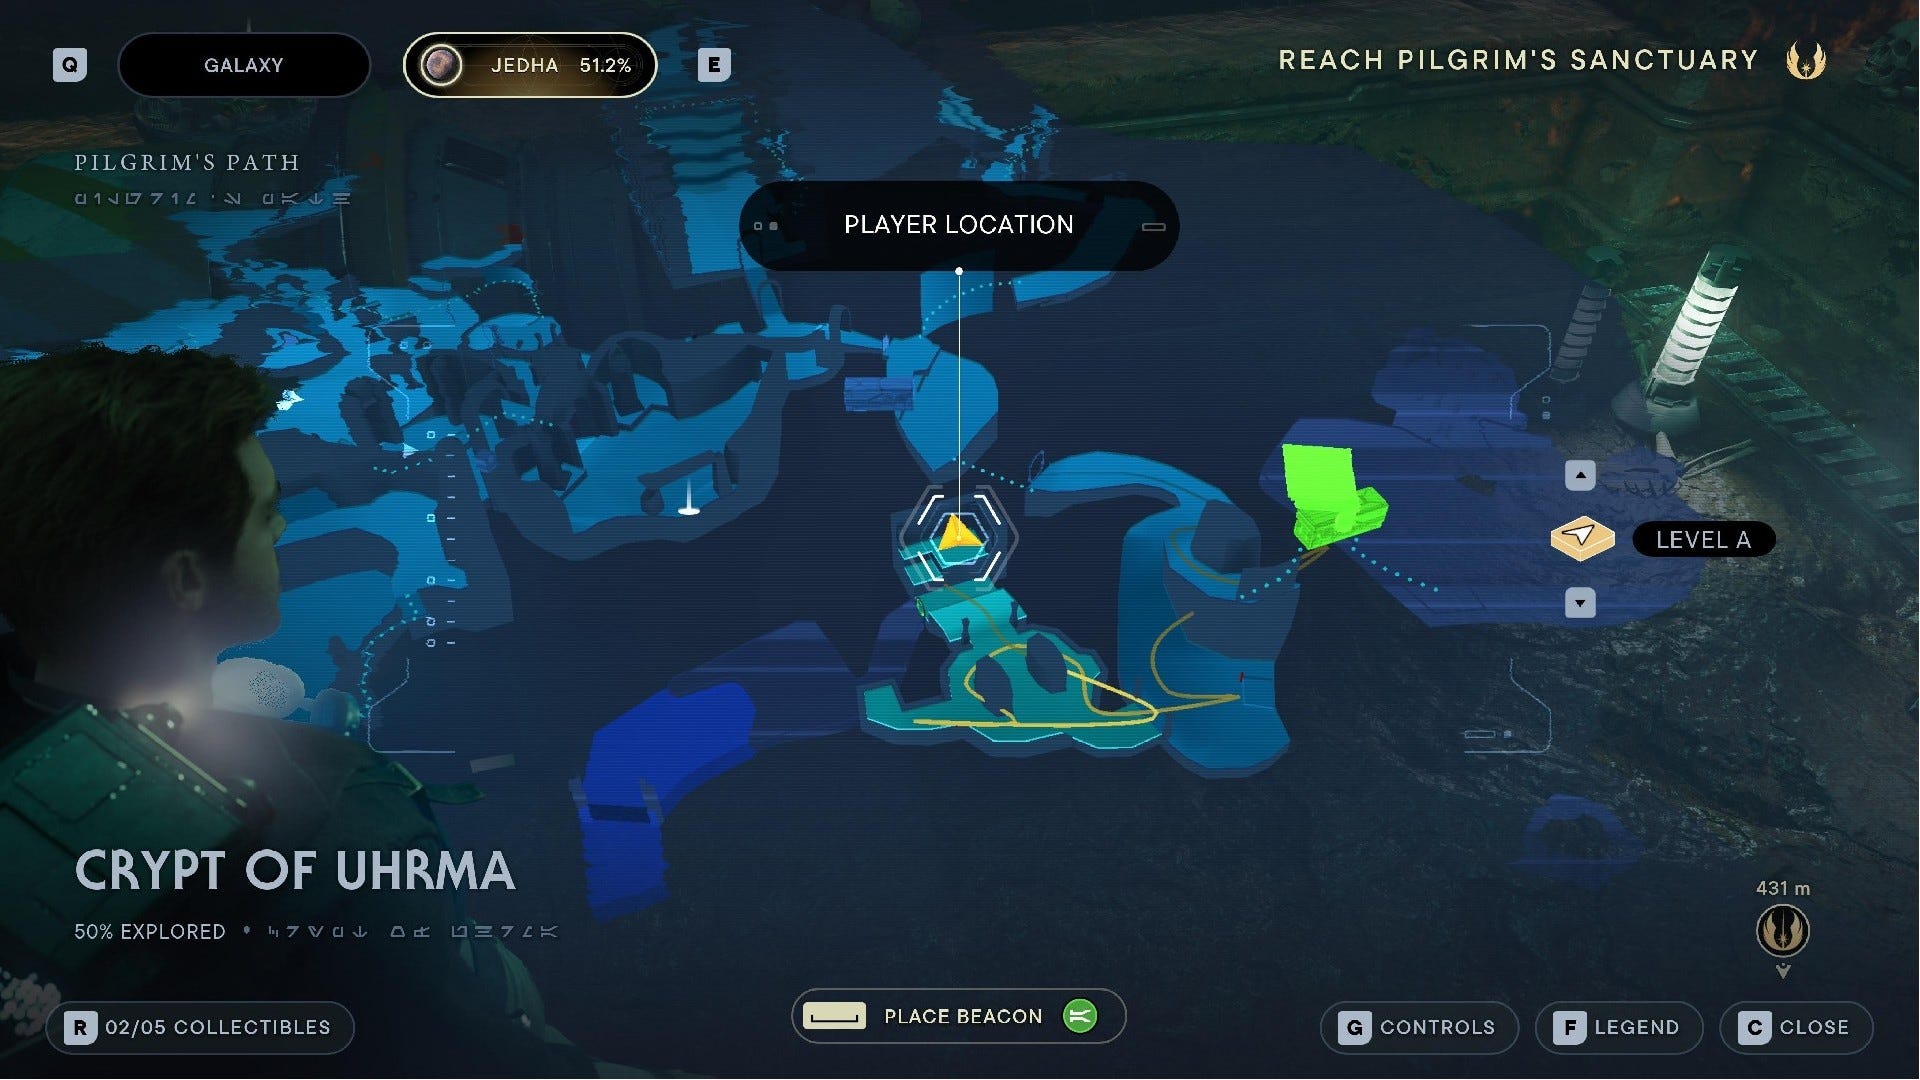
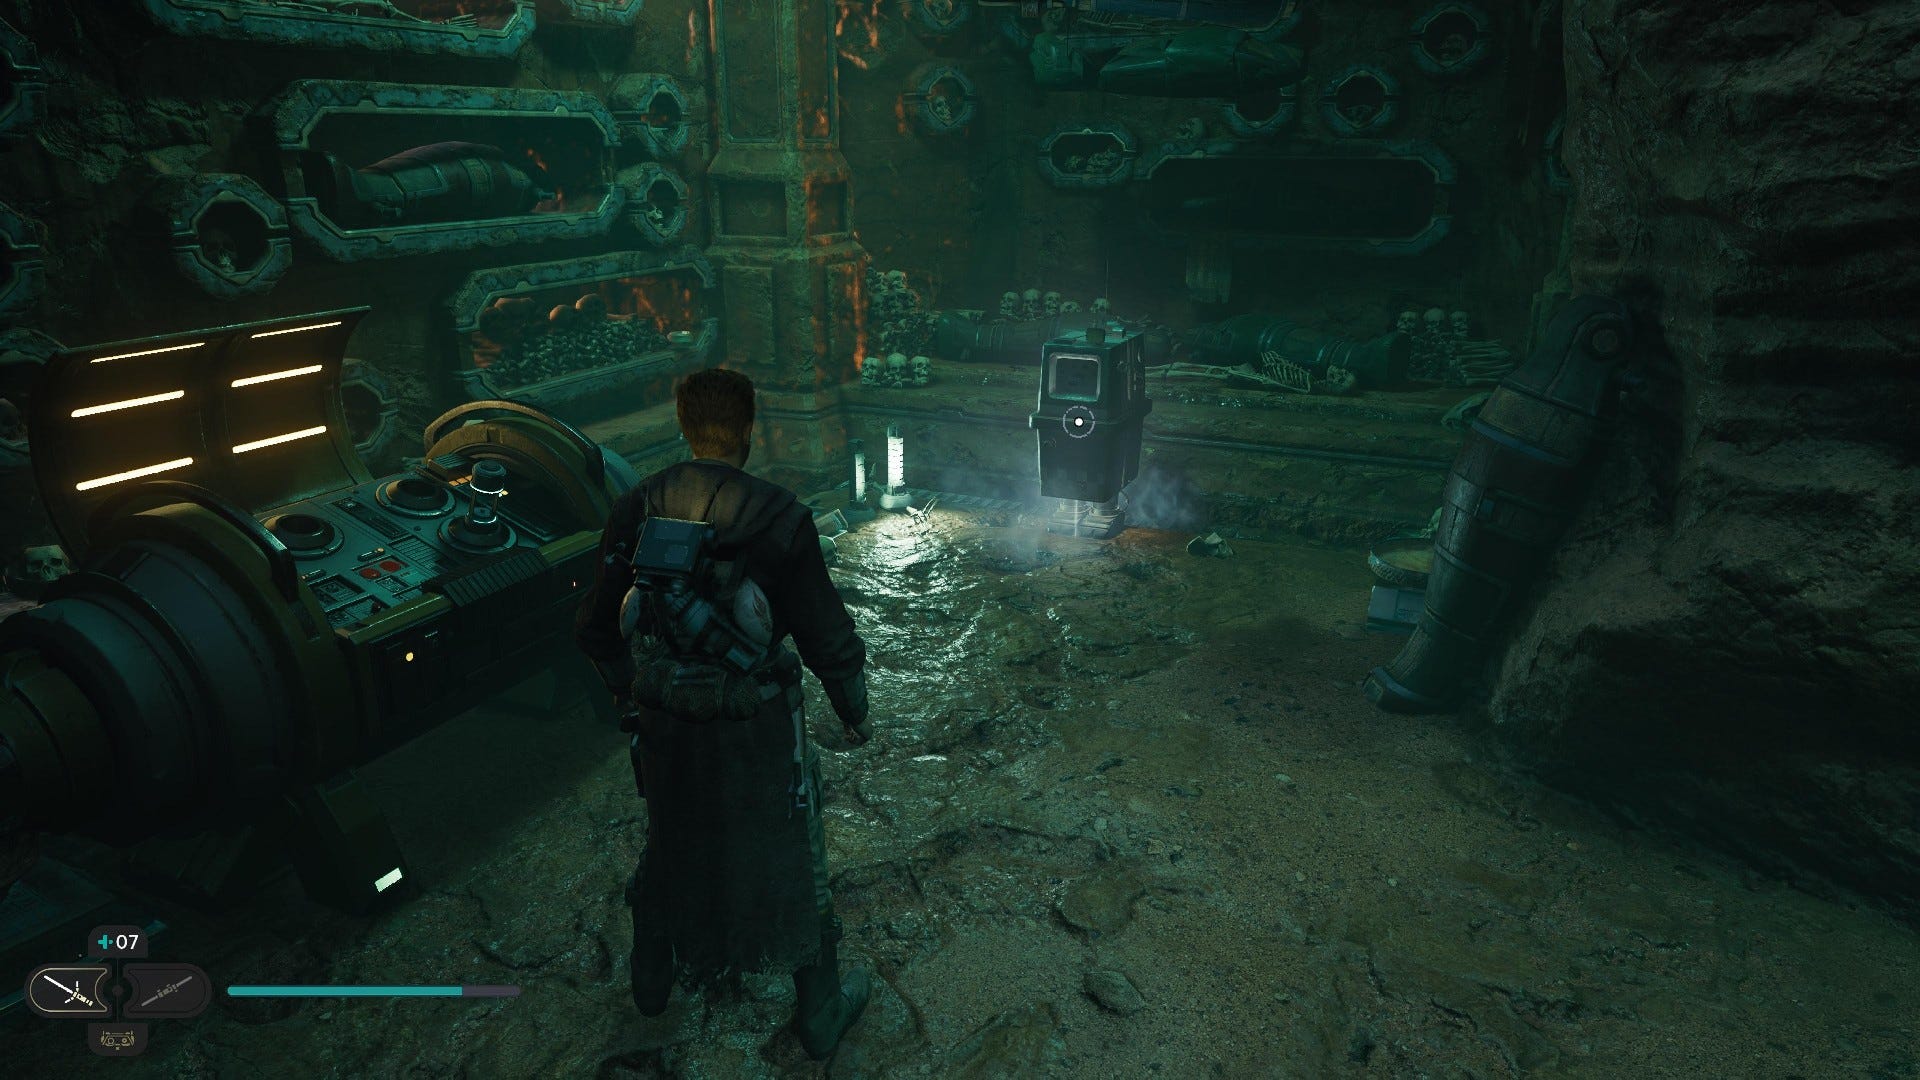
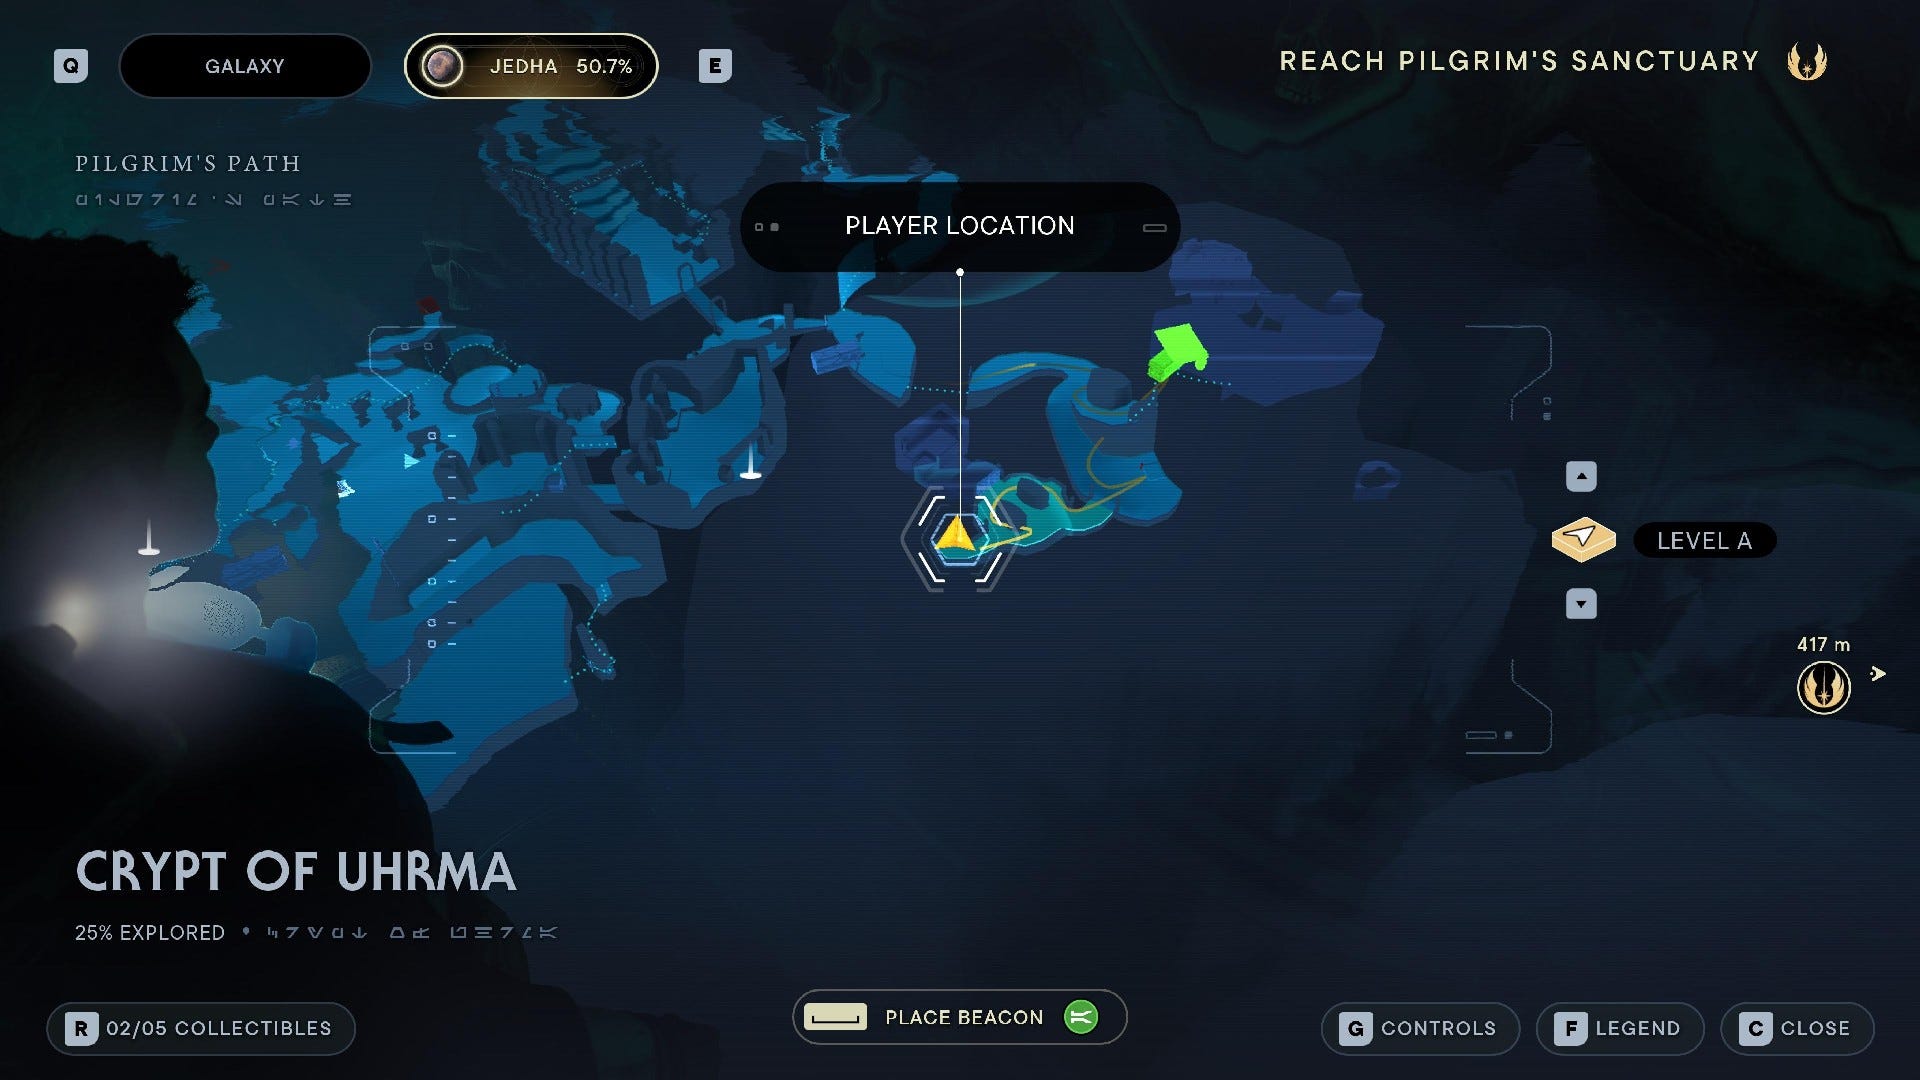
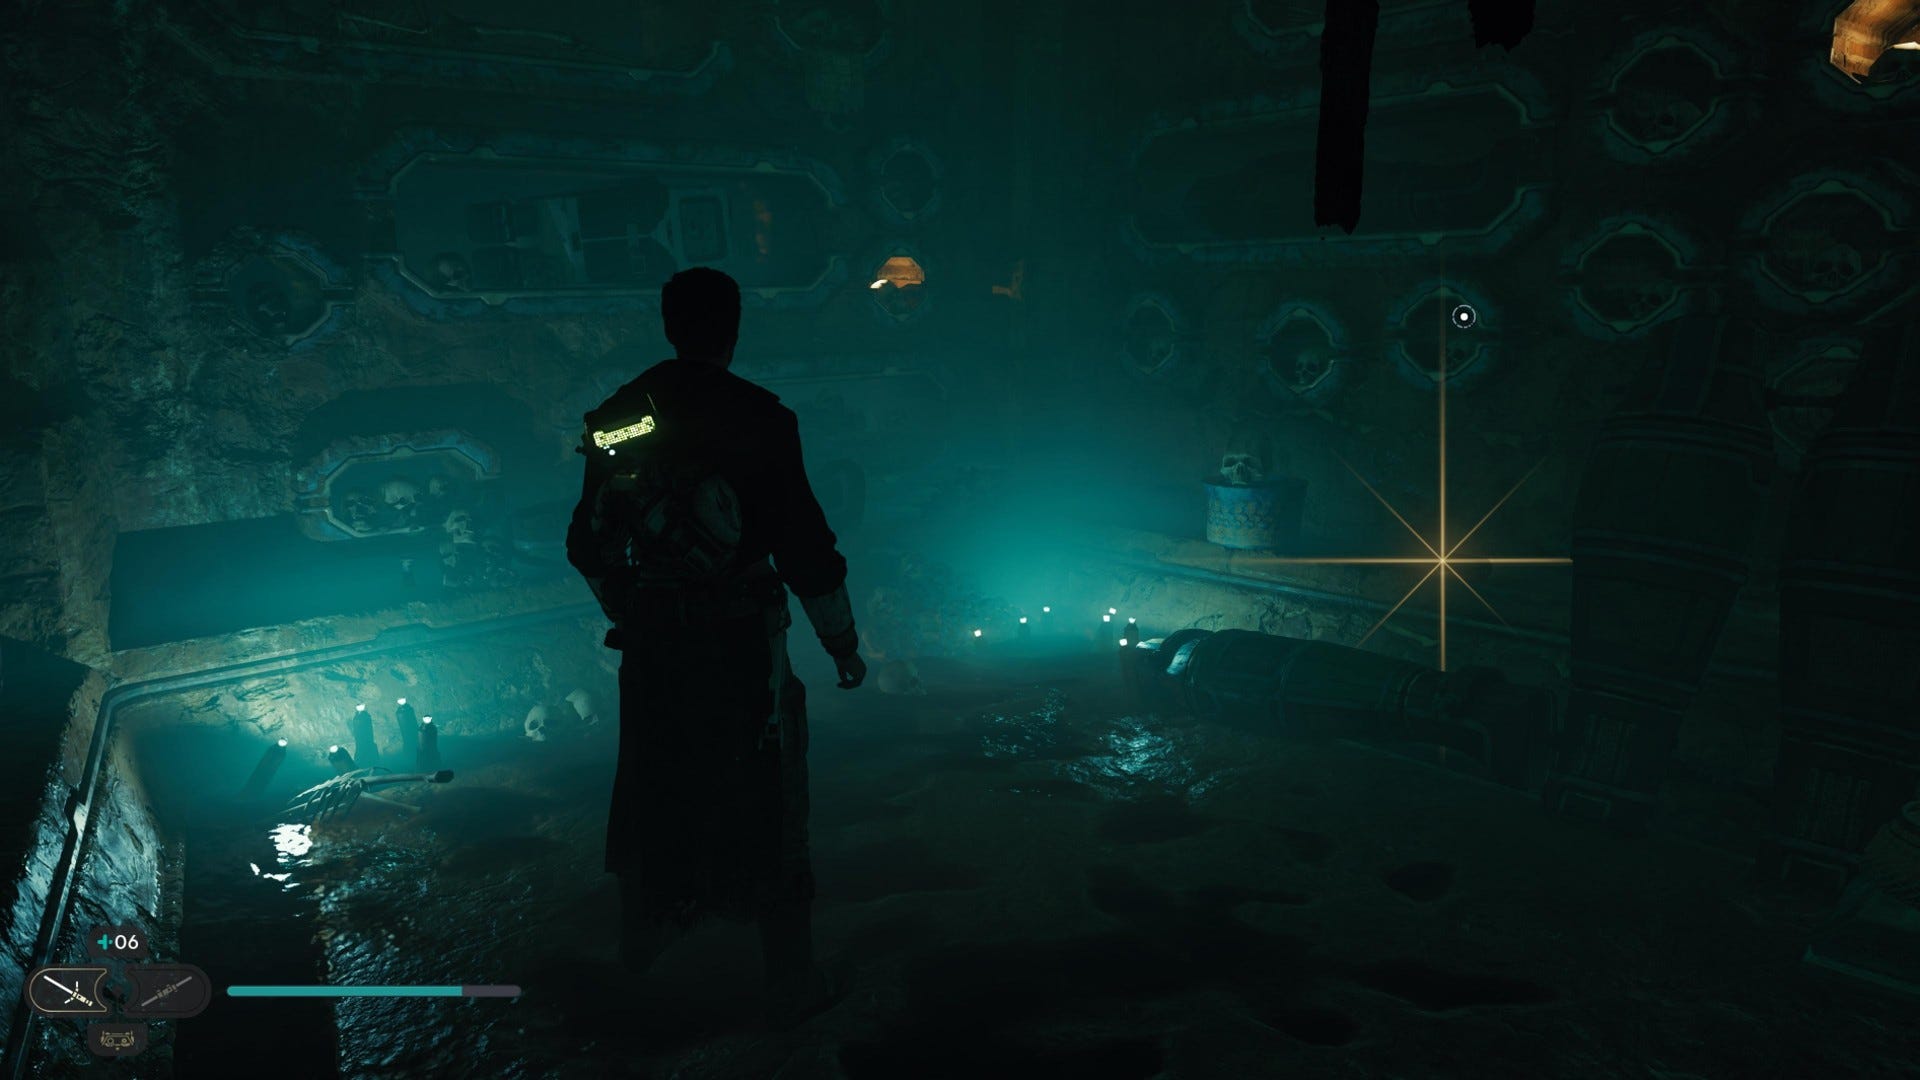
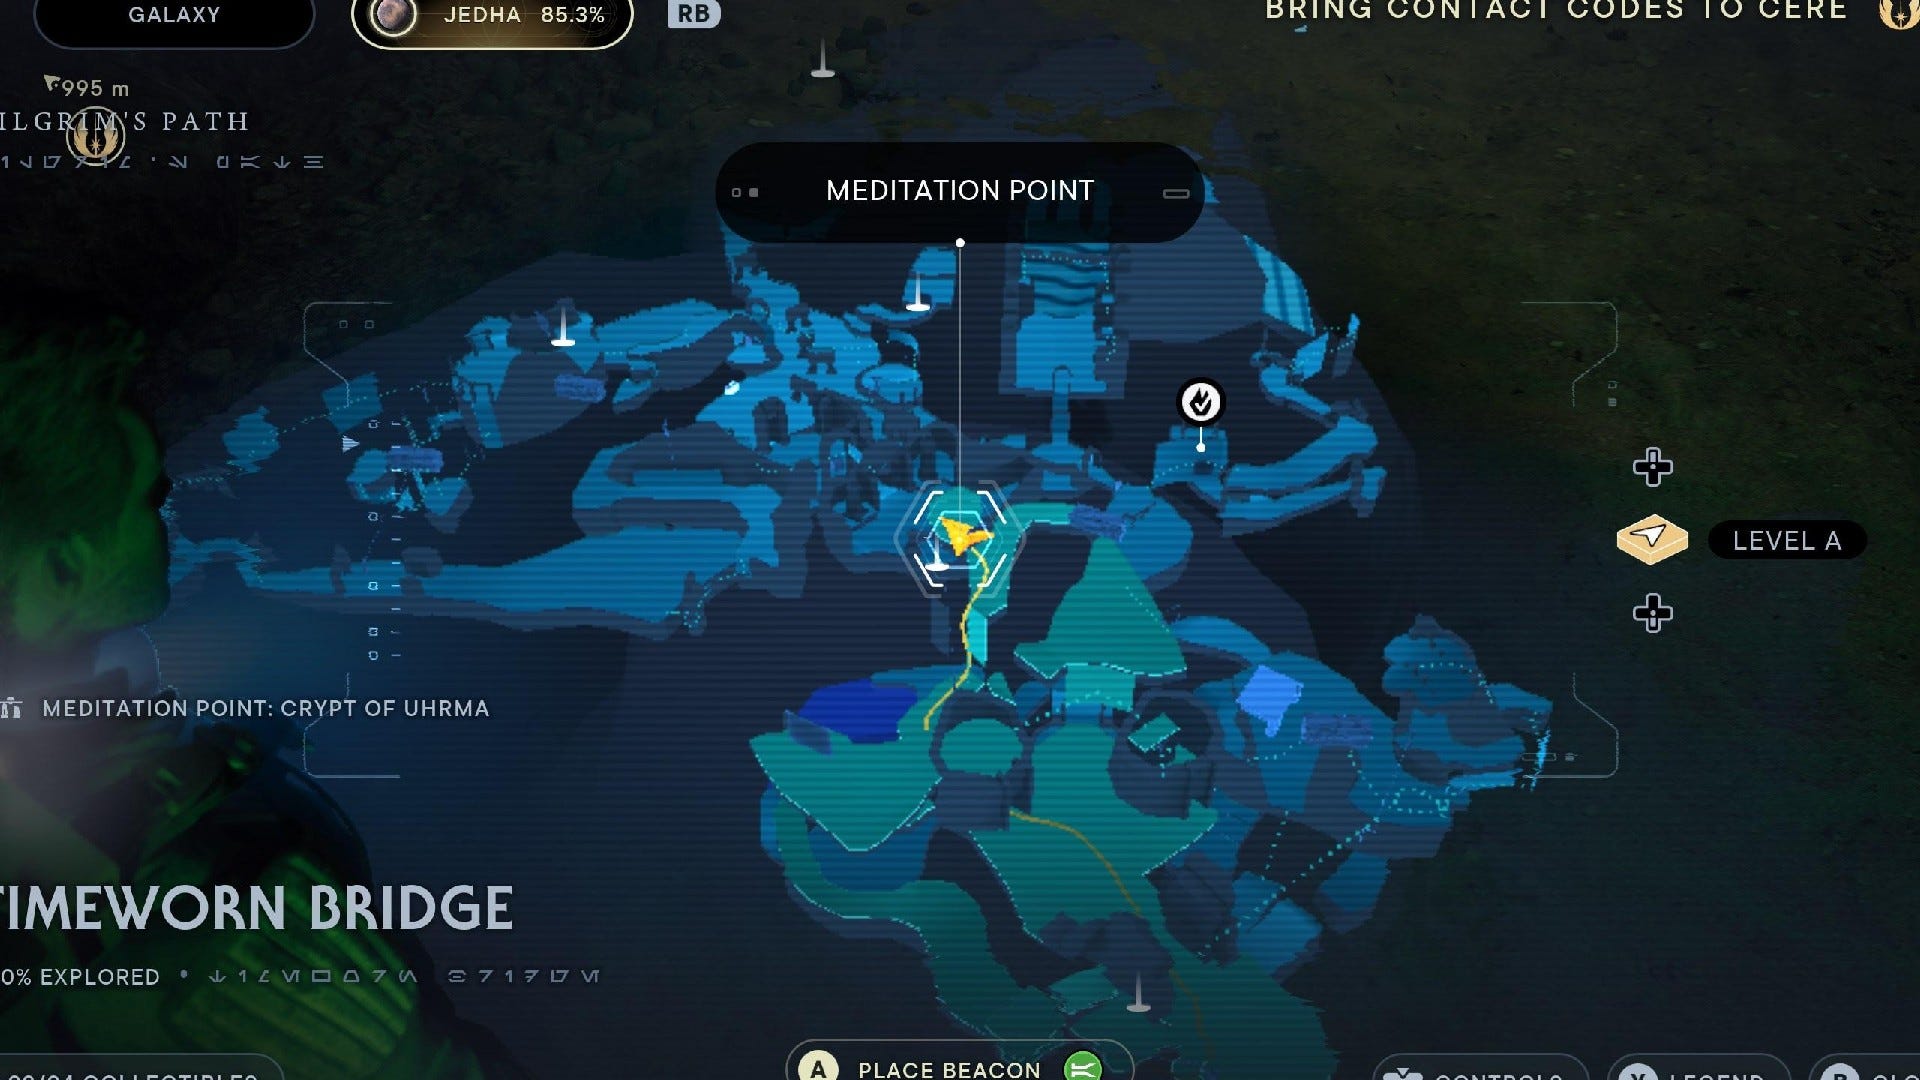
Crypt of Uhrma collectibles
Crypt of Uhrma is a small catacomb that contains a confusing puzzle. It has 5 collectibles:
Crypt of Uhrma Chests:
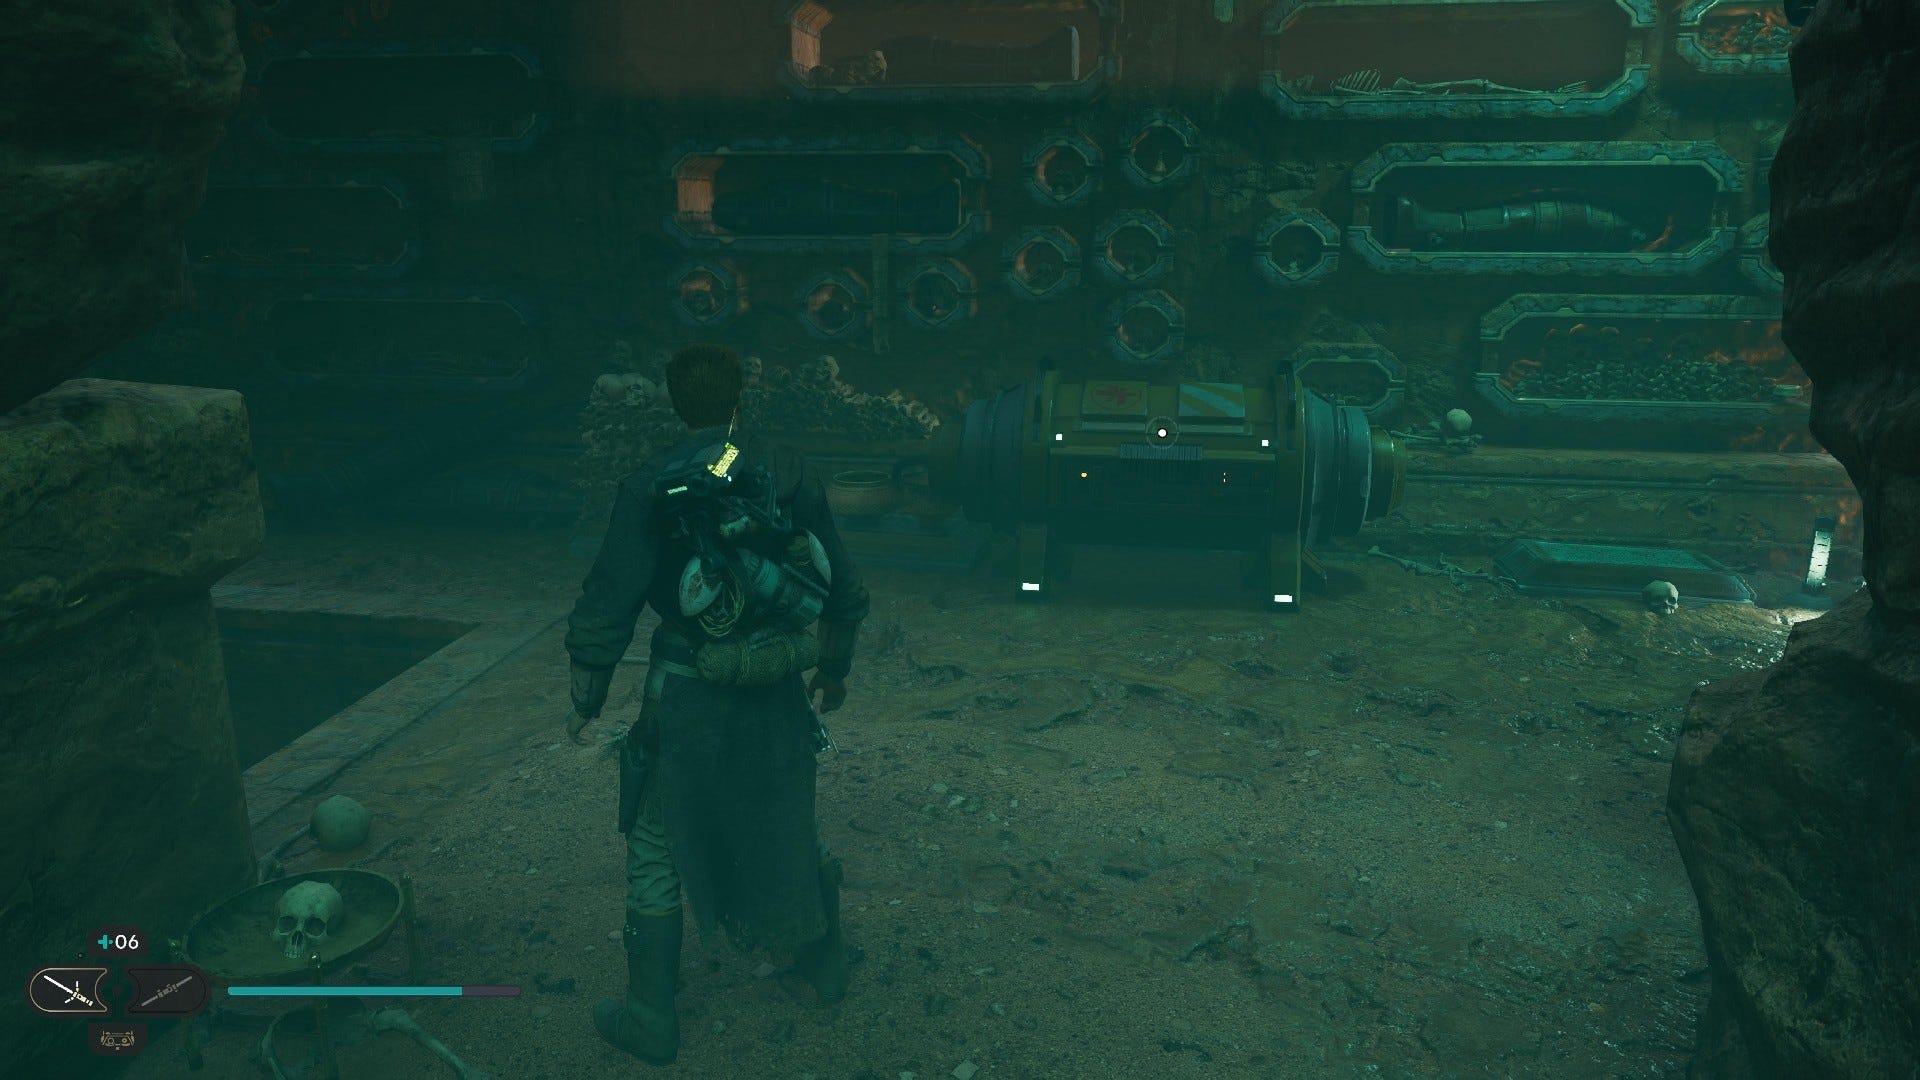
Stim Canister #1: After opening the puzzle door, jump to the opposite side of the next room.
Crypt of Uhrma Essences:


Perk (Gambler): In Sutaban Alpha boss arena.
Crypt of Uhrma Databanks:
Databank (Companions of the Caretakers): Side path after you enter the Crypt Of Uhrma.
Force Echo (Voices On The Wind): After opening the puzzle door, jump to the opposite side of the next room.
Crypt of Uhrma Treasures:
Jedha Scroll #1: Side path after you enter the Crypt Of Uhrma.
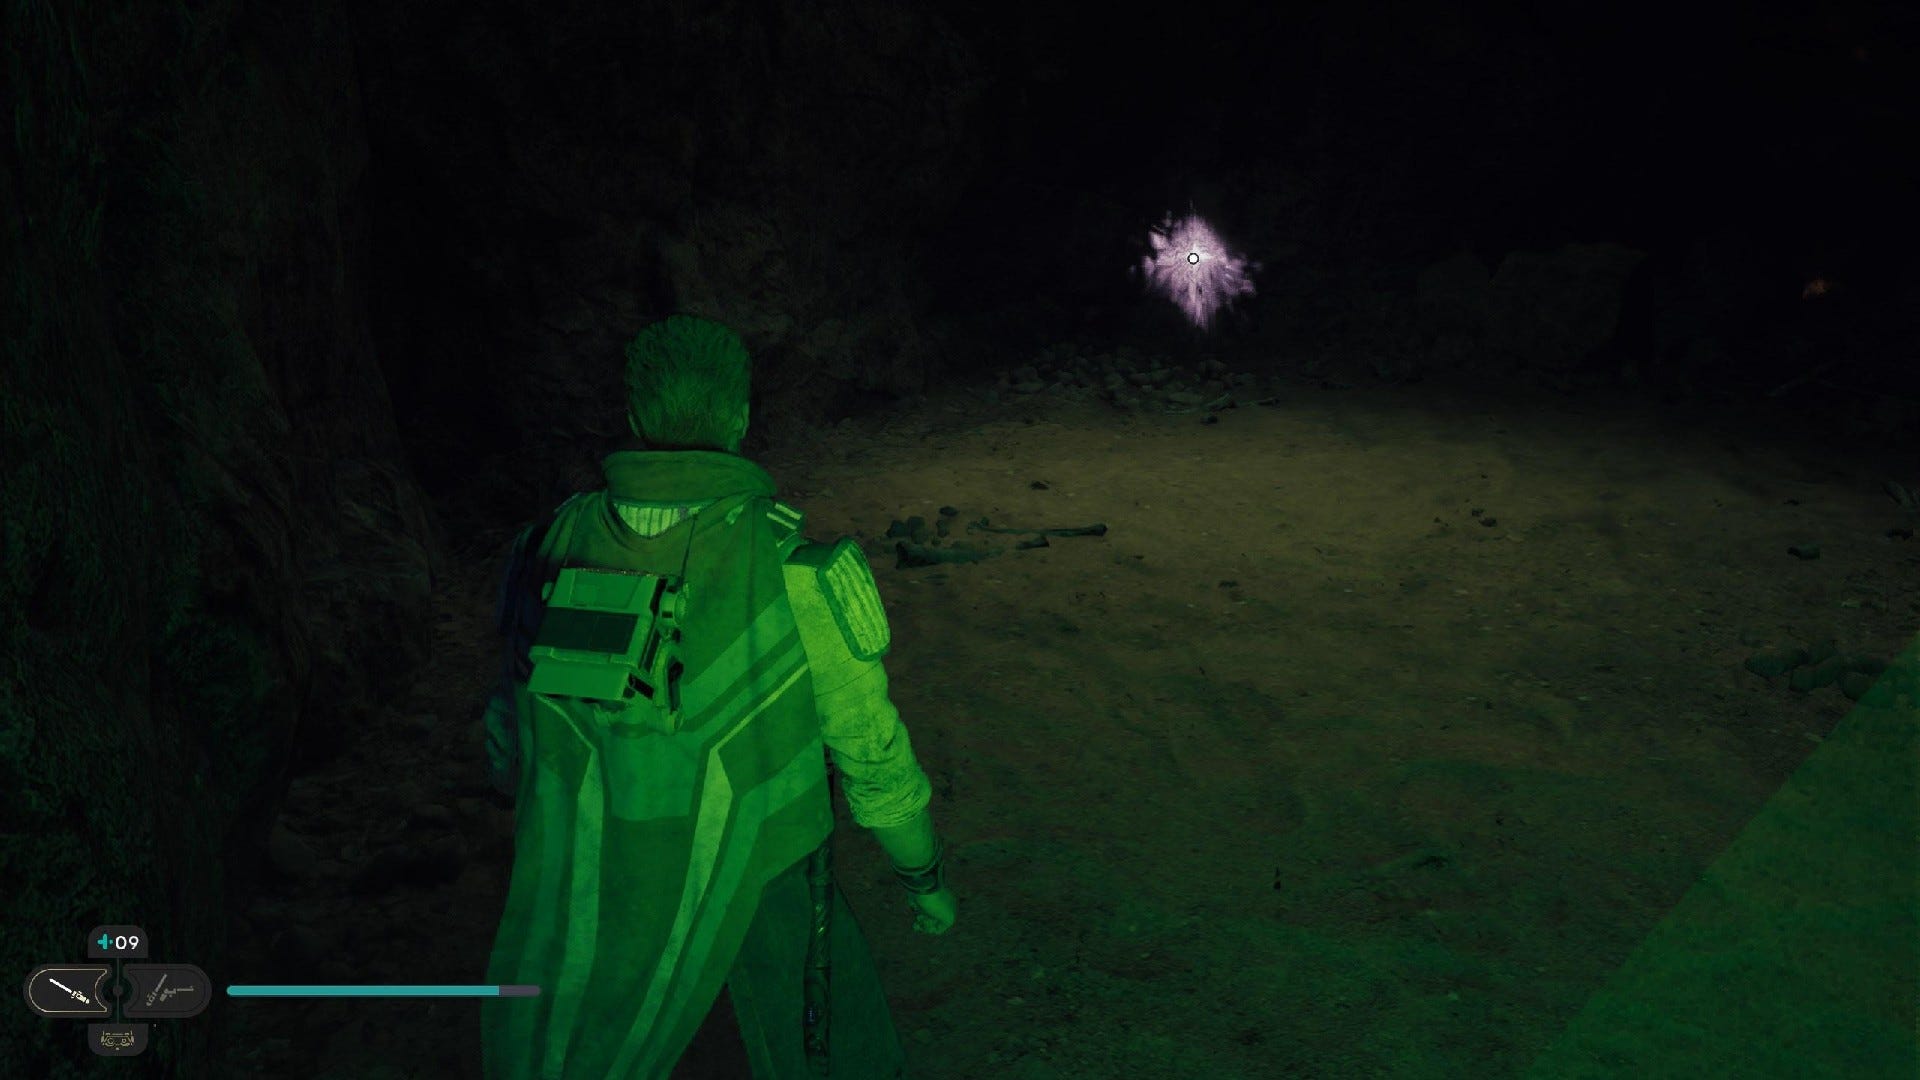
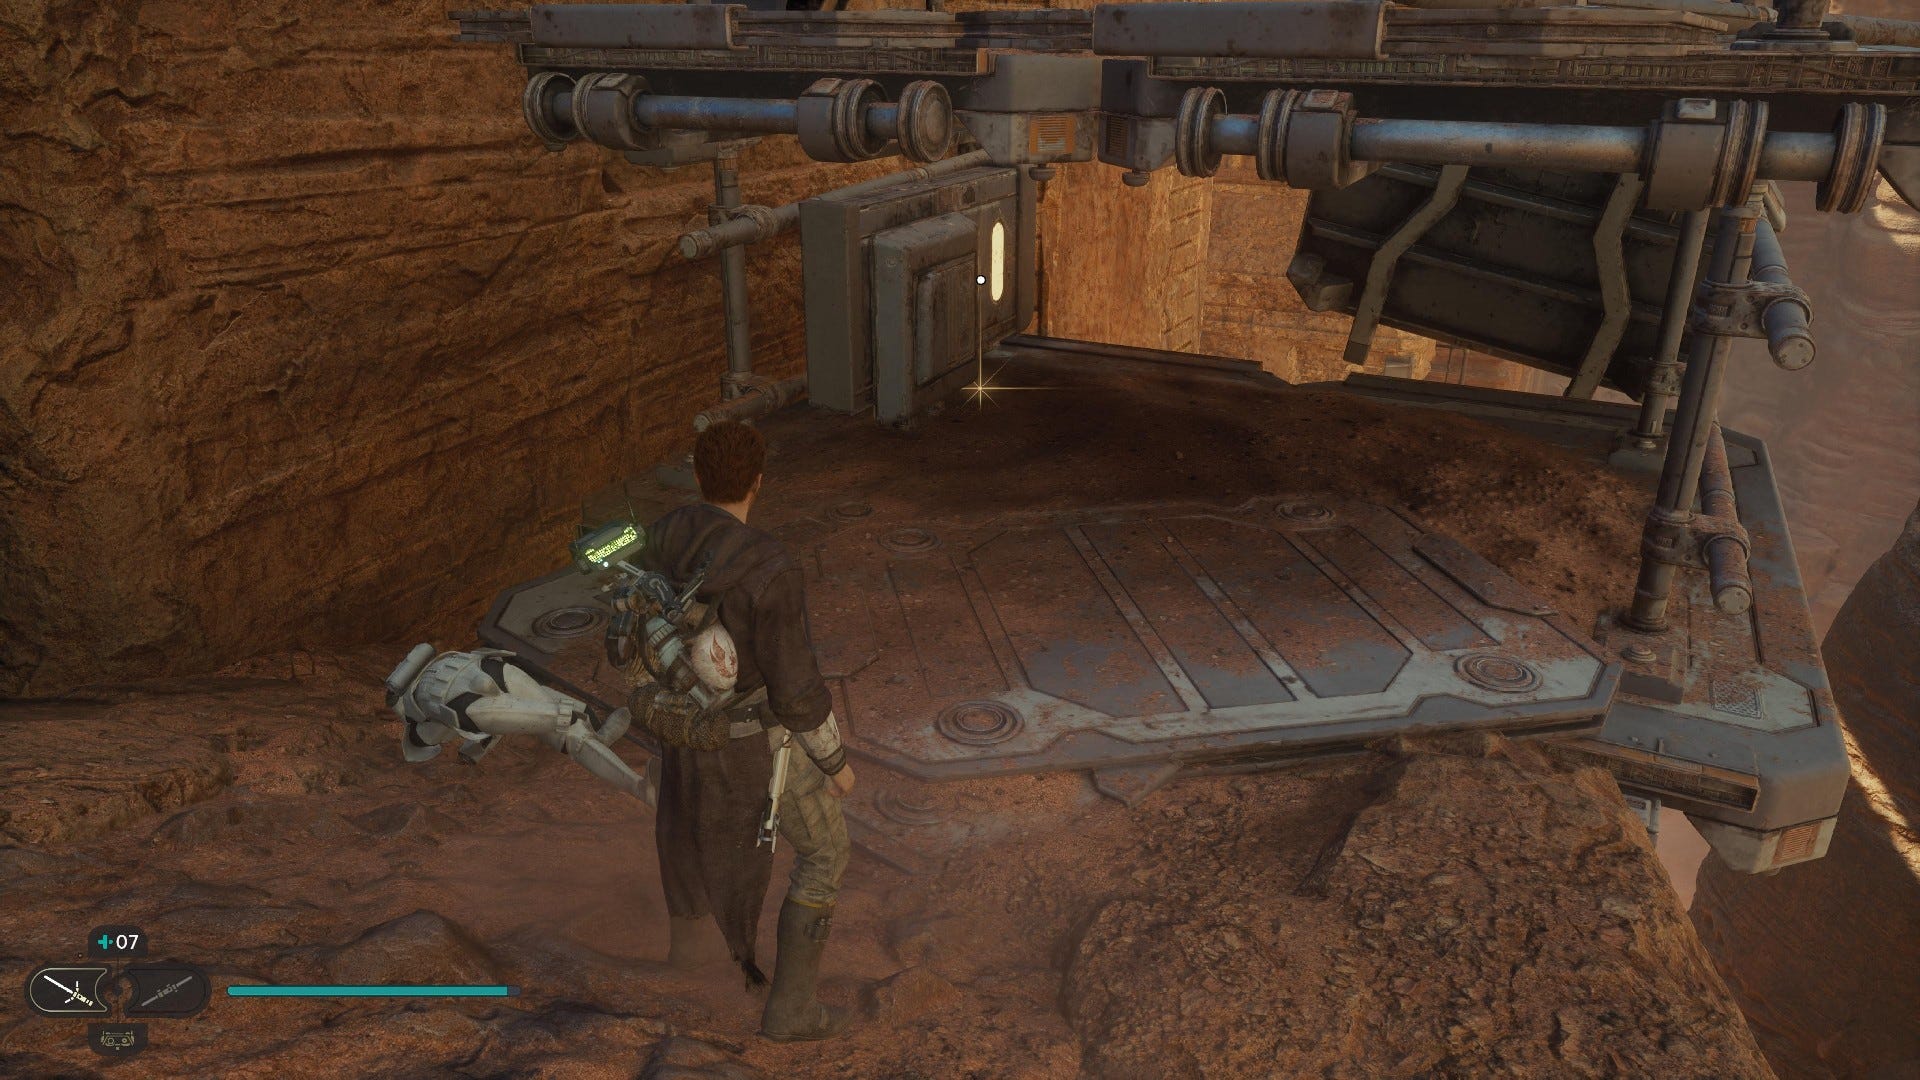
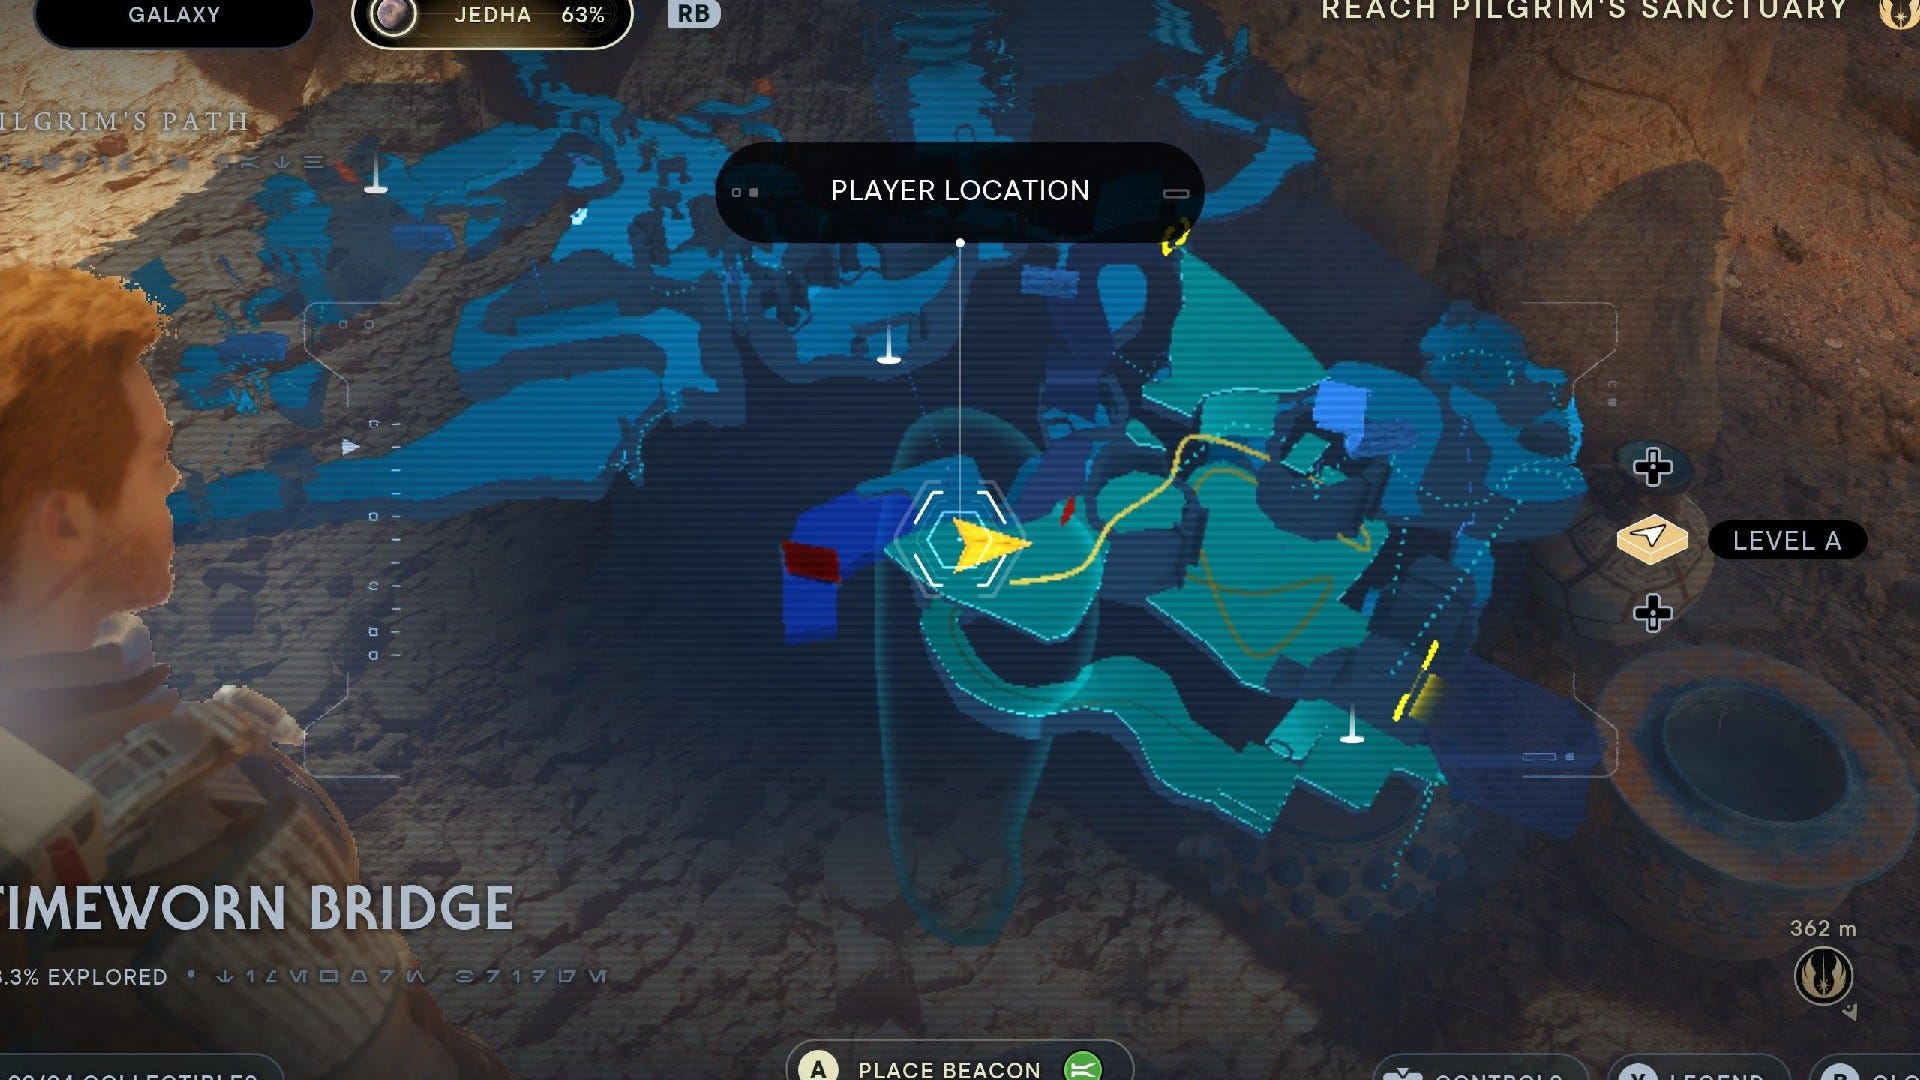
Timeworn Bridge collectibles
Timeworn Bridge leads directly into the Sanctuary Temple, but you won't be able to fully navigate it until getting the Dash ability. It has 4 collectibles:
Timeworn Bridge Chests:
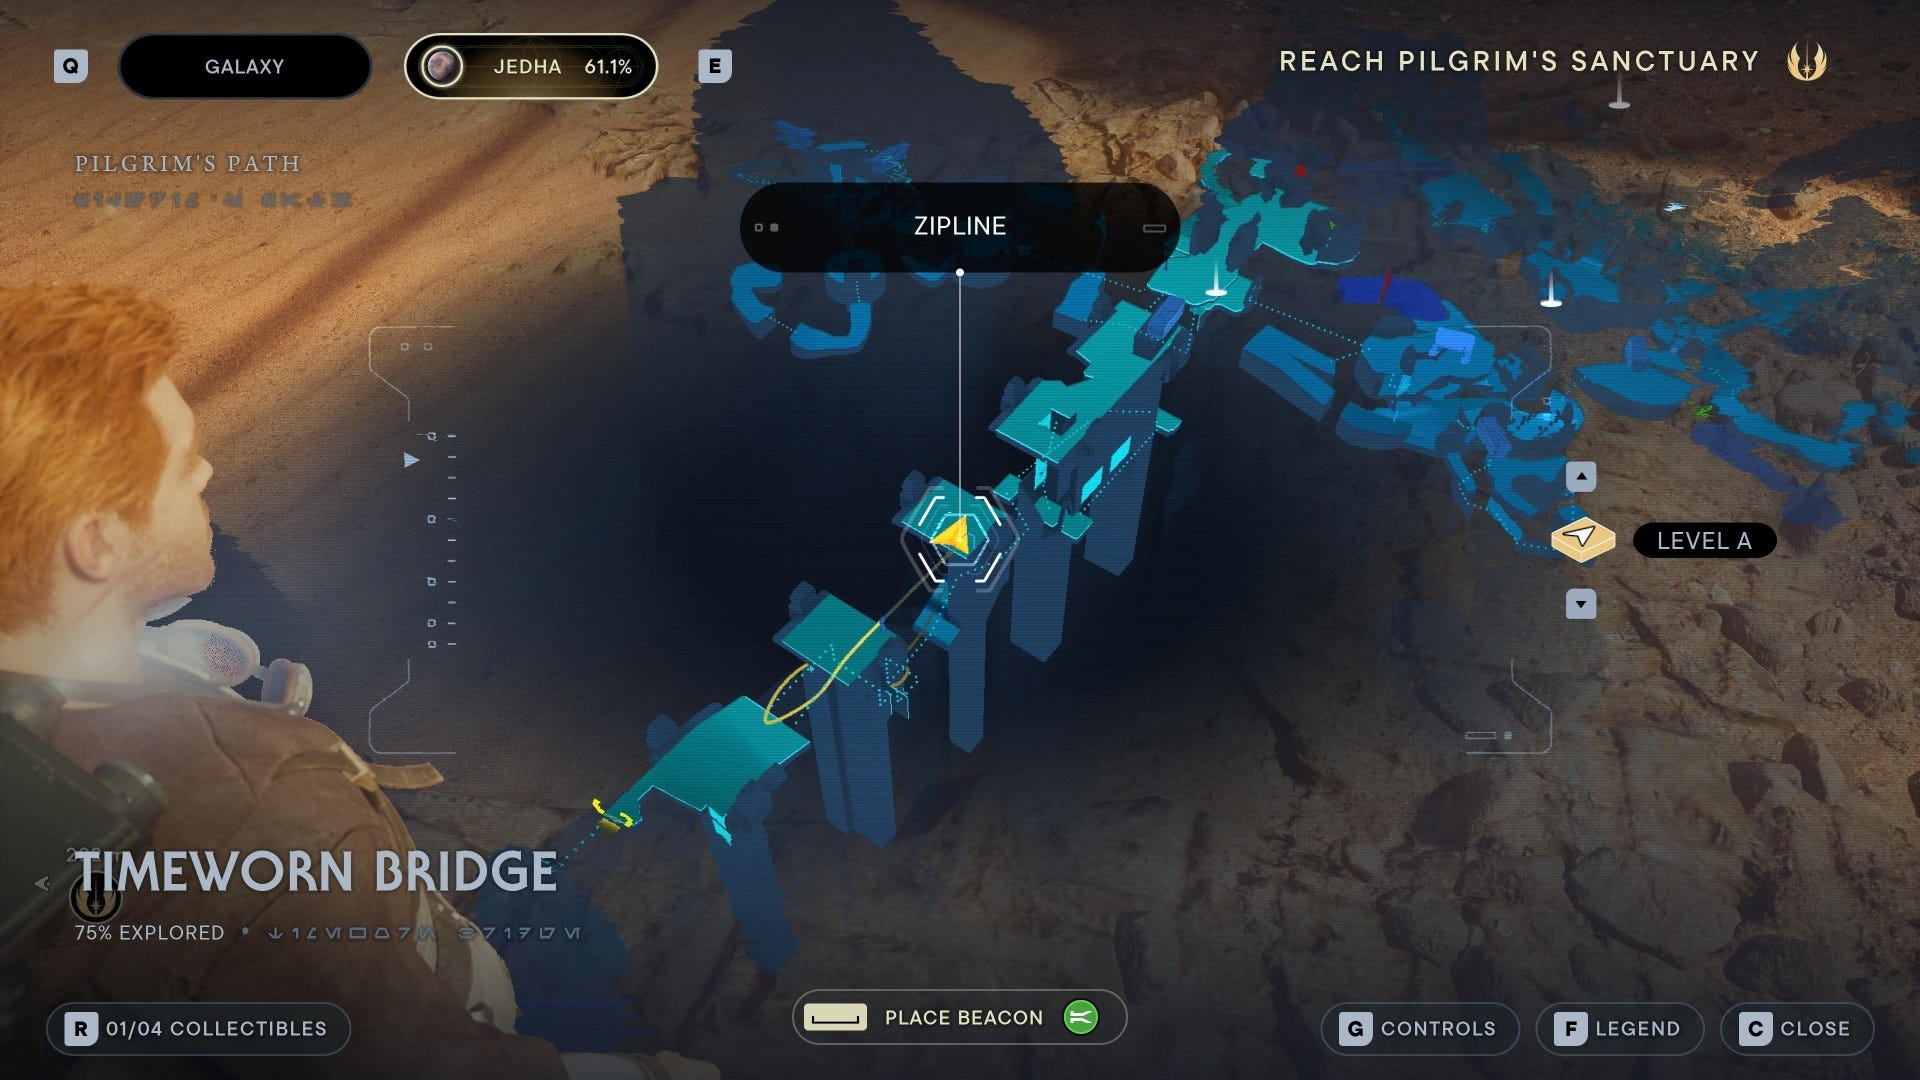
Chest #1 (Temperance Switch): Requires Dash ability to get across the bridge, then double back over the middle of the bridge.
Timeworn Bridge Force Tears:
Force Tear (Fractured Cunning): Dash through green laser door near the DT droid fight area.
Timeworn Bridge Treasures:
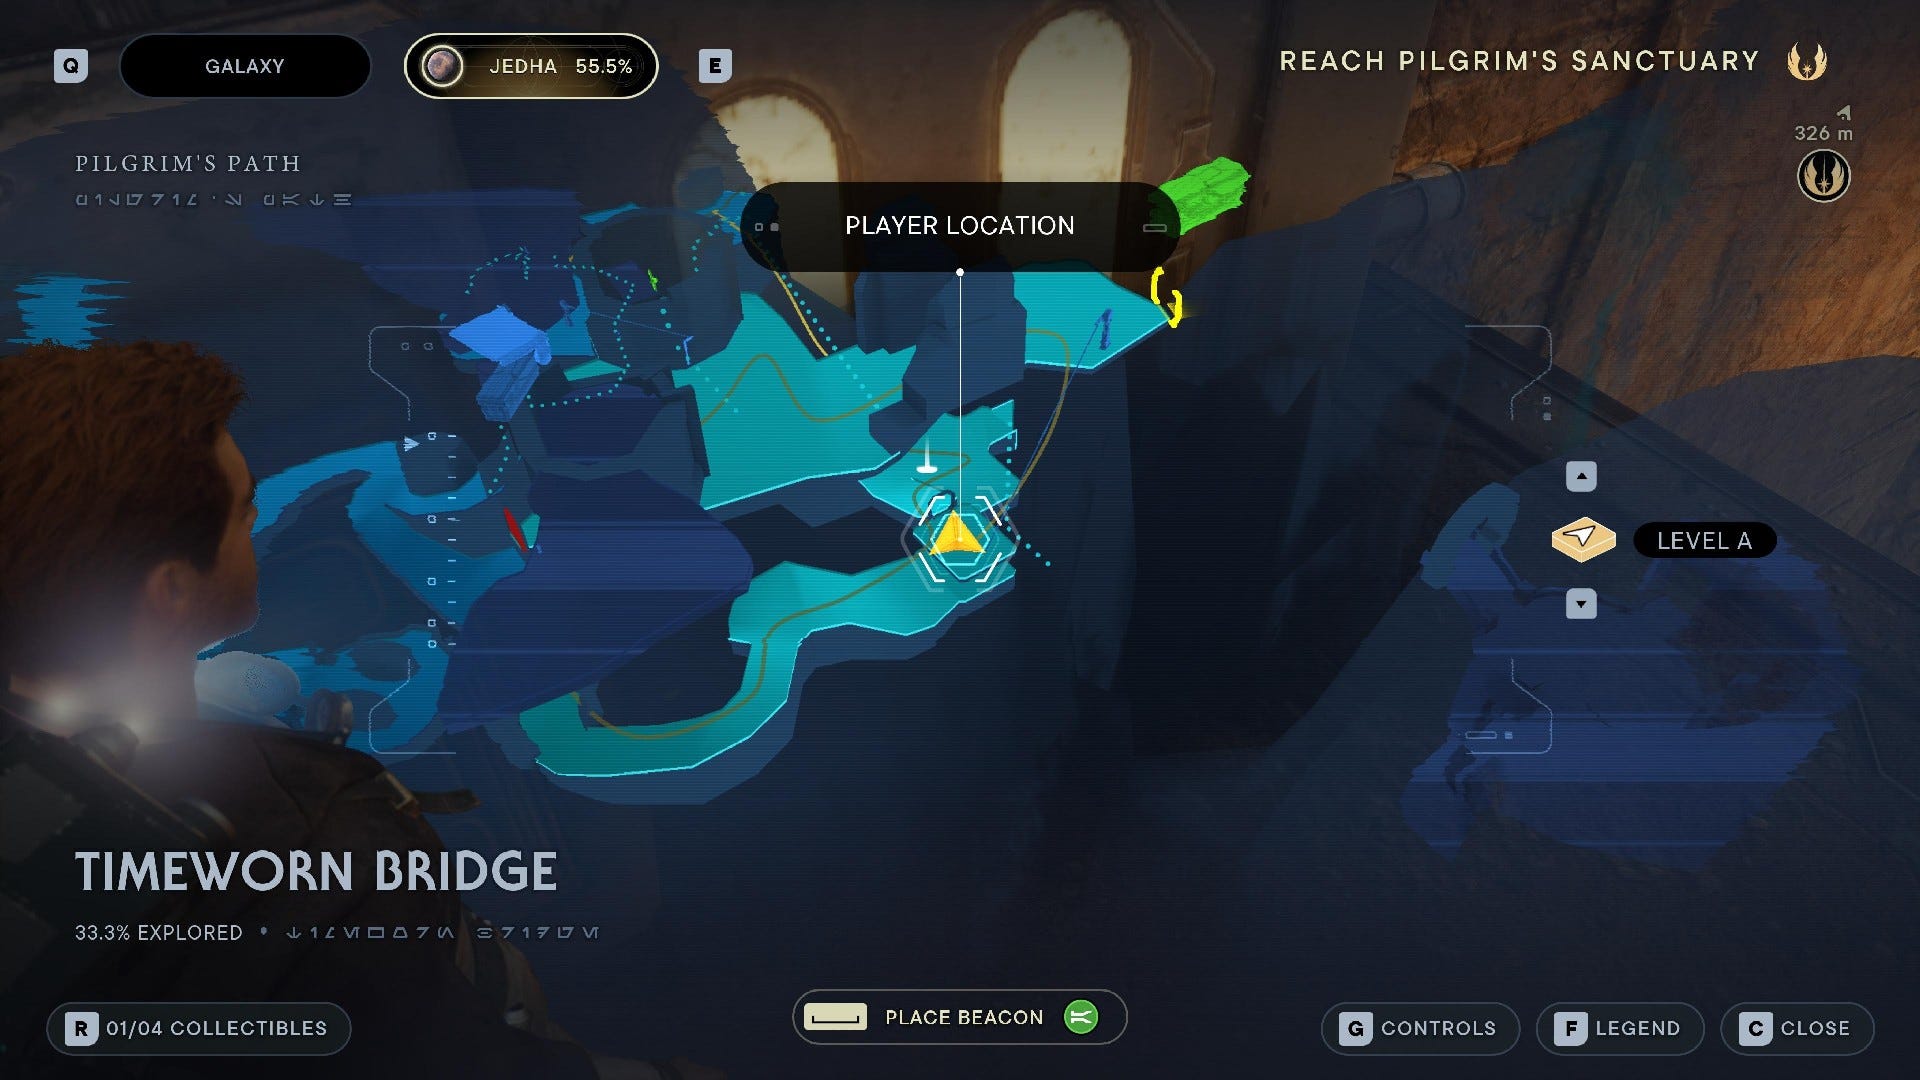
Jedha Scroll #1: Push out the gate in the Meditation Point room, drop down onto the sloped path, and turn around.
Jedha Scroll #2: After fighting DT droid with Merrin, turn left before continuing and force pull grate on the building. Head inside and grapple up, then wall-run across and look behind rock up ahead to find this Jedha Scroll.
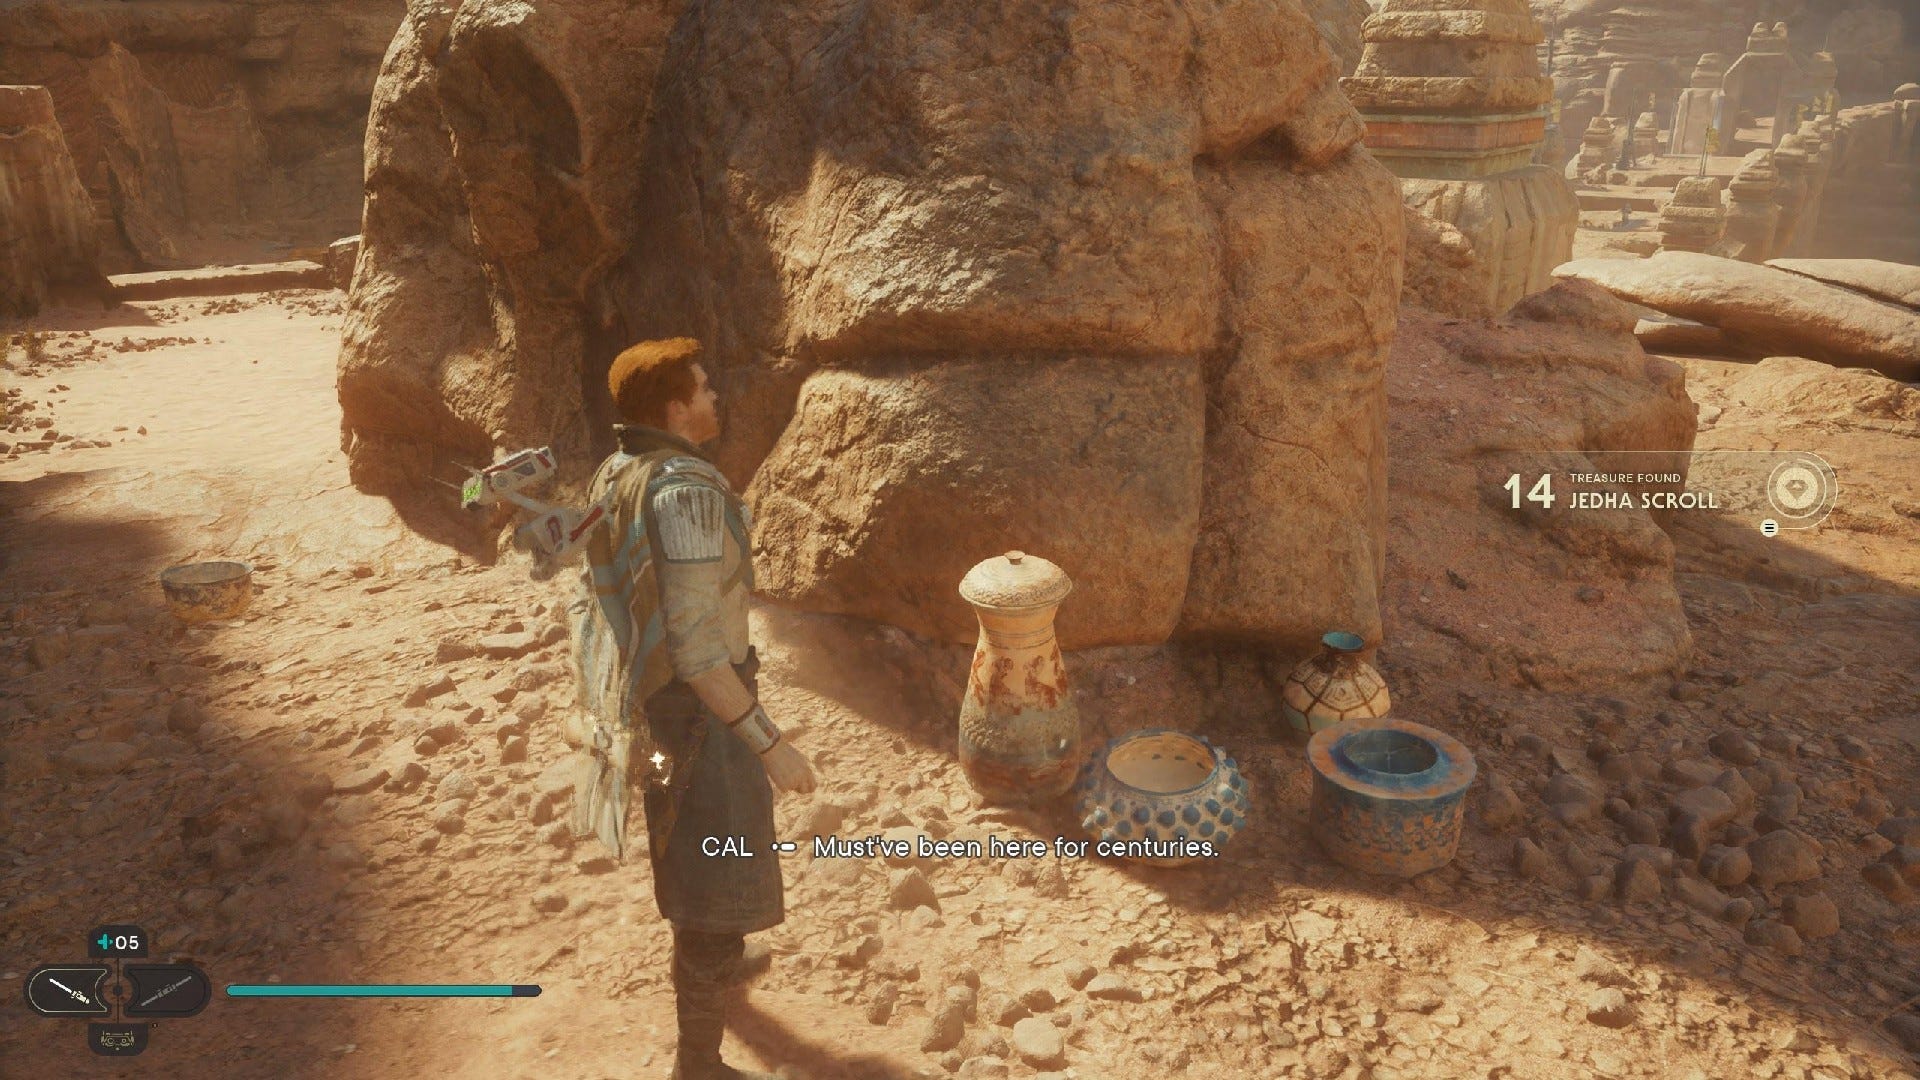
Singing Ruins collectibles
Singing Ruins is where you'll gain the Dash ability in Star Wars Jedi: Survivor. It has 2 collectibles:
Singing Ruins Databanks:
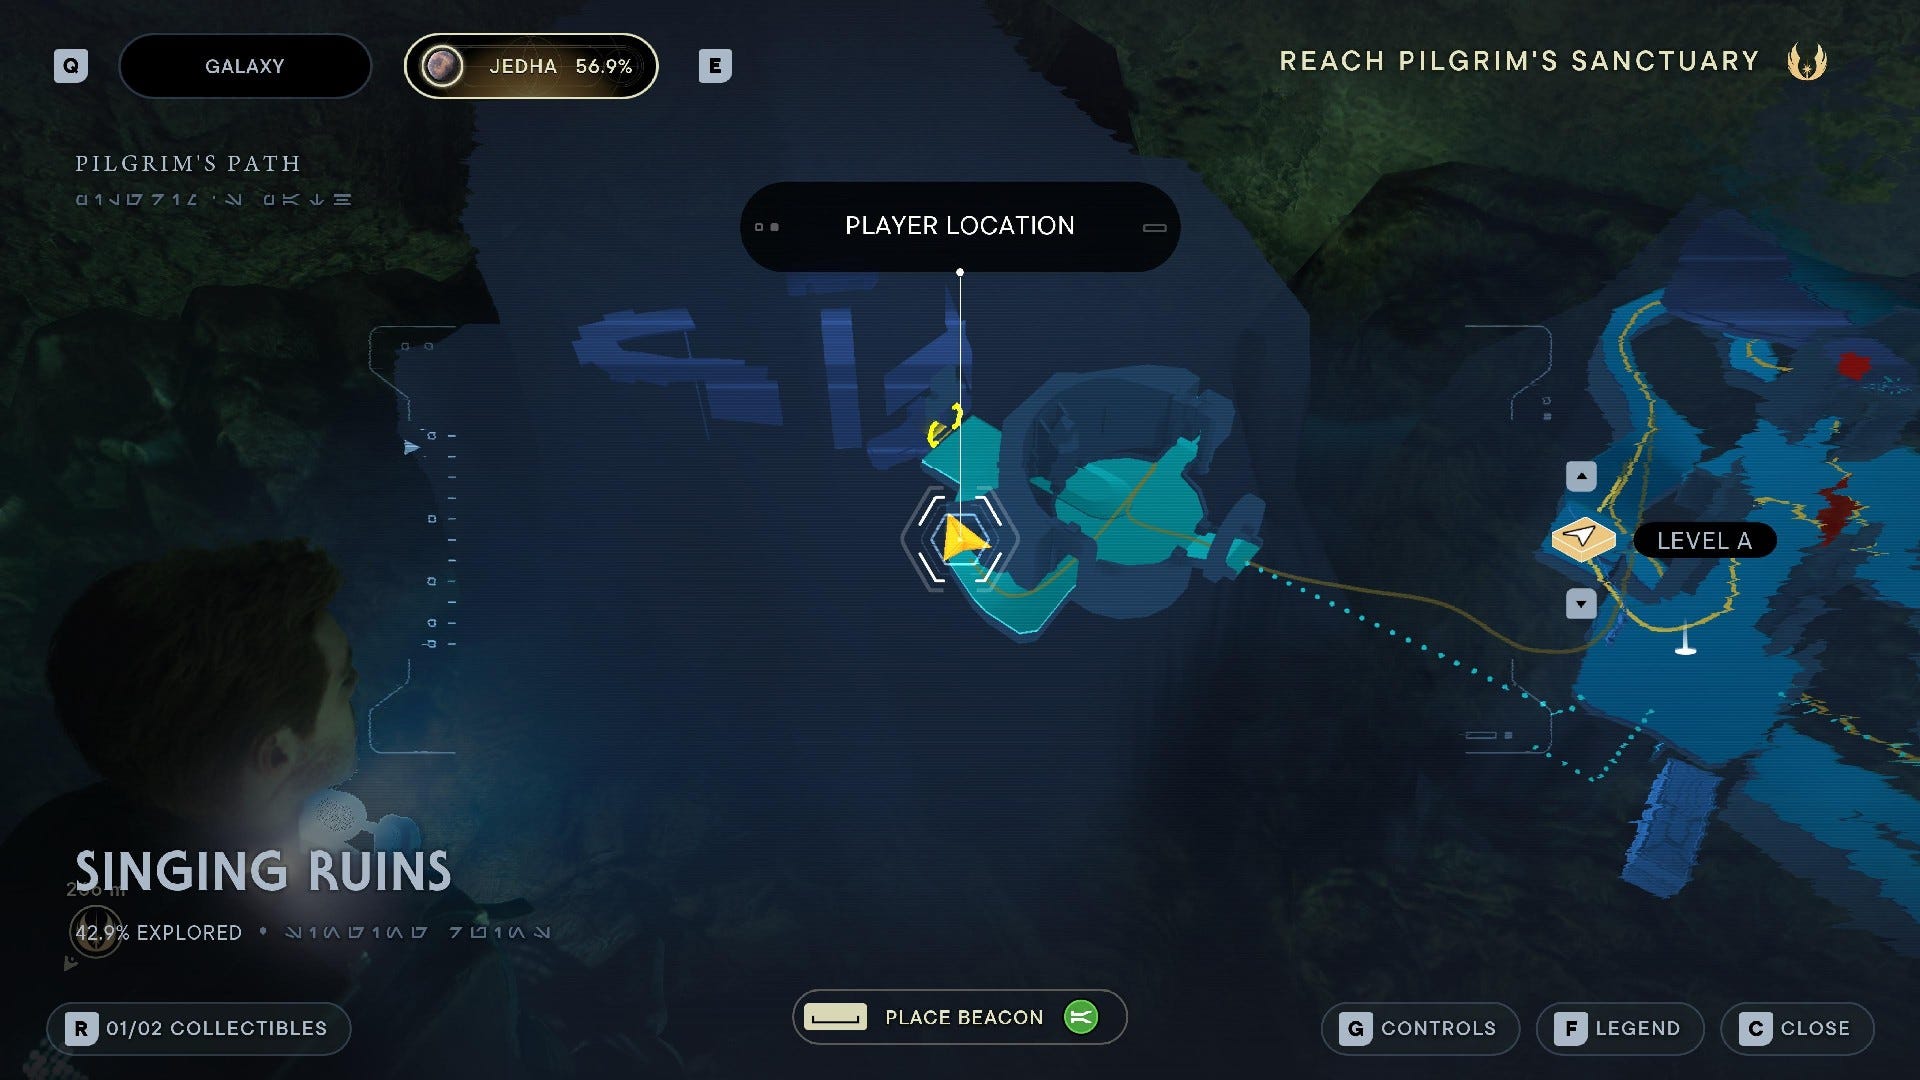
Force Echo (Trespassers Of The Storm): Use the wind to jump into the Singing Ruins, and take the left path.
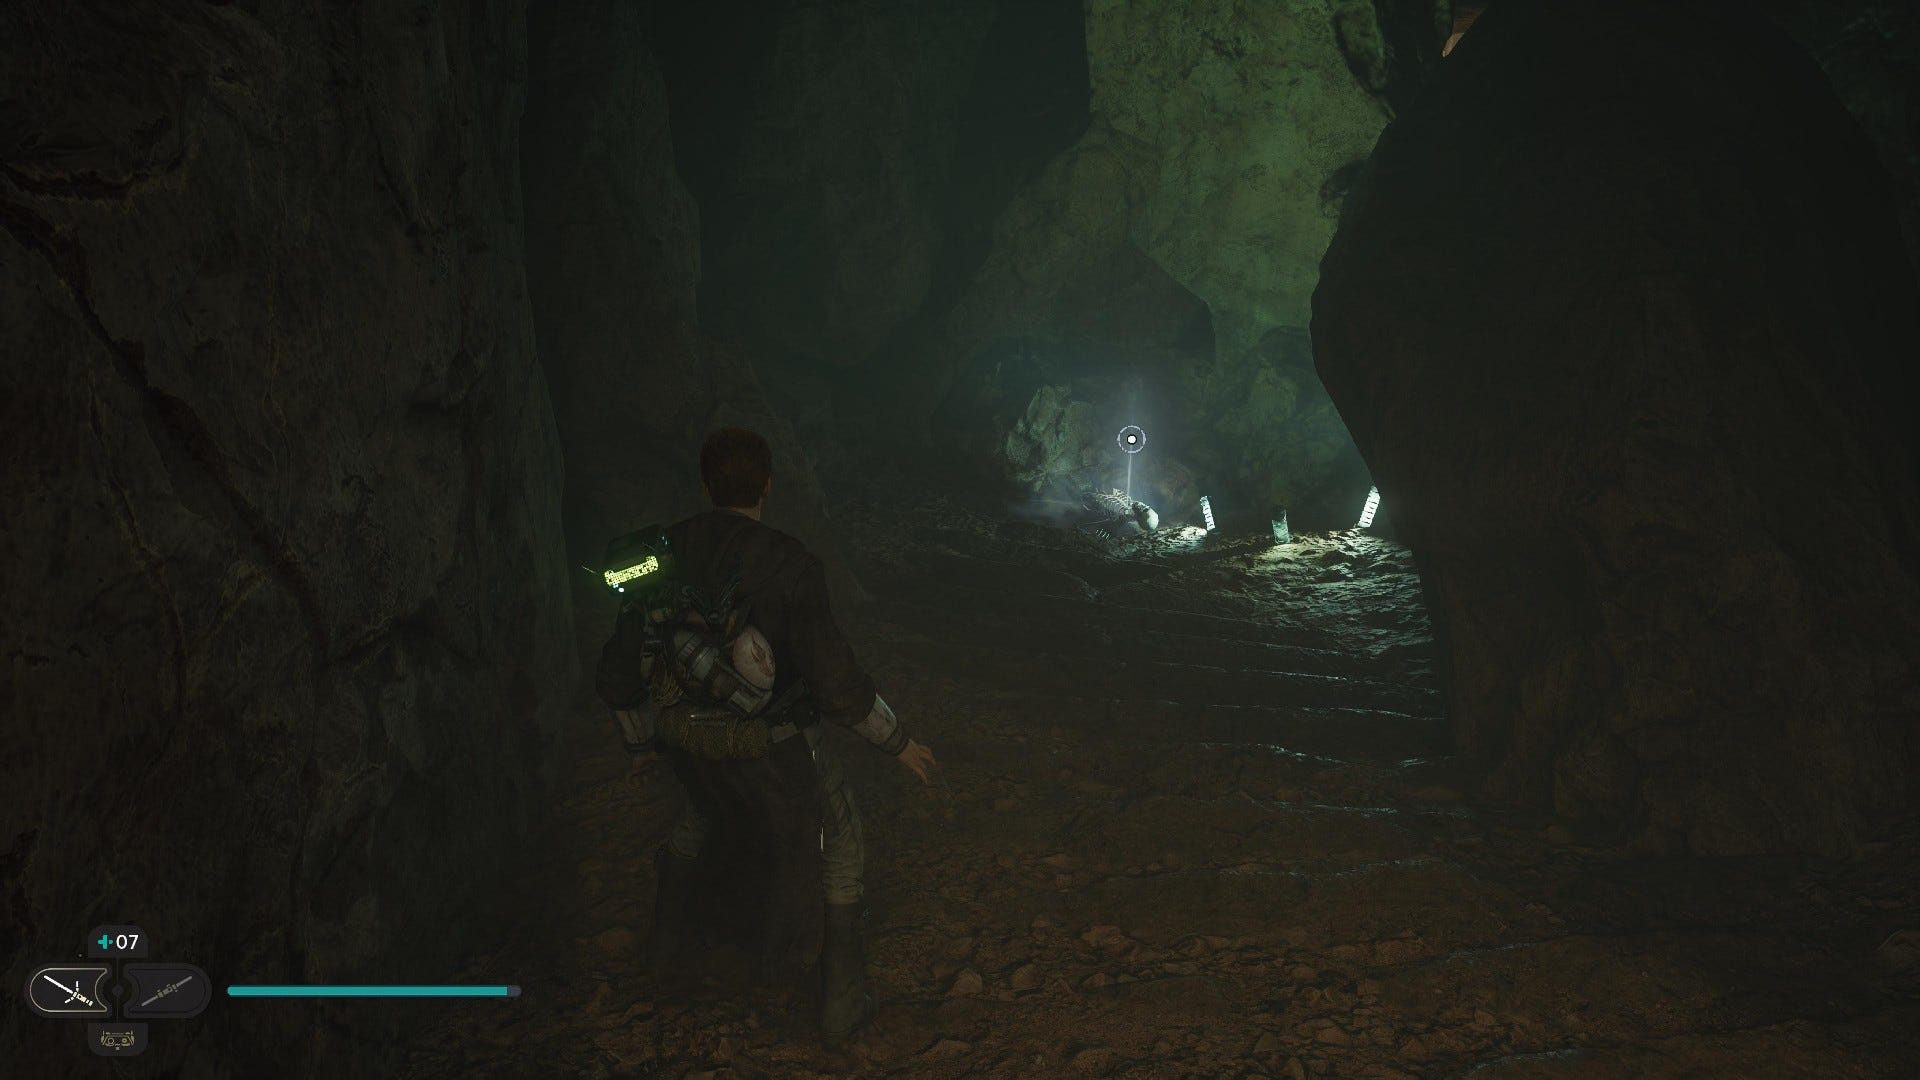
Singing Ruins Treasures:
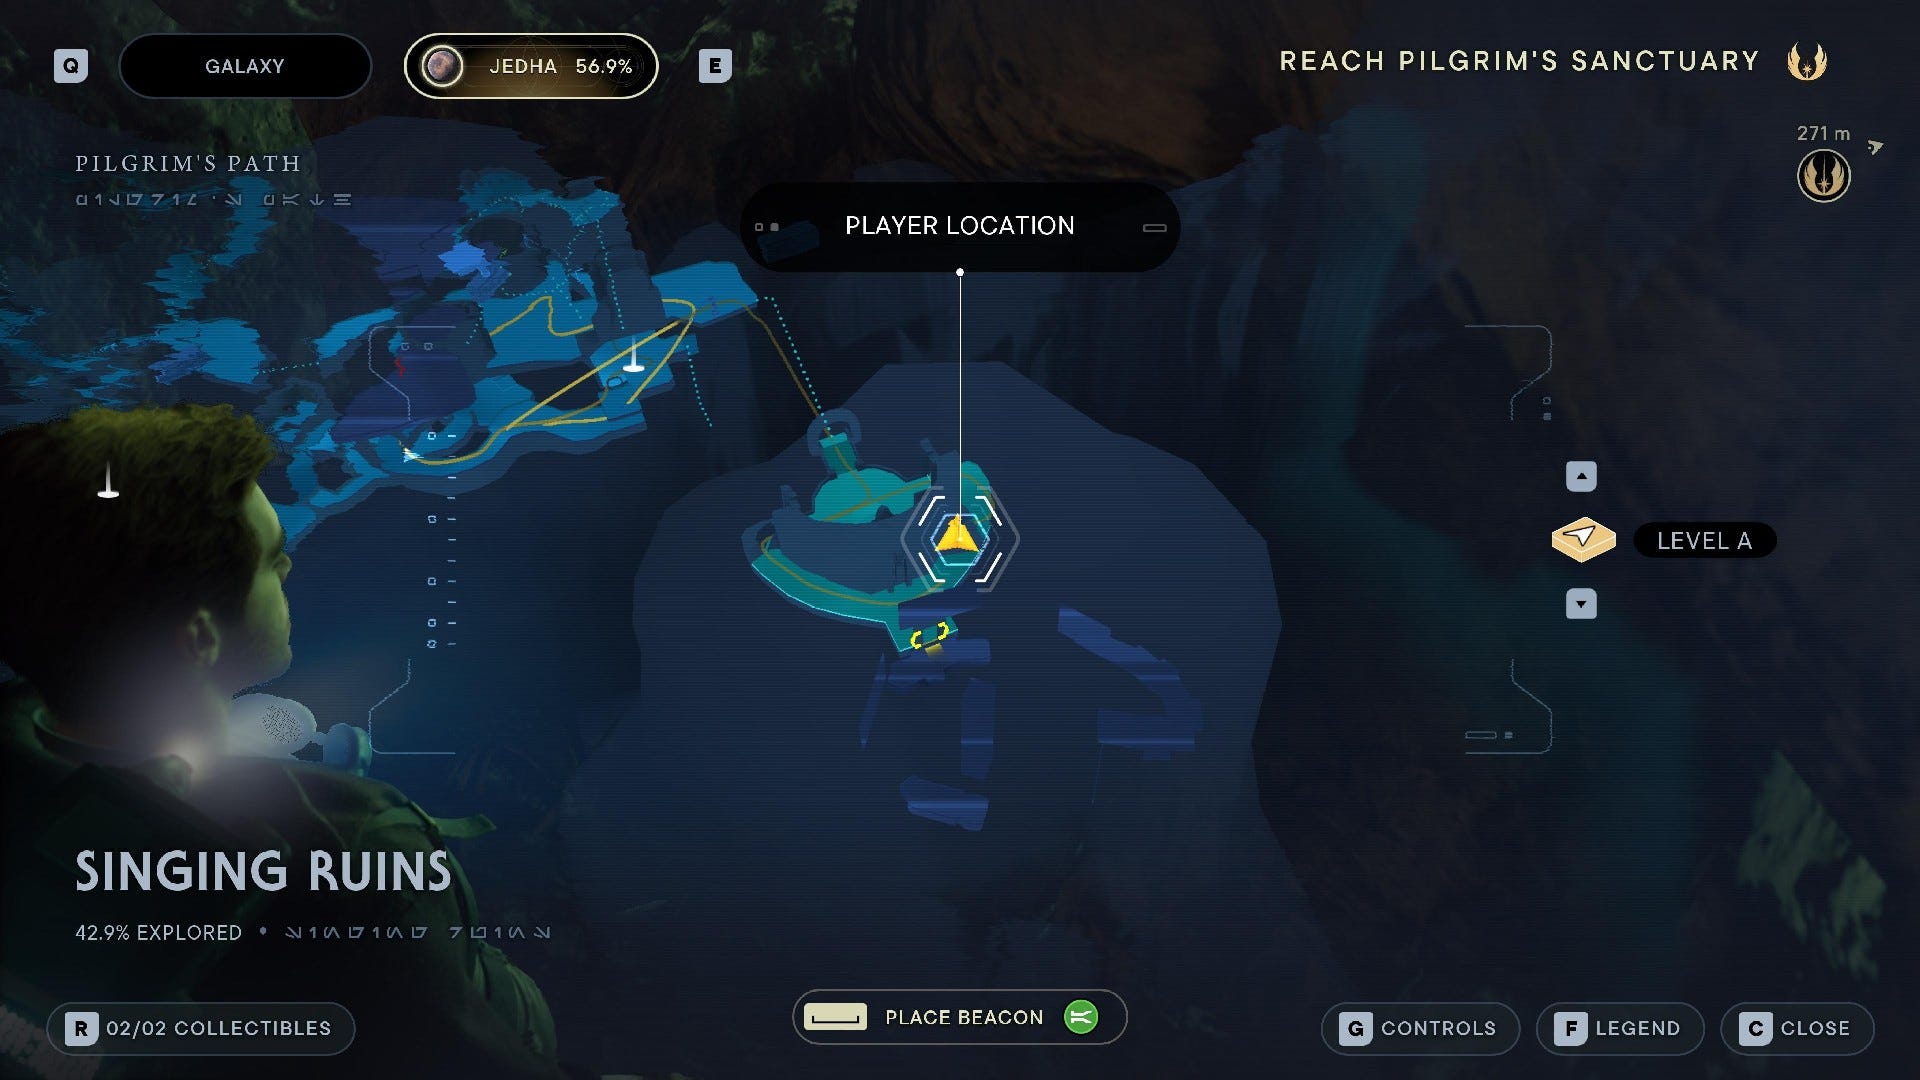

Jedha Scroll #1: Take the right path in the Singing Ruins, squeeze through the gap, and turn left around the rock.
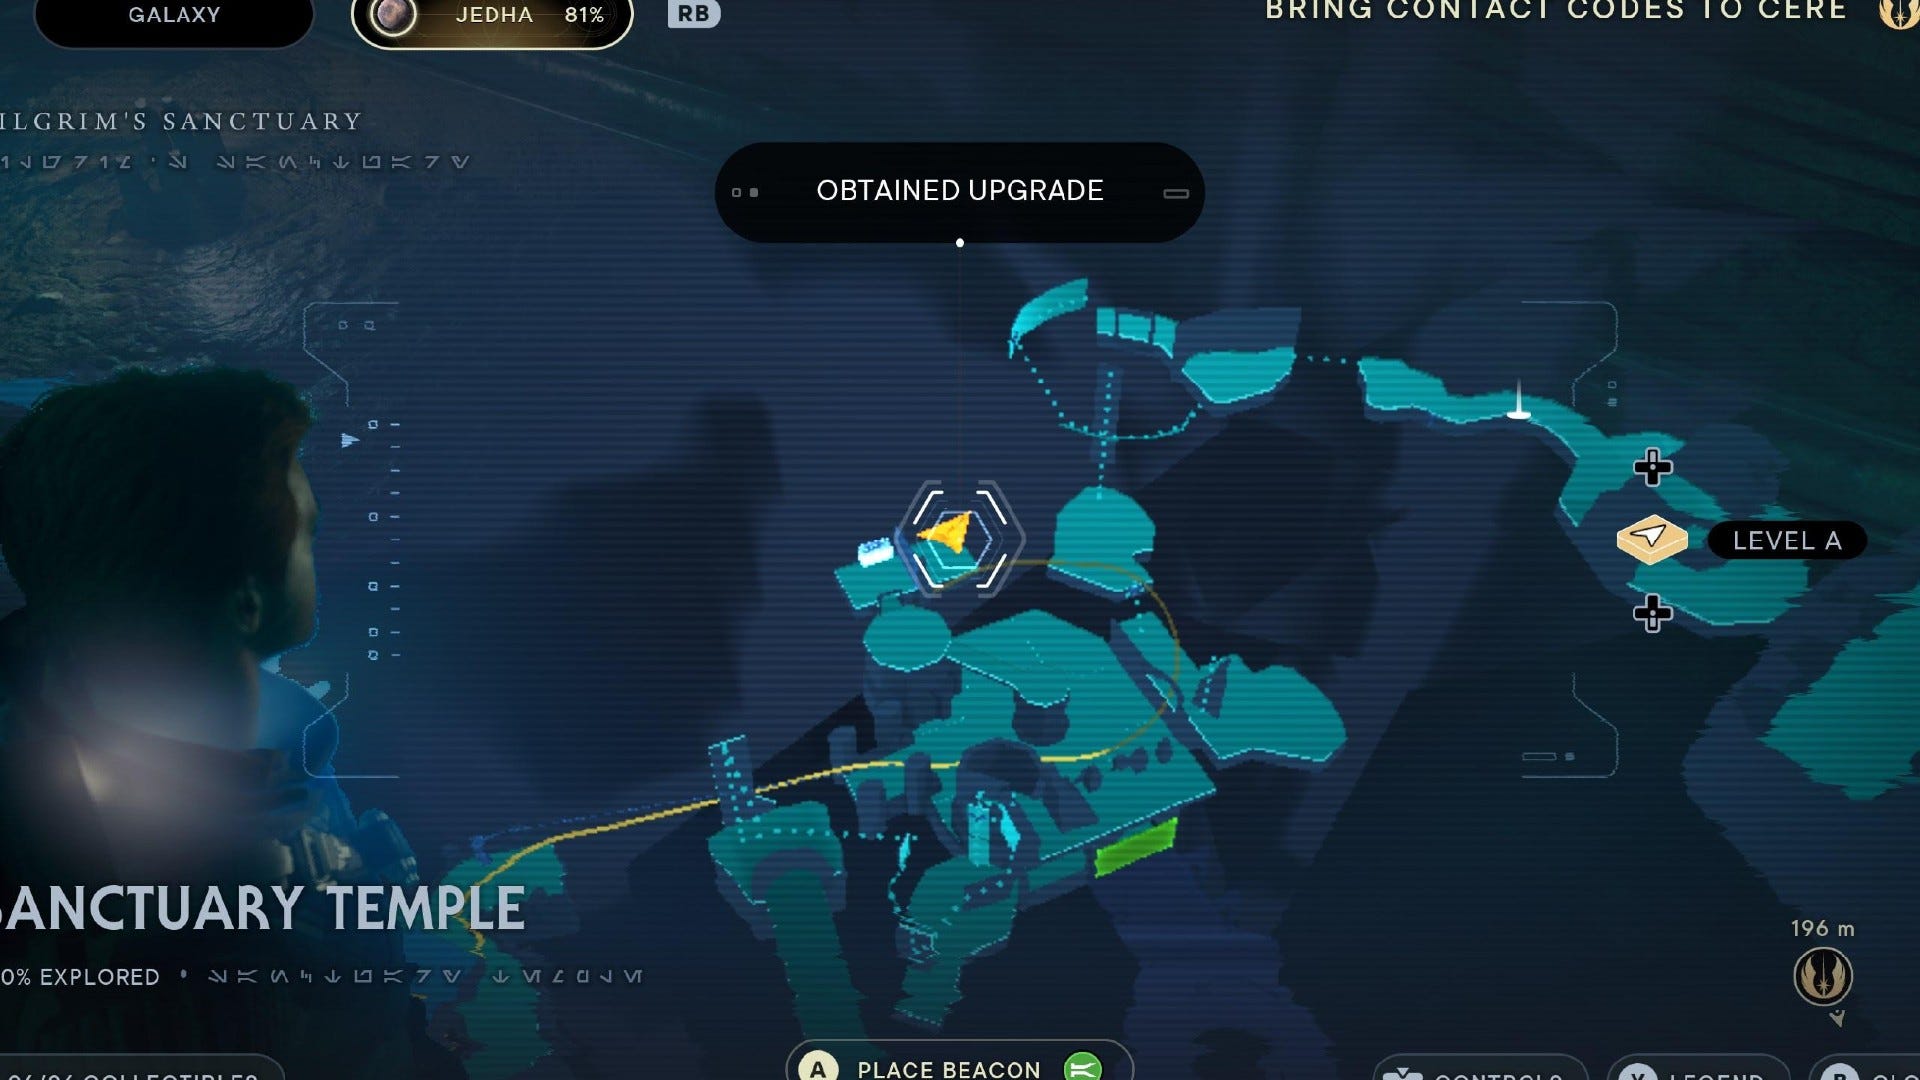
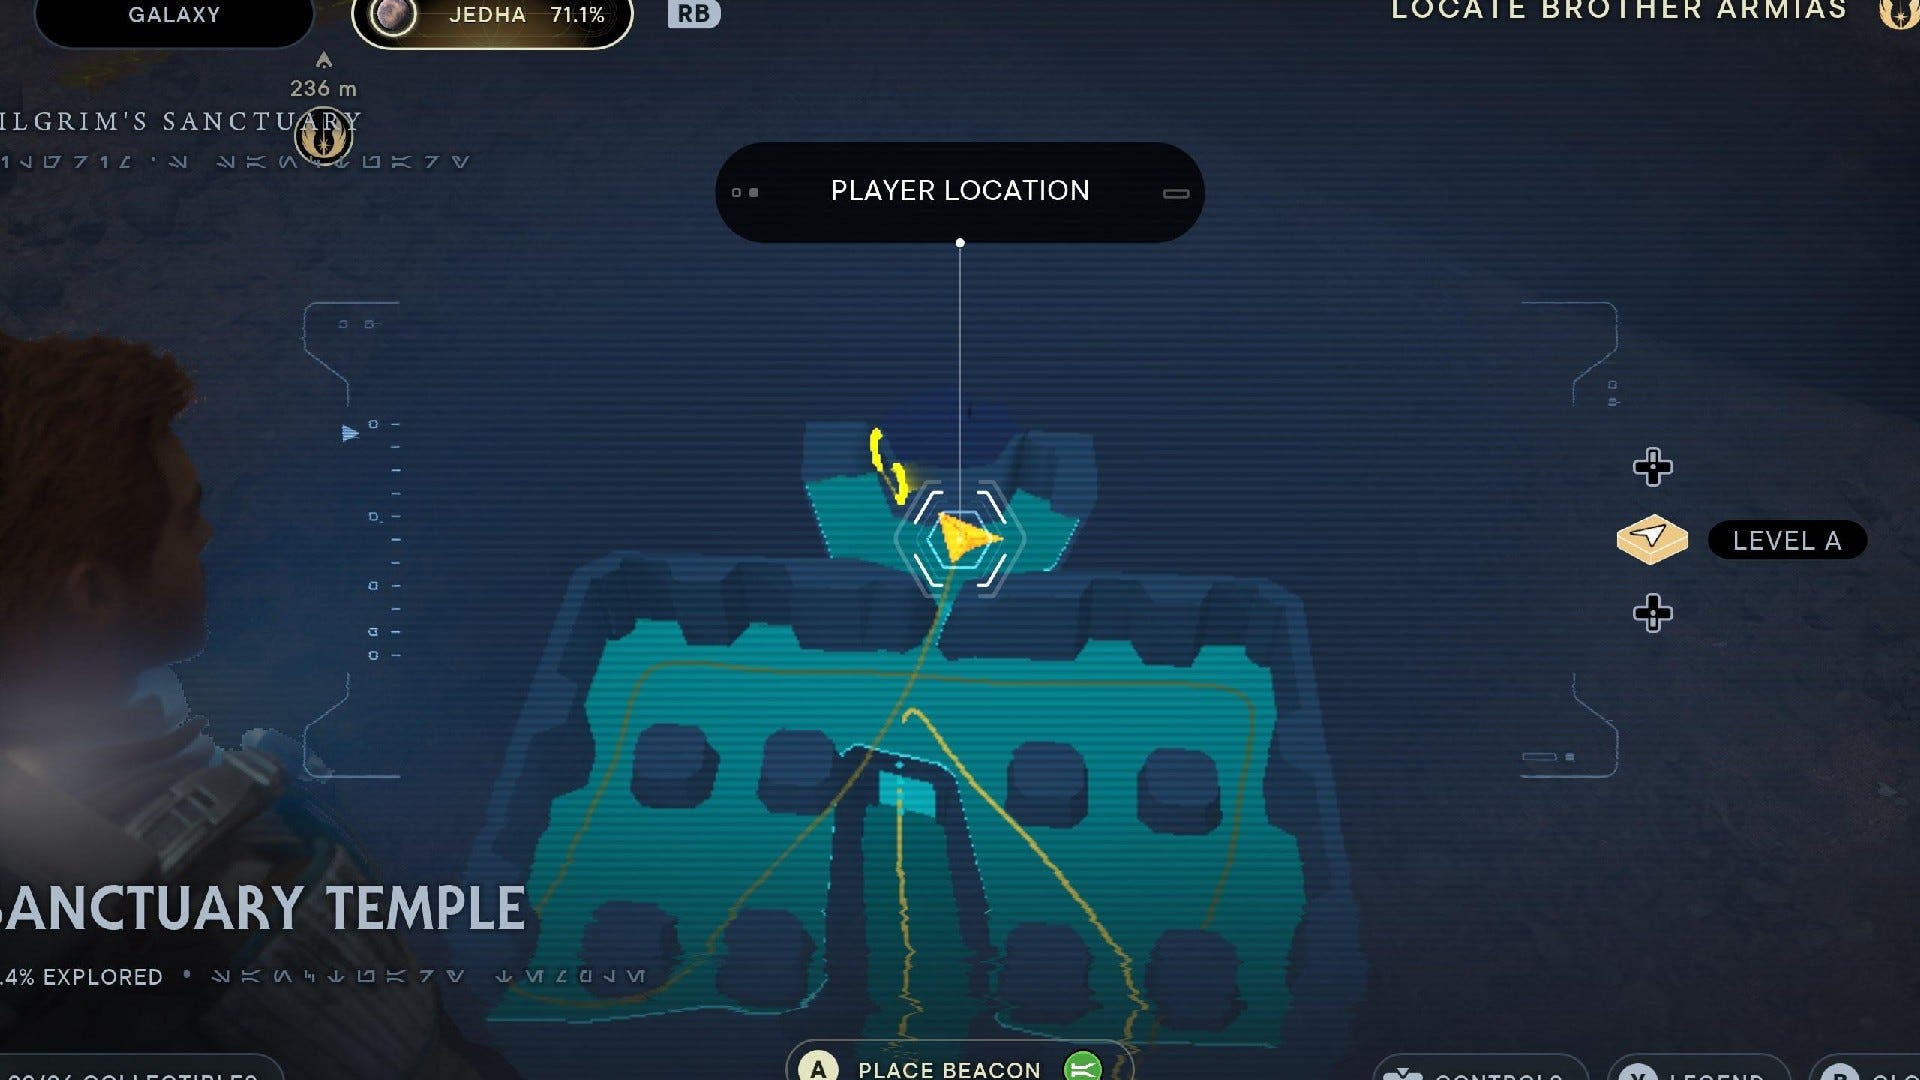
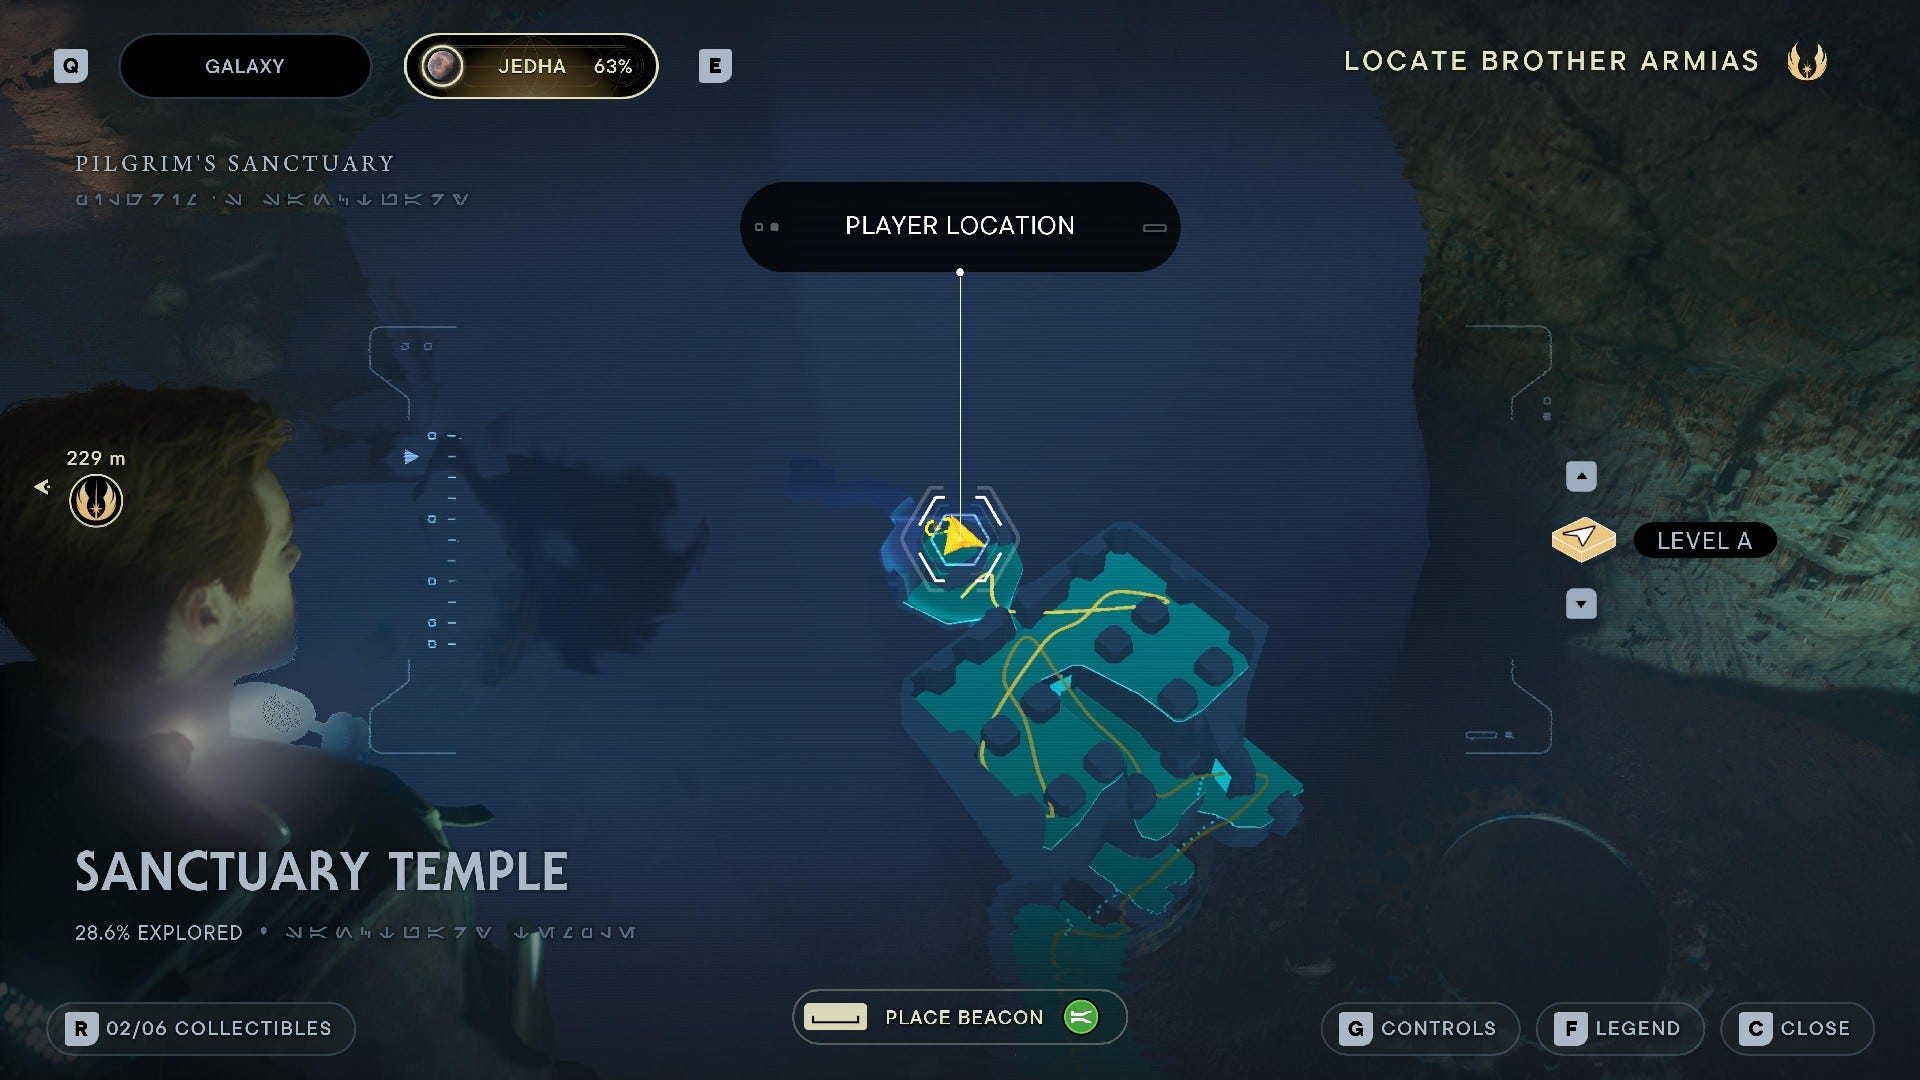
Sanctuary Temple collectibles
Sanctuary Temple is a key story location on Jedha, where you and Merrin fight back against the Empire to save one of Cere's Anchorites. It has 6 collectibles:
Sanctuary Temple Essences:
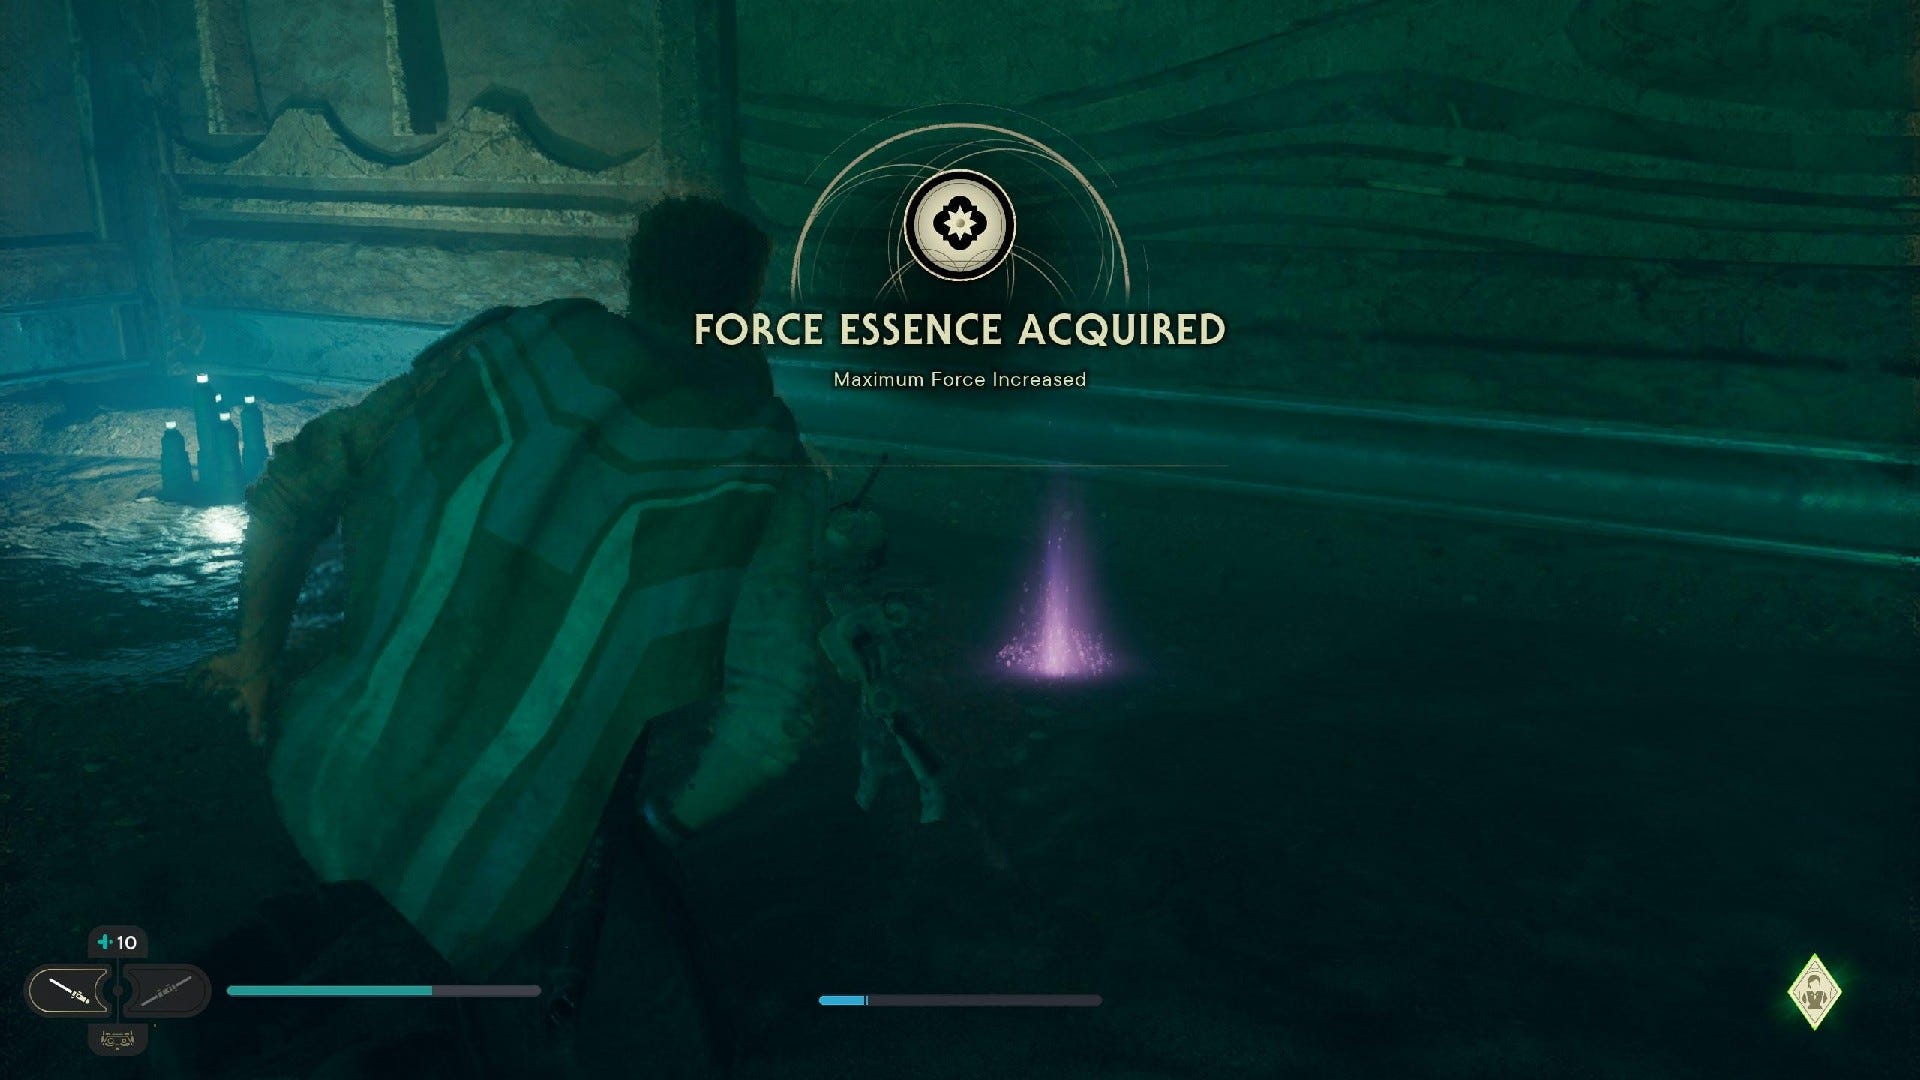
Force Essence #1: Through green door next to workbench, need to get Merrin's Charm upgrade from later on.
Sanctuary Temple Databanks:
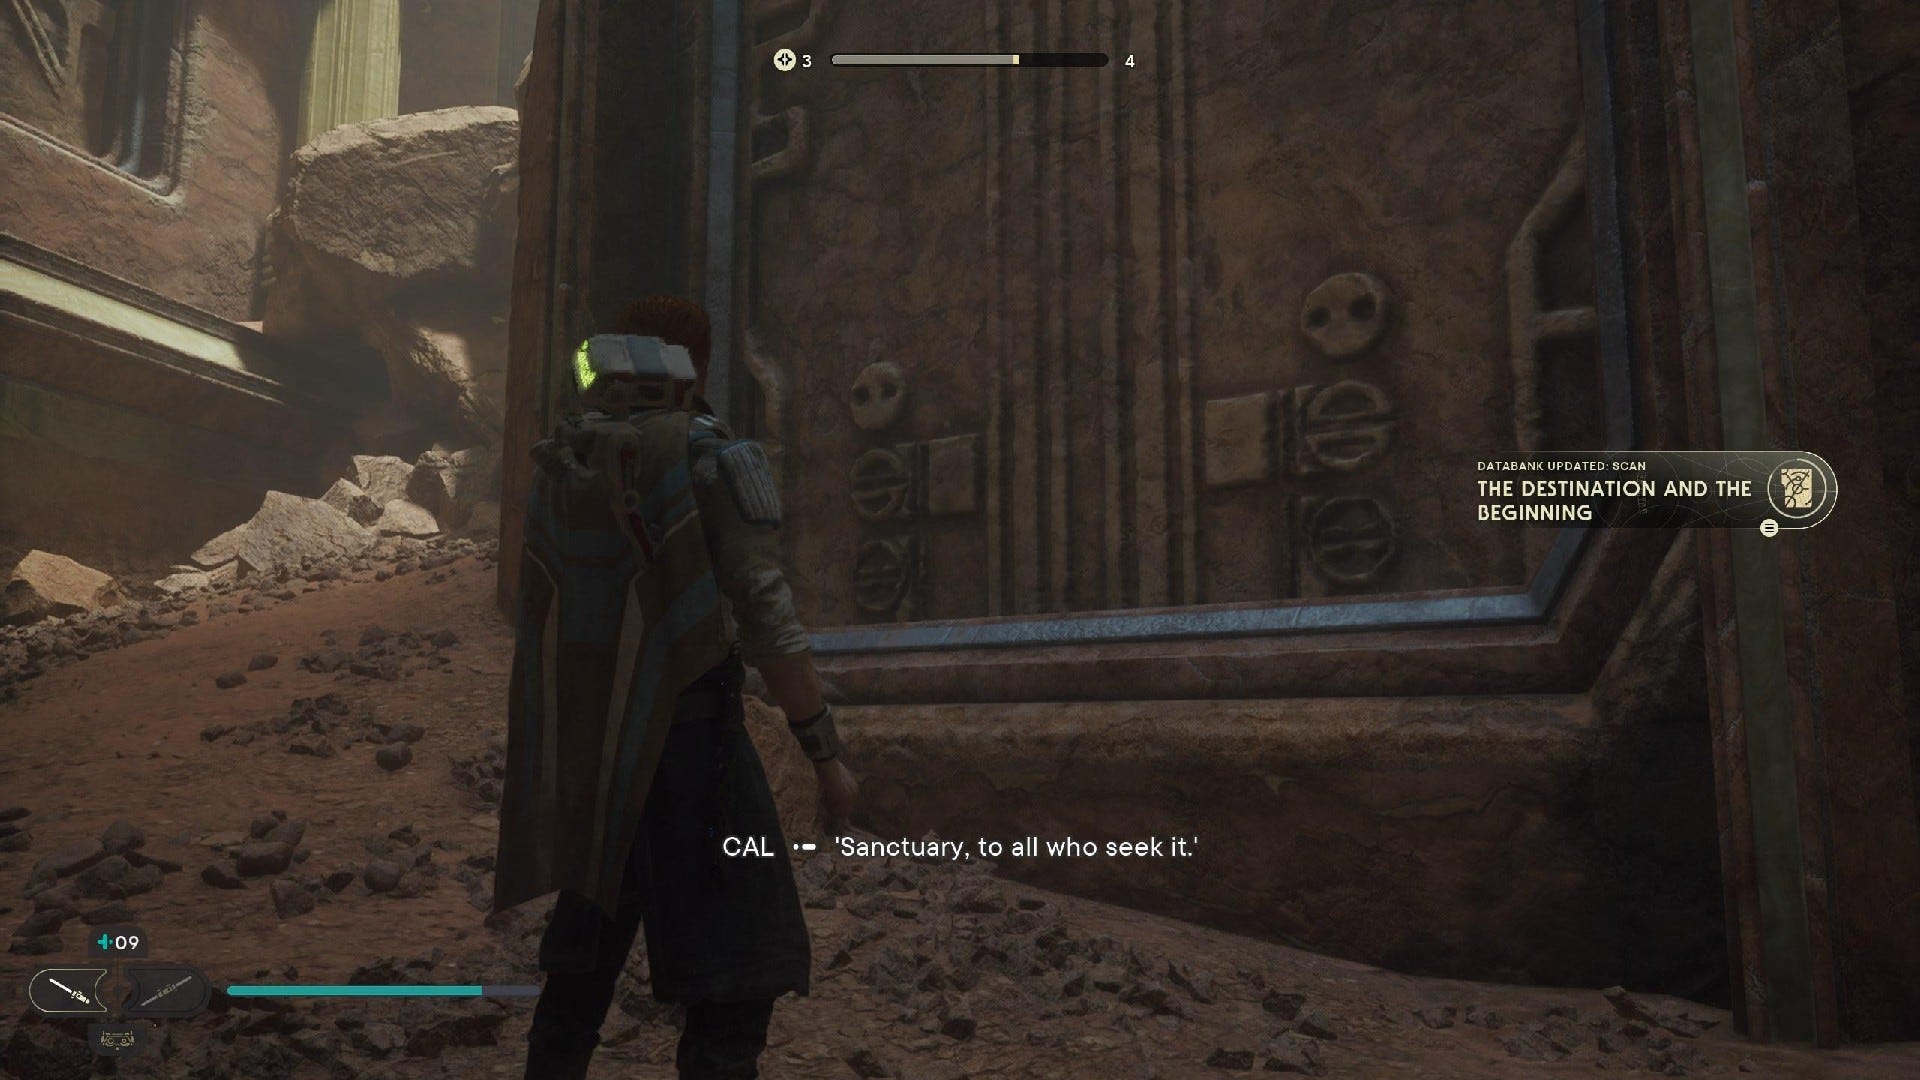
Databank (The Destination and the Beginning): As you squeeze through gap to enter the temple, can't miss it.
Force Echo (Sanctuary Revived): Cross the Timeworn Bridge and follow the path into the temple, can't miss it.

Force Echo (Underground Canals): Just past the massive arm of the drill machine, on the main path.
Sanctuary Temple Treasures:

Jedha Scroll #1: As you climb up into the beginning of the temple and fight two Stormtroopers, turn right and grab Jedha Scroll from pots.

Jedha Scroll #2: Opposite the Workbench in Sanctuary Temple.
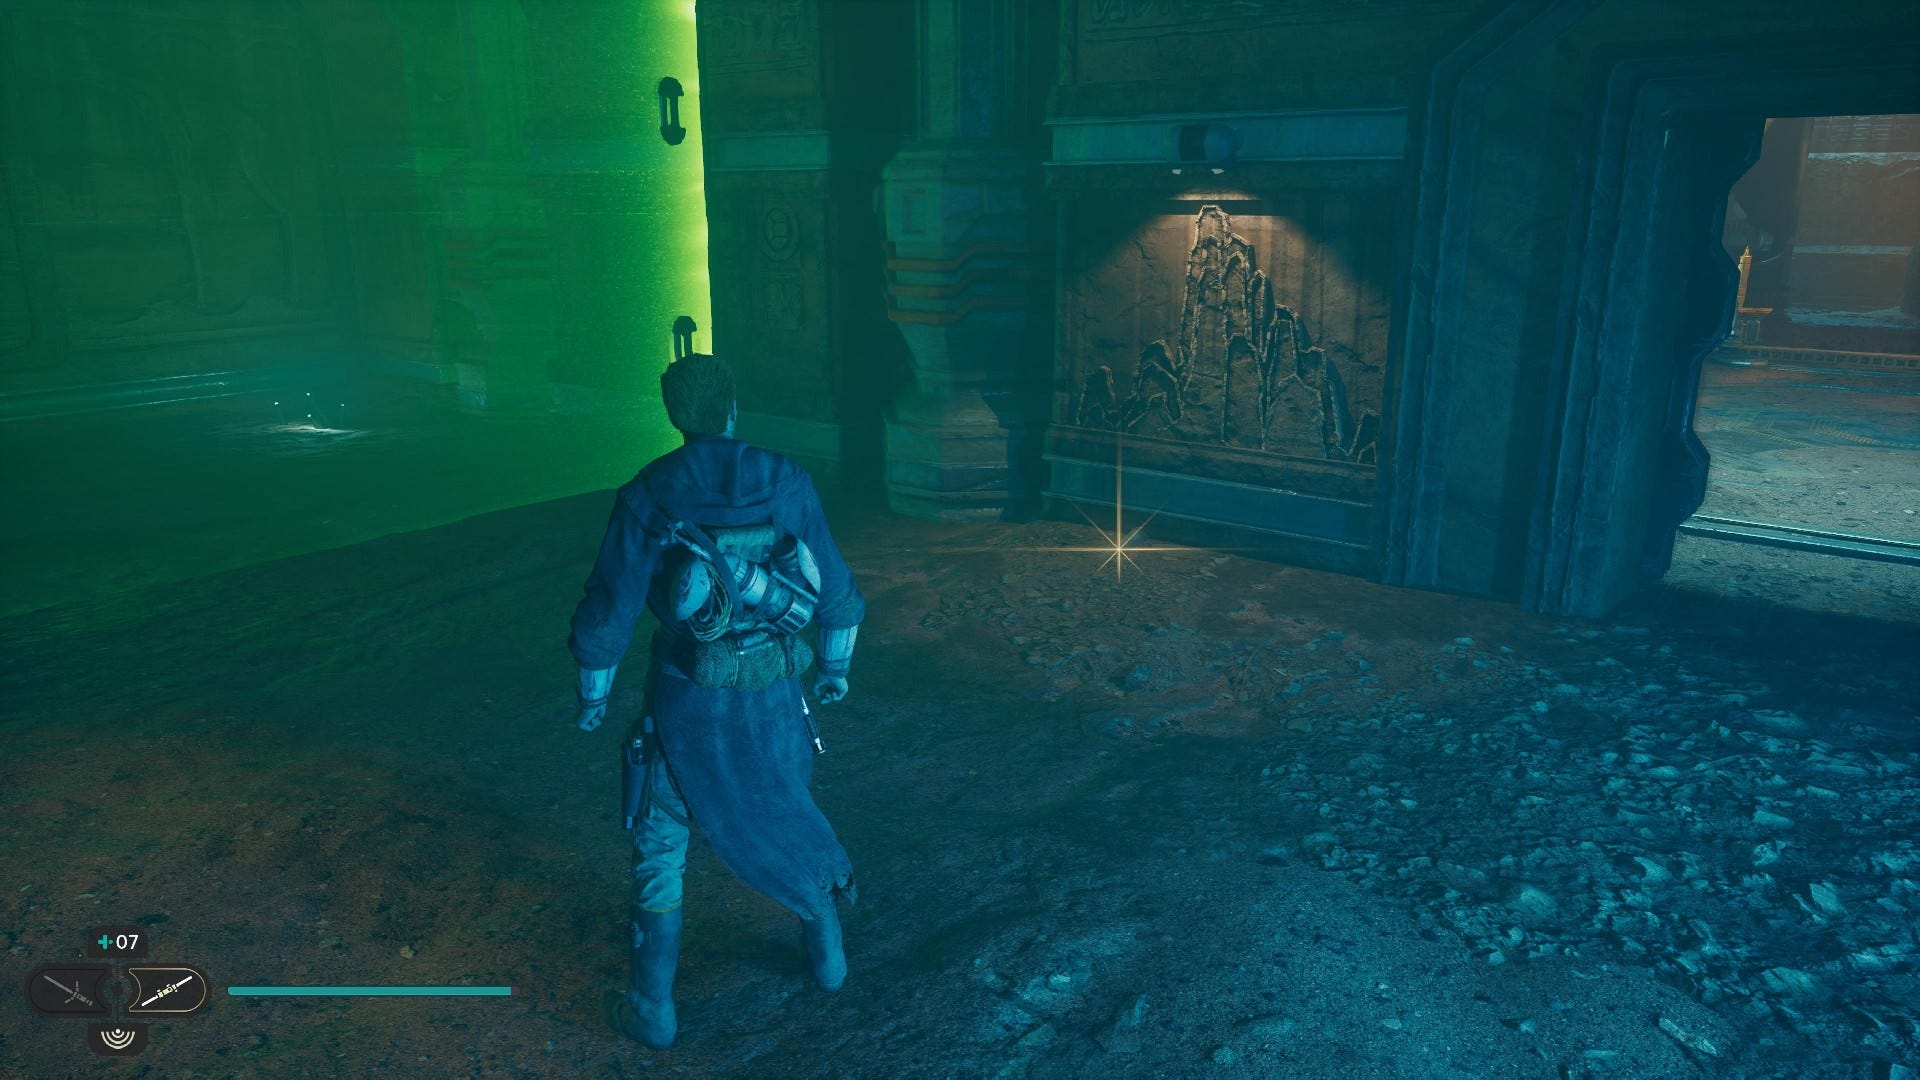
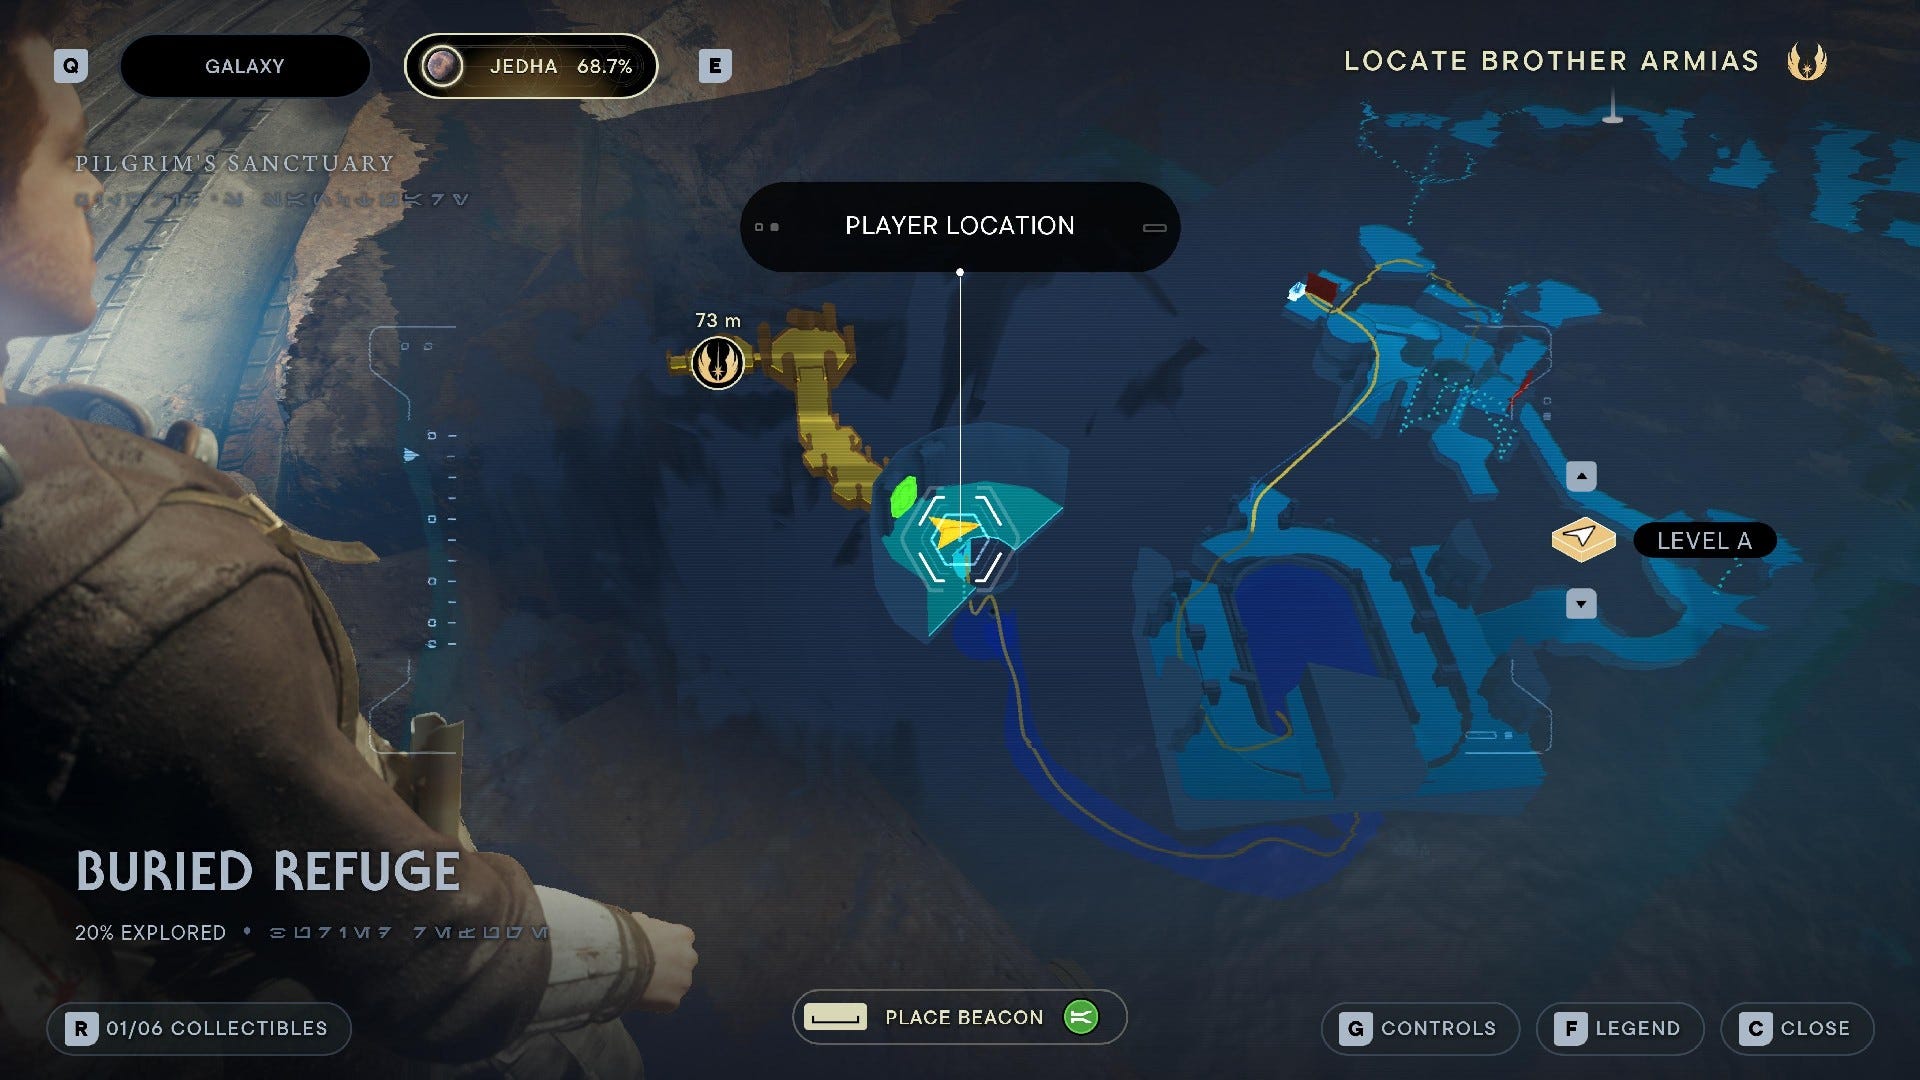
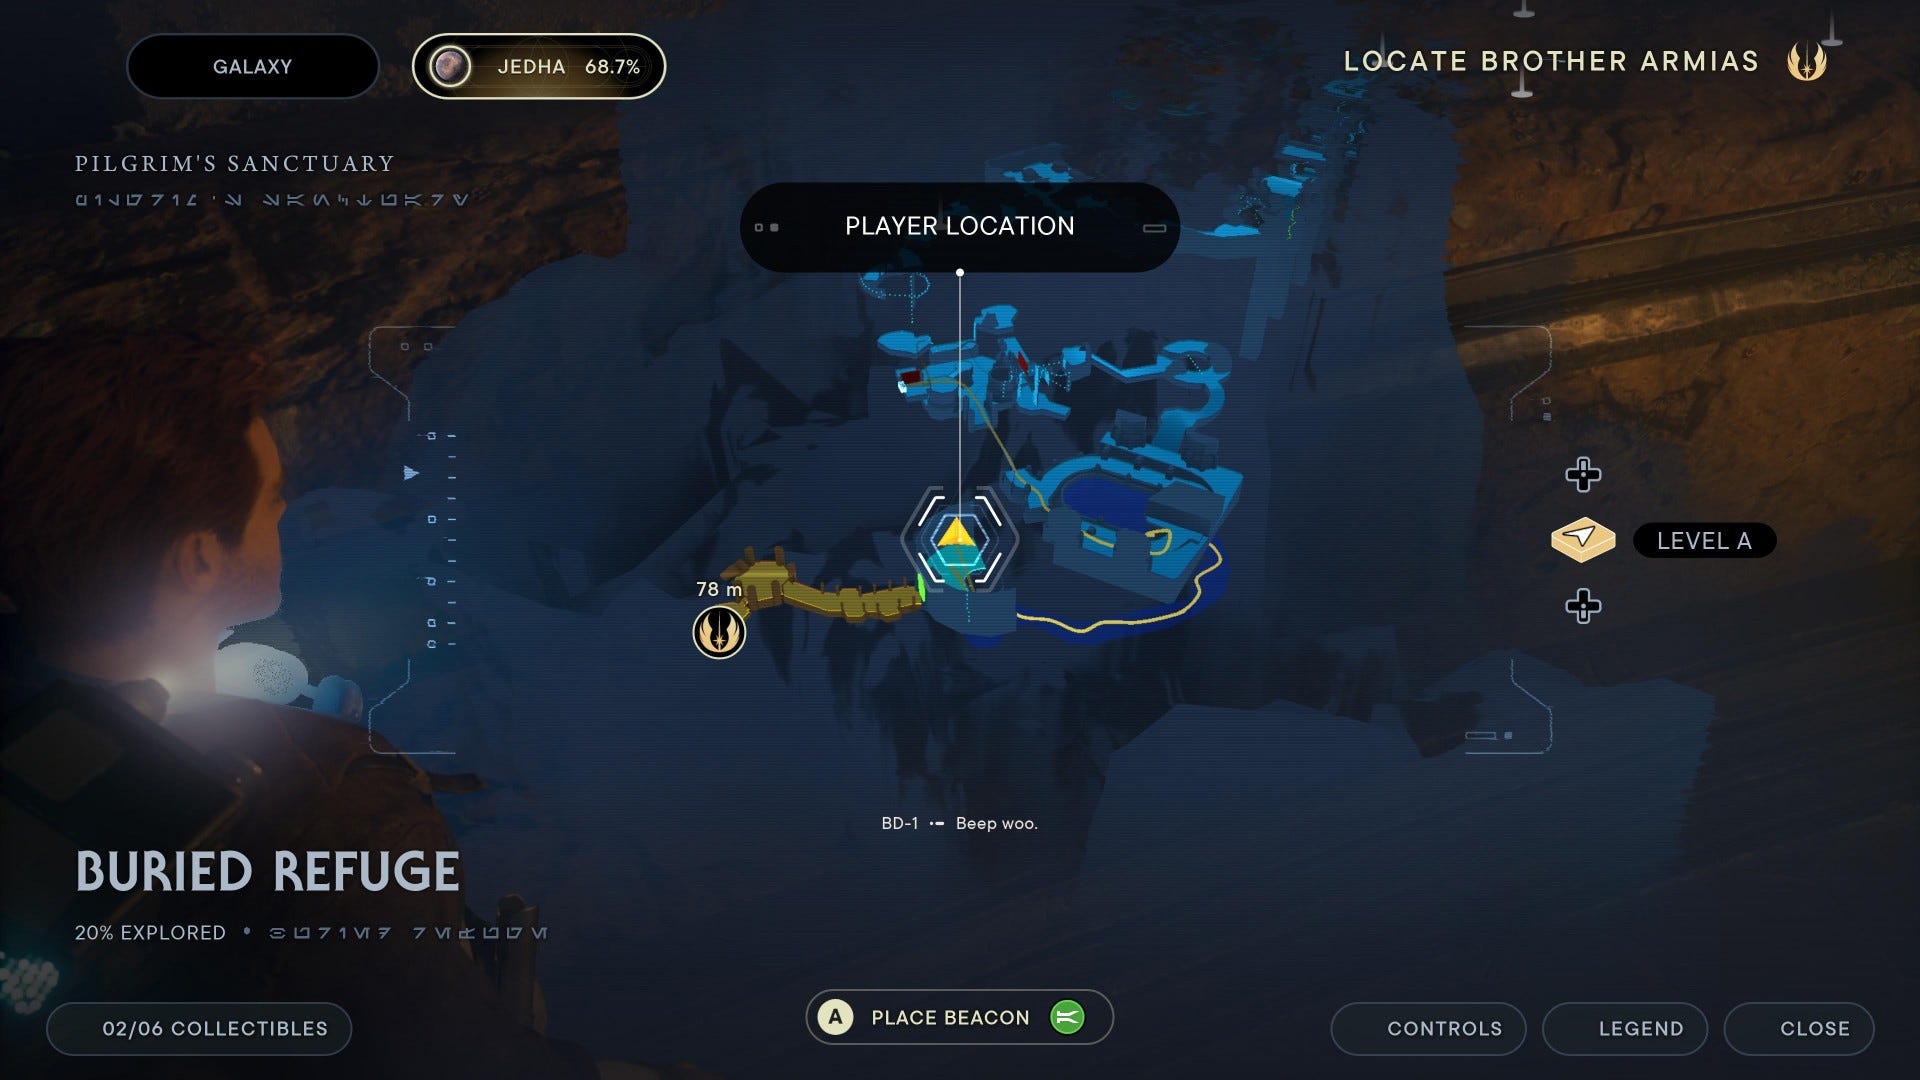
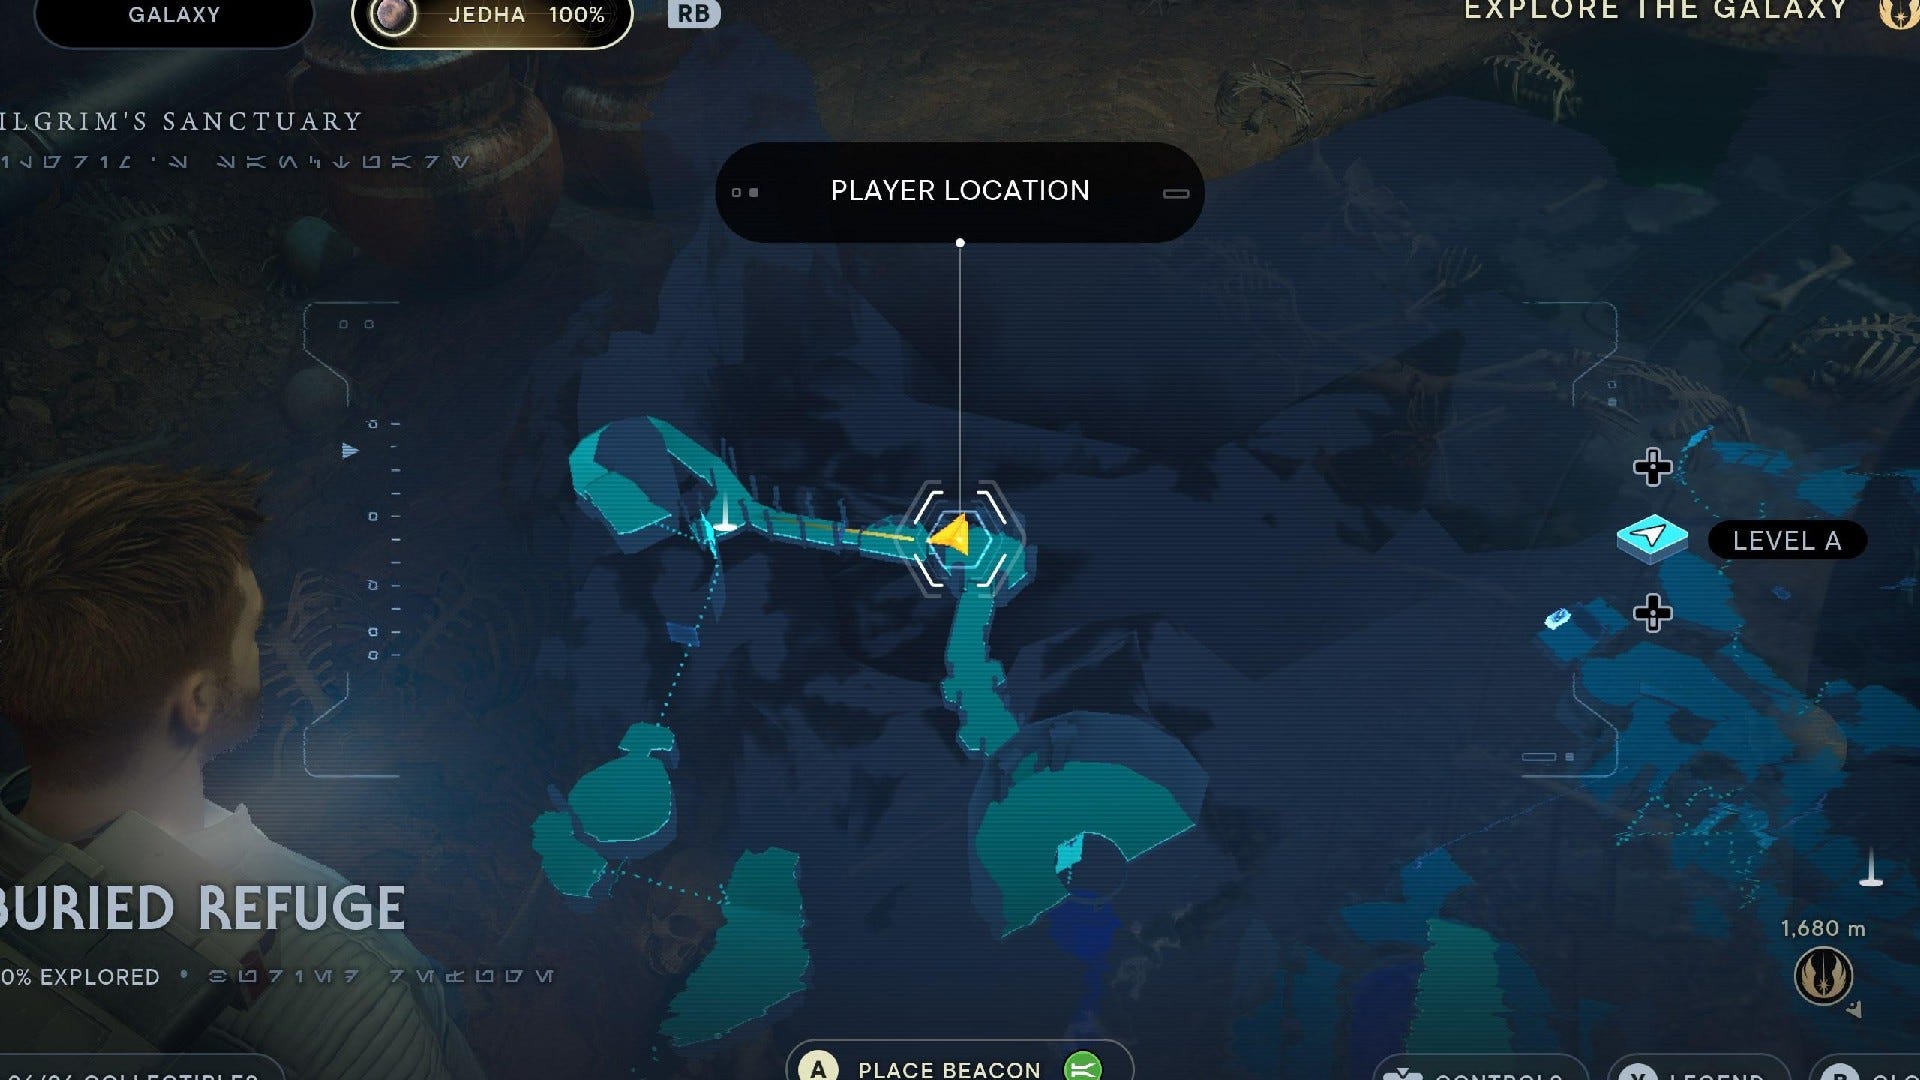
Buried Refuge collectibles
Buried Refuge is the path that leads out of Sanctuary Temple, where you and Merrin escape after an attack by the Empire. It has 6 collectibles:
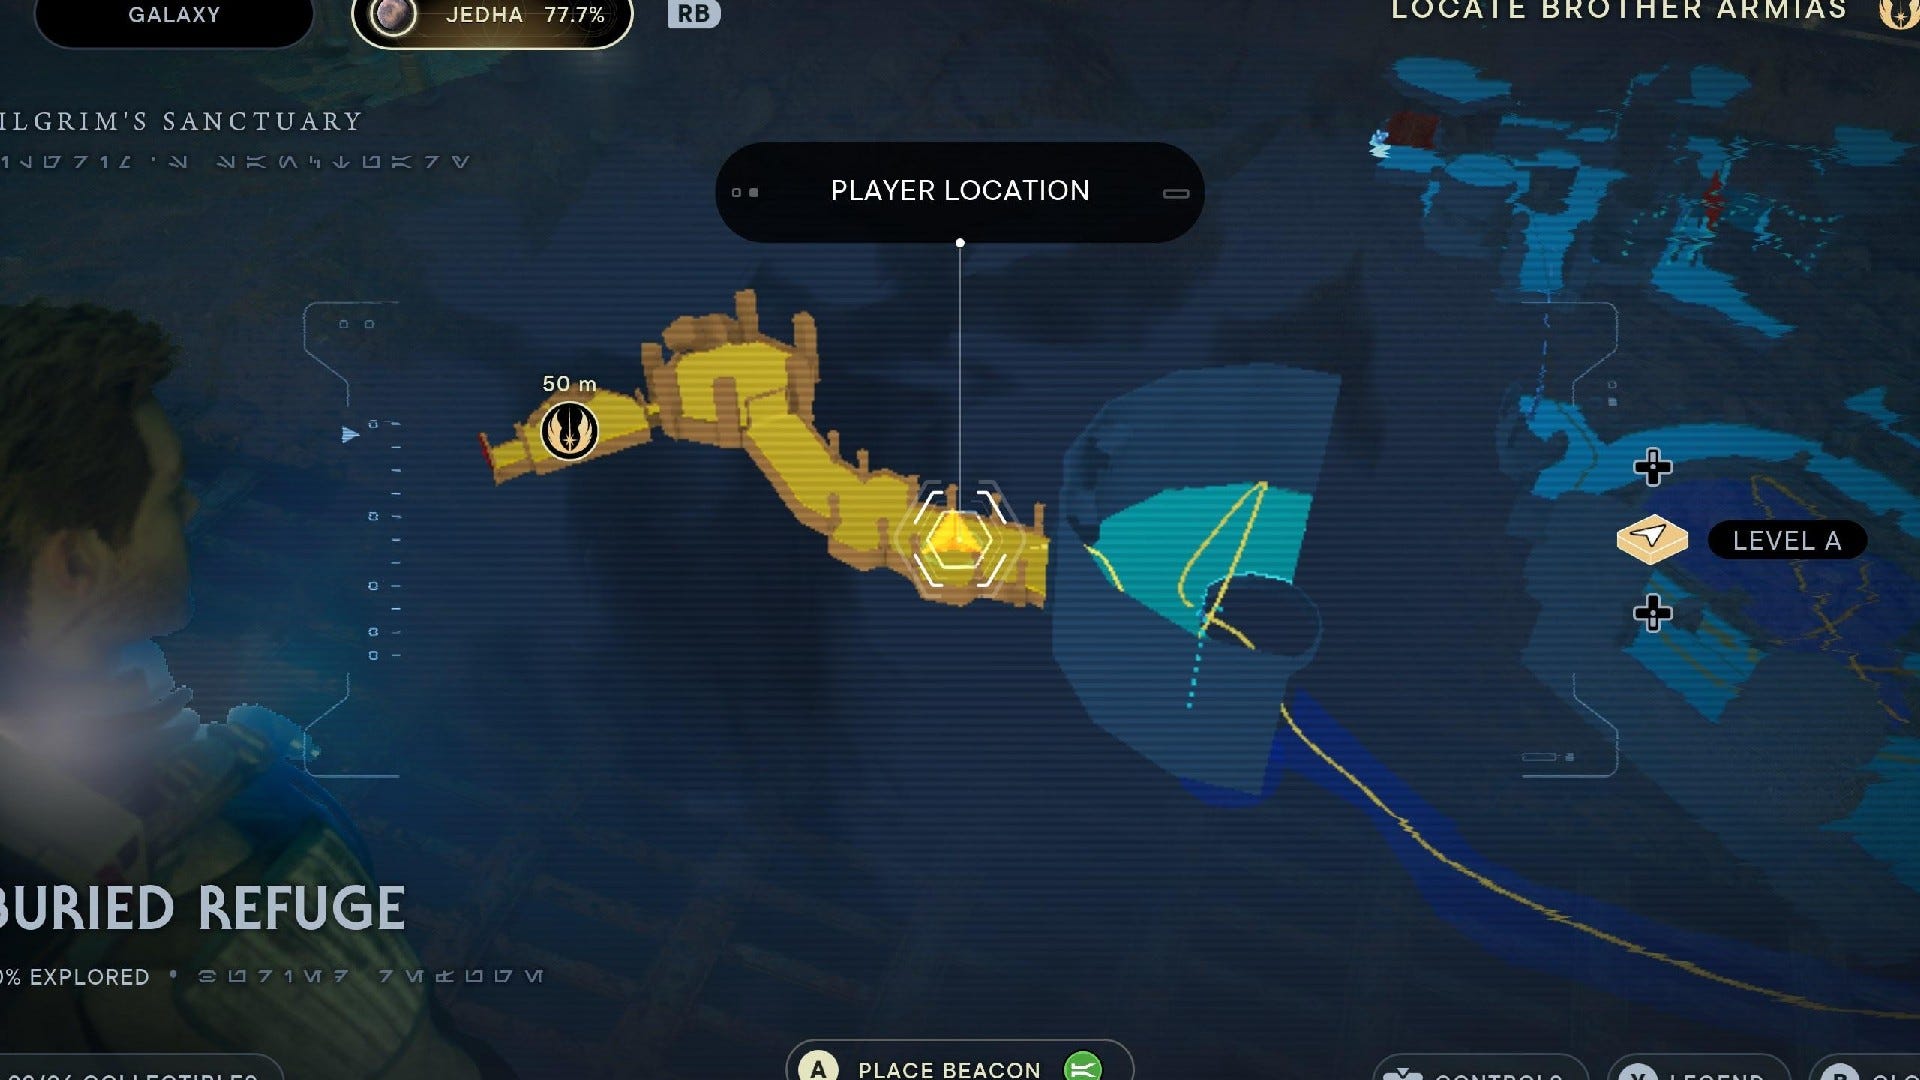
Buried Refuge Chests:
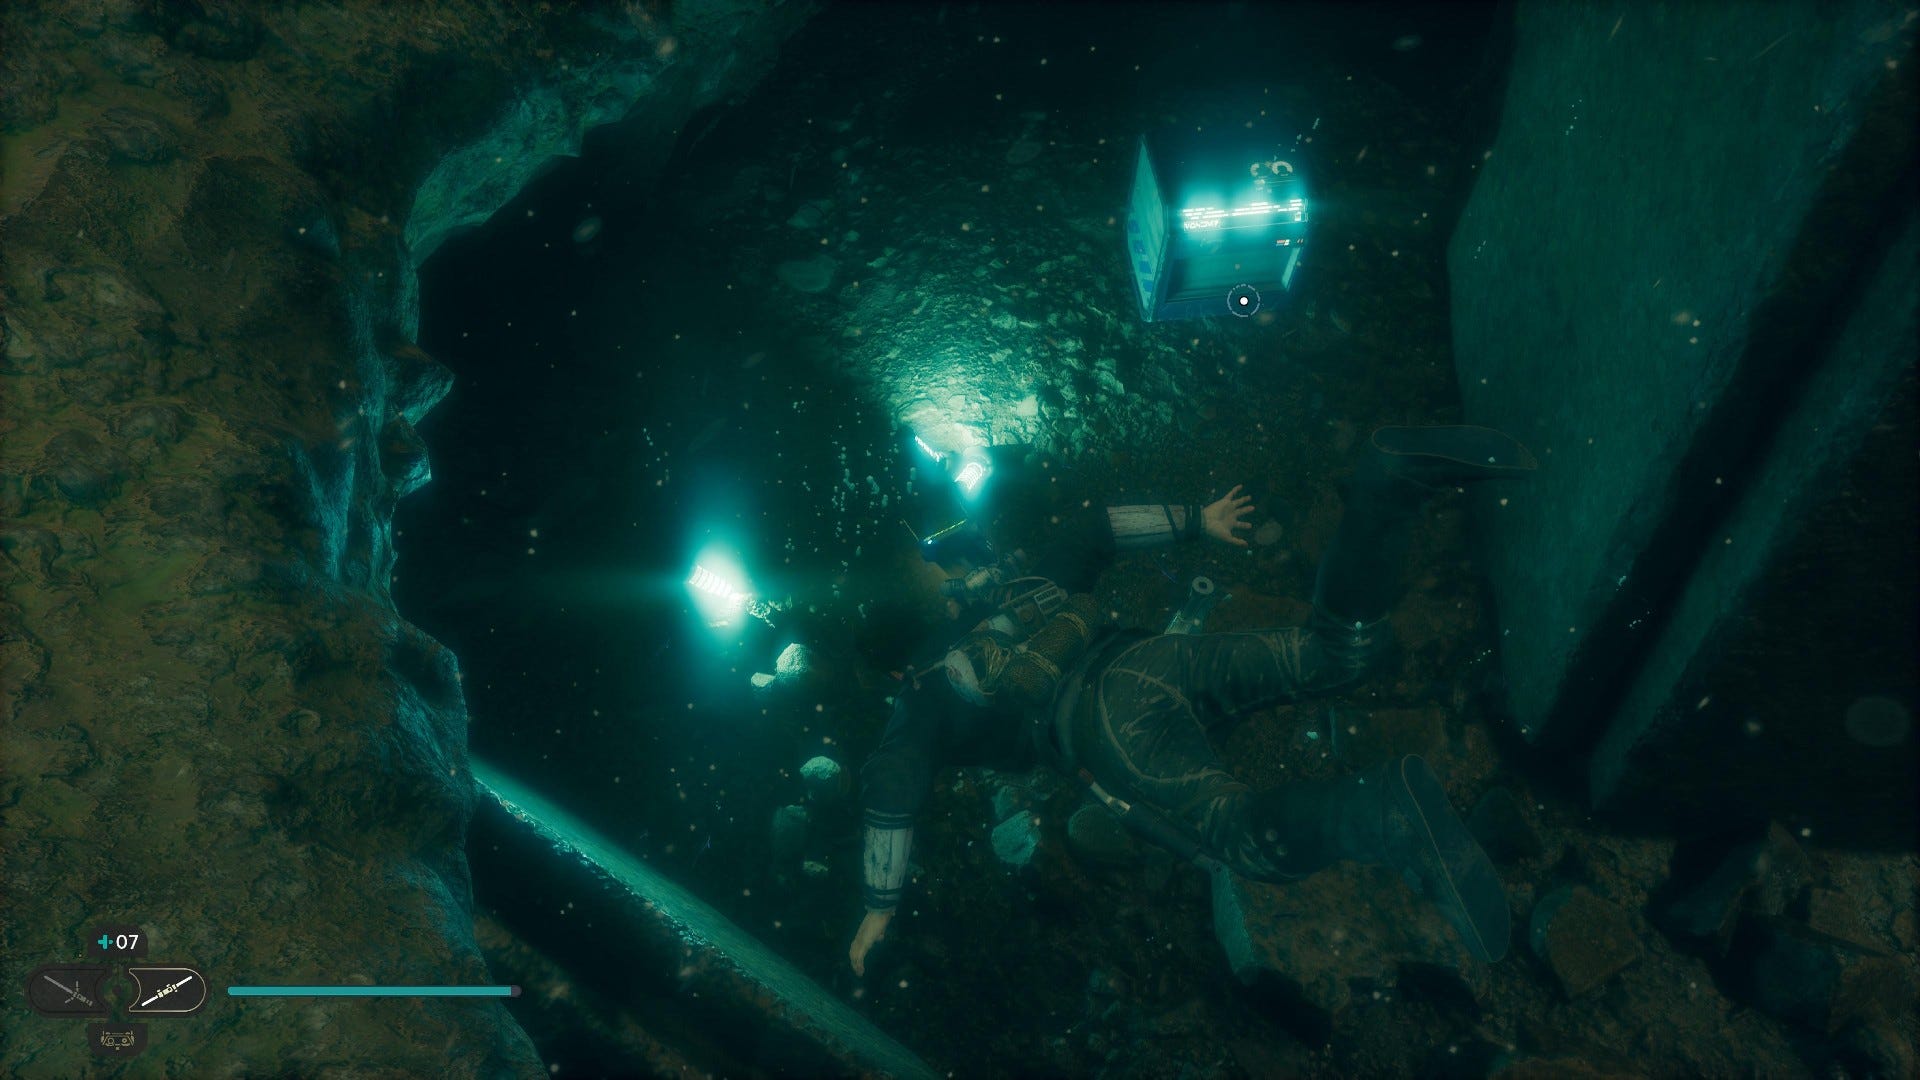
Chest #1 (Kaminoan Photoreceptors): At the end of the swimming section, right beneath where you resurface.
Buried Refuge Databanks:
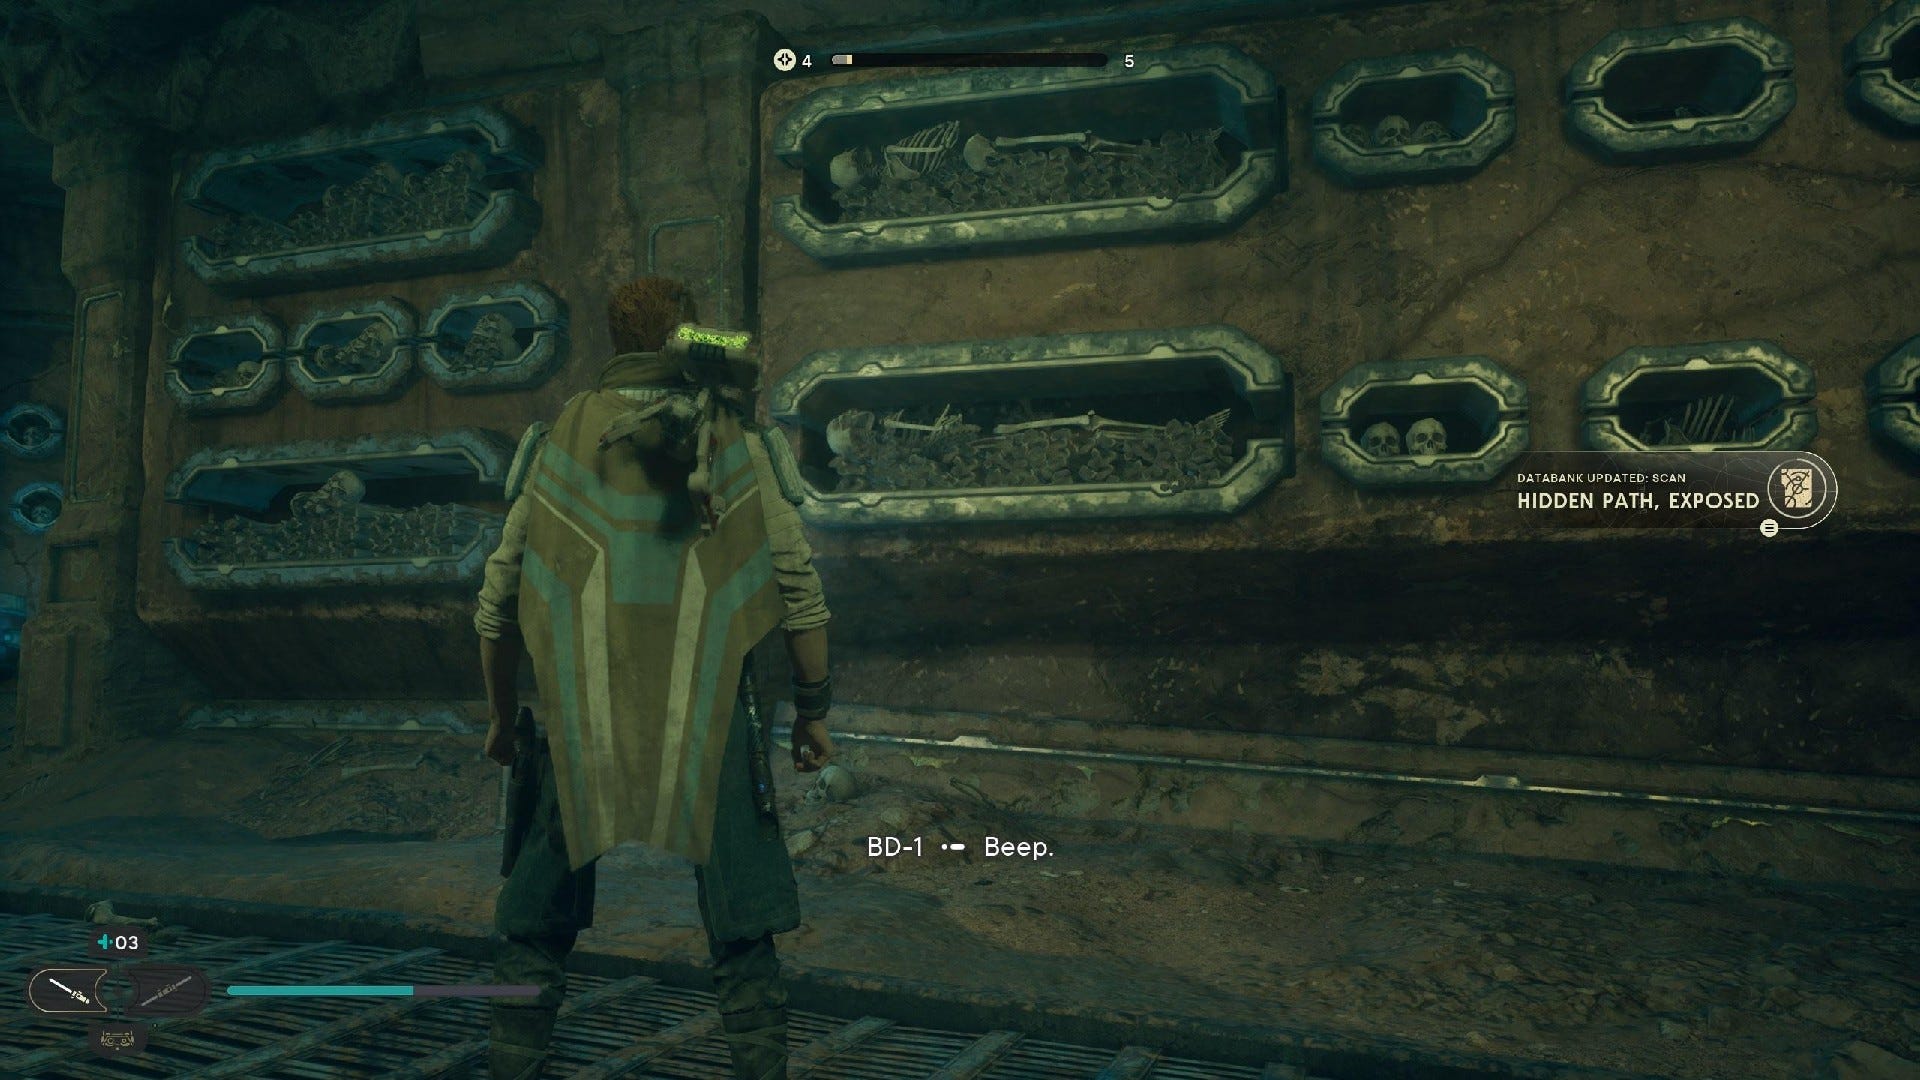
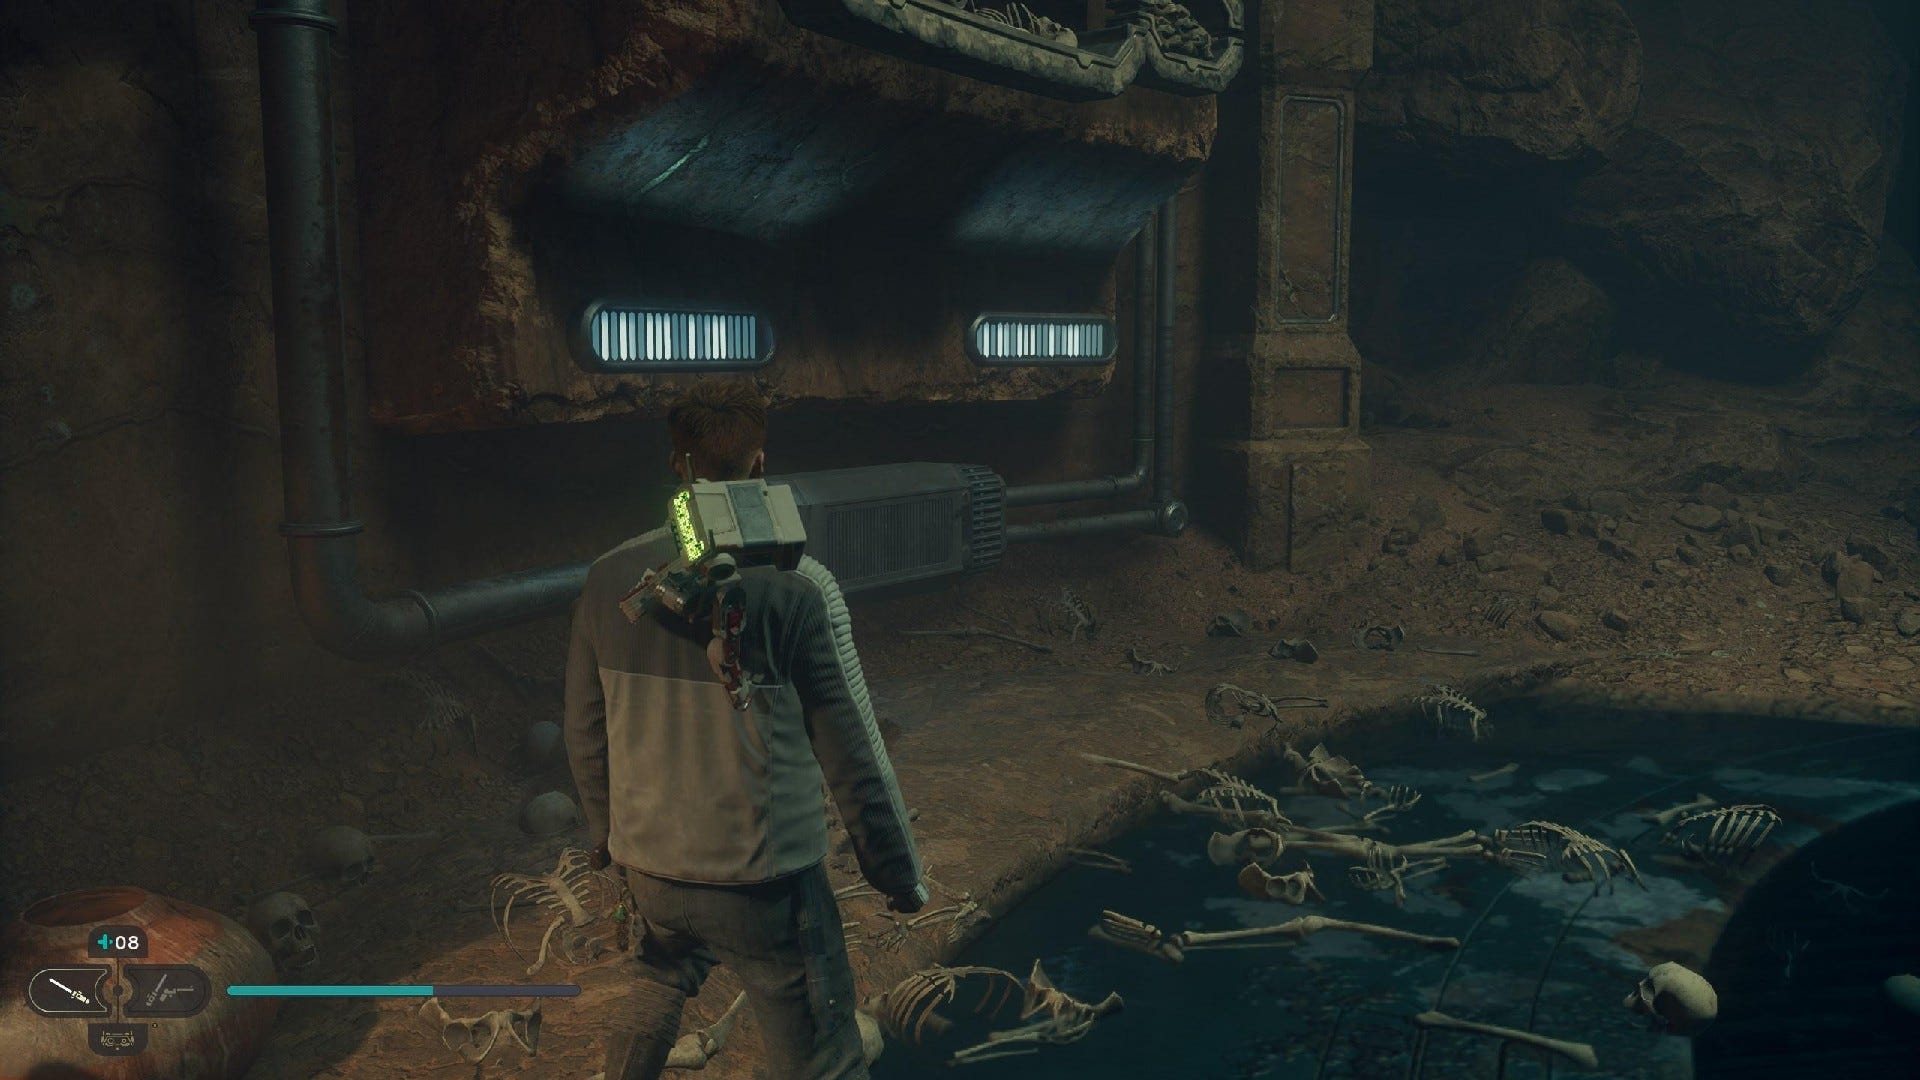
Databank (Hidden Path, Exposed): Scan skeleton on the right after the puzzle door.

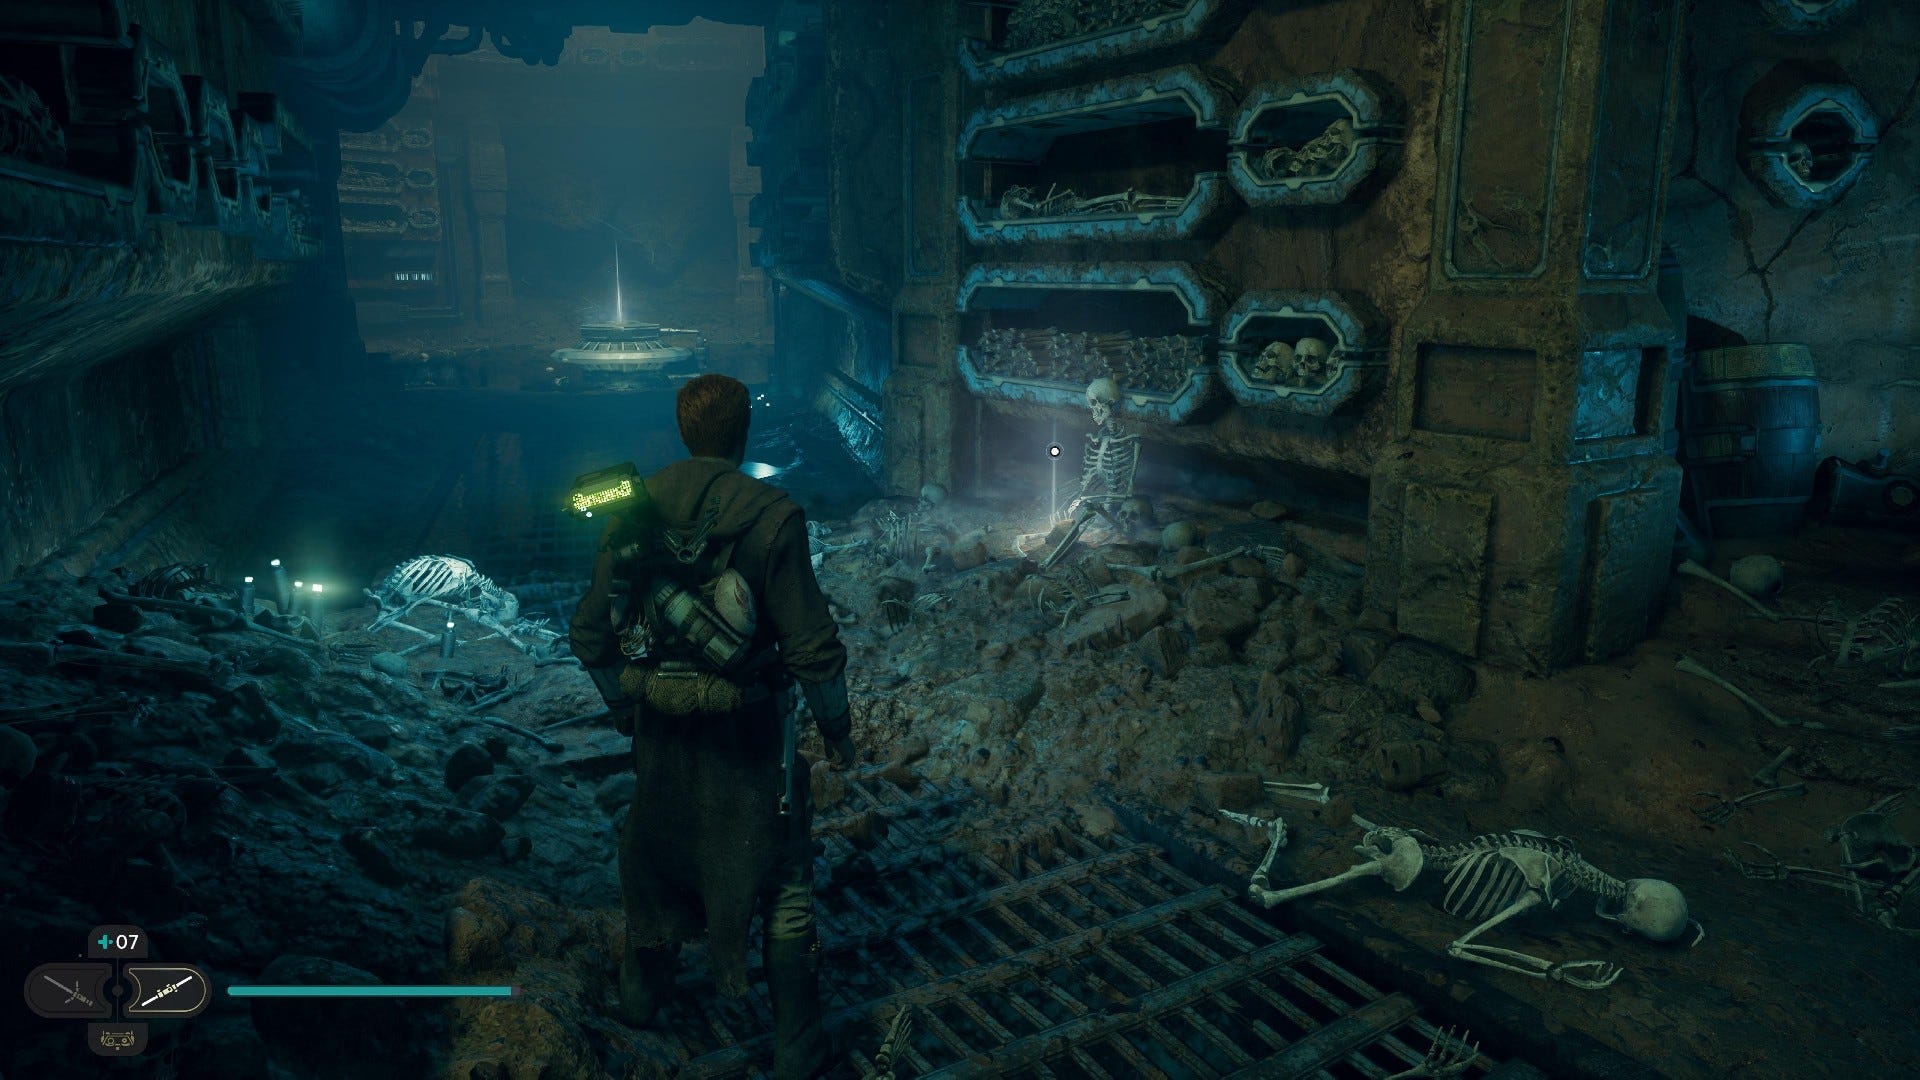
Force Echo (Temple Evacuation): On the skeleton in the corridor after the puzzle door.


Force Echo (A Noble Deed): On the circular podium in the centre of the room after the puzzle door.
Buried Refuge Treasures:
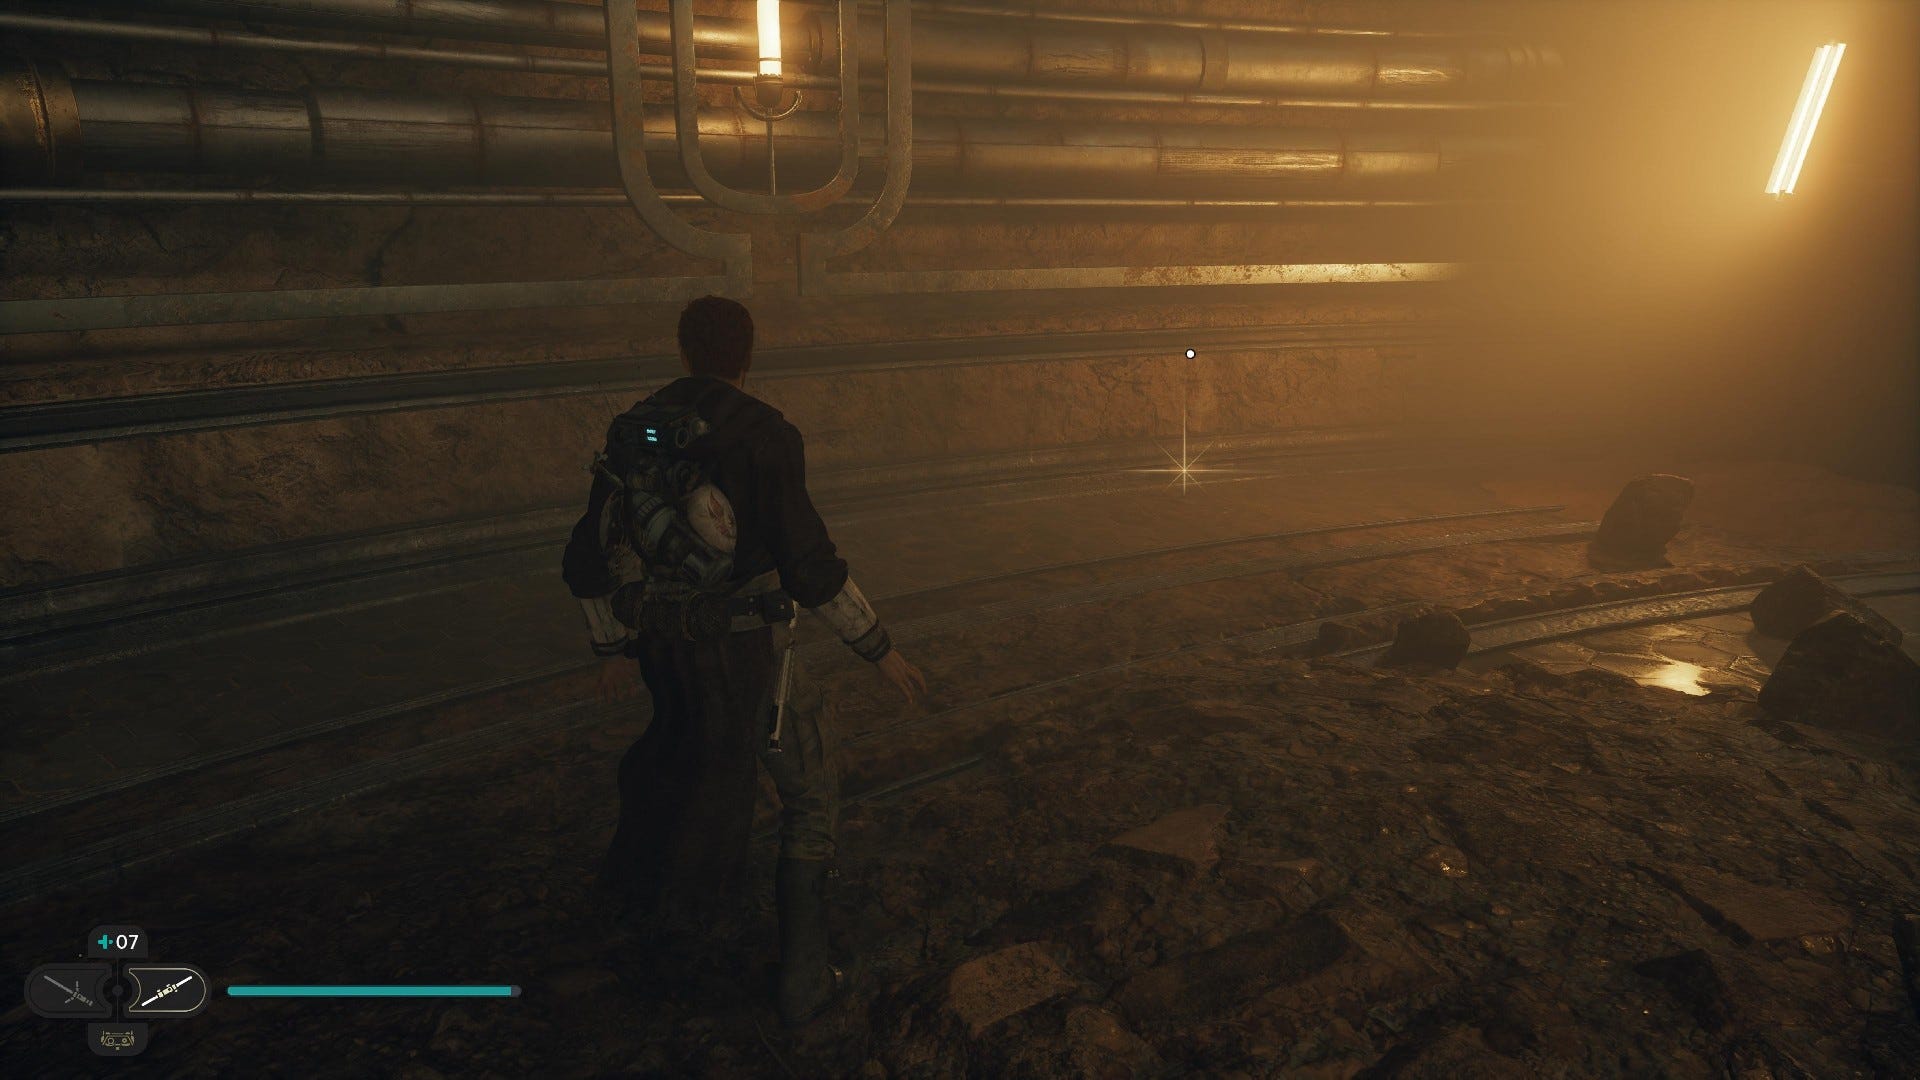
Jedha Scroll #1: After resurfacing from the swimming section, pull the thing on the right and look at the floor where it used to be.
Jedha Scroll #2: On the floor in the room with the circular podium where you find the Noble Deed Force Echo.
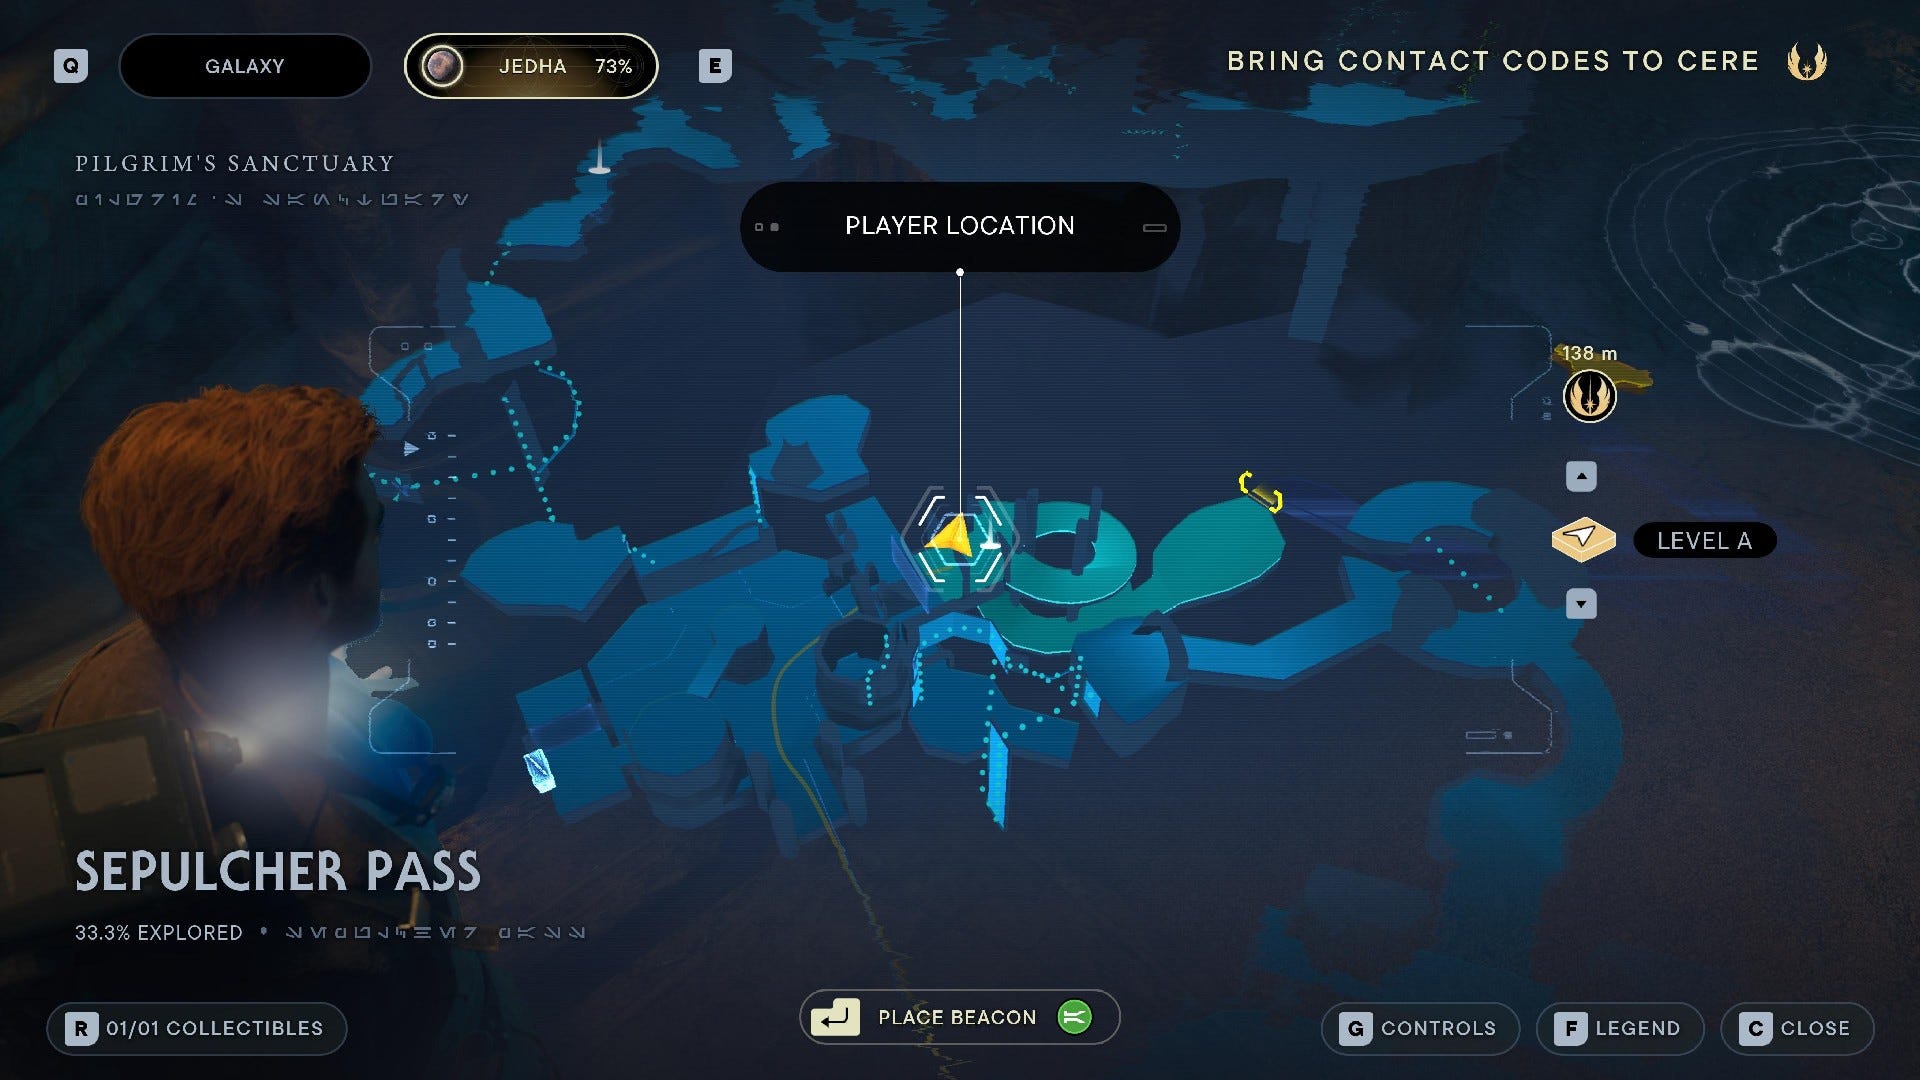
Sepulcher Pass collectibles
Sepulcher Pass is a short path leading out of Sanctuary Temple, which you'll use to escape after the Empire mount an attack on Cal and Merrin. It has 1 collectible:
Sepulcher Pass Treasures:
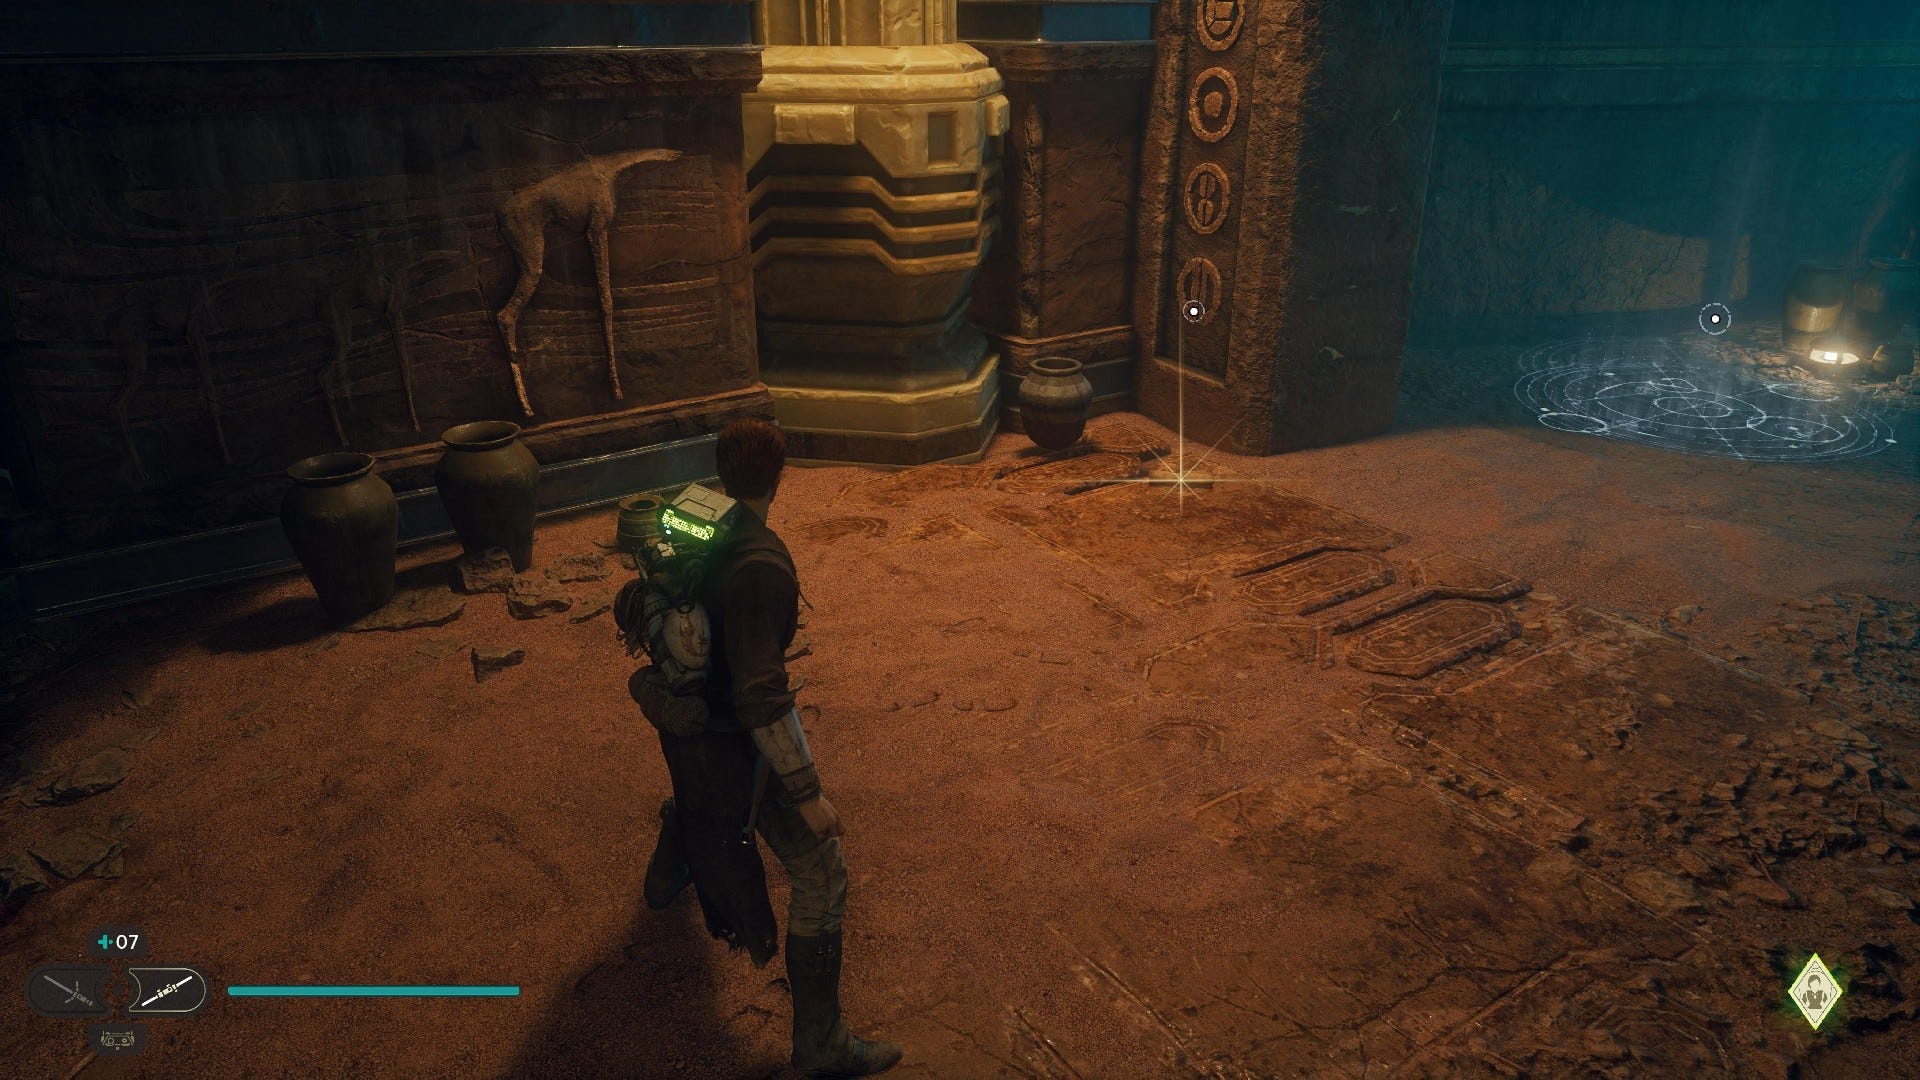
Jedha Scroll #1: Right in front of the Sepulcher Pass Meditation Point.