Star Wars Jedi Survivor Shattered Moon collectible locations: All chests, treasures, databanks, and more
Where to find every last chest, treasure, and seed pod on Shattered Moon


Looking for every last collectible location on Shattered Moon in Jedi: Survivor? Star Wars Jedi: Survivor vastly outguns its predecessor in terms of the sheer amount of stuff to explore and discover across all its planets. Shattered Moon, while one of the smaller maps in the game, still holds a very important place in Cal's story - not to mention a fair few collectibles to track down.
From chests containing unique cosmetics to databank entries and even a Force Tear to test your skills against, Shattered Moon is an environment well worth exploring properly. Below we'll show you exactly where to go to find every last collectible location on Shattered Moon in Star Wars Jedi: Survivor.
As with all the maps and planets in Star Wars Jedi: Survivor, remember that certain paths and collectibles may be inaccessible to you until you return to the planet later on with new traversal abilities and upgrades. With that in mind, let's jump into our definitive list of every collectible location on Shattered Moon in Jedi: Survivor!
Shattered Moon collectibles: All locations
| Cargo Loading Deck | Automated Forge |
| Assembly Staging | Superstructure Fabricators |
| Array Channel | Republic Research Laboratory |
Cargo Loading Deck collectibles
You begin your journey through Shattered Moon on one of the tiniest planet regions in the game. Cargo Loading Deck is literally just the platform on which the Mantis lands. Nevertheless, it does have 1 hidden collectible:
Cargo Loading Deck Treasures:

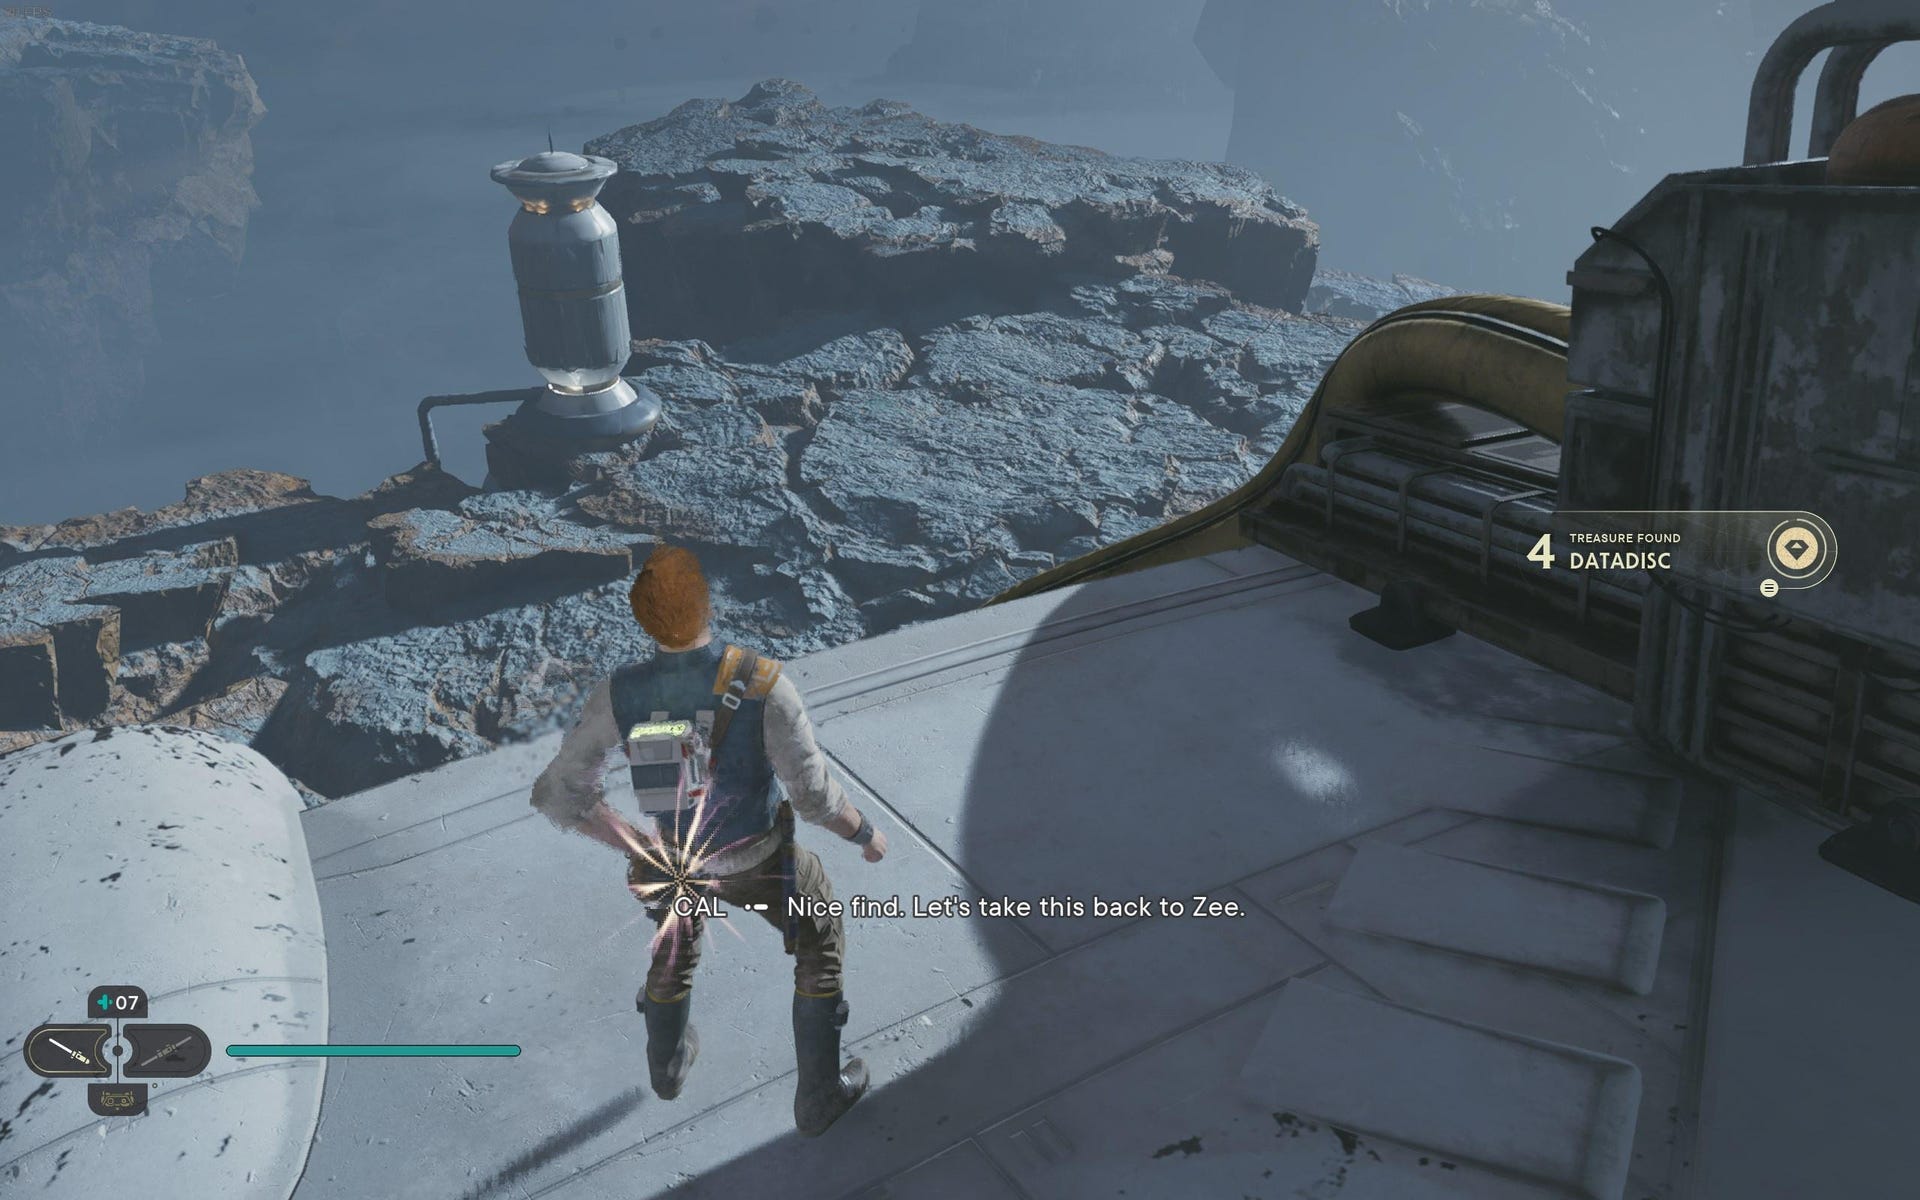
Datadisc: Run behind the Mantis after landing to find Datadisc on edge of landing pad.
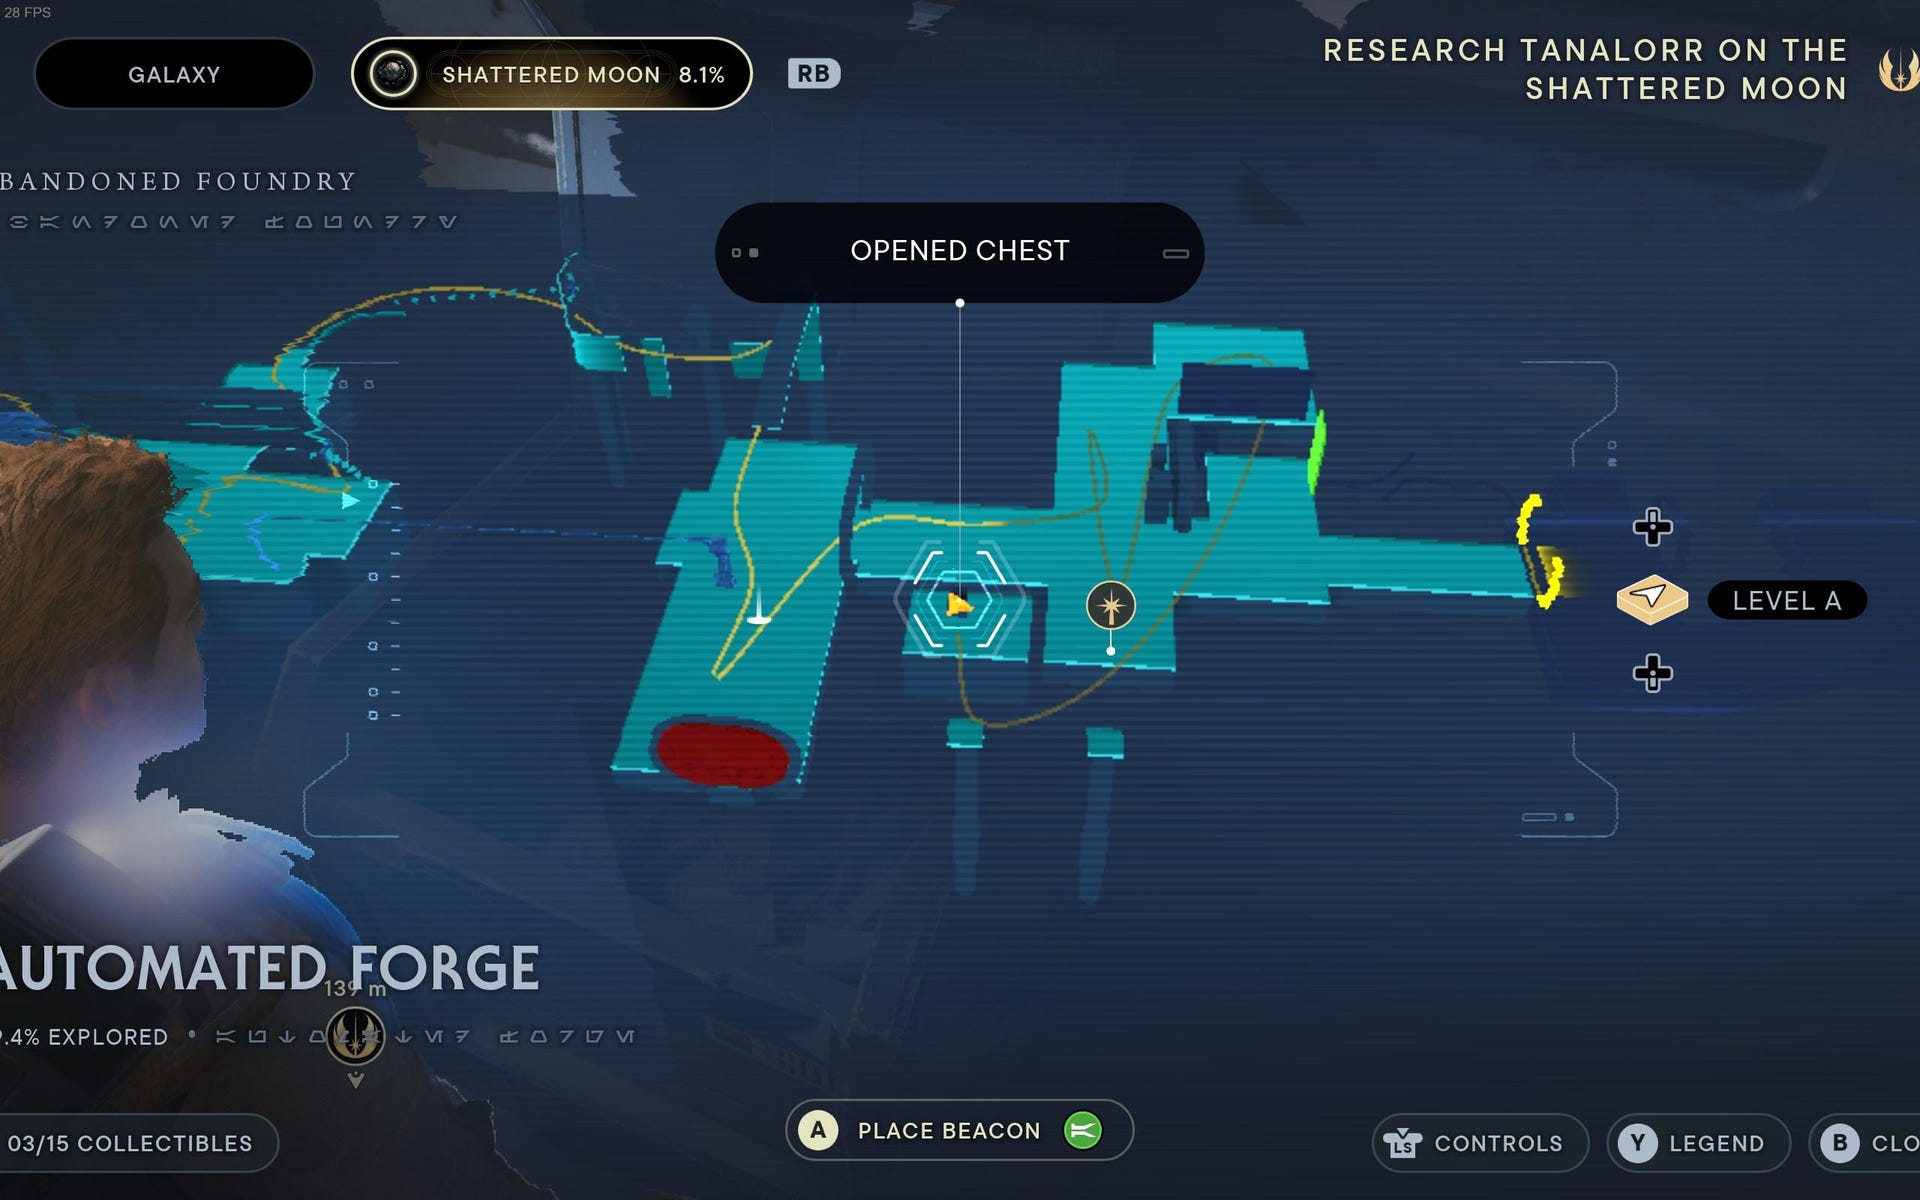
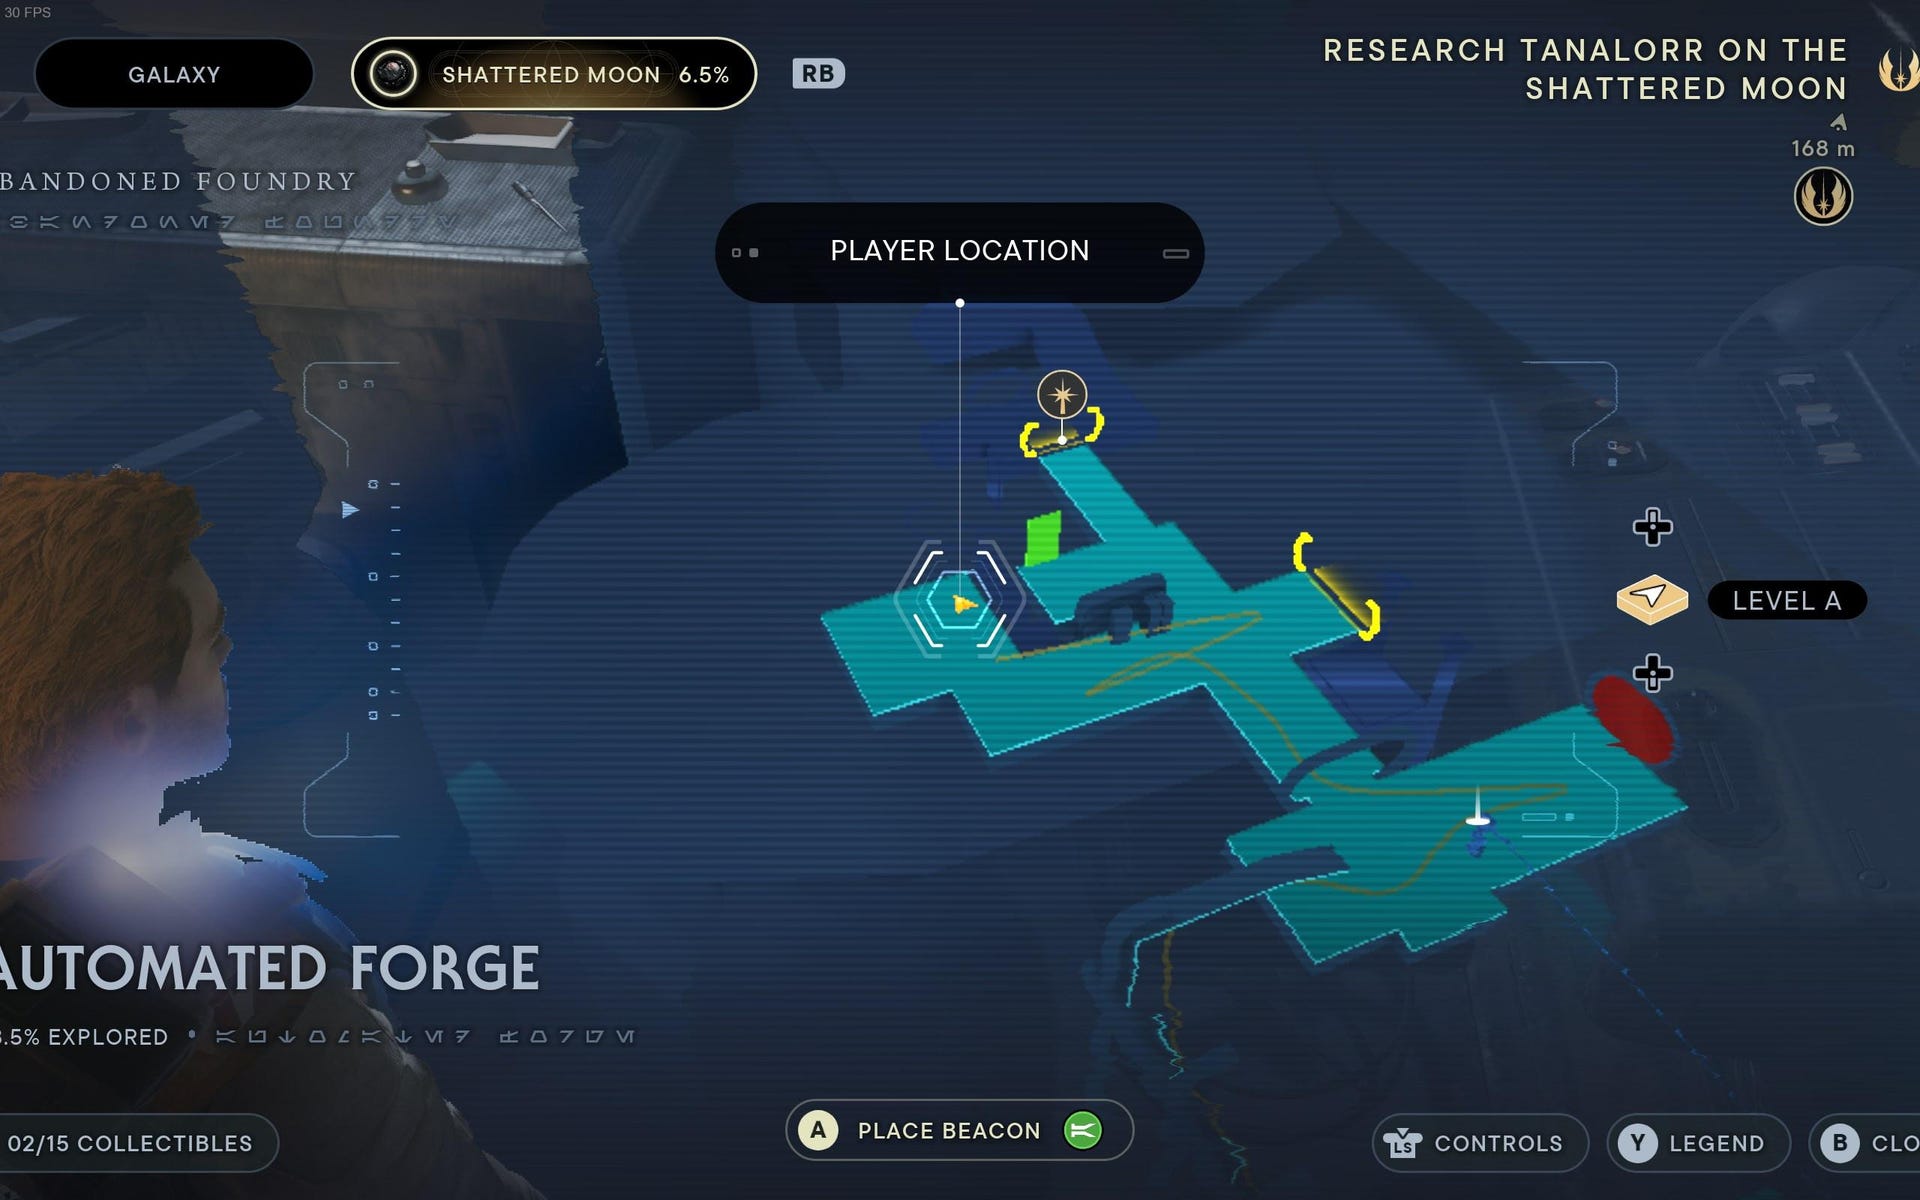
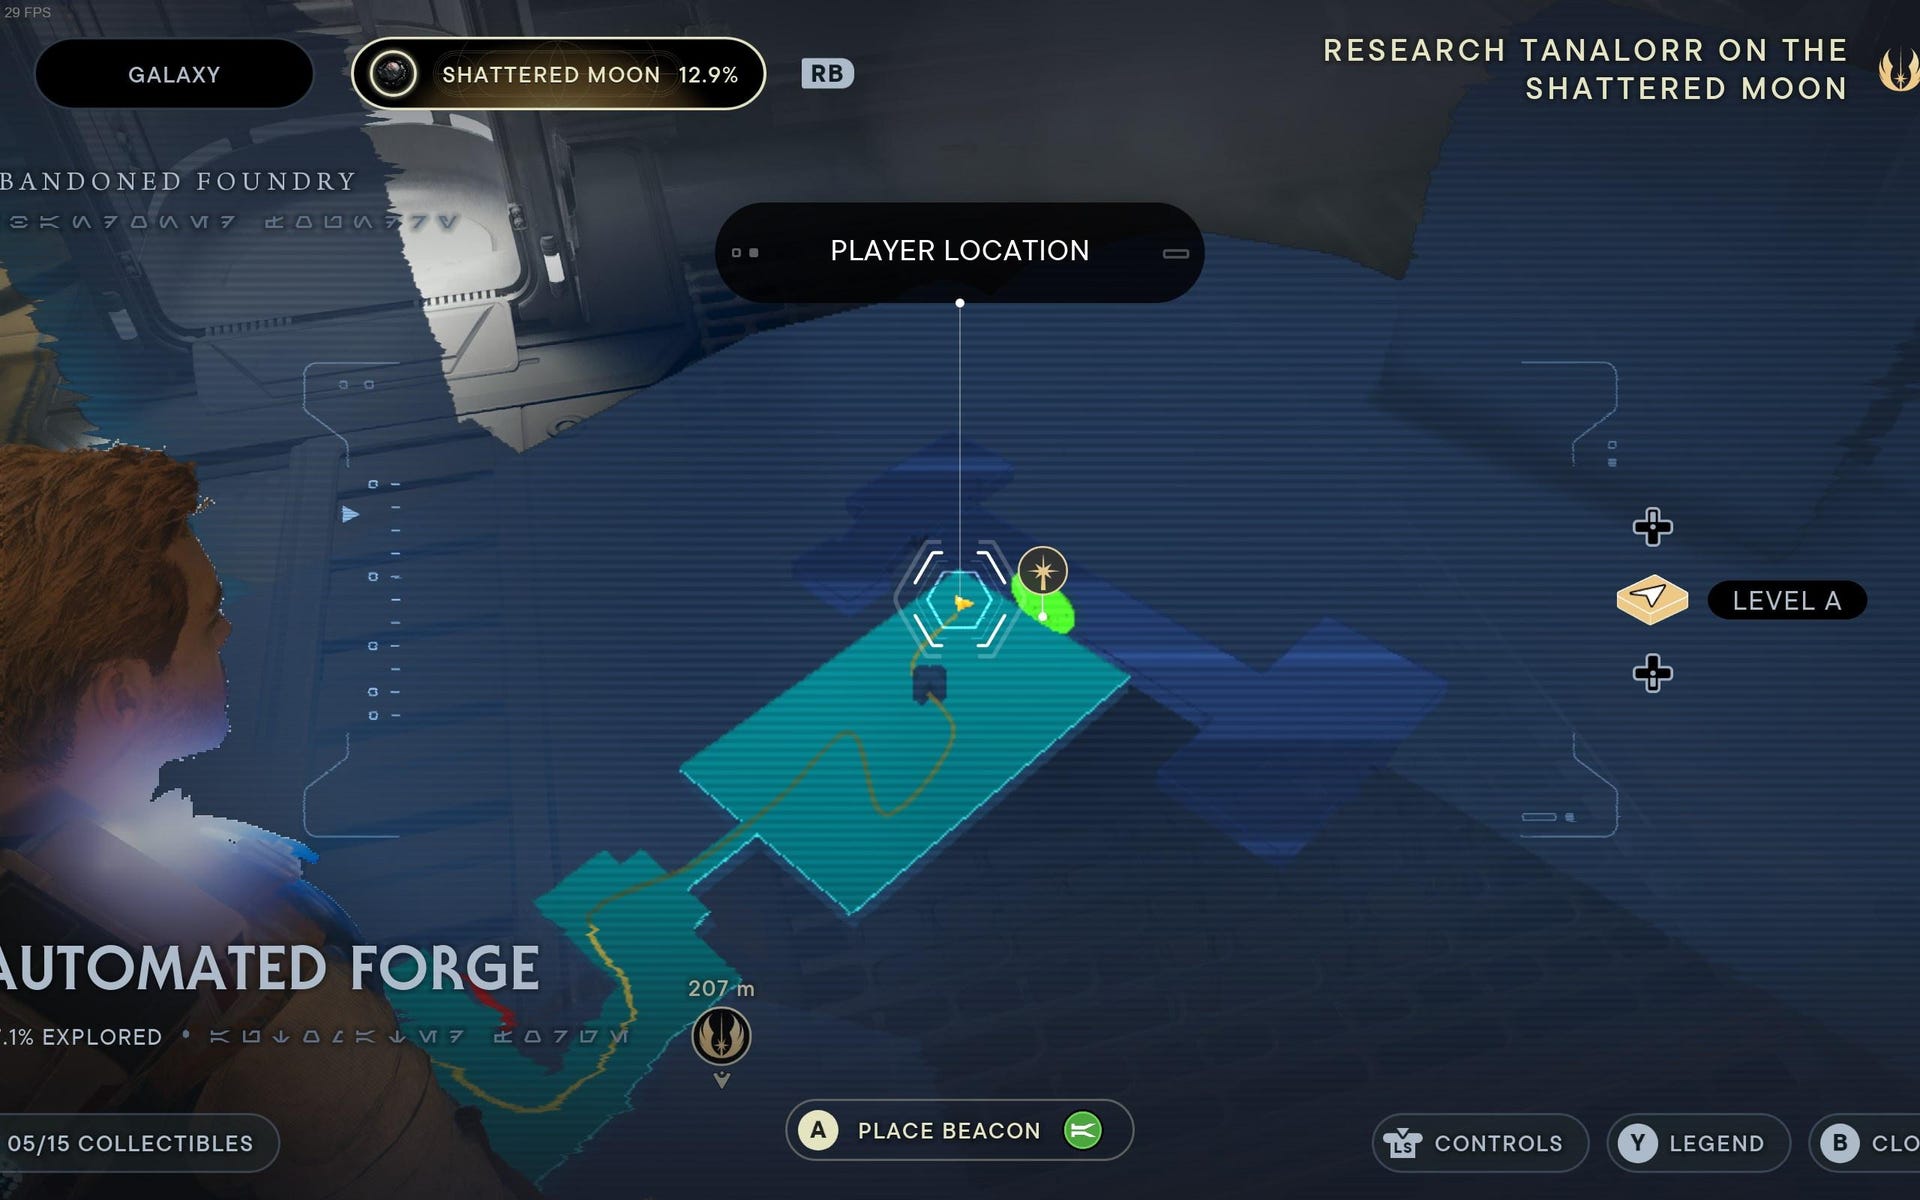
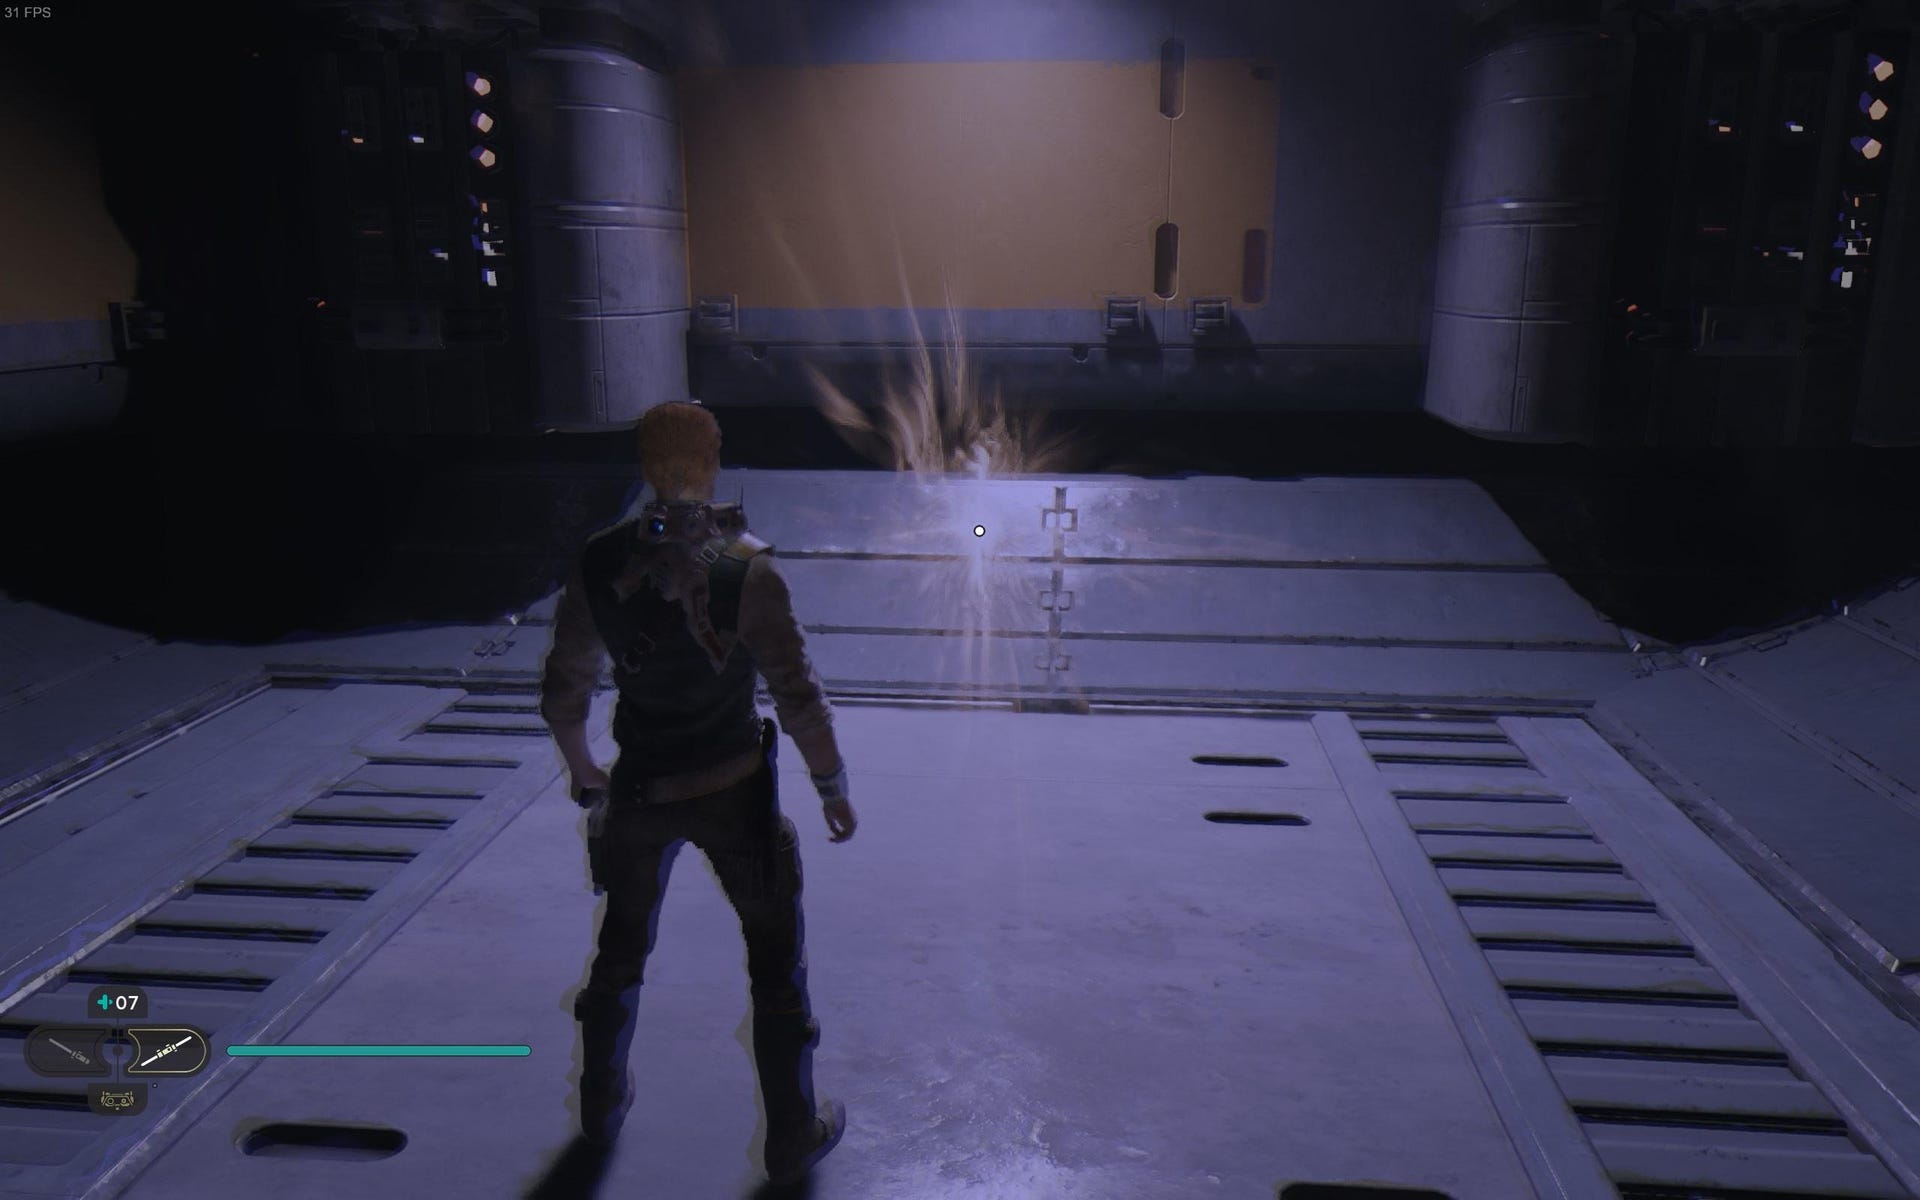
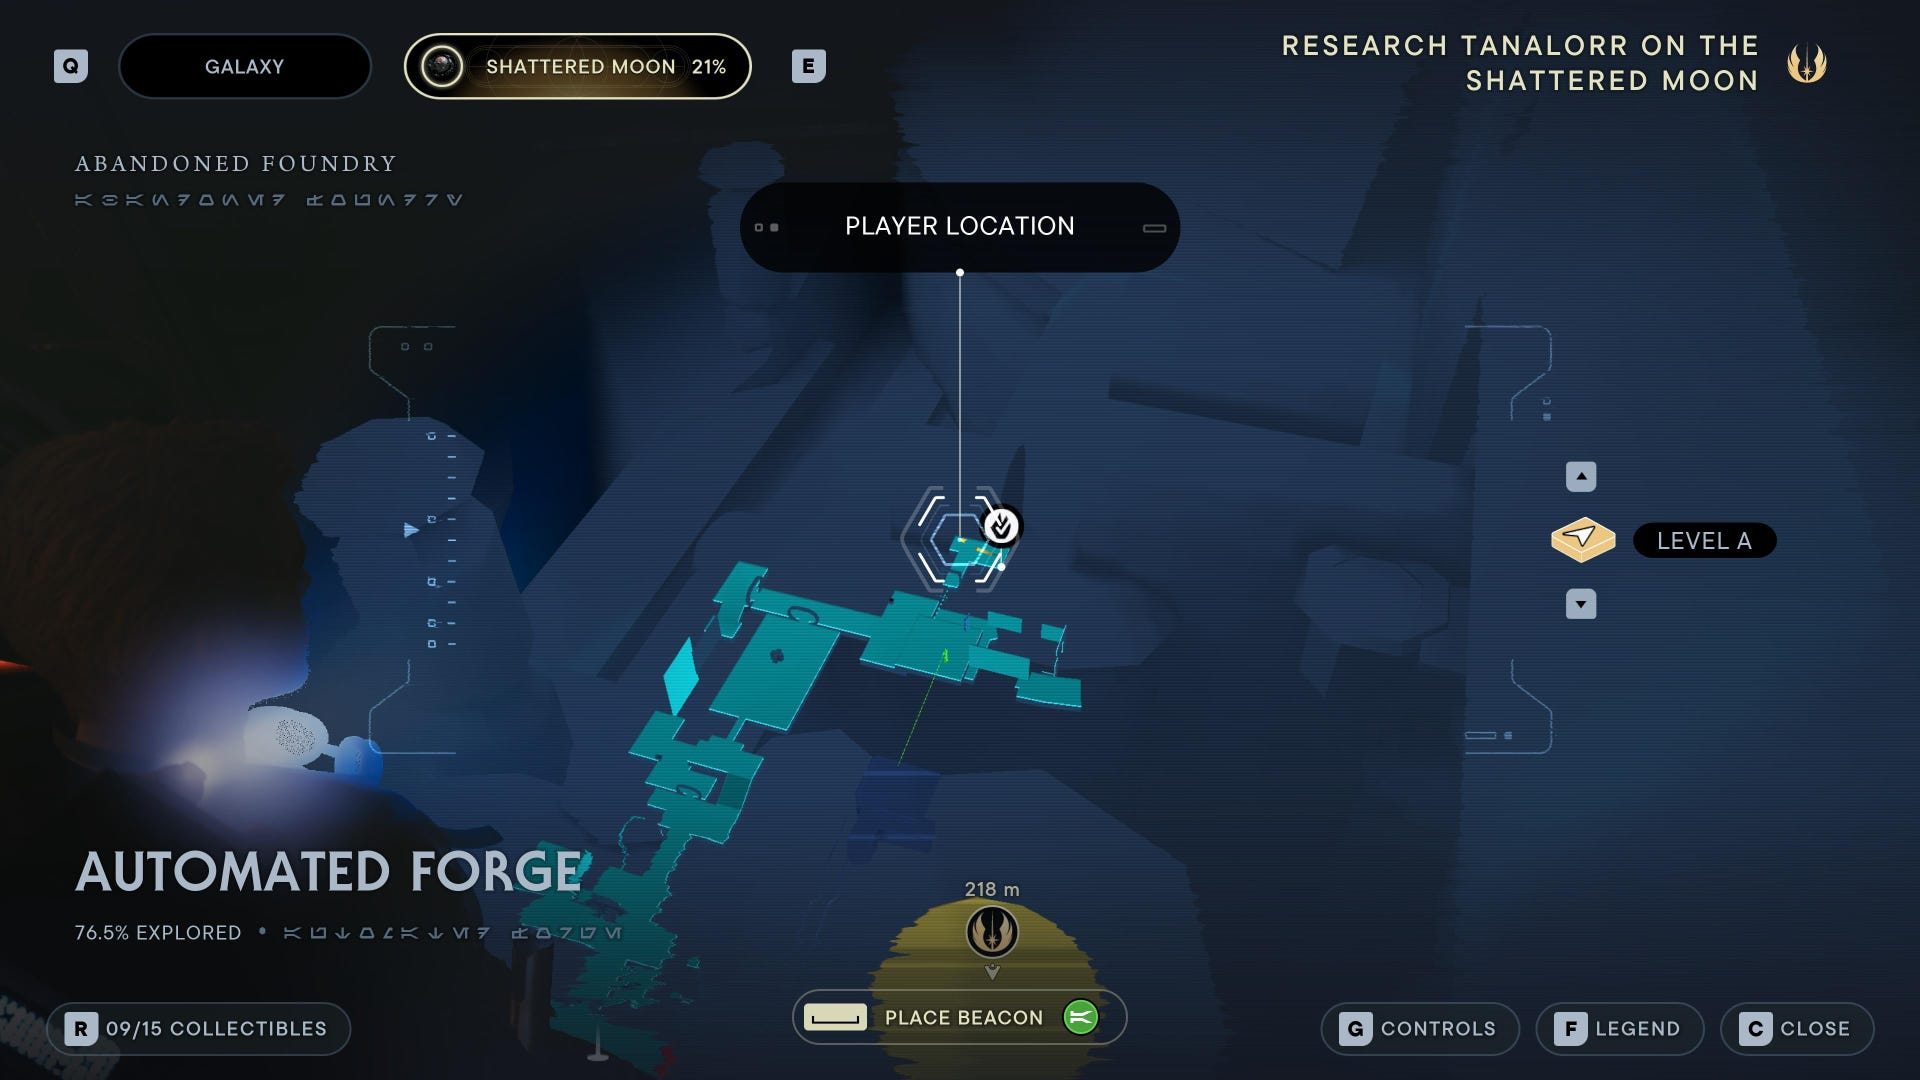
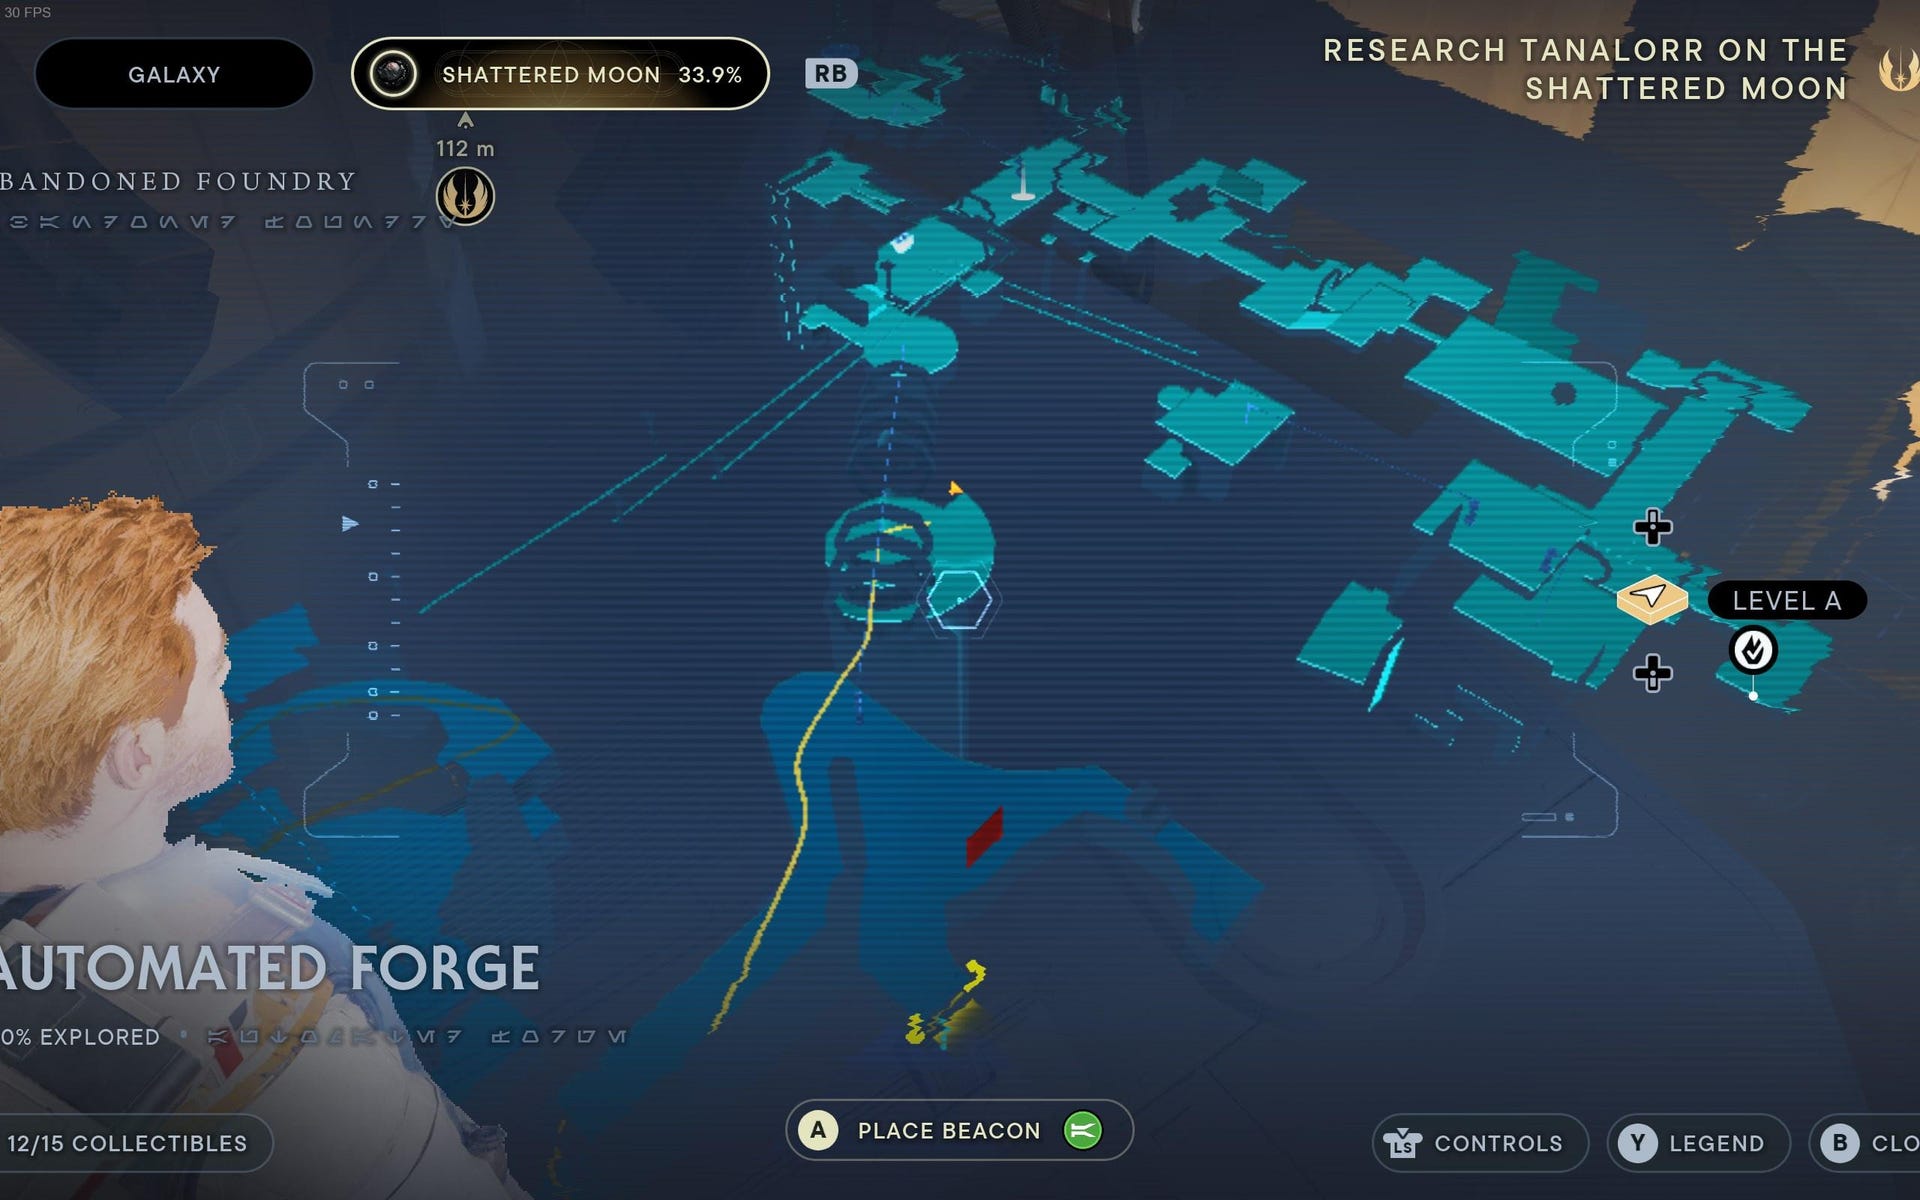
Automated Forge collectibles
Take the elevator down from the Cargo Loading Deck and you'll arrive in Automated Forge, a multi-room, multi-corridor region with a total of 15 collectibles:
Automated Forge Chests:

Chest #1 (Harmony Grip): Take path forward from Meditation Point and turn right. Hop across two yellow podiums that spurt fire, and then turn back to find chest.

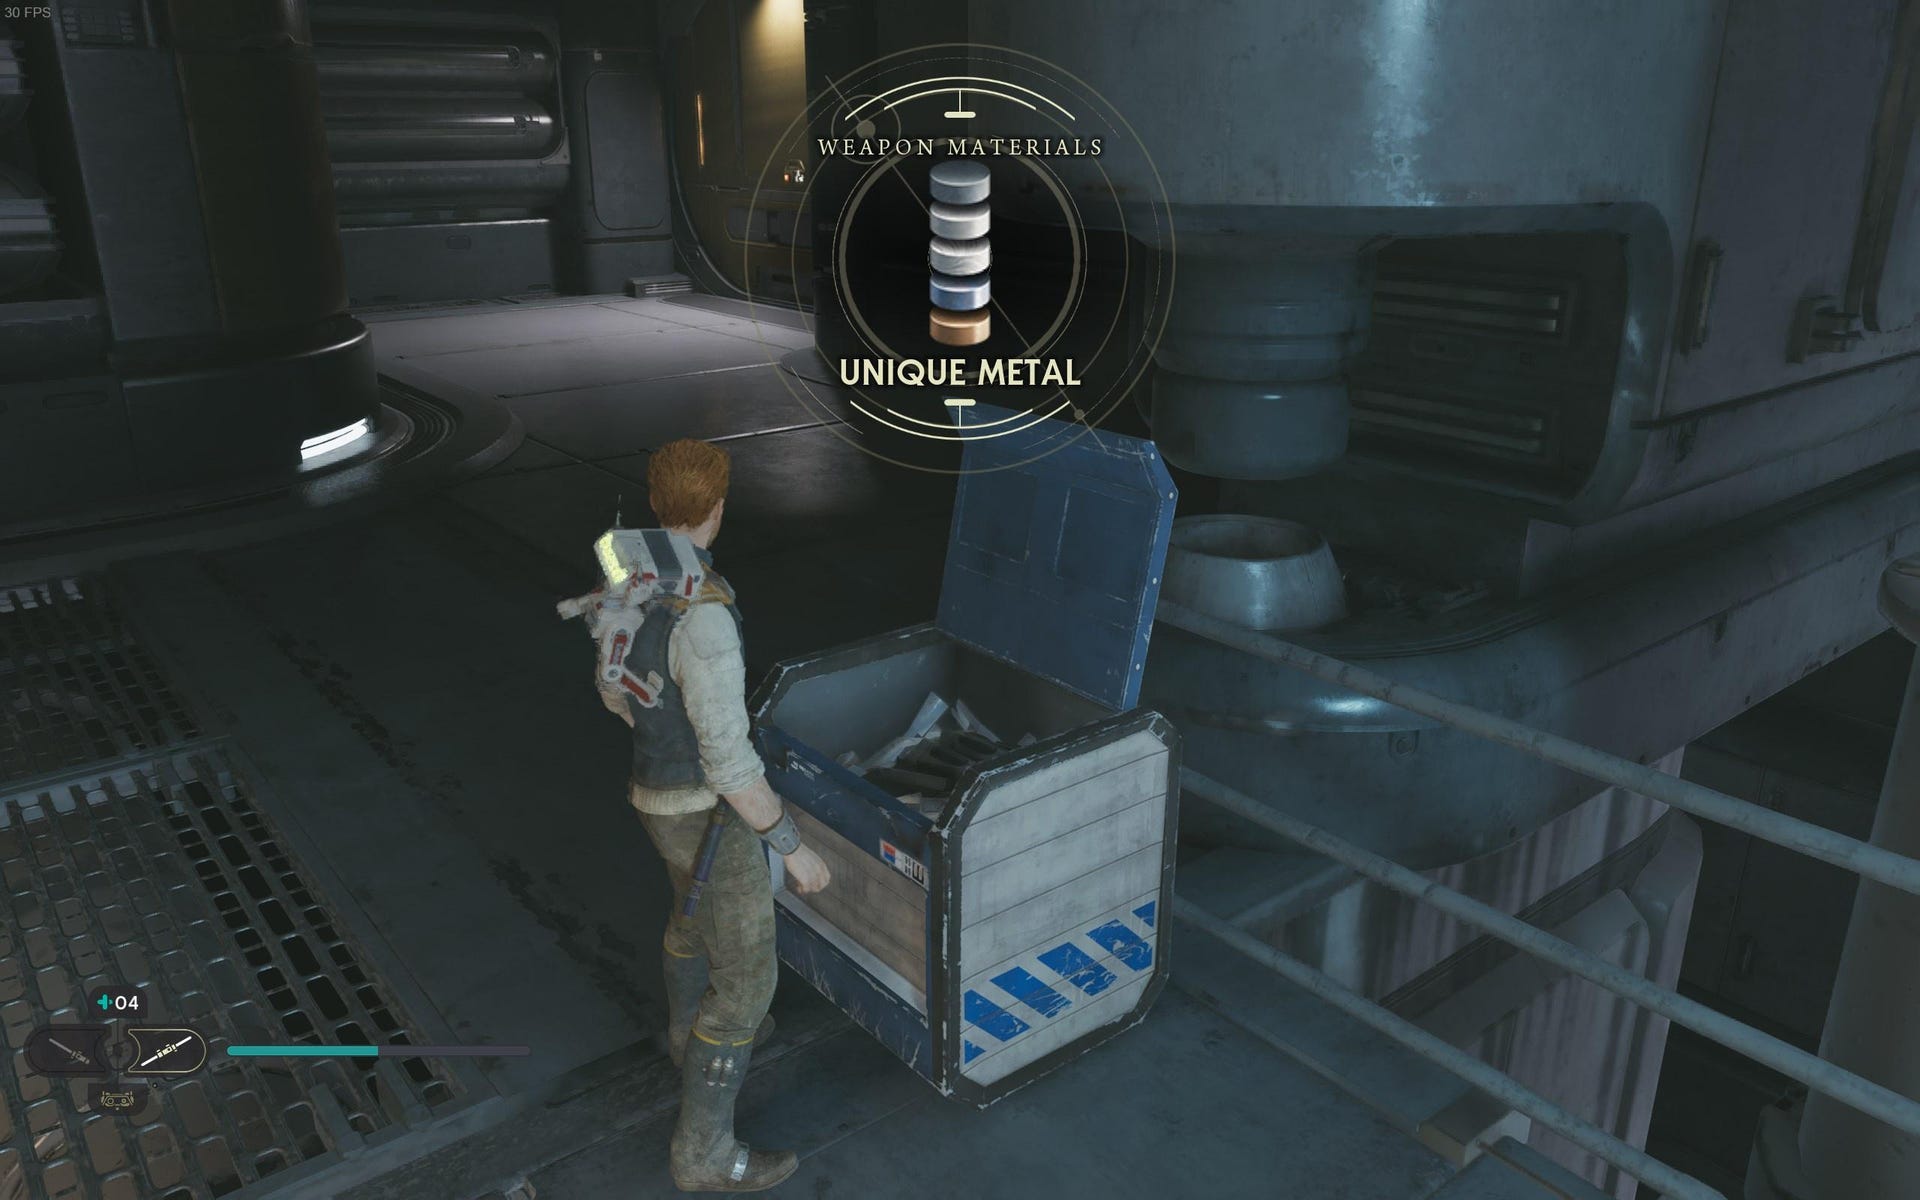
Chest #2 (Unique Metal Weapon Materials): Turn left from droid room and then turn back and wall run across gap to find chest.

Chest #3 (Harmony Emitter): Slice chest on left side of Reprogrammed Magnaguard boss room.
Automated Forge Essences:
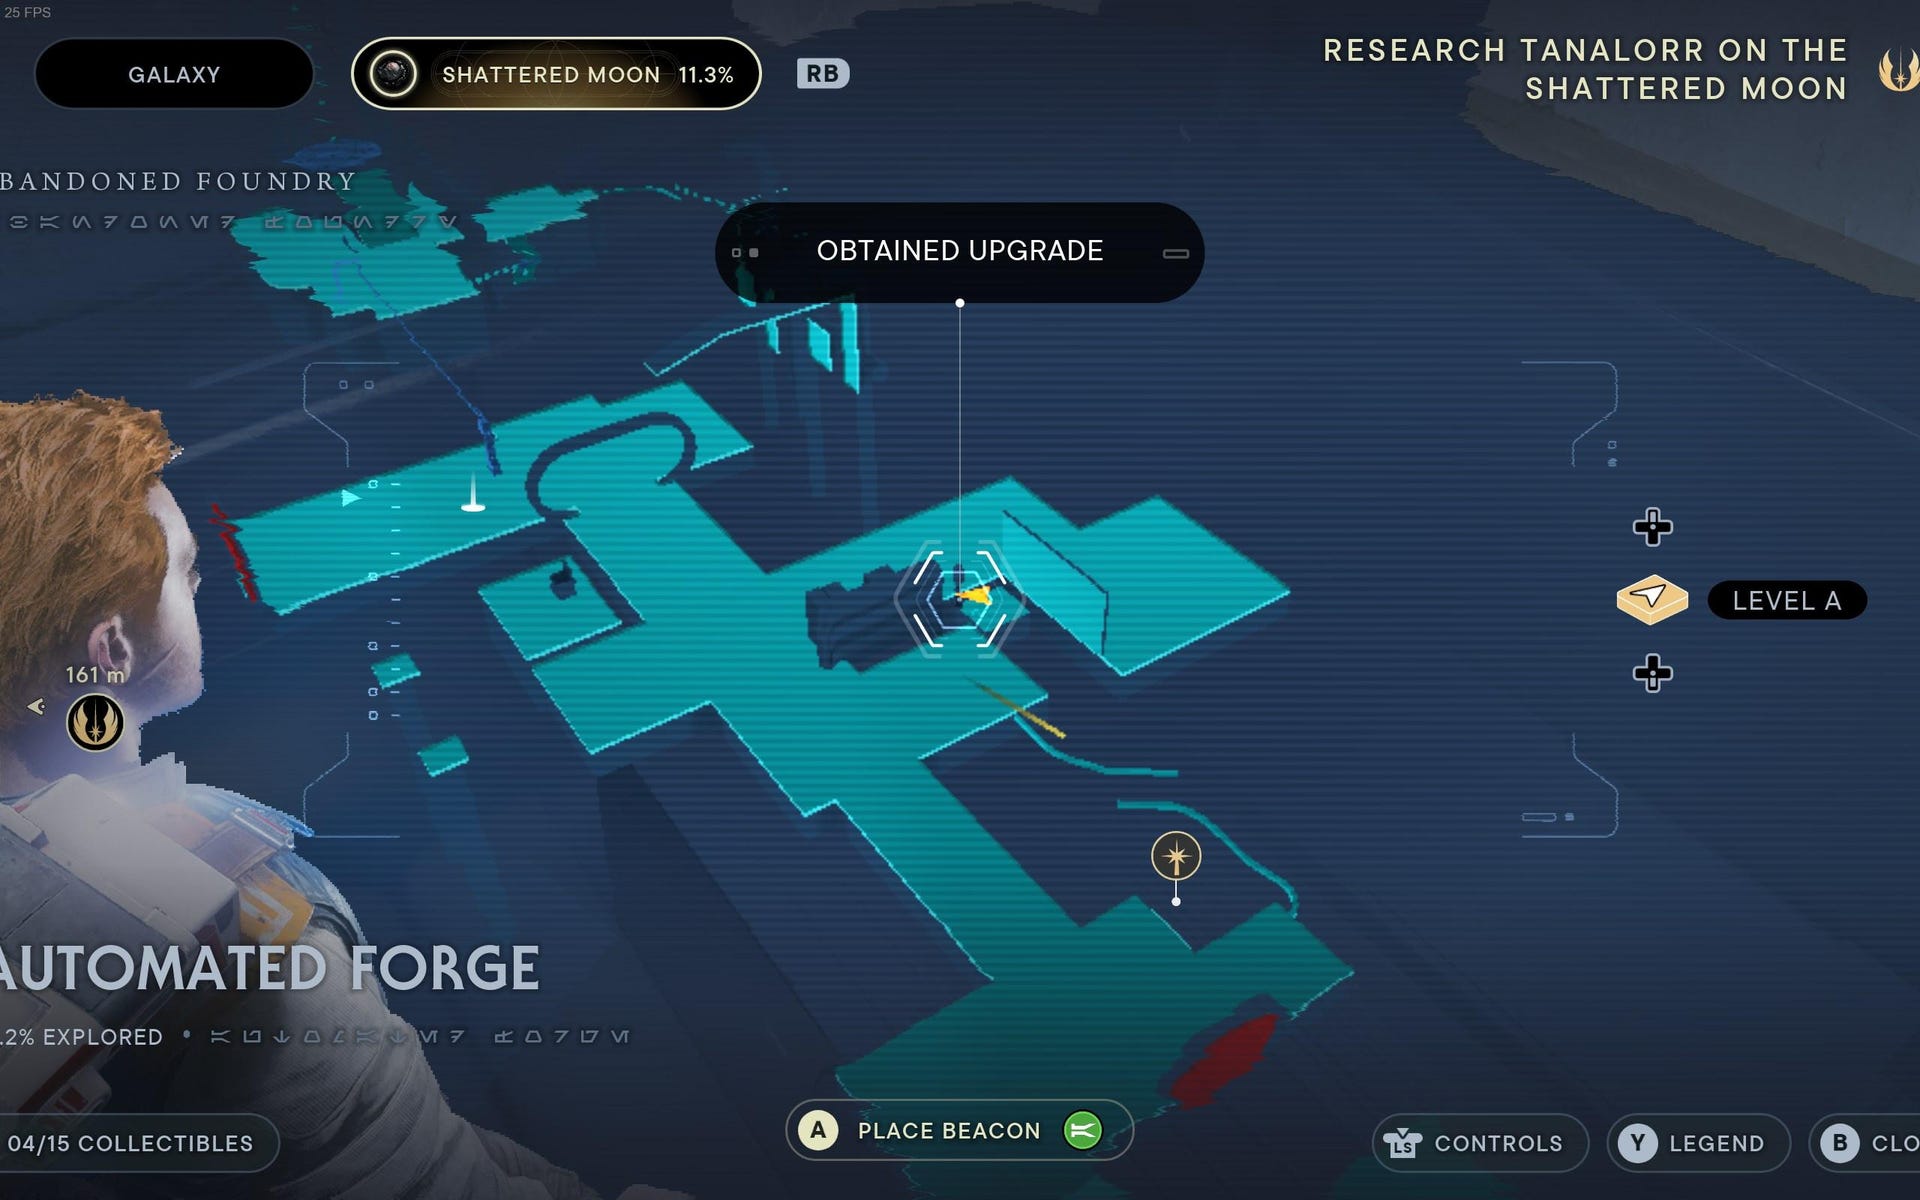
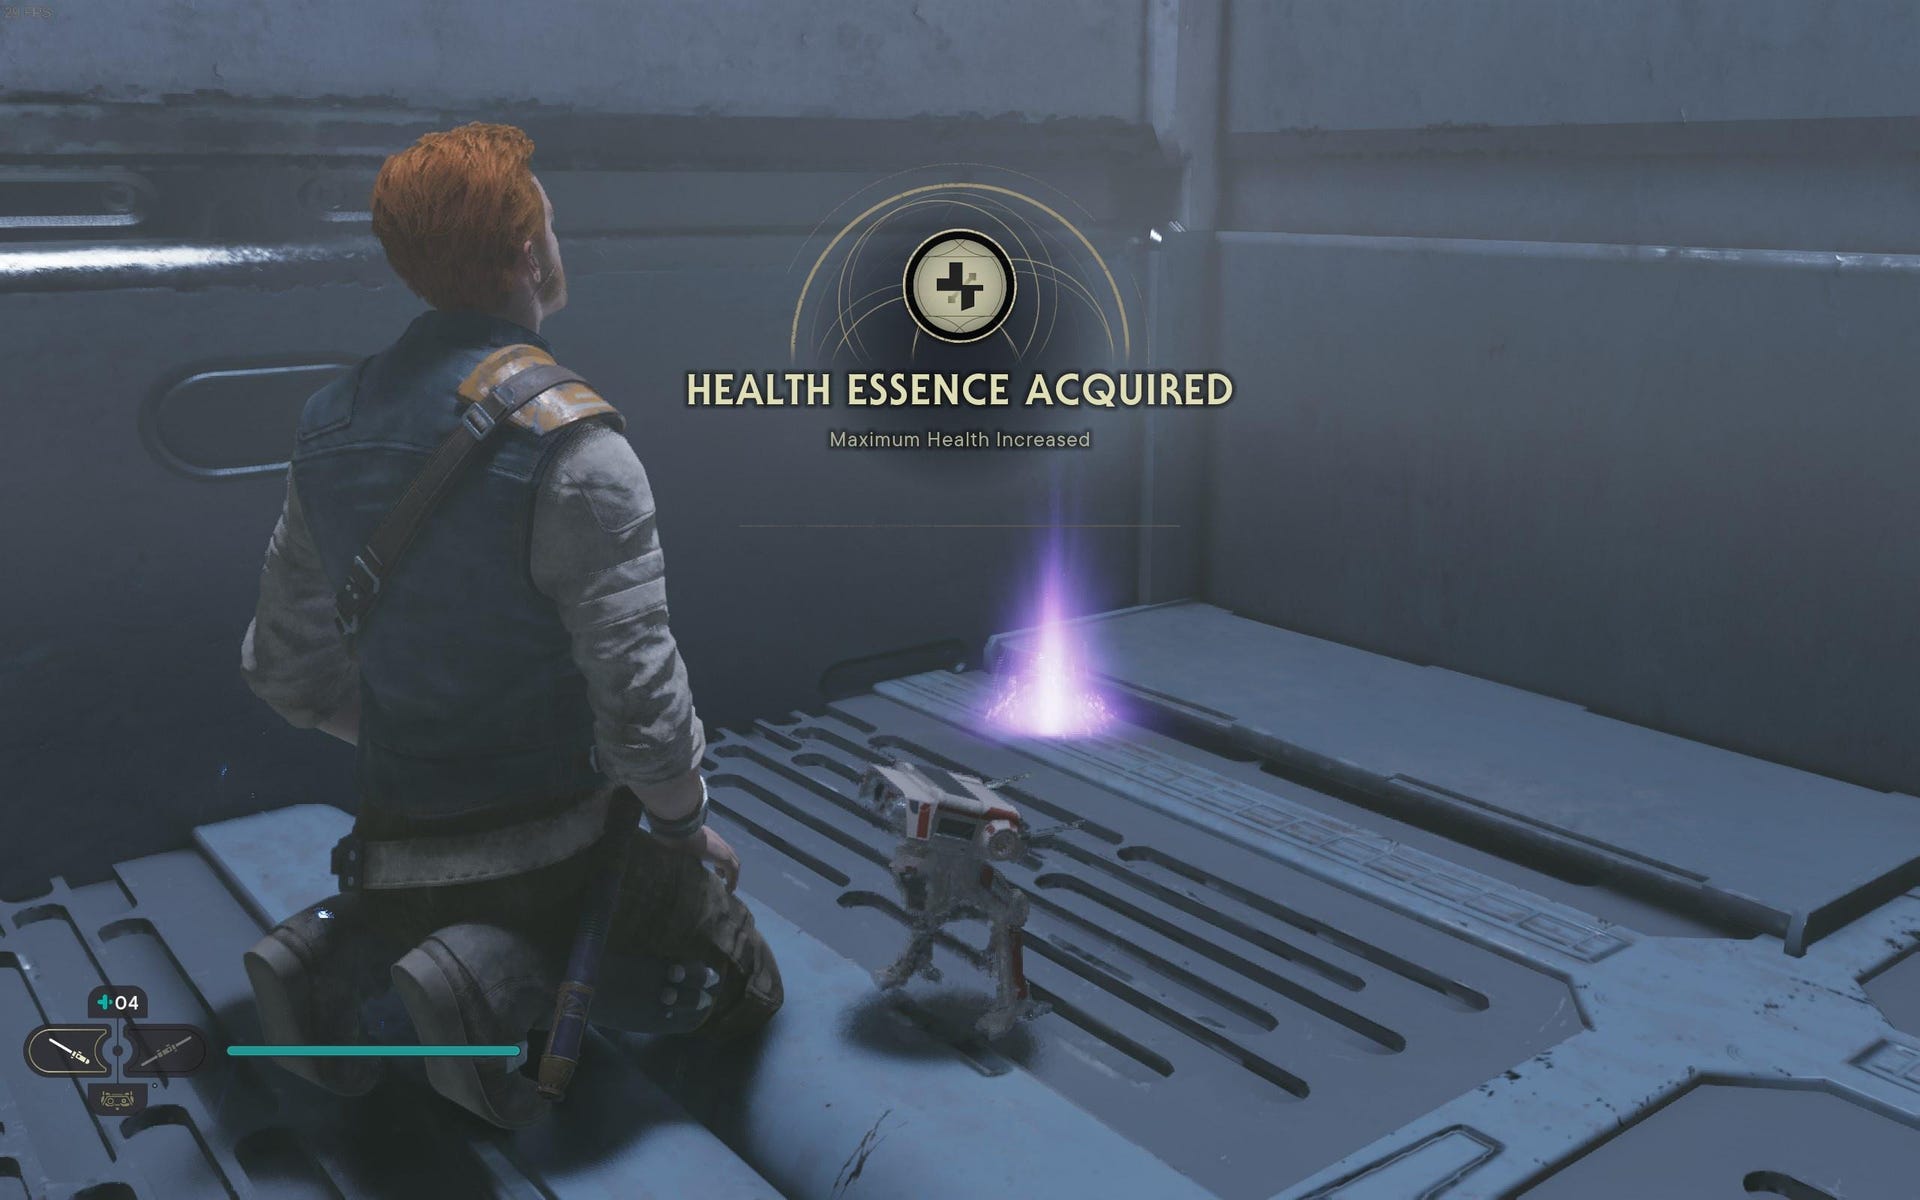
Health Essence: Head past droid and fight lone bedlam raider. Force pull grate and hop onto yellow bar, and then turn back and wall run to essence.
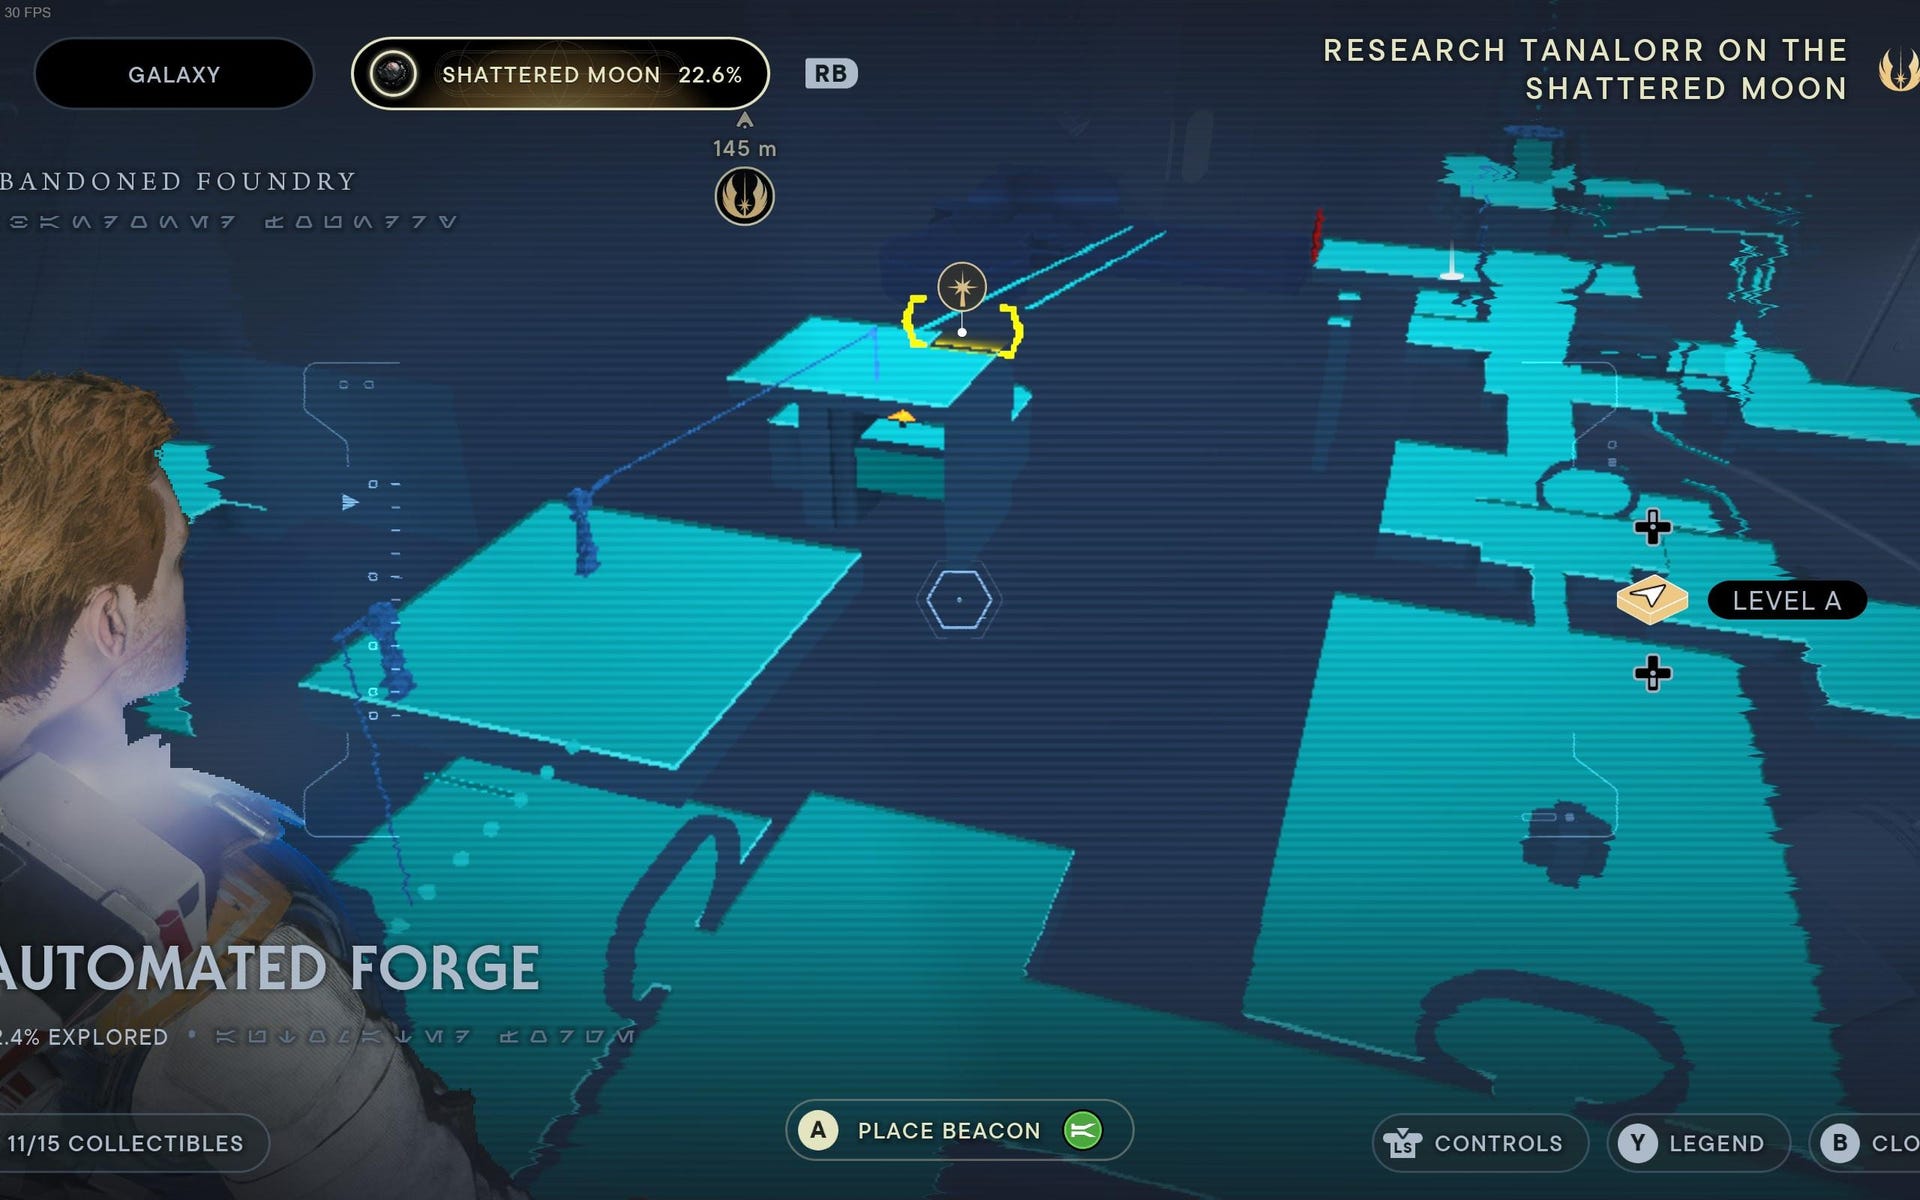

Skill Point Essence: As you take first zipline down, drop halfway and jump over to the Skill Point Essence underneath the platform.
Automated Forge Databanks:
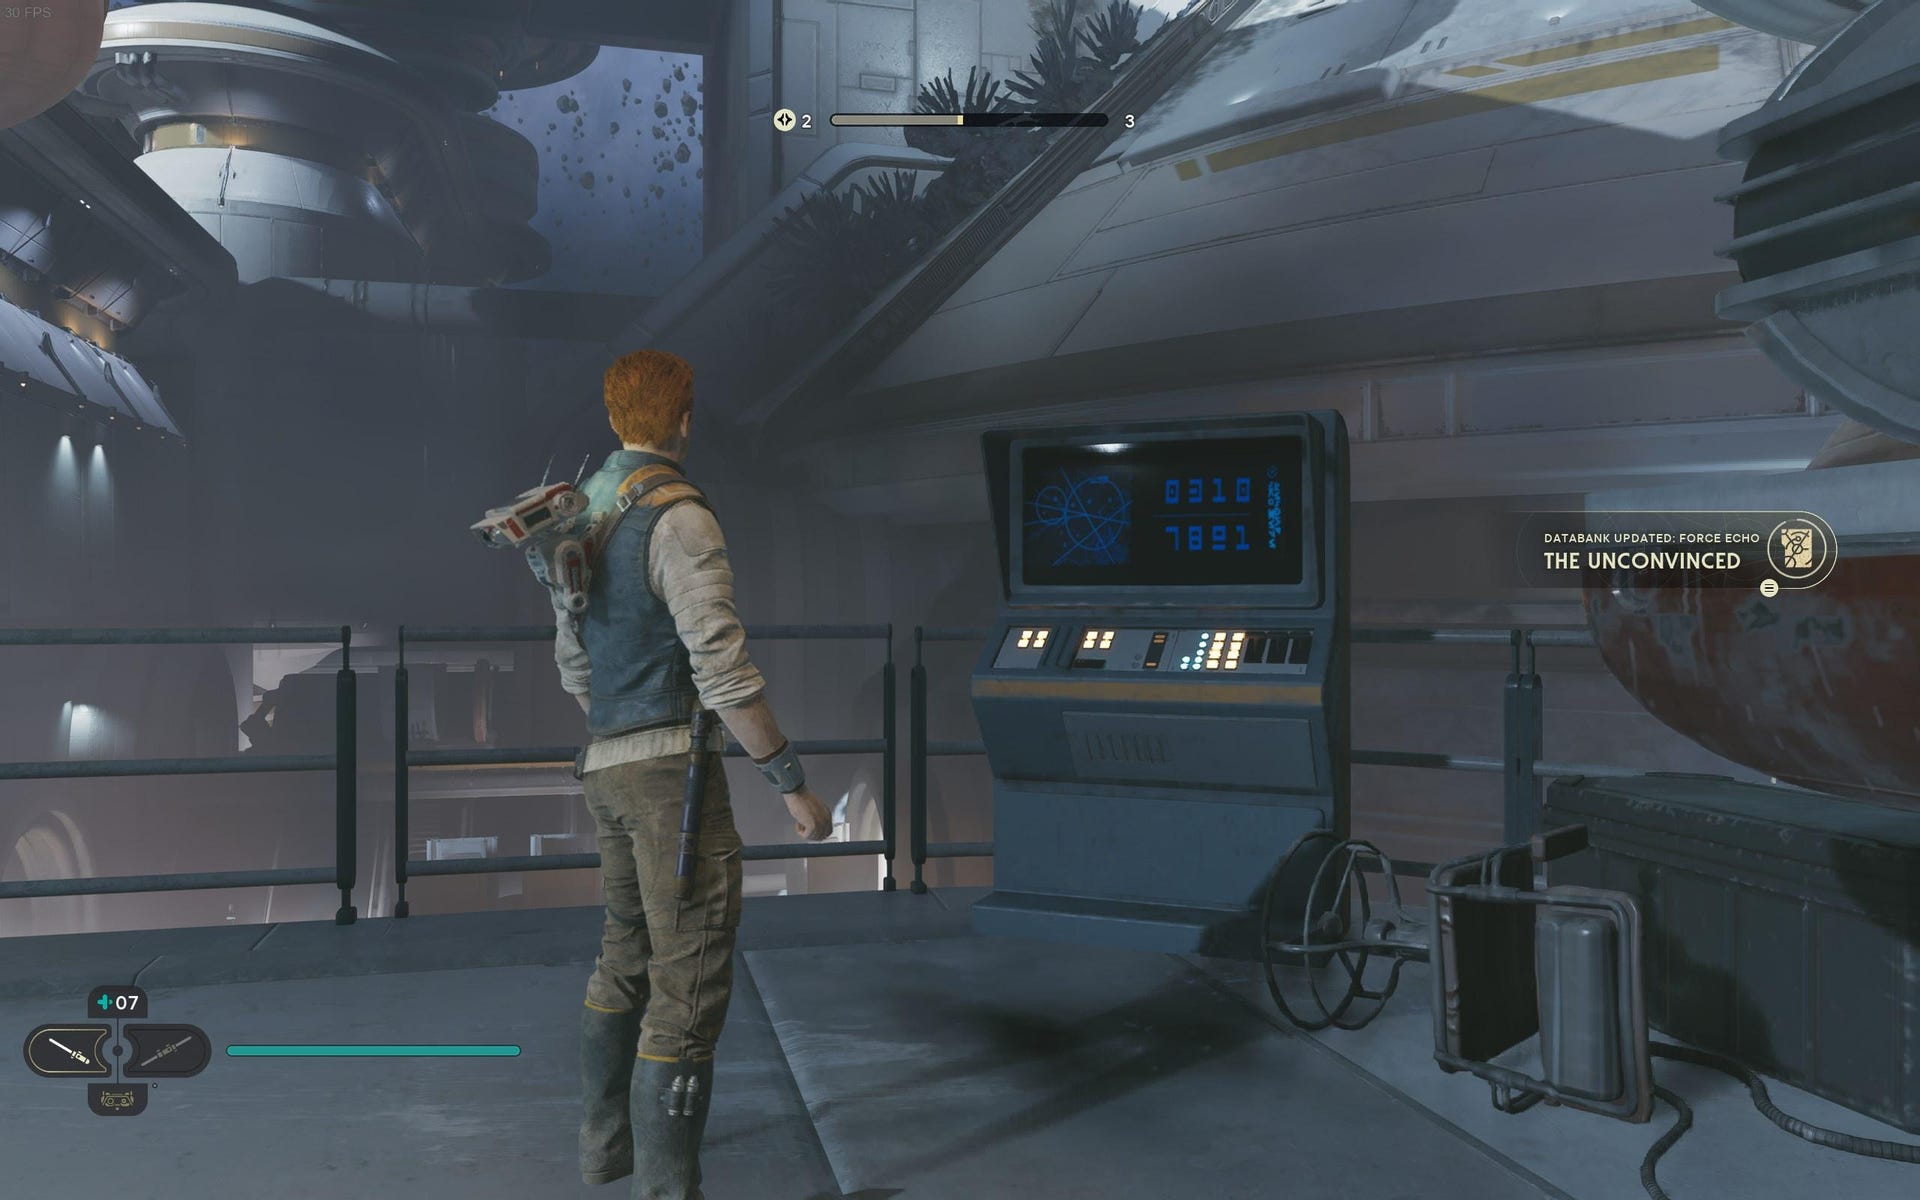
Force Echo (The Unconvinced): Take lift down into forge, head down stairs, and turn back on the right side to find Force Echo.
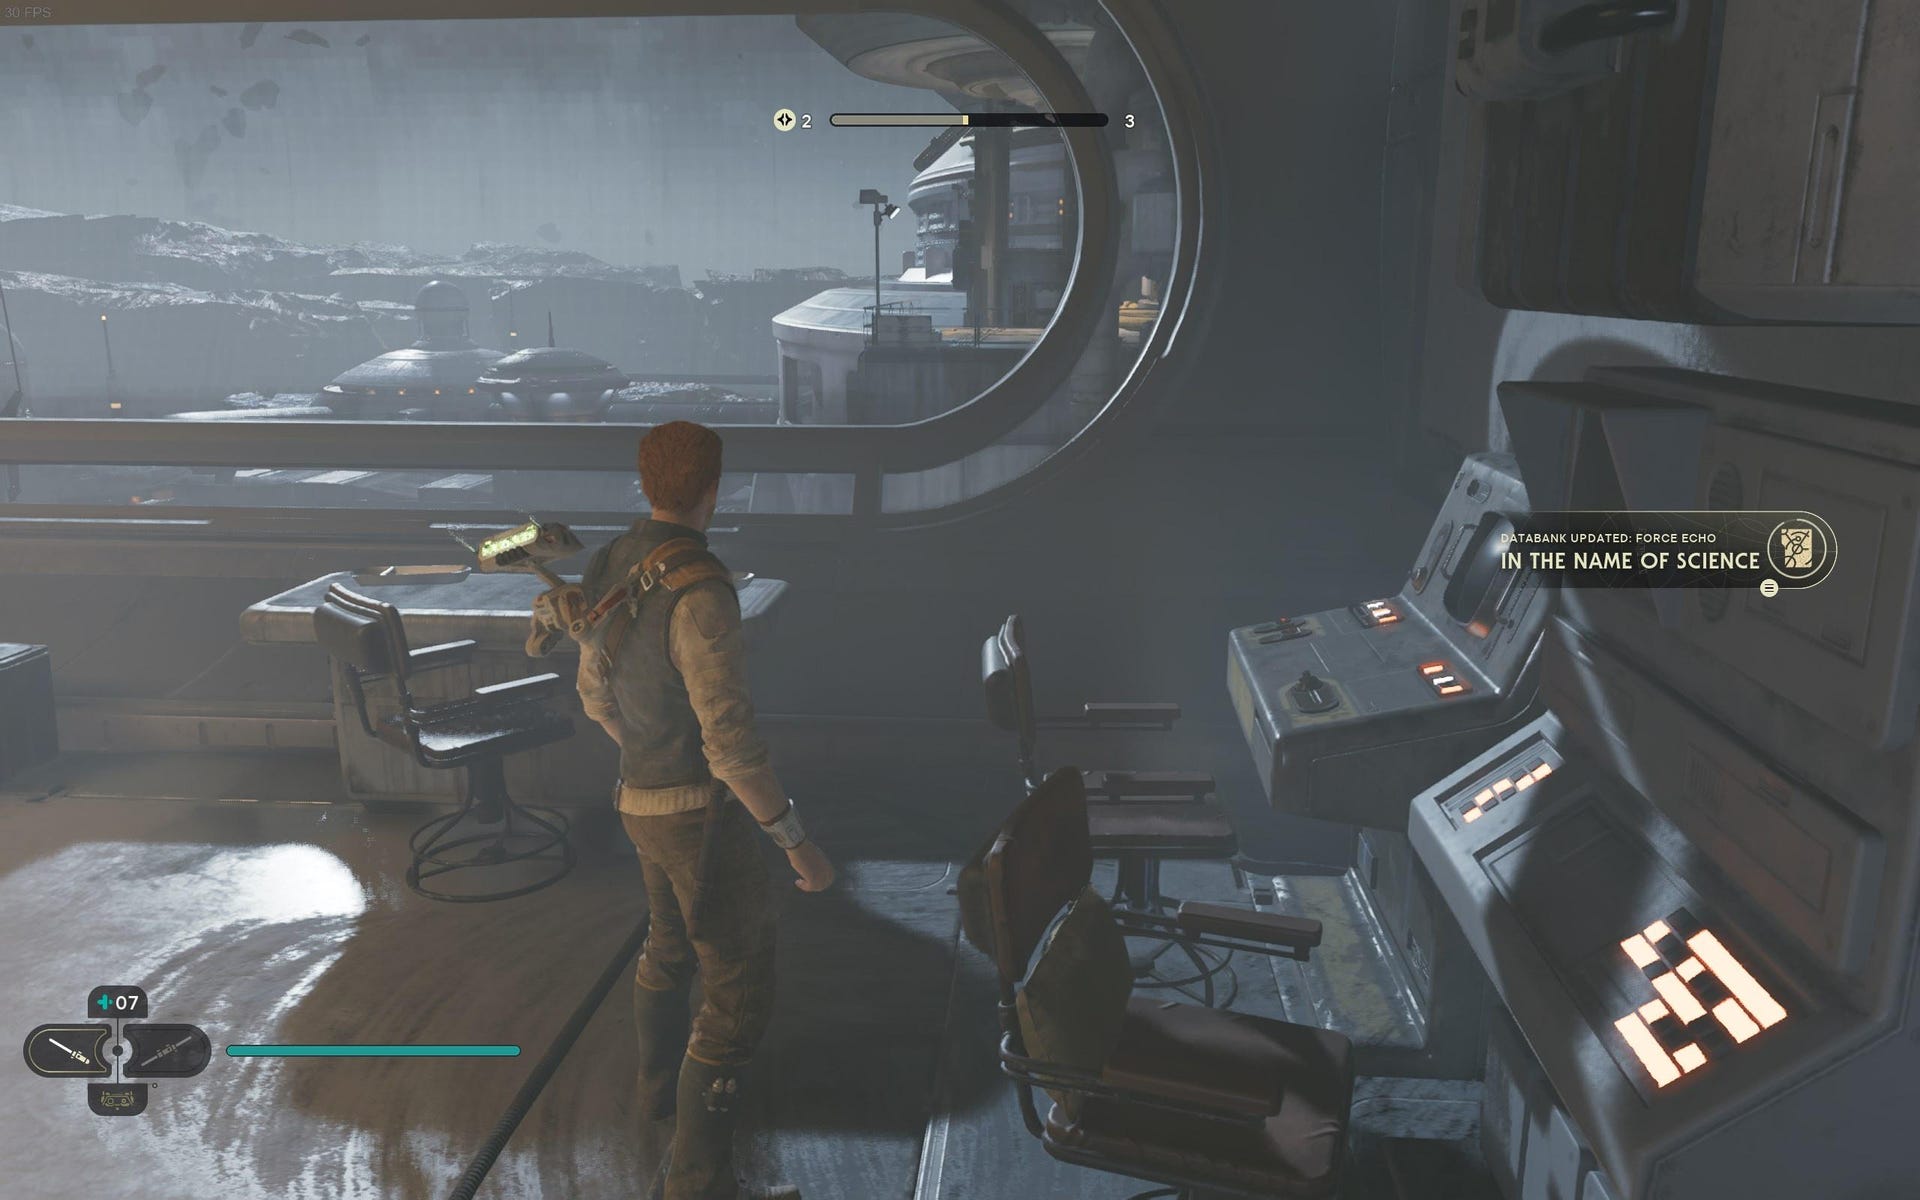
Force Echo (In the Name of Science): Take path forward from Automated Forge Meditation Point, and then turn left when droid walks out. Force Echo is in the room on the left.
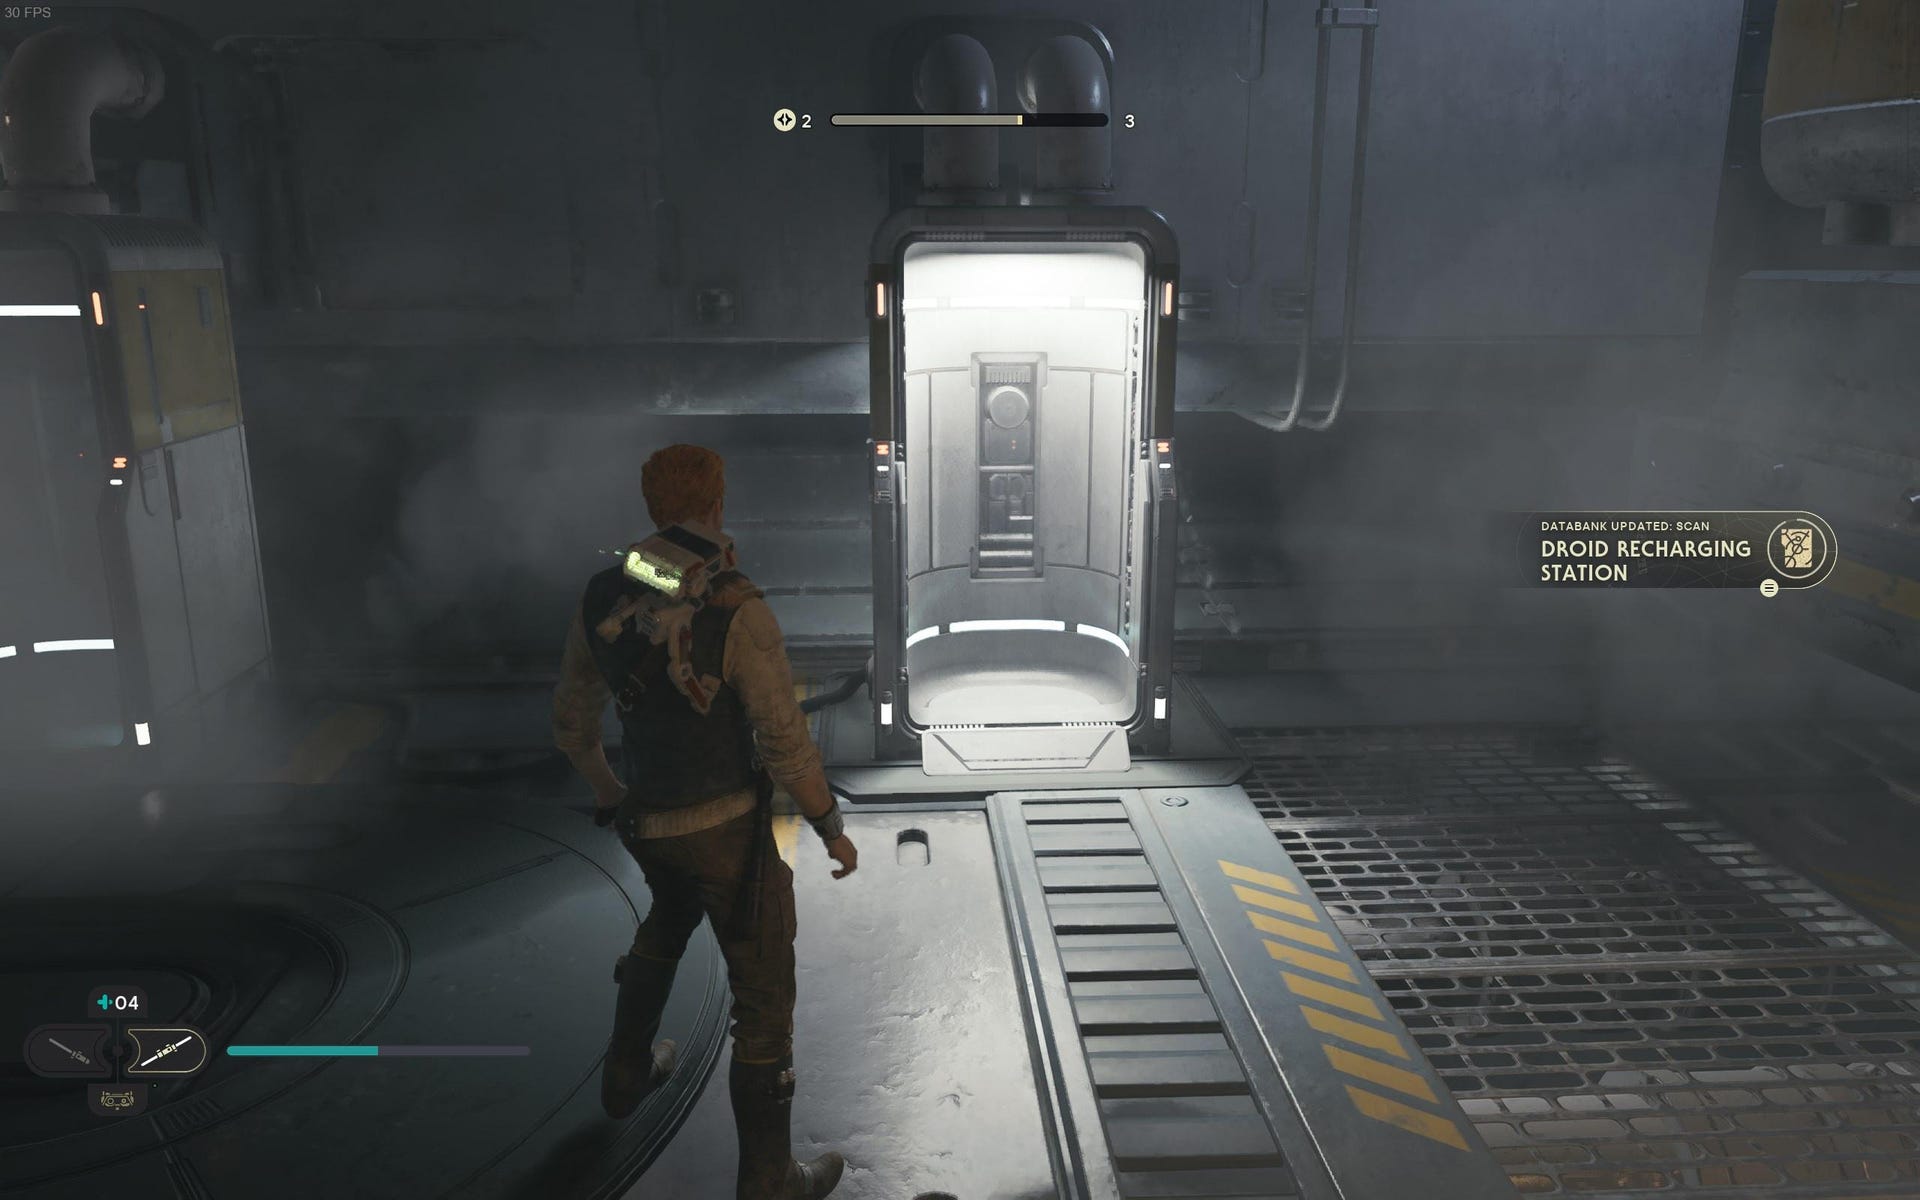
Databank (Droid Recharging Station): In room where you're attacked by bedlam raiders and battle droids, scan the droid station on the far left side of the room.
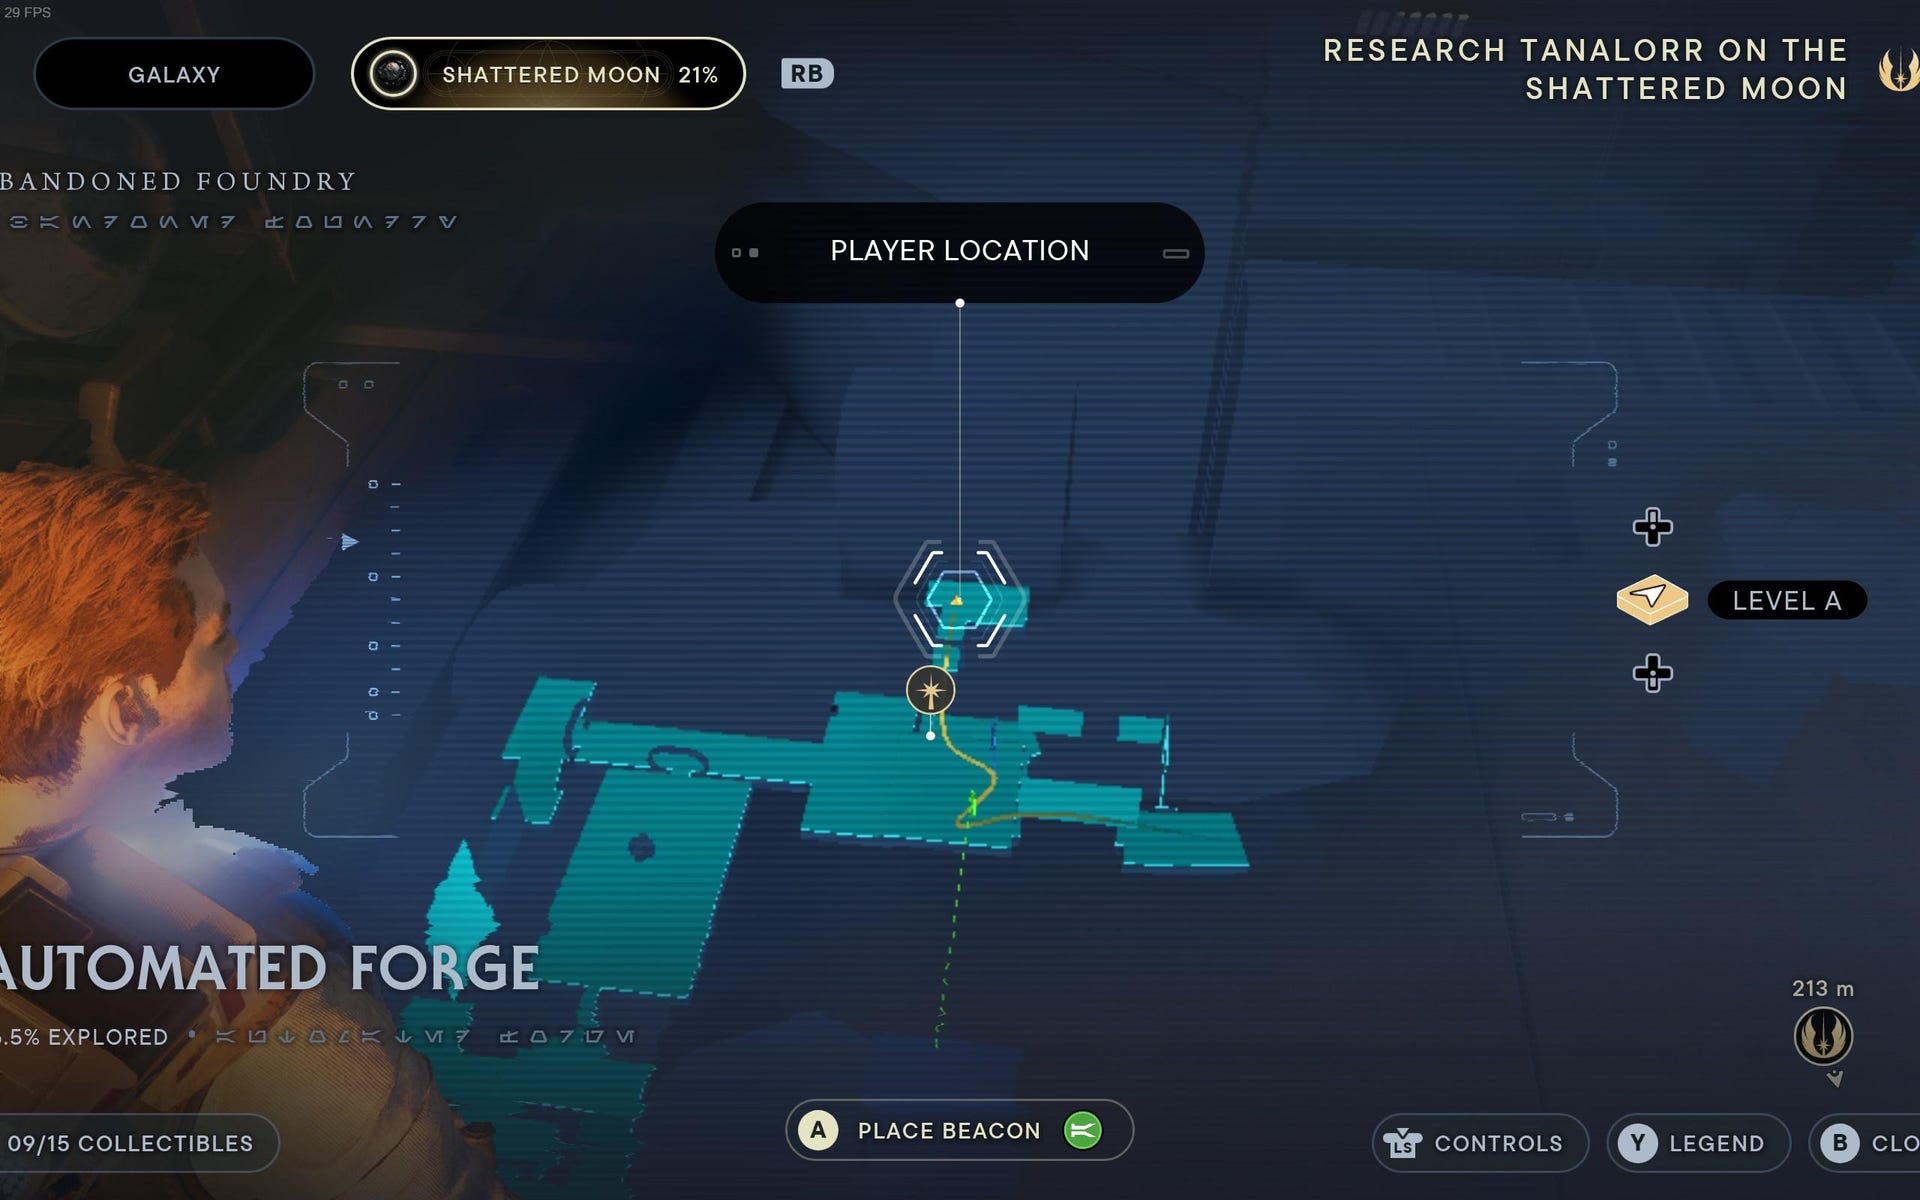
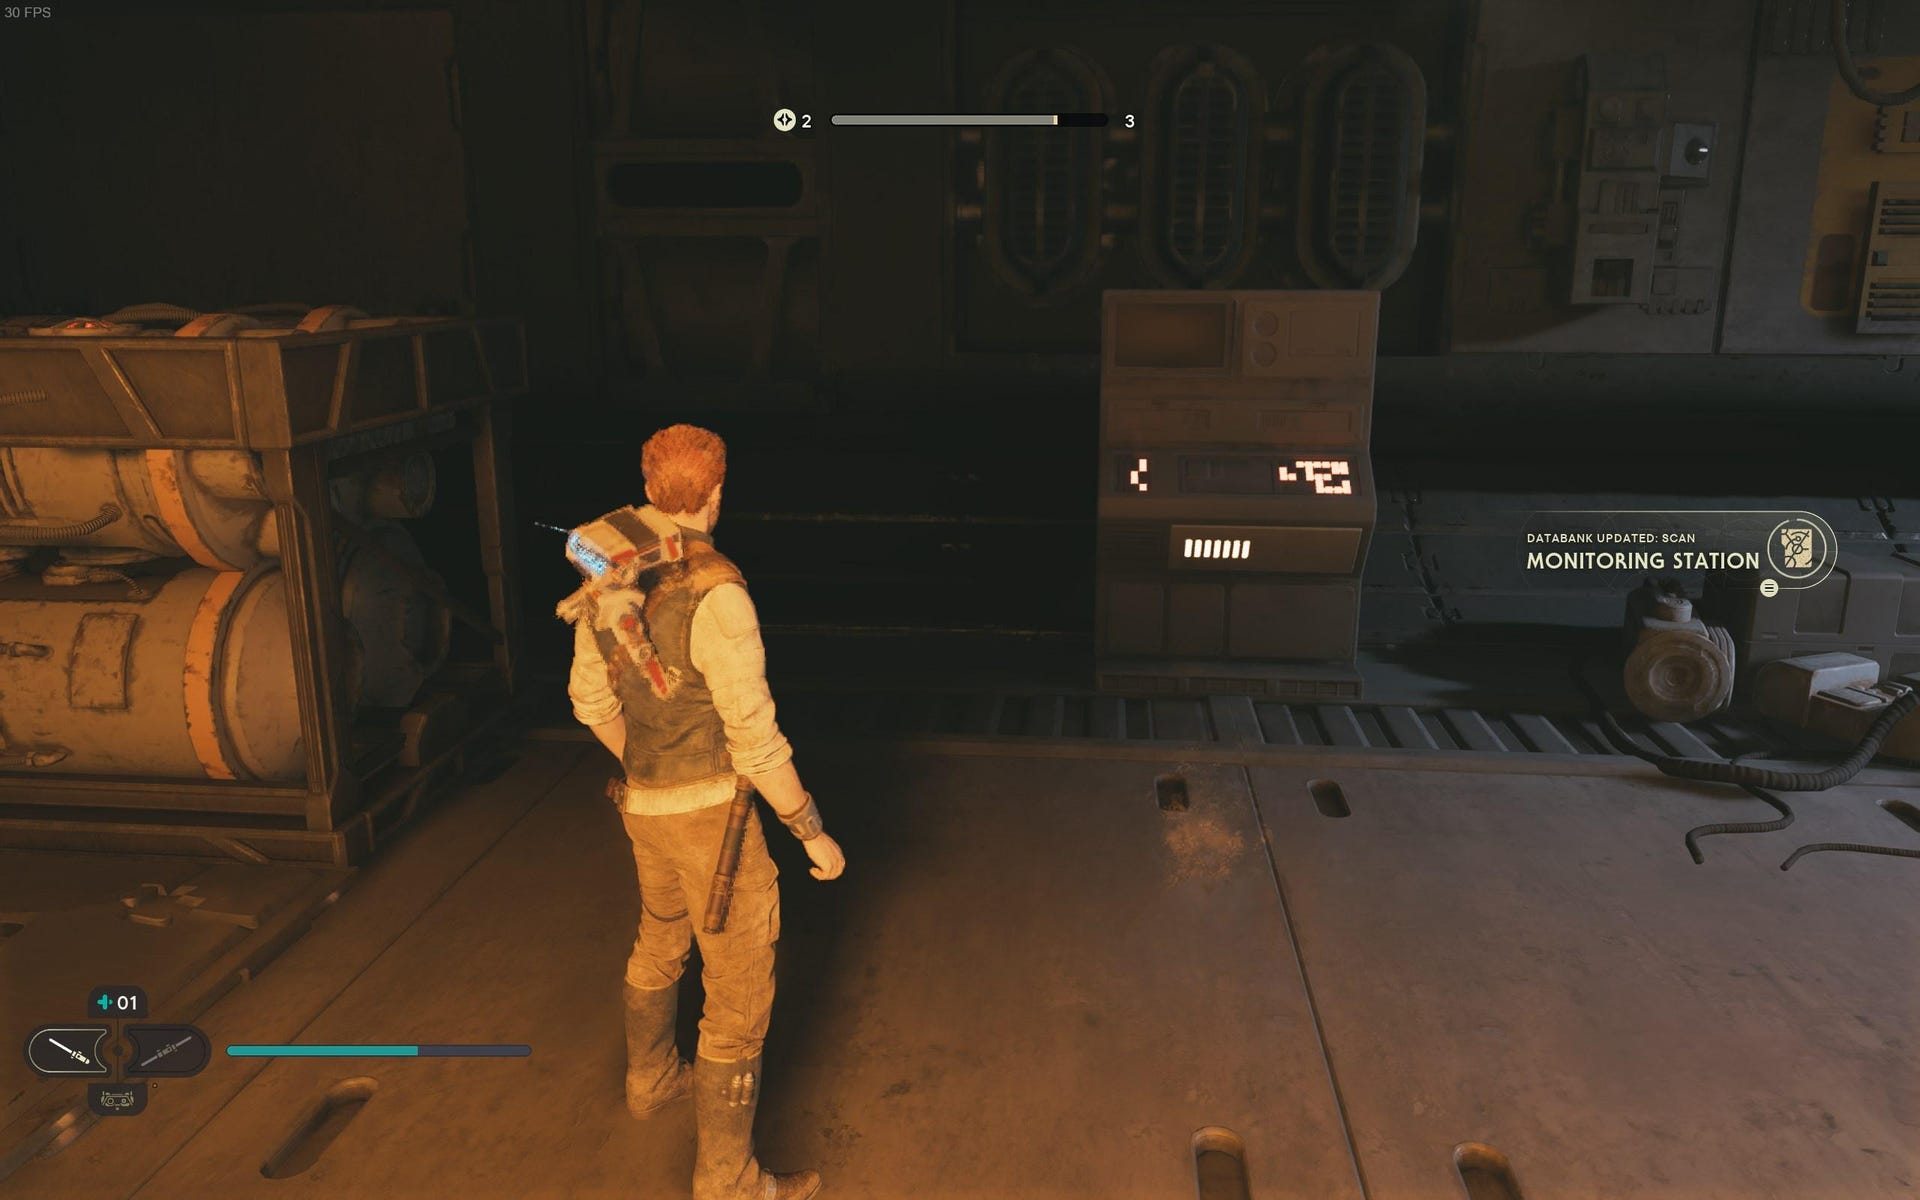
Databank (Monitoring Station): After Magnaguard boss fight, parkour up next room and then swing across the gap where you cut the rope back down. Scan point is past the spurts of fire.
Automated Forge Force Tears:
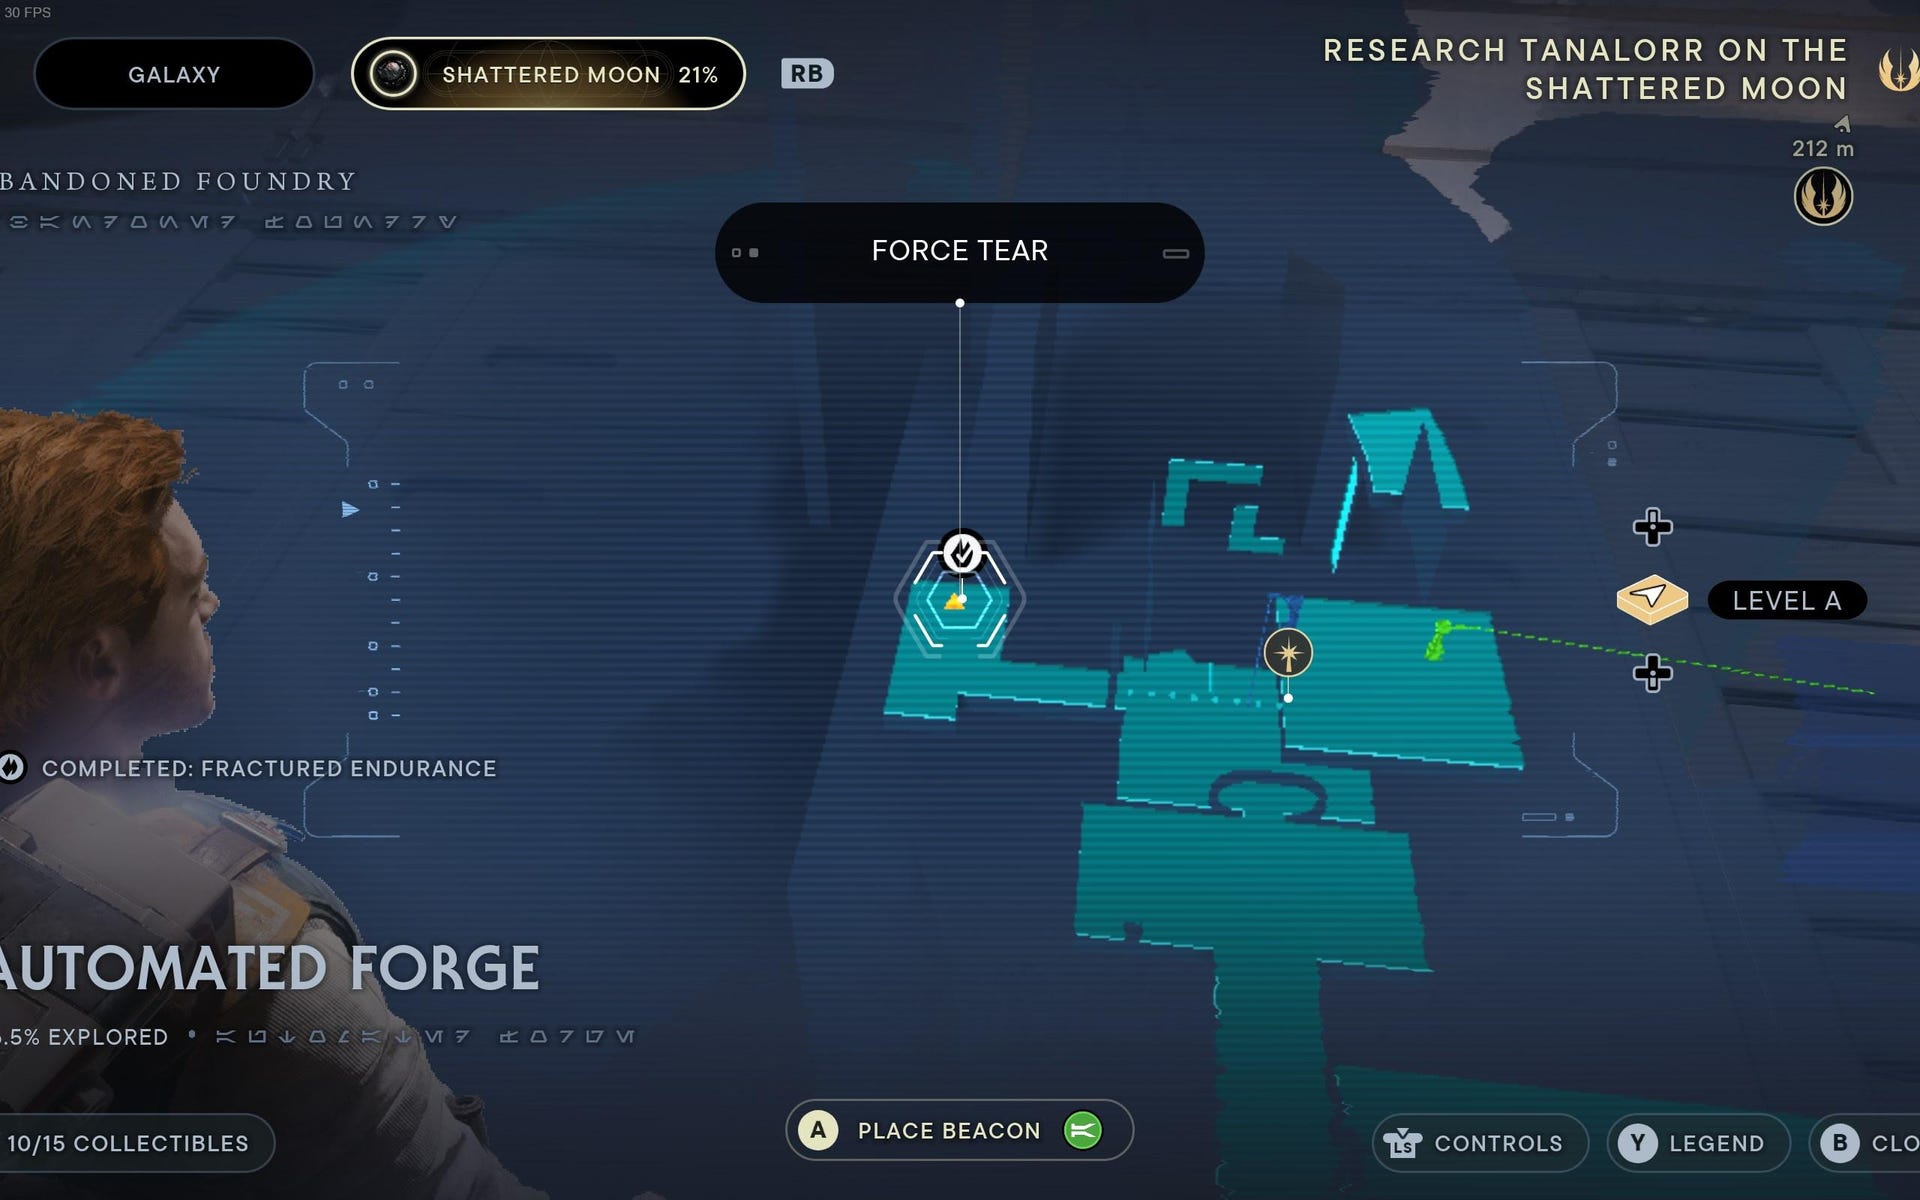
Force Tear (Fractured Endurance): After Magnaguard boss fight, parkour up next room and then swing across the gap where you cut the rope back down. The Force Tear is past the spurts of fire.
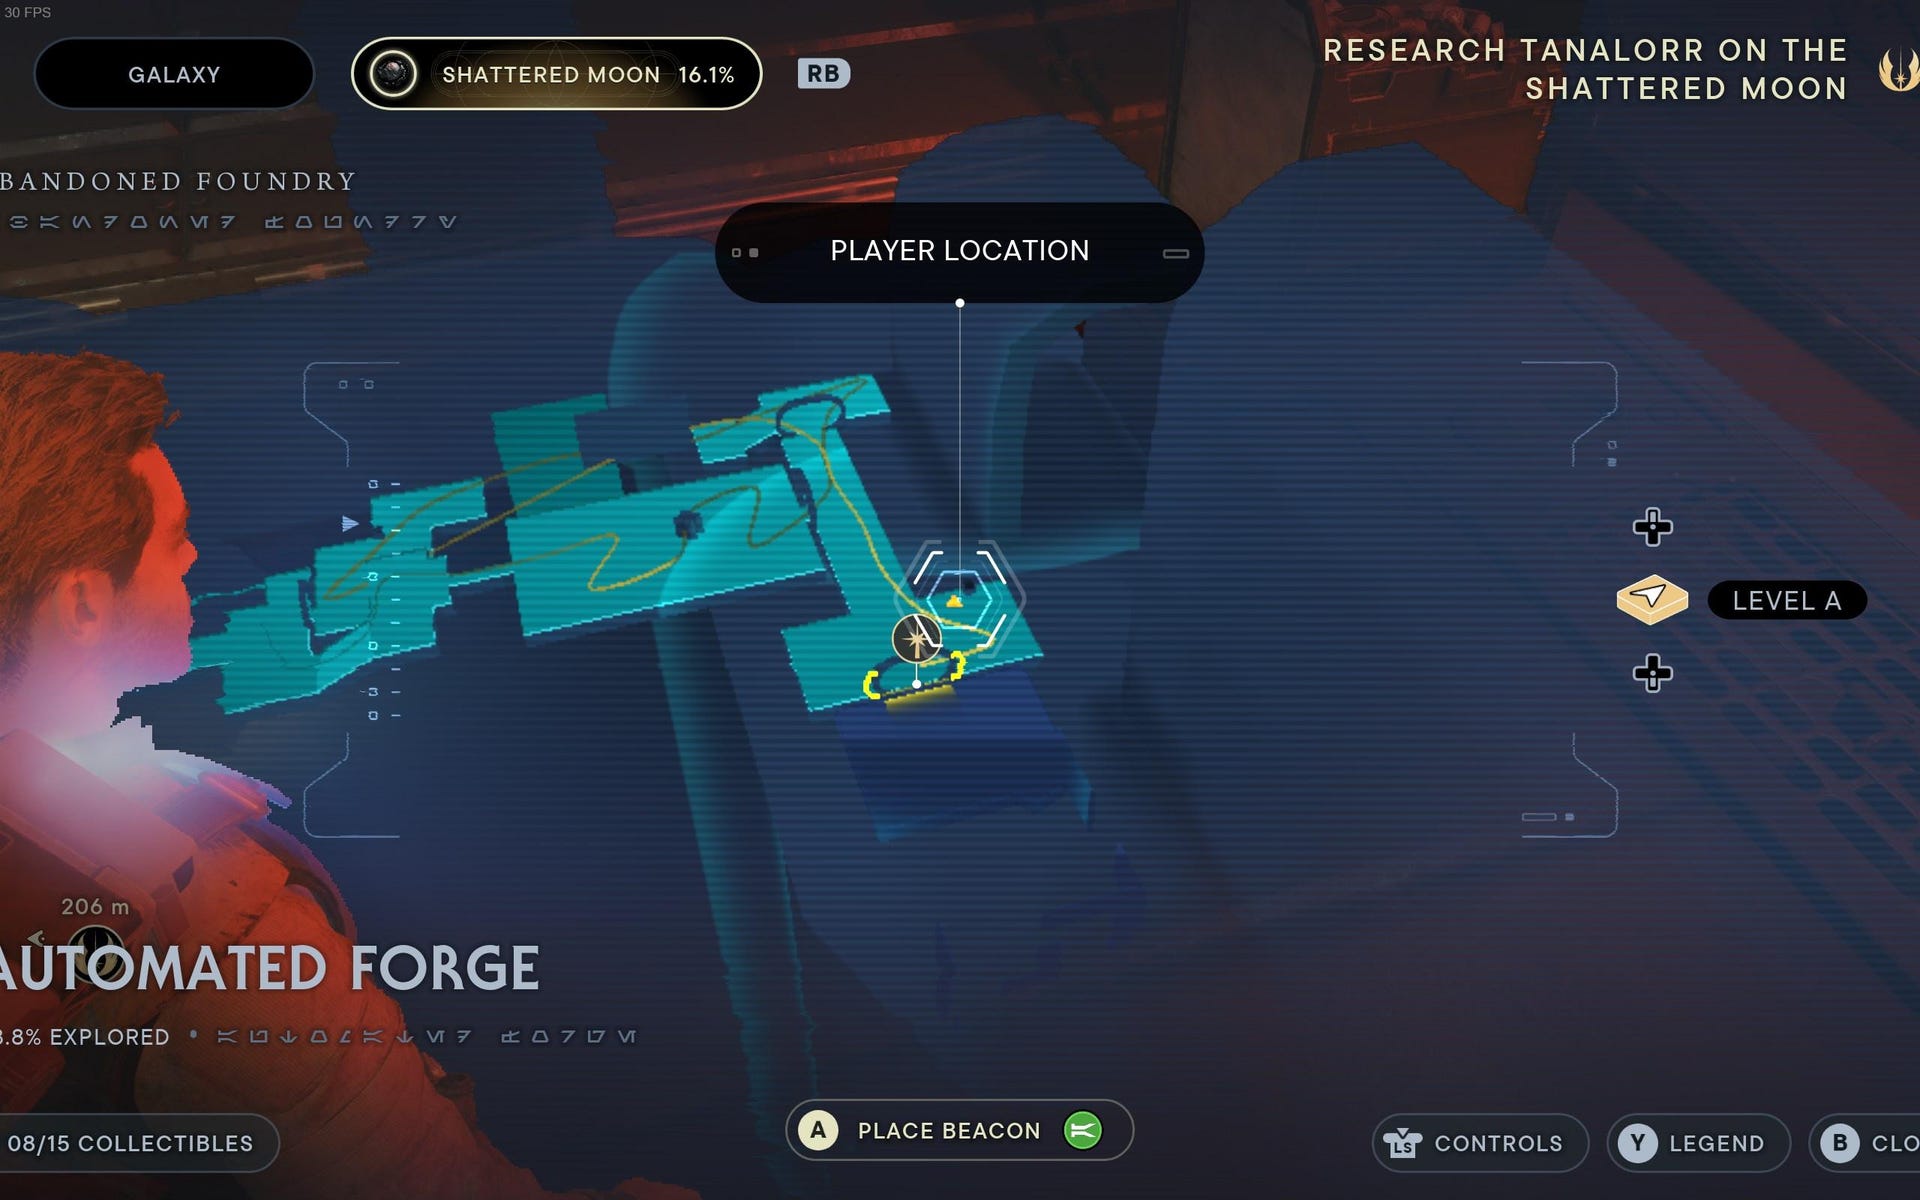
Automated Forge Treasures:


Datadisc #1: Have BD-1 slice door to get out of droid room, and then turn left and head over to Maintenance Droid. Datadisc is in corner opposite maintenance droid.

Datadisc #2: Opposite Fractured Endurance Force Tear.

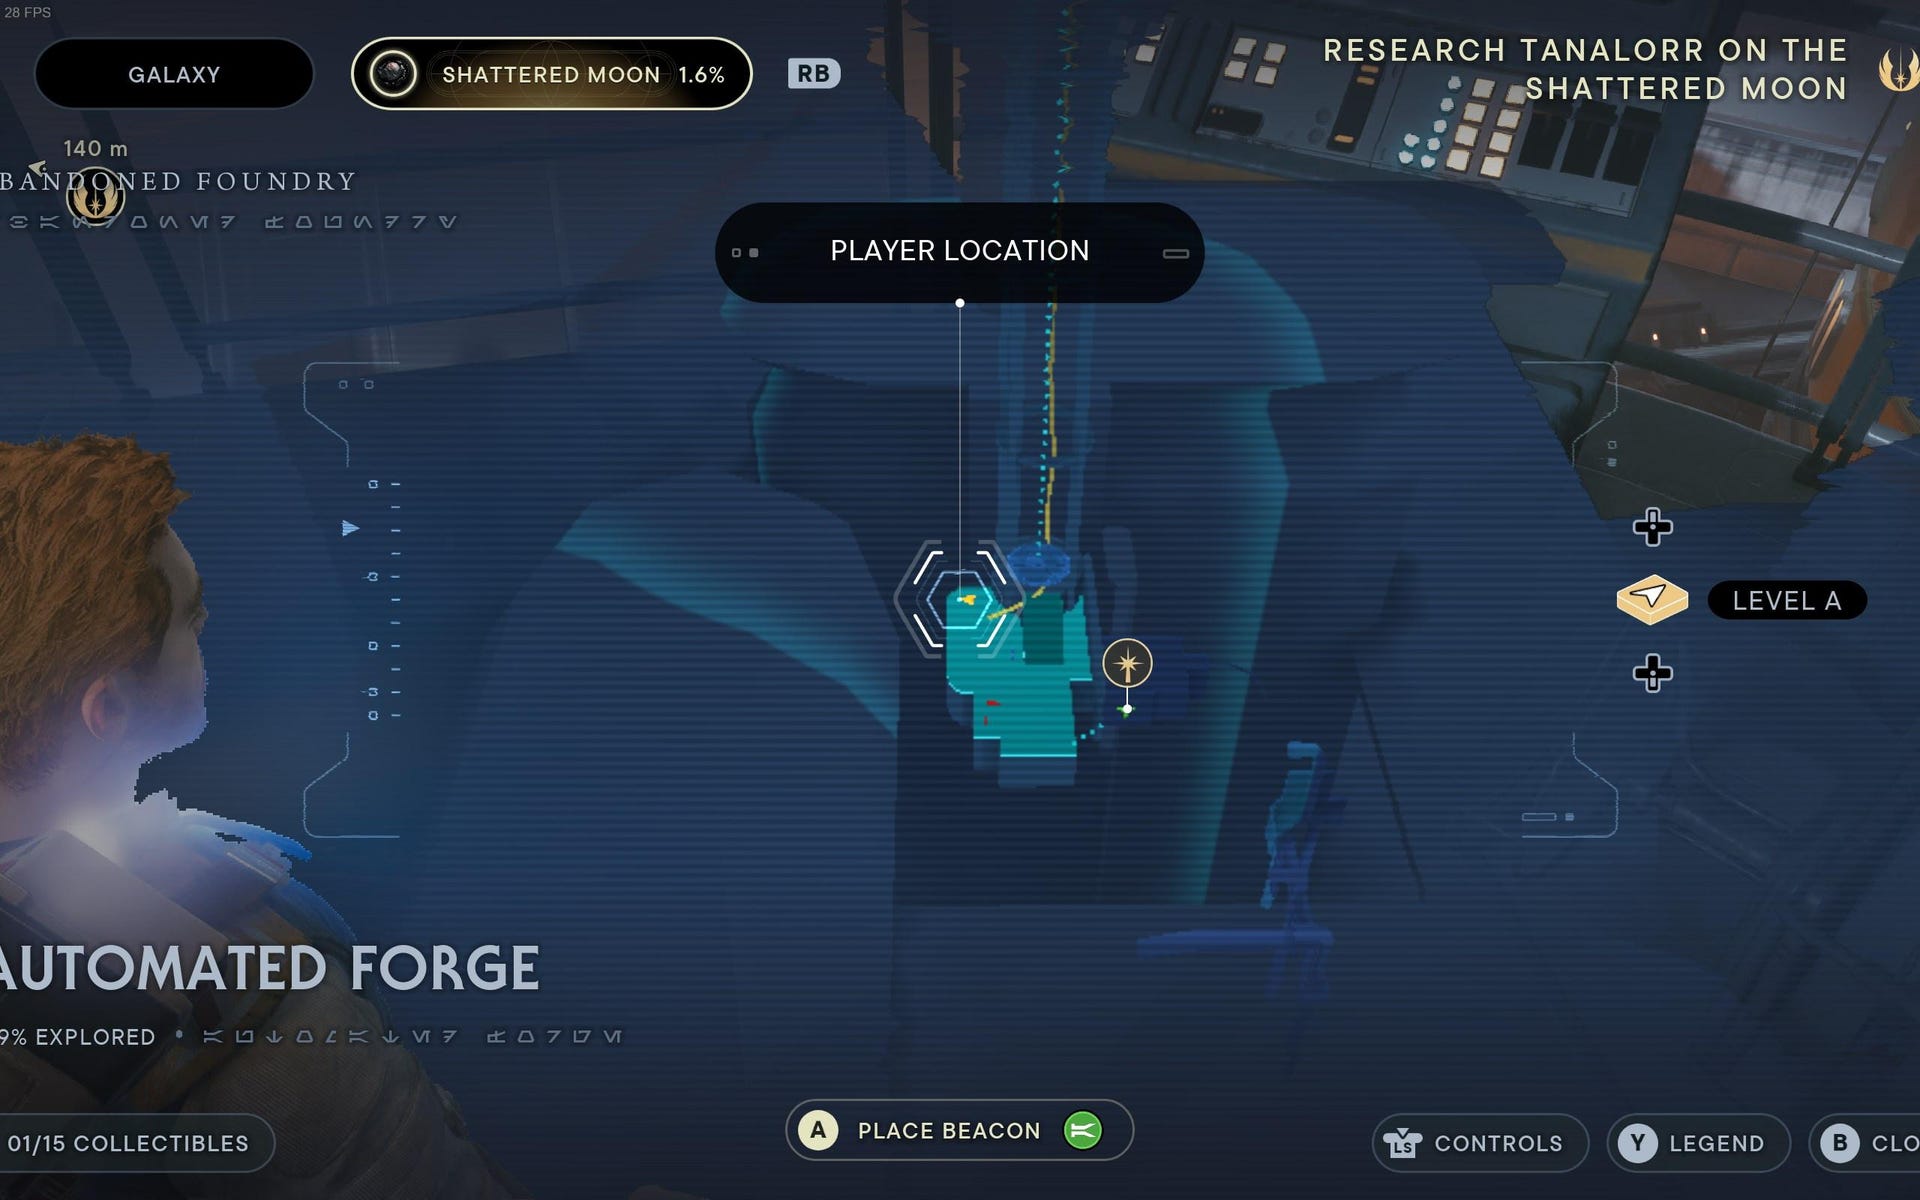
Datadiscs #3-5: Follow main path into Assembly Staging until you climb ledge and fight two battle droids. Then, turn left and activate zipline. Take zipline back down to Automated Forge, but drop off halfway along. There are three Datadiscs on this platform around the edges.
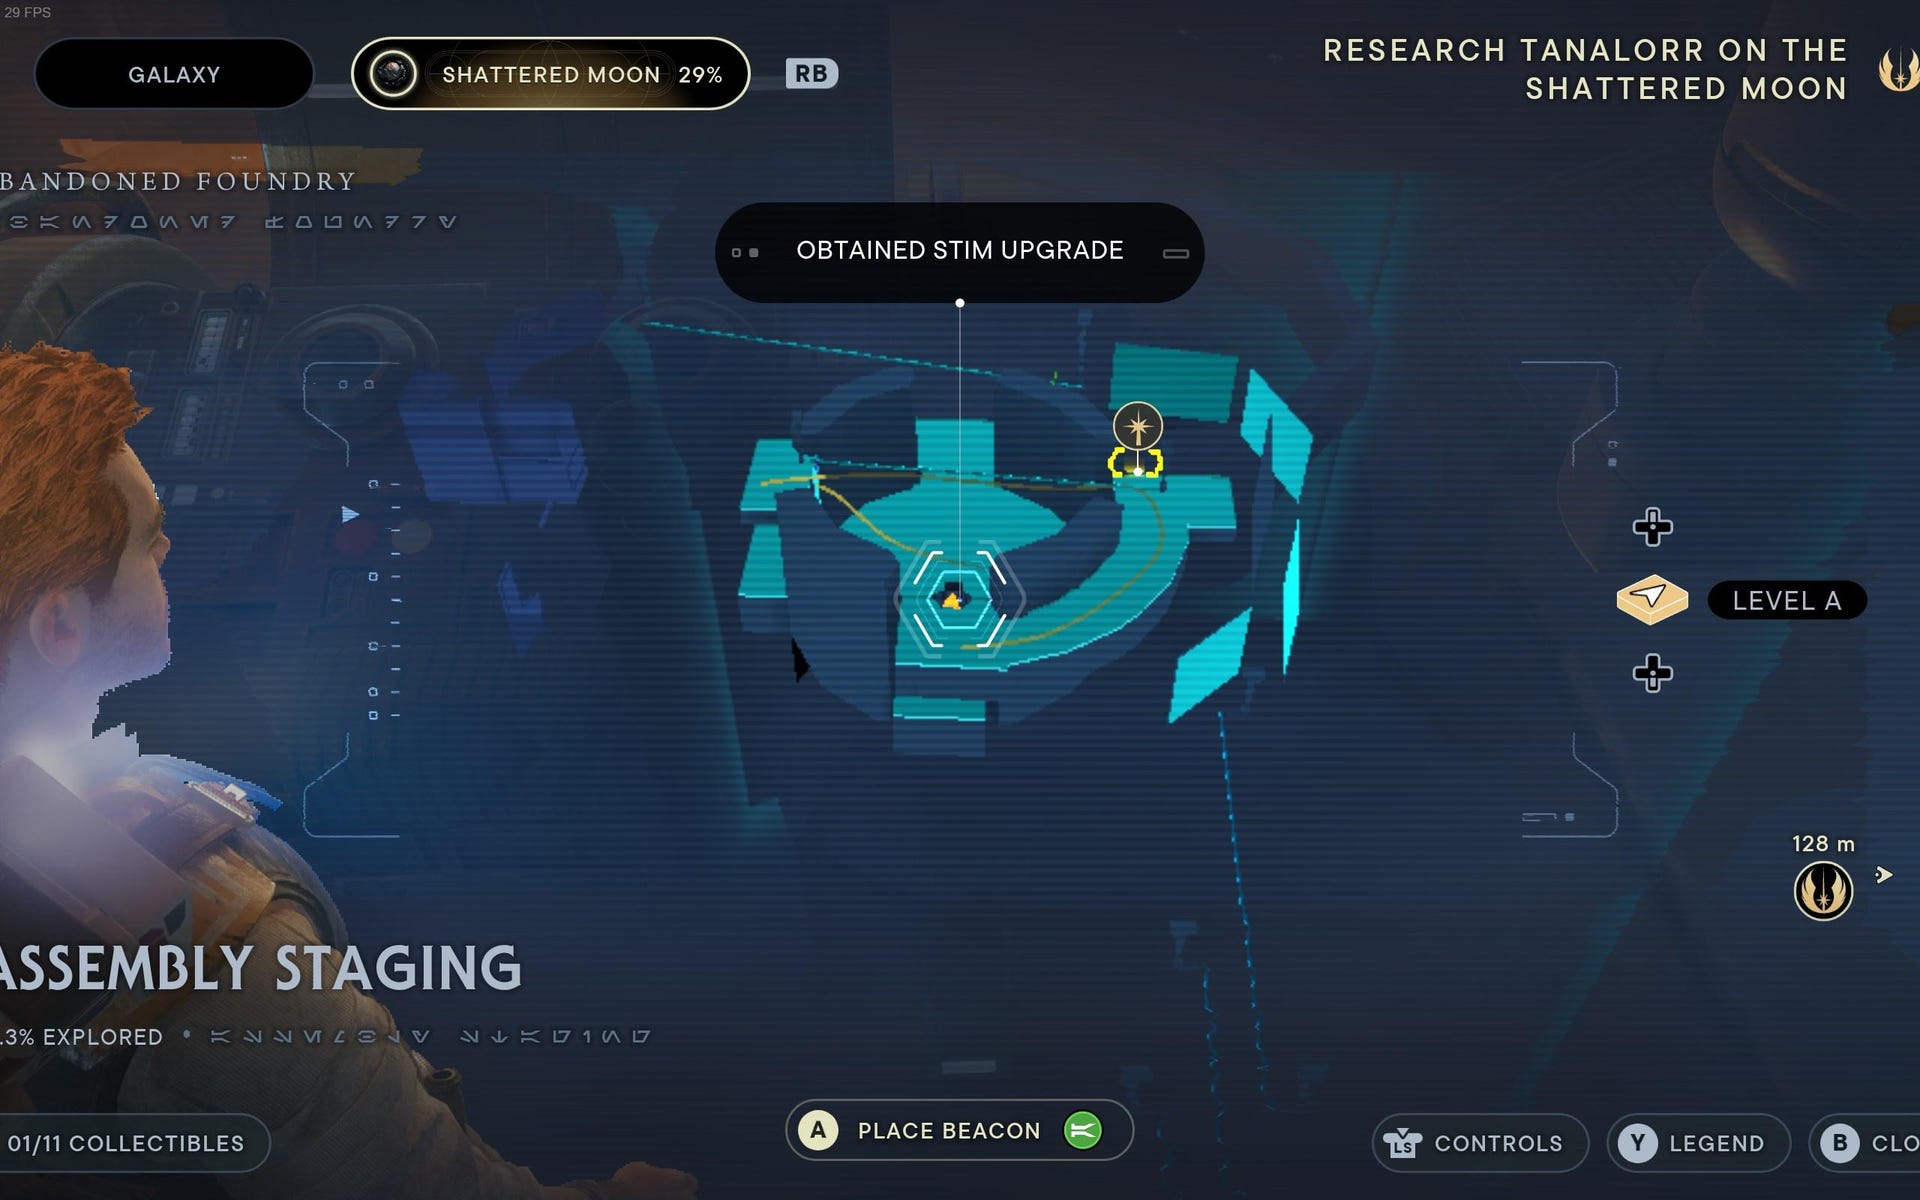
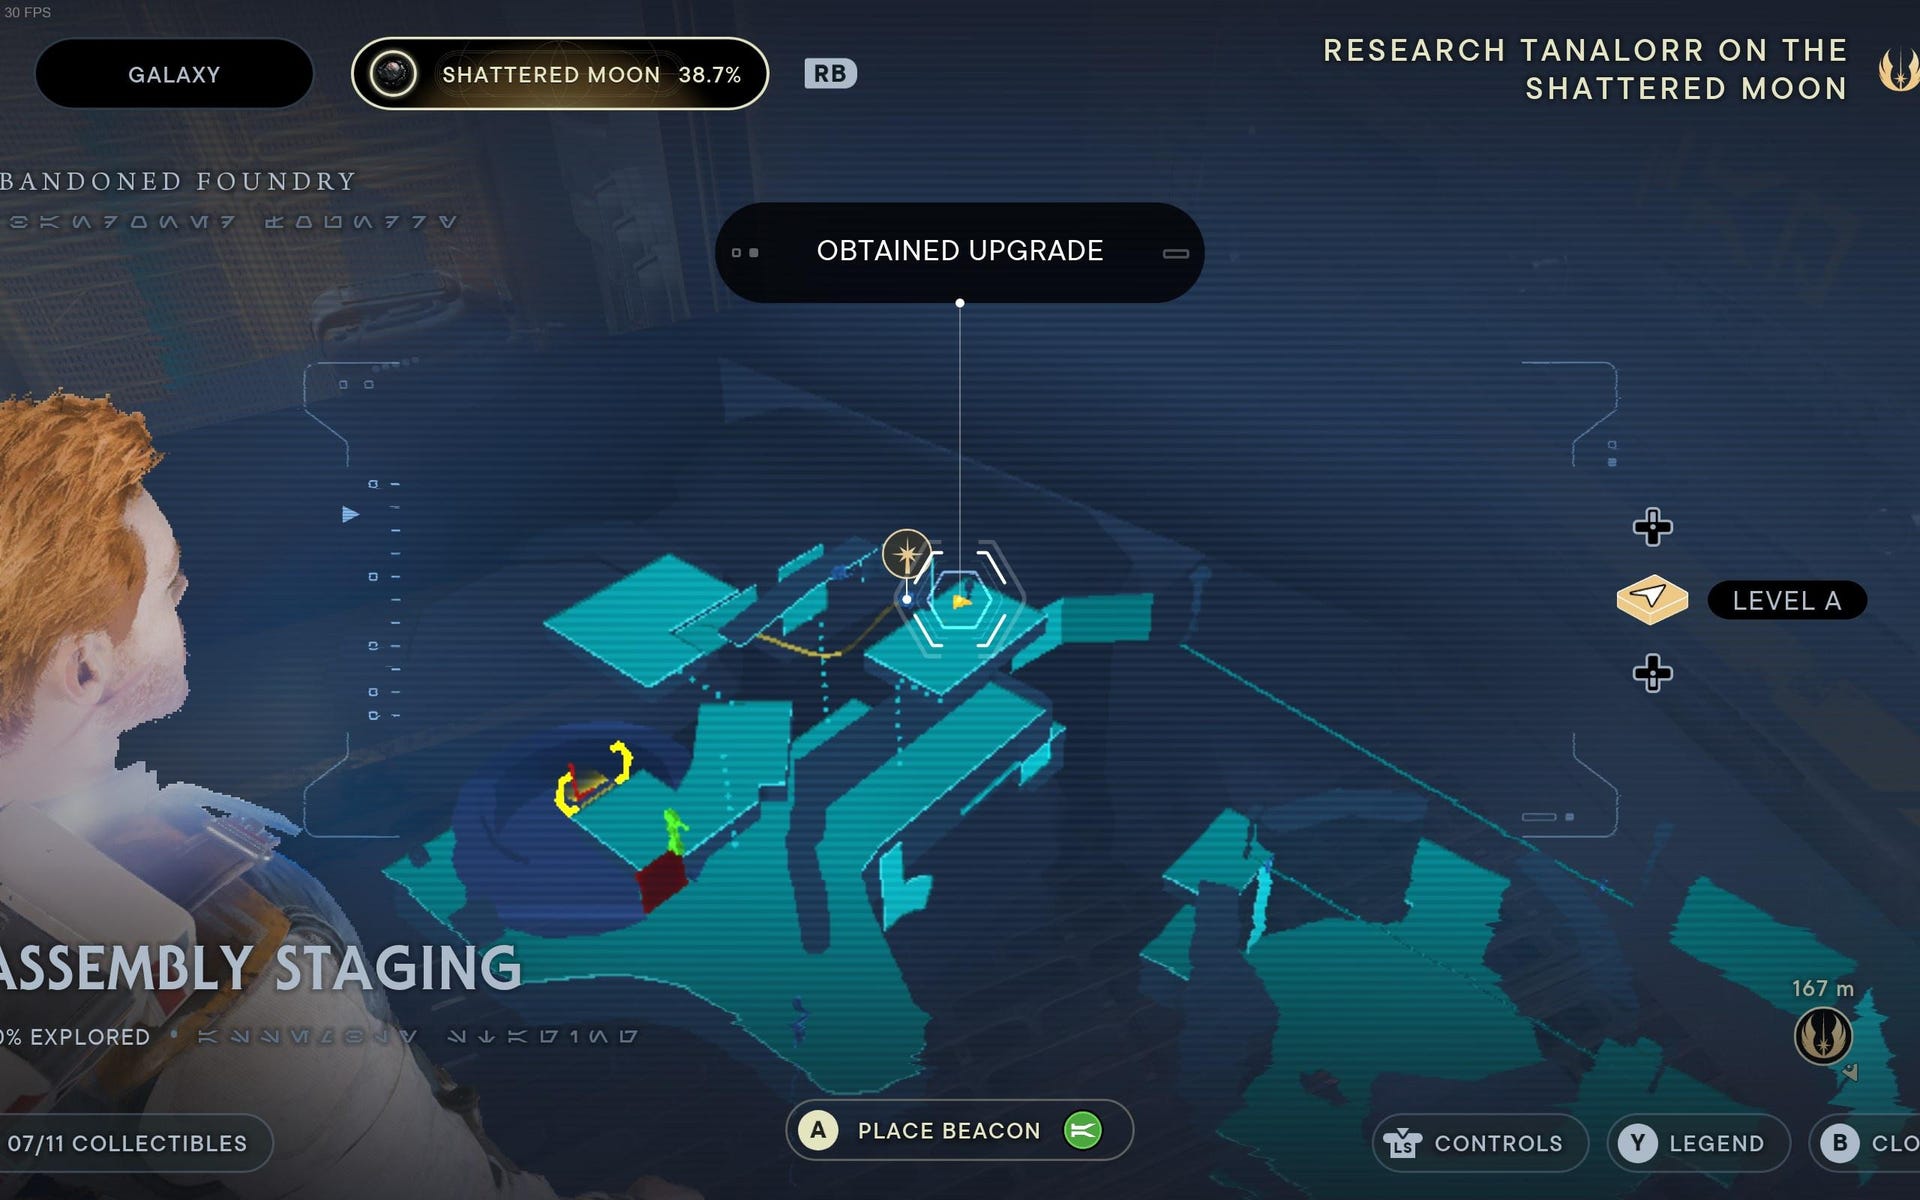
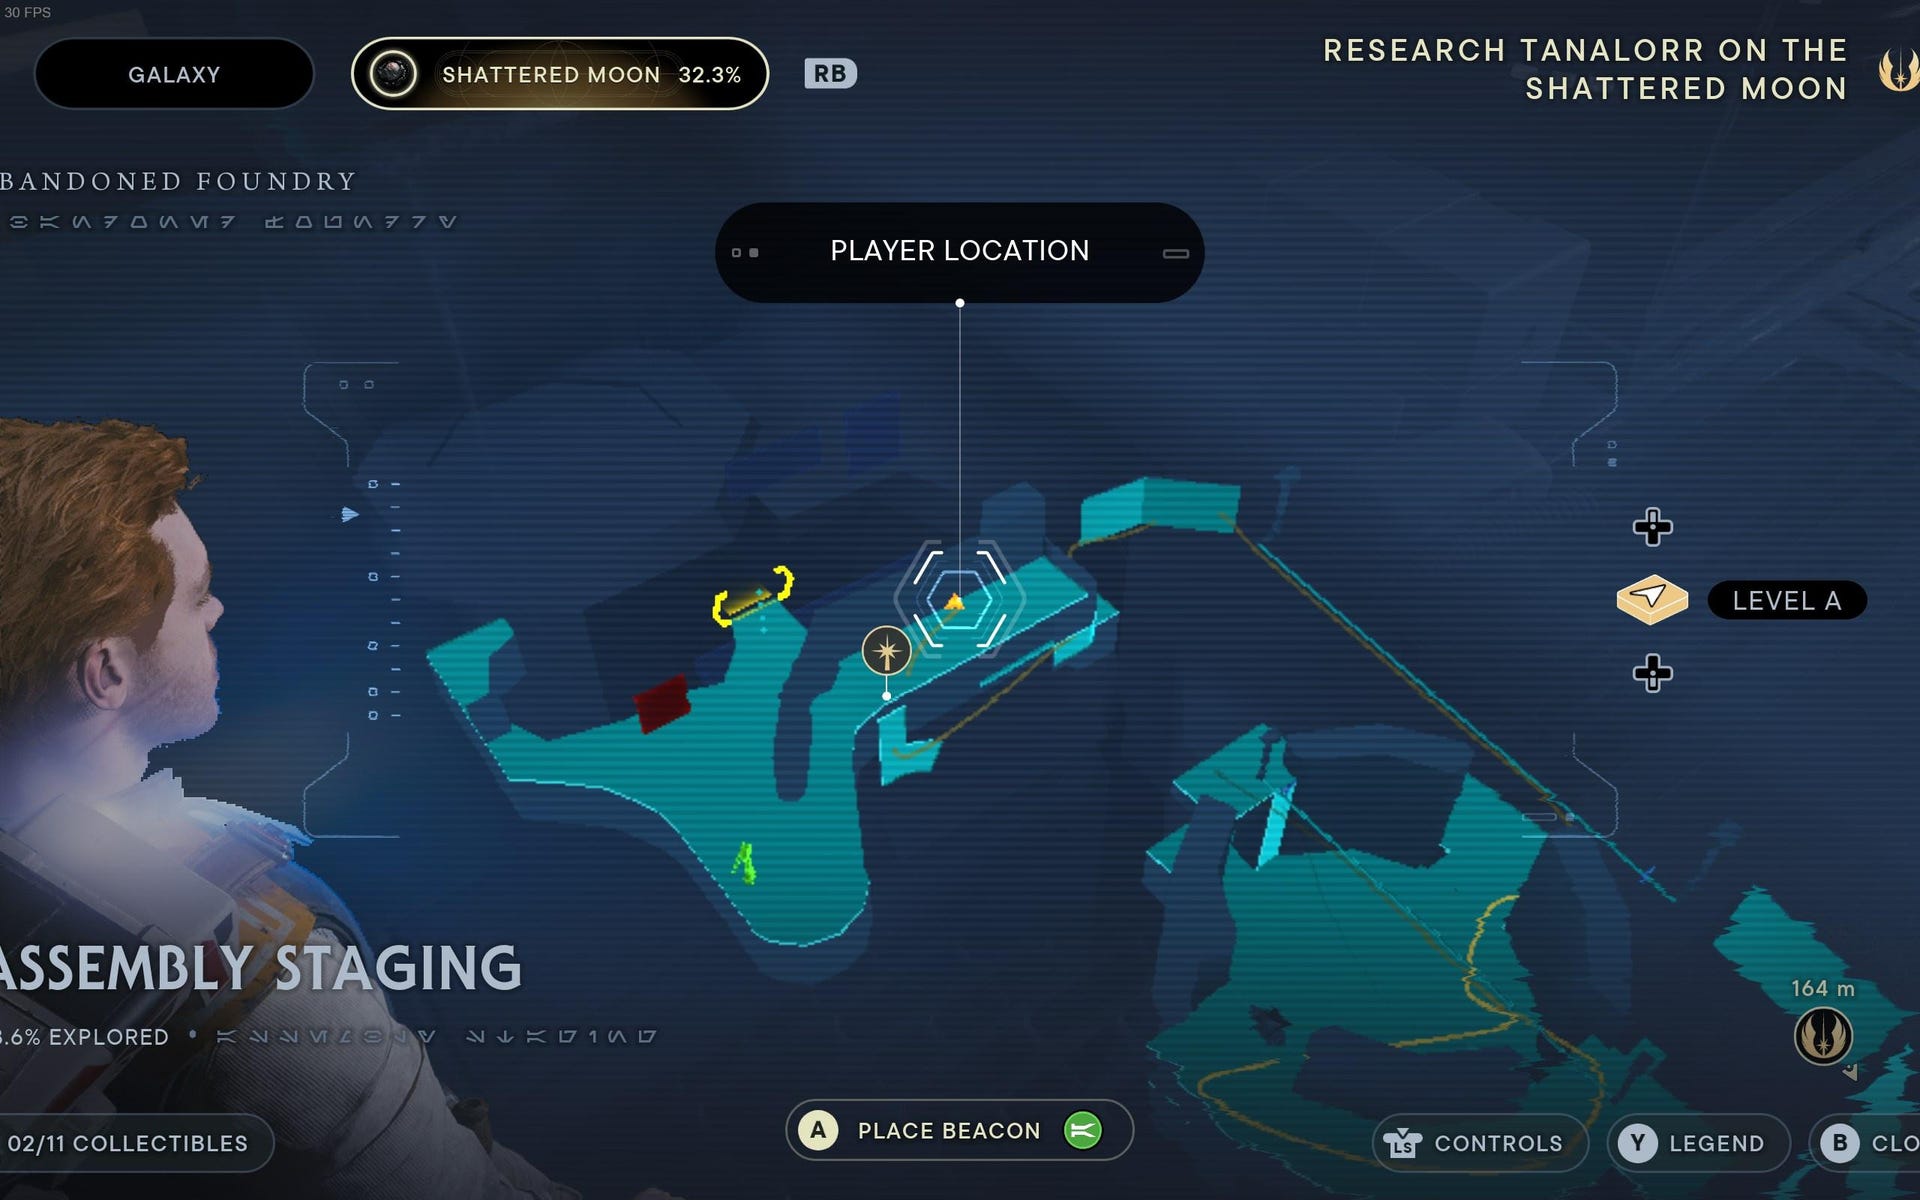
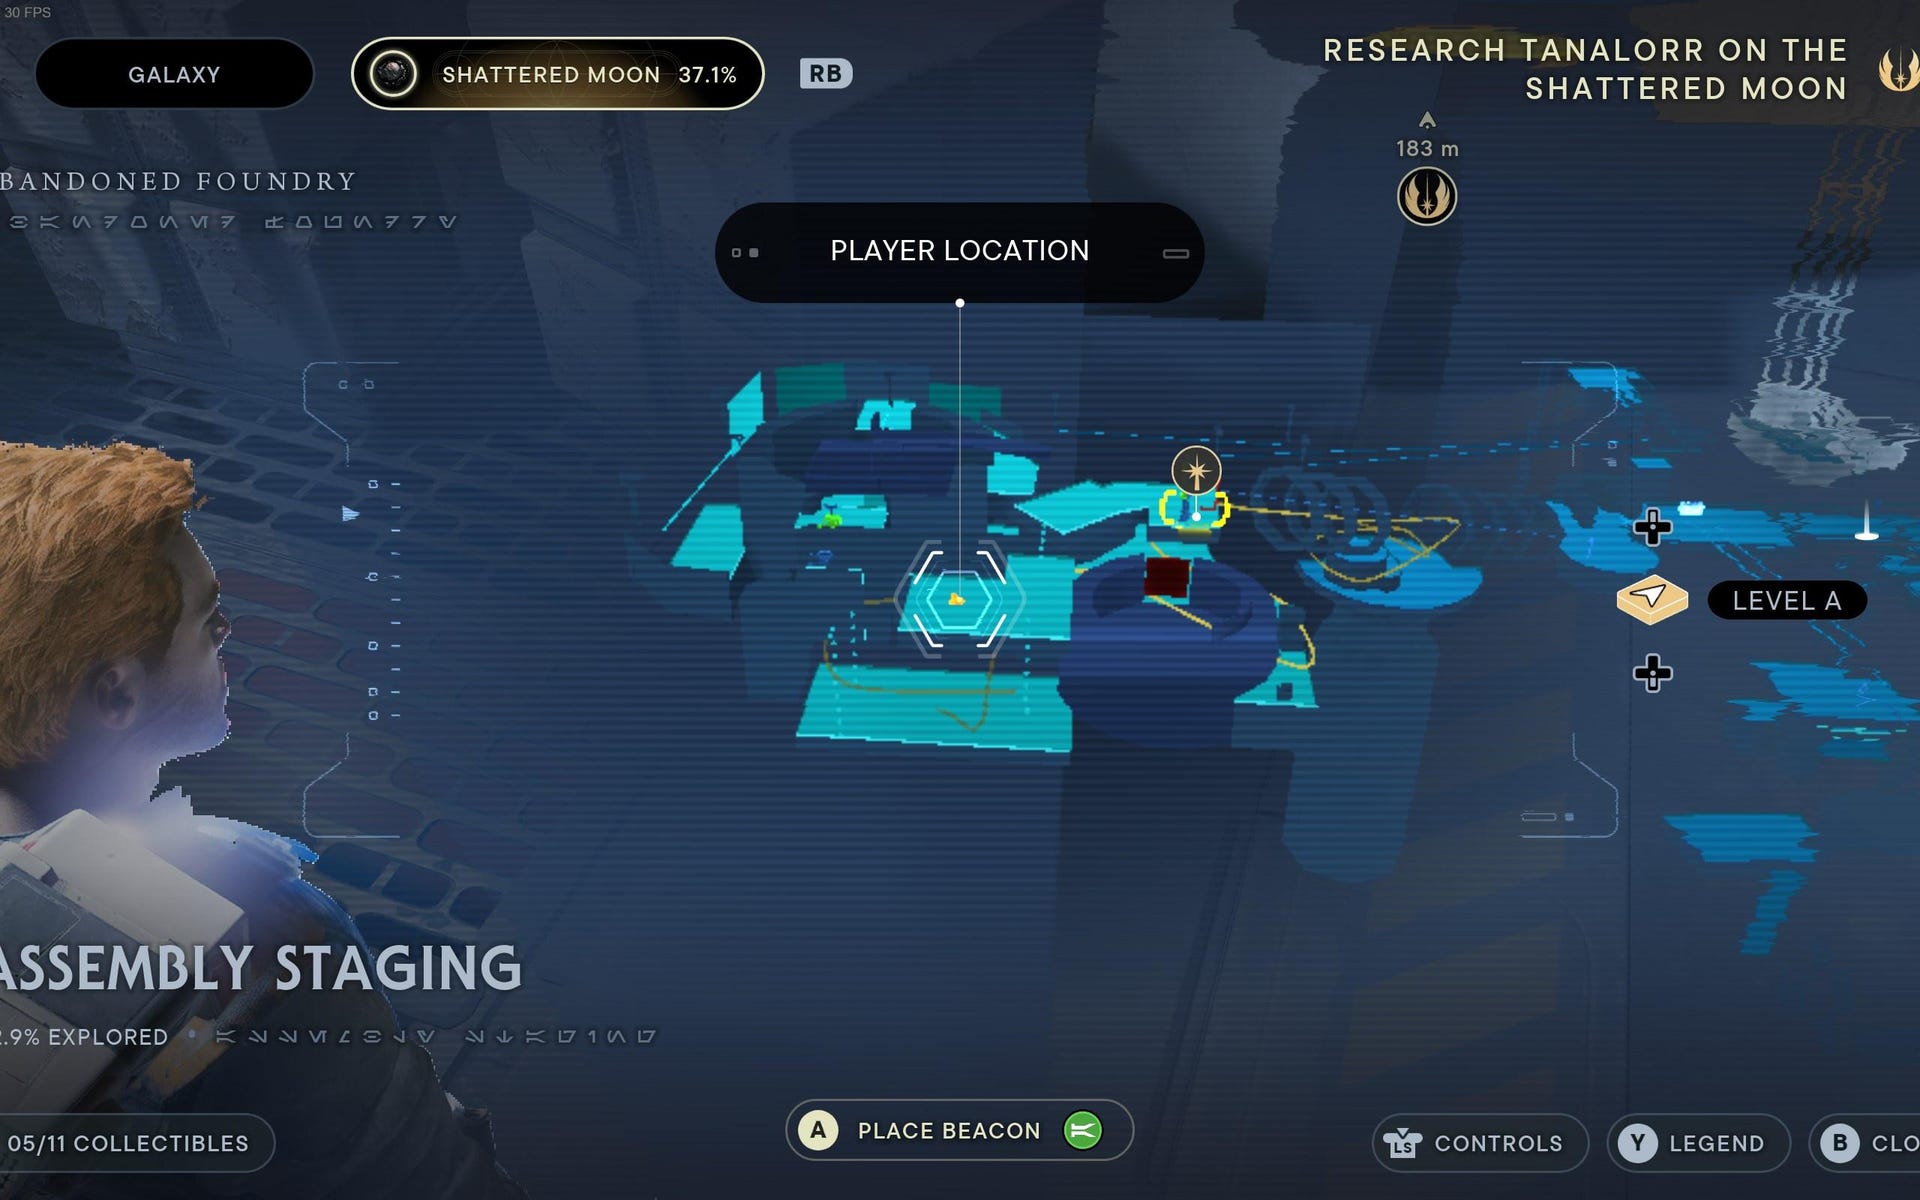
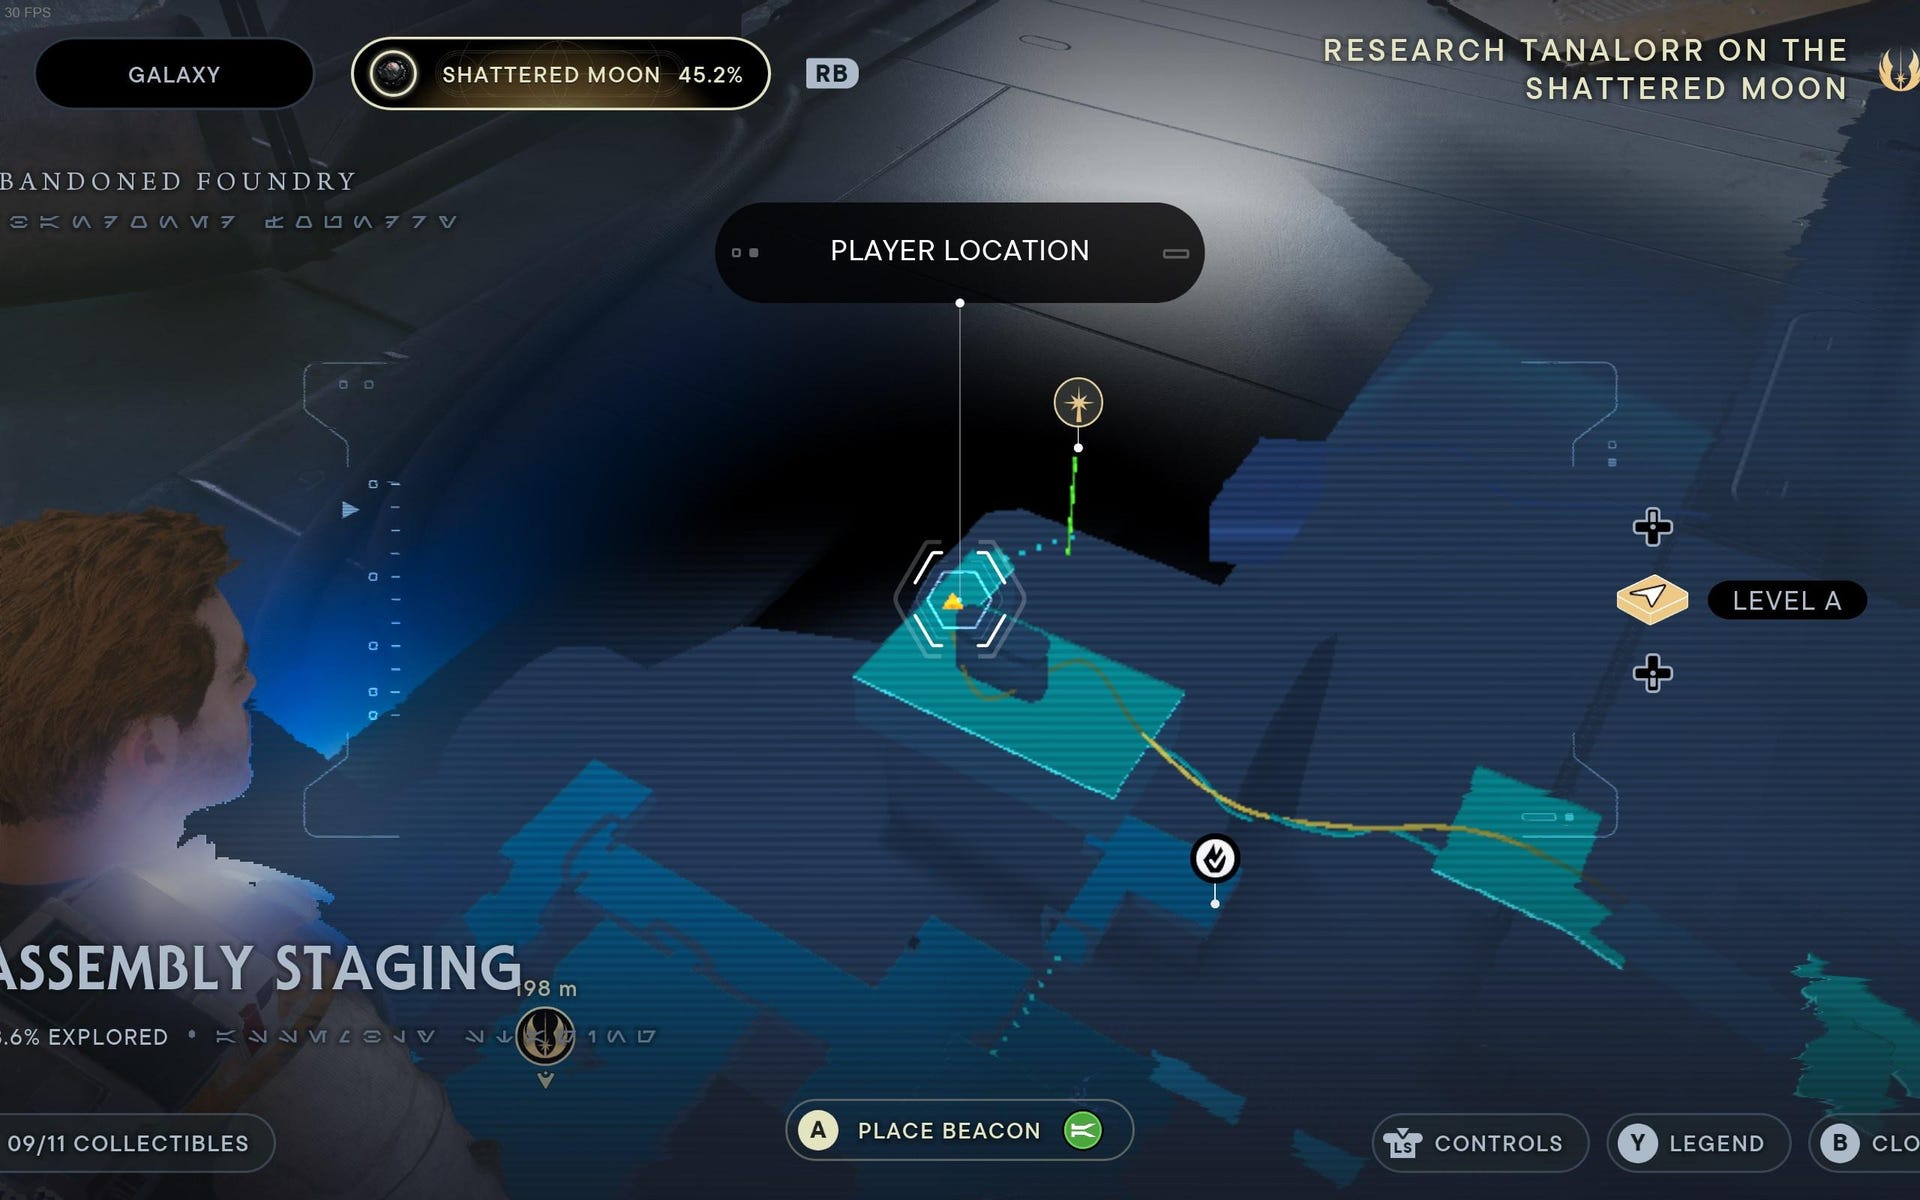
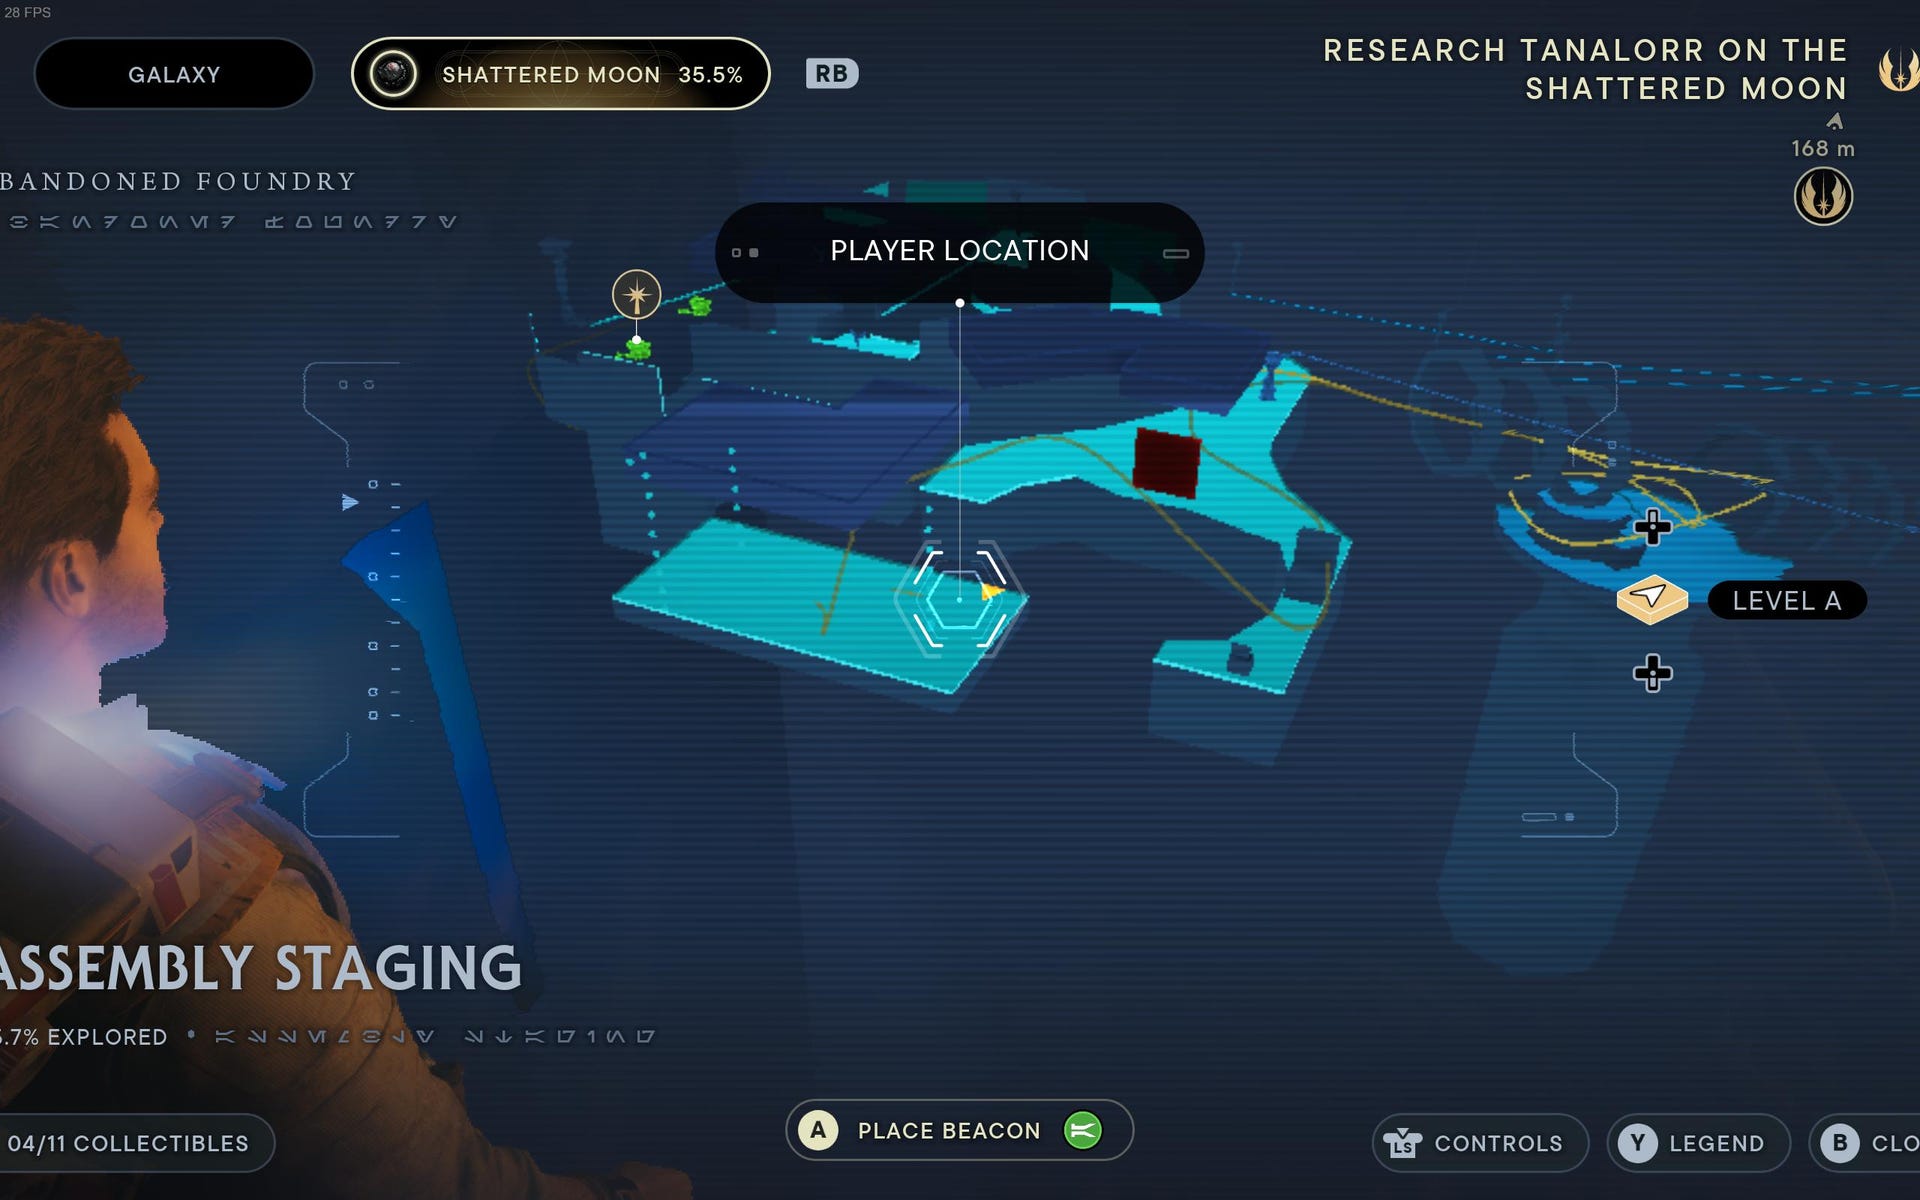
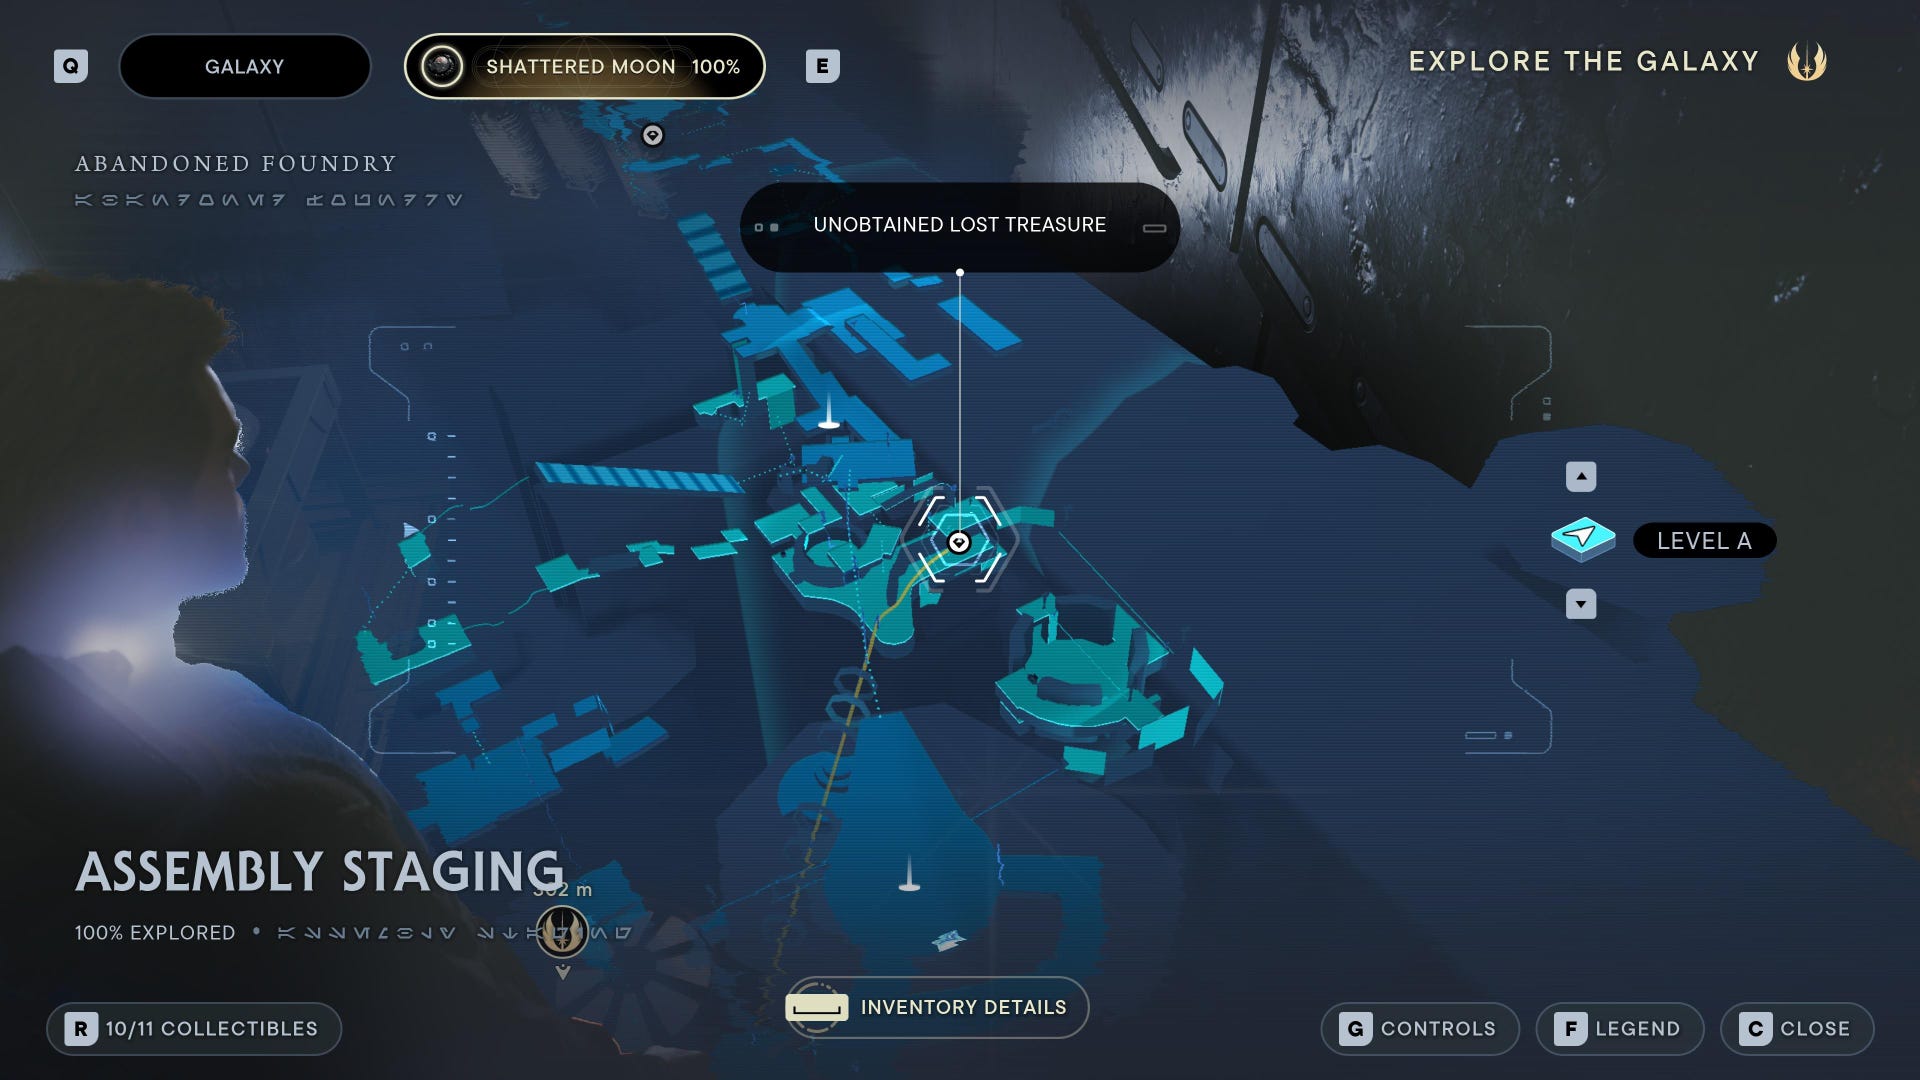
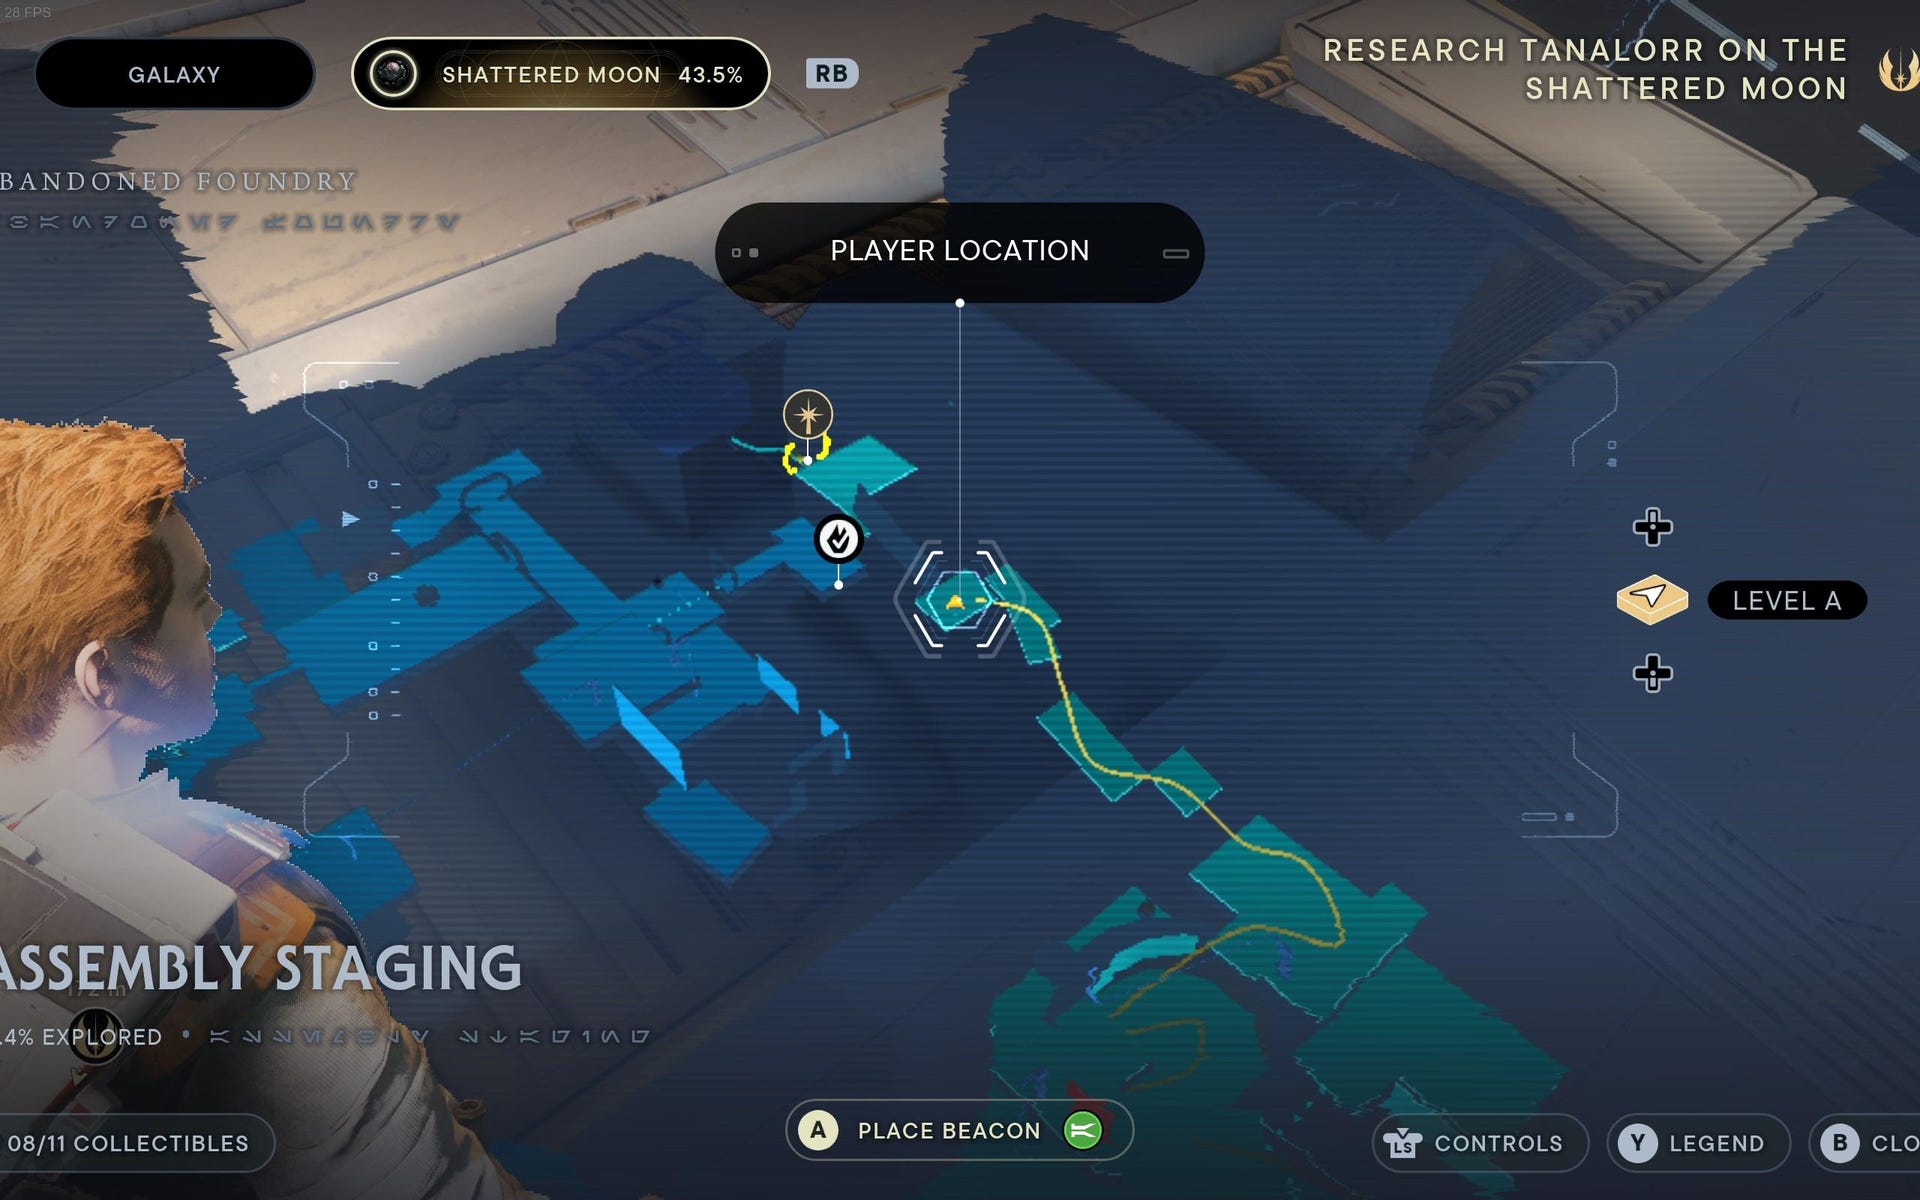
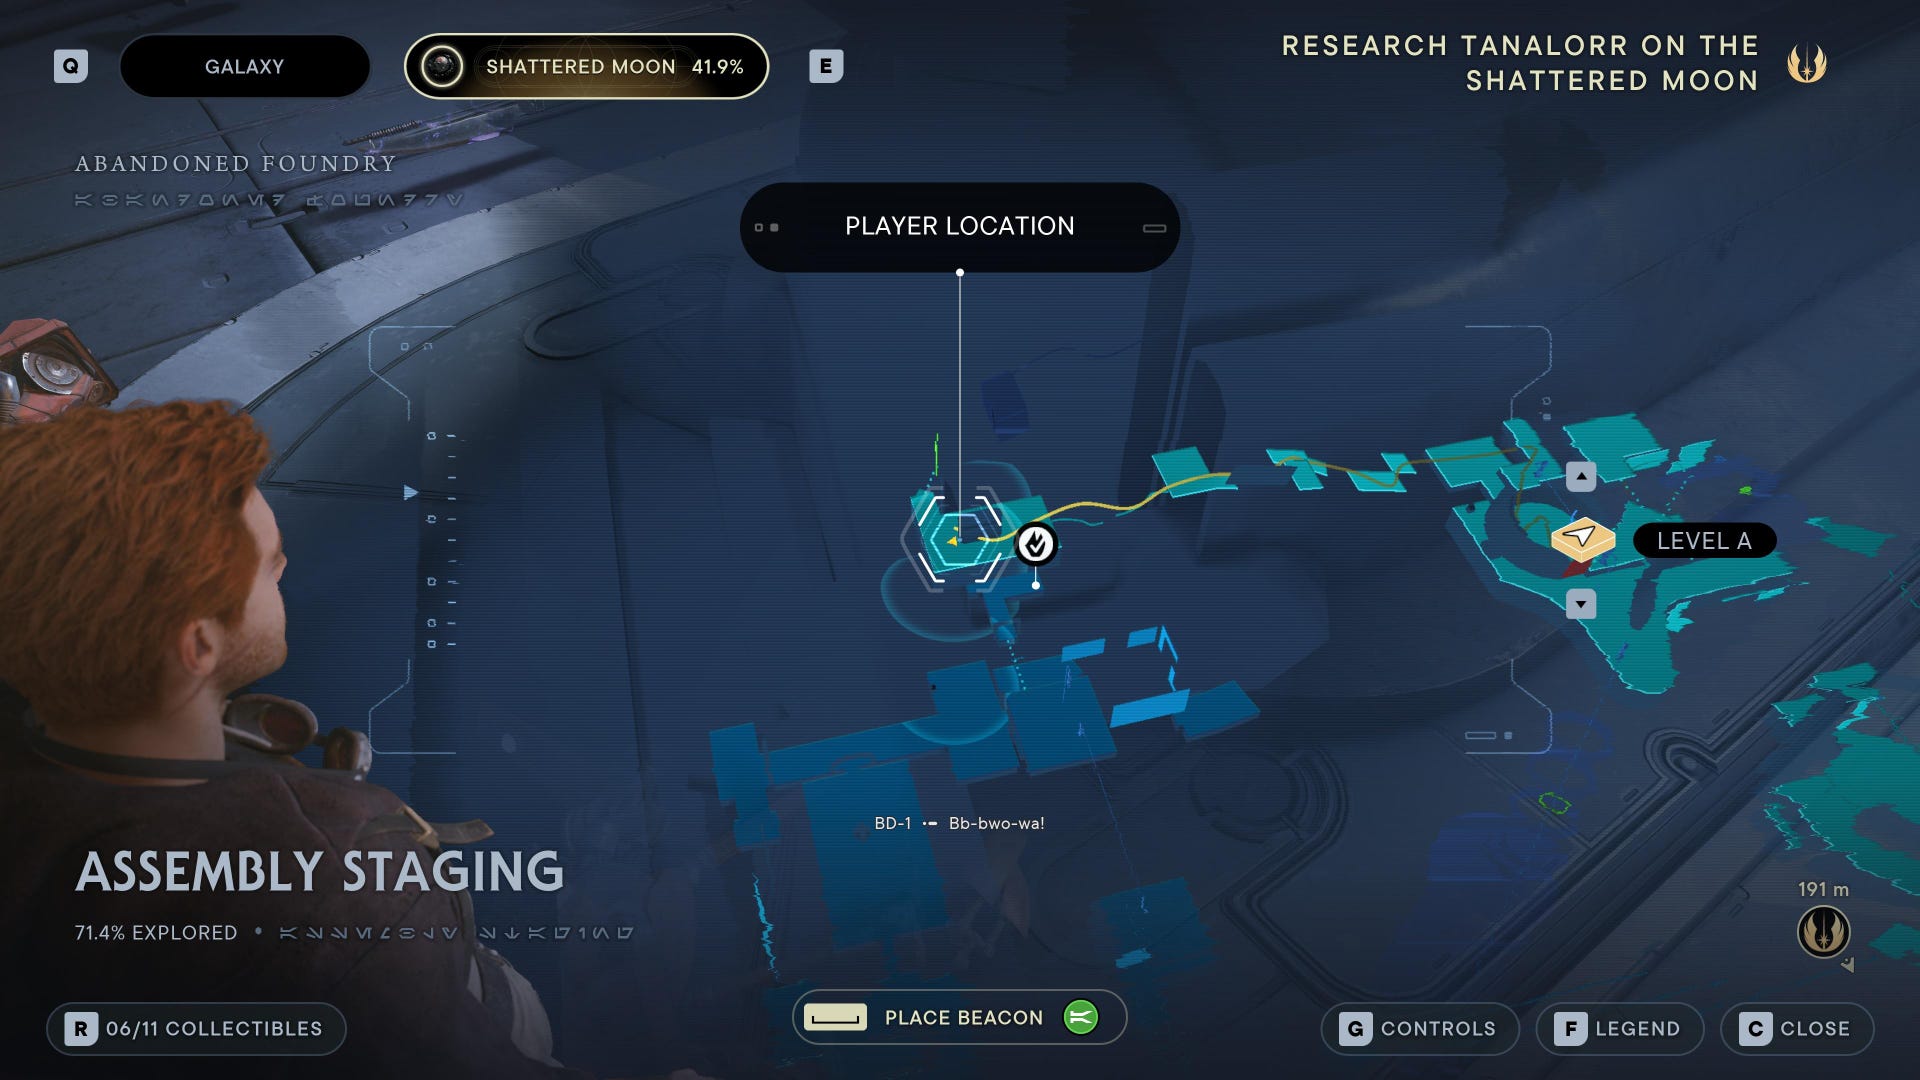
Assembly Staging collectibles
It won't take you long to progress from Automated Forge to Assembly Staging, provided you take the right-hand path at the former's Meditation Point. Assembly Staging is a chaotically structured region housing 11 collectibles:
Assembly Staging Chests:

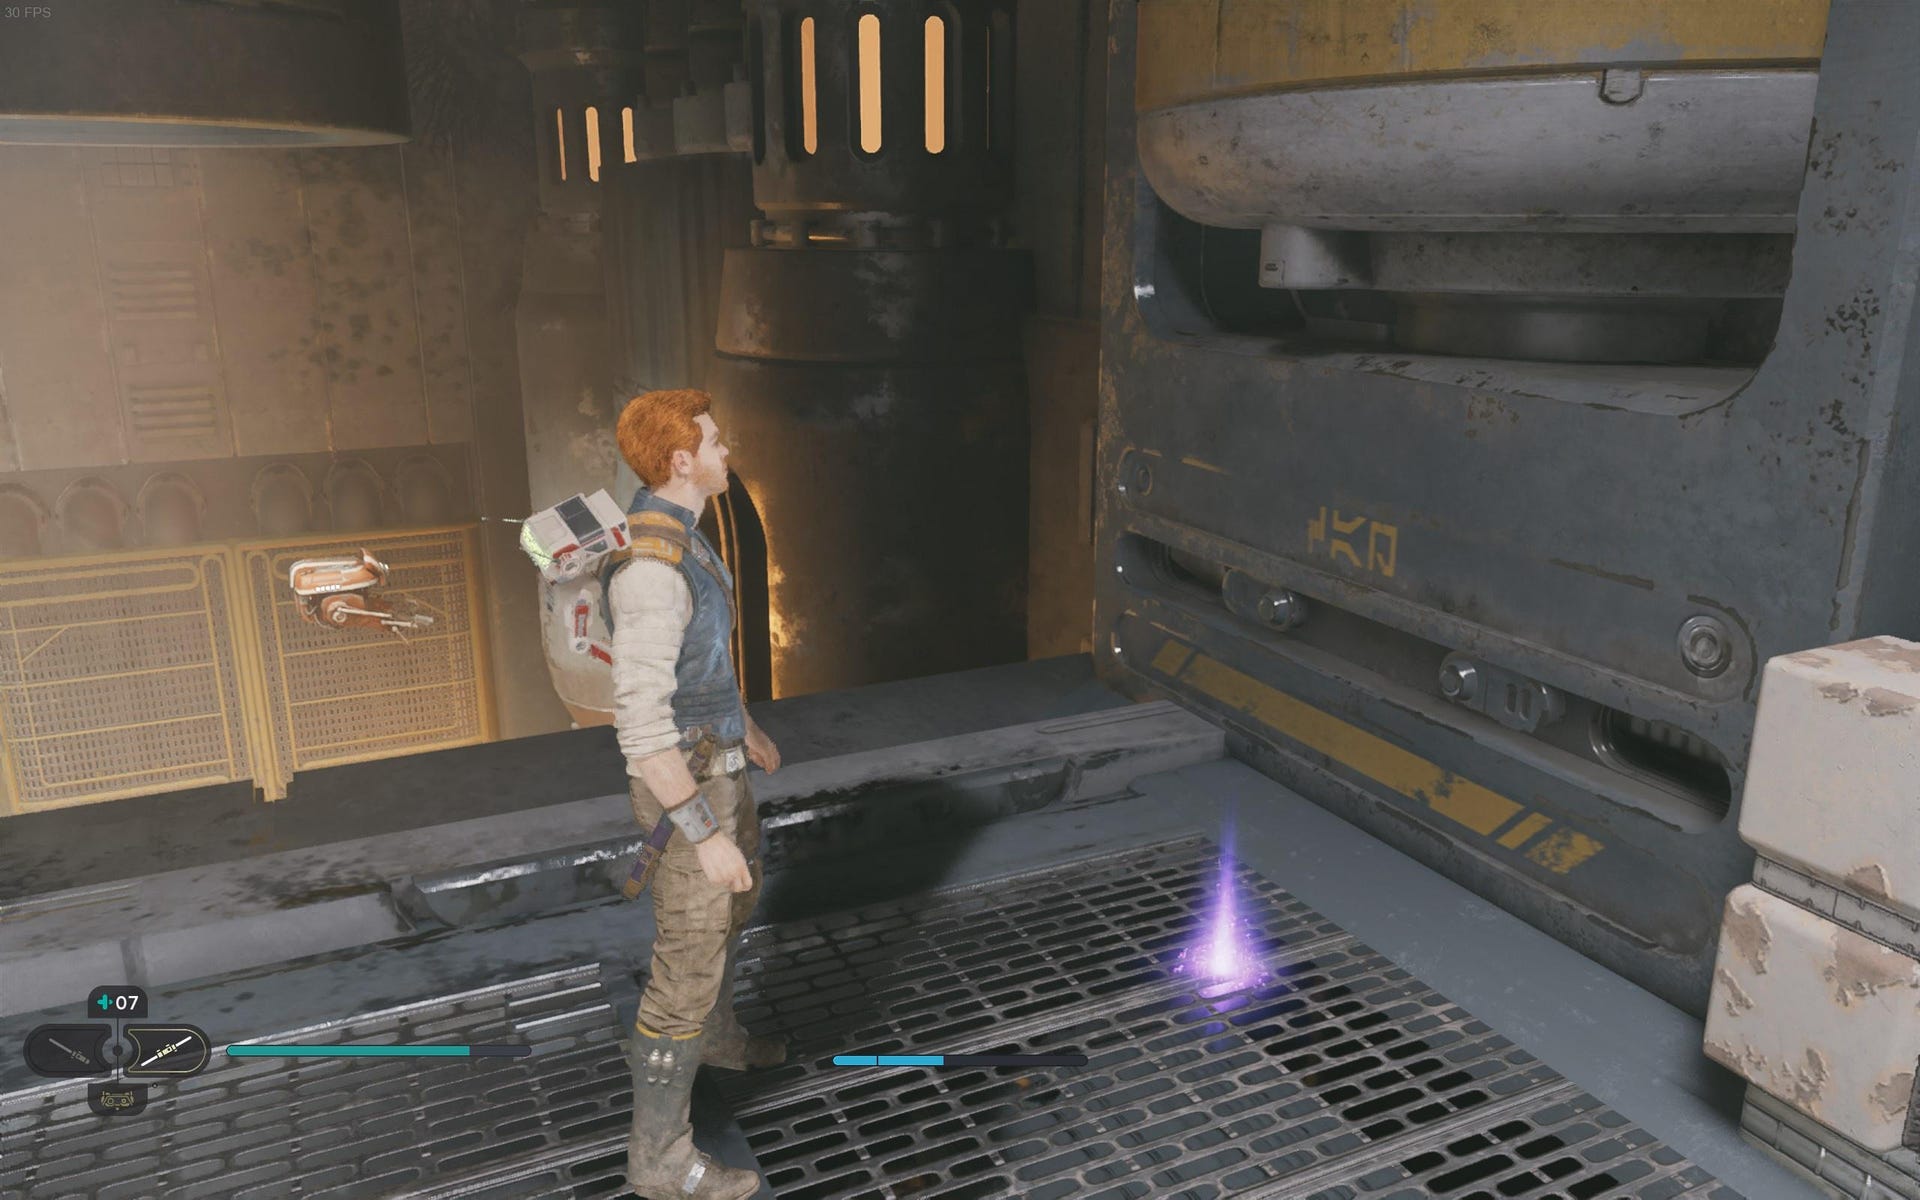
Stim Canister: Follow main path until you do the curved wall run parkour section. Immediately after, you'll hop on a zipline, but drop off onto the platform below. Head into the nearby chamber with an orange glow. Use grapple point in chamber, and then zipline across to other side and follow path to find Stim Canister chest.

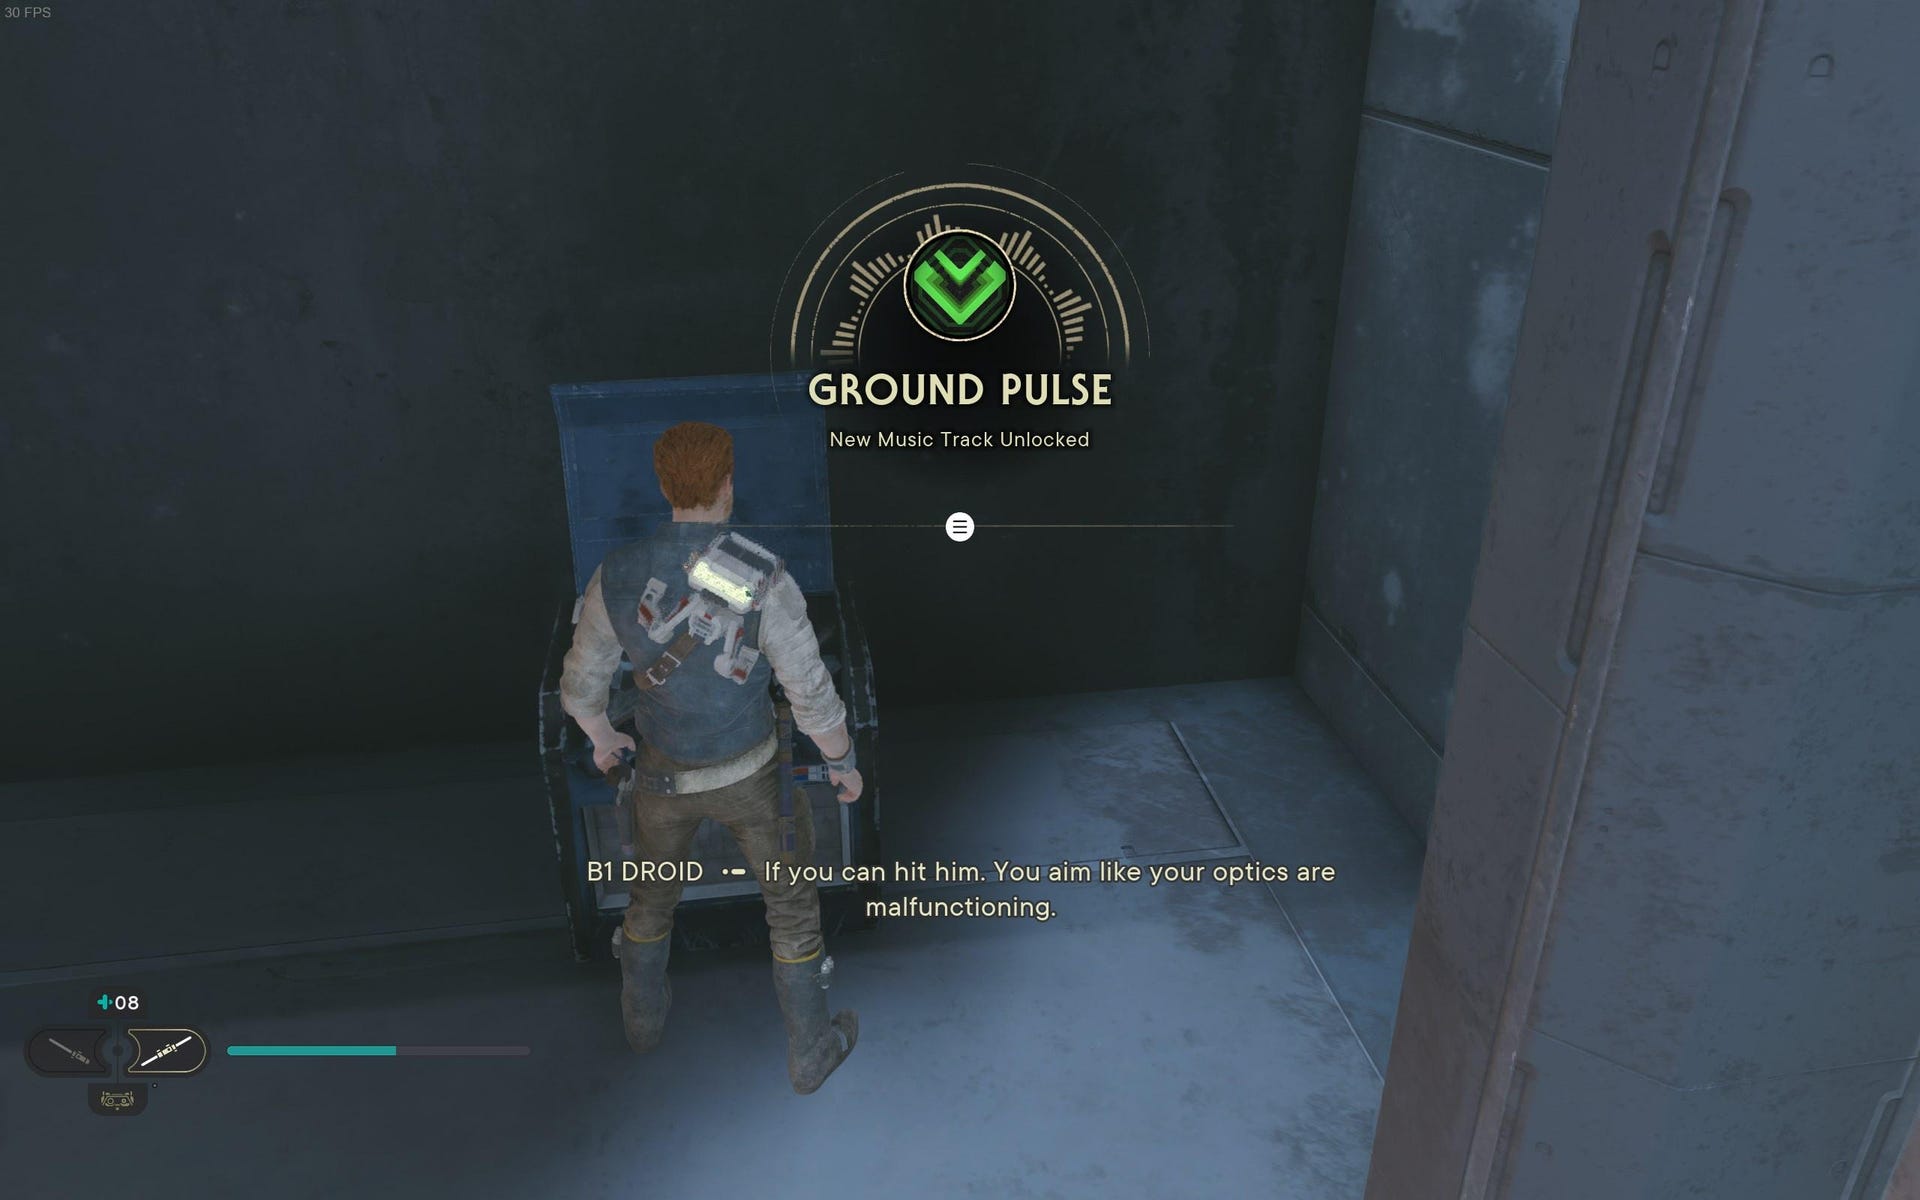
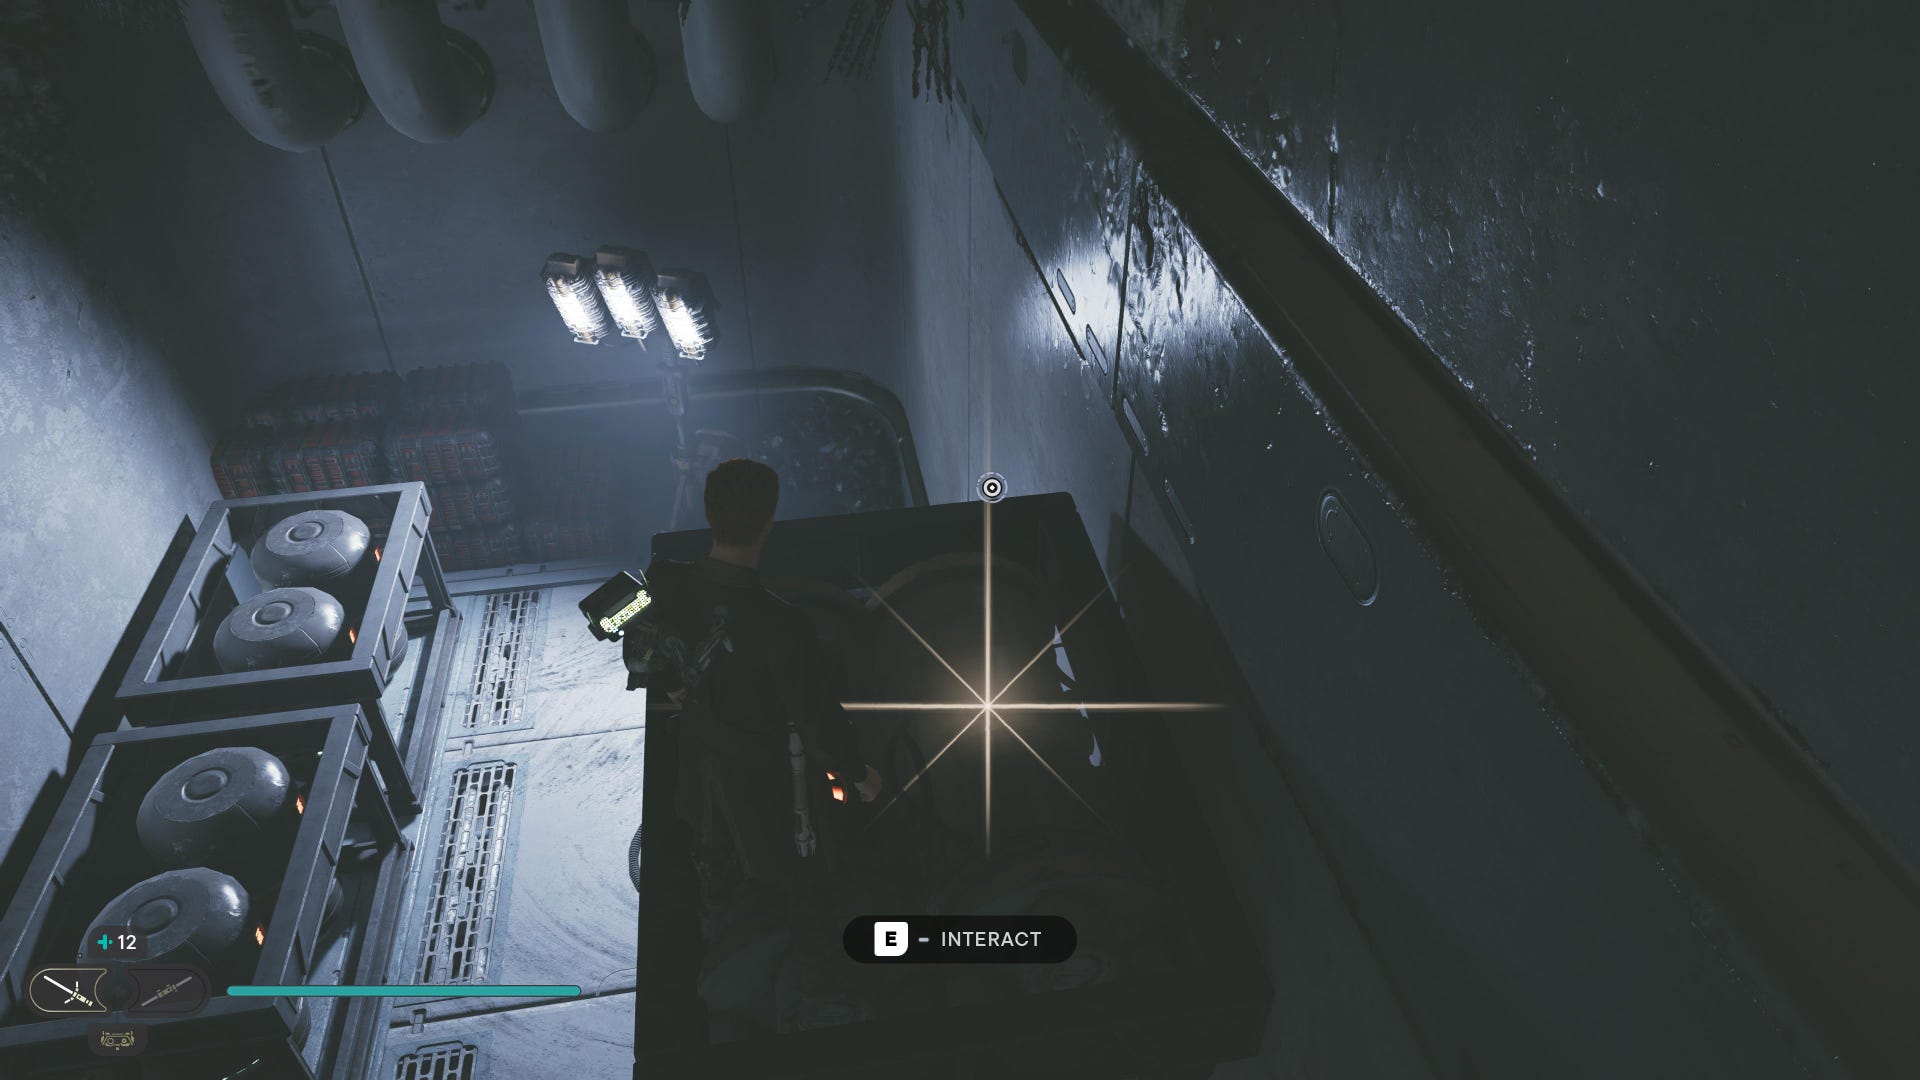
Chest (Ground Pulse Music Track): Climb ledge and fight two battle droids, and then head around to green laser door. Turn left and jump over crates to find chest hidden up ahead.
Assembly Staging Essences:
Force Essence: Up the ledge from second Lifter Droid grapple point.
Assembly Staging Databanks:
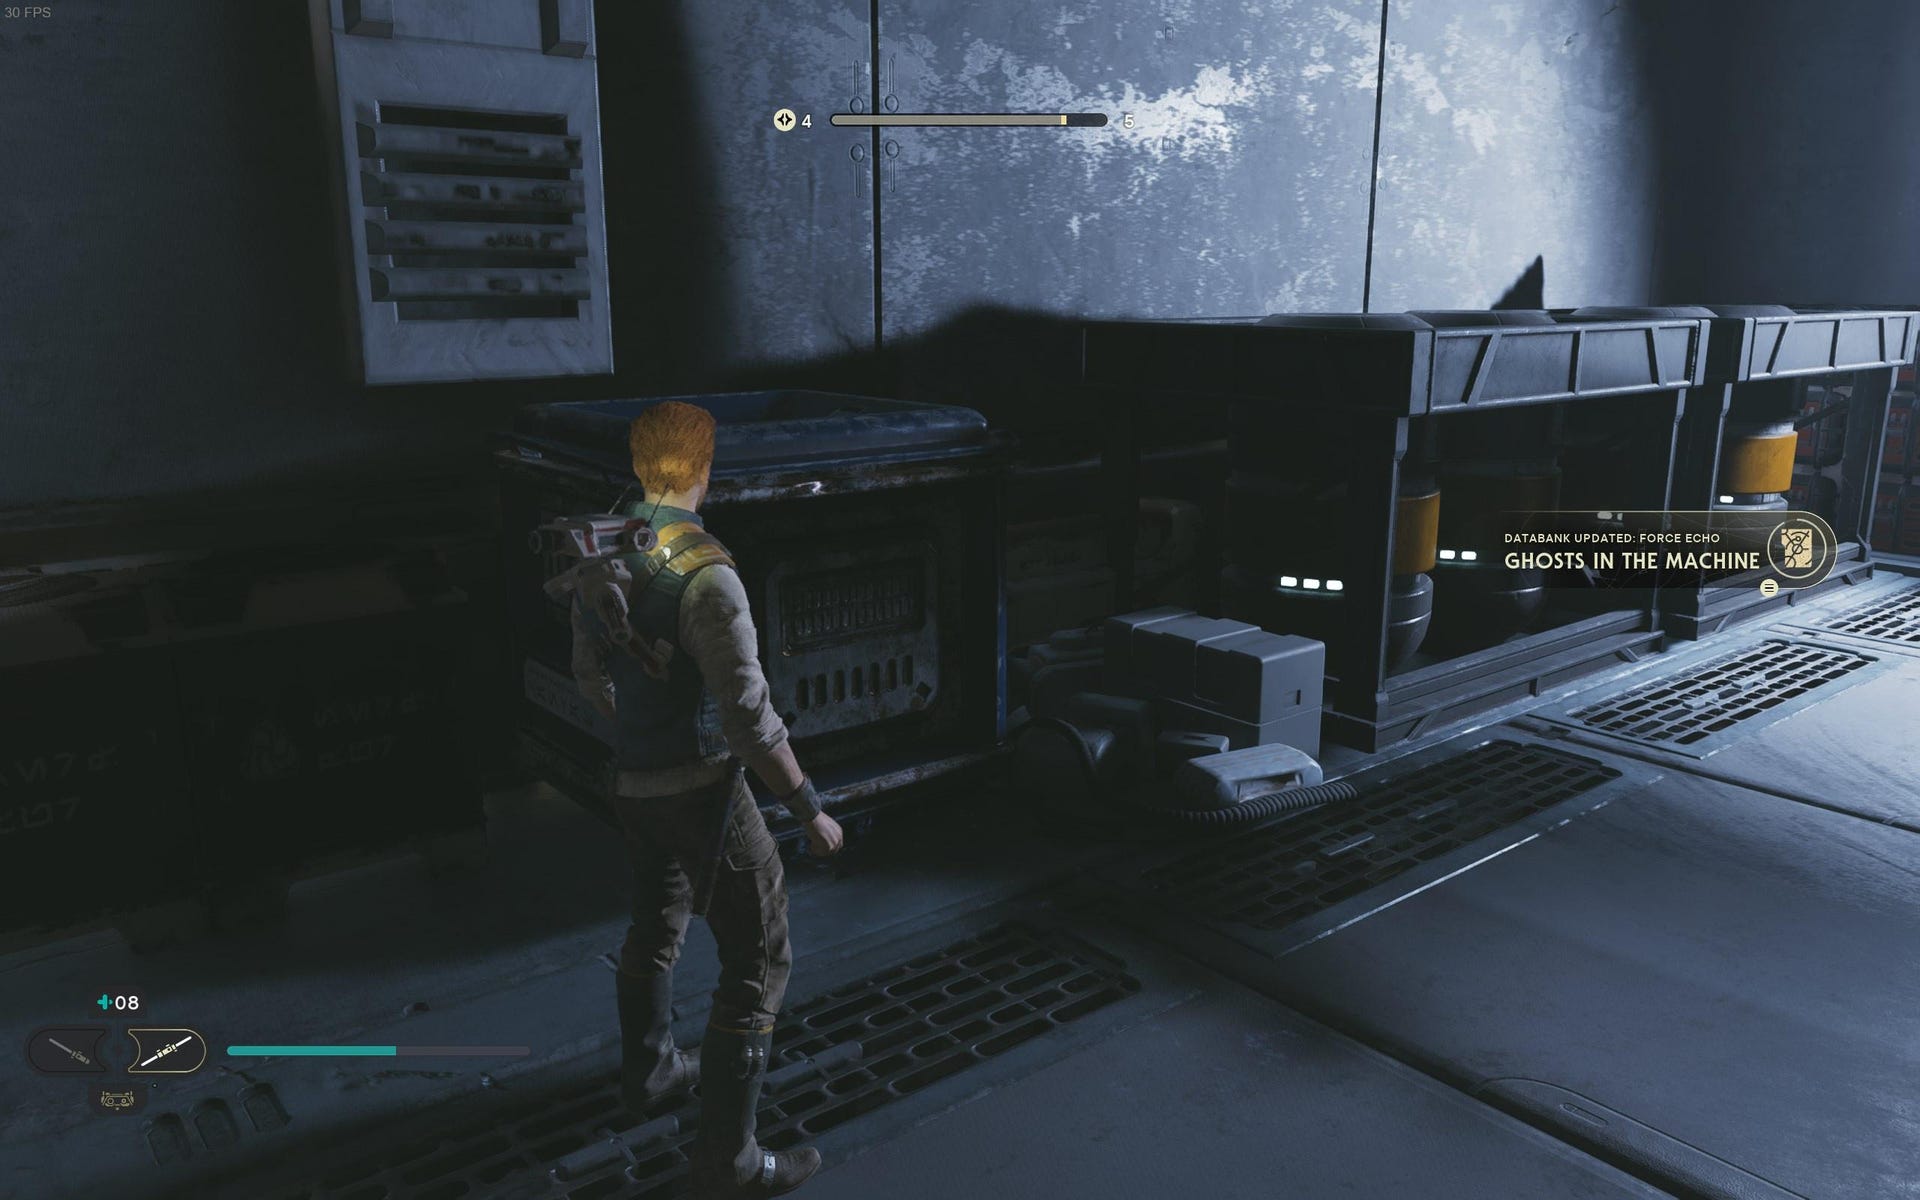
Force Echo (Ghosts in the Machine): Follow main path until you climb ledge and fight two battle droids. Turn right to find Force Echo.
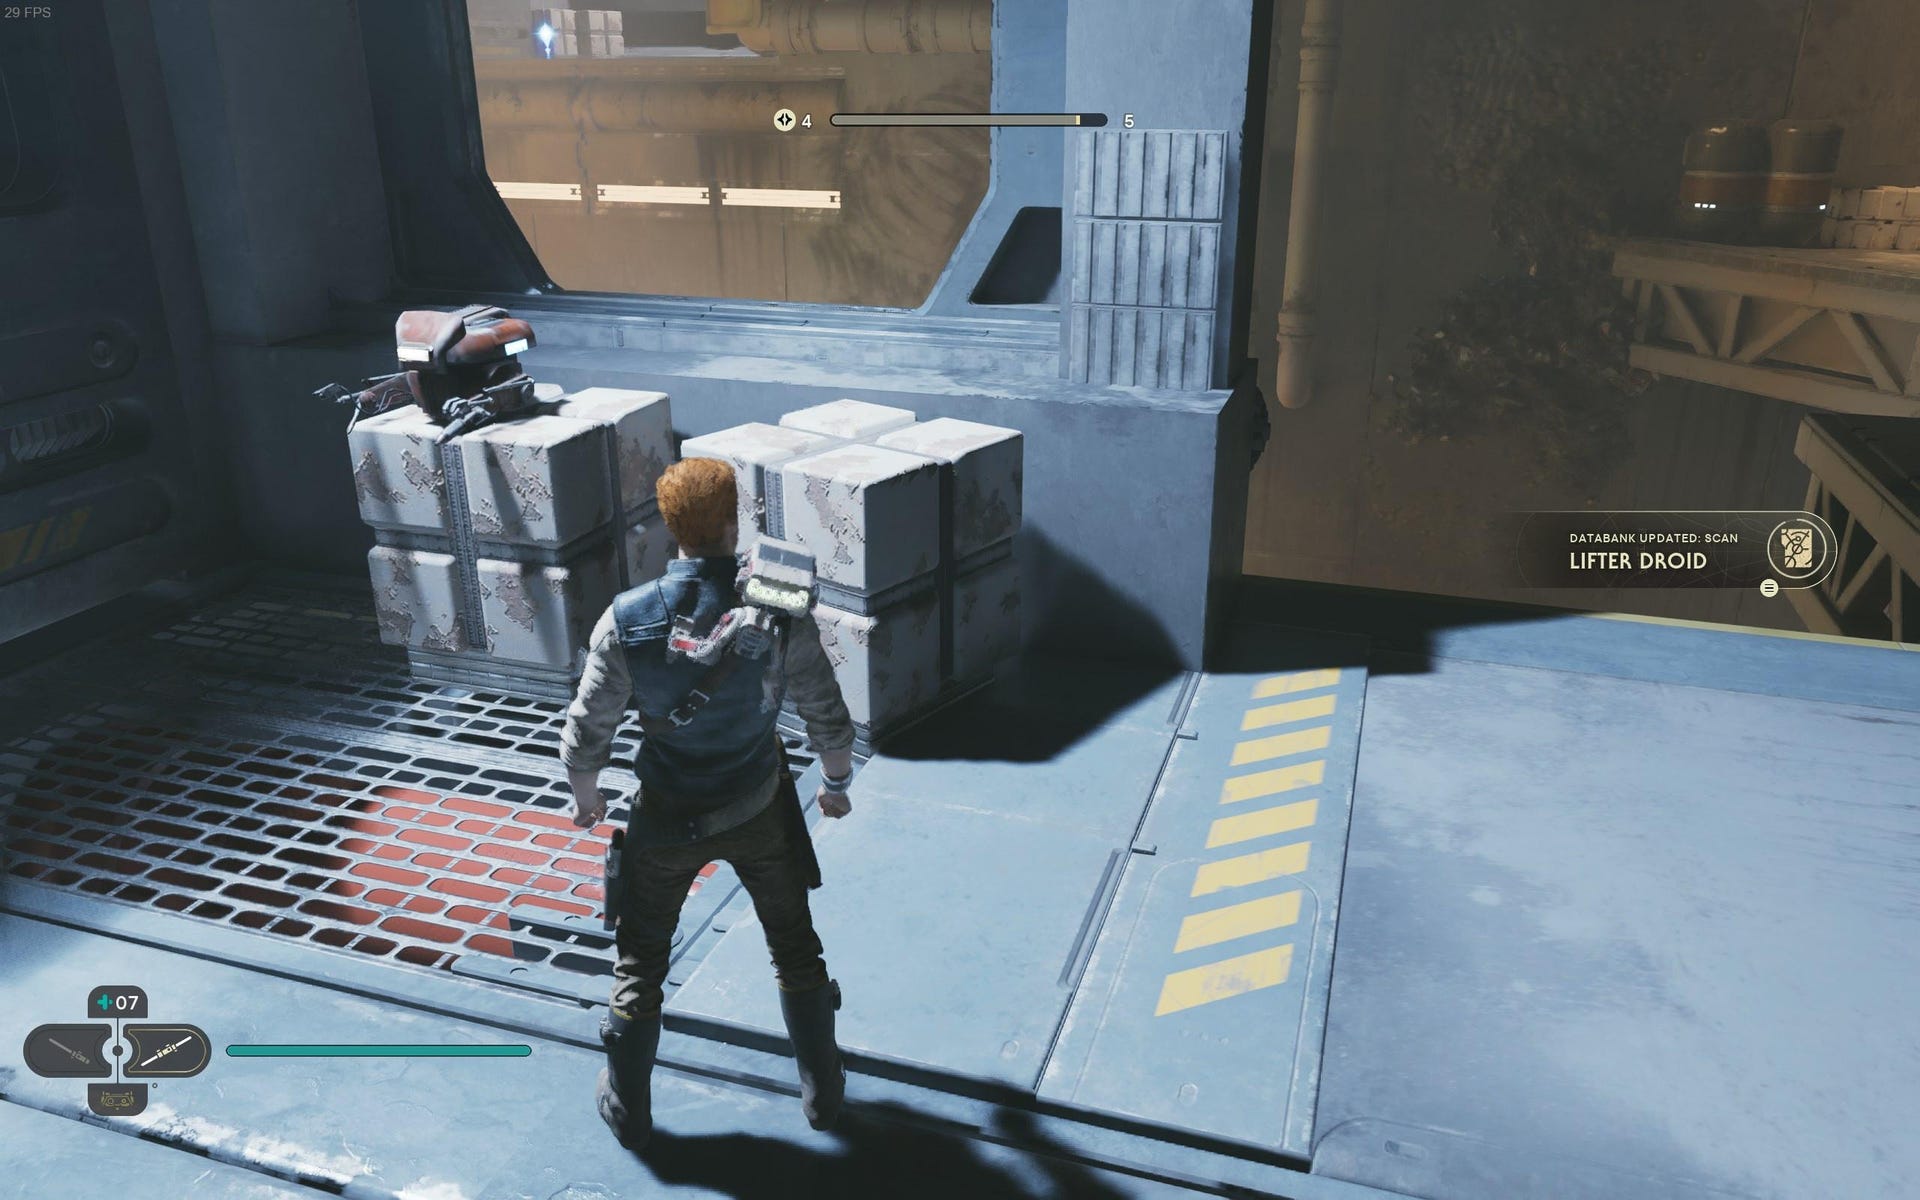
Databank (Lifter Droid): Fight enemies in sewage pit, and then use first Lifter Droid grapple point. Grab the yellow wall and climb back to where you fell to find scan point.
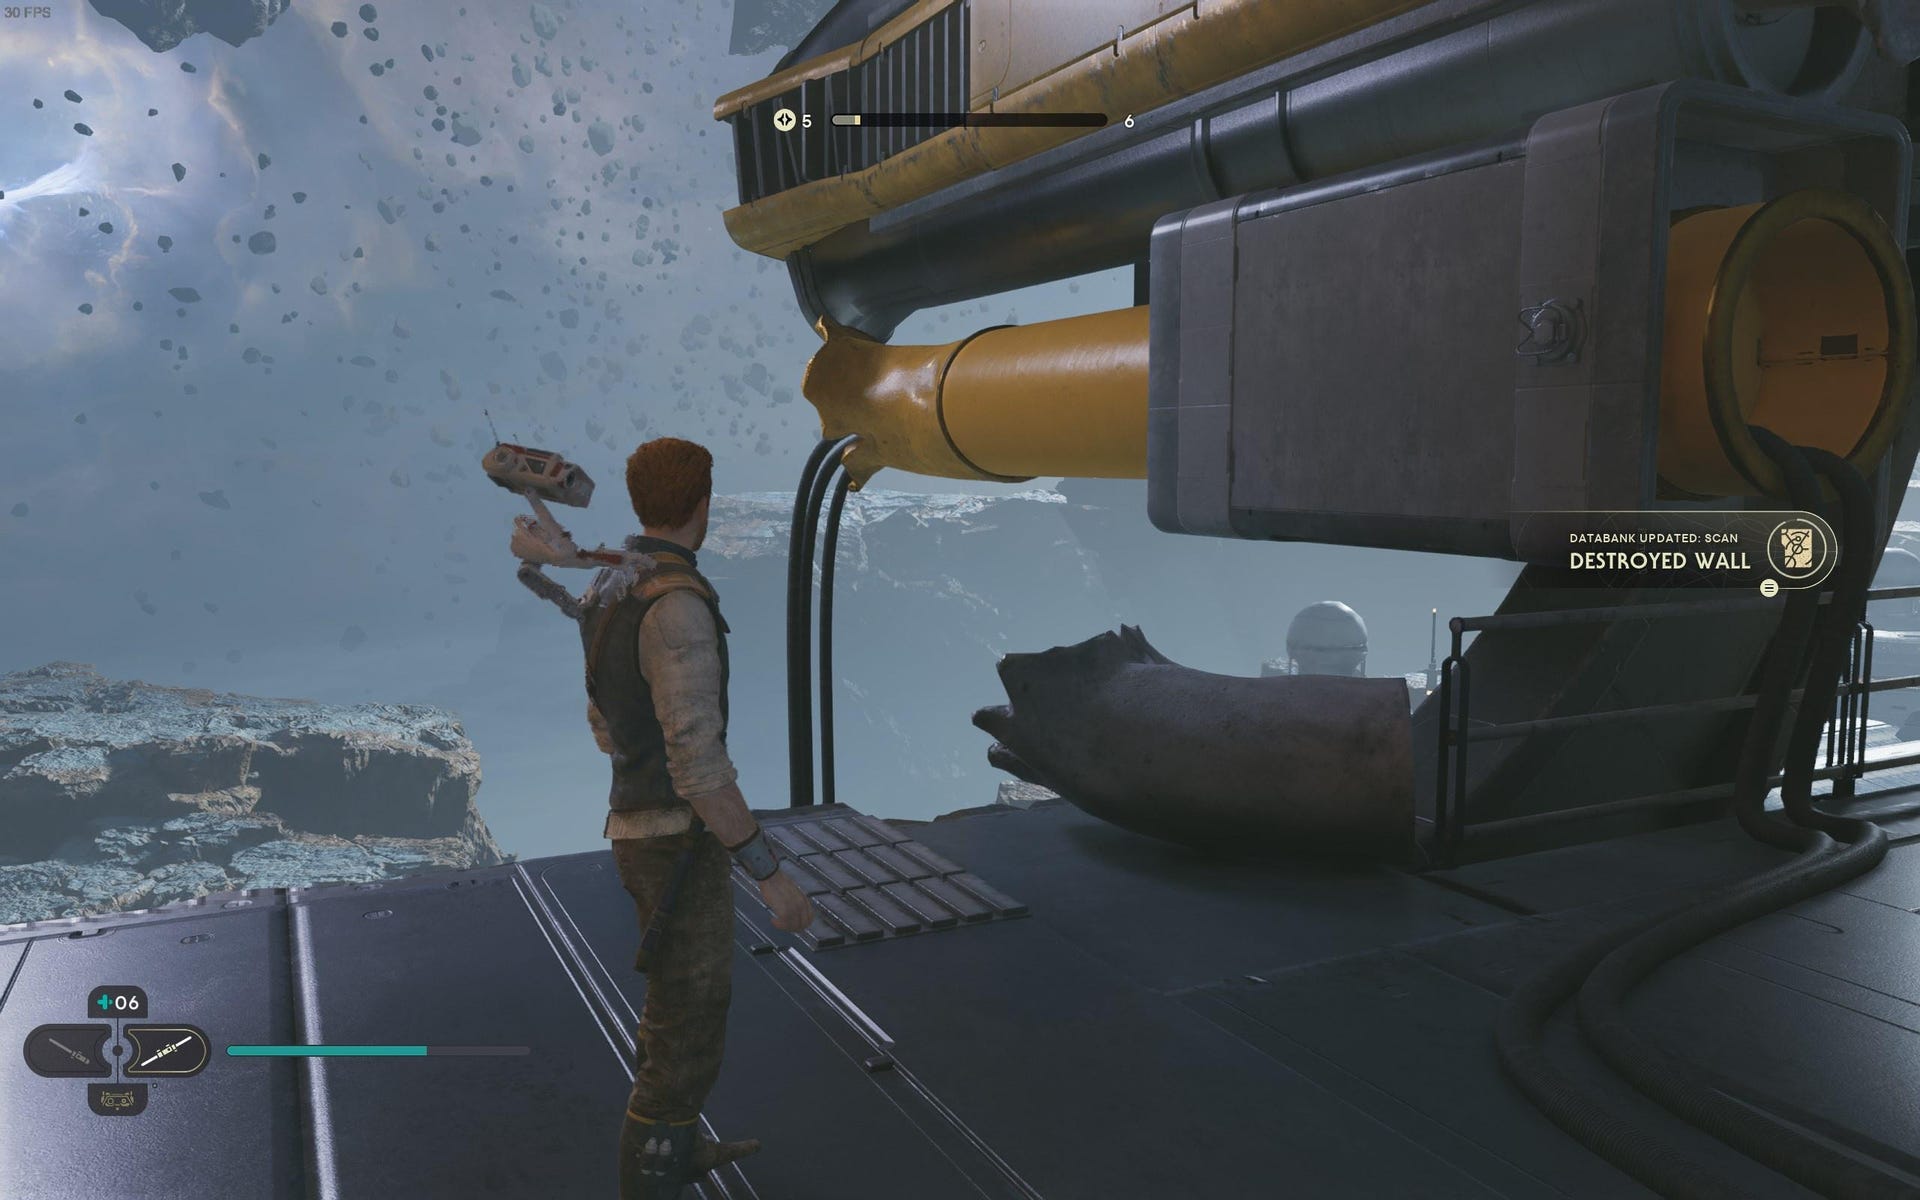
Databank (Destroyed Wall): Climb electrified slope, and then hop across gap and kill three droids. Scan point is next to the path on the right side.
Assembly Staging Treasures:
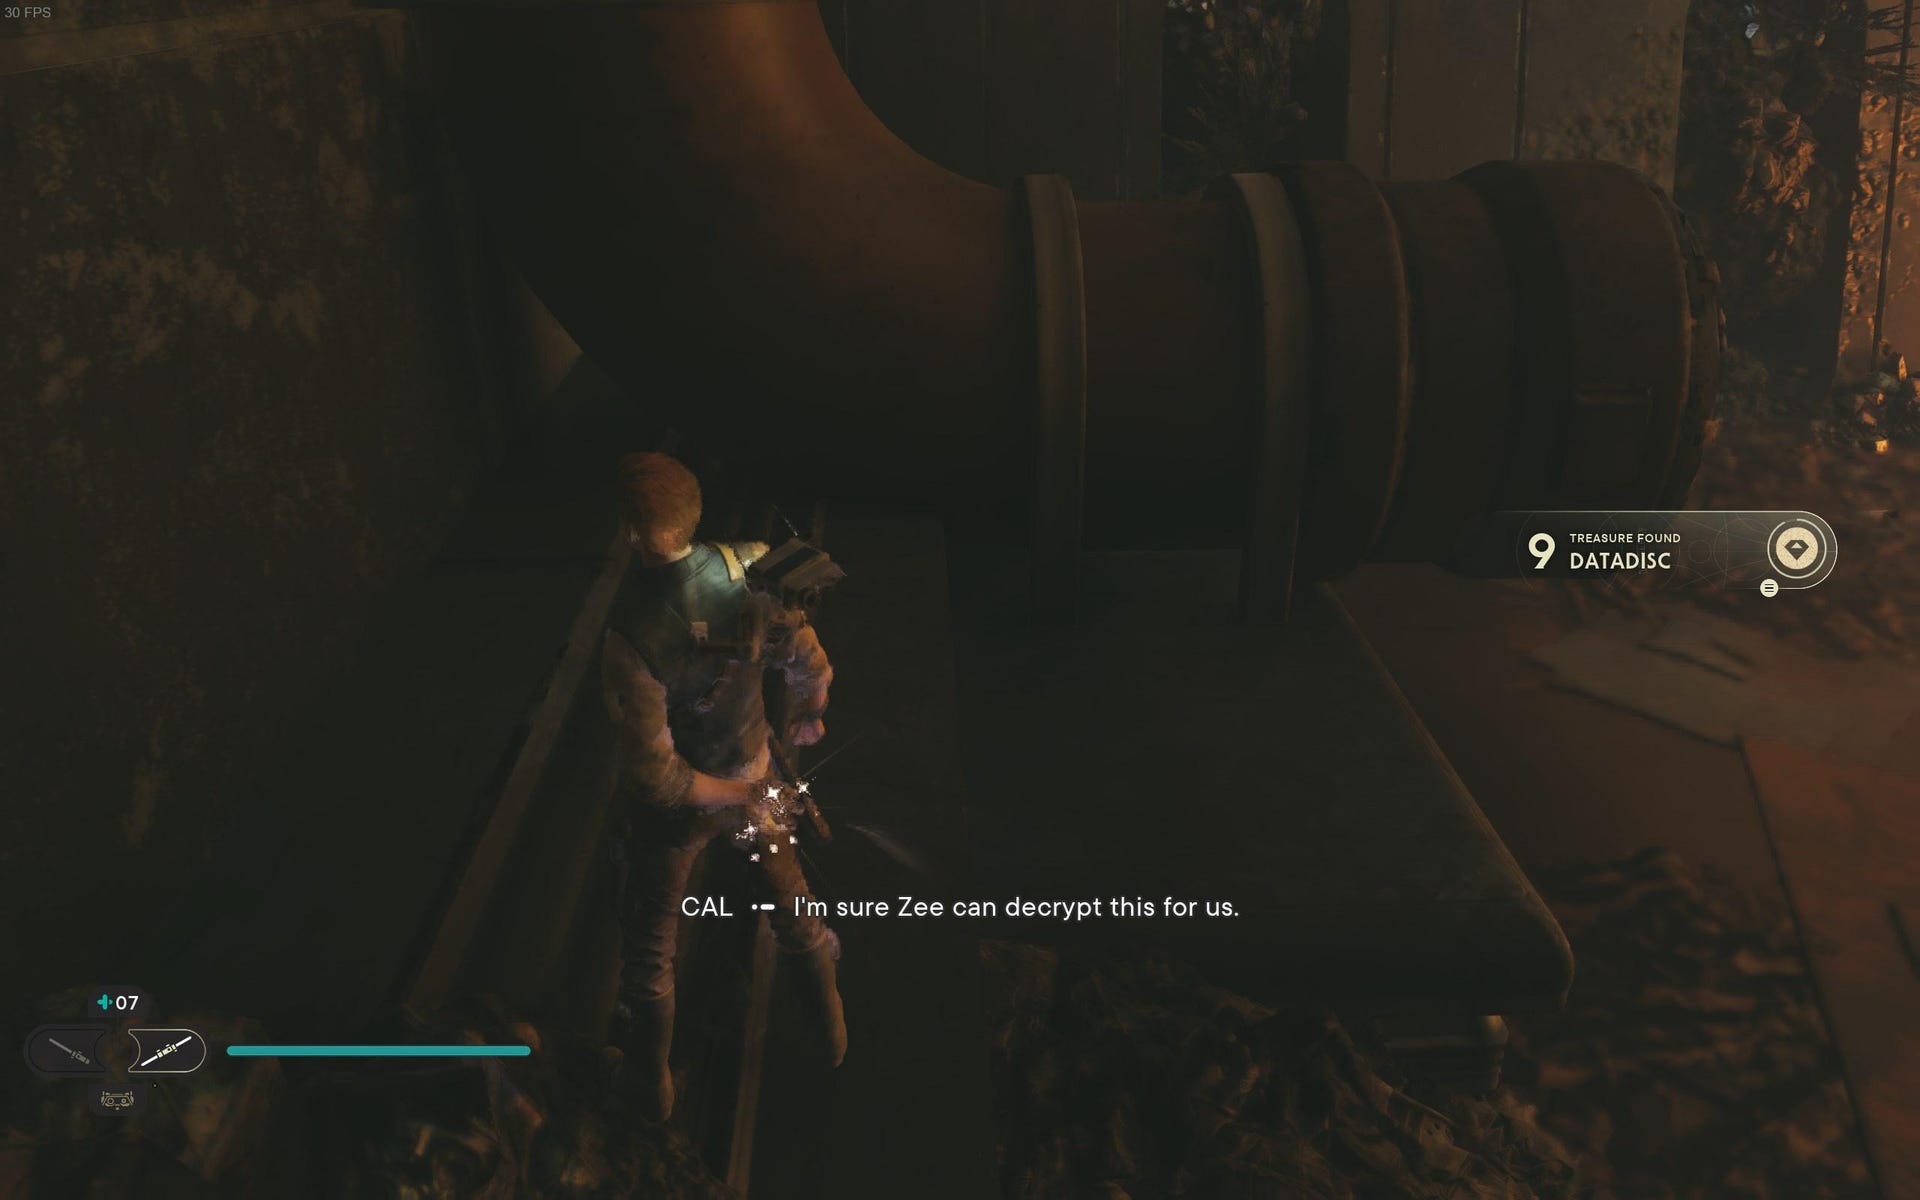
Datadisc #1: Turn right from laser door and fall into sewage pit. Kill enemies, and then grab Datadisc from the edge to the left of where you fell.
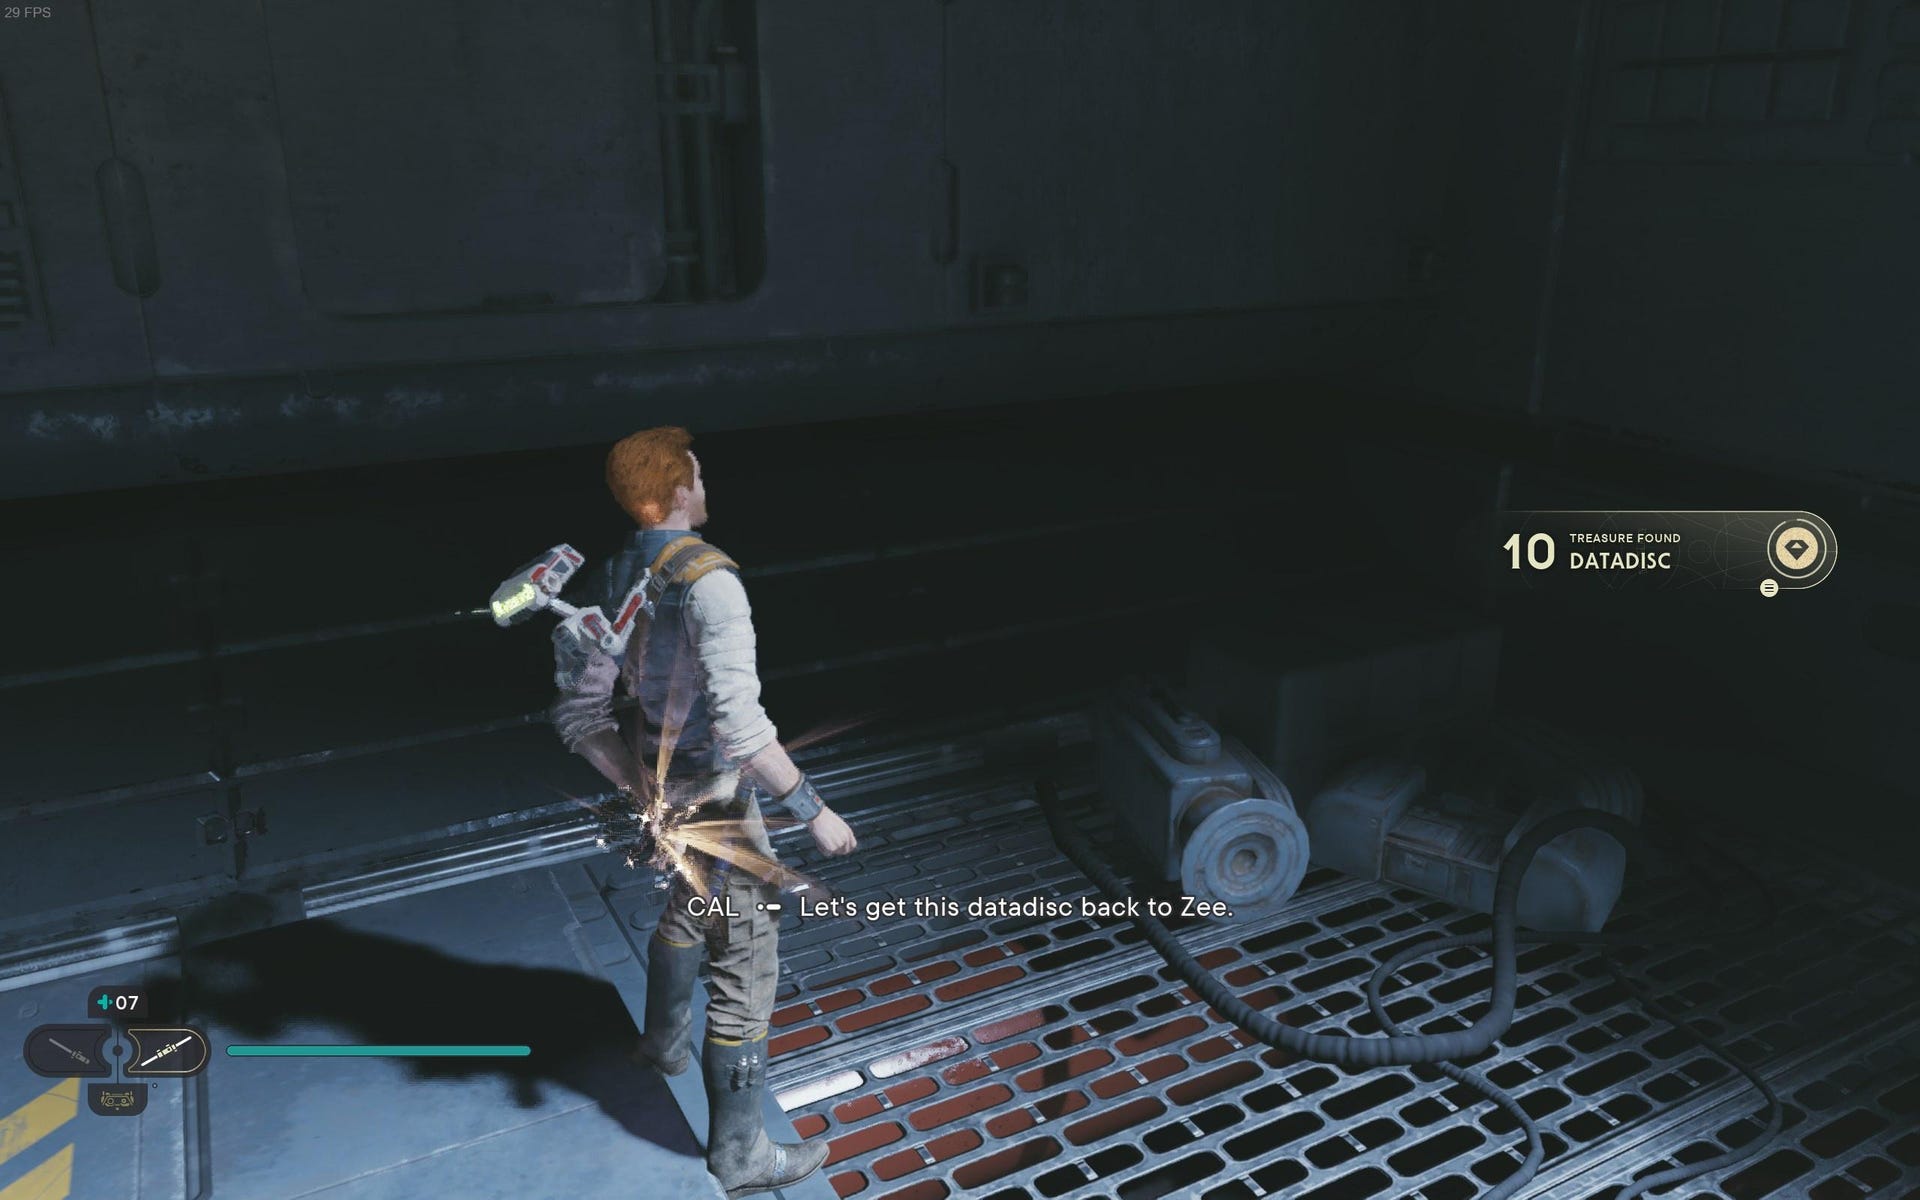
Datadisc #2: Fight enemies in sewage pit, and then use first Lifter Droid grapple point. Grab the yellow wall and climb back to where you fell to find Datadisc.
Datadisc #3: Atop the stack of crates just past the B1 droids.

Datadisc #4: Follow main path until you come to the upwards slope with sparks travelling down. Climb onto the podium halfway up, where the lone battle droid attacks.
Datadisc #5: Kill the scavenger droid running round in a circle where the three BX droids attack you at the end of the electricity area.
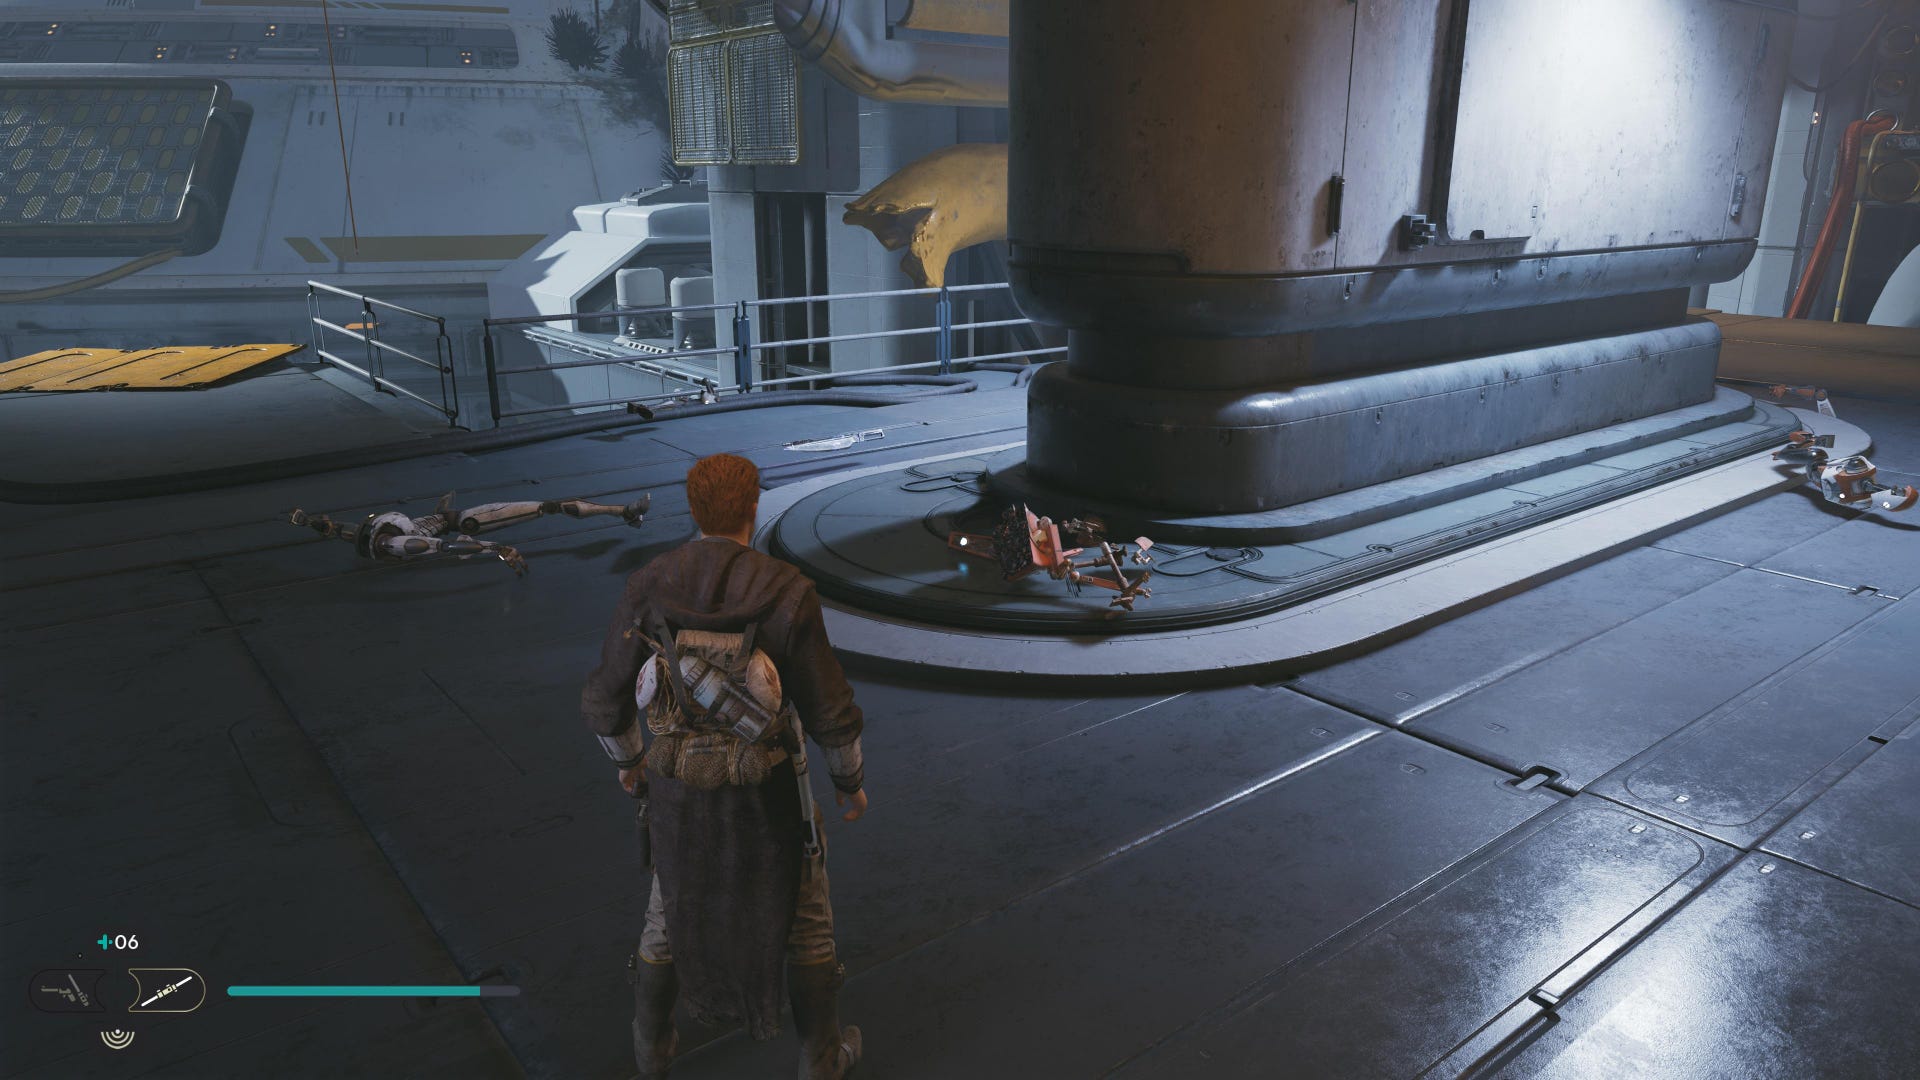
Superstructure Fabricators collectibles
Superstructure Fabricators are located above Assembly Staging, and won't take you very long to 100% at all, as it's a small region with just 2 collectibles:
Superstructure Fabricators Databanks:
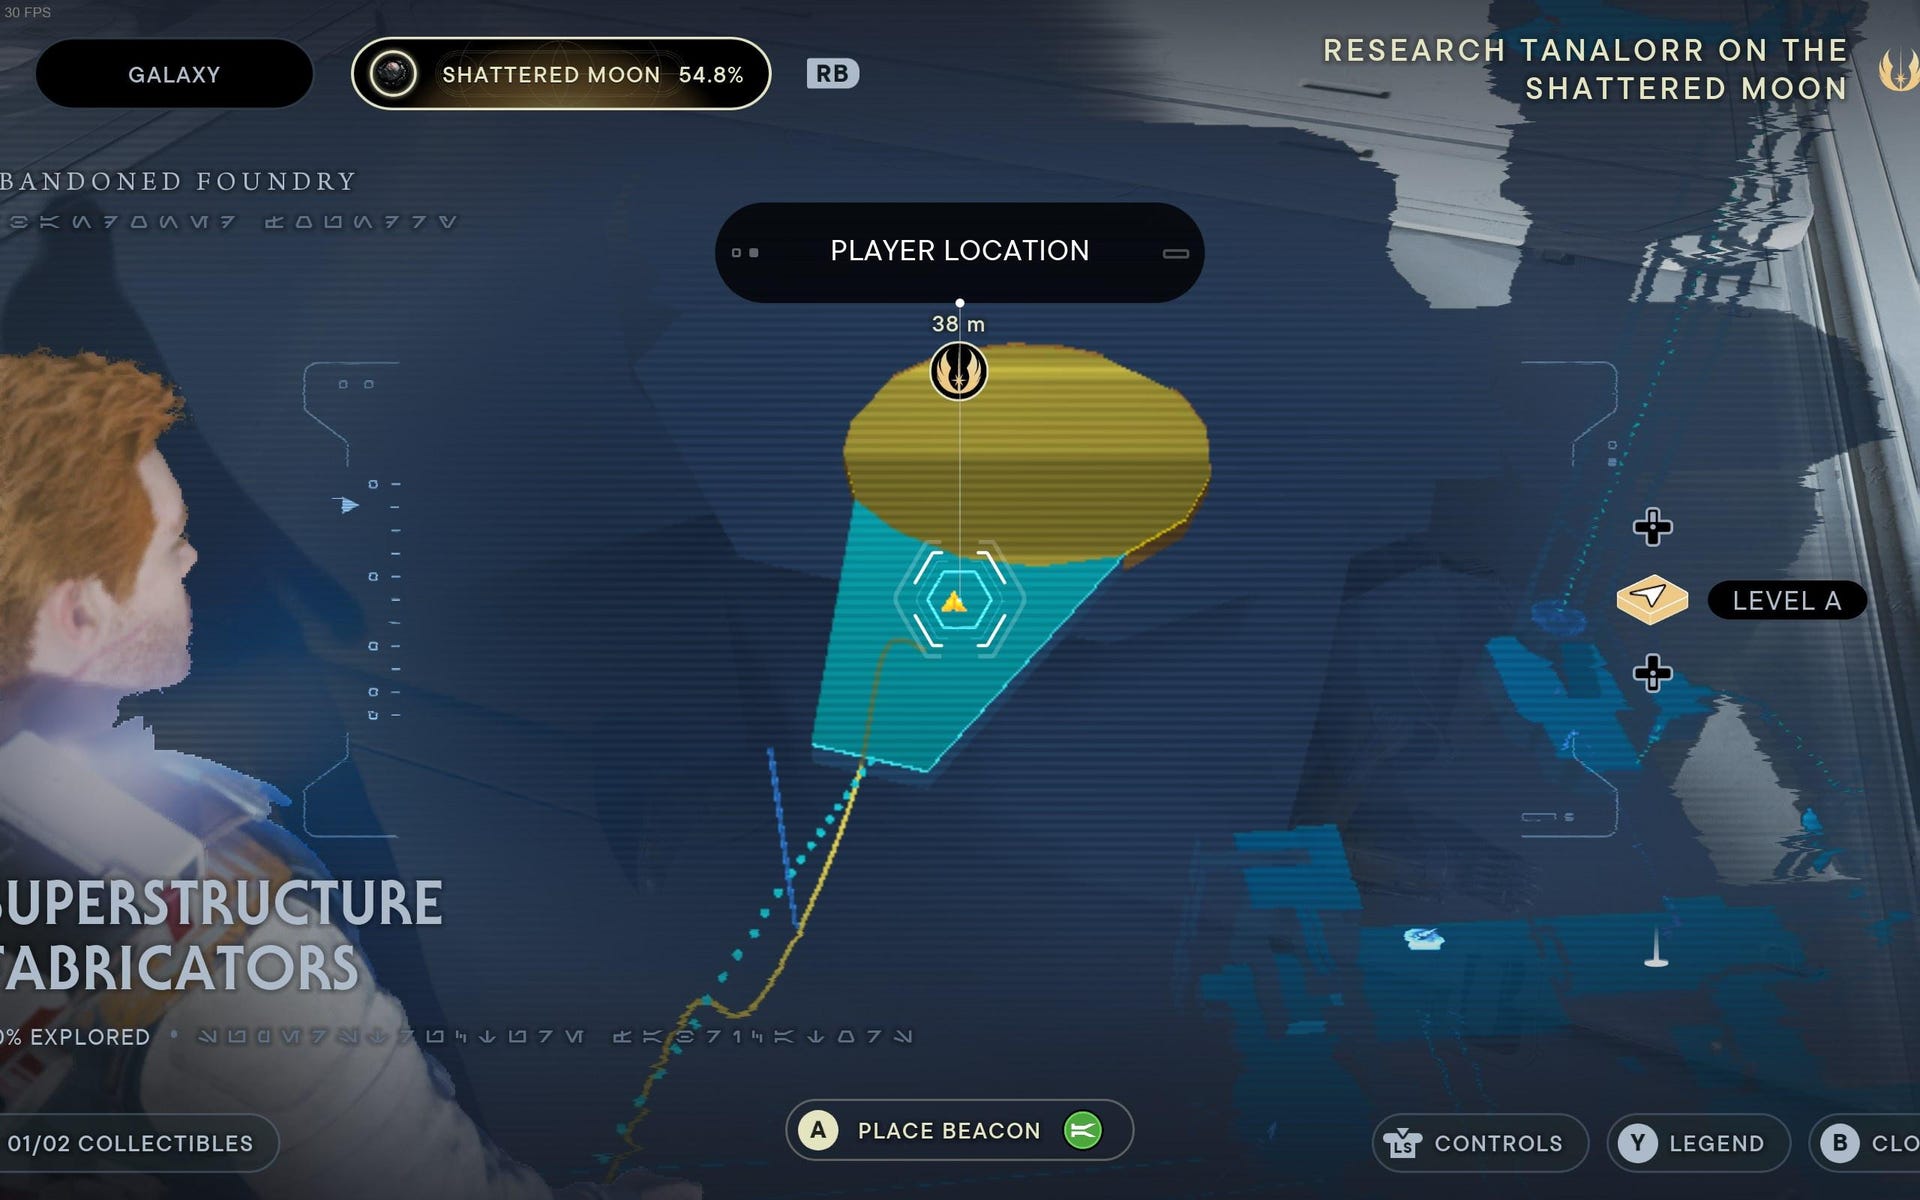
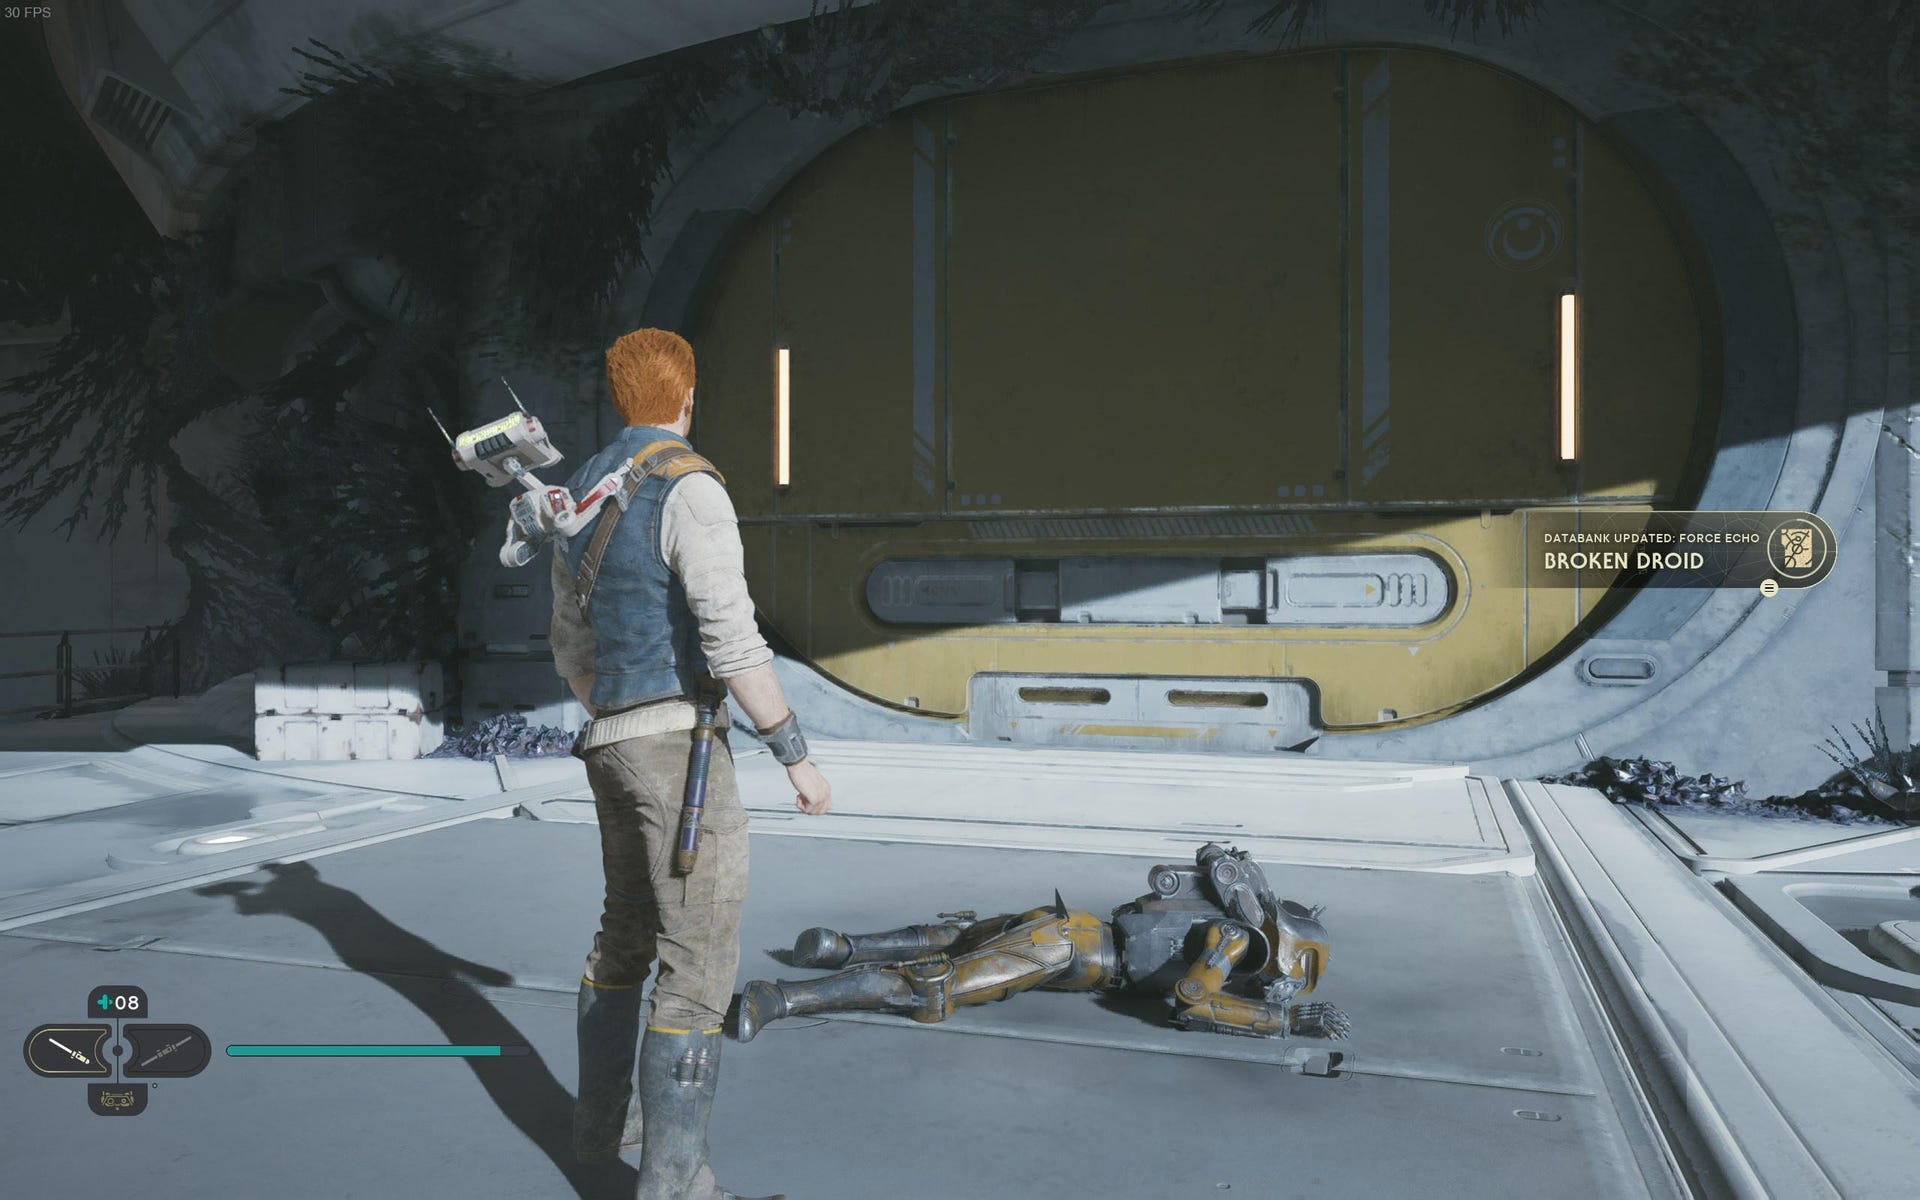
Force Echo (Broken Droid): Follow main path from Meditation Point until you swing across the two ropes. Force Echo is up ahead when you land.
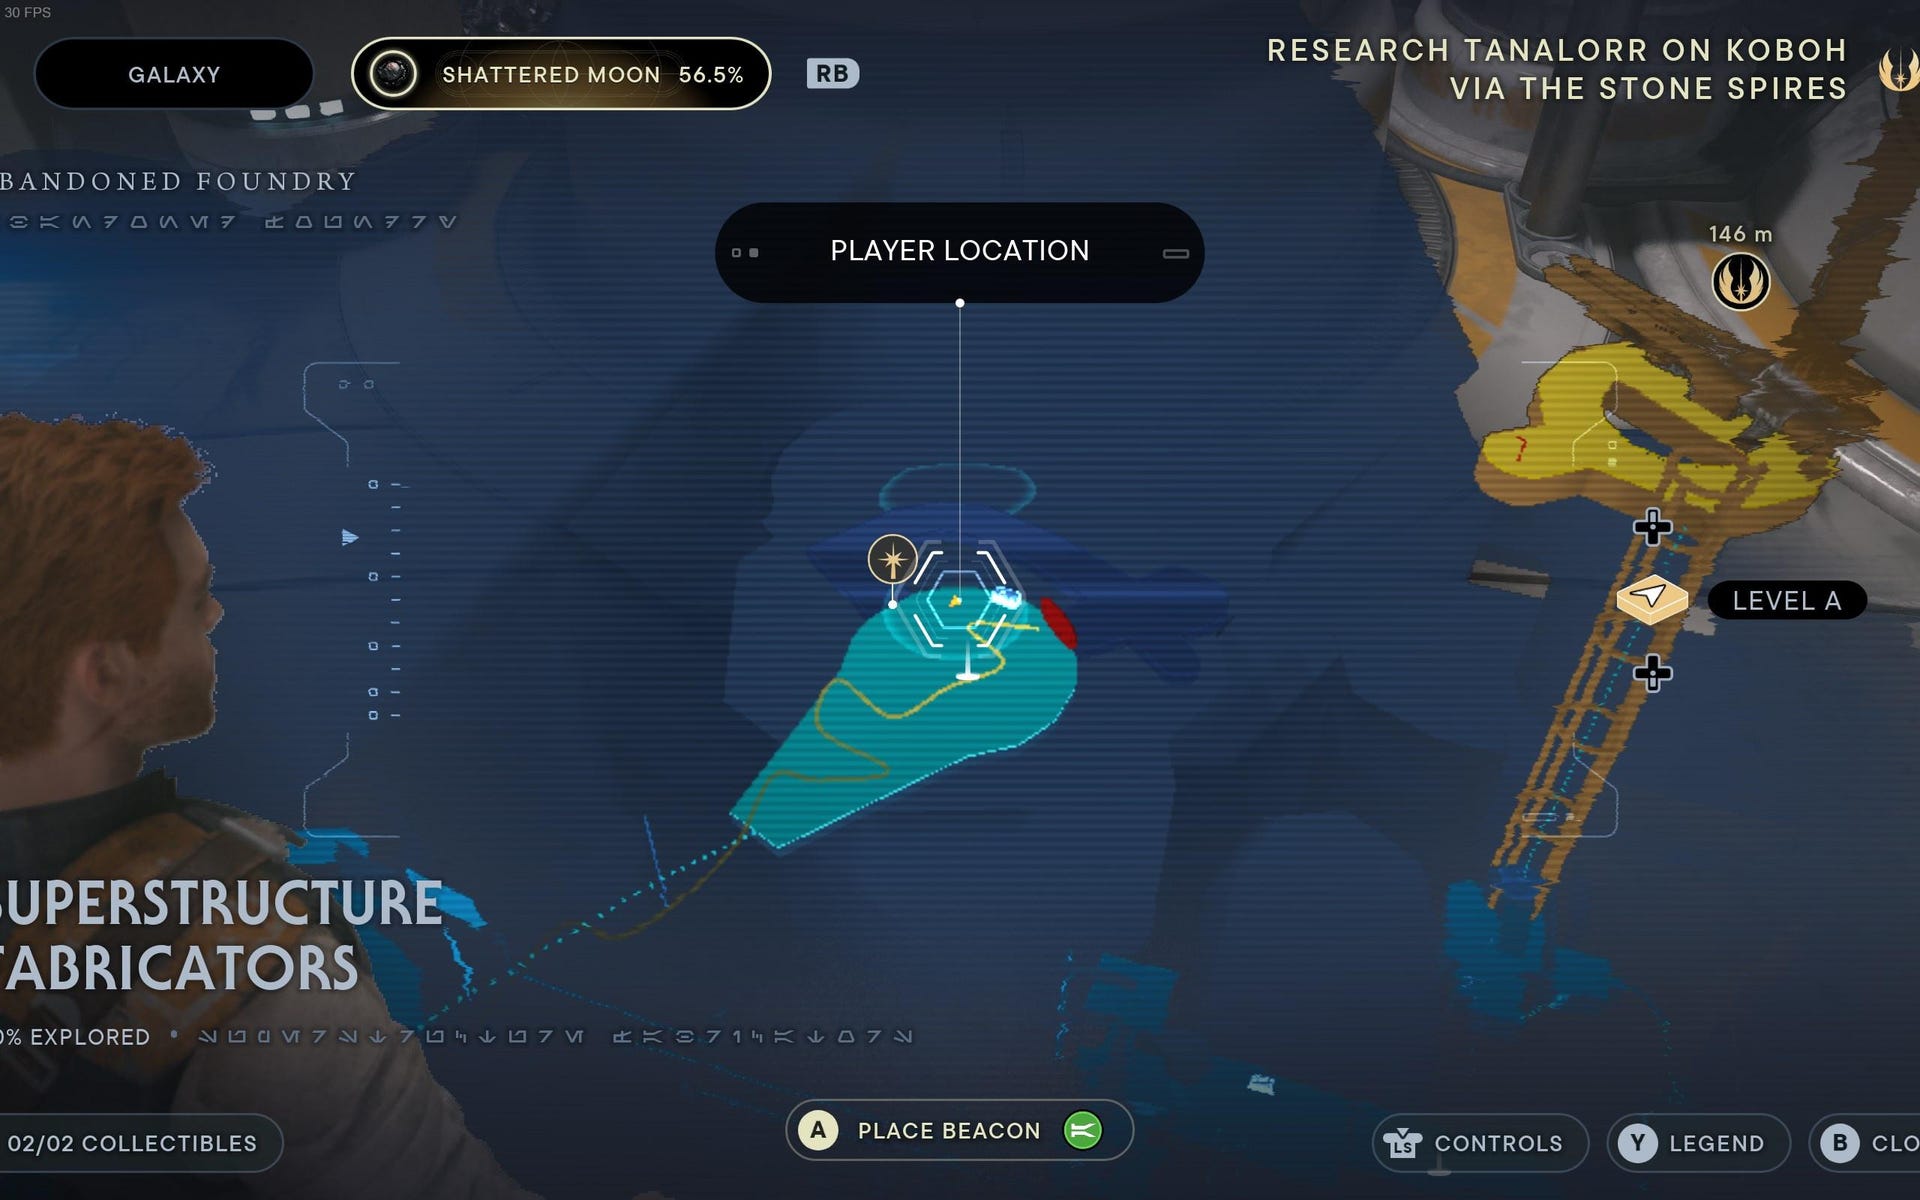
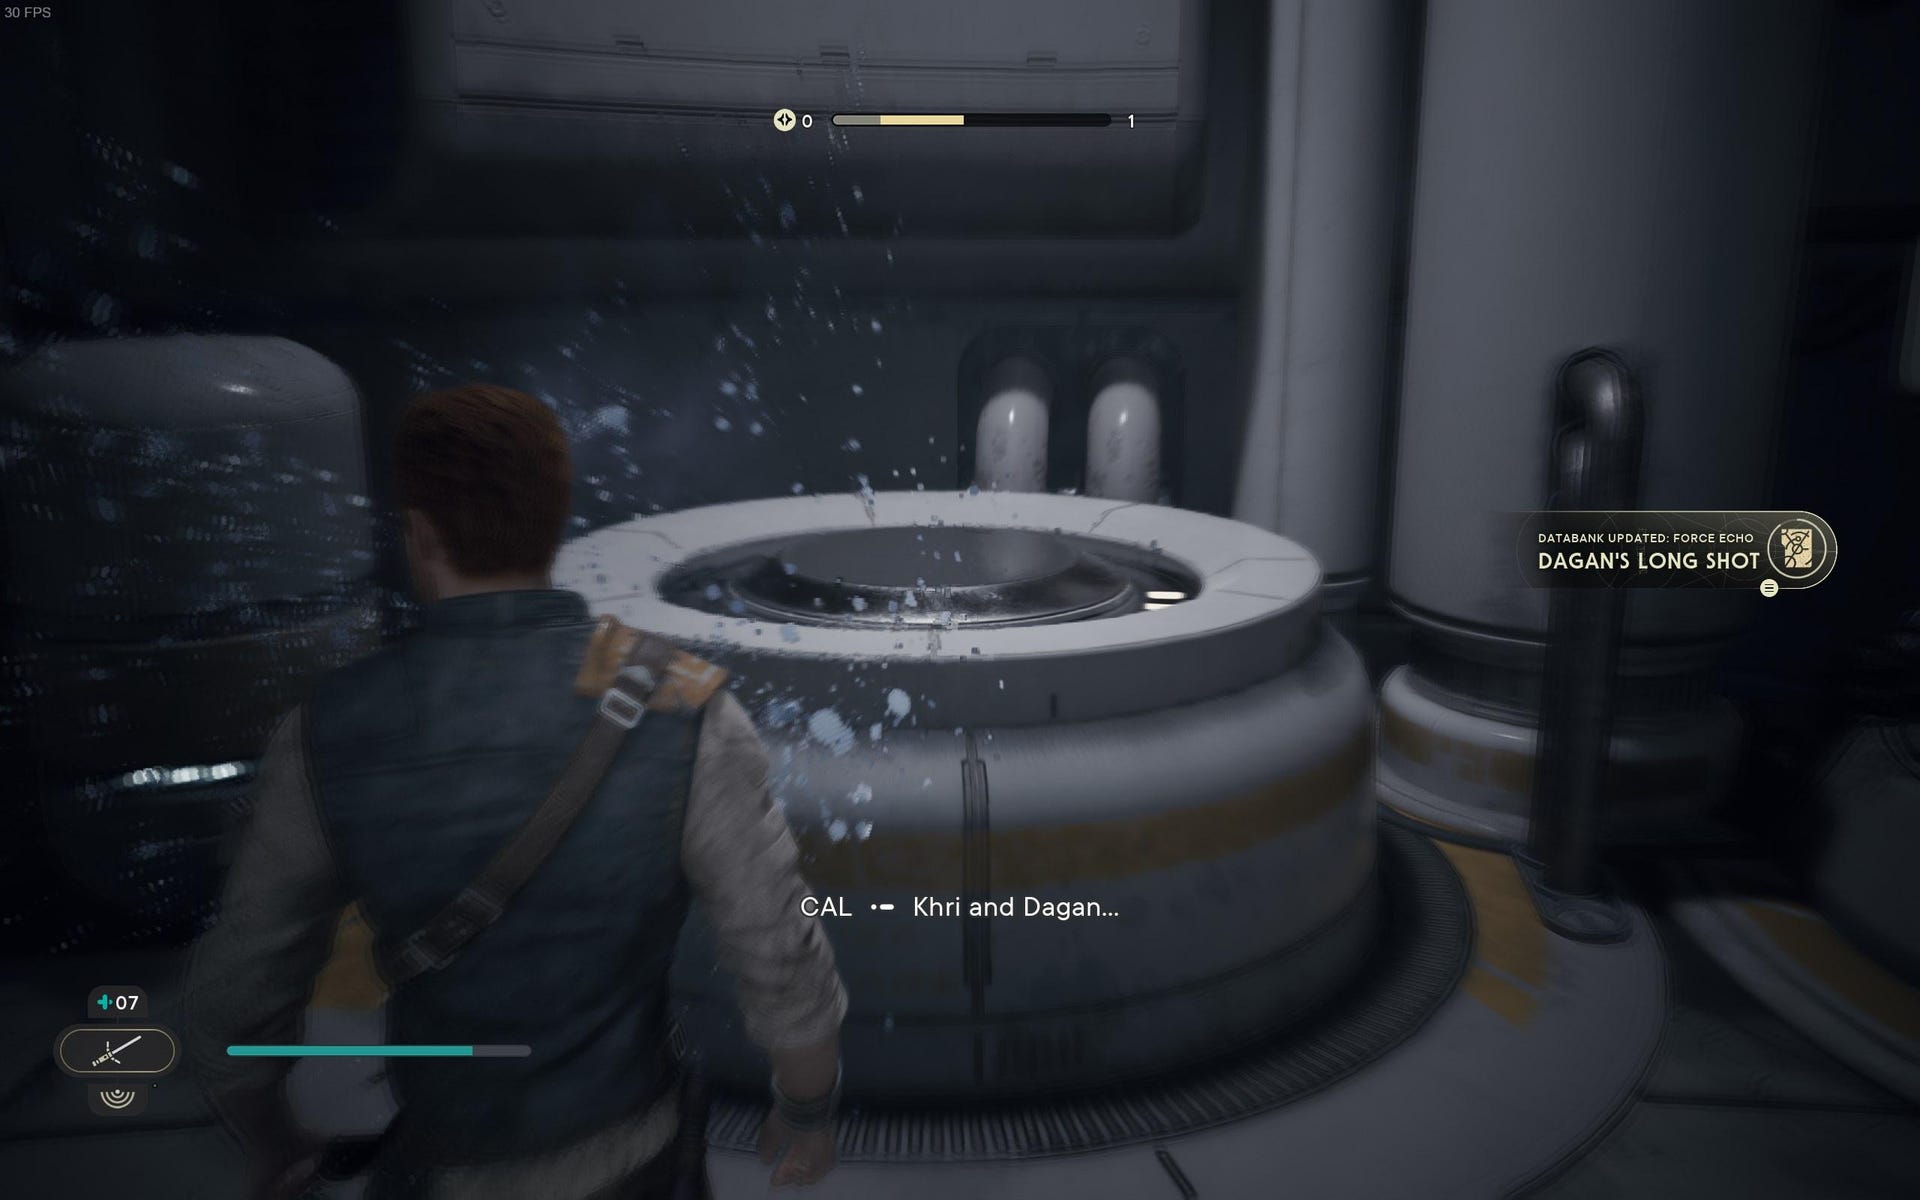
Force Echo (Dagan's Long Shot): In Drya Thorne boss fight room, after battle.
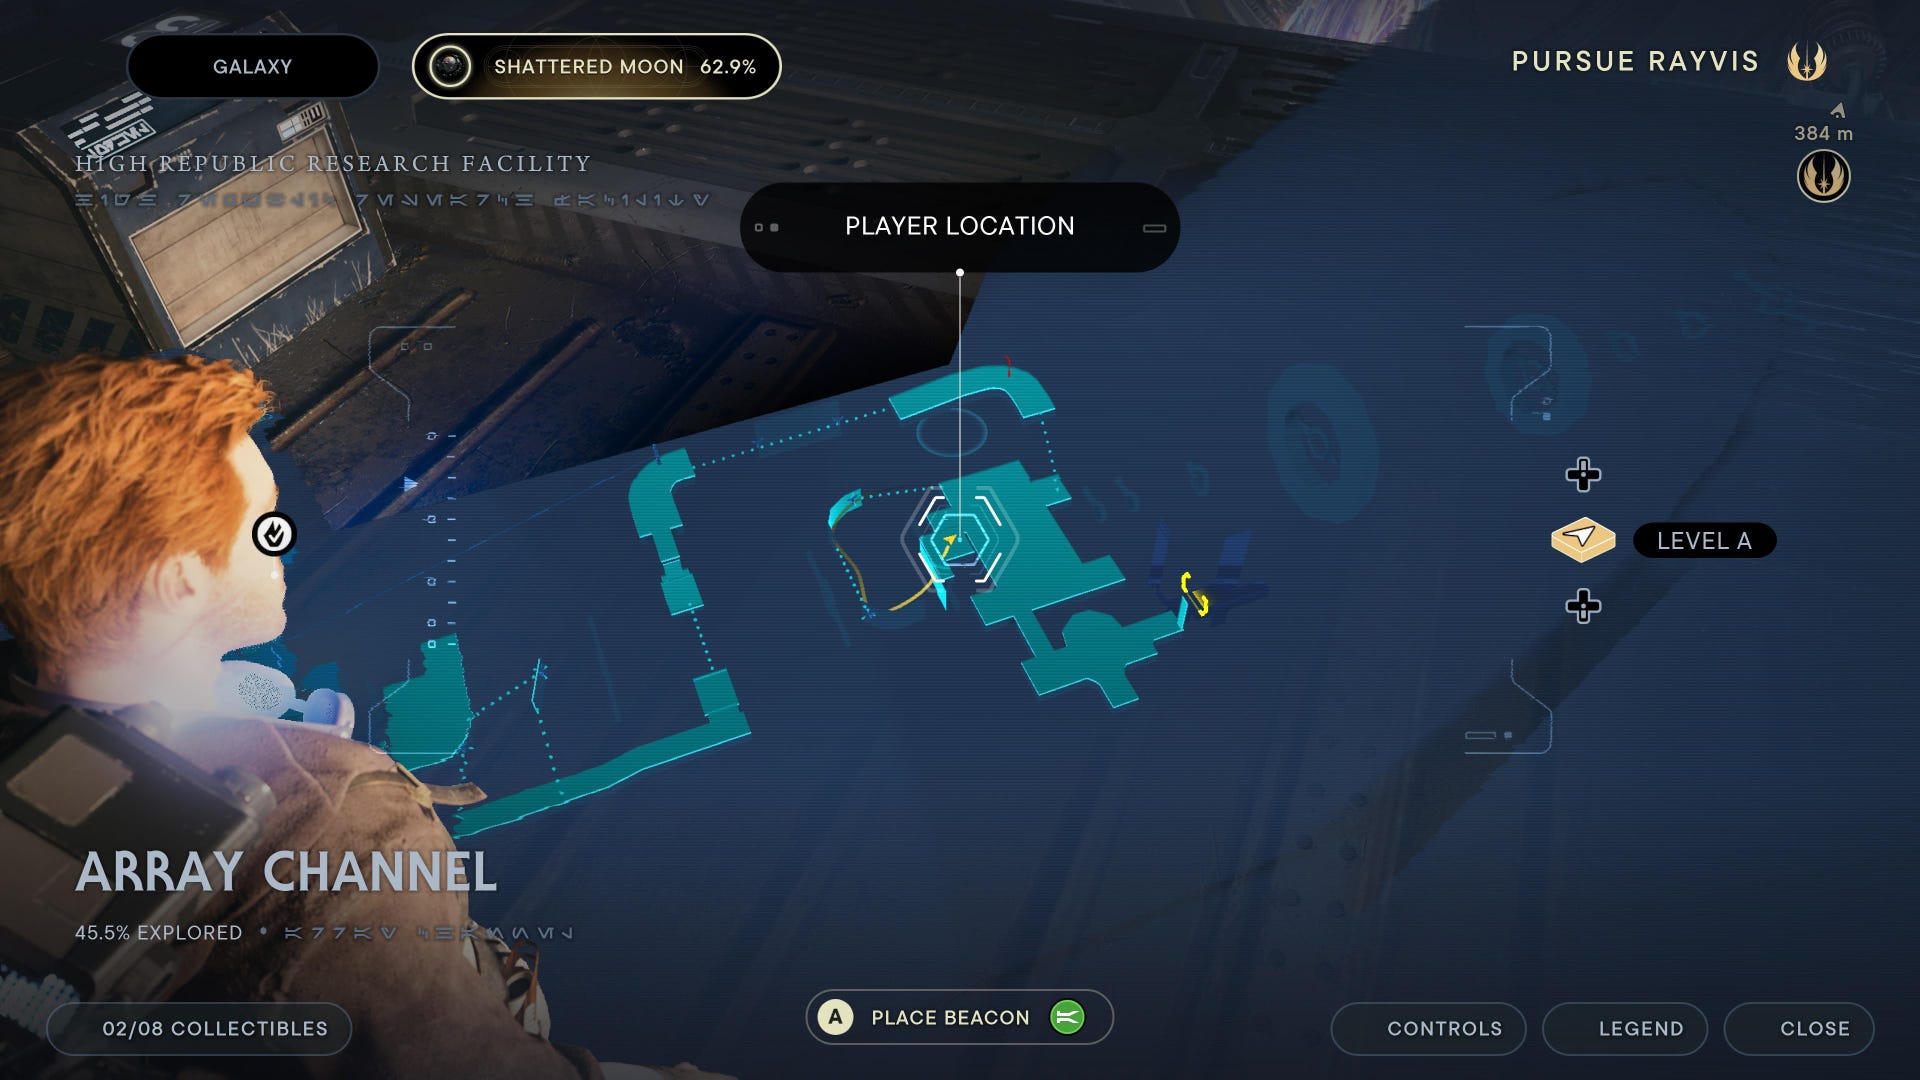
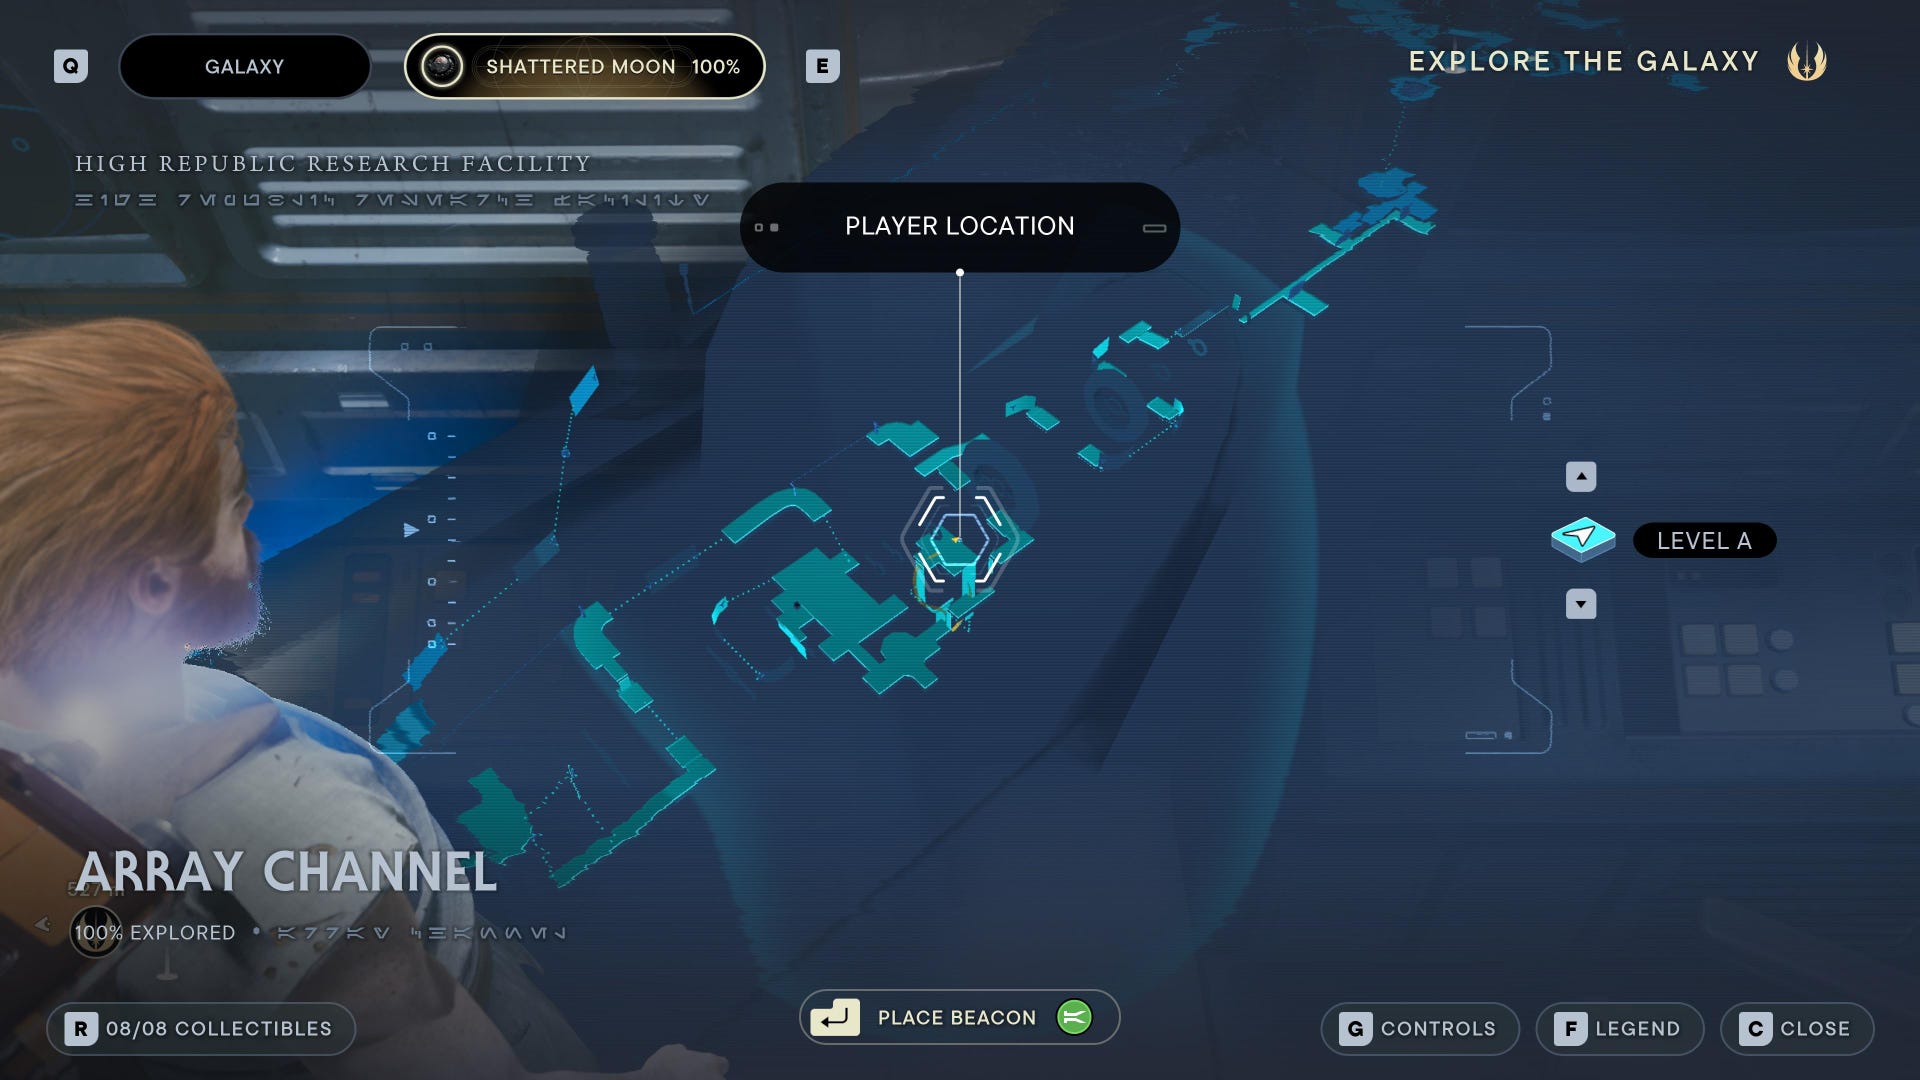
Array Channel collectibles
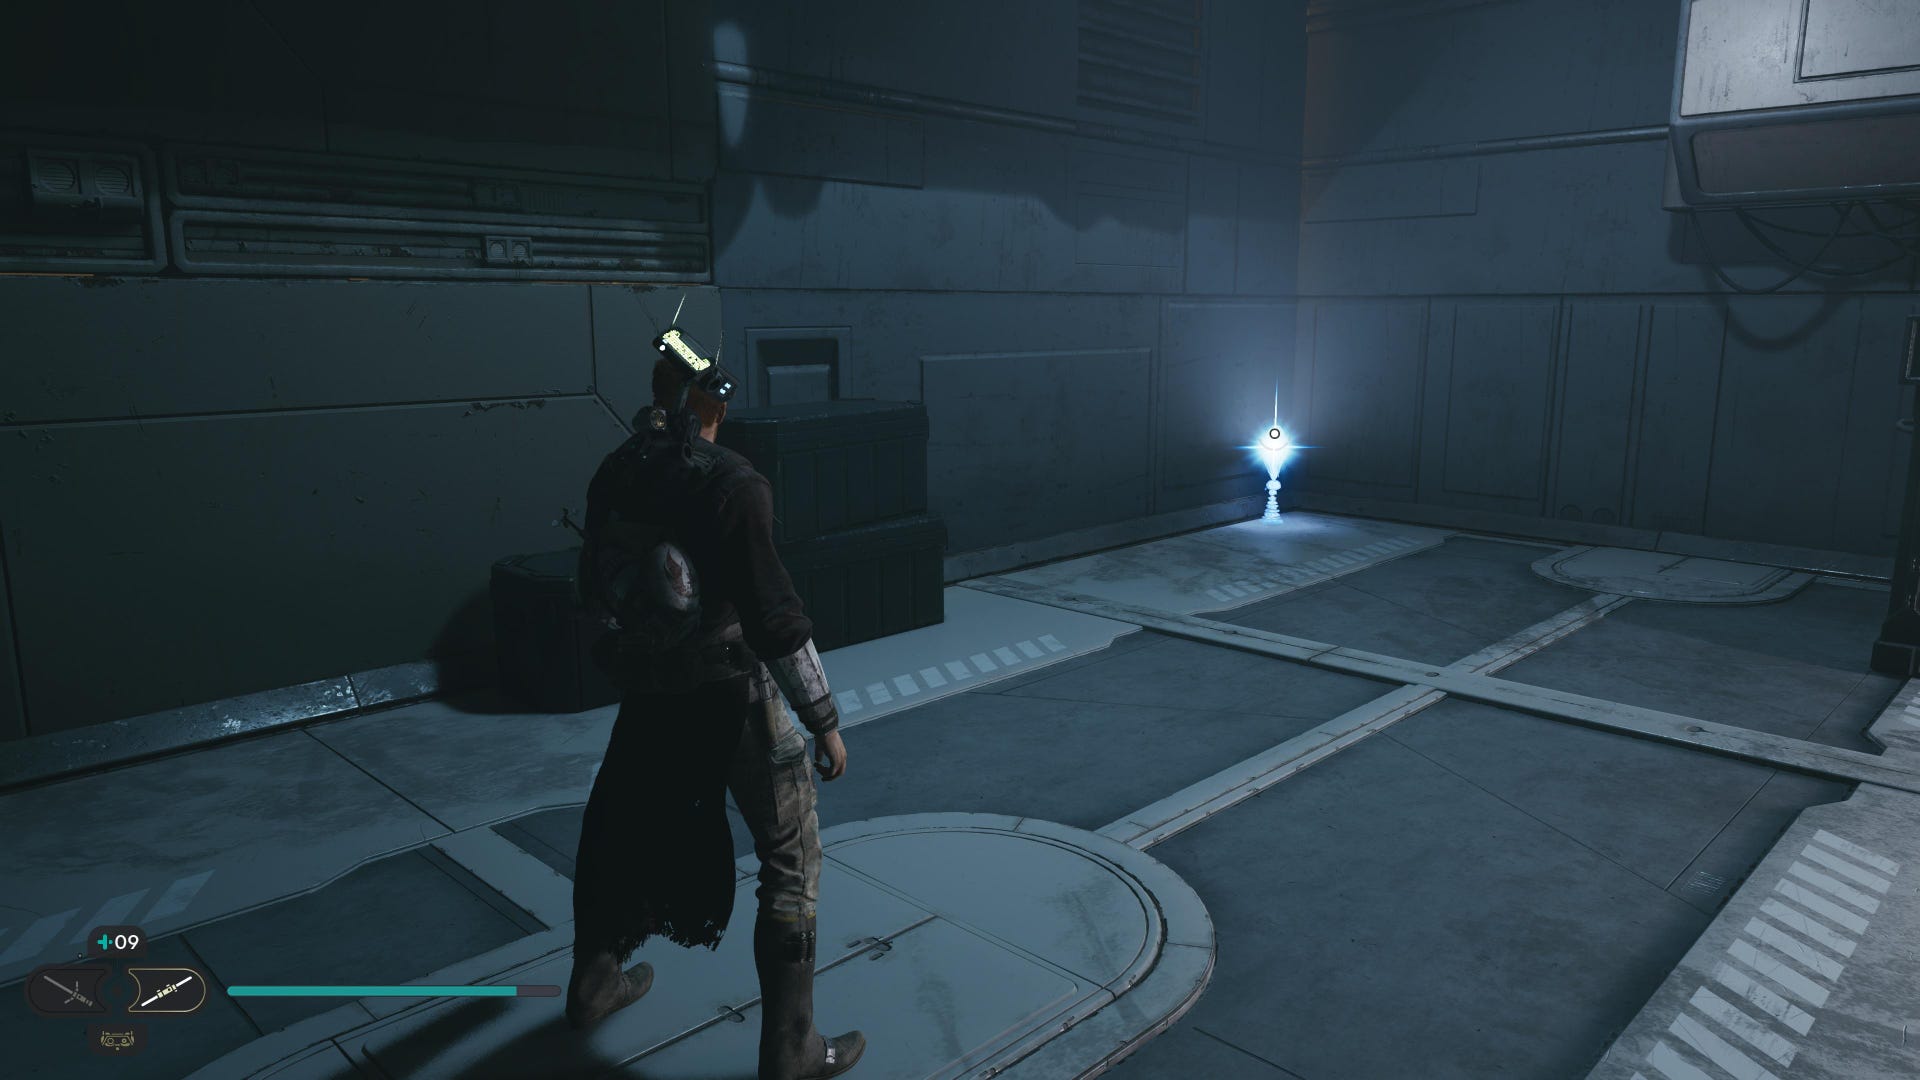
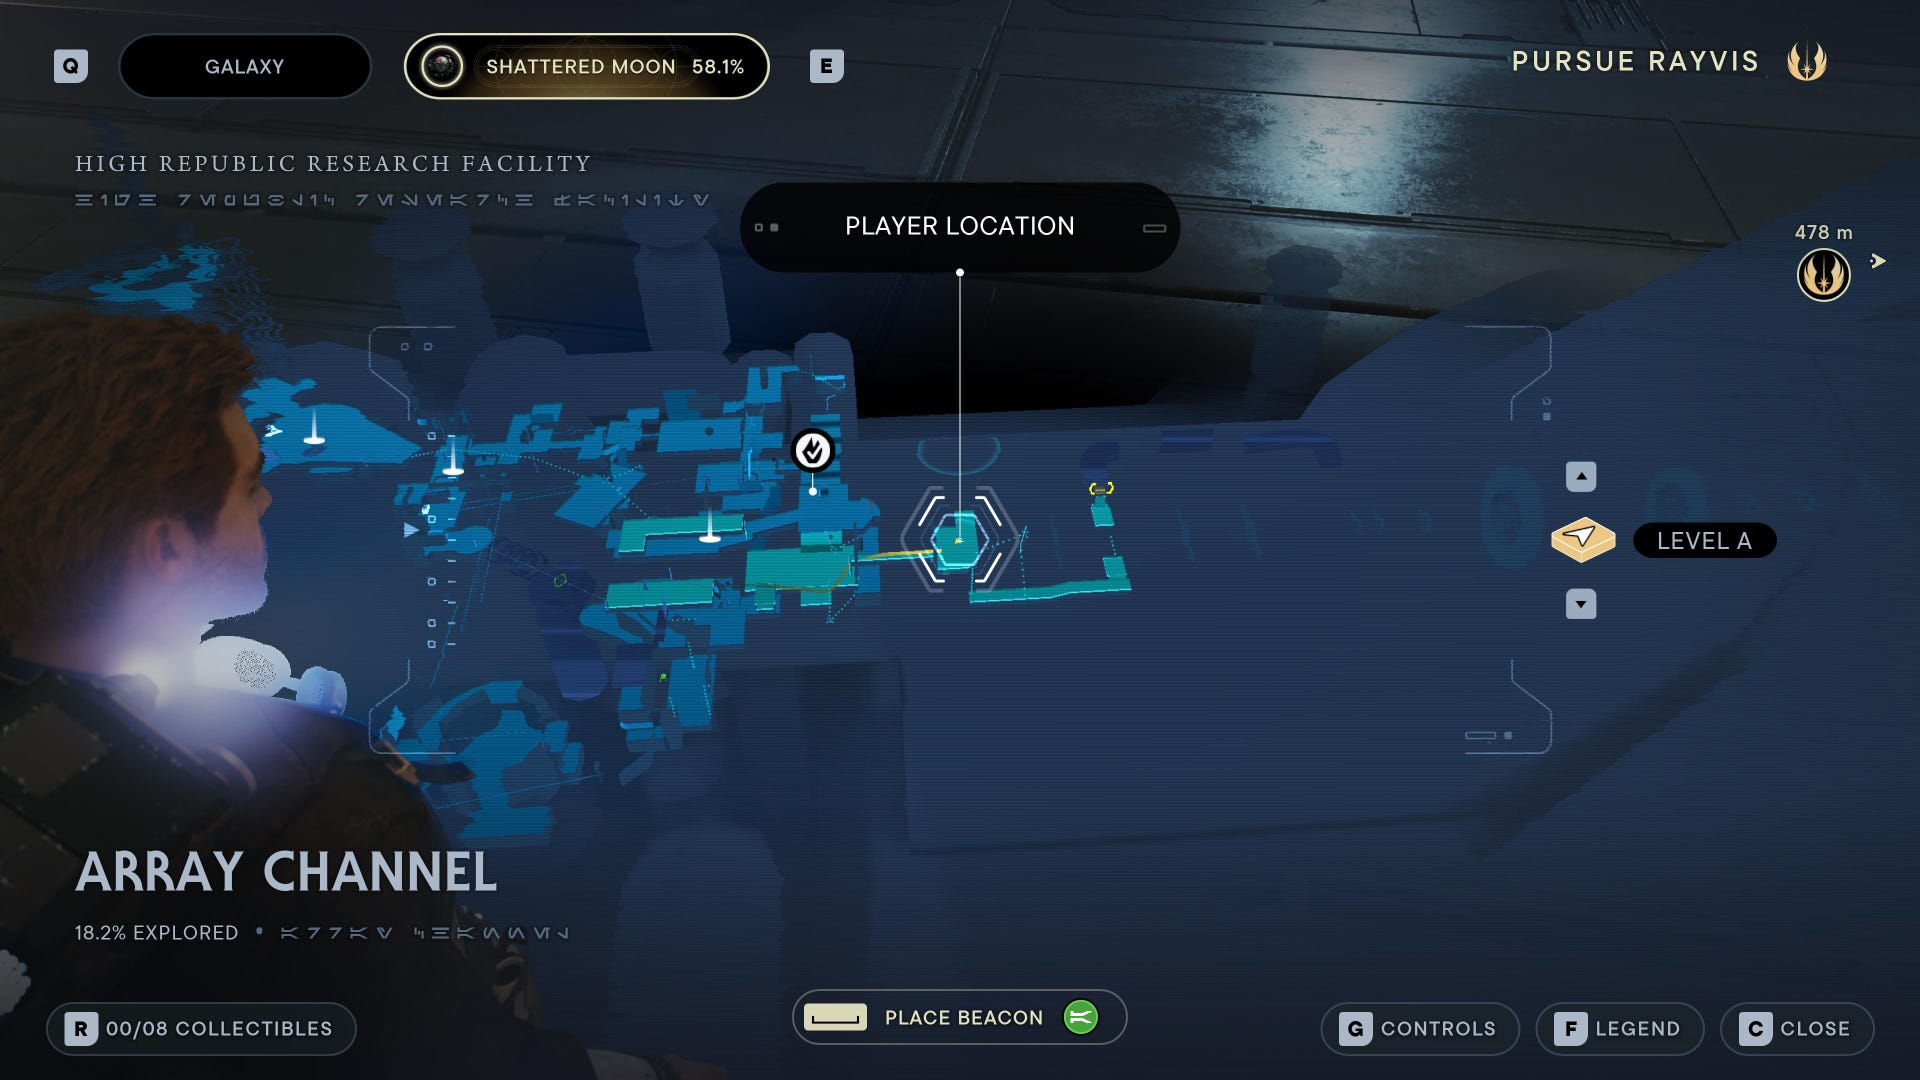
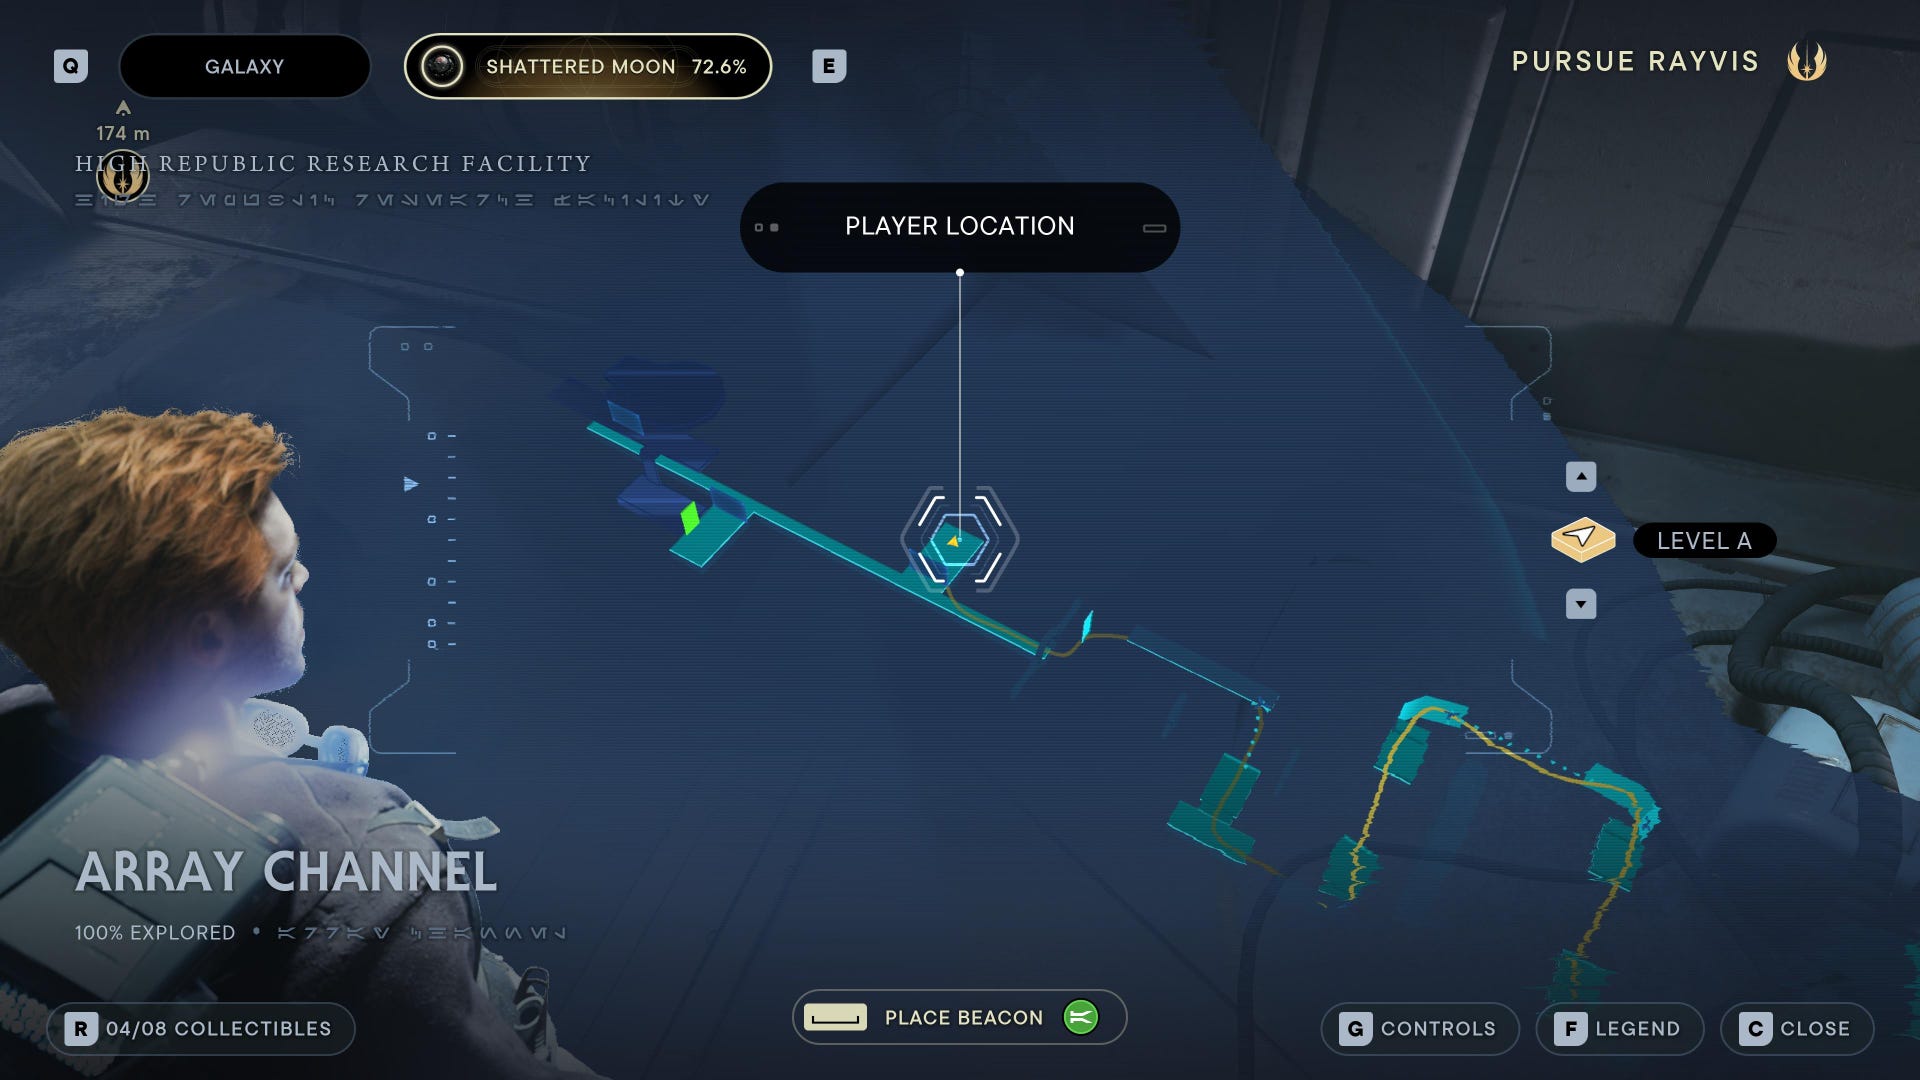
Array Channel is where the fun really begins on Shattered Moon. It's a very long, thin region which has you repeatedly parkouring around a gigantic one-hit-kill beam which blasts every few seconds. This region contains 8 collectibles:
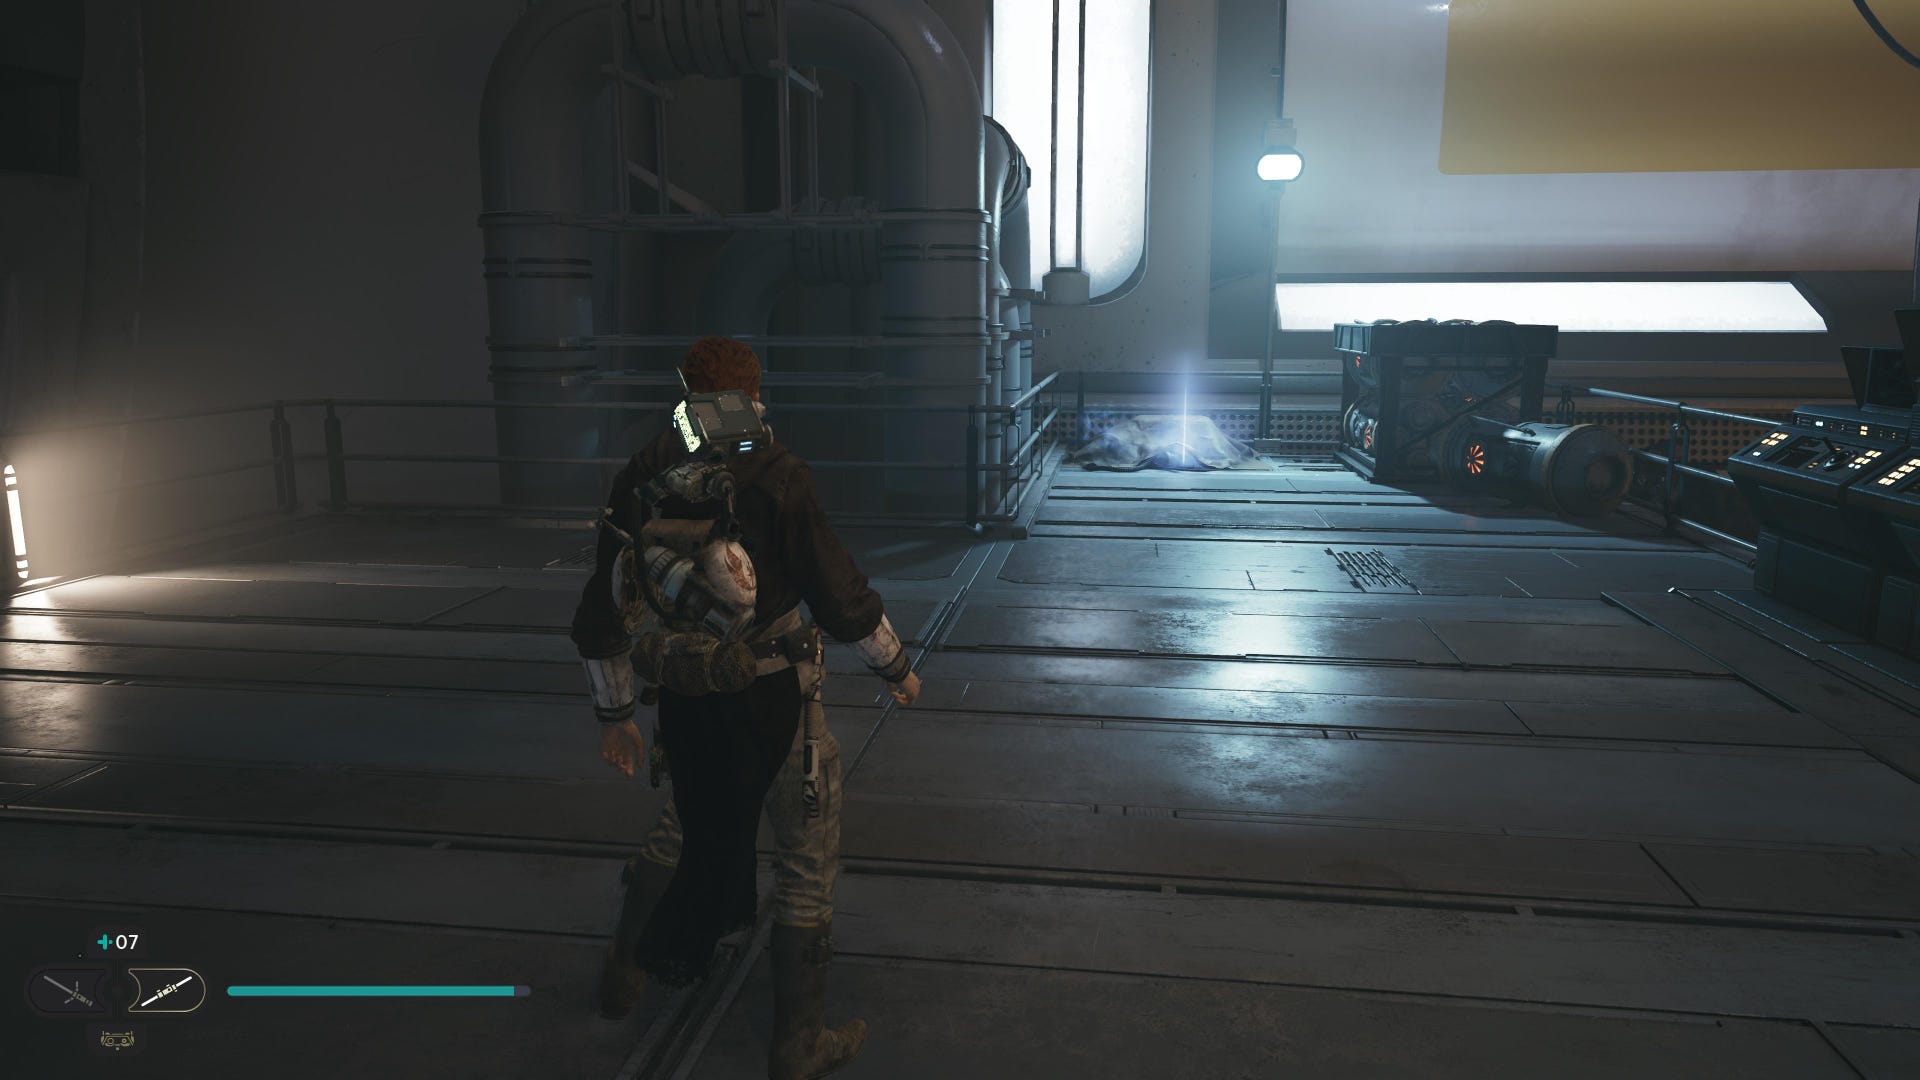
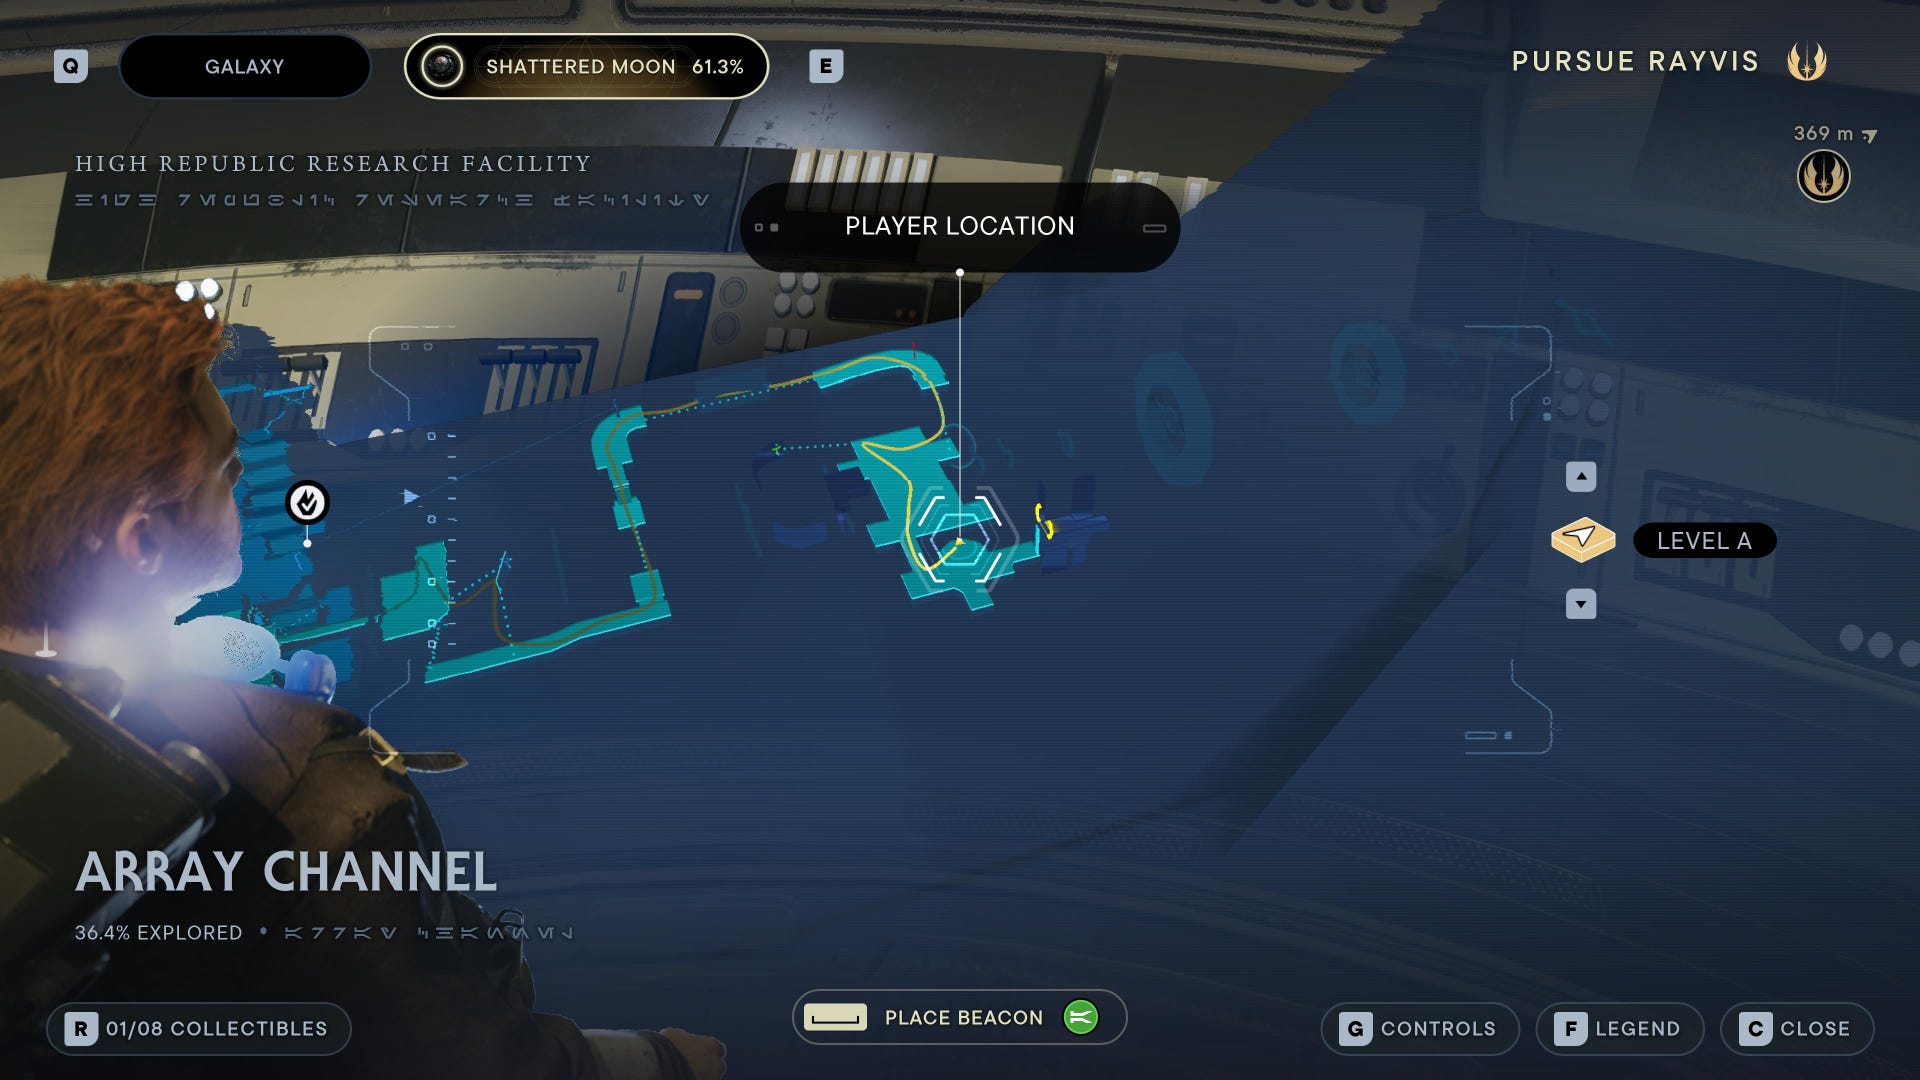
Array Channel Chests:
Chest (Duelist Jacket): Before crossing the beam to get to the control room, turn right and follow the parkour path.
Array Channel Essences:
Skill Point Essence: At the very end of the firing chamber, there's a green forcefield just to the right of where the beam actually emanates.
Array Channel Databanks:
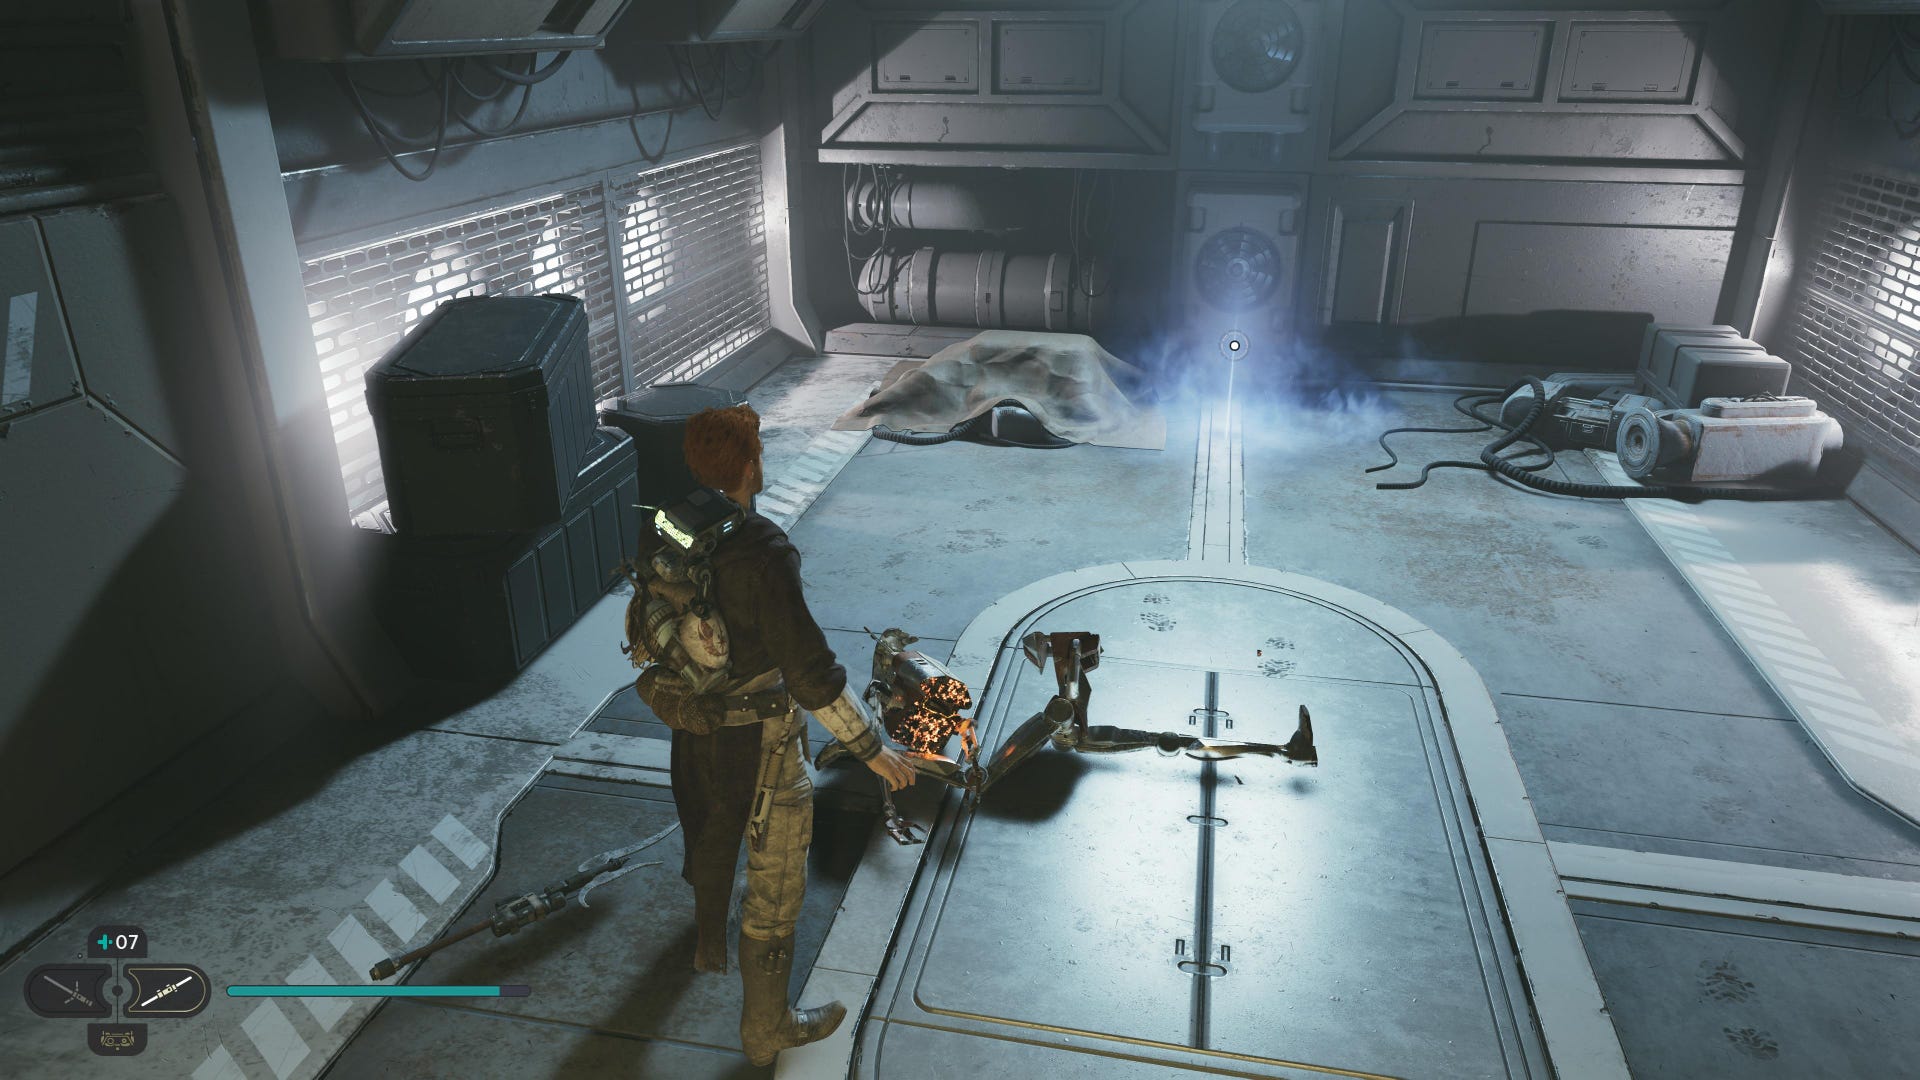
Force Echo (One Stop Shop): Through the firing chamber on the left. Requires Force Lift/Slam!

Force Echo (Waking Giants): In the control room next to the giant beam, a short way into the Array Channel through all the droids.
Force Echo (Prized Merchandise): Through the second firing chamber, duck through the green forcefield on the right.
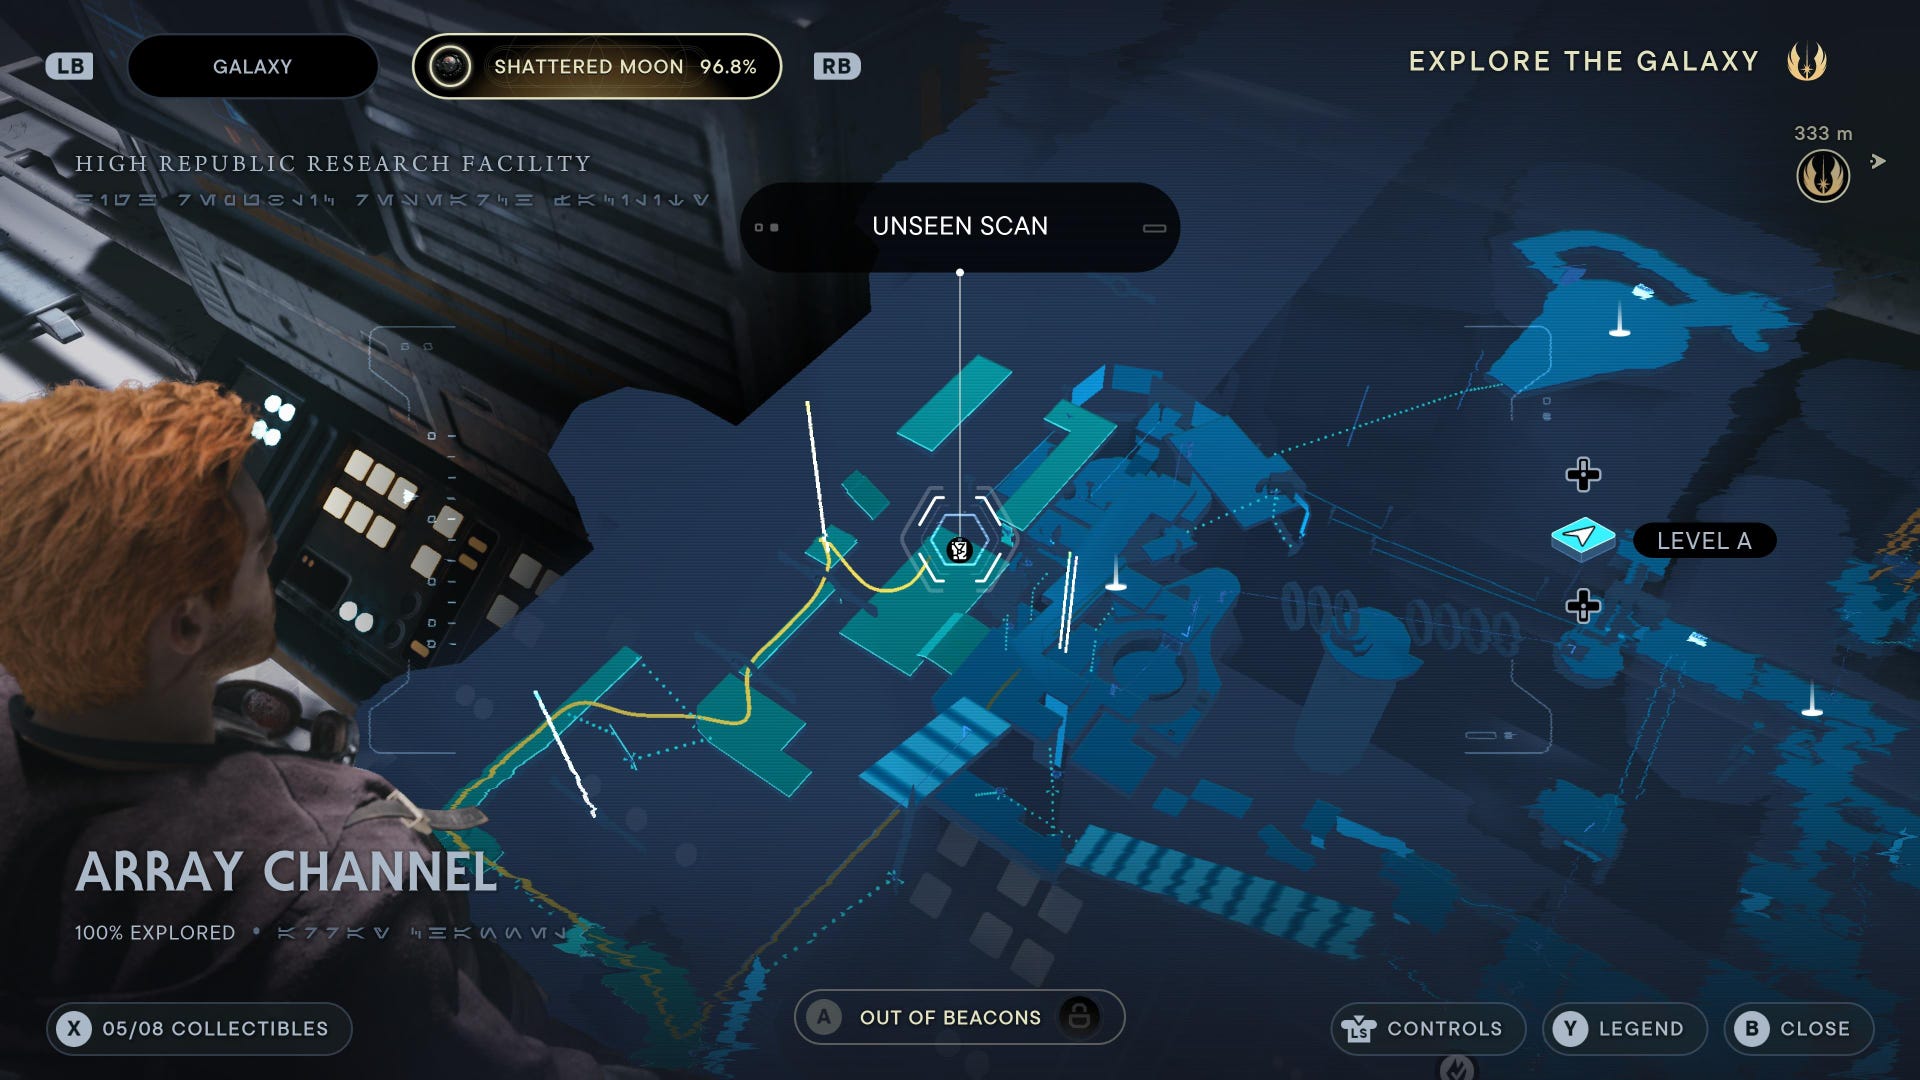
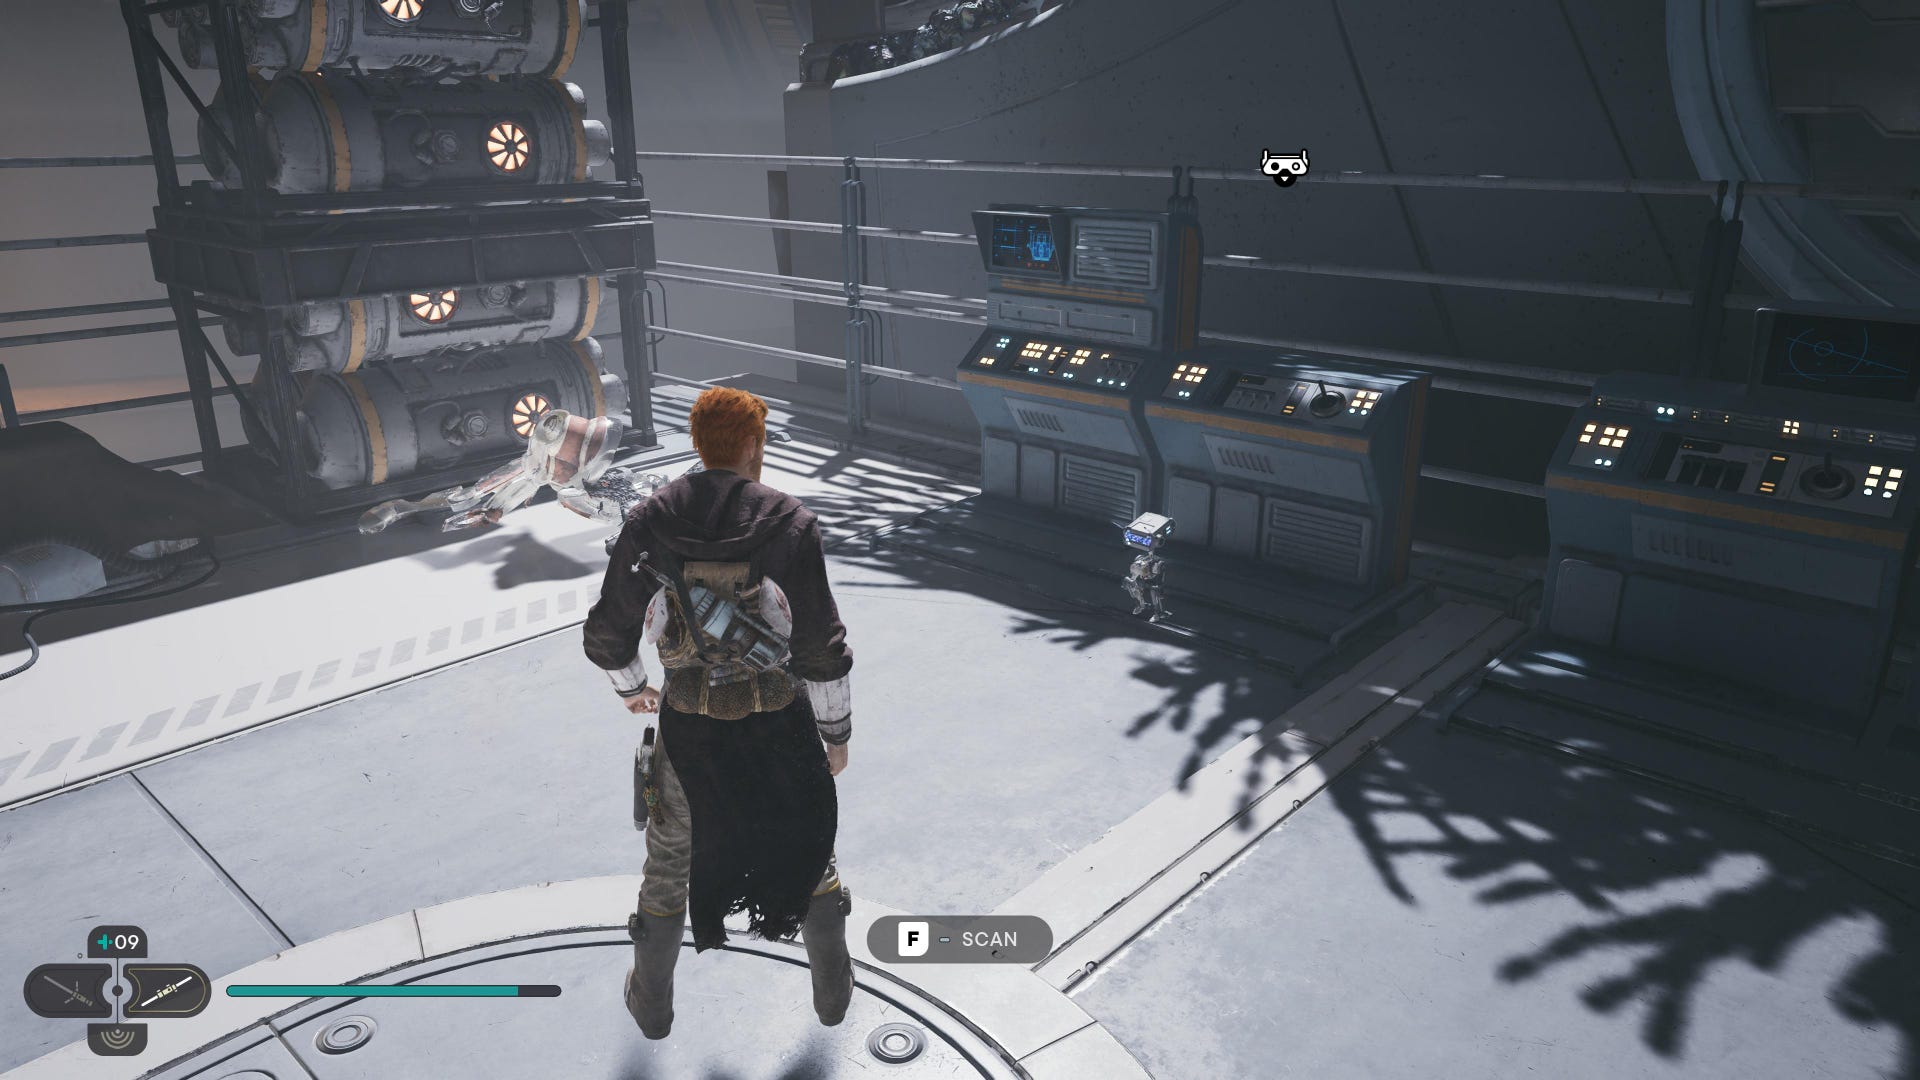
Databank (Wavelength Honing Controls): Take a left from the Array Channel Meditation Point, then a right, and check the control panel in the corner of the platform.
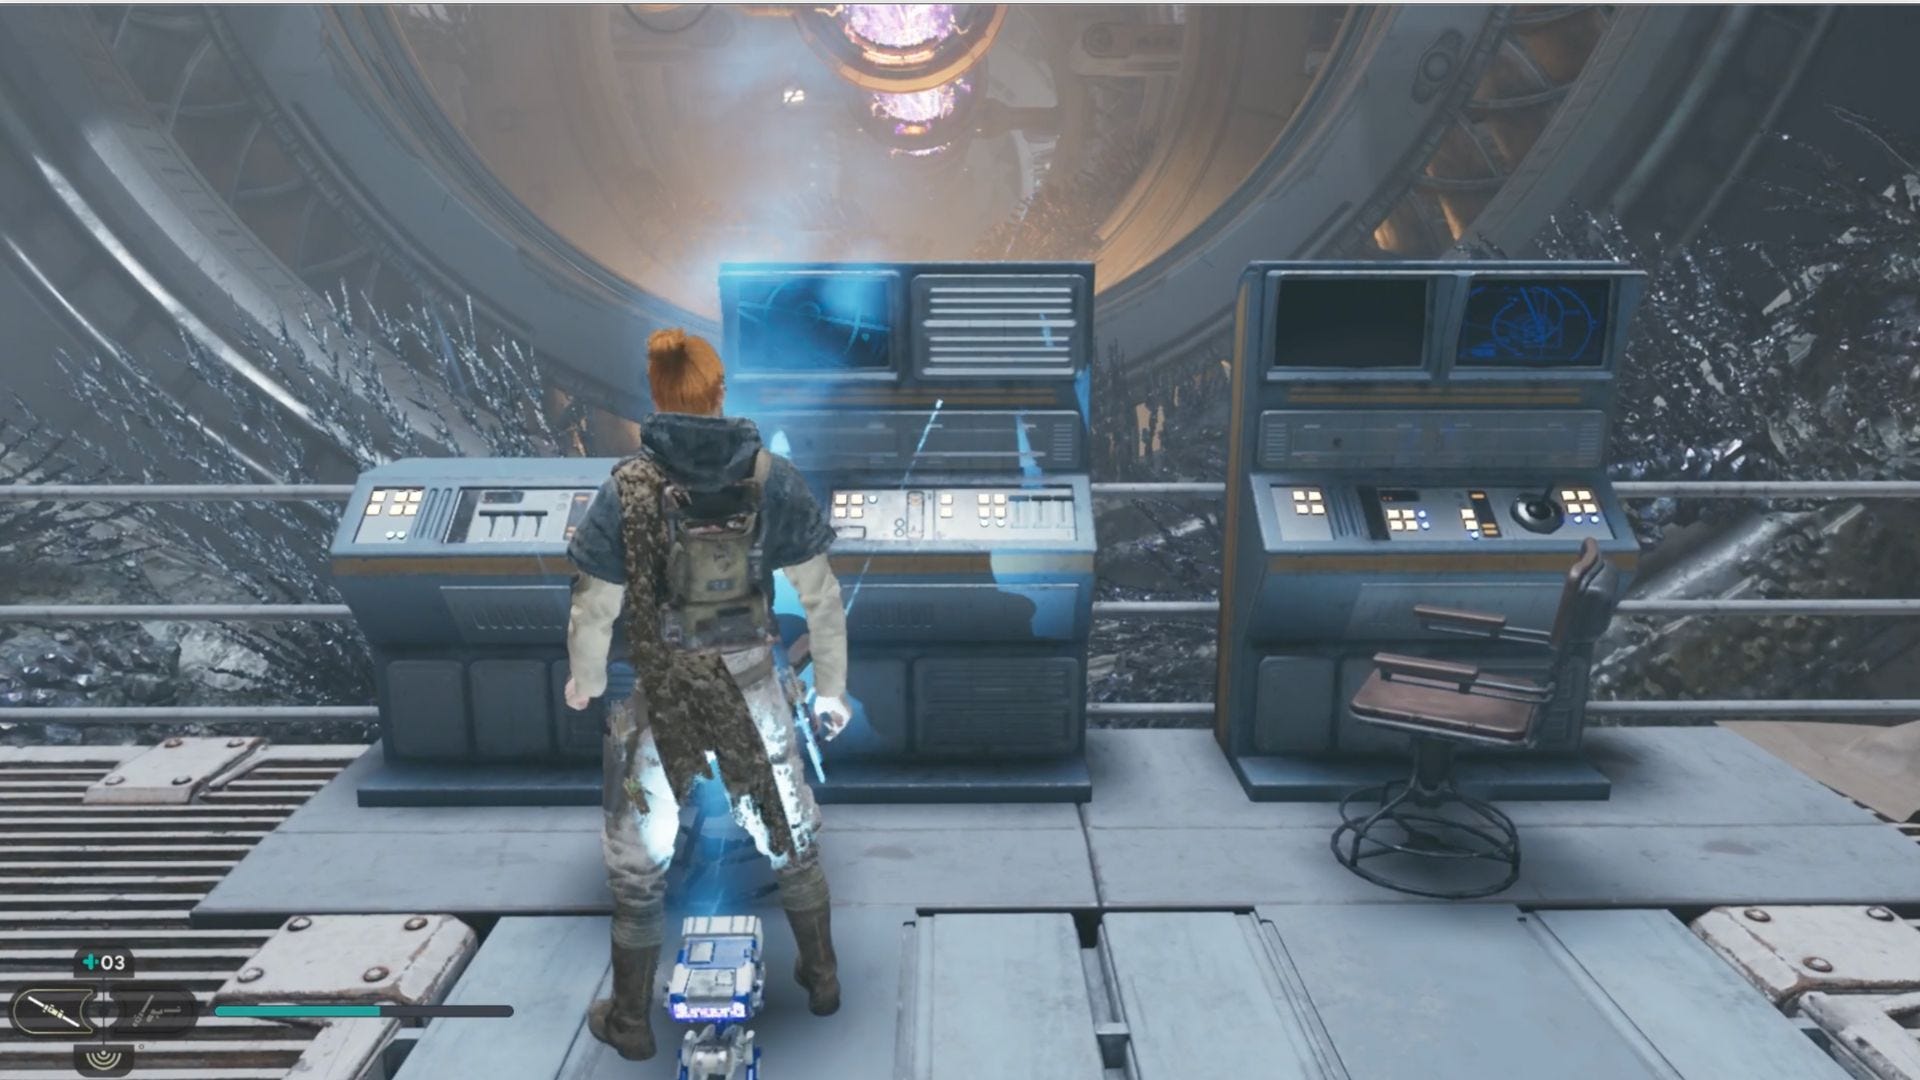
Databank (Ionizing Calibrators): Computer terminal at the top of the jump wall with the electrical current pulsating overhead, scannable after you take on a handful of enemies.
Array Channel Treasures:
Datadisc: Slide to the very bottom of the vertical wall section with the electricity across it.
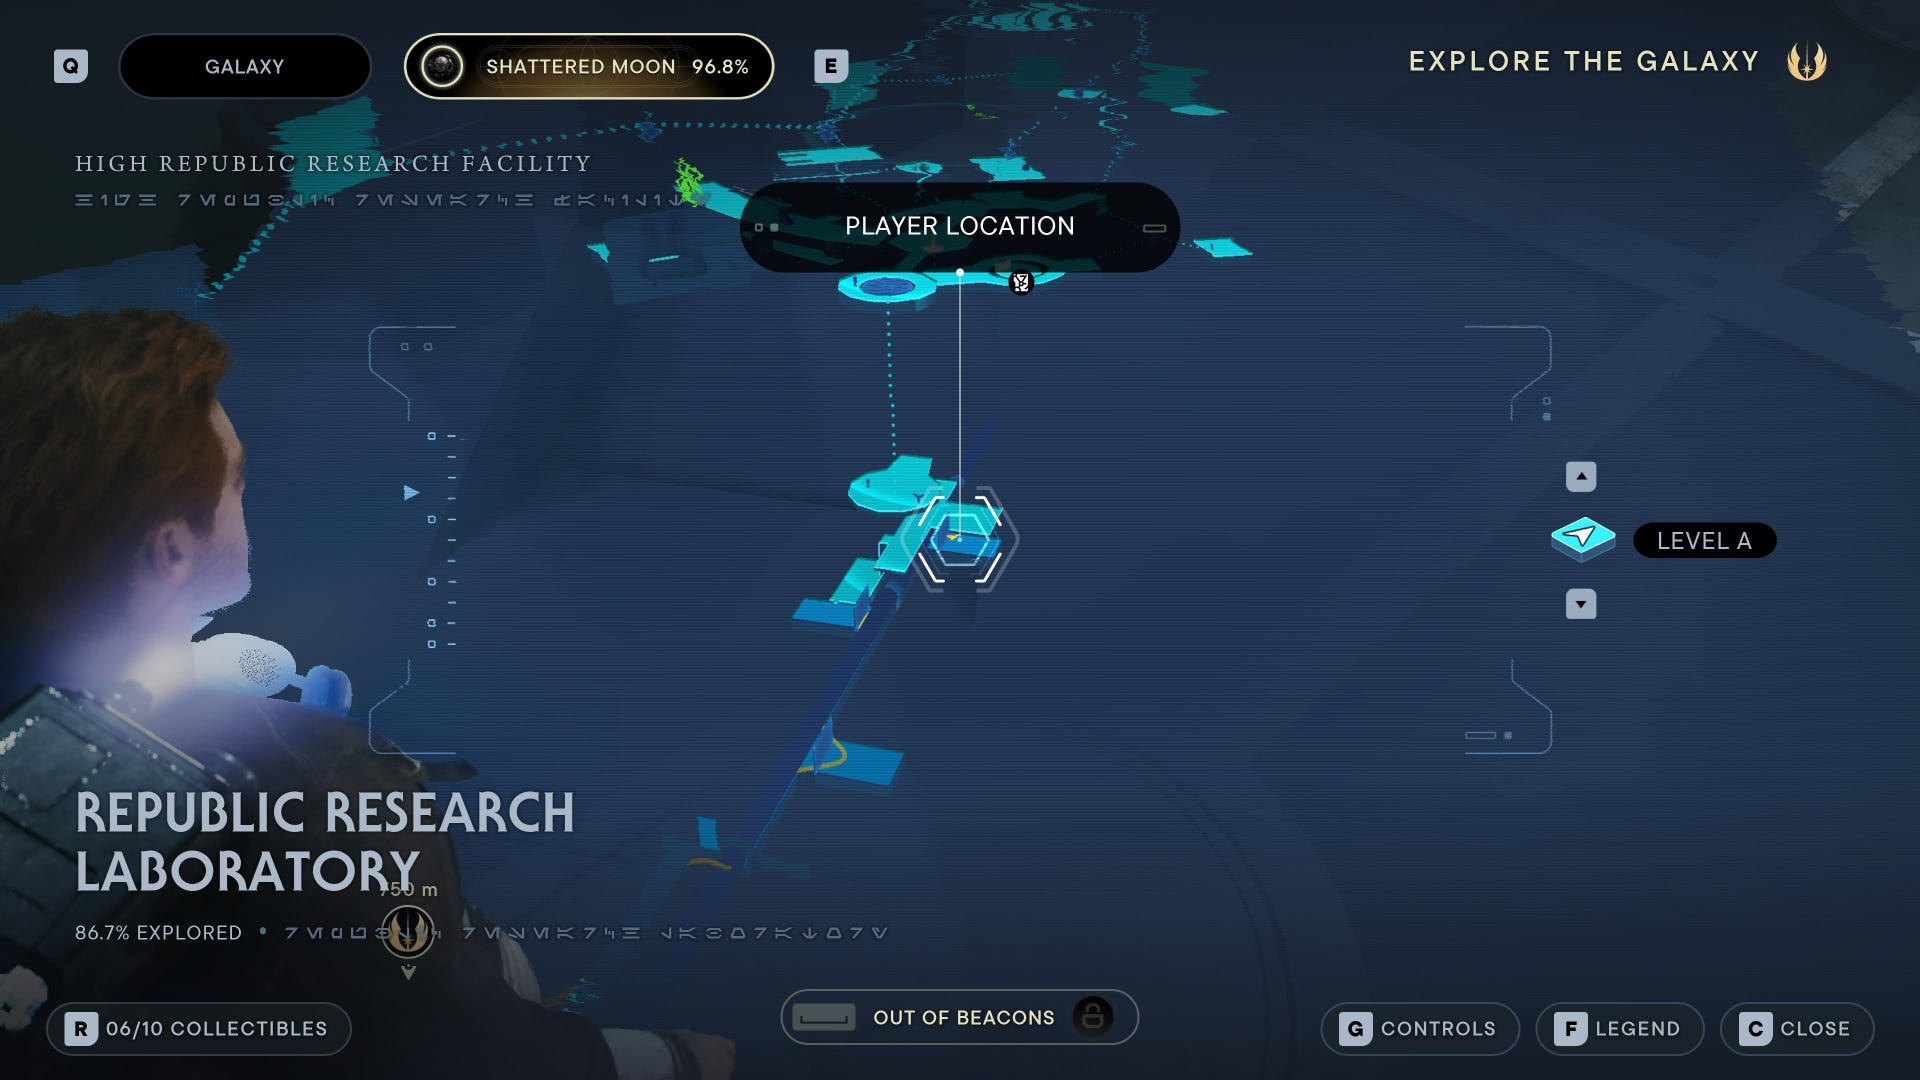
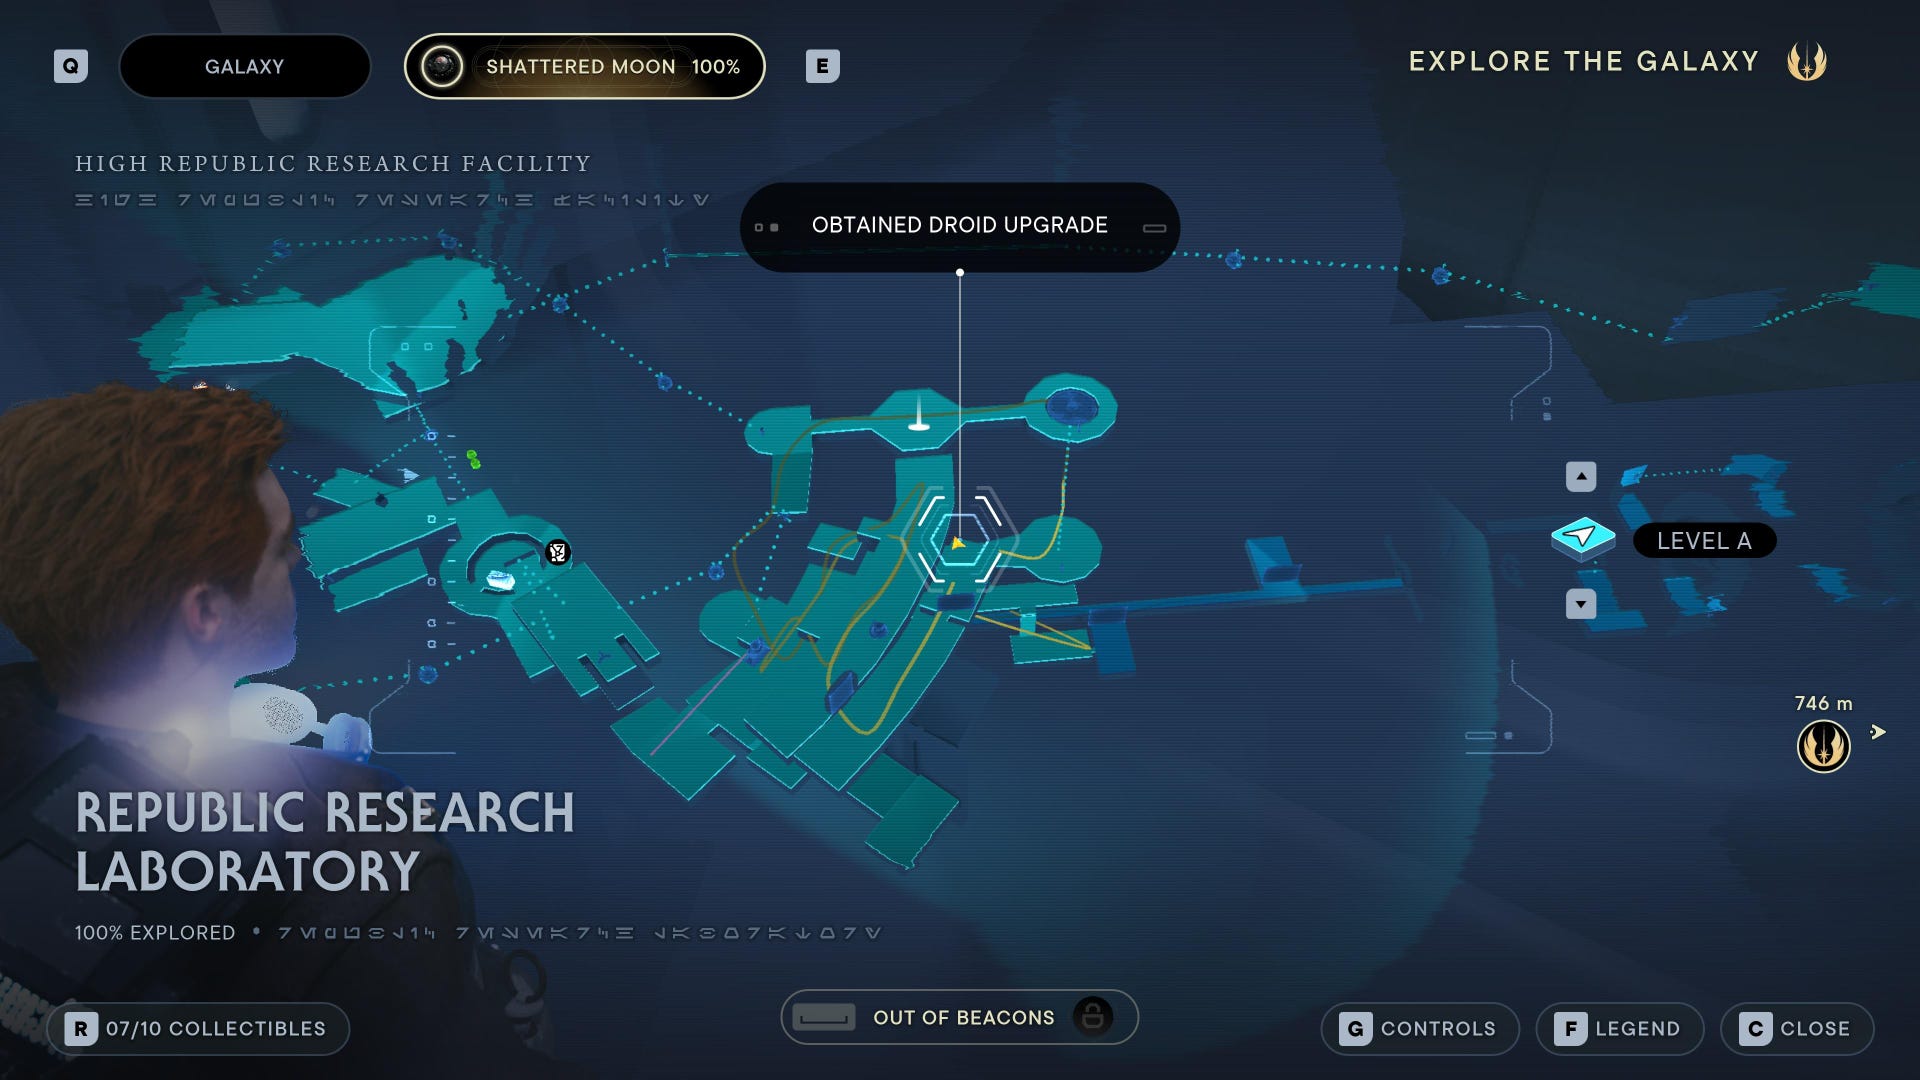
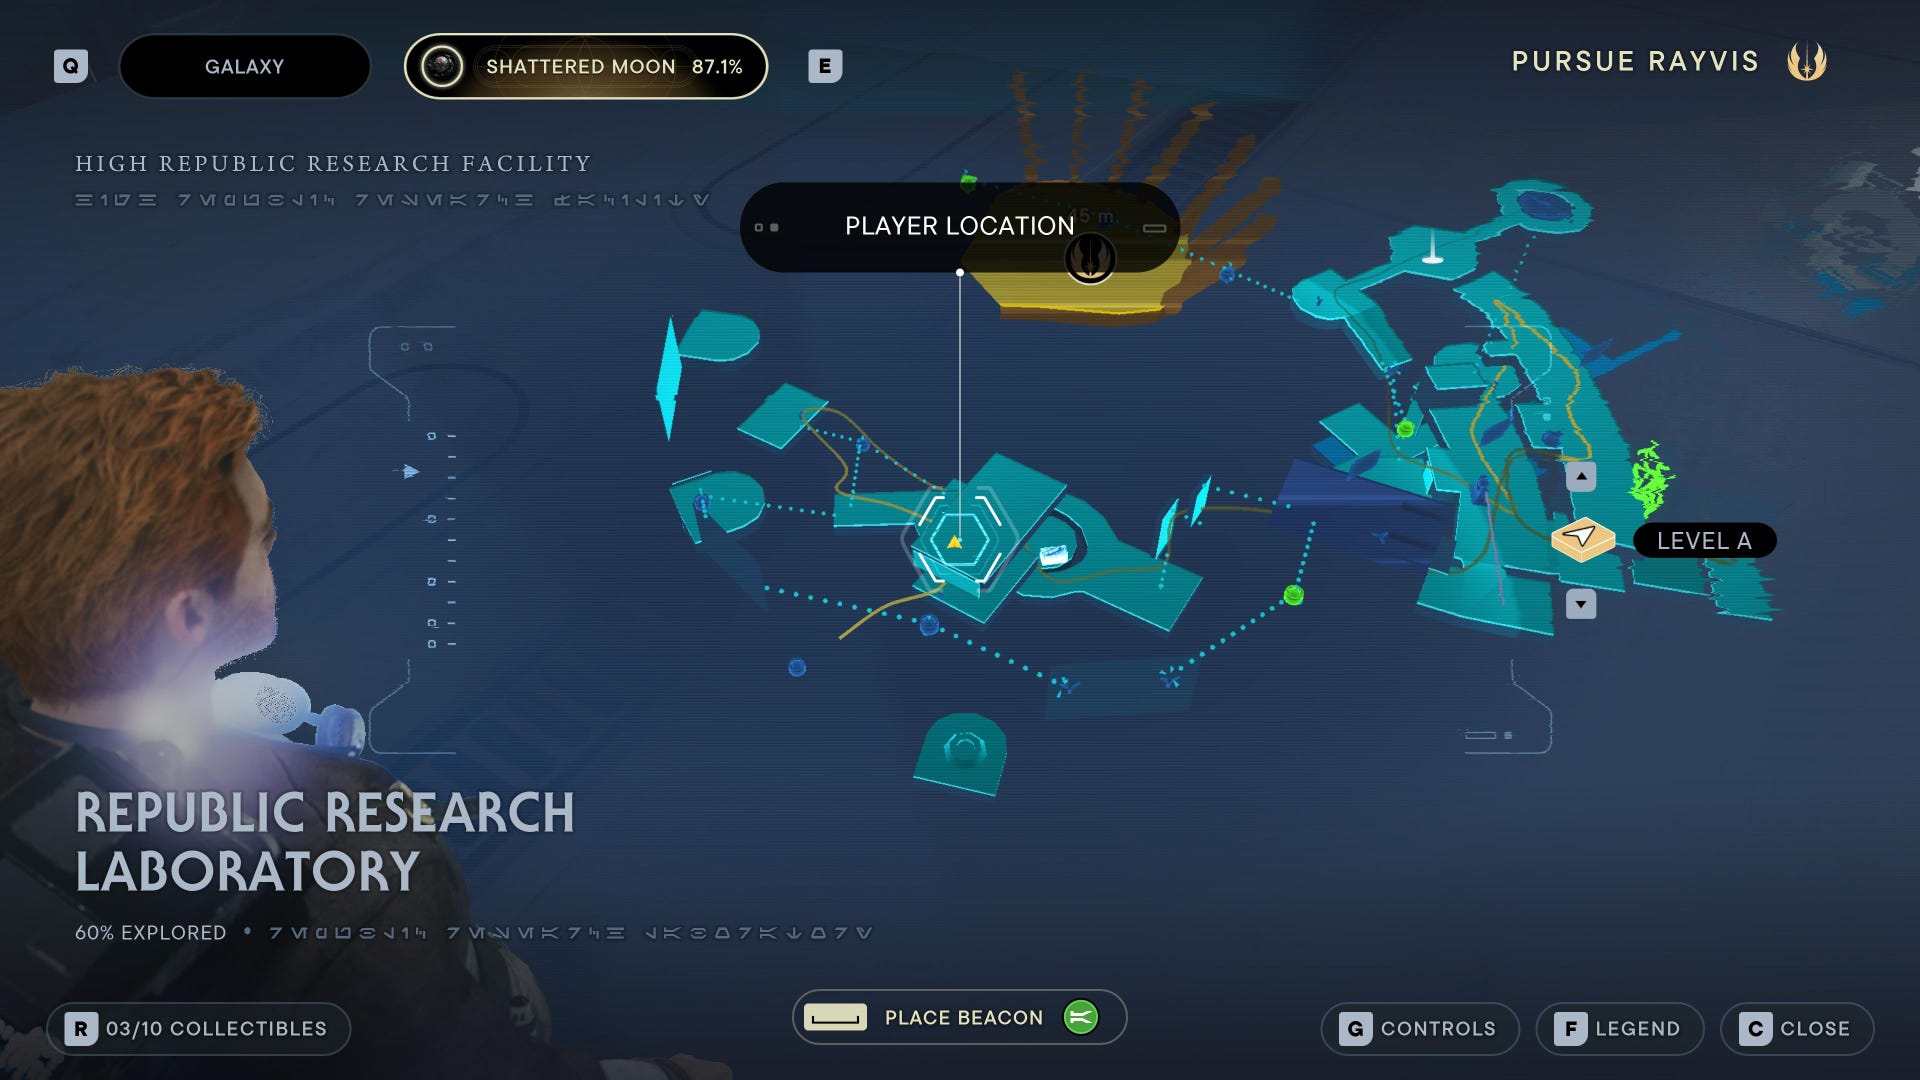
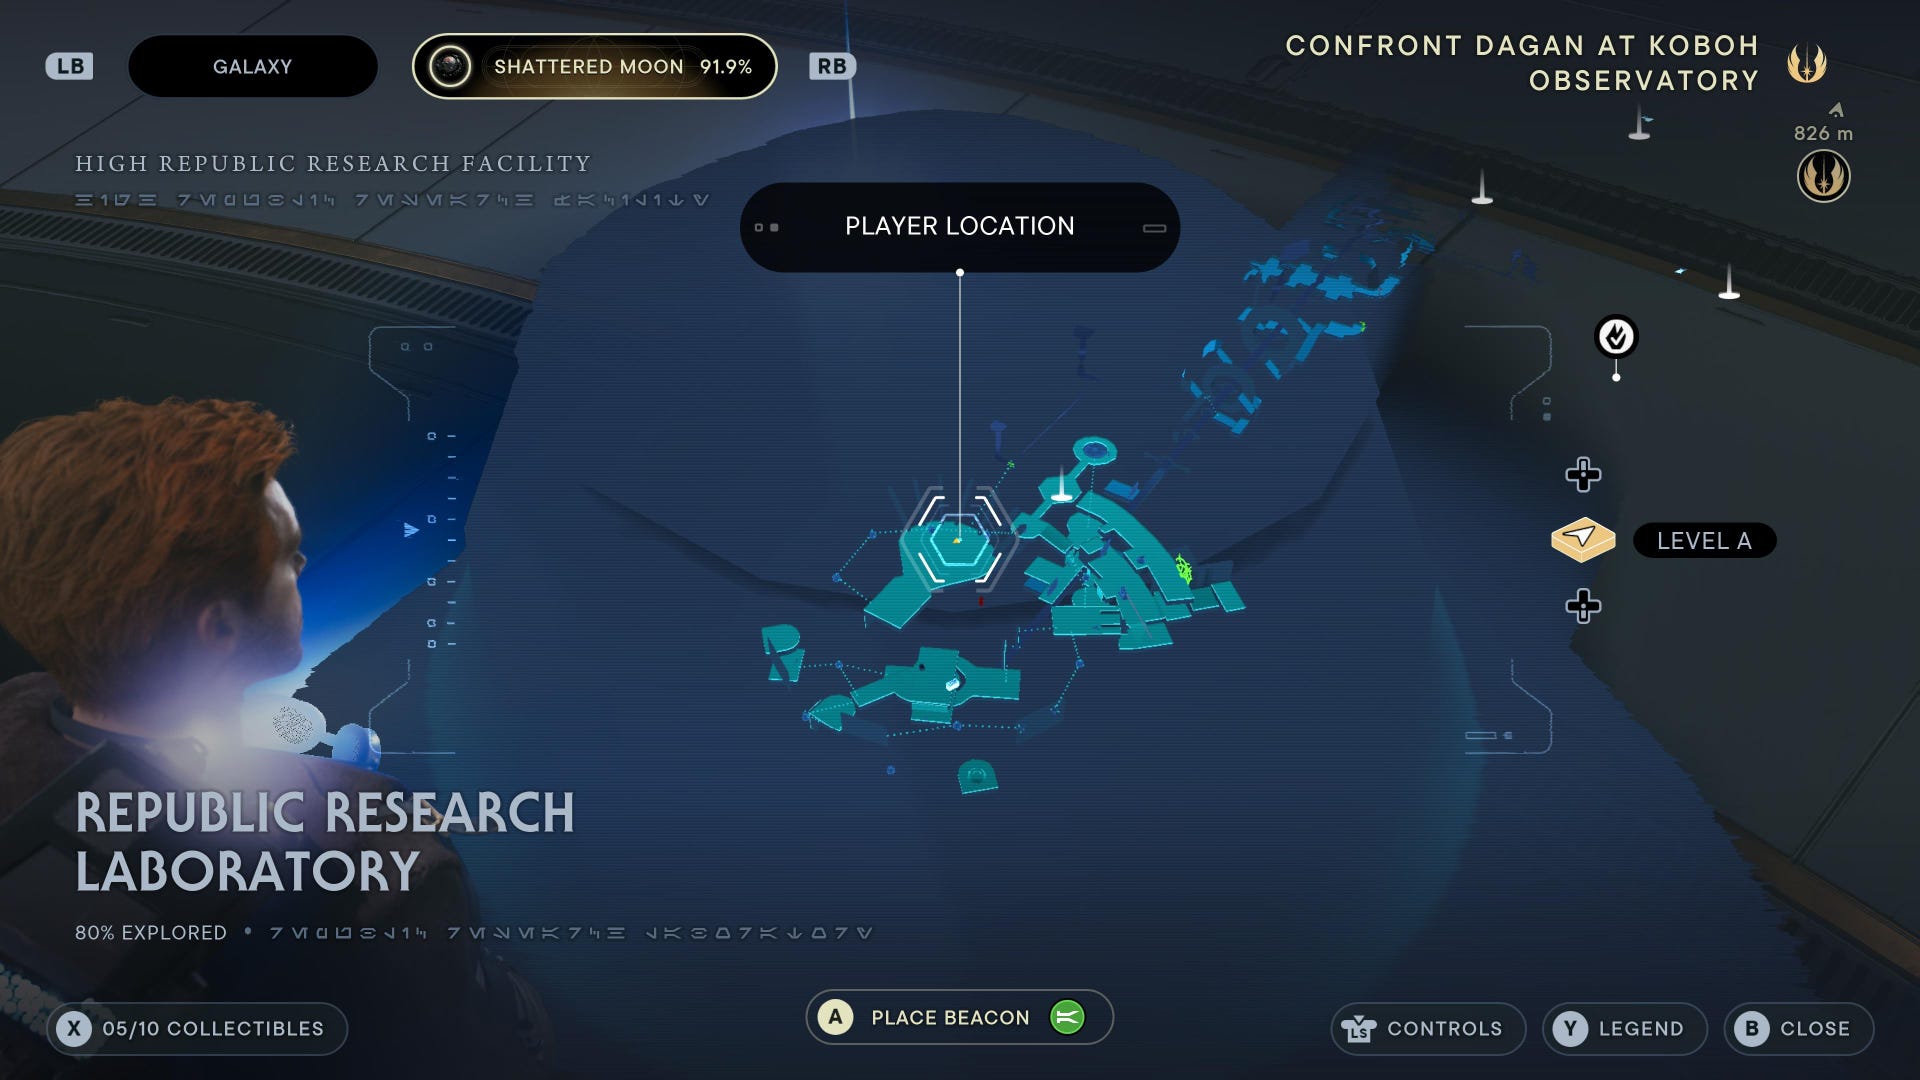
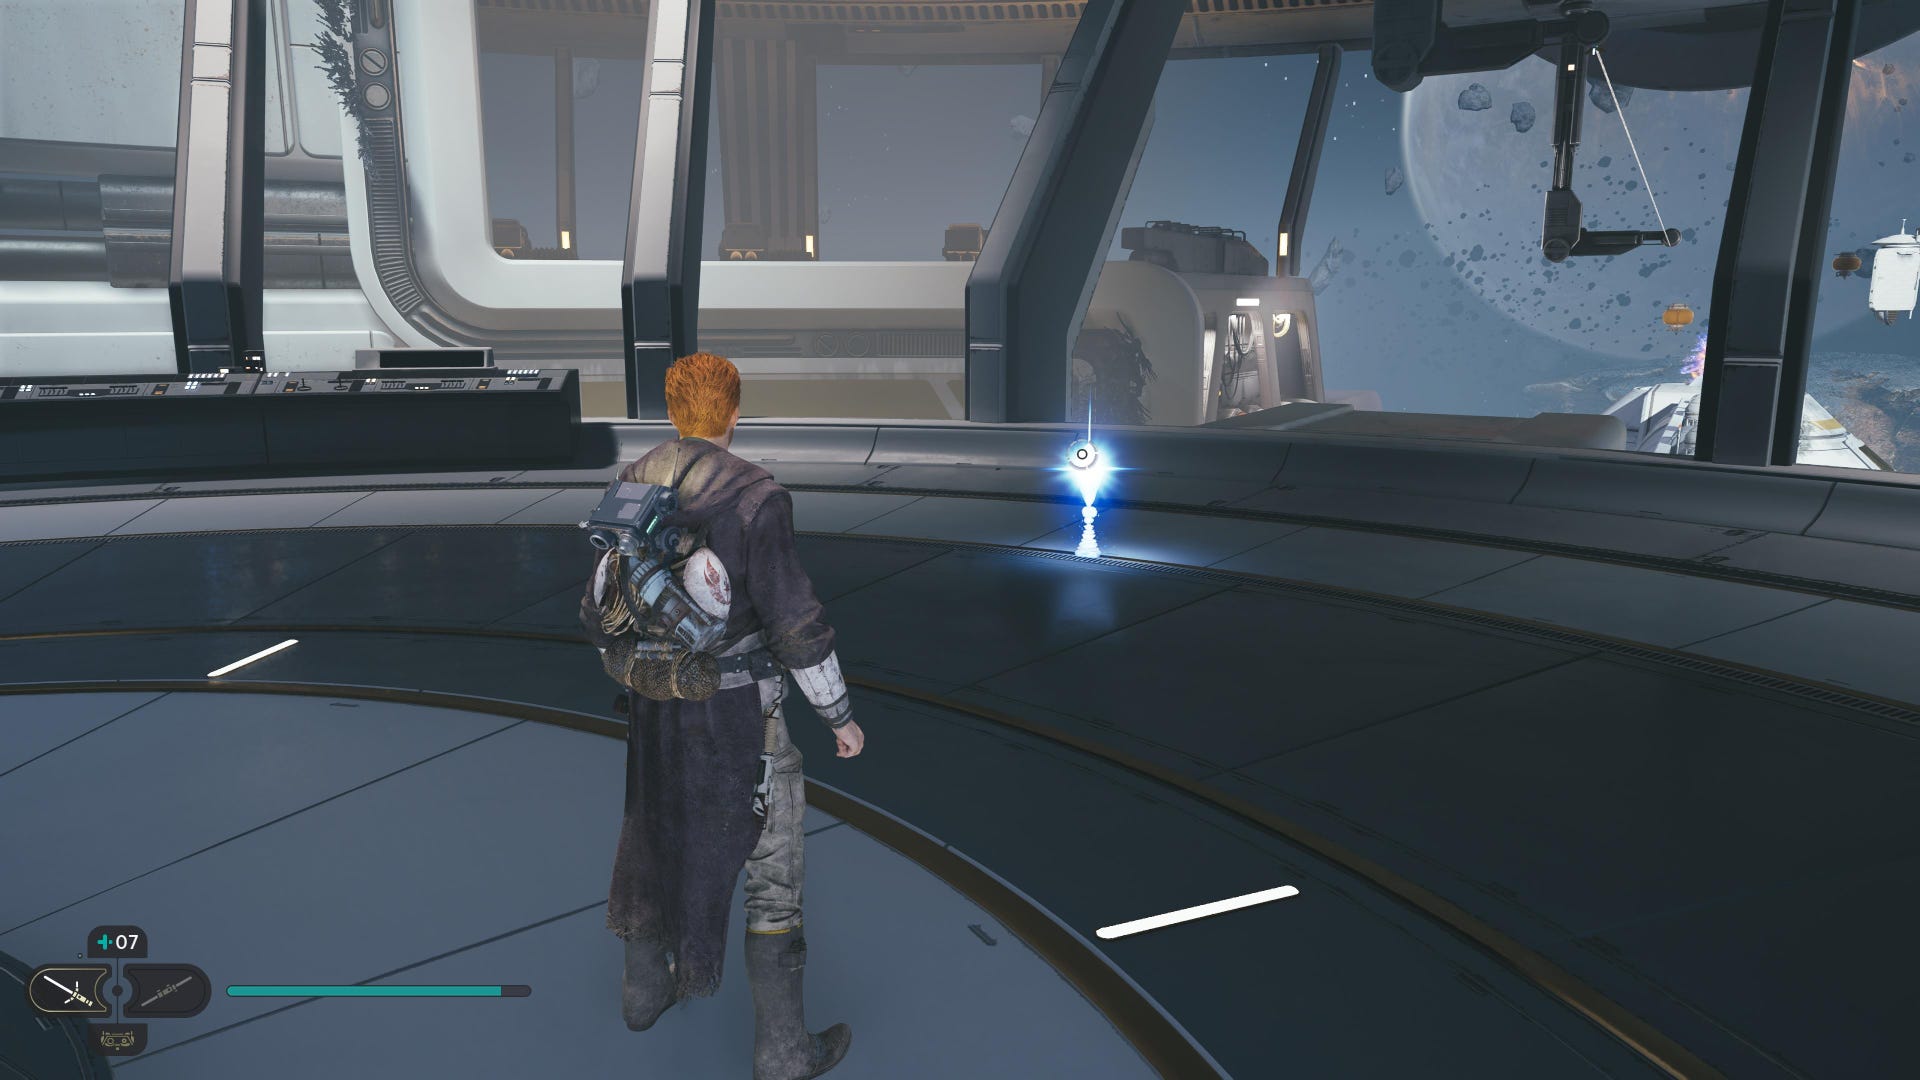
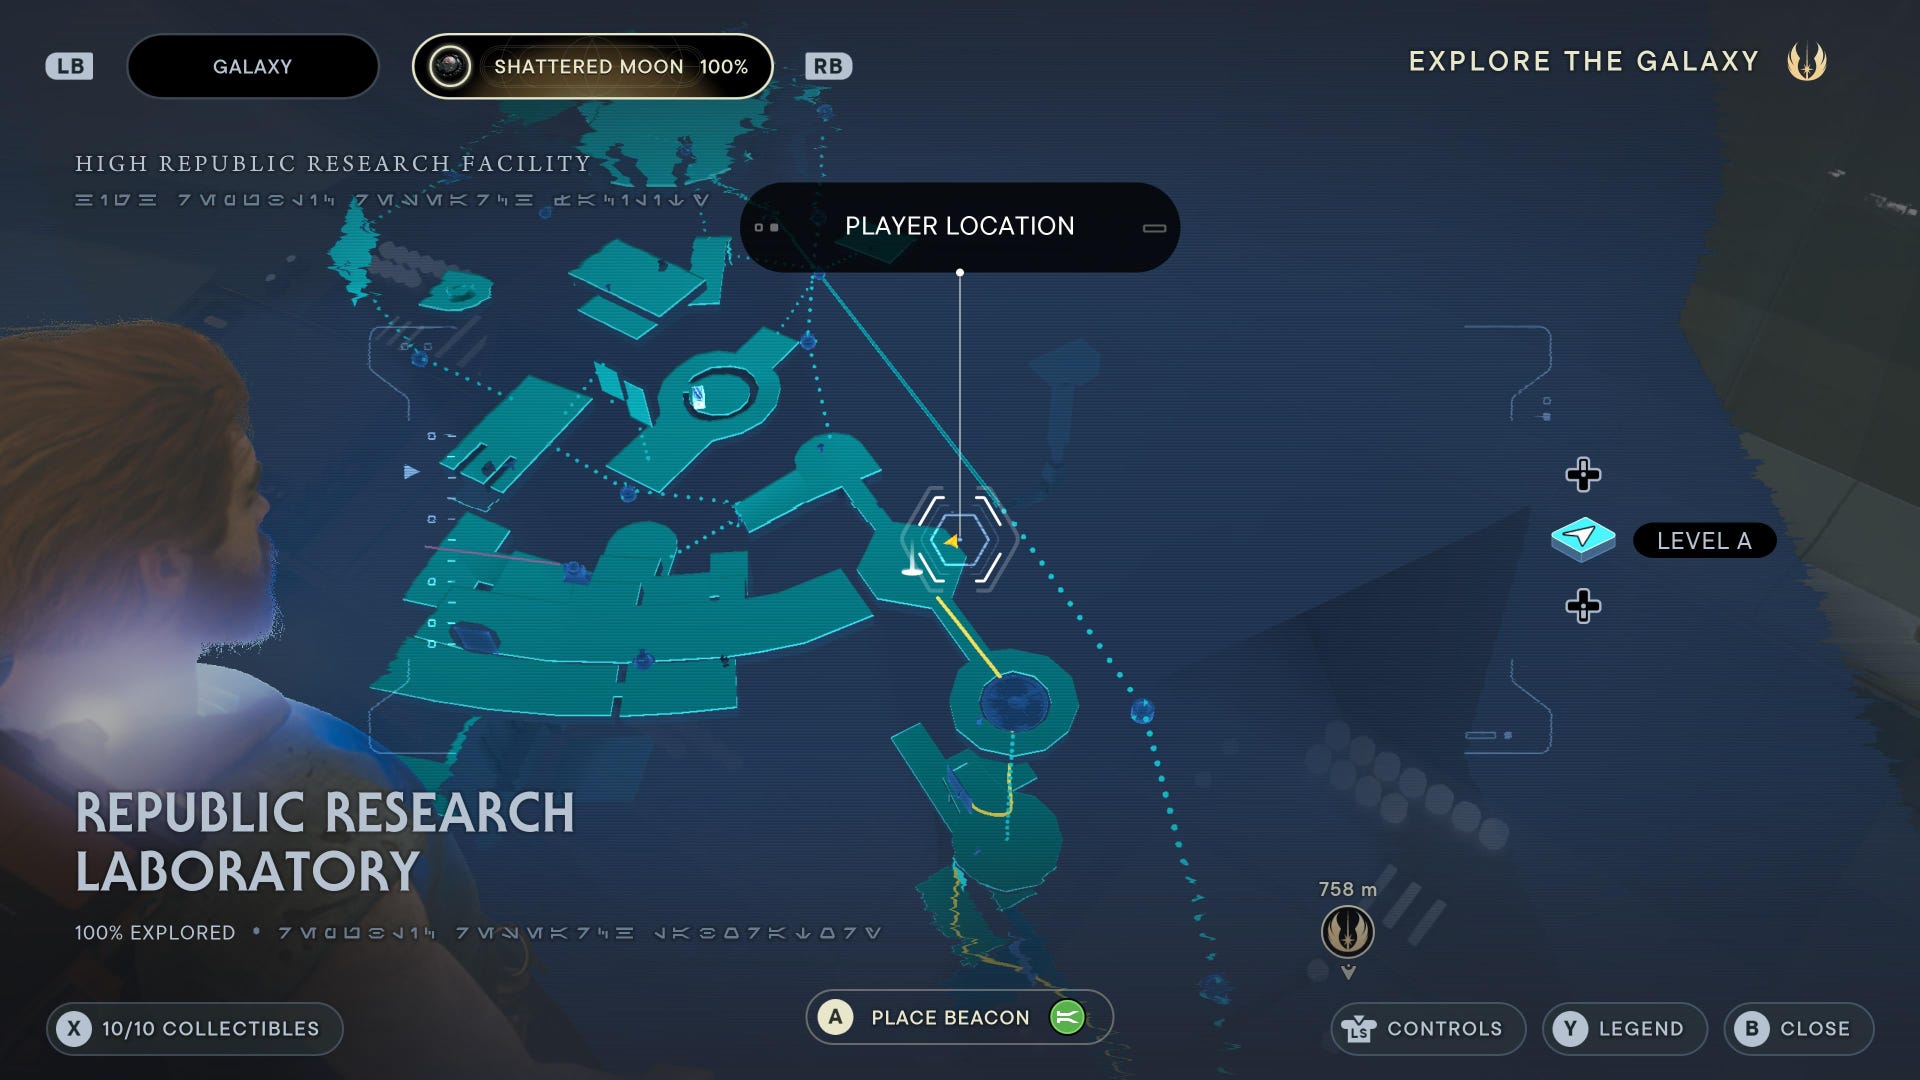
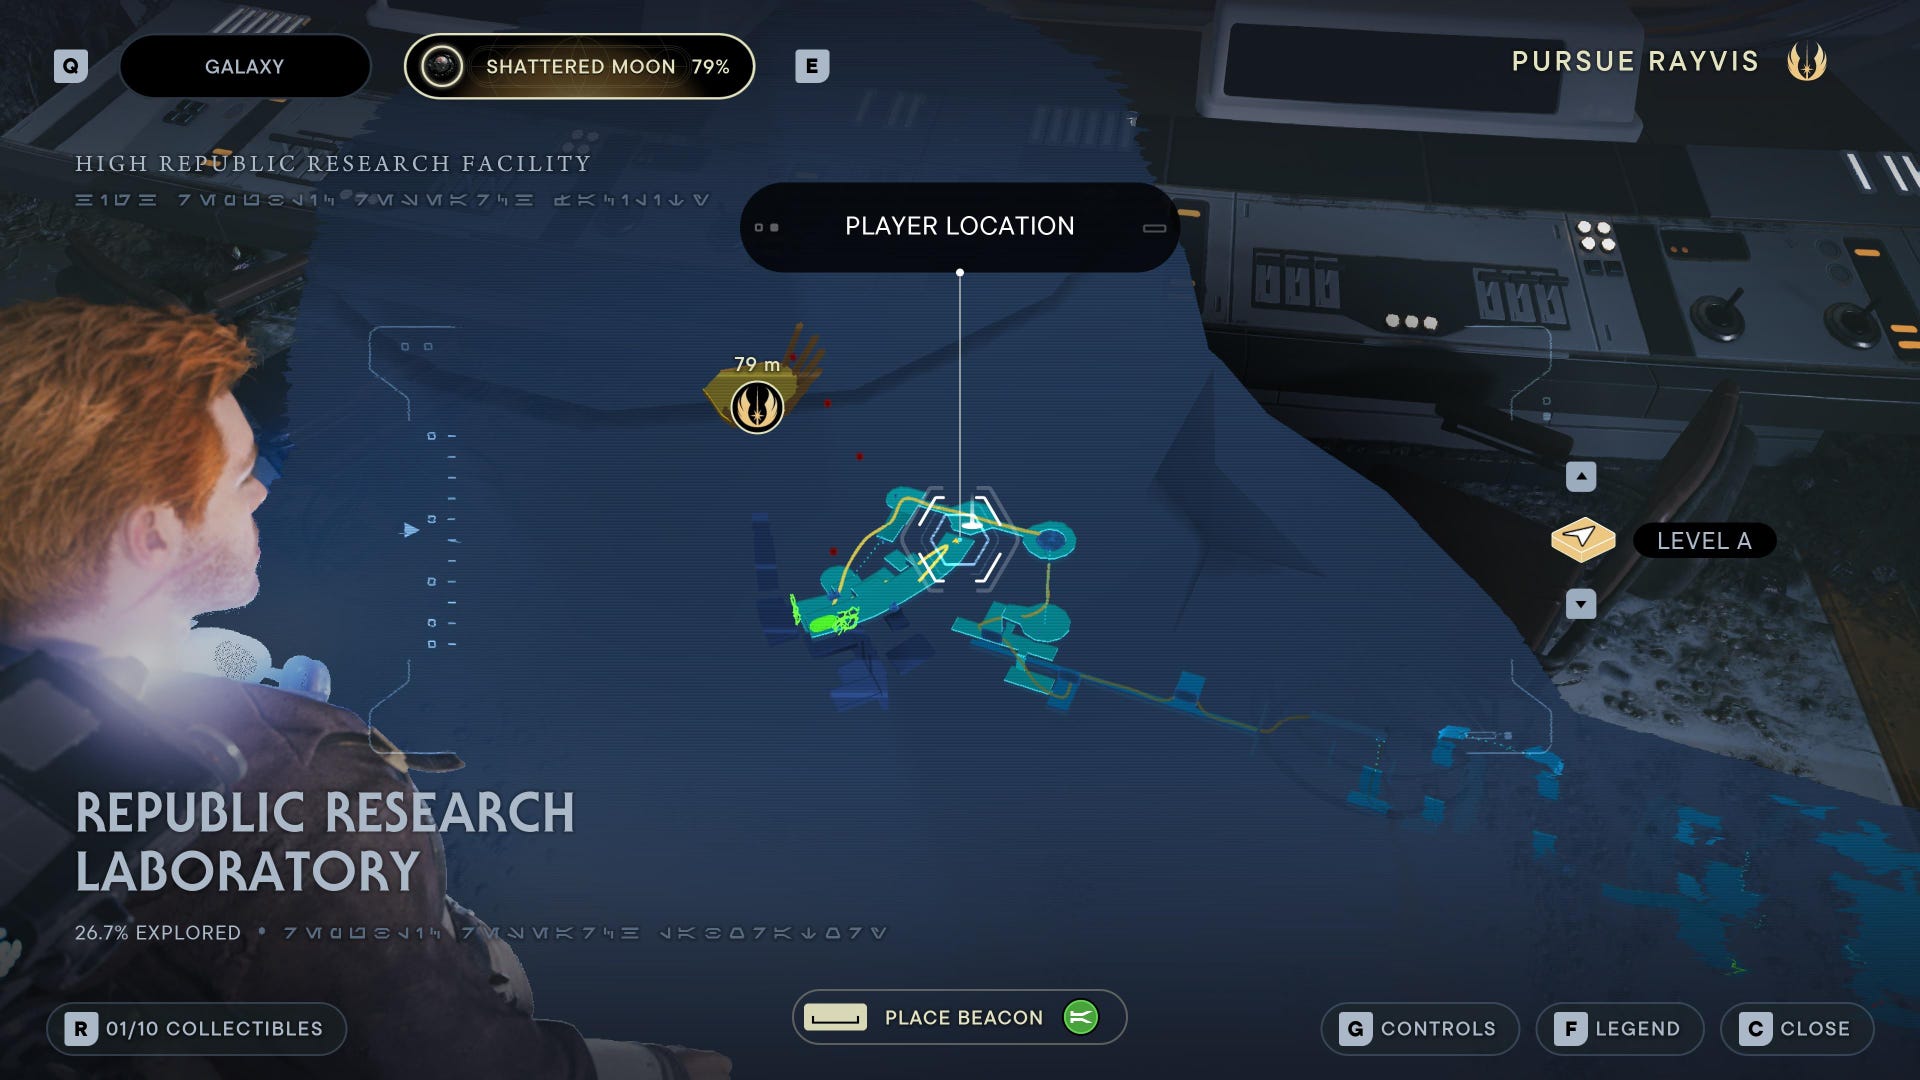
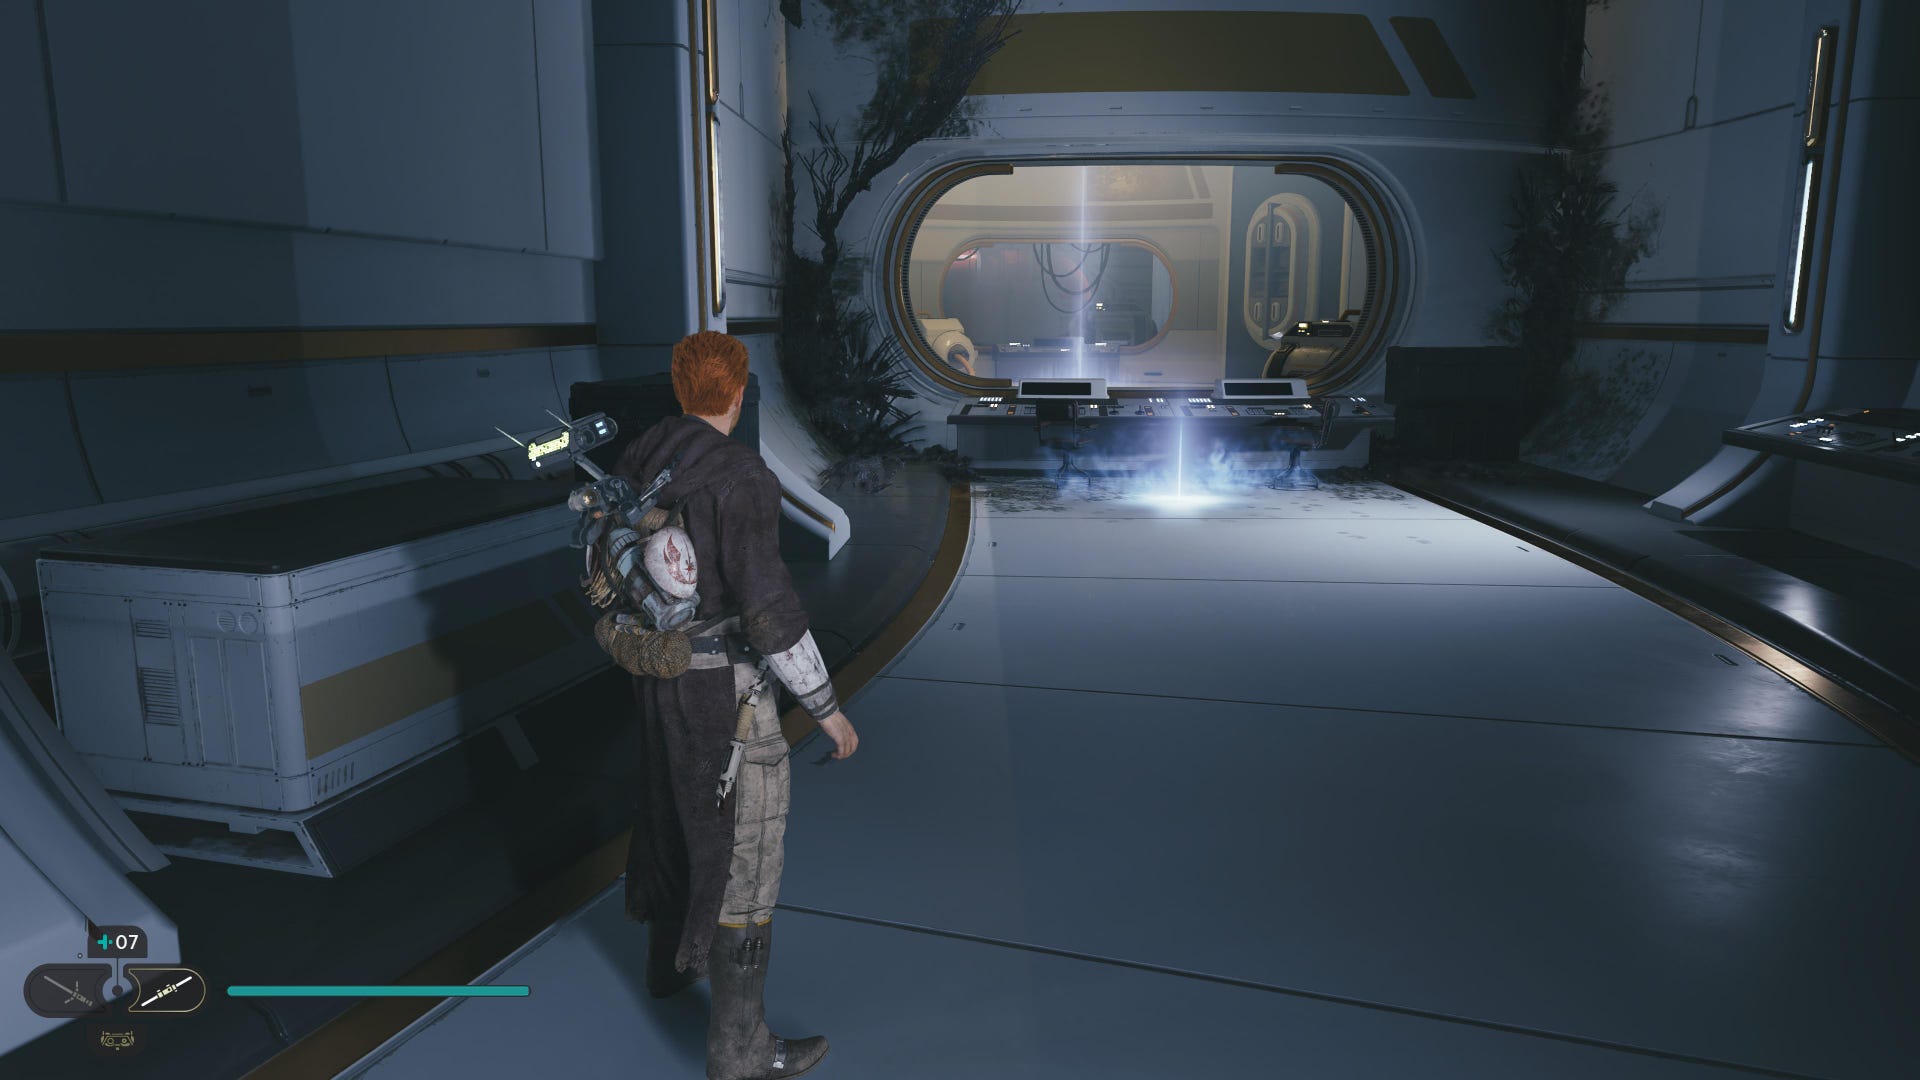
Republic Research Laboratory collectibles
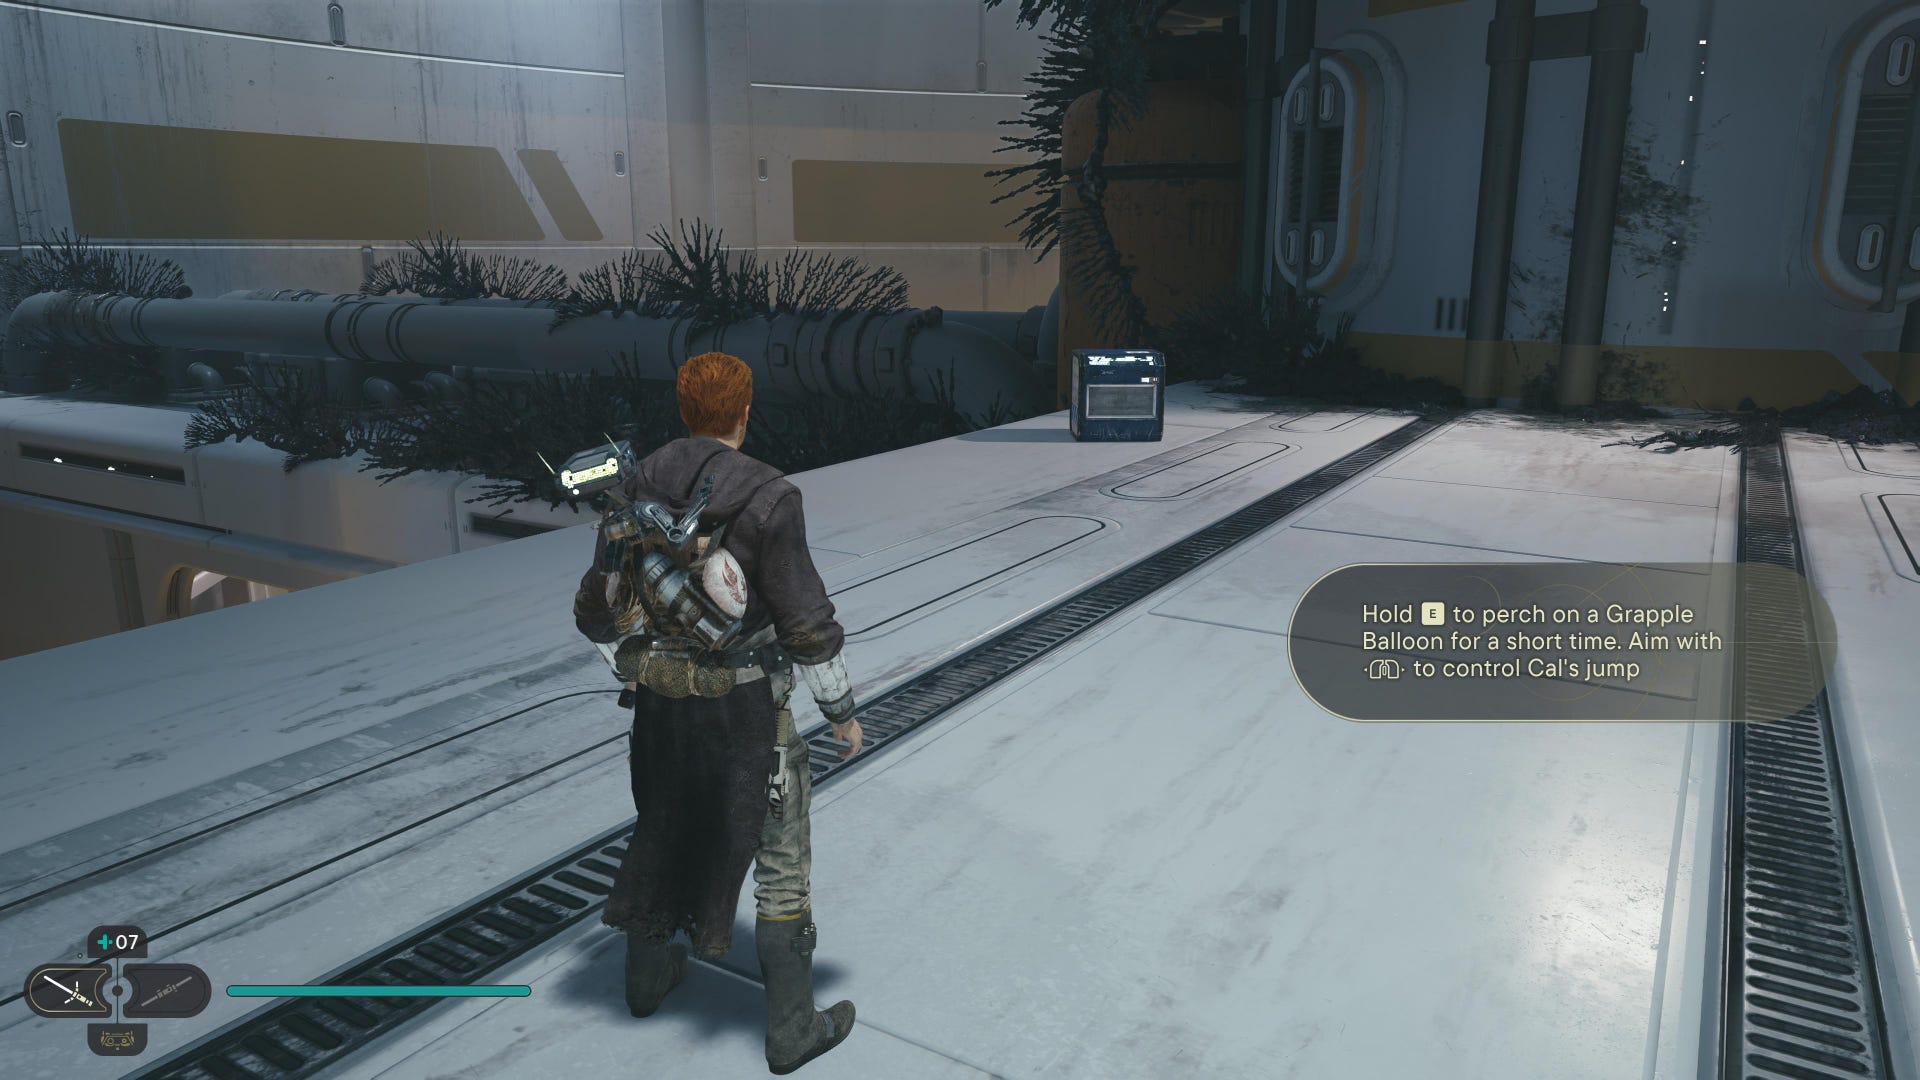
The final region of Shattered Moon is the Republic Research Laboratory, a largely vertical structure where the only real way to get around is via the floating balloon grapple points scattered about everywhere (and for which you'll need an unlockable skill that you obtain right here in the lab). This final region contains 10 collectibles:
Republic Research Laboratory Chests:
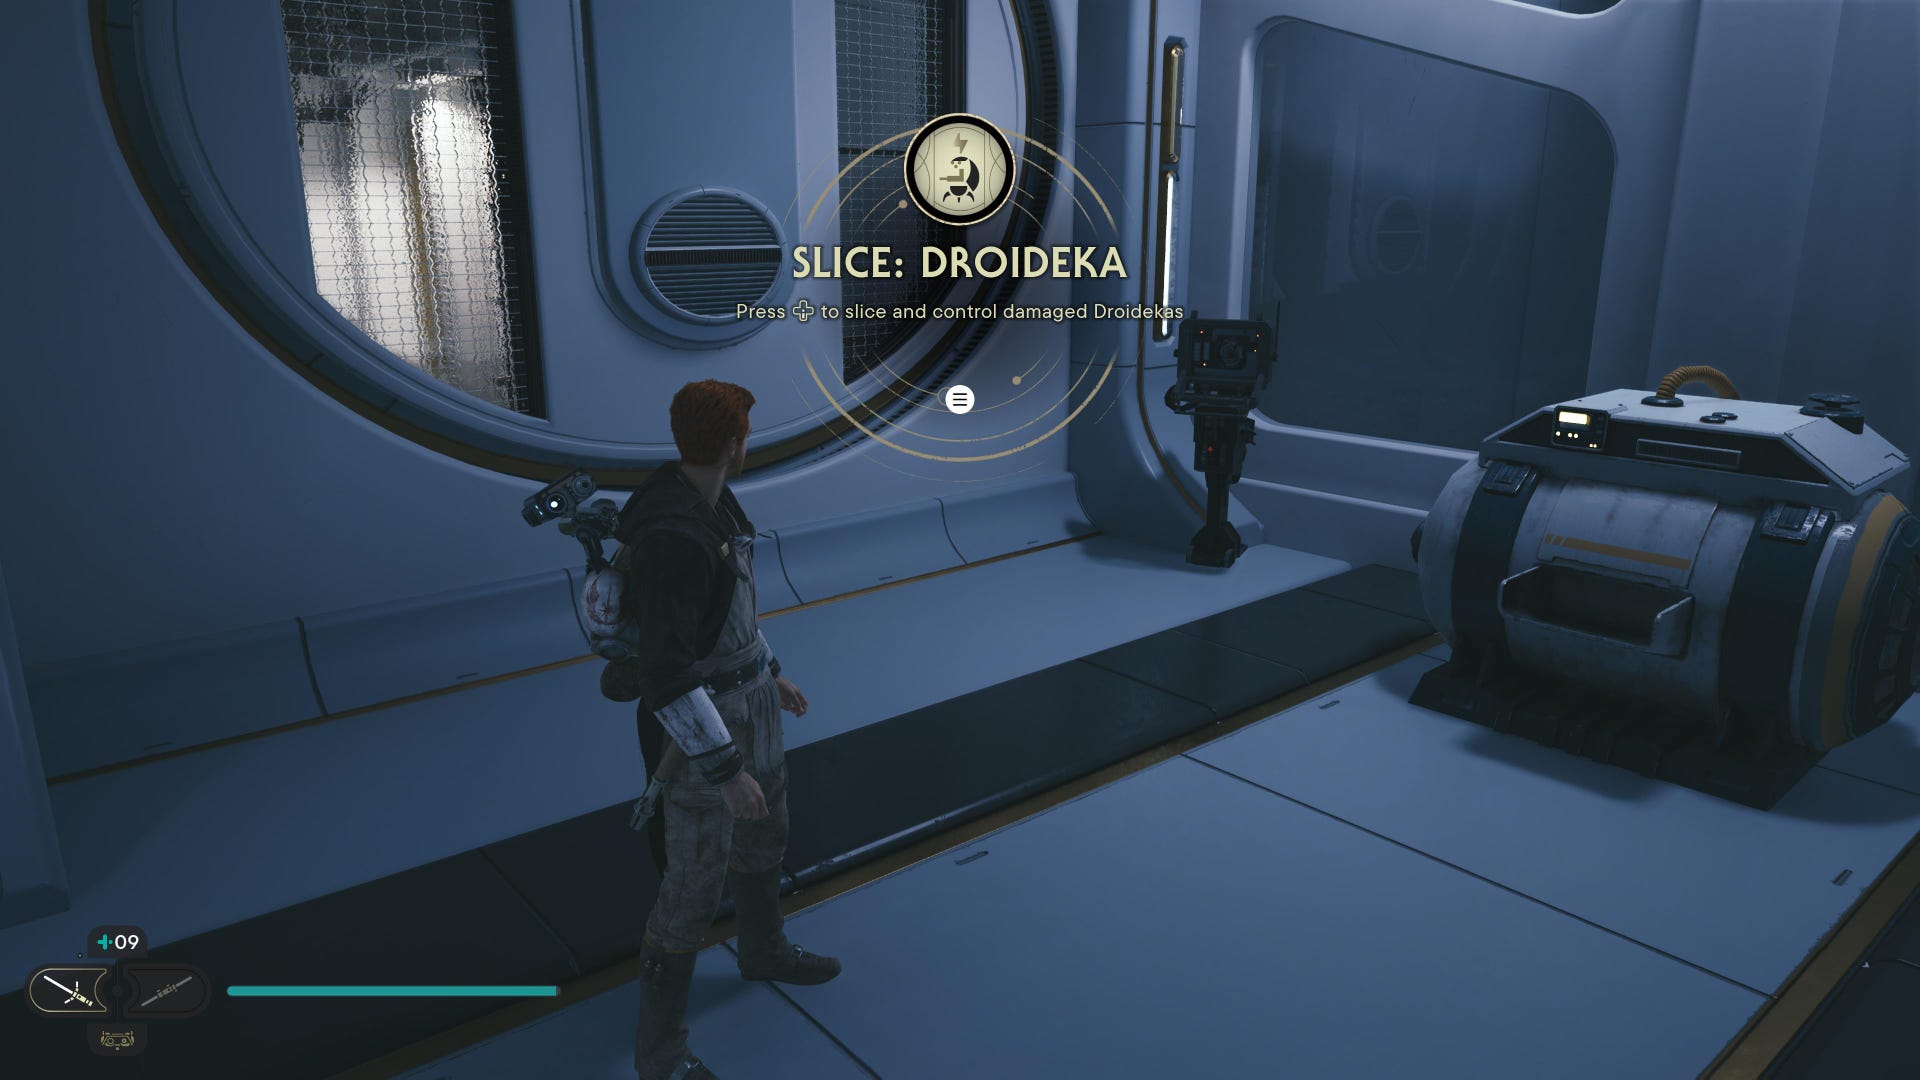
Ability (Slice Droideka): In the room with the beam, use BD-1 to spread the Koboh matter up to the second level, allowing access through the green forcefield. Then pull up the door at the end and slice the terminal at the end of the room.
Chest #1 (Model 13 Body): After getting upgraded ascension cable, follow the path until you create a new balloon grapple point, then jump onto it and jump back the way you came to the ledge above.

Chest #2 (RSKF-44 Body): Requires Electro-Dart to open. Use the balloon grapples in the large vertical chamber to reach the ledge with the two droids. Shoot an Electro-Dart at the electrical conduit between the two large pipes in the centre of the room.
Republic Research Laboratory Essences:
New Perk (Centered): After the fight with Rayvis.
Republic Research Laboratory Databanks:
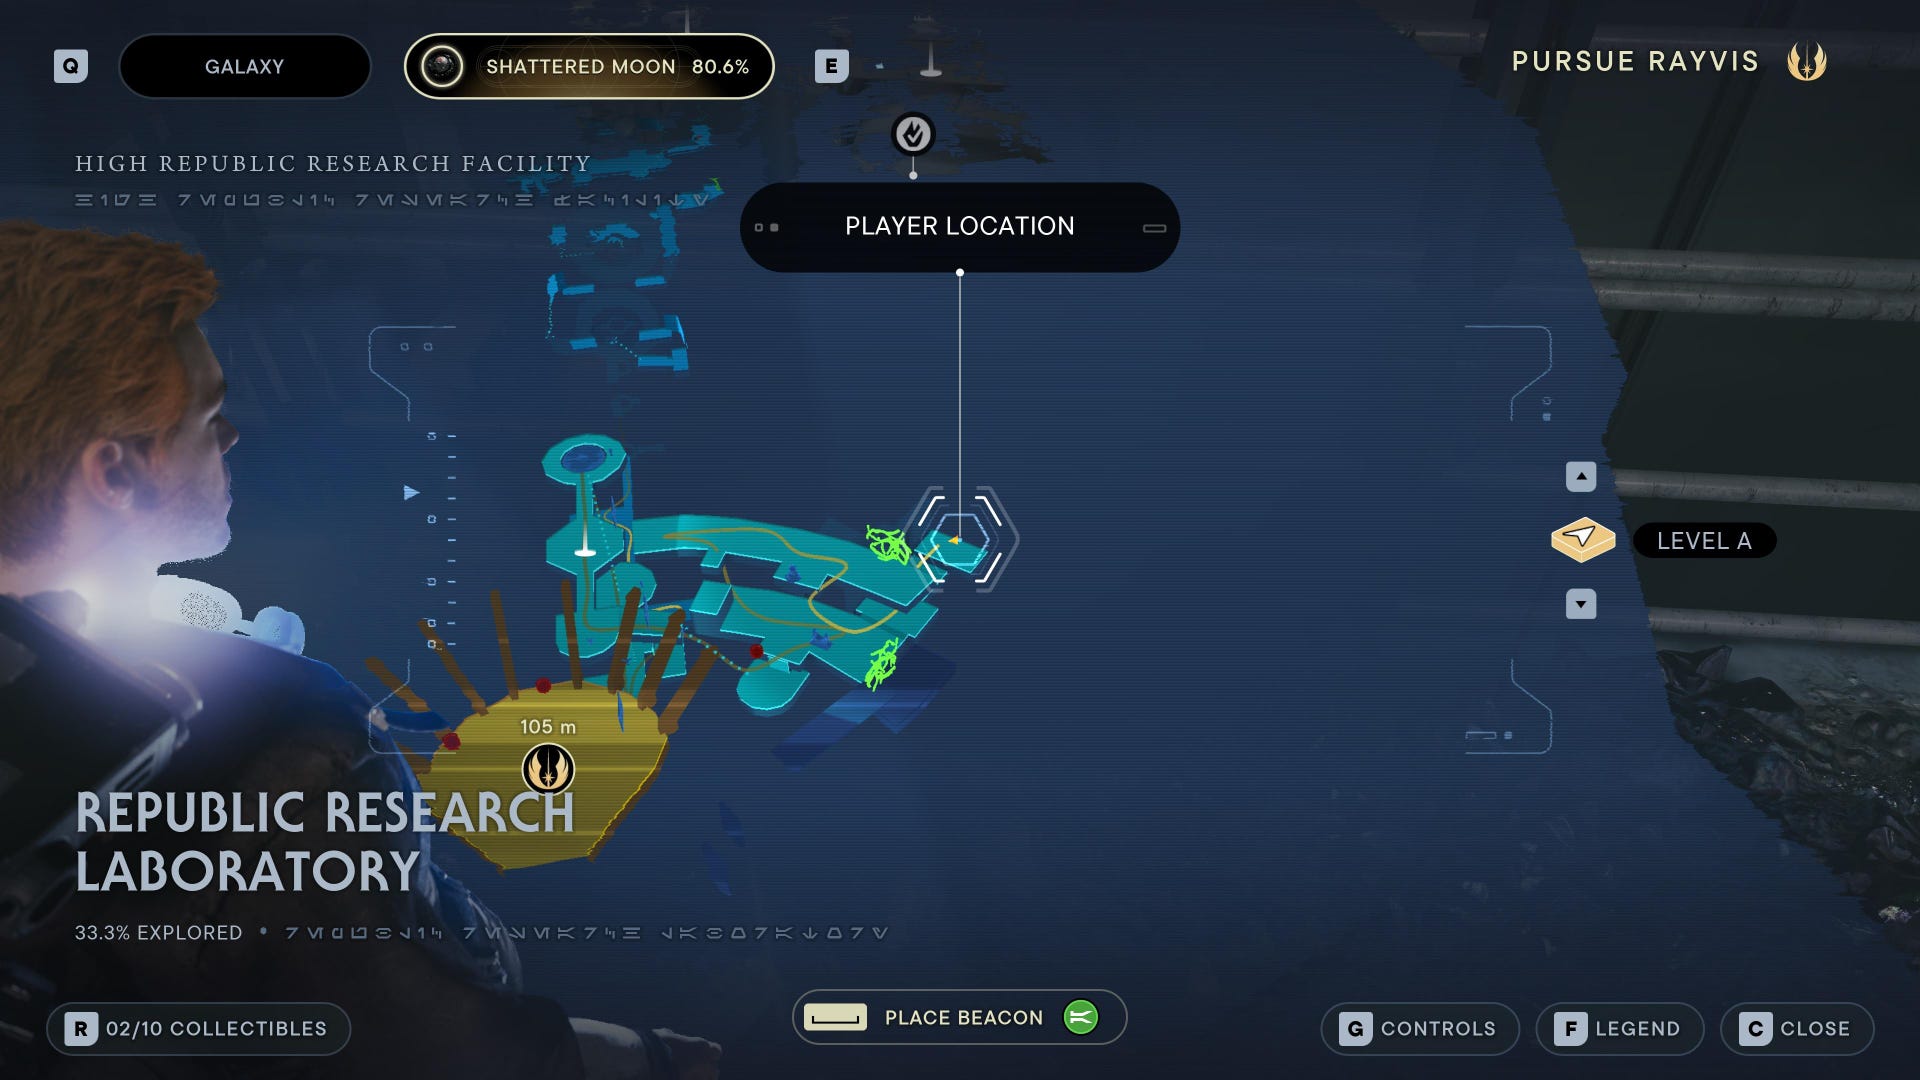
Databank (Laboratory Thermoregulator): To the side of the Republic Research Laboratory Meditation Point.
Force Echo (The Plan): Turn left after entering the giant vertical room, follow the path up and turn left to see a control panel overlooking the Meditation Point.
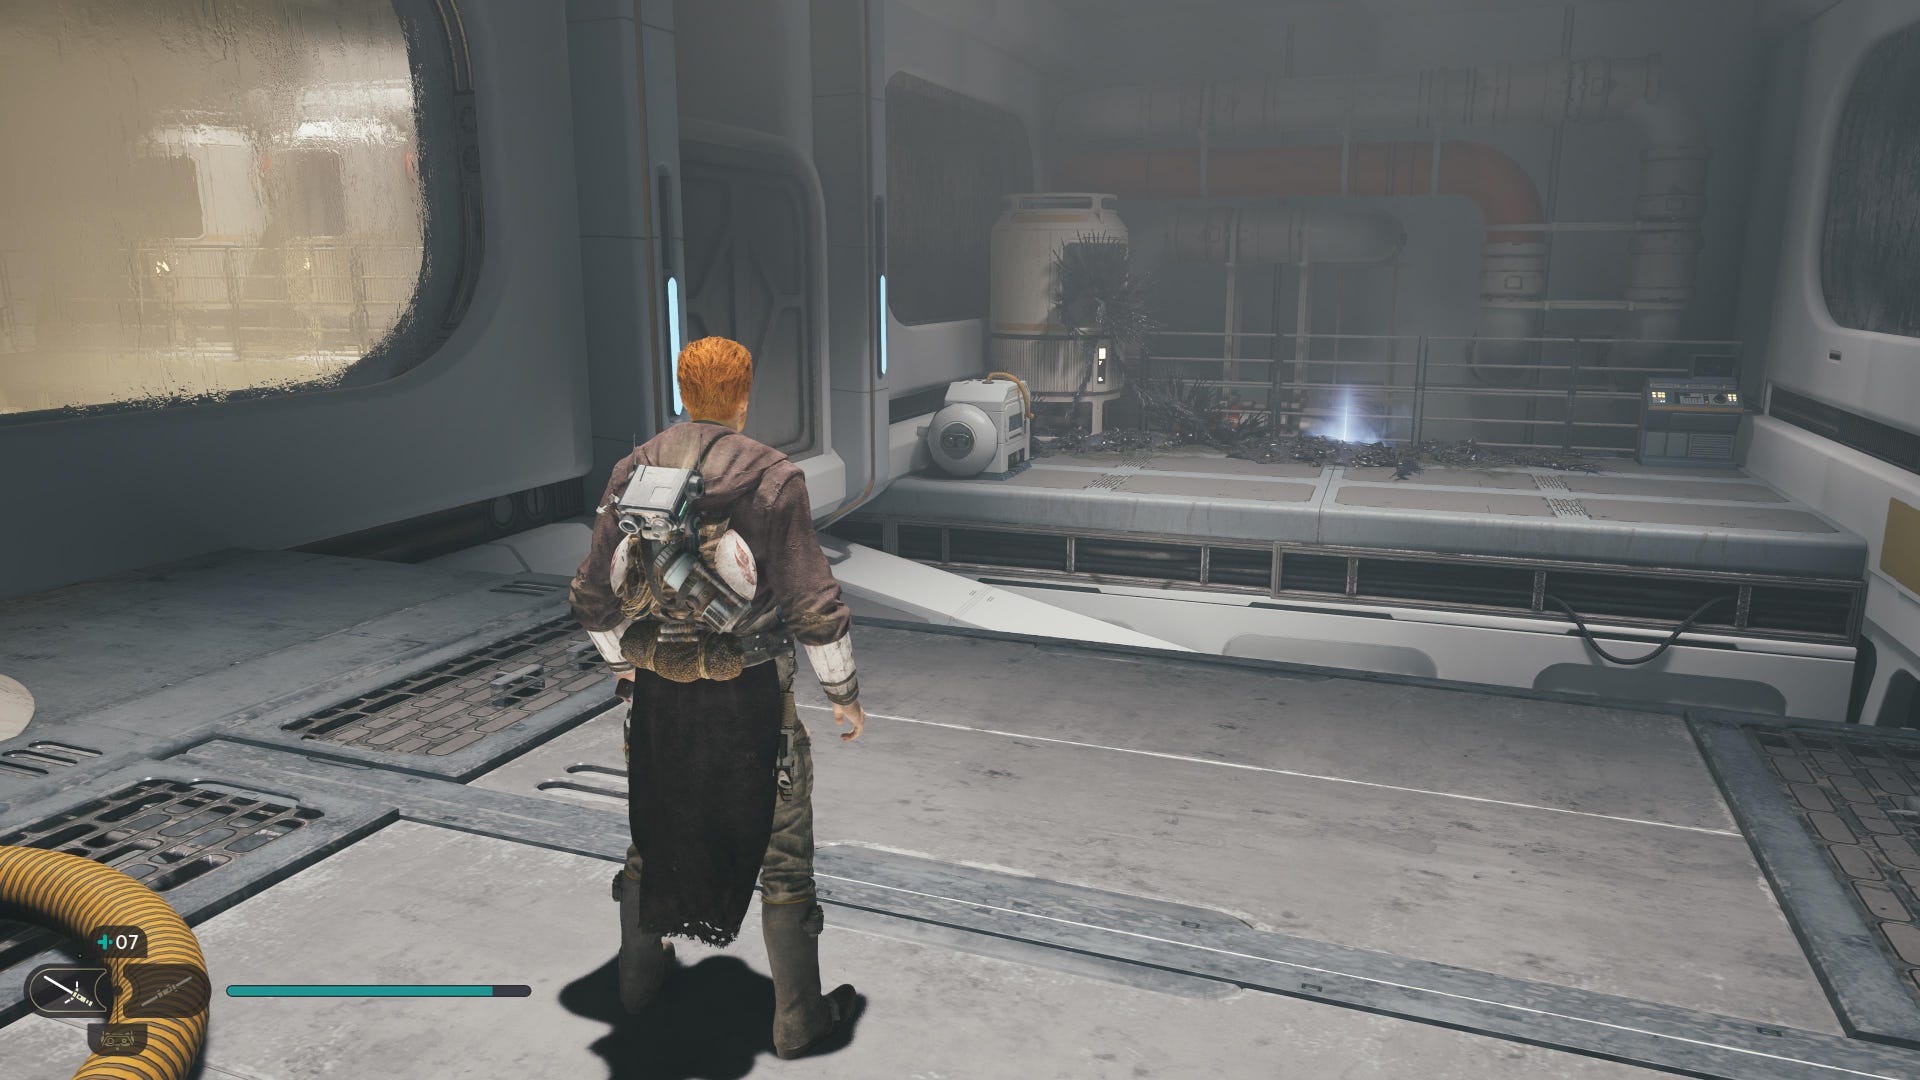
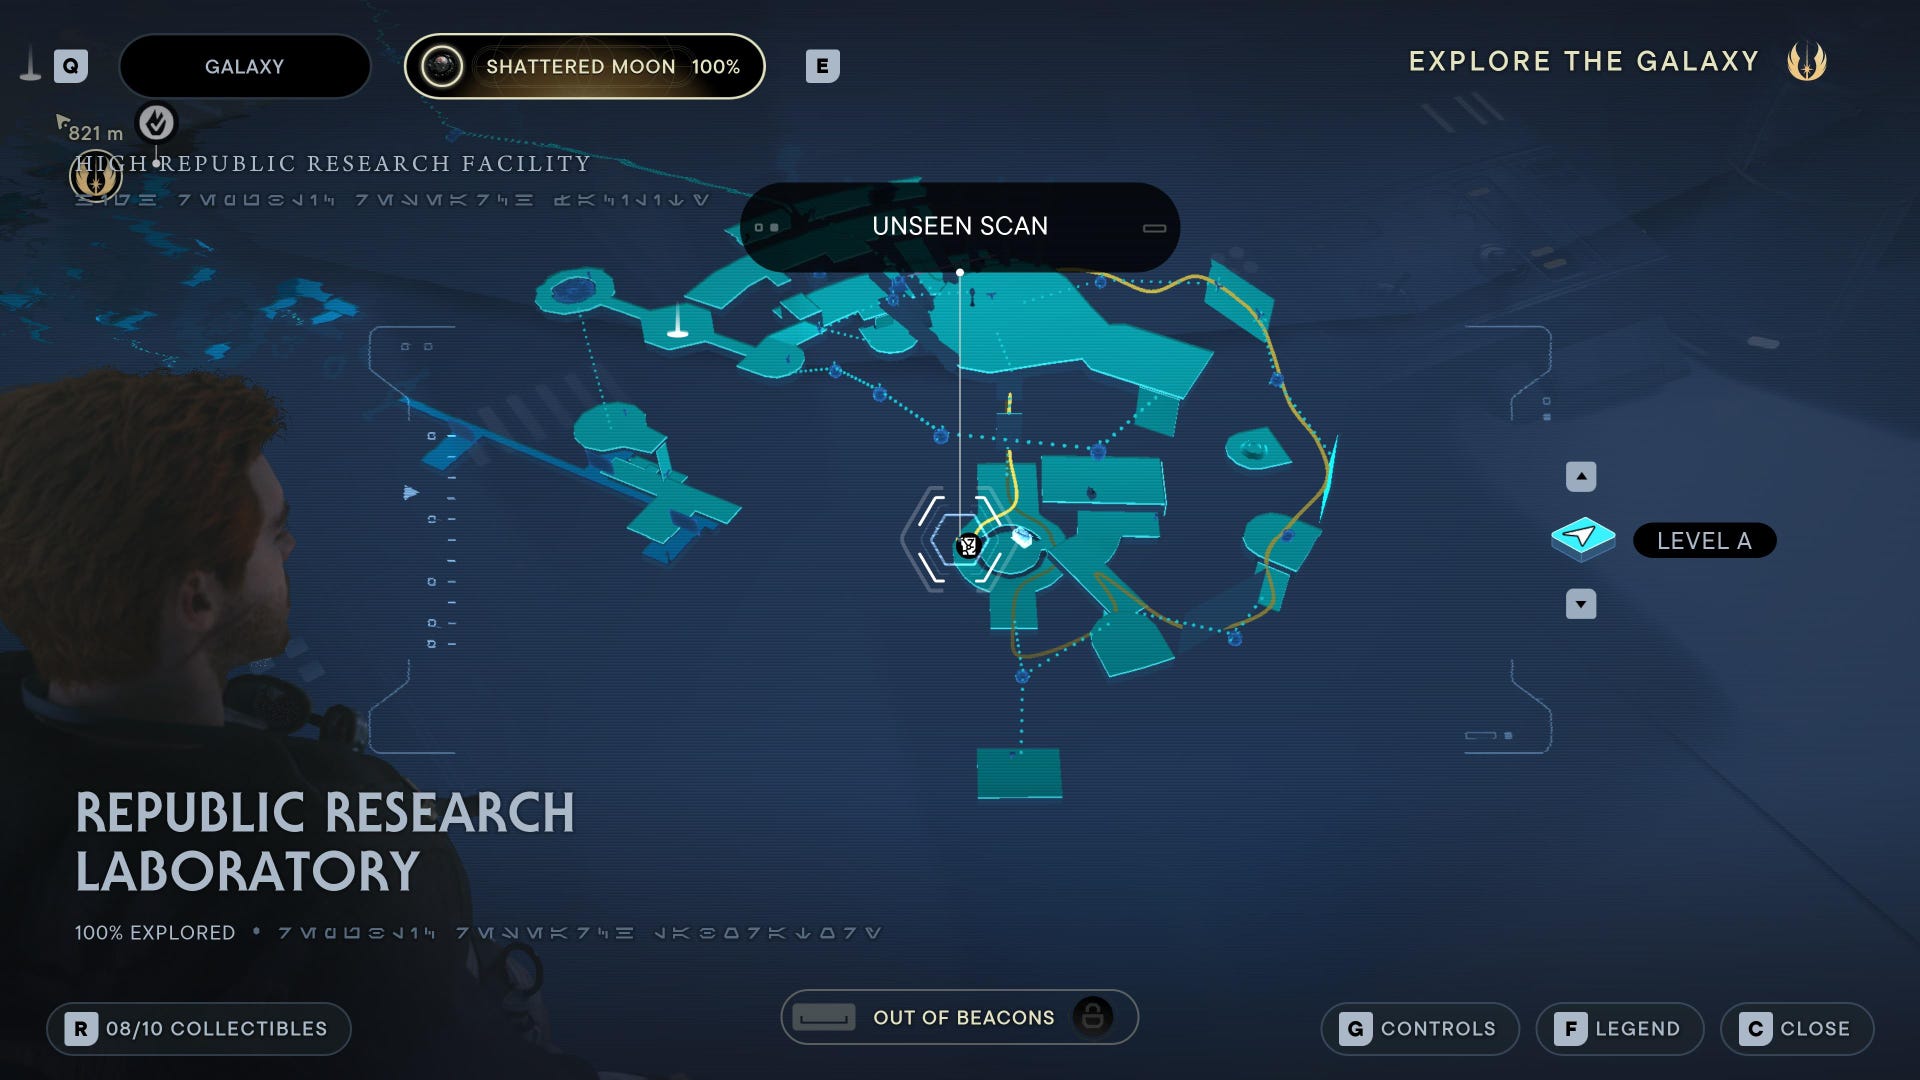
Databank (Disaster Strikes): Slice open the door next to the sphere receiving device and reach the platform on the other side.
Databank (Inoperable Console): To the right in the outside chamber around the actual lab with the Workbench.
Republic Research Laboratory Treasures:
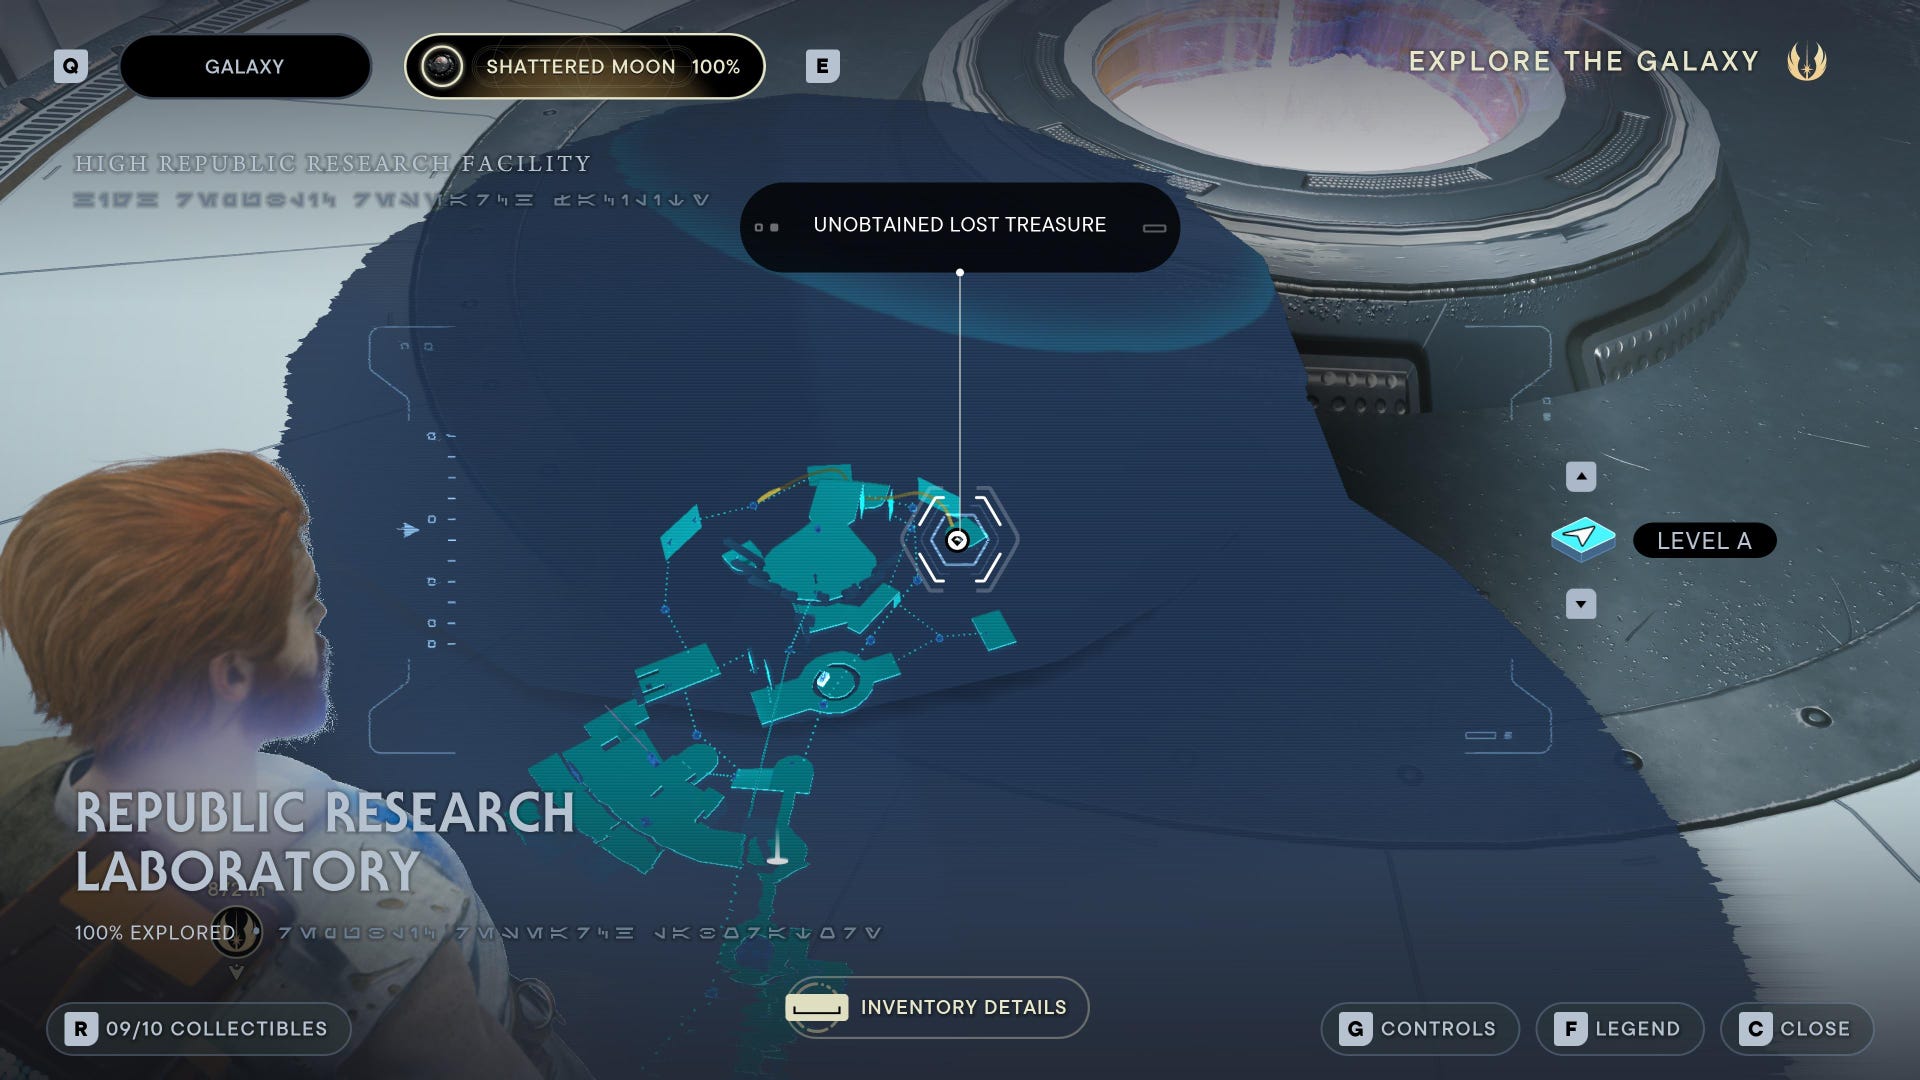
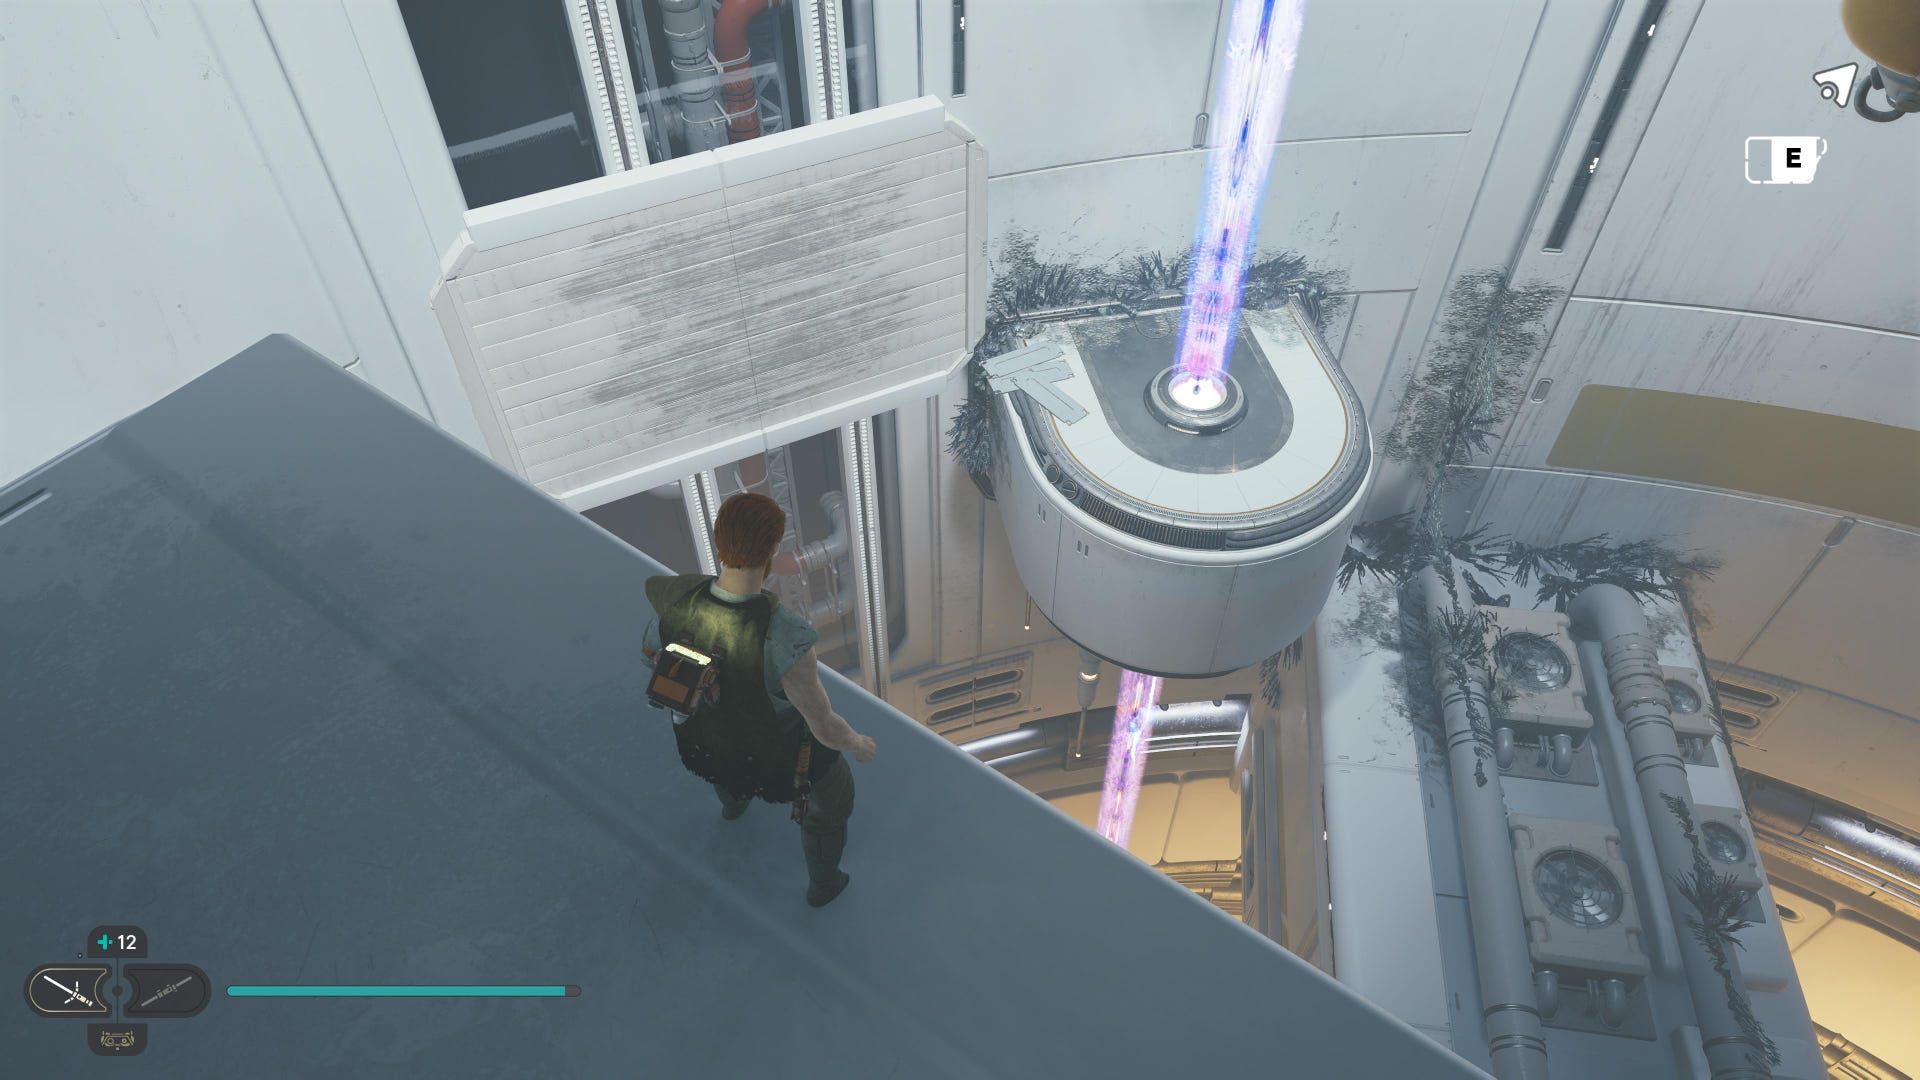
Datadisc: On one of the side semi-circle segments with the vertical beams.