What is the best lightsaber stance in Star Wars Jedi: Survivor?
All stances explained, and the strongest lightsaber stance revealed


What is the best lightsaber stance in Star Wars Jedi: Survivor? Our red-headed Jedi Knight is growing up. While in Jedi: Fallen Order Cal Kestis had access to just two lightsaber stances (with a third not-really-stance for special moves), in Star Wars Jedi: Survivor you can learn five unique lightsaber stances, each of which completely changes Cal's moveset, combos, strengths, and weaknesses in battle.
If you're wondering what differentiates the five lightsaber stances on offer or you want to know which stance or pair of stances will turn you into the strongest possible Jedi, you've come to the right place. Below we'll walk you through each of the stances on offer, and reveal our pick for the very best stance in Jedi: Survivor.
What are the five lightsaber stances in Jedi: Survivor?
When you begin the story of Star Wars Jedi: Survivor, you only have access to two stances: single, and double-bladed. But as you progress through the main story, you'll unlock different stances that offer unique strengths and drawbacks.
The five lightsaber stances in Jedi: Survivor are:
- Single - balanced and reliable in all situations
- Double-Bladed - mobile, excellent at deflecting and when outnumbered
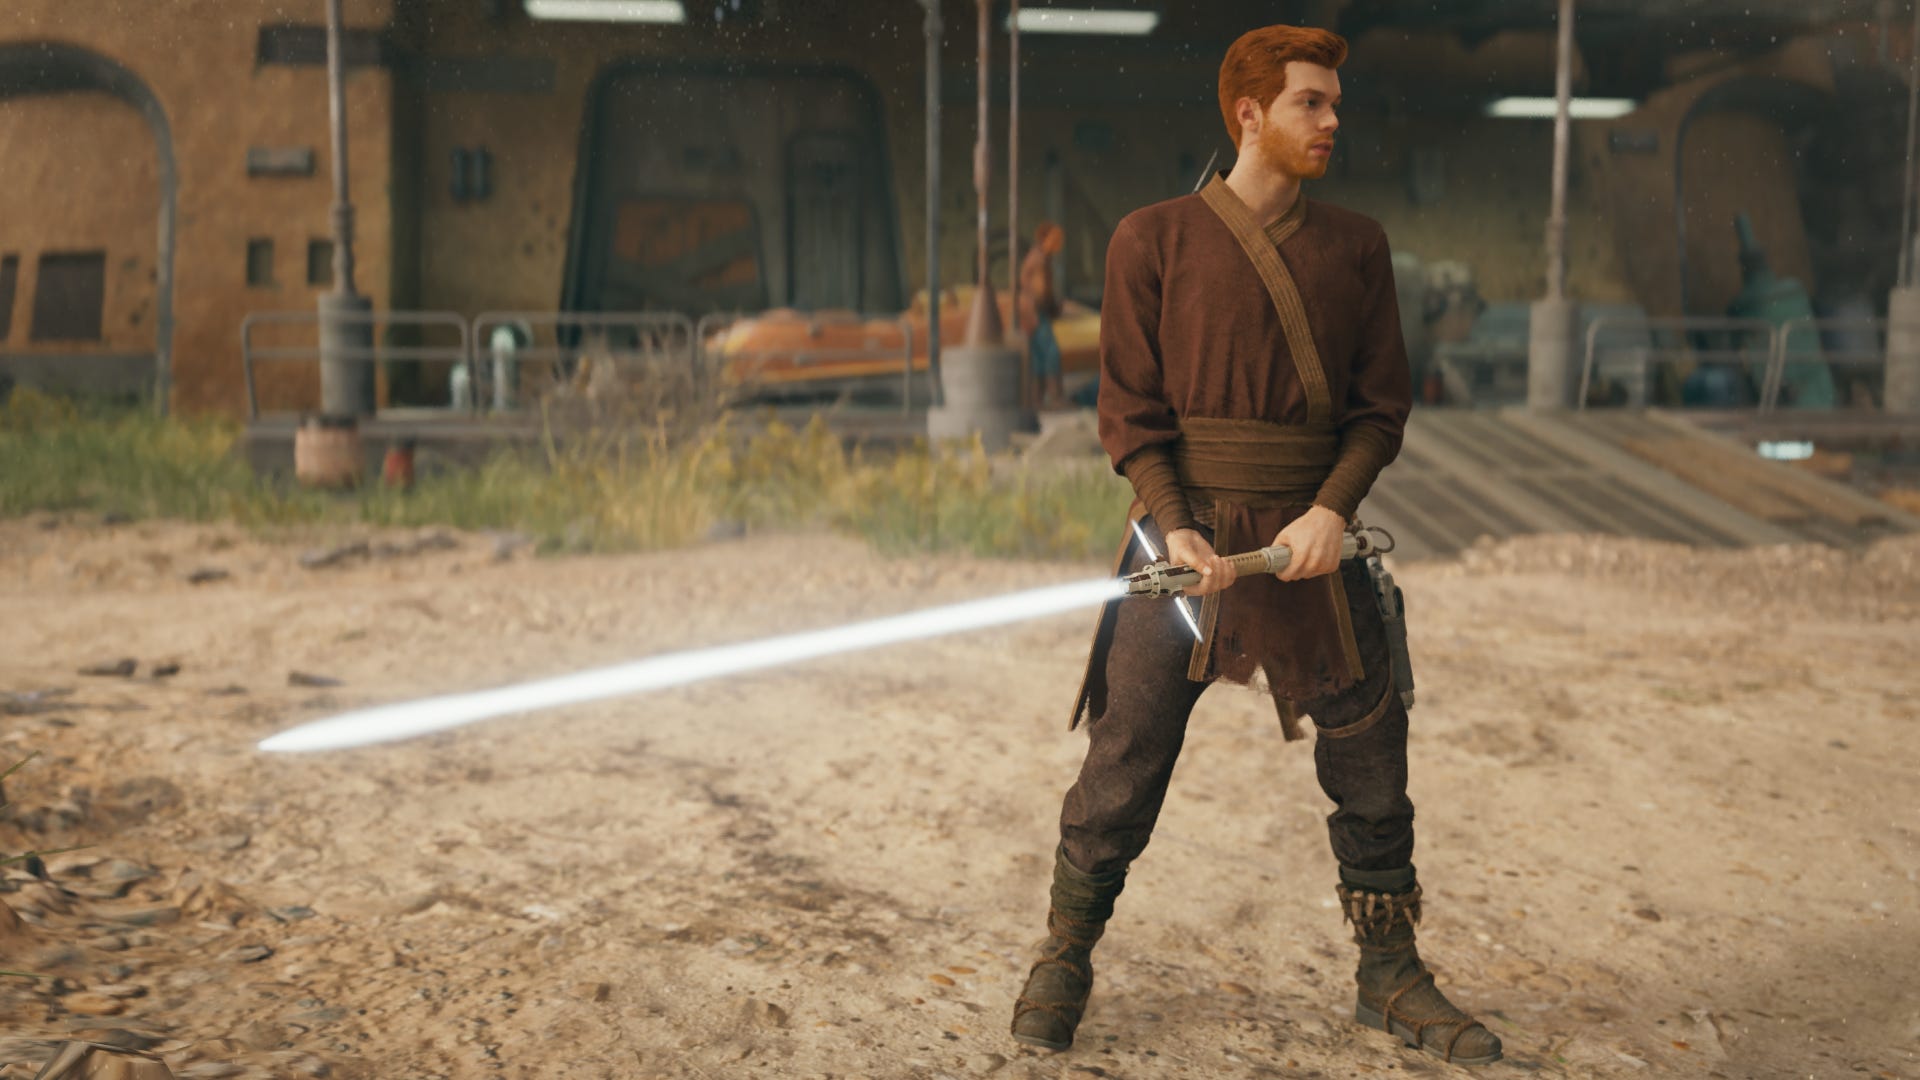
- Dual Wield - very fast offensive combos, but limited stamina
- Blaster - longest-range attacks, but low damage
- Crossguard - highest damage, but slow attacks
You can only equip two of the five lightsaber stances at a time, and once you earn your third stance, you can rest at any Meditation Point in order to configure which two stances you'd like to take into battle. The dual wield stance is unlocked as part of the prologue, but the other two require you to get significantly further into the game. For more information, check out our guides:
- How to unlock the blaster stance in Jedi: Survivor
- How to unlock the crossguard stance in Jedi: Survivor
Which is the best stance in Jedi: Survivor?
All five lightsaber stances in Star Wars Jedi: Survivor are viable, particularly if you're playing the game on one of the lower difficulty levels. But while they're all effective in different situations, we think two stances in particular are head and shoulders above the rest.
The best stance in Jedi: Survivor is the crossguard stance, simply because of its high damage output. Couple this with our other favourite, the double-bladed stance, and you'll have an extremely potent and versatile skillset which can defend well against blaster fire and multiple enemies while also dealing devastating damage to dangerous single targets.
Here's our full ranking of all five lightsaber stances, from best to worst:
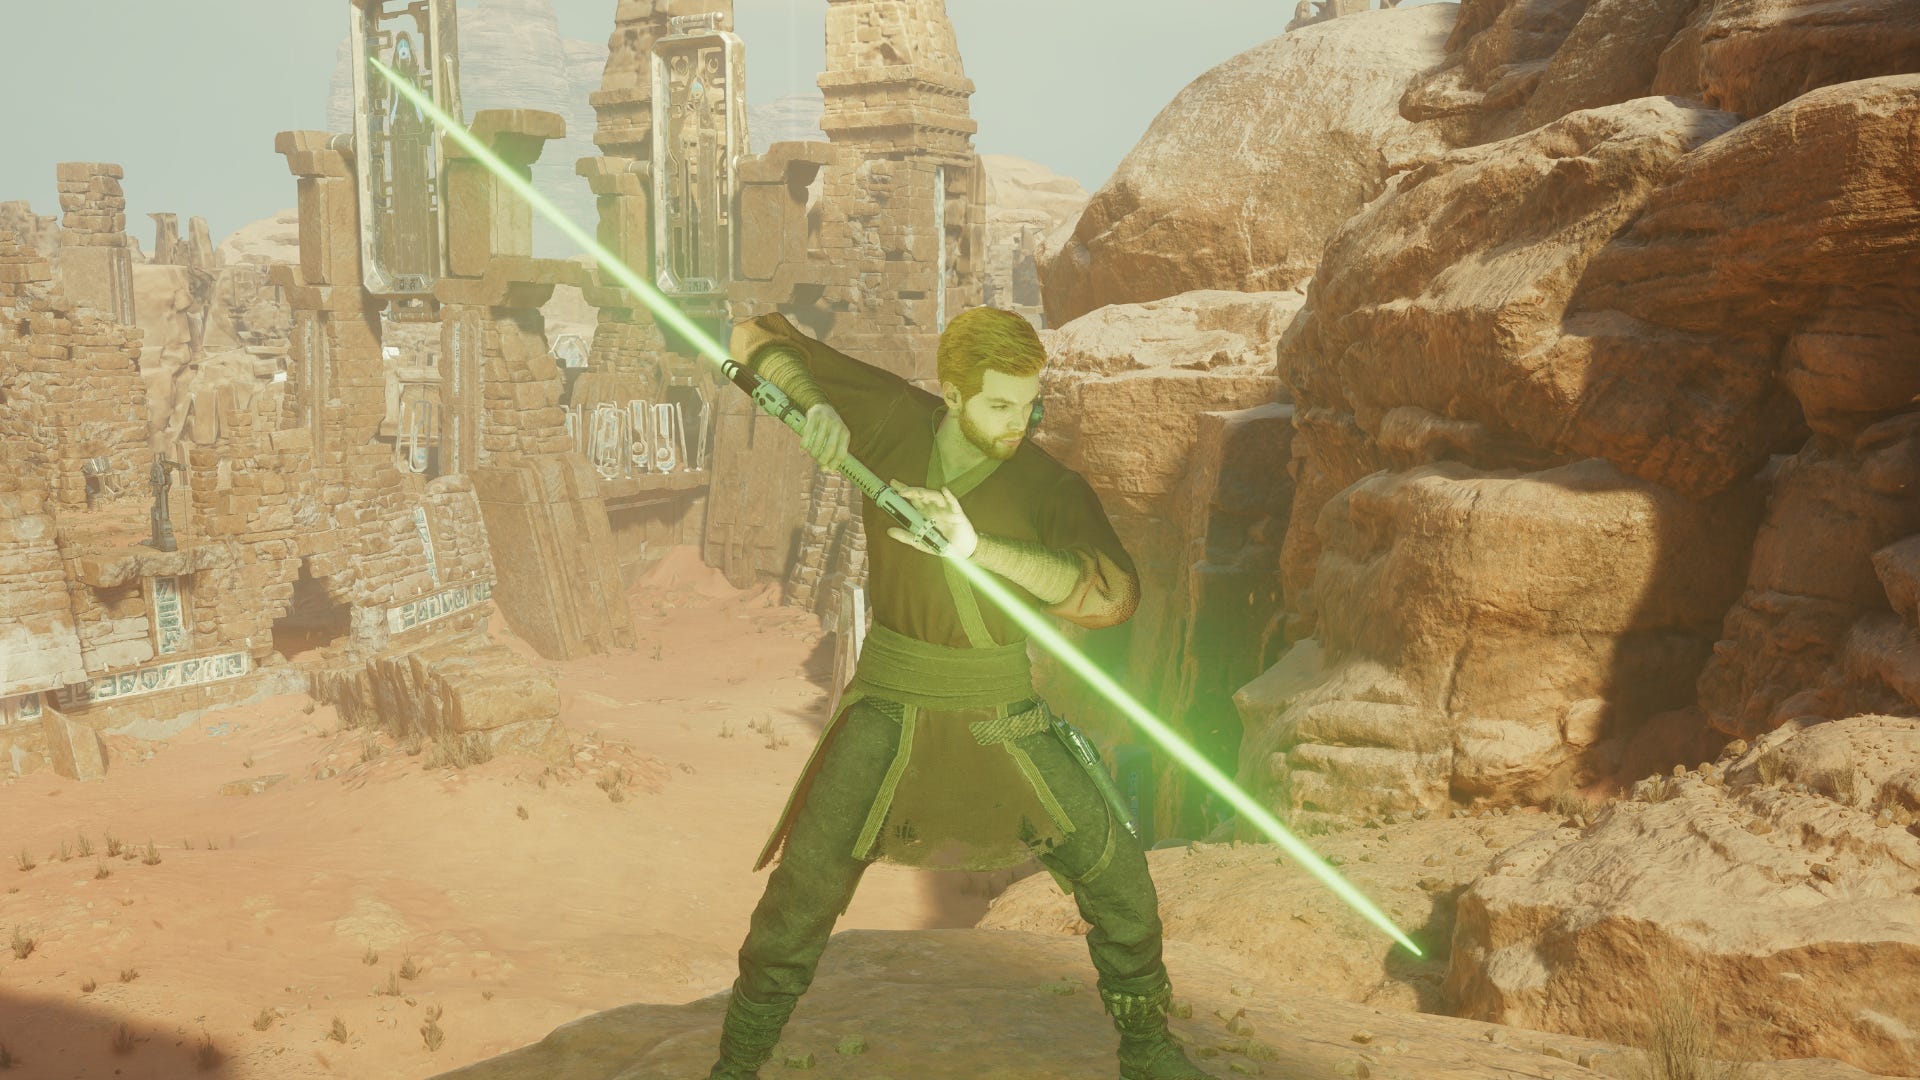
#1: Crossguard
The crossguard stance utilises very slow, deliberate, powerful swings which deal very high damage to both the enemy's health and their guard meter. It's the stance that feels the most soulslike in nature. Attacking requires some careful timing, because you are vulnerable while in mid-swing - but if you can master the timing, there's simply no better way to quickly deal with a challenging enemy, particularly on high difficulty levels.
The skill tree for the crossguard stance is also very potent, giving you a wealth of options for mitigating the stance's drawbacks. You can speed up and increase the range of your devastating special attack, and you can gain a very high powered lightsaber throw, which aside from being very deadly looks cool as hell. It's not the best choice when fighting groups of smaller enemies, but otherwise the crossguard is the best stance in the game.
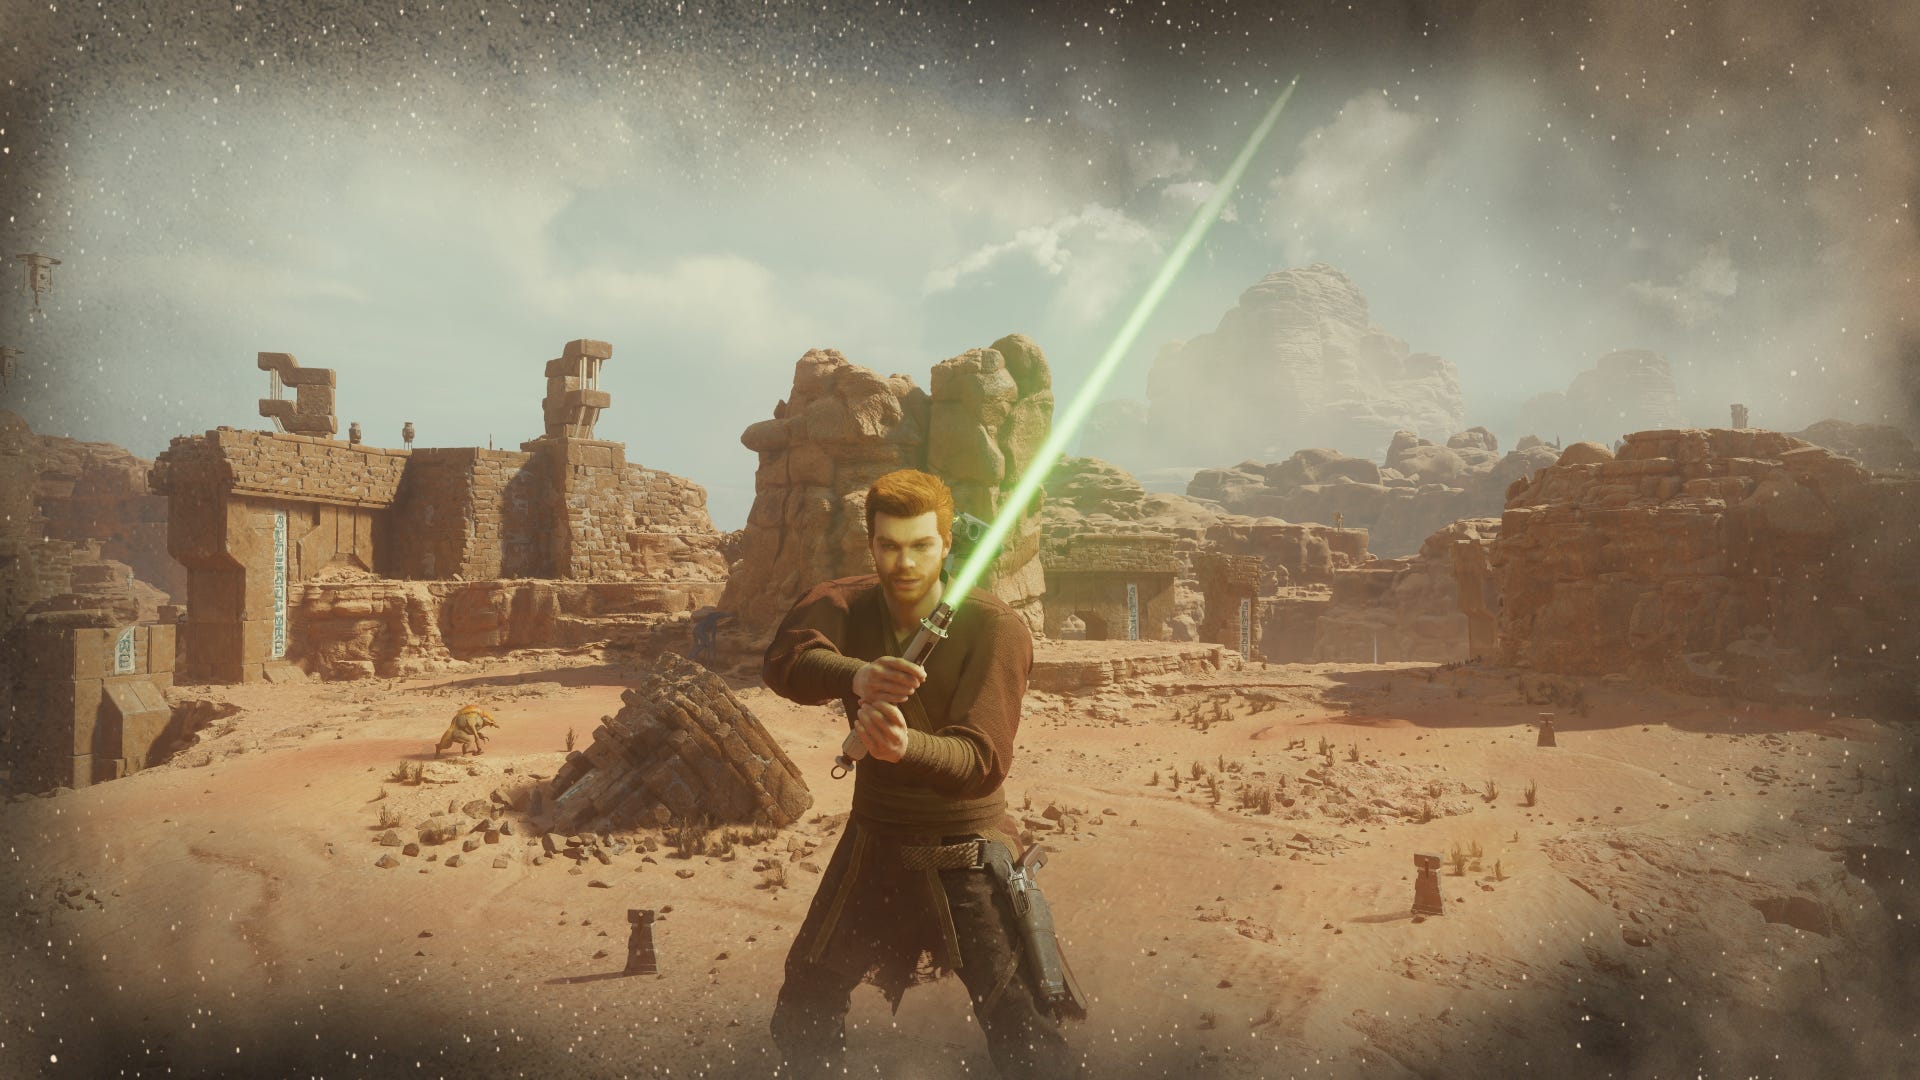
2#: Double-Bladed
The double-bladed lightsaber is amazingly versatile. Its mobility allows you to close distances with ease - particularly once you get the Vortex Dive ability early on in the skill tree. And while technically each swing deals lower damage than most other stances, in reality the attacks come so thick and fast that your damage potential is very high indeed.
The double-bladed stance is your best choice for dealing with multiple enemies, and it's particularly excellent at deflecting bullets from all manner of droids and troopers. It gives you more stamina (and therefore freedom) than the similar dual wield stance, and it perfectly complements the crossguard stance, giving you a very well-rounded loadout that you can happily take up to the end of the game.
3#: Blaster

The blaster stance is unrivalled at range - which should come as no surprise. While it's not as simple to use as the other stances due to the unique charging mechanic (you charge up shots with your blaster by attacking with your lightsaber), you can clean up enemies from afar with ease. The charged shot deals a surprising amount of damage, which is good, because the rest of the stance is a little lacklustre in the damage department.
Regardless, the Blaster is an intriguing stance which is well-suited for those who aren't quite as comfortable with the up close and personal parrying and perfectly timed dodges, and prefer to whittle enemies down to size from outside of their range.
4#: Single
The single lightsaber stance has no particular strengths or weaknesses. It's designed to be a versatile choice for players who want a stance that can see you through the vast majority of different encounters. In reality though, while it can of course be used very effectively, it's just not as efficient at dealing with those myriad threats as you would be with a pair of more specialised stances.
With upgrades, the single stance is quite effective, particularly against single targets. But it doesn't quite hold up against the above stances in our opinion.
#5: Dual Wield

The dual wield stance is by no means bad - it just doesn't quite live up to its expectations. The main reason for this is the limited stamina pool. You can pull off some nifty tricks with two lightsabers, the most obvious of which is holding down your special attack to auto-parry the next attack (as long as it isn't a red unblockable attack, of course). But you have to time this quite well because it drains your stamina so quickly while the button is held - which kind of defeats the purpose. I mean, why not just parry normally then?
The attacks themselves are much like the double-bladed stance - fast flurries that can be chained together to theoretically overwhelm an enemy's guard. But you need to be very efficient with your attacks and parries, because if you don't land that parry then your stamina will be used up and you'll be stunned before you know it. It's a tricky stance to master, and the others are just a bit better in my opinion.
That wraps up this primer on all five lightsaber stances, and which in our opinion is the best stance in Jedi: Survivor. For more on lightsabers in Jedi: Survivor, you can check out our guides on lightsaber parts and materials, lightsaber colors, and the best lightsaber designs in Jedi: Survivor. Alternatively, if you want to get your journey off to a very strong start, you should also check out our Star Wars Jedi: Survivor Coruscant collectibles guide.